8 minute read
Creating the Flow – Shop Layout

The Shop - From Survival to Streamlined
By Adam Sumner
From a small garage to a fully functioning shop layout is key. Looking back at the first days starting out in wide format printing, just finding enough space to work was a battle. My initial shop was no more than a 40 x 15 foot garage space in the back of my father's offset printing shop.
My desk was located under a staircase which left my neck feeling a bit sore at the end of the day. With little to no room, I had a printand-cut Roland printer, a Royal Sovereign laminator, and a 4 x 8-foot working table.
No take-up roll on my printer so my days were spent standing at the table and rolling the prints off the machine so I could throw them through the laminator the next day. Once it was laminated and trimmed out, I would push the equipment against the wall to make room for a vehicle to come in and wrap it. With no room to pull it in fully, I would install the front end and one side then turn the car around and finish the back and the other side. Needless to say, streamline and efficiency were foreign words to me - it was more like survival.
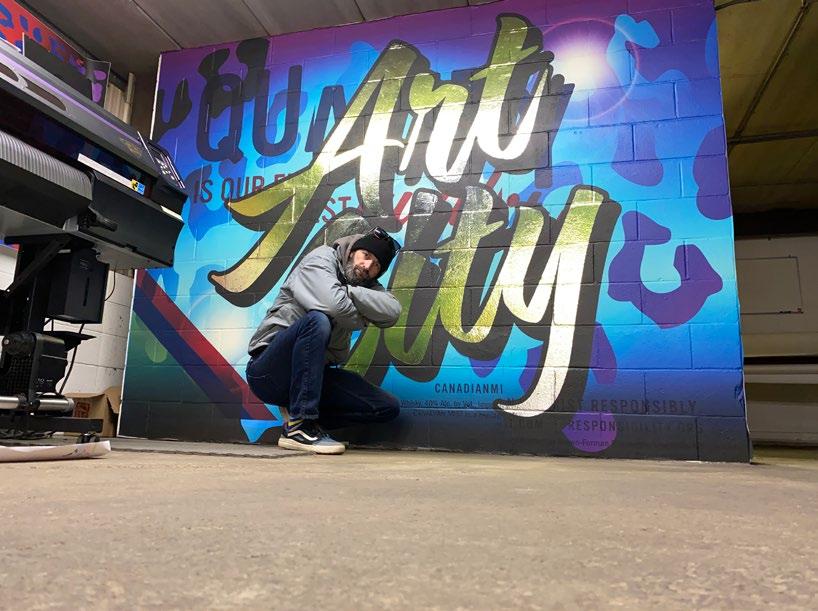
As a one-man operation designing, printing and installing I started to really pay attention to the way my shop was organized and flowed to spend as little time transitioning my shop to get the next task done as possible. This is something that I have carried with me for quite a long time and has culminated into the workflow that we have today.
You are not always going to get it right the first time. Over the years each space I had occupied had been changed multiple times until I found the right configuration for the space that was available. Over time with input from employees, watching the way work is being done through the day and seeing where we can save a couple minutes a day by rearranging, which can add up to hours a week and days a month and weeks a year of saved time.
Our shop has a rule that the entire business is built around. The 5-minute rule is something that I started a long time ago and anyone that has come through one of my trainings has heard about. In any task you do throughout the day try to find a way to save yourself 5 minutes. Now how do you save 5 minutes? Well, it could be by being more organized and labeling material better. It could be installing a rack closer to your printers so that loading the machine can be sped up. Could be grouping printers, laminators, and cutters so that jobs can flow from one machine to the next a little quicker. Could be adding another computer, installing new lights, or remodeling the shop to bring people closer together. The more you focus on just saving 5 minutes each time you do a task, you will eventually find the most efficient way for your shop and personnel to perform.
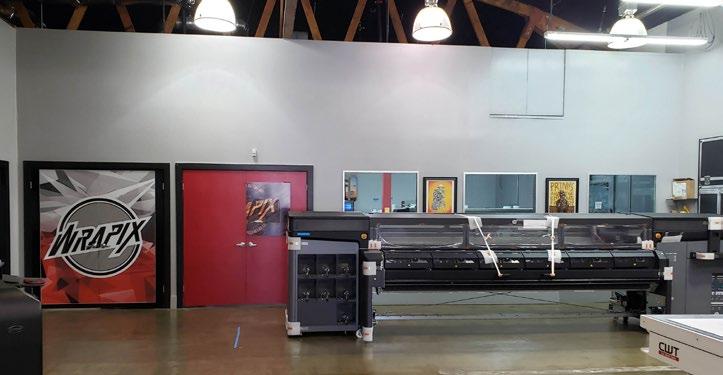
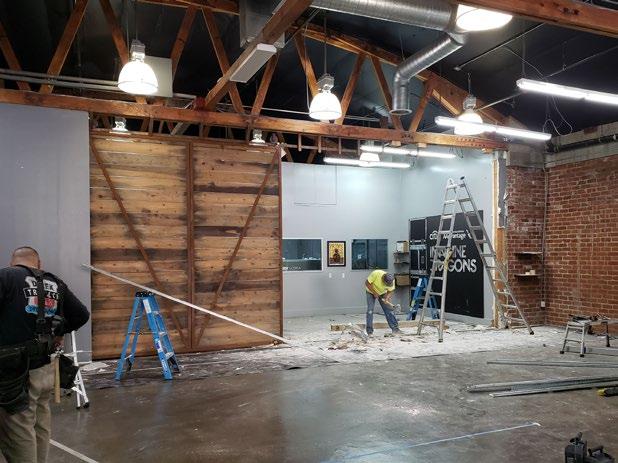
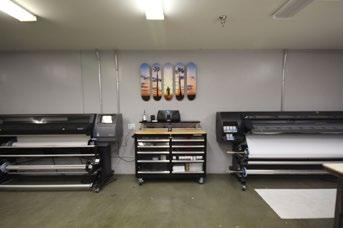
Having all the machines in a line helped keep things together, but was a nightmare for the workspace. Having design and production machines located too far from the printers caused lost time walking back and forth from loading to sending prints.
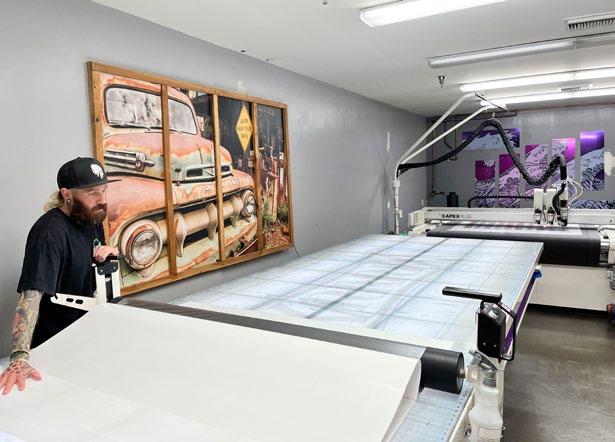
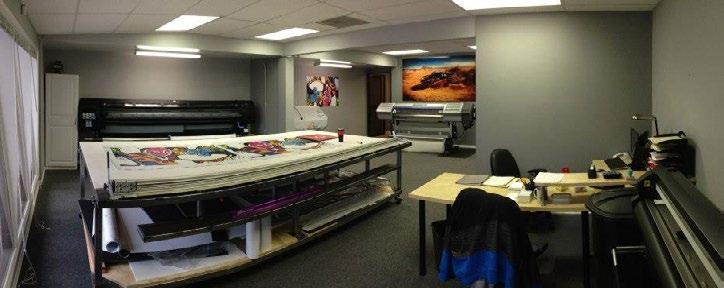
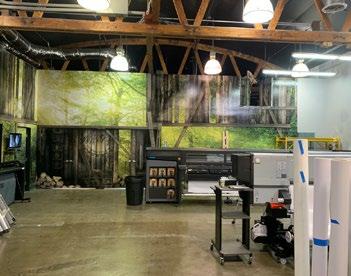
Creating a flow from the router table to the mounting table helped streamline the finishing of graphics.
Making room for a new machine. new flow for production and design bringing everything closer helps the team mesh much better.
What is the ideal layout?
Well, it depends on equipment, employees, and the type of business you do. But for us, as a wrap shop focusing more on vehicle wraps, I will walk you through what I feel is the best layout for us, and how we changed over the years. In our current shop the initial idea that we had was to have all jobs start at the back of the shop and work forward to the front and ultimately out the door. So material would come in and be stored in the back of the shop near the printers then move forward to the lamination and trimming tables then out to the installation area to be delivered to the customer. Our designers were located more in the middle of the shop and most of the production was in the rear. What we found was when production had a question they would walk to the other room then the designers would walk back to production to check out the print to make sure things were looking correct. This caused countless hours of walking back and forth wasting time and causing projects to take a bit longer.
Now don’t get me wrong
I am in no way calling my guys slow they are far from that, but they were not able to be as efficient as they could be.
So, we found the solution. Call in a contractor to blow out a wall and build a larger print room that could not only house all the printing equipment but also the design and production team. Then,
we put all their desks together to create a tighter working environment, giving my guys the ability to turn a chair to get the answer they needed. It also made it possible for my designer to see the printer and check without even getting up to see if what is being produced was correct. This change, as expensive as it might have been to blow out and build some new walls, has saved us countless hours and reprints because everyone is centered around the most critical step. Moving the print and design team together into the center of the shop also helped with installation. Now, our installation area is right next to our designers and production so when they have a question they can get the answers quickly and get back to stickin’. This change for us has been the best remodel we have ever done and is the one layout that I will keep no matter the location that we move into.
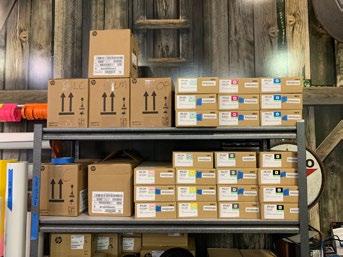
The next thing that made a massive difference for us was to DECLUTTER OUR INSTALL AREA. This is a constant work in progress because as anyone with a shop knows, when you have a large open area for vehicles to be moved in and out of it's pretty easy to find nooks and crannies to store things for later. We had things everywhere and realized that we were taking up valuable square footage that a vehicle could occupy and install. All to store tools and supplies that were not used on a daily basis. We ended up building a storage room with a mezzanine on top to store all the things we didn’t use on a daily basis. Things from hard hats and harnesses to tiedown straps, painting supplies air compressors, saws – you name it. We have a wide range of tools and equipment that we use for red carpet event installs that are not used on a daily and take up space in the install area. By moving those things up into an area that we have access to, opened up over 400 square feet that was now useable for us to park an extra vehicle. Inside to storage room, we have ladders, rolling scaffolding, extra rags, cleaning supplies - the necessities for everyday installs. This has significantly helped in keeping the shop clean and cut down on the hours walking around the shop to find the tool or supply you need. It's also helped us keep better inventory so it’s not Friday at 4 o’clock with a weekend install the next day and you realize you don’t have what you need to start the install in the morning.
Laying out your shop for efficiency is important. Focus on keeping things tight, keeping people close and supplies you need all in the same area. This will help in turning jobs quicker, have meetings with your employees and have them give you input on what would help them stay more organized, and don’t be afraid to grab a hammer and open the flow of the shop to get your team communicating easier. No matter the size of your business, realize that as things change and so should the flow of your shop. And even if it may seem natural to have each position or department separated, keeping your teams together will increase productivity and morale around the shop.
Adam Sumner
Adam@wrapixacademy.com
Owner, Wrapix Academy Owner, Wrapix Imaging 3M Authorized Trainer