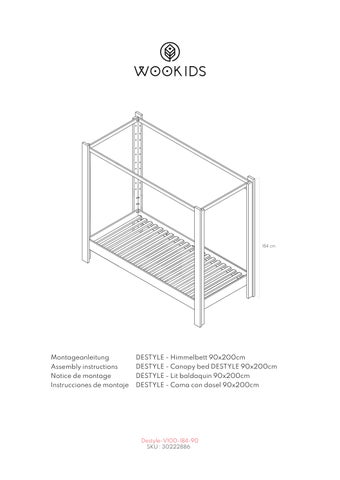
184 cm
Montageanleitung
DESTYLE - Himmelbett 90x200cm
Assembly instructions
DESTYLE - Canopy bed DESTYLE 90x200cm
Notice de montage
DESTYLE - Lit baldaquin 90x200cm
Instrucciones de montaje
DESTYLE - Cama con dosel 90x200cm
Destyle-V100-184-90 SKU : 30222886
Montageanleitung
DESTYLE - Himmelbett 90x200cm
Assembly instructions
DESTYLE - Canopy bed DESTYLE 90x200cm
Notice de montage
DESTYLE - Lit baldaquin 90x200cm
Instrucciones de montaje
DESTYLE - Cama con dosel 90x200cm
8 x S09
1 x S05
24x S02.2
(3,5 x 30)
(SW 5)
(M8 x 35)
Werkzeuge für die Montage Tools for the assembling Outils pour le montage Herramientas de montaje
Wichtige Hinweise
Important information
Information importante
Información importante
- Alle Schraubverbindungen müssen fest angezogen sein. Prüfen Sie dies regelmäßig und ziehen Sie lockere Schrauben wieder fest.
- All screw connections must be firmly tightened. Check this regularly and retighten loose screws.
- Tous les raccords vissés doivent être serrés fermement. Contrôler régulièrement et resserrer les vis desserrées.
- The bed must not be placed near an open fire or other strong heat sources such as electric heaters, gas stoves, etc.
- Le lit d'enfant ne doit pas être placé près d'un feu ouvert ou d'autres sources de chaleur fortes comme les radiateurs électriques, les cuisinières à gaz, etc.
- Todas las uniones atornilladas deben estar firmemente apretadas. Compruebe esto regularmente y vuelva a apretar los tornillos. - La cama no debe colocarse cerca de una chimenea u otras fuentes de calor fuertes como calentadores eléctricos, estufas de gas, etc.
- Veuillez conserver ces instructions d'installation pour une utilisation et des questions futures.
- Por favor, conserve esto instructives para un uso correcto y para resolver posibles dudas futuras.
- Pour éviter que votre enfant ne se coince la tête et ne se blesse gravement, la distance entre le lit et le mur doit être inférieure à 6,5 cm ou supérieure à 23cm.
- Para evitar que la cabeza del niño quede atrapada y pueda sufrir lesiones graves, la distancia entre la cama y la pared debe ser inferior a 6,5 cm o superior a 23 cm.
-Pour les enfants en bas âge, achetez le kit de sécurité Montessori pour ajouter une 2ième barrière de sécurité.
-Para los niños pequeños, compre el kit de seguridad Montessori para añadir una segunda barrera de seguridad.
- Das Kinderbett darf nicht in oder anderen starken Hitzequellen wie elektrische Heizstrahler, Gasöfen usw. stehen. - Bewahren Sie die Montageanleitung für späteren Gebrauch und Rückfragen auf. - Um zu verhindern, dass sich Ihr Kind den Kopf einklemmt und schwere Verletzungen erleidet, sollte der Abstand zwischen Bett und Wand weniger als 6,5 cm oder mehr als 23 cm betragen. -Für Kleinkinder können Sie das Montessori-Sicherheits-Set kaufen, um eine zweite Sicherheitsbarriere hinzuzufügen.
- Please keep these installation instructions for future use and questions. - To prevent your child's head from becoming trapped and causing serious injury, the distance between the bed and the wall must be less than 6.5 cm or more than 23 cm. -For toddlers, buy the Montessori safety kit to add a second safety barrier.
Destyle-V100-184-90 SKU : 30222886
-1-
Montageanleitung
DESTYLE - Himmelbett 90x200cm
Assembly instructions
DESTYLE - Canopy bed DESTYLE 90x200cm
Notice de montage
DESTYLE - Lit baldaquin 90x200cm
Instrucciones de montaje
DESTYLE - Cama con dosel 90x200cm
DBB-509 DBB-500
DBB-506
DBB-511 2 x DBB-601
Destyle-V100-184-90 SKU : 30222886
-2-
Montageanleitung
DESTYLE - Himmelbett 90x200cm
Assembly instructions
DESTYLE - Canopy bed DESTYLE 90x200cm
Notice de montage
DESTYLE - Lit baldaquin 90x200cm
Instrucciones de montaje
DESTYLE - Cama con dosel 90x200cm
2 x DBB-601 DBB-511 DBB-509
12 x S02.2 DBB-601 DBB-506 DBB-511
12 x S02.2
1
2
S05
(SW 5)
S05
(SW 5)
DBB-500
8 x S09
4 Destyle-V100-184-90 SKU : 30222886
-4-