
6 minute read
Campfire Construction | Tips To Build The Perfect Fire

Zach Wood
Zach Wood is a public information officer in the DNR’s Office of Communications.
Whether it's the hypnotic glow of the embers and soothing crackle of burning firewood or the comfort and safety provided by the warmth of the flames, there’s just something about a fire that has made it a place for gathering, sharing stories and making memories since time immemorial.
Even today with our data plans, streaming services and endless entertainment at our fingertips, a well-constructed campfire is still a sure bet to get people swapping the eerie blue glare of their phones for the welcoming orange glow of the firelight.
Although simply getting a campfire started is a basic skill many have exercised countless times, not all
campfires are created equal. Whether you’re a newbie or a seasoned pro, read on for a few tips and tricks to help you build a better fire this summer.
Check The Fire Conditions
The best campfire is a safe campfire, and on days with elevated fire danger, ensuring fire safety is just not possible to do. Small campfires for warming or cooking purposes do not require a DNR burn permit, but it’s always best to check the fire danger for your area before you burn.
Pick Your Spot
Where you choose to build your campfire can either set you up for success or sign you up for a long evening.
If you’re at a campground, look for a designated fire pit or ring. If you’re somewhere more rustic, create your own by digging a shallow depression into the ground, clearing away all flammable materials and surrounding the edge with rocks to form a ring. Ideally, the base of your fire should be sand, gravel or mineral soil.
Gather Your Materials
To burn a successful fire, you’ll need three types of fuel.
Tinder: small twigs, dry leaves, dried pine needles, tree bark, etc.
Kindling: small sticks or small pieces broken off larger logs, ideally less than an inch in diameter.
Firewood: larger pieces of wood, typically 12-18 inches long. These logs will provide the structure for your fire and keep it burning for hours if properly arranged and maintained.
Pro Tips
• Avoid using wet or green (freshly cut) wood. It won’t burn very well and will produce lots of unpleasant black smoke. Instead, opt for wood that’s had at least a few months to dry (season). Even if it gets wet on the outside, the inside will still be dry and will burn well.
• Opt for hardwoods (oak, apple, maple cherry, ash, etc.) over softwoods (like pines). They will give you a cleaner, hotter fire, smell much better when burning and will last longer. Pine is fine for kindling, though, as it will catch quickly.
• Buy local, burn local. Help prevent the spread of invasive species by purchasing firewood for your camping trip on-site (or within 10 miles of your campsite) instead of bringing it from home or picking it up along the way. Leave any unused firewood behind to avoid bringing home unwanted pests. Firewood Scout provides a free online tool to search for local firewood retailers.
Construction Matters
Now that you have your materials, it’s time to build. First, plan how you’ll assemble your campfire. There are several popular “blueprints” for fires, each offering pros and cons. Pick the style that fits your needs and go from there.
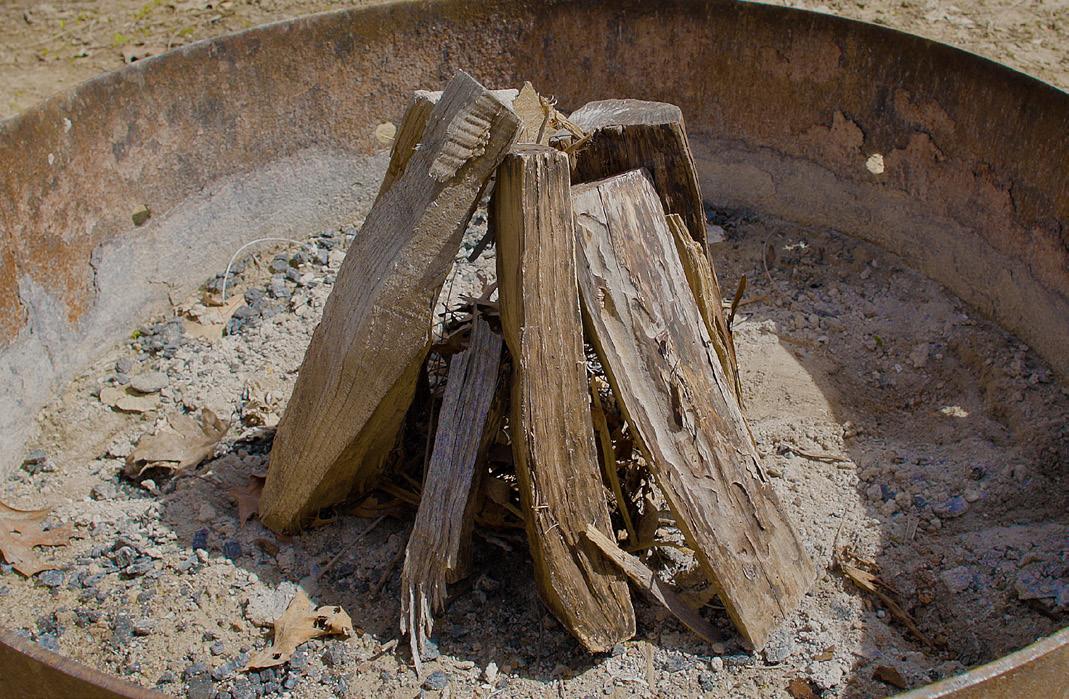
Teepee: This cone-shaped fire is the simplest and probably most popular campfire. It’s easy to build, good for sitting around and throws a lot of heat and light. It burns quickly, though, meaning you’ll need to make frequent adjustments.
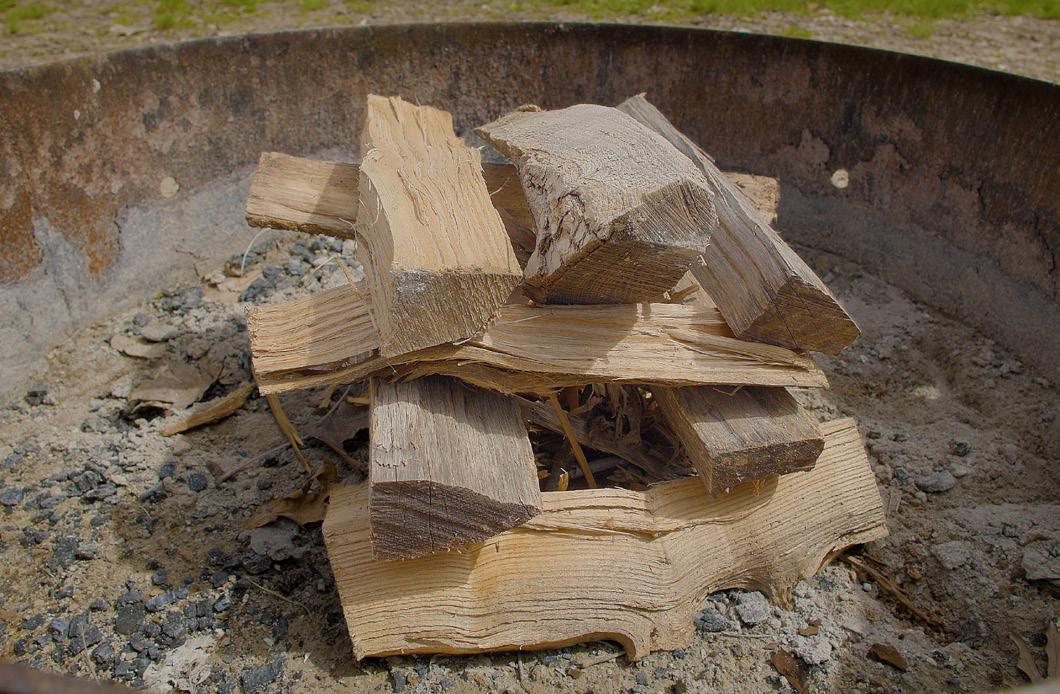
Log cabin: Another classic, constructed by layering wood in a box-like shape, this fire offers the same benefits as the teepee without the need to constantly tinker with it.
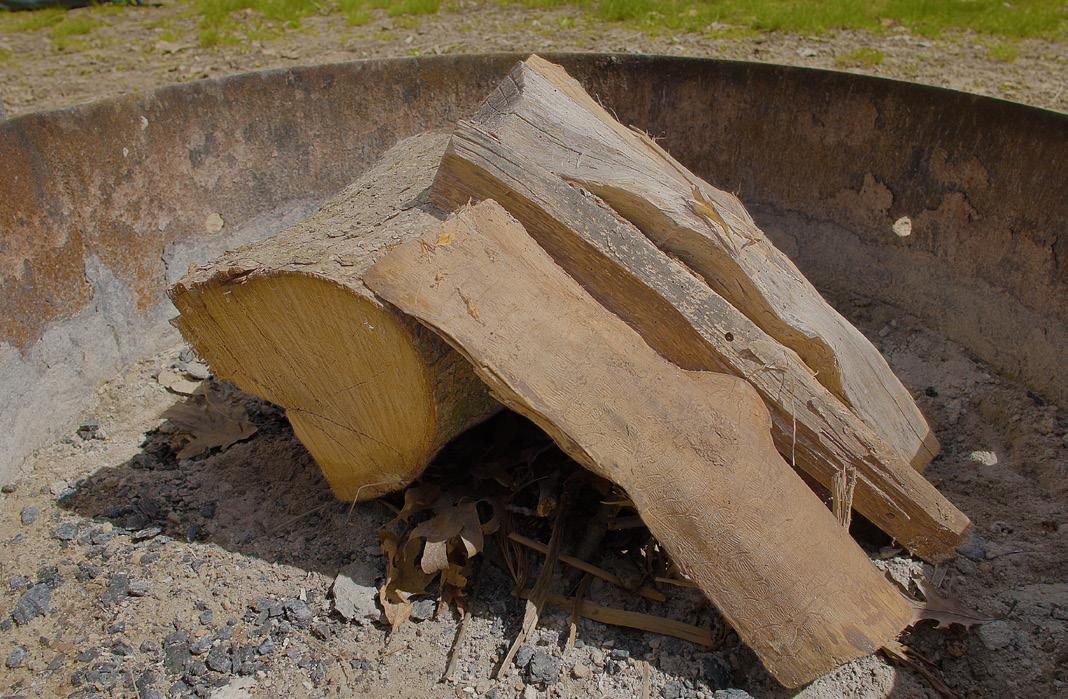
Lean-to: Using a single log as a windbreak, this fire comes with its own shelter, making it great for windy or rainy weather.
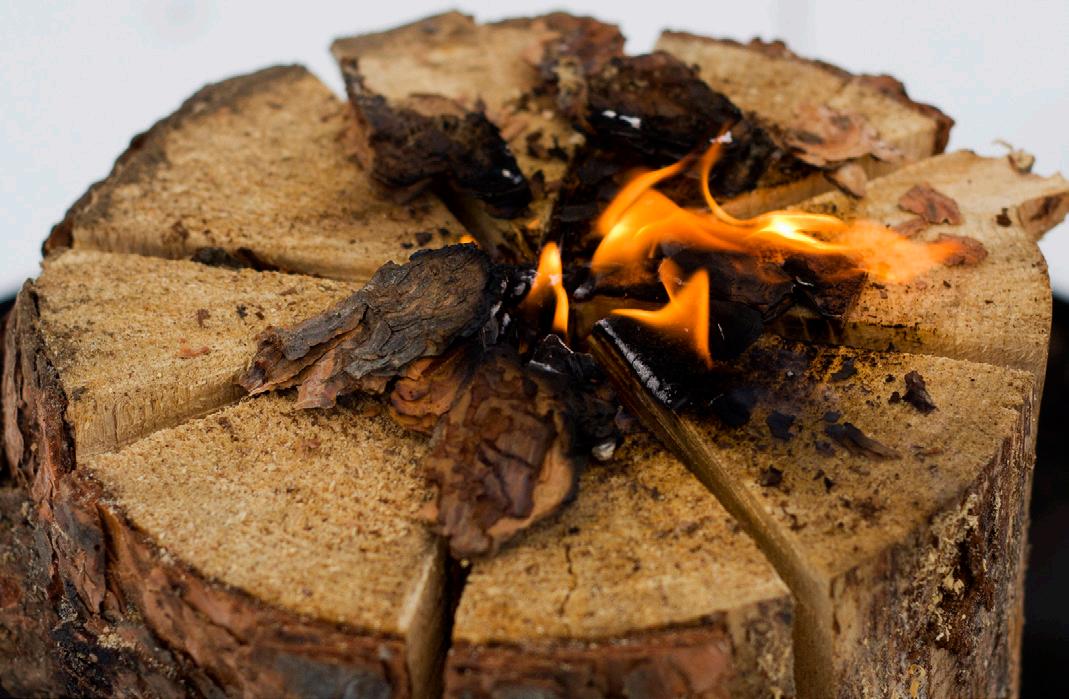
Swedish torch: This fire is created with a portion of tree trunk, set vertically, then scored on top with several small cuts and lit at its center. It throws very little heat for a fire and not much light, but uses little fuel and will burn for a long time.
Regardless of which style you pick, always start with tinder, add kindling and then finish with larger firewood. Fire burns upwards, so faster-lighting materials should be below larger logs.
Light It Up!
Now for the fun part, no lighter fluid required (in fact, leave that stuff at home). Strike your match and hold the lit end up against your tinder (don’t just toss it in the direction of your fire pit). Aim your match toward the bottom so your tinder can catch and burn upwards. Once you have the tinder lit, blow on the flames to help the fire grow.
Pro tip: Leave space between your logs.
“A good fire needs heat, fuel and oxygen. By opening up one small section of the fire ring, you can allow more oxygen to enter the fire,” said Catherine Koele, DNR wildfire prevention specialist.
“This low-level air works to properly feed the fire and help it burn efficiently, which reduces smoke.”
Time To Relax
You did it! Your hard work has paid off with a beautiful campfire. Time to sit back, relax and enjoy an evening by the fire — hard to beat that!
Packing Up
When it’s time to head home or retreat to your tent, always fully extinguish your campfire. Failing to do so could start a wildfire.
“Just like you wouldn’t leave a candle burning in your house when you leave, making sure your campfire is completely extinguished is one of the biggest things you can do to prevent a wildfire,” Koele said.
Use the “drown-stir-drown-feel method,” Koele added.
“Having a bucket of water nearby along with tools like a rake or shovel will make using the method an easy way to ensure your fire is completely out,” she said. “Burying warm or hot coals or dousing the fire with sand is not a reliable method, and it can easily rekindle, even days afterwards.”
Remember, always burn responsibly. Only you can prevent wildfires!
