design without Design
토탈미술관은 한국 최초의 사립미술관으로 1976년 서울, 동숭동
대학로에서 디자이너를 위한 갤러리로 출발하였으며, 1984년에는 경기도
장흥에 국내 최초의 야외 조각공원을 설립하였다. 이후 1992년, 현재
위치한 서울 종로구평창동에 현대적인 전시장을 마련함으로써 본관으로
정착하게 되었고, 현대미술 전시 외에도 다양한 장르의 예술문화를 폭넓게
수용하는 복합문화공간으로 자리매김하였다.
토탈미술관은 개관 40주년을 맞아 과거 토탈디자인의 실험적인
정신을 되살리는 의미에서 ‘디자인’에 대한 집중적인 재고찰의 중장기
프로젝트(3년) ‹design without Design›을 기획하게 되었다. 전시제목인
‹design without Design›은 1981년 토탈북스에서 출판한 ‹디자인
디자인›에서 비롯되었다. 첫 단어 ‘design’의 첫 글자를 소문자로
이번 프로젝트 컨셉의 ‘오픈디자인’을 강조하고, 두 번째 ‘Design’은
대문자를 사용하여 유명디자이너의 제품디자인 등을 의미하는 뜻으로
나타내고자 했다.
최근 미술관, 갤러리에서 디자인에 대한 전시는 그리 낯선 것이 아니다.
하지만, 대부분의 전시들은 ‘디자인’에 대한 비판적인 거리두기나 의미에 대해서 고민하지 않은 채, 유명 디자이너의 고가 제품들을 예술작품처럼
보여주기에 머물러 있음으로써, ‘디자인’을 일상과 유리시키는 경향이 있다. ‹design without Design›은 전시제목에서 보여주듯, 다양한 창의적인 디자인적인 실험을 소개하고 ‘디자인’ 본연의 의미, 디자이너의 사회적인 역할과 책임에 대해서 고민하는 자리를 마련하고자 한다. 따라서 본 전시는 기존의
design without Design
Total Museum of Contemporary Art (Total Museum) is the 1st private museum in Korea. Total Museum started as the Total Gallery which introduce contemporary design and craft in 1976 In 1982, Total Museum opened the 1st outdoor sculpture gallery in Jangheung, Gyunggi-do. Later 1992, Total Museum open the contemporary art museum in current area, Pyungchang-dong, Seoul. Since 1976, Total Museum has been introducing high edge contemporary art and experimental new projects such as artists-curators travelling project ‹Roadshow›, ‹playground in island› which has been doing in Kota Kinabalu, Malaysia.
For the memorable 40 years anniversary, Total Museum would like to highlight on ‘design’ again. ‹design without Design› is the 3 years project which Total Museum would like to share the idea of design with people. The tile is ‹design without Deisgn› comes from book ‹Design without design› which was published in 1981 by Total Books. There is changes first word ‘design’ with small letter in order to stress on the project concept ‘open design’ and the second ‘Design’ with capital ‘D’ means design by big capital and famous designers’ products.
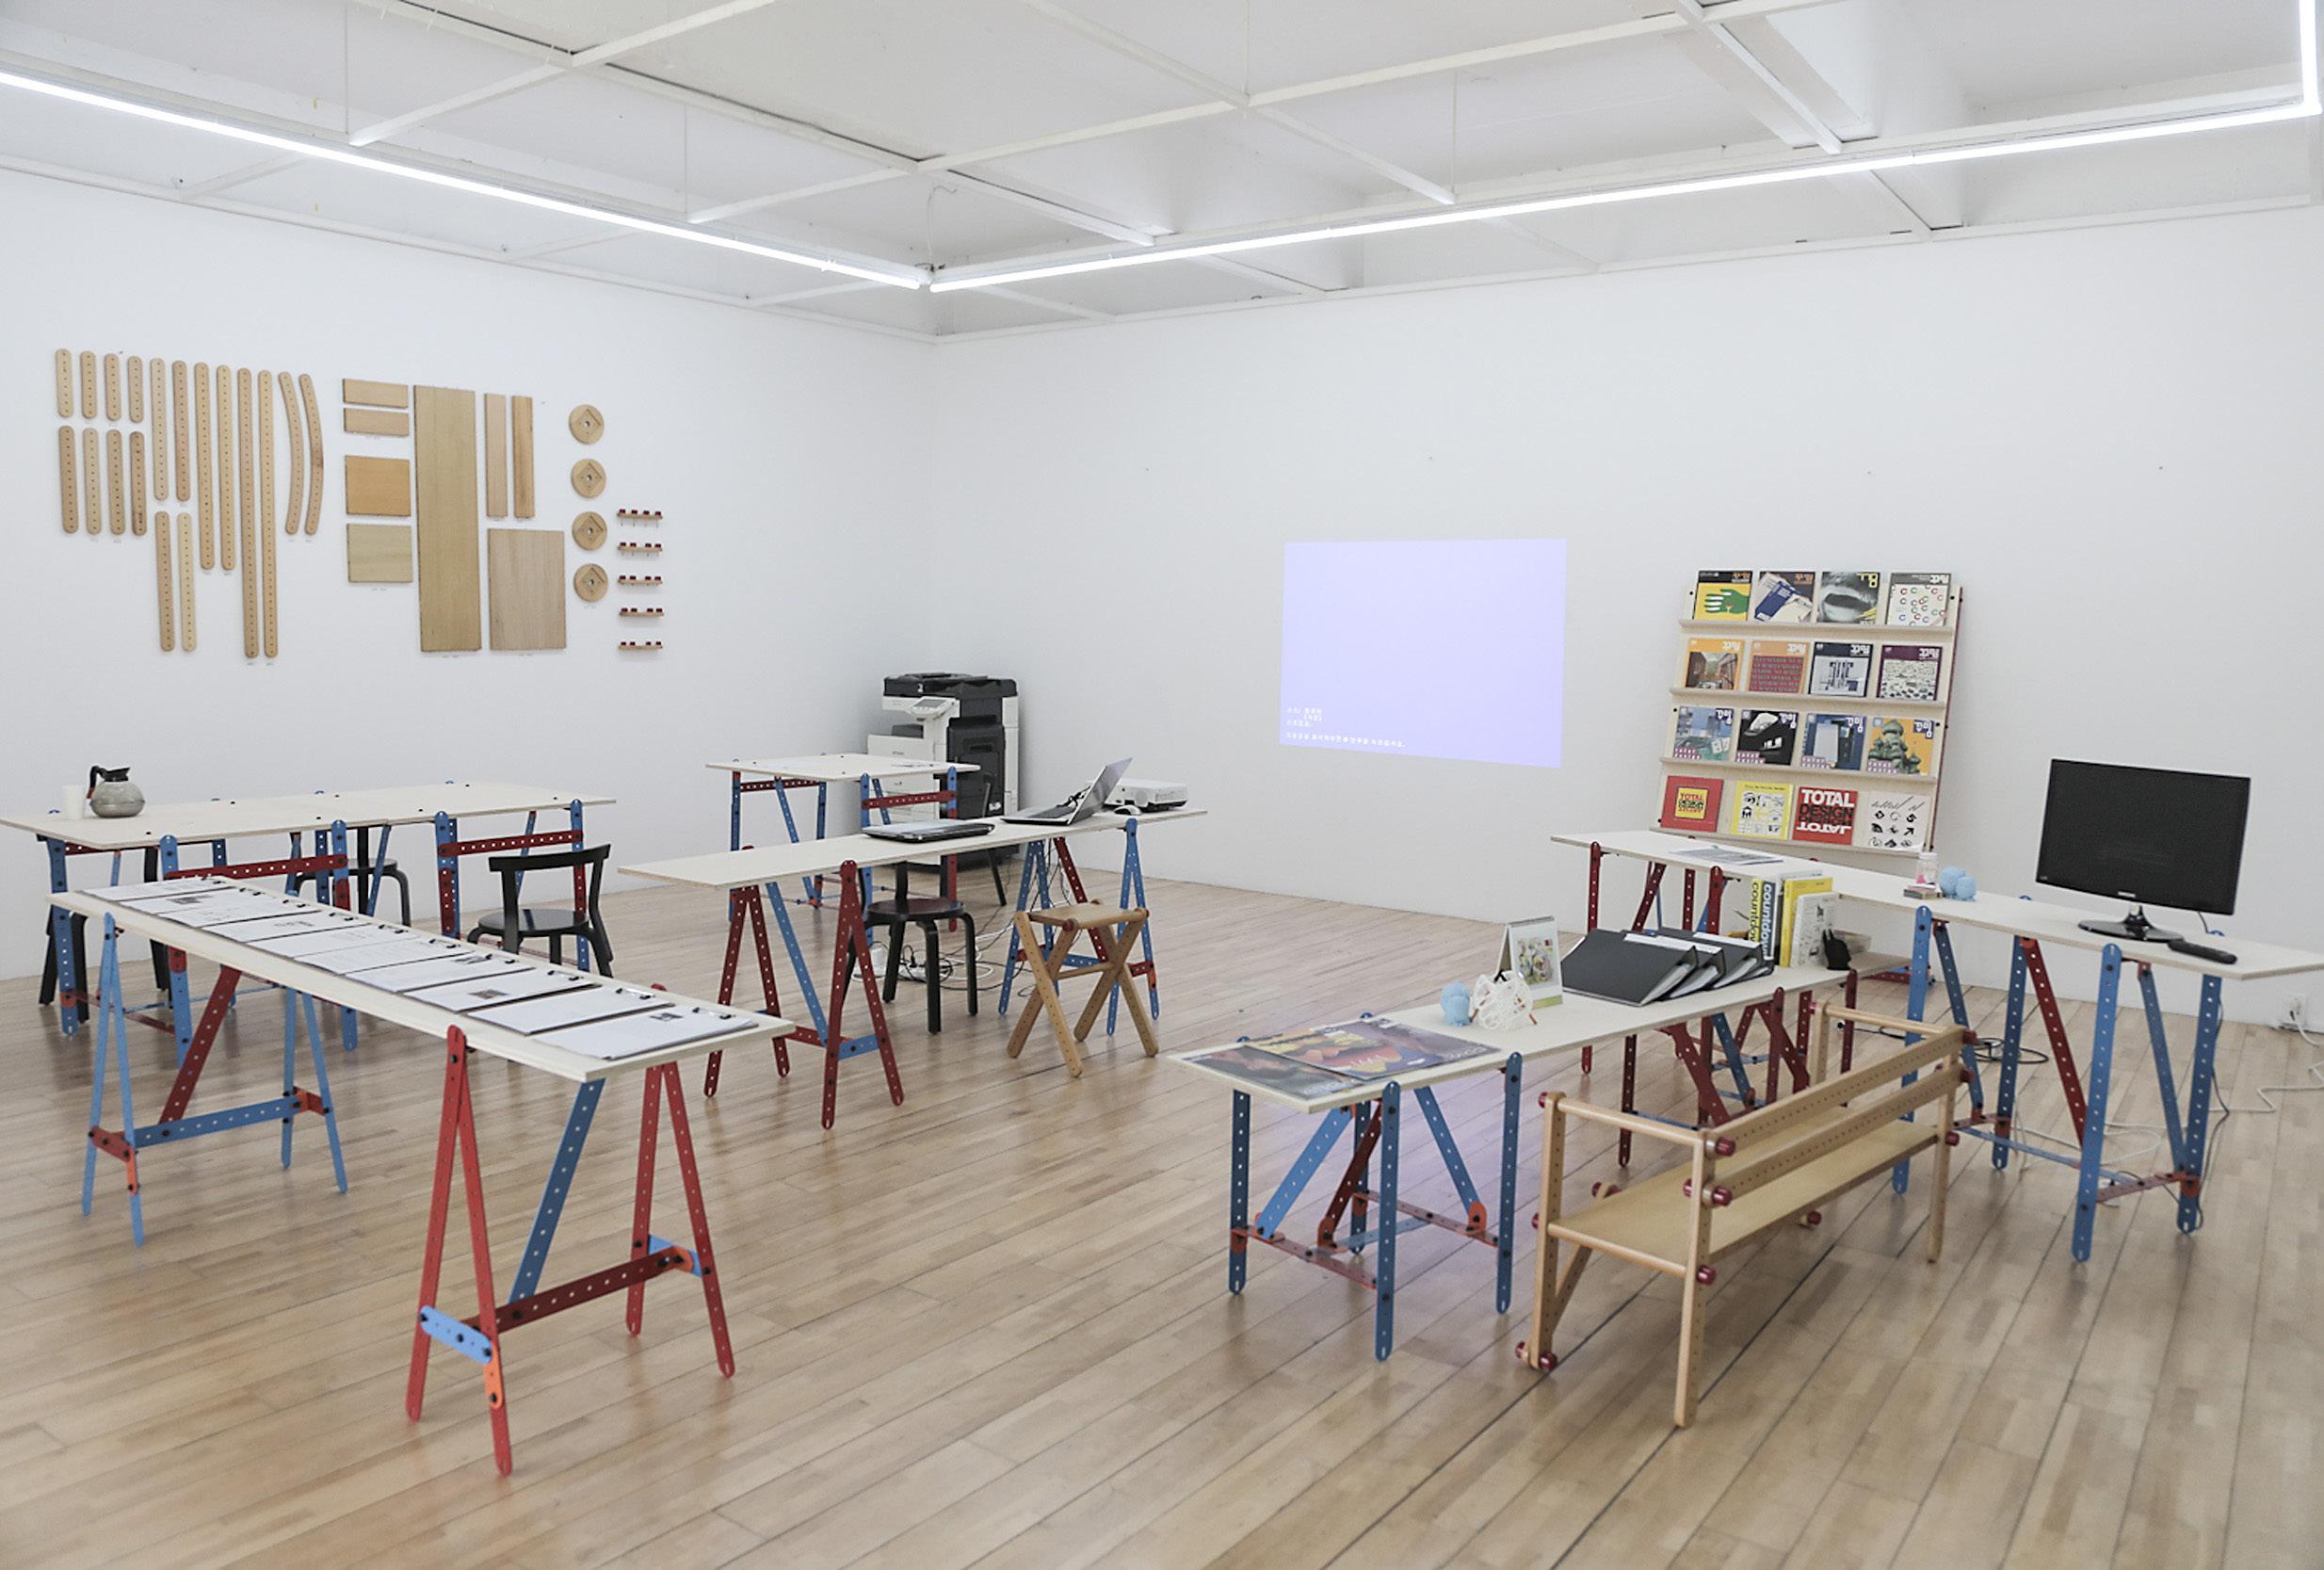
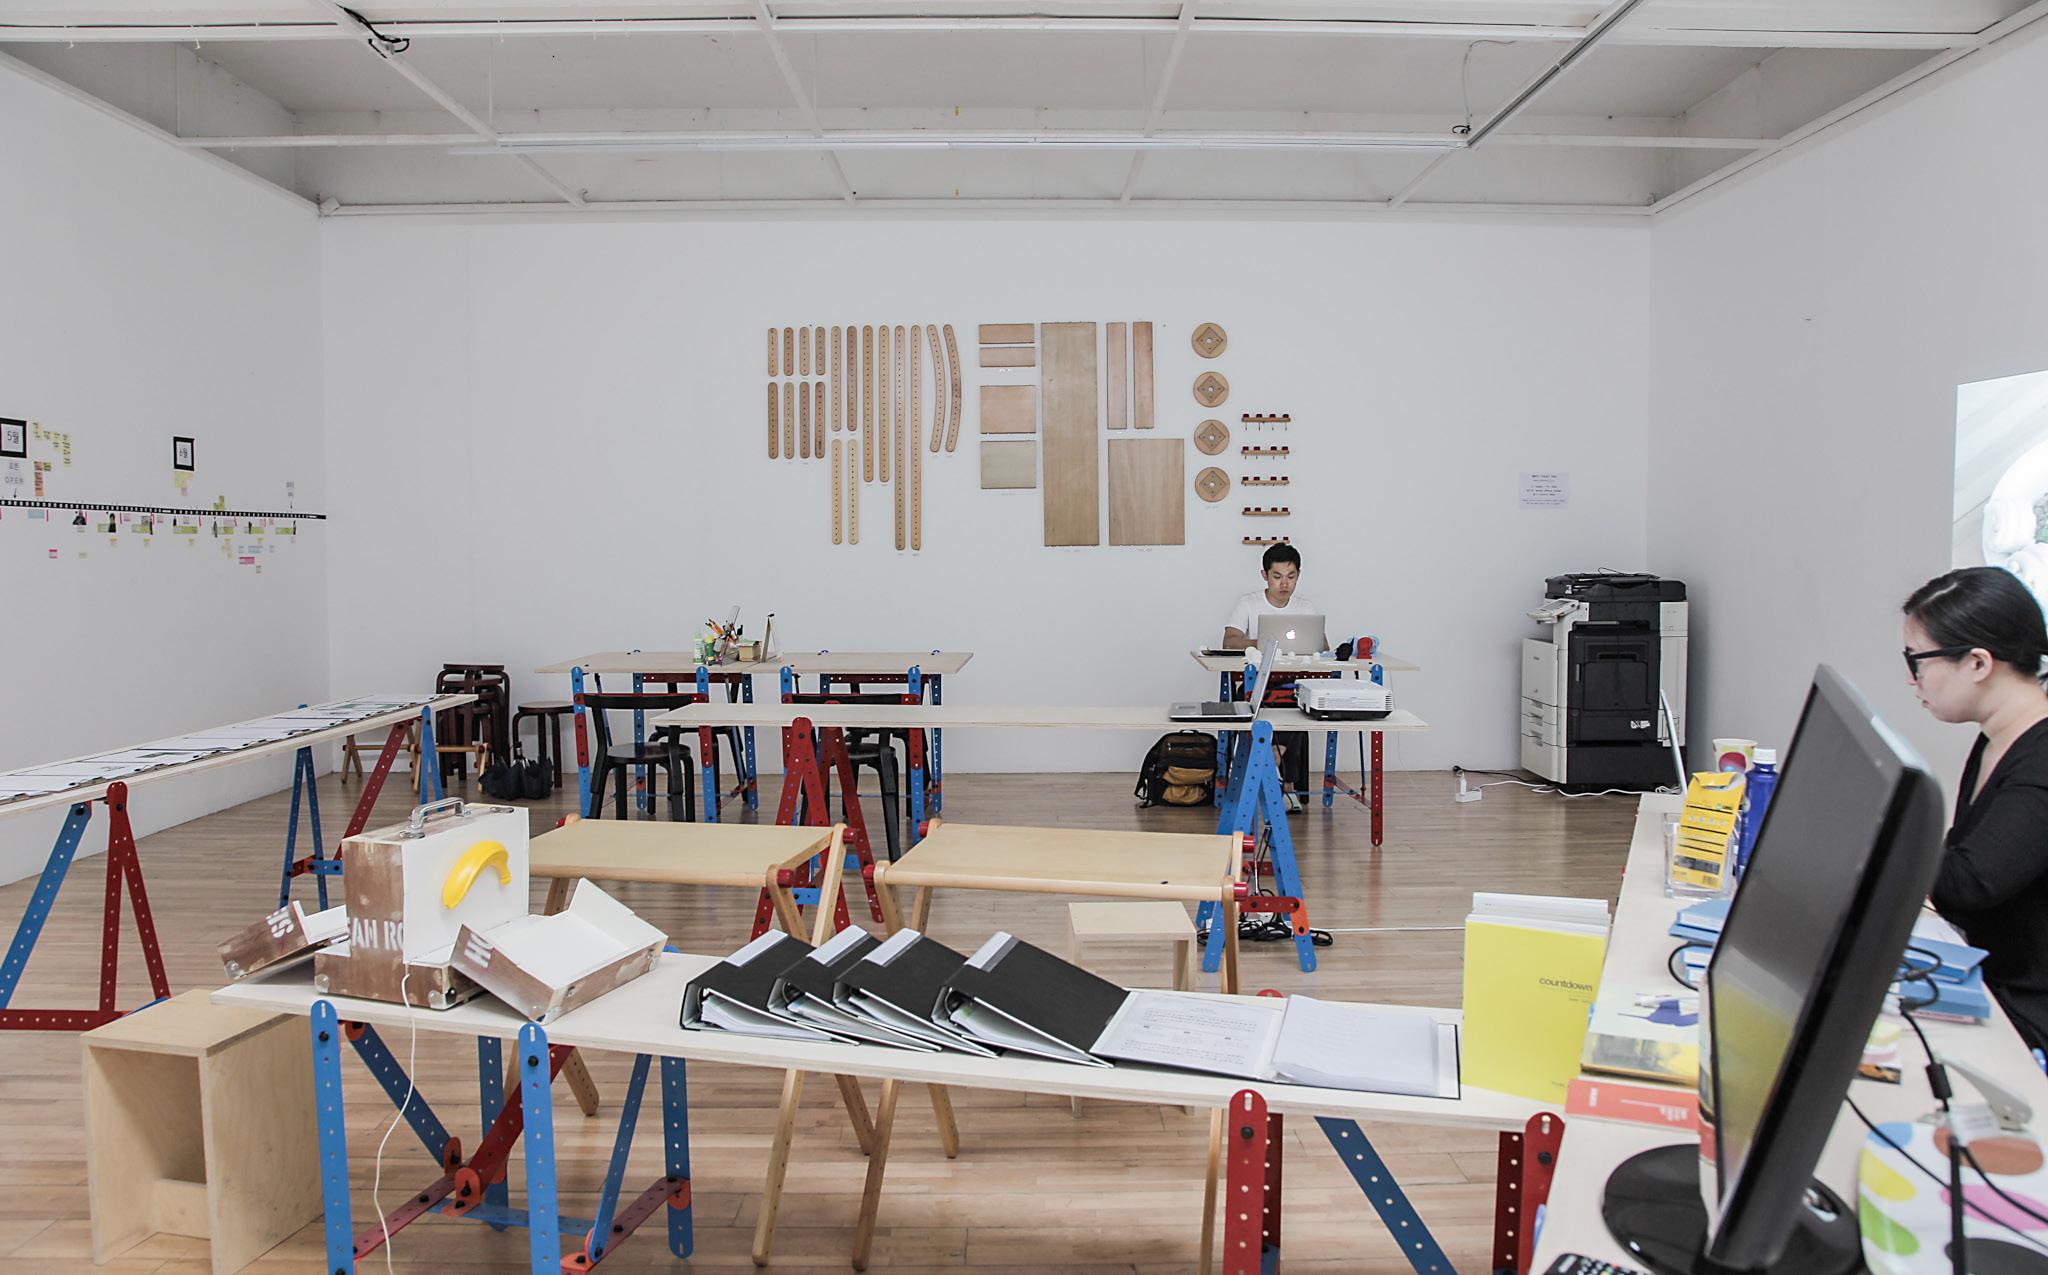
Korea, like many other countries, put emphasis on creativity, boost the creative industries such as design, animation, multi-disciplinary projects. There are many big name designer’s show which gather many audiences. However, it seems to be too much oriented on business and profit perspective. Rather it is not seriously consider how we can improve our daily life and creativity itself. ‹design without Design› does not focus on successful design items, famous designers’ products. On the other hand, ‹design without Design› would like to build an open platform where people come together, share ideas, and make something by themselves. In other words, ‹design without Design› is not the exhibition which present completed products or showcase. It is more of workshop place or laboratory. That is also the reason we prefer design with small latter ‘d’ than capital ‘D’.
Floor plan
HQ Headqueter
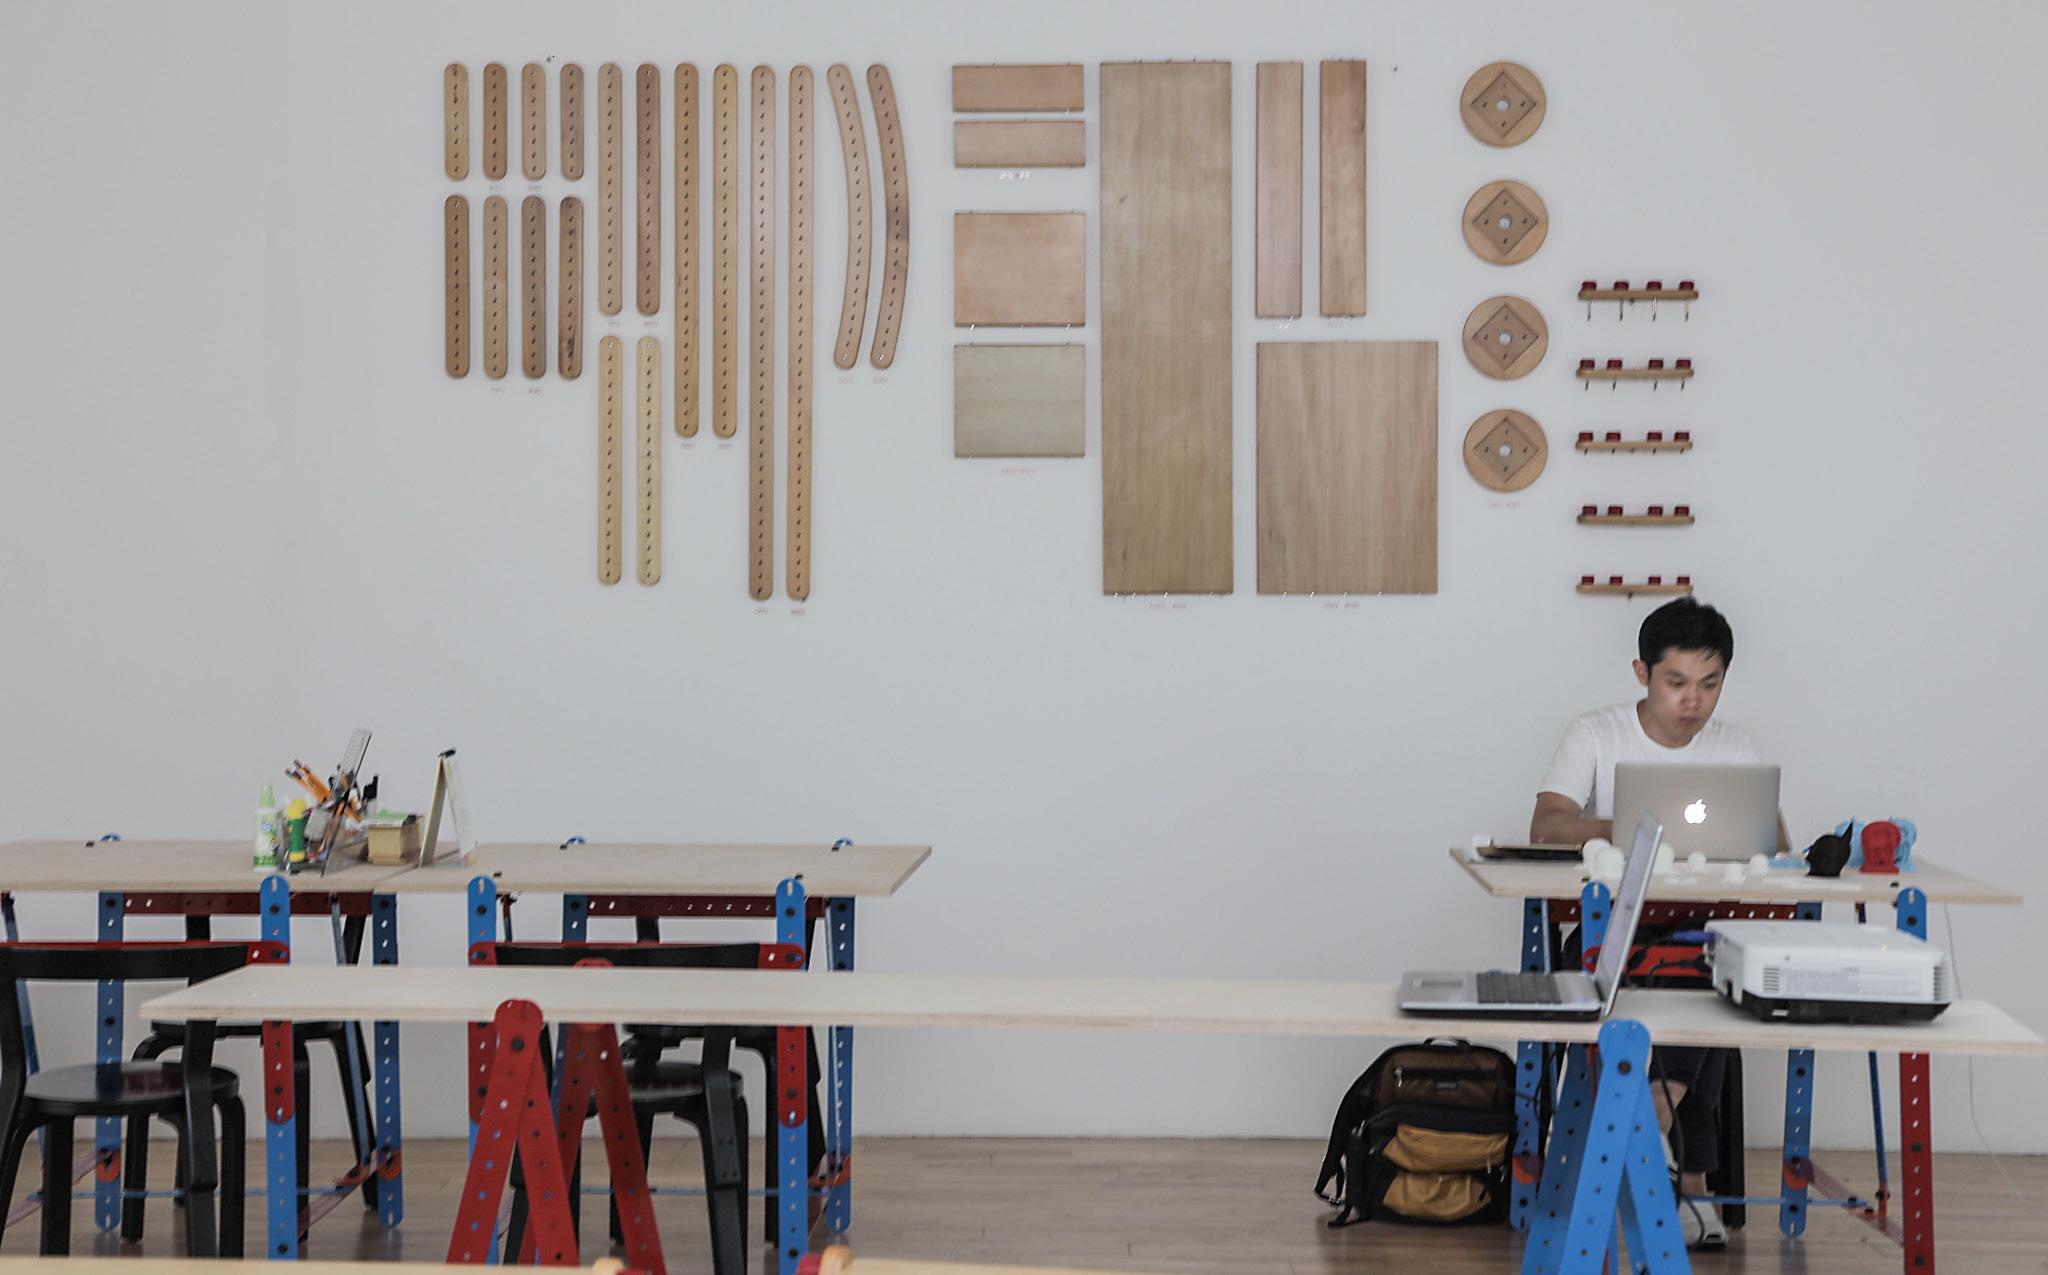
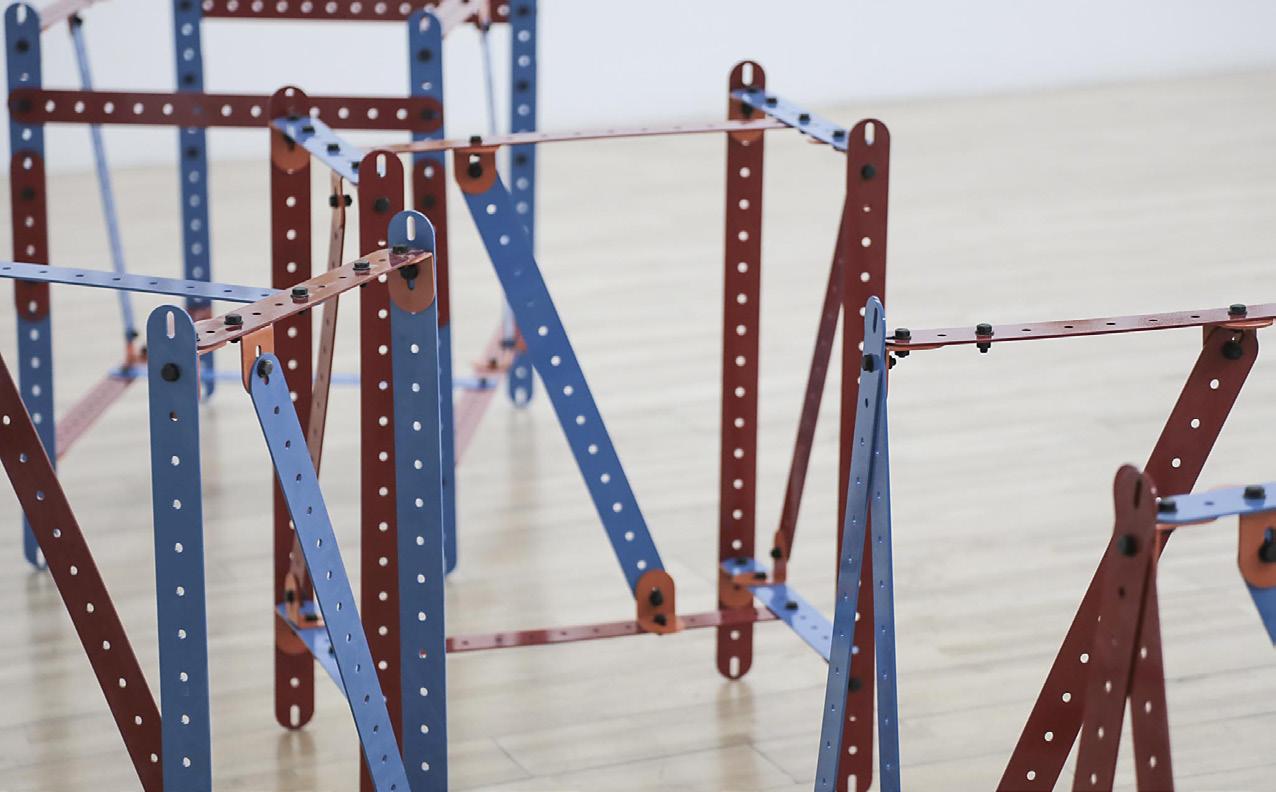
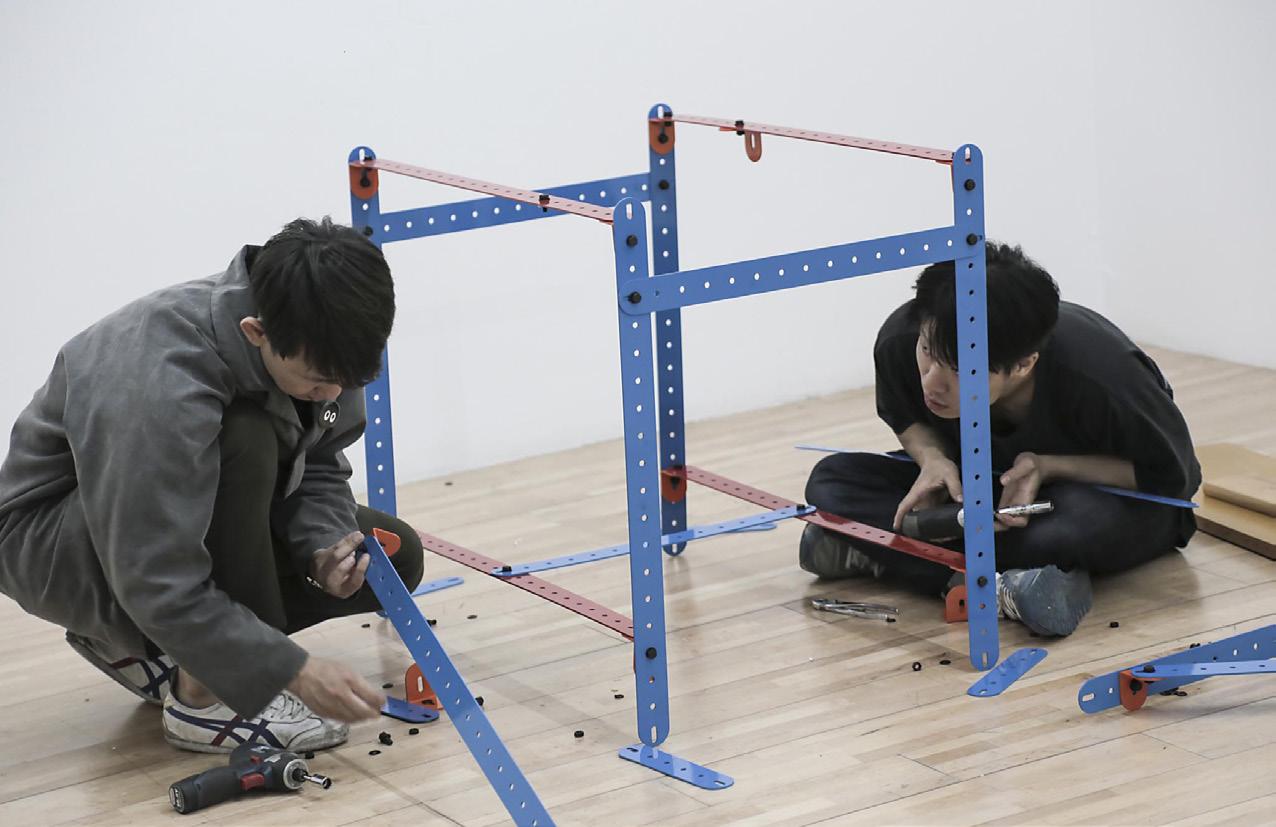
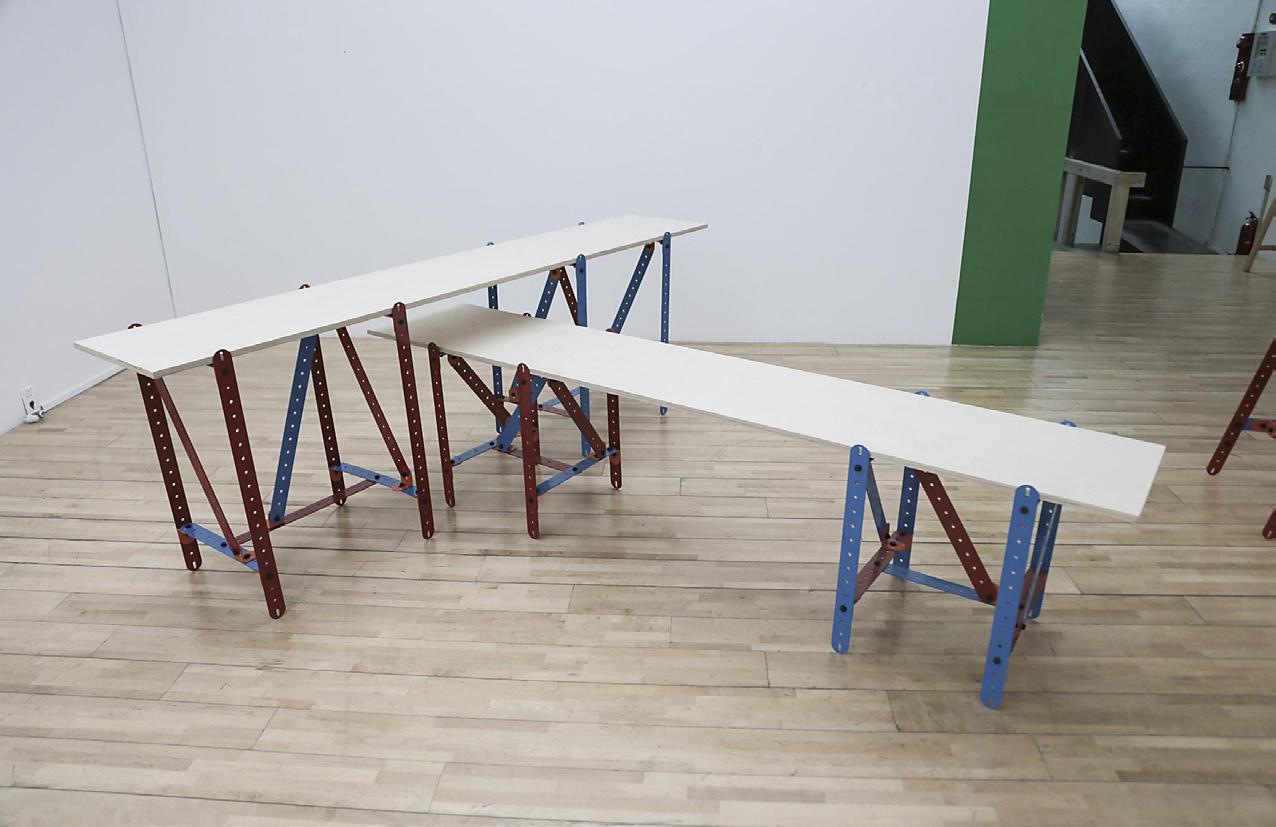
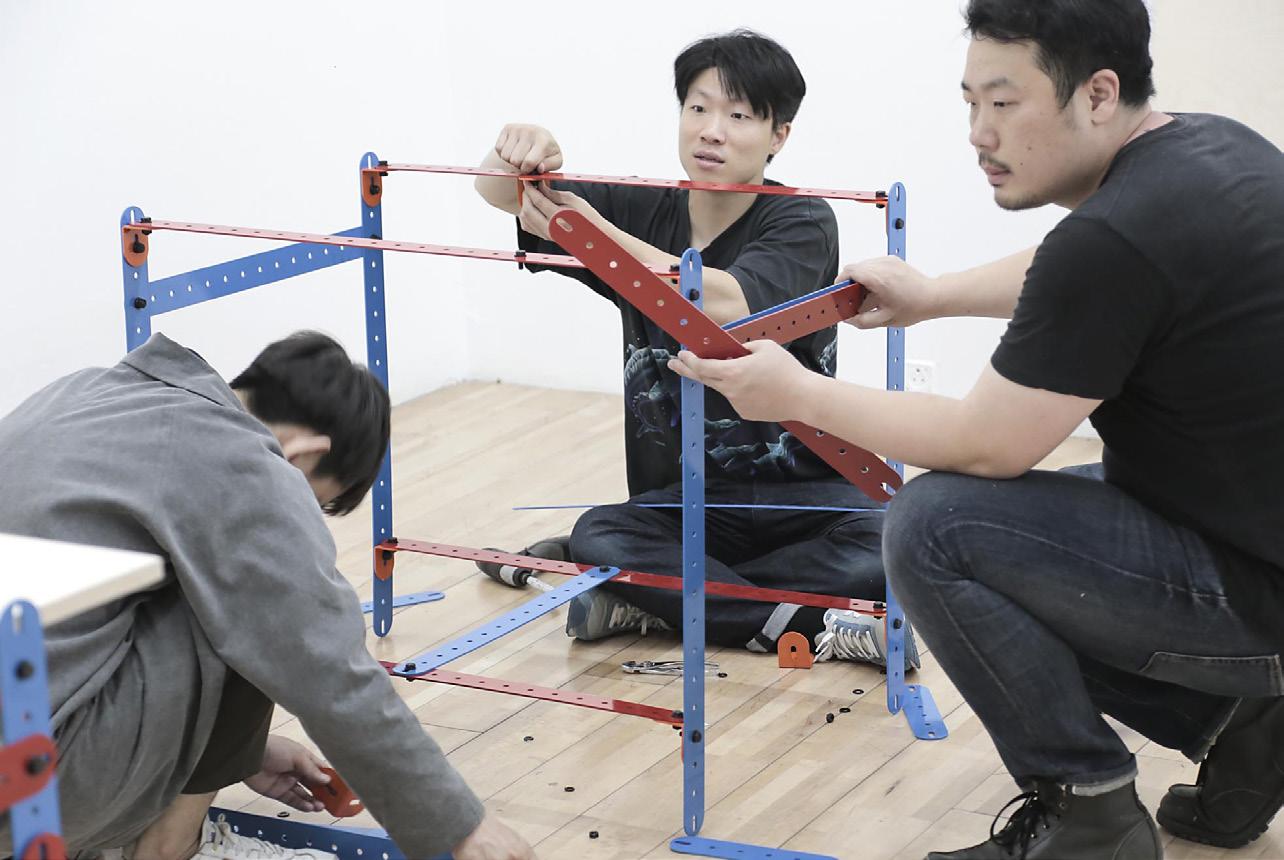
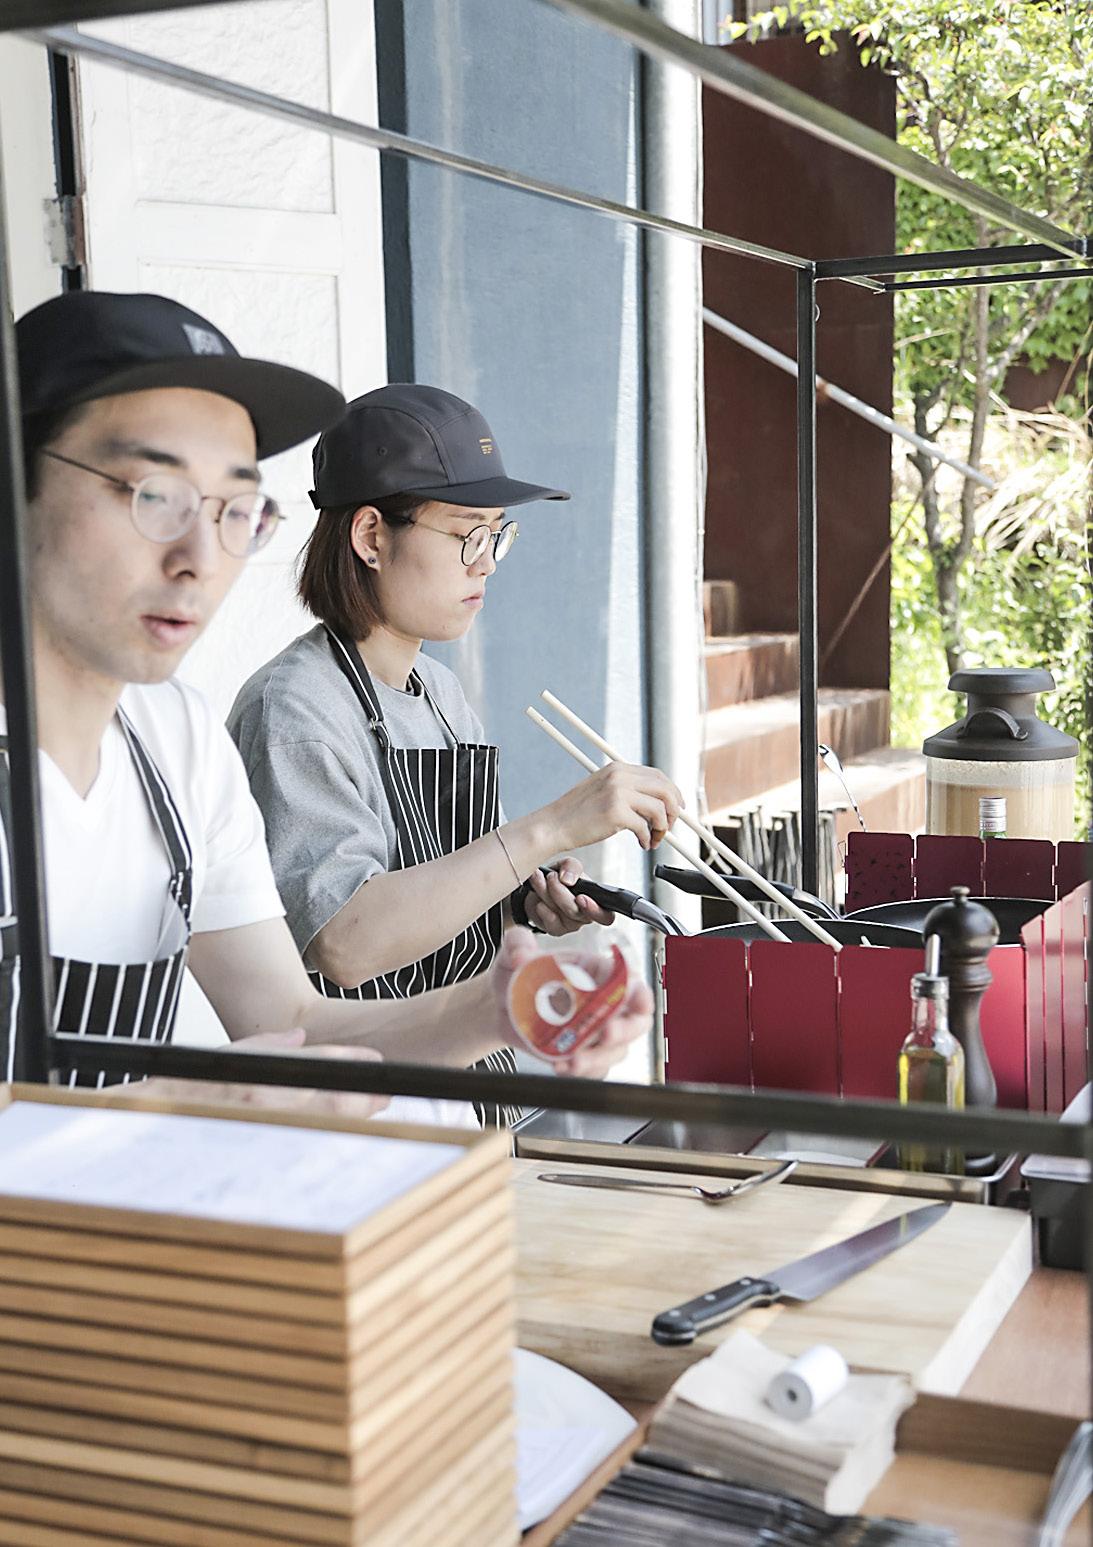
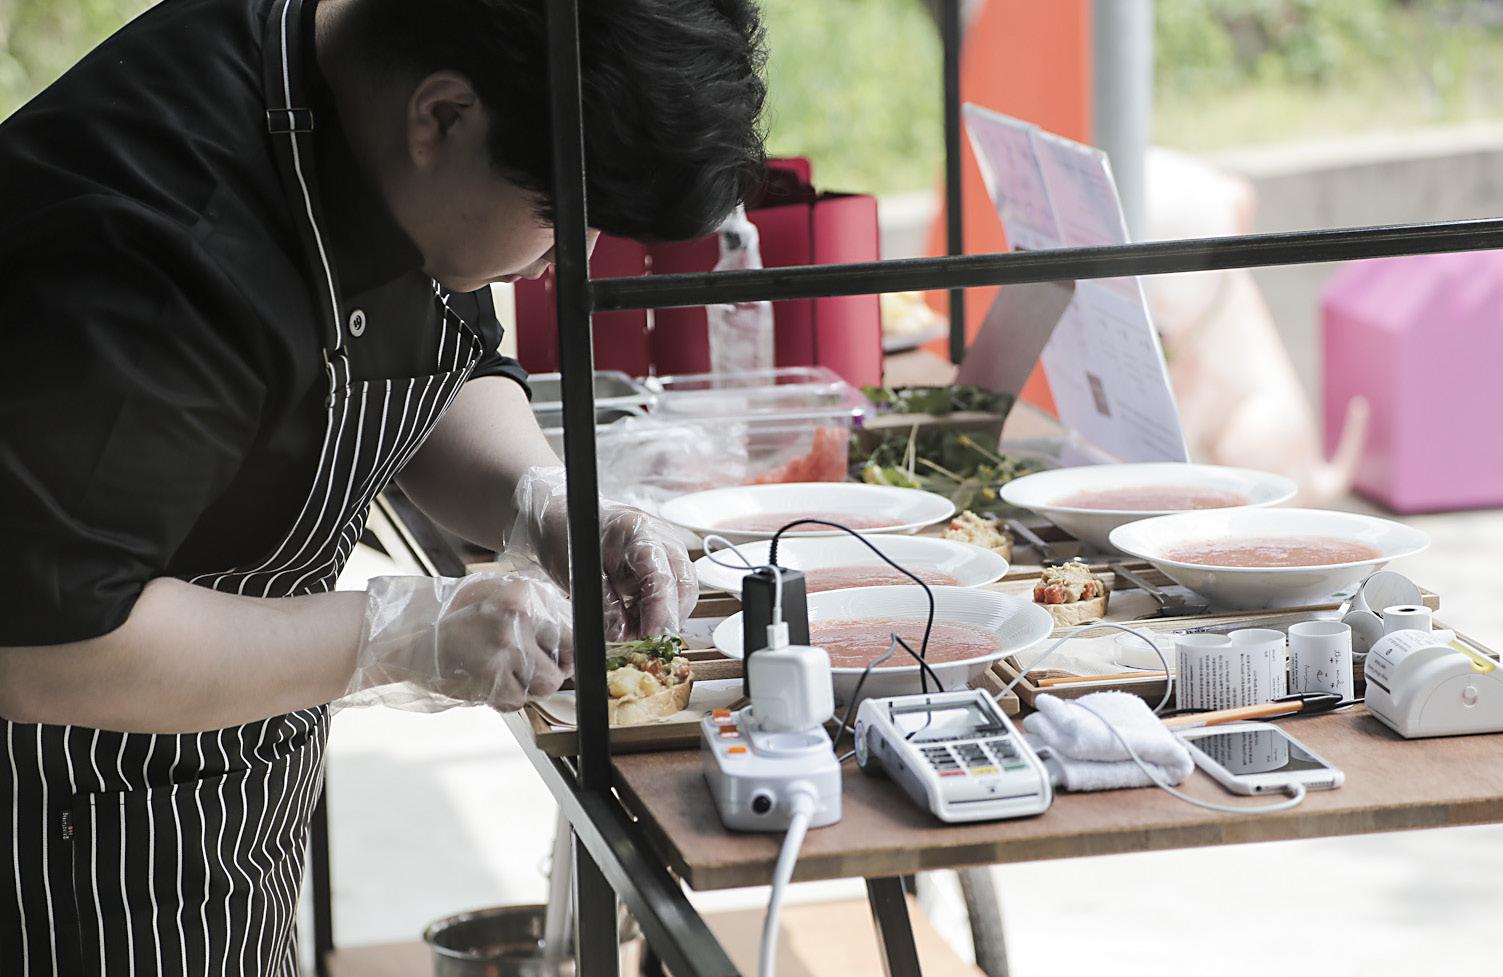
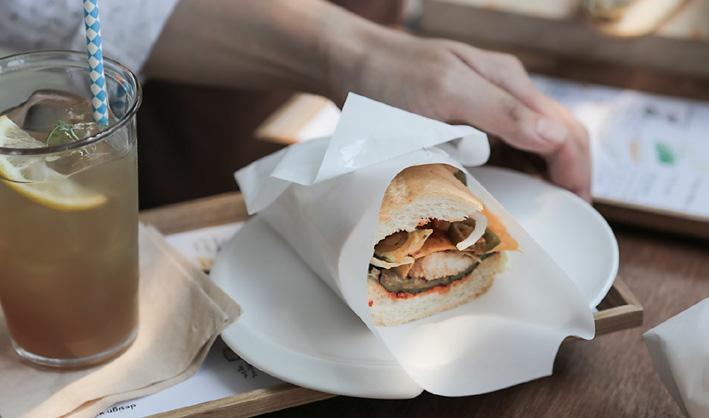
Mobile Kitchen Open Recipe 2
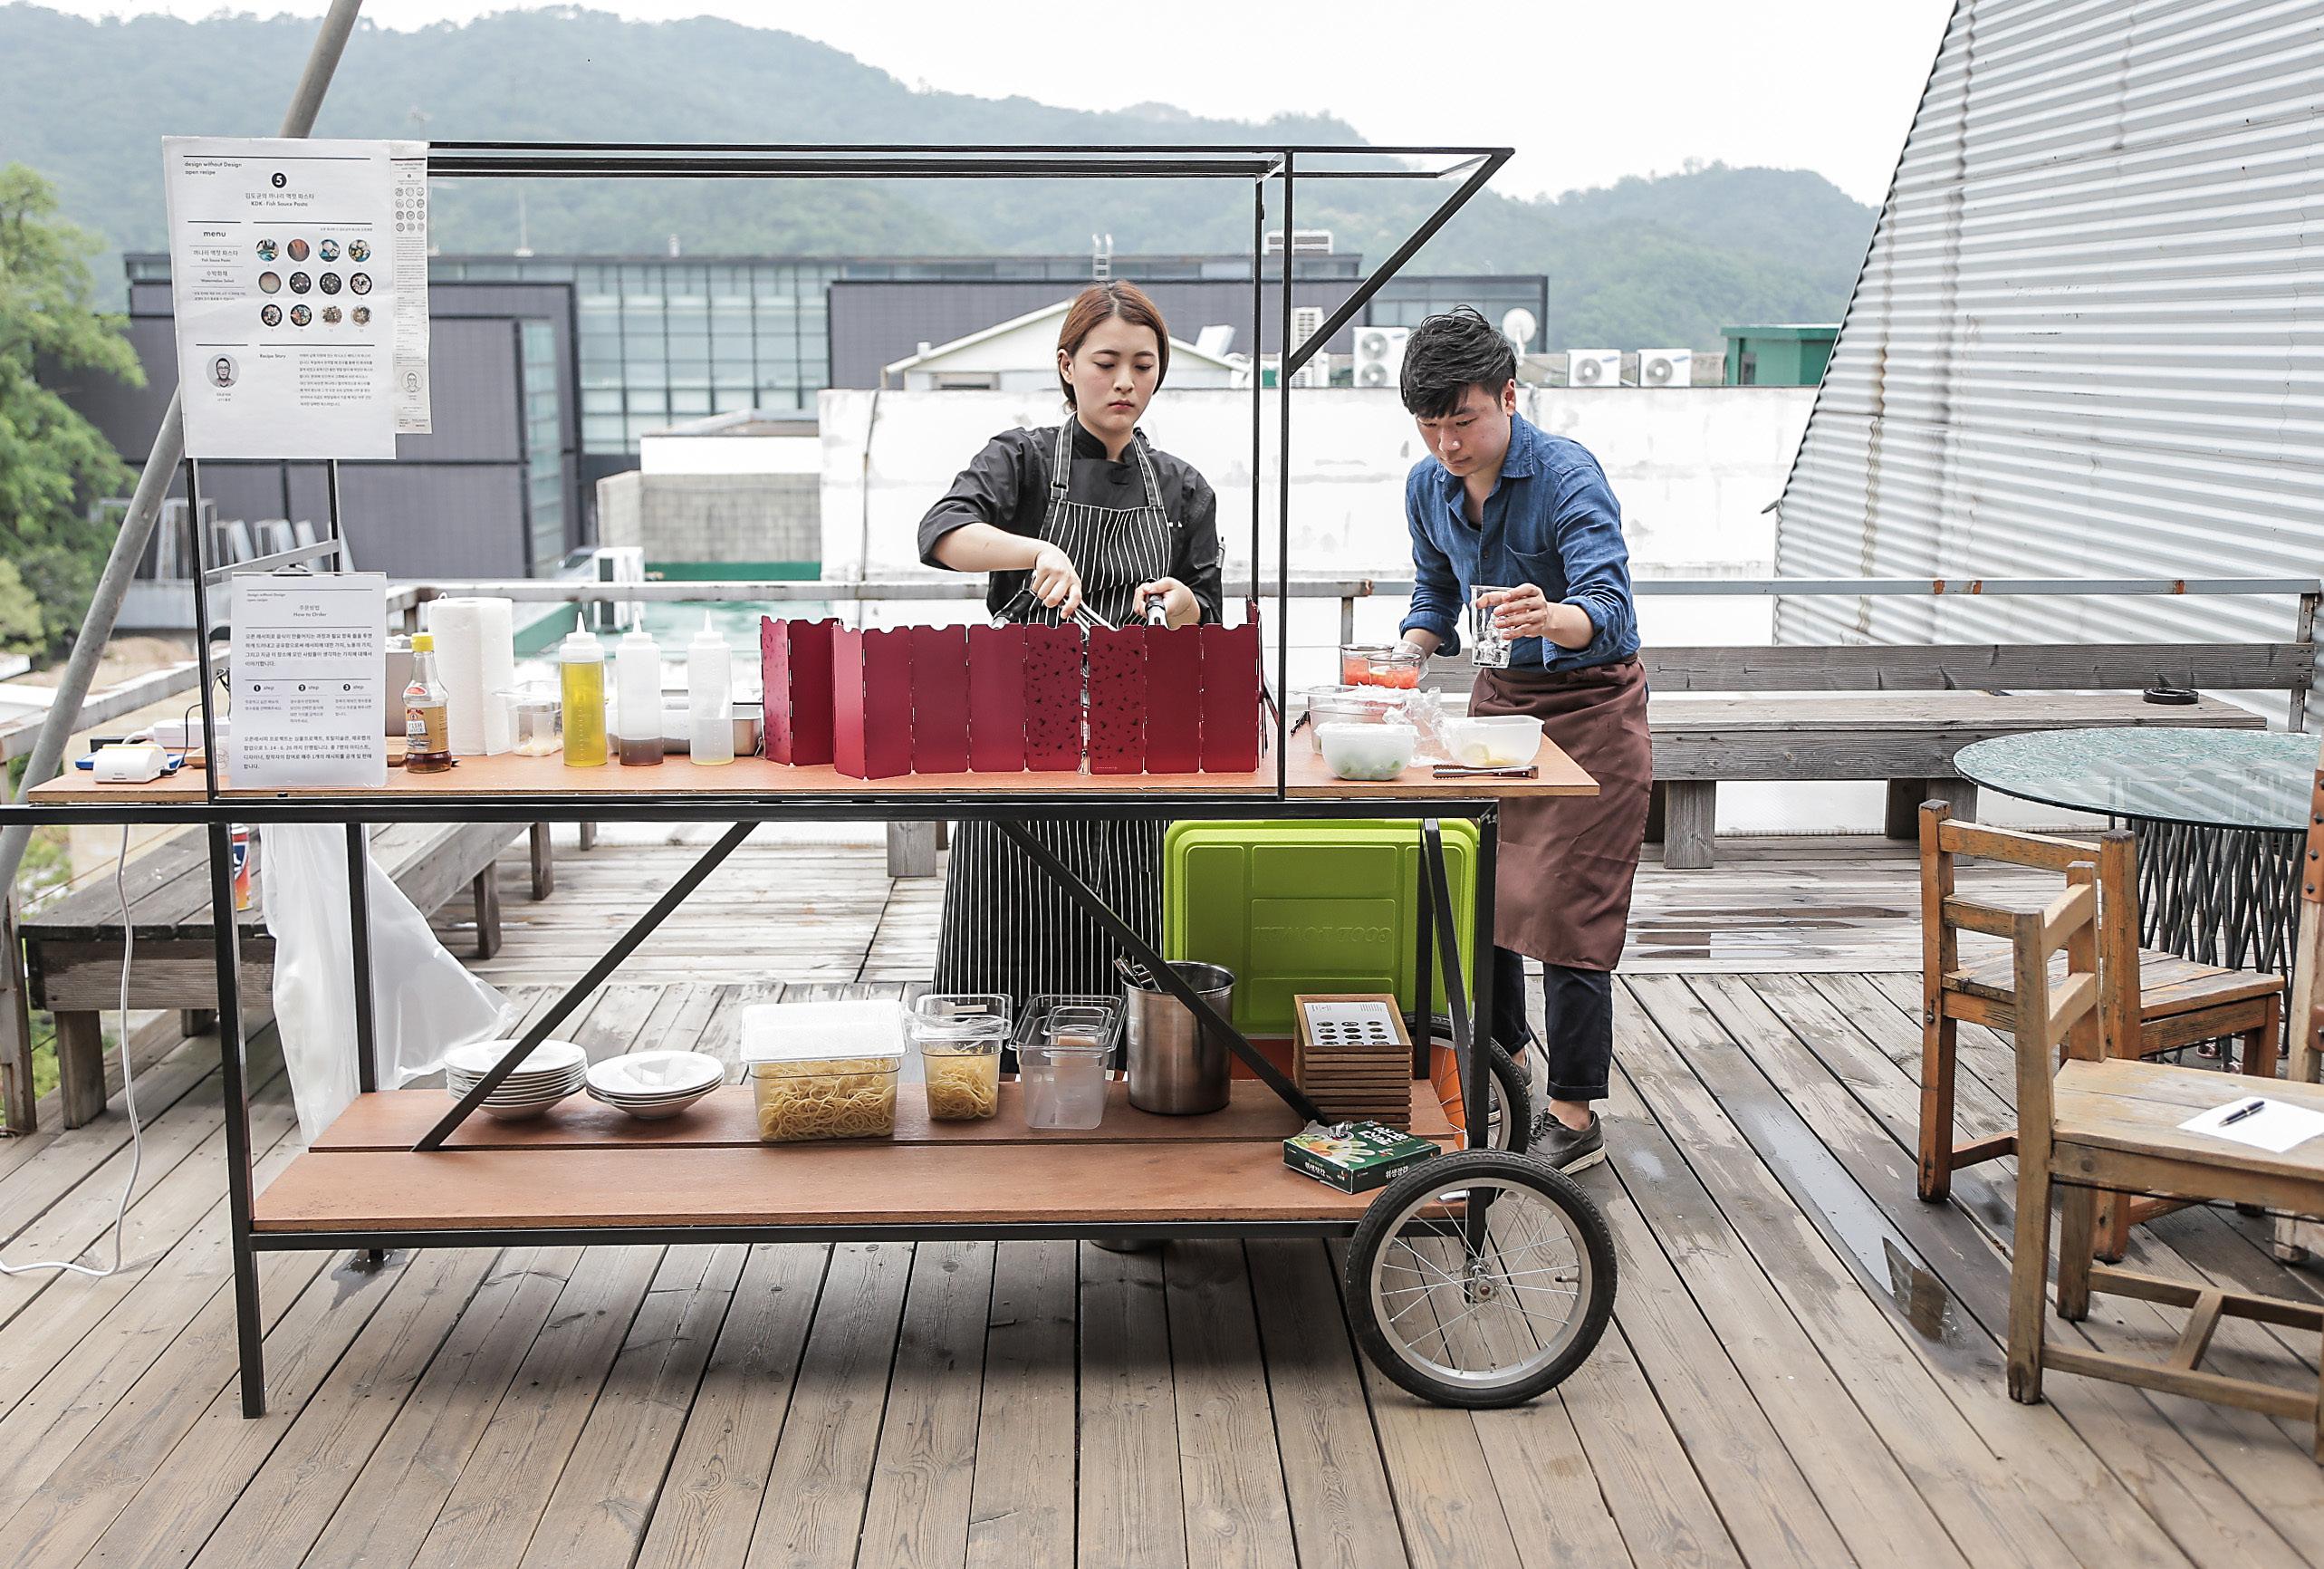
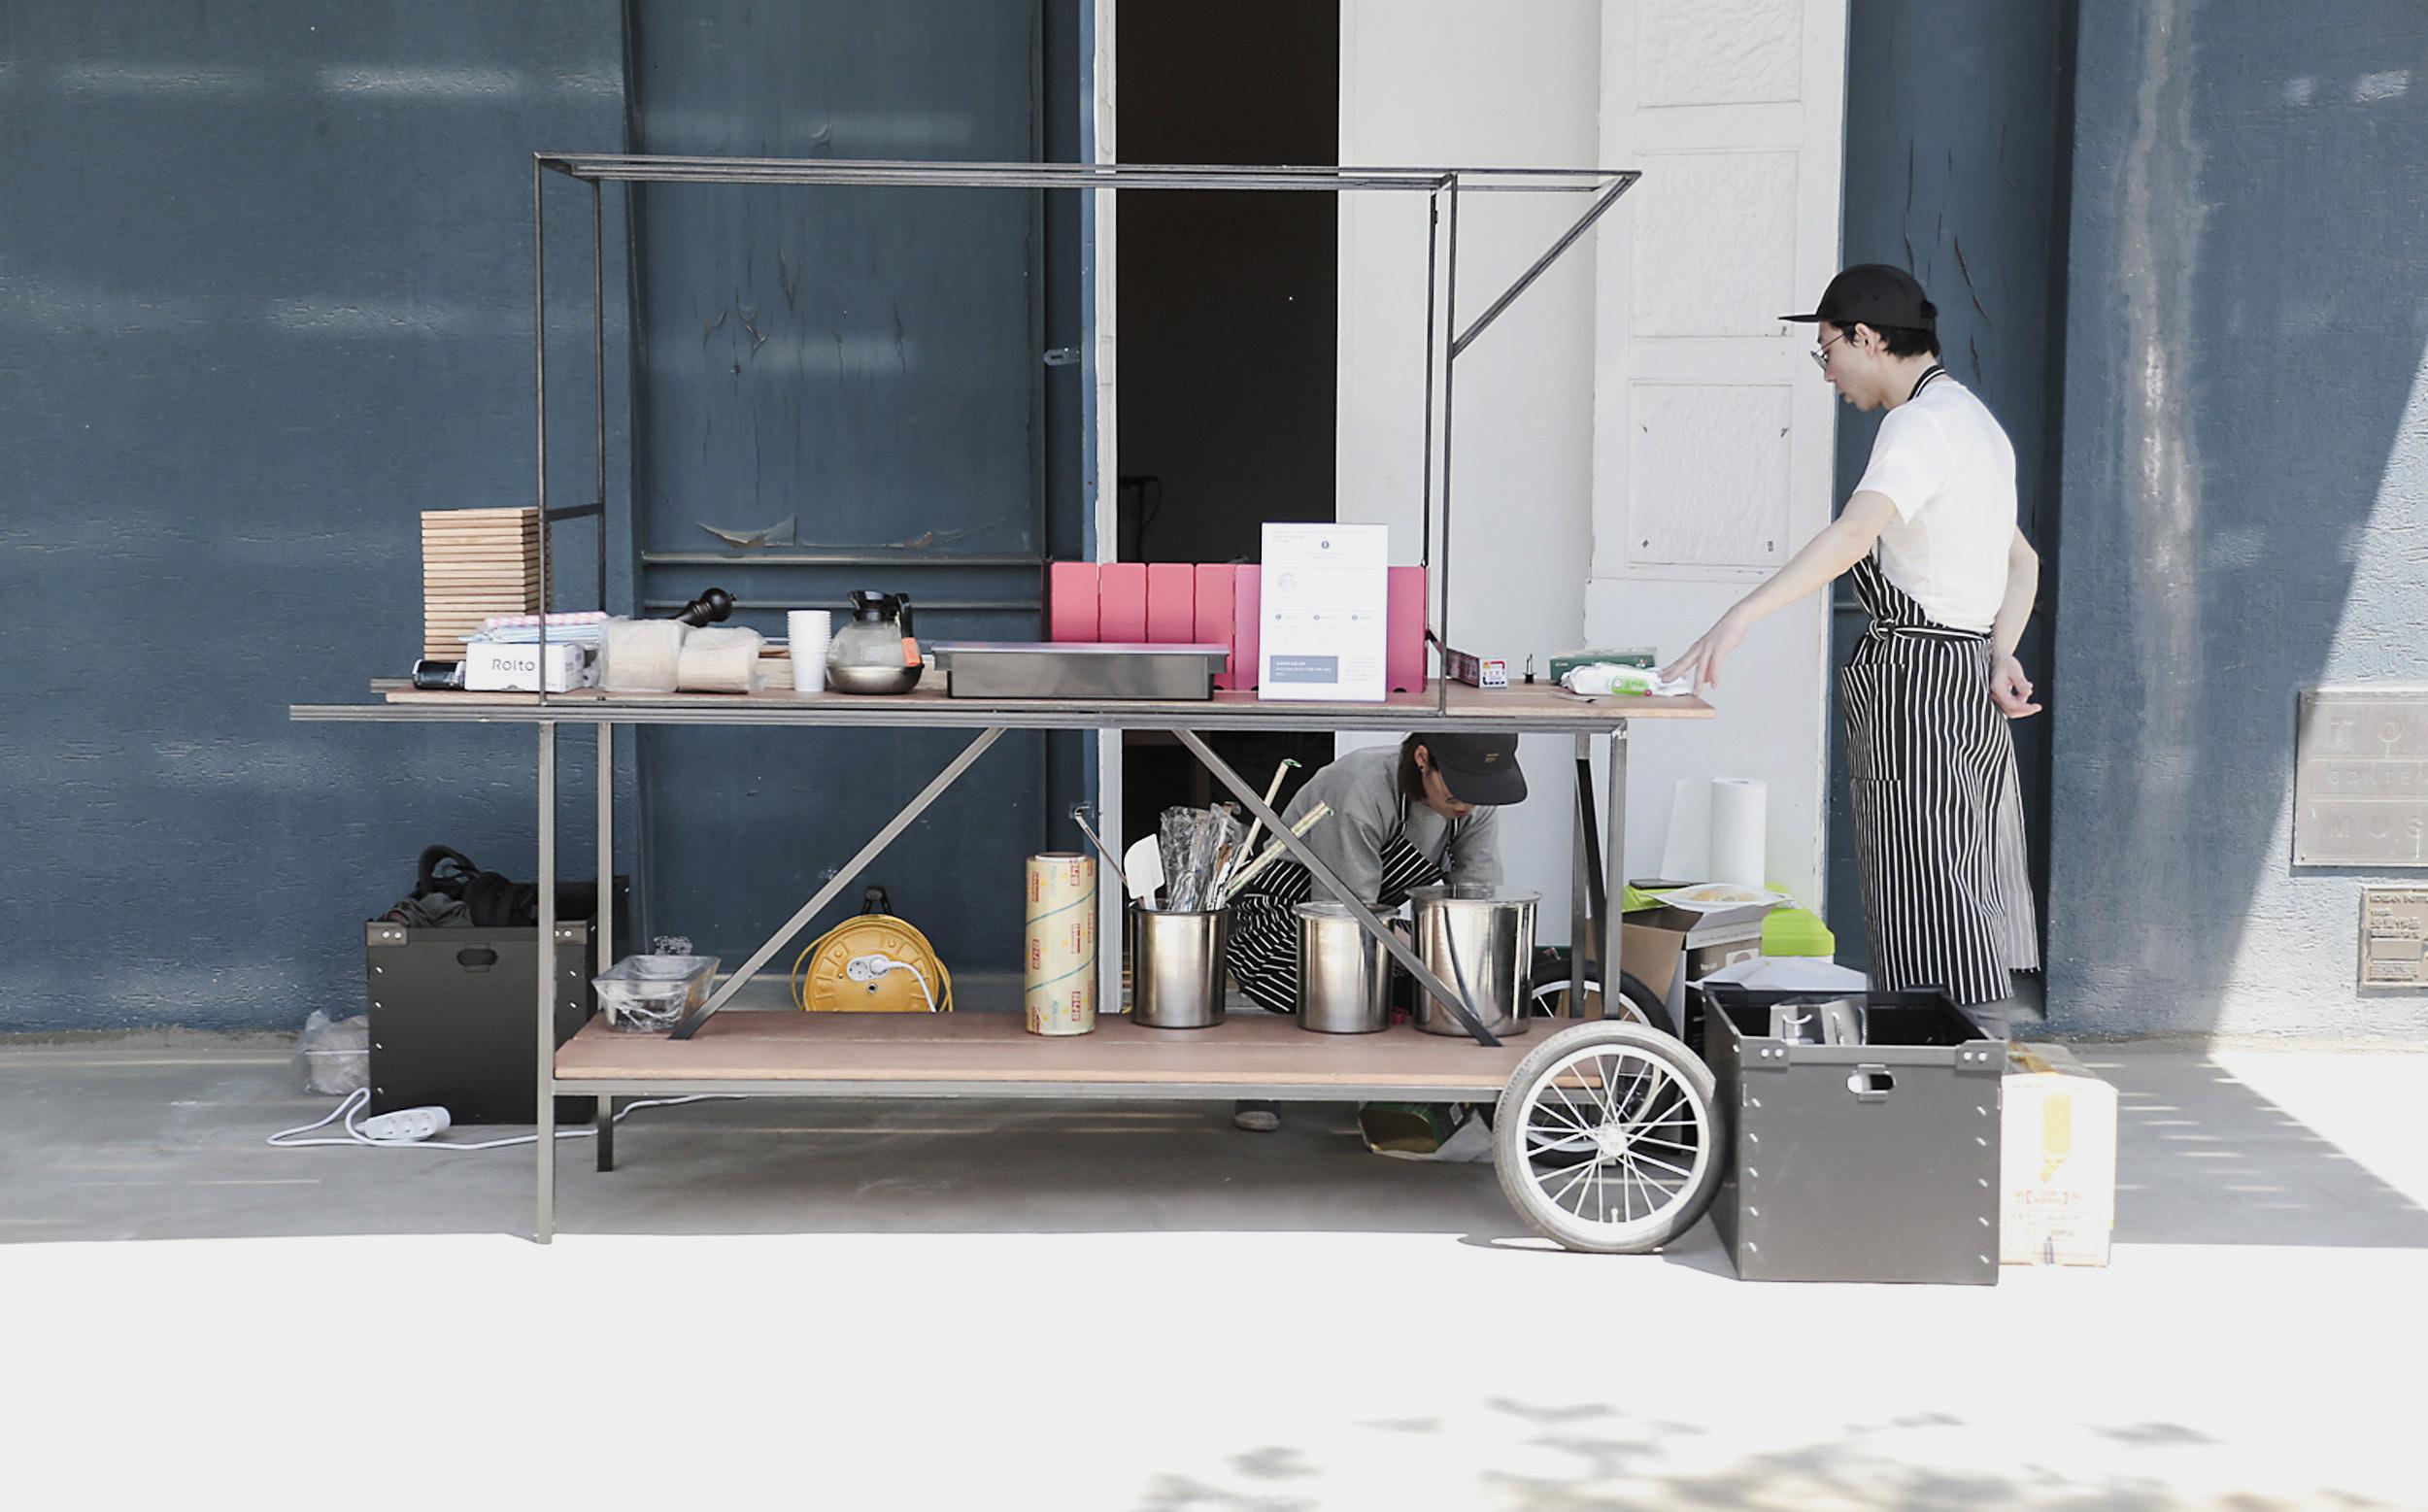
모바일키친 ‹오픈 레서피›는 토탈미술관과 제로랩과 심플프로젝트 컴퍼니가 함께 하는 협업프로젝트로서 오픈소스 DIY 프로젝트인 ‹instructable
restaurant›를 본 프로젝트에 맞춰 재구성한 프로젝트이다. ‹instrcutable
restaurant›는 일반인들이 자신이 가지고 있는 다양한 제작 노하우를 공유하고 활용하는 웹사이트인 instructables.com 의 프로젝트 중 하나인
사이트에 올라가 있는 오픈 매뉴얼들을 사용하여 만들어진 레스토랑으로
레서피는 물론, 가구와 램프 등 레스토랑의 모든 제품까지도 오픈소르로
이루어져 있어 관람객, 방문객이 구매, 주문, 제작이 가능하도록
‘요리/음식’을 매개로 디자이너, 아티스트를 비롯한 다양한 분야의 창작자, 일반인 공개모집을 통해서
레서피를 받고, 이를 레서피 제공자, 관객, 초대손님과 함께 먹으면서
및 셰프들이 함께 참여할 예정이다.
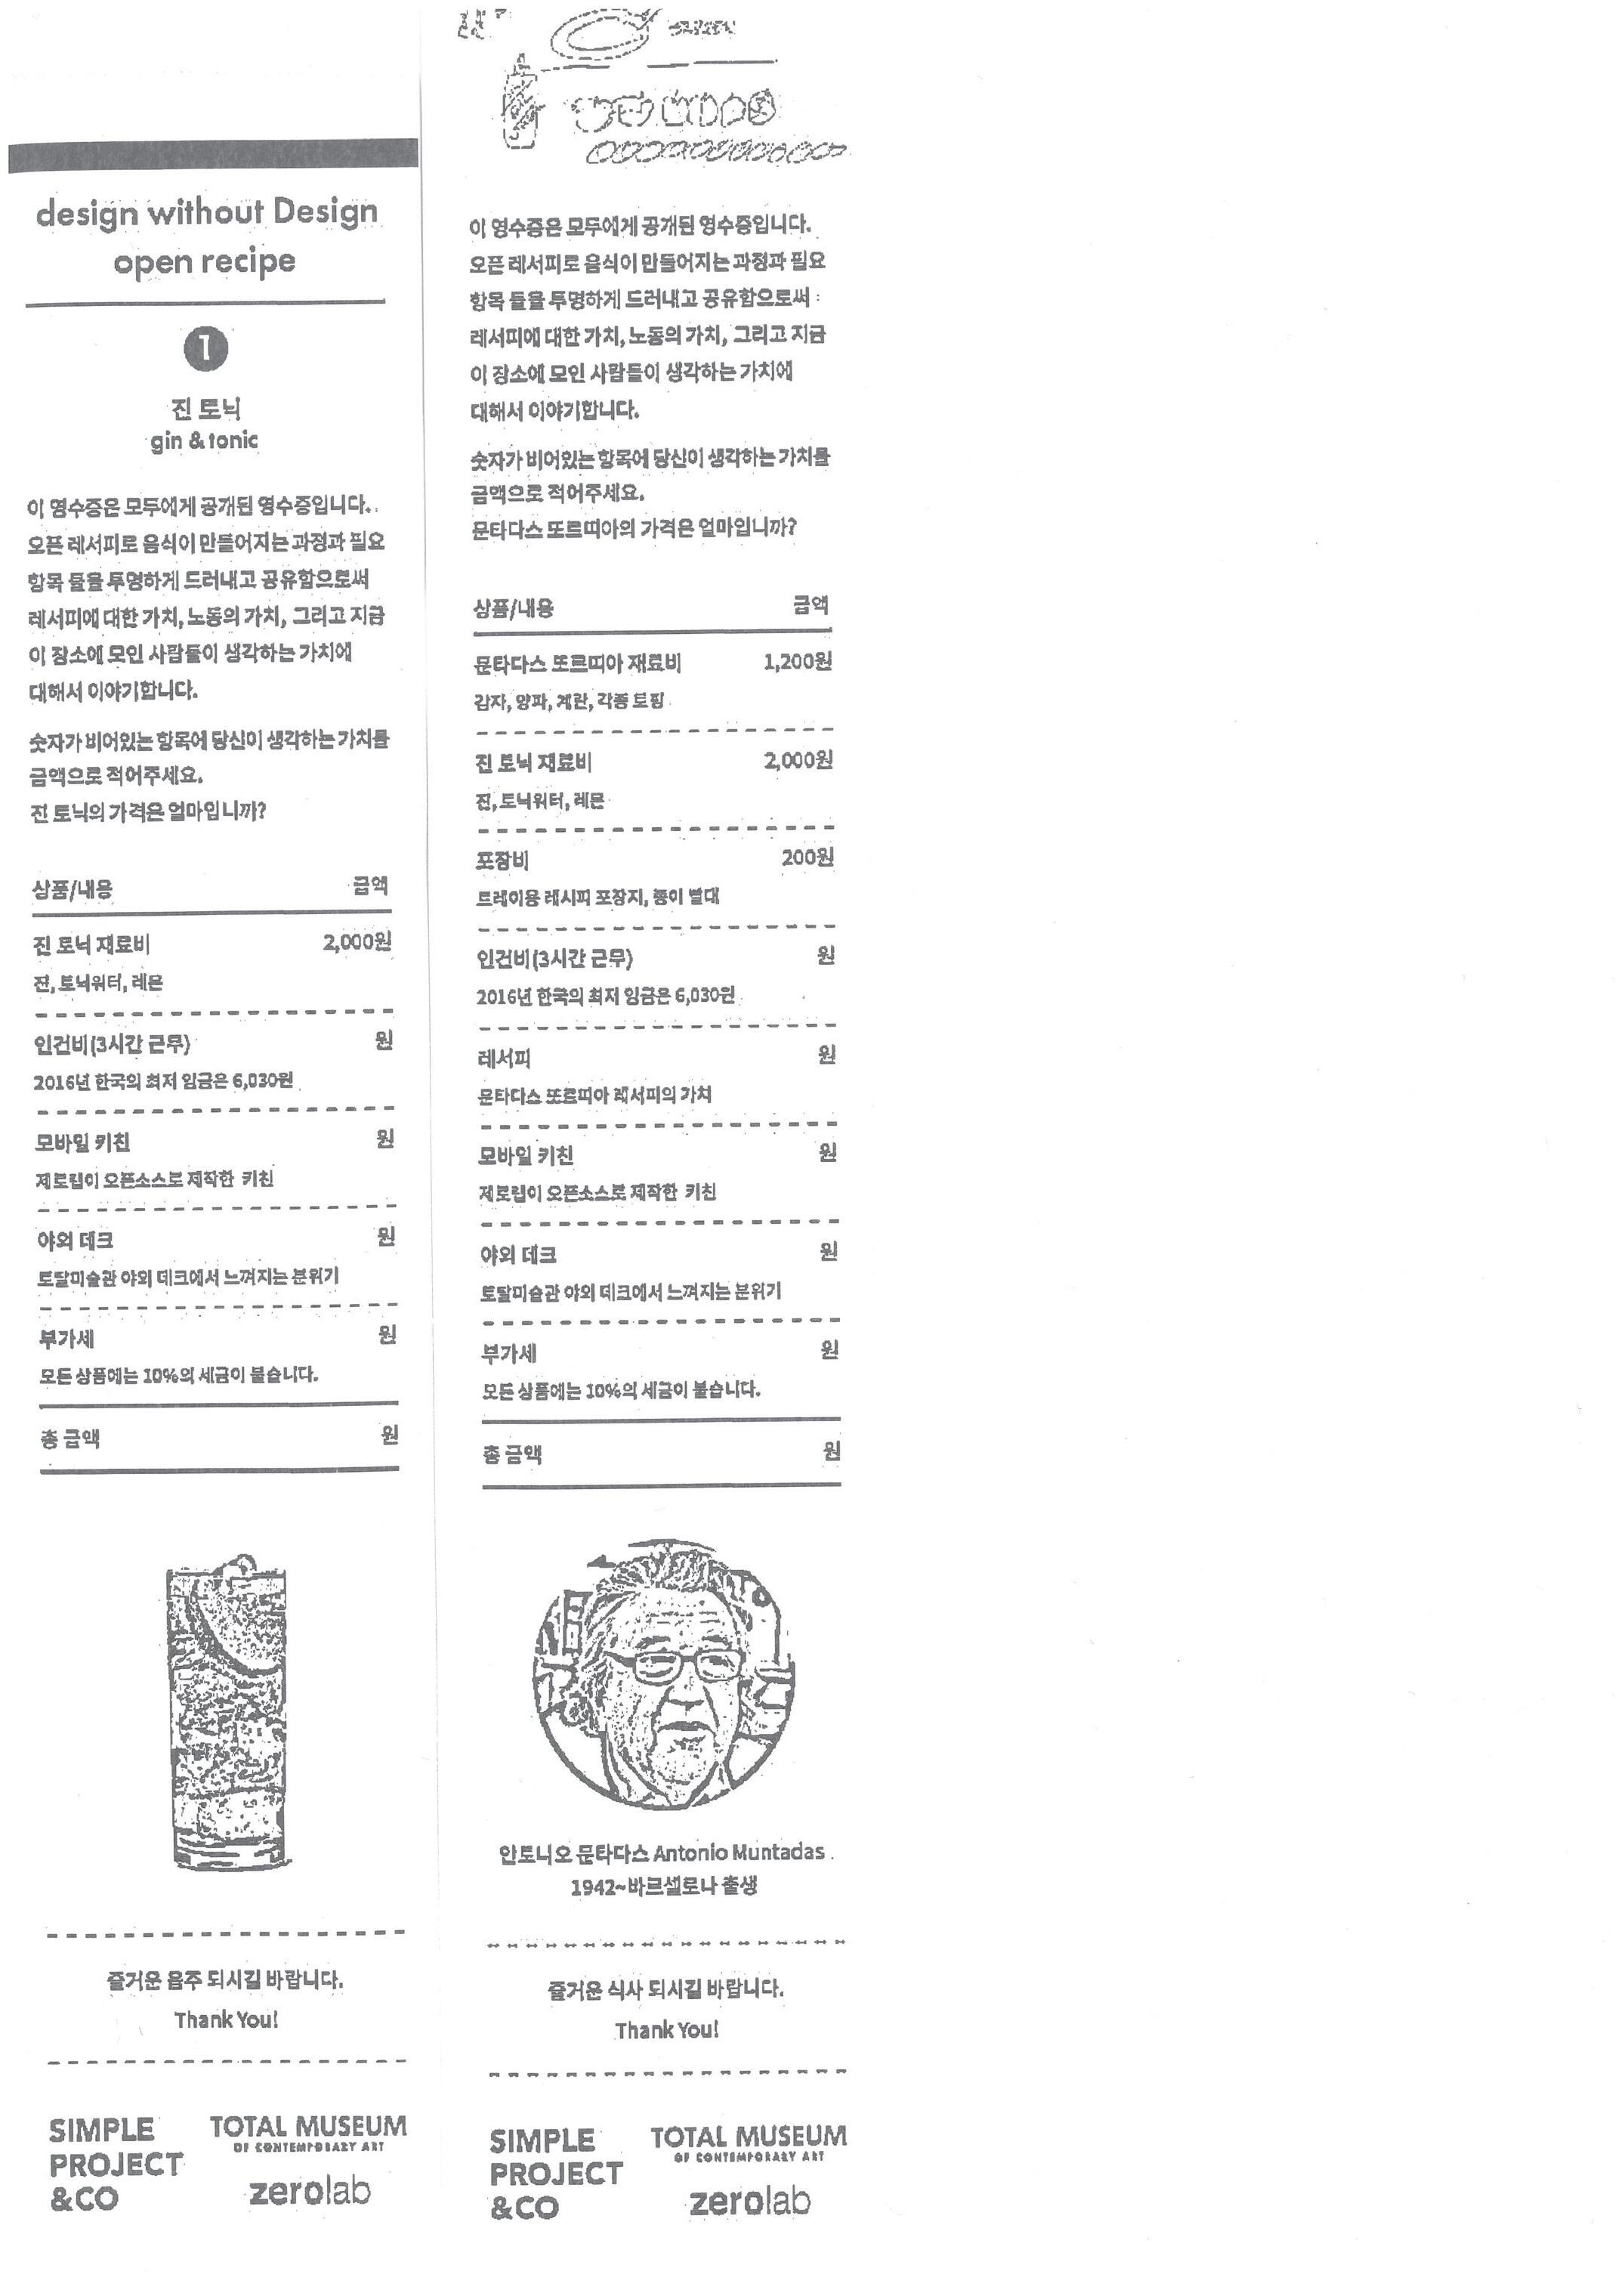
design without Design open recipe
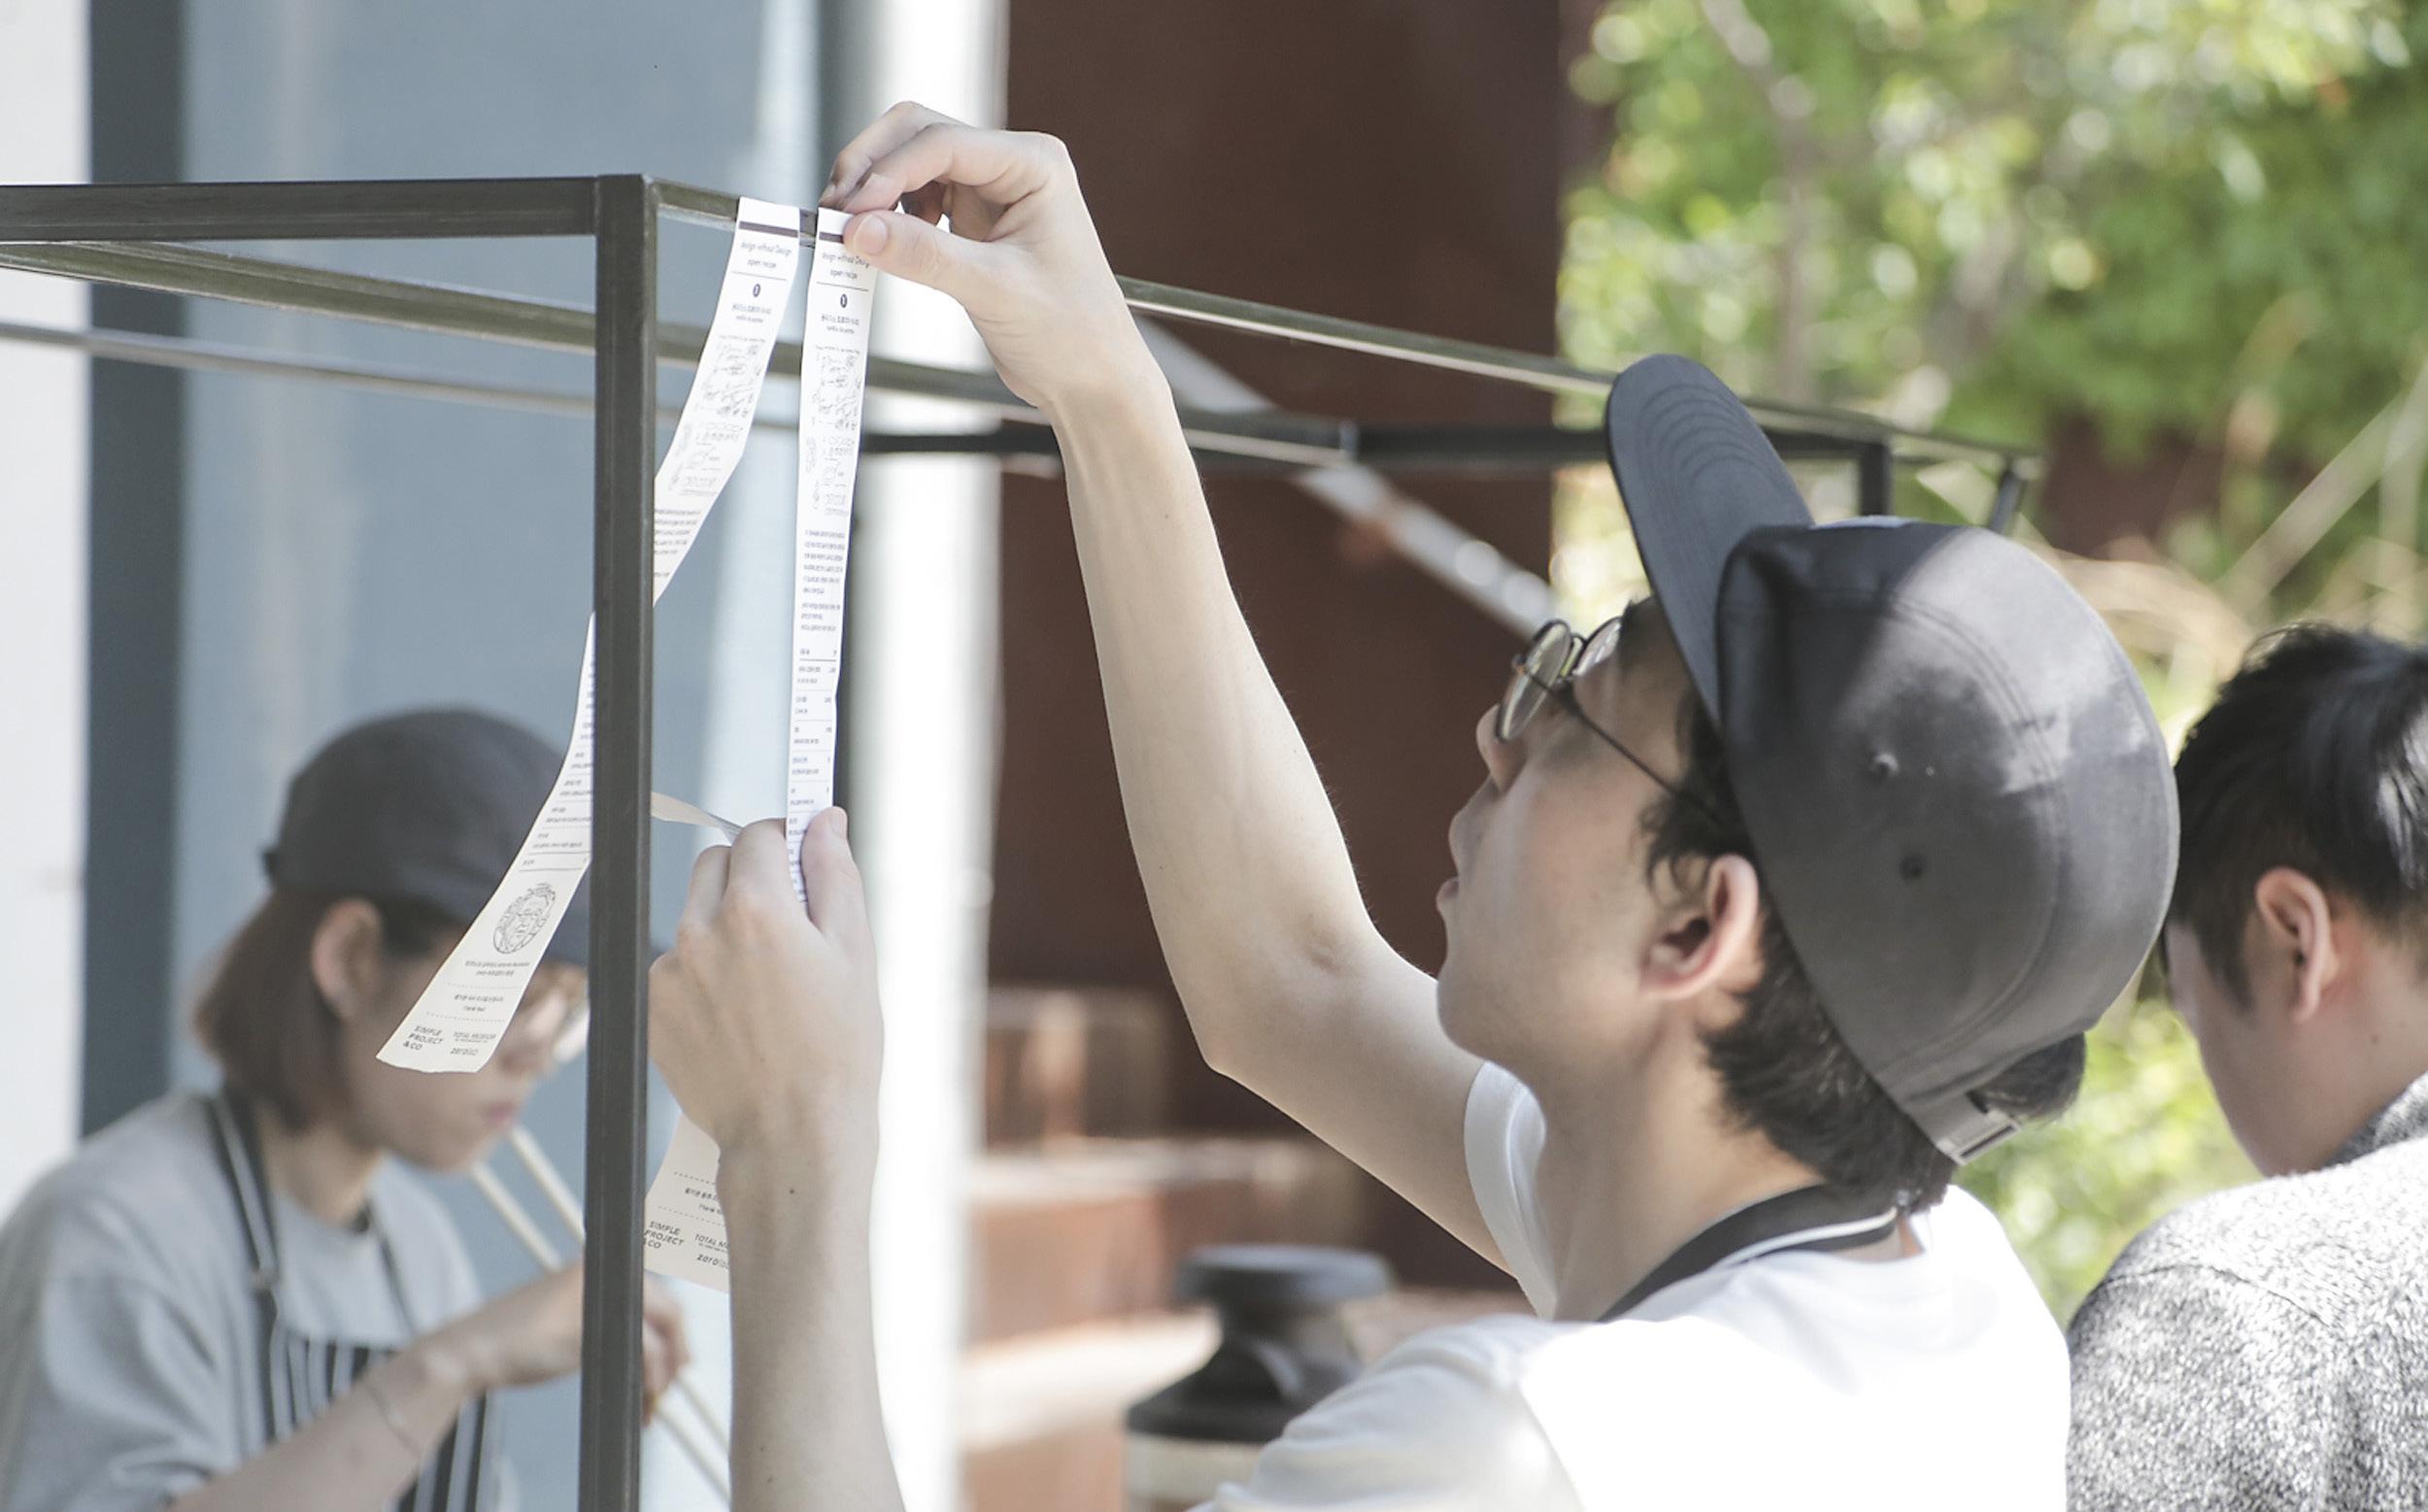
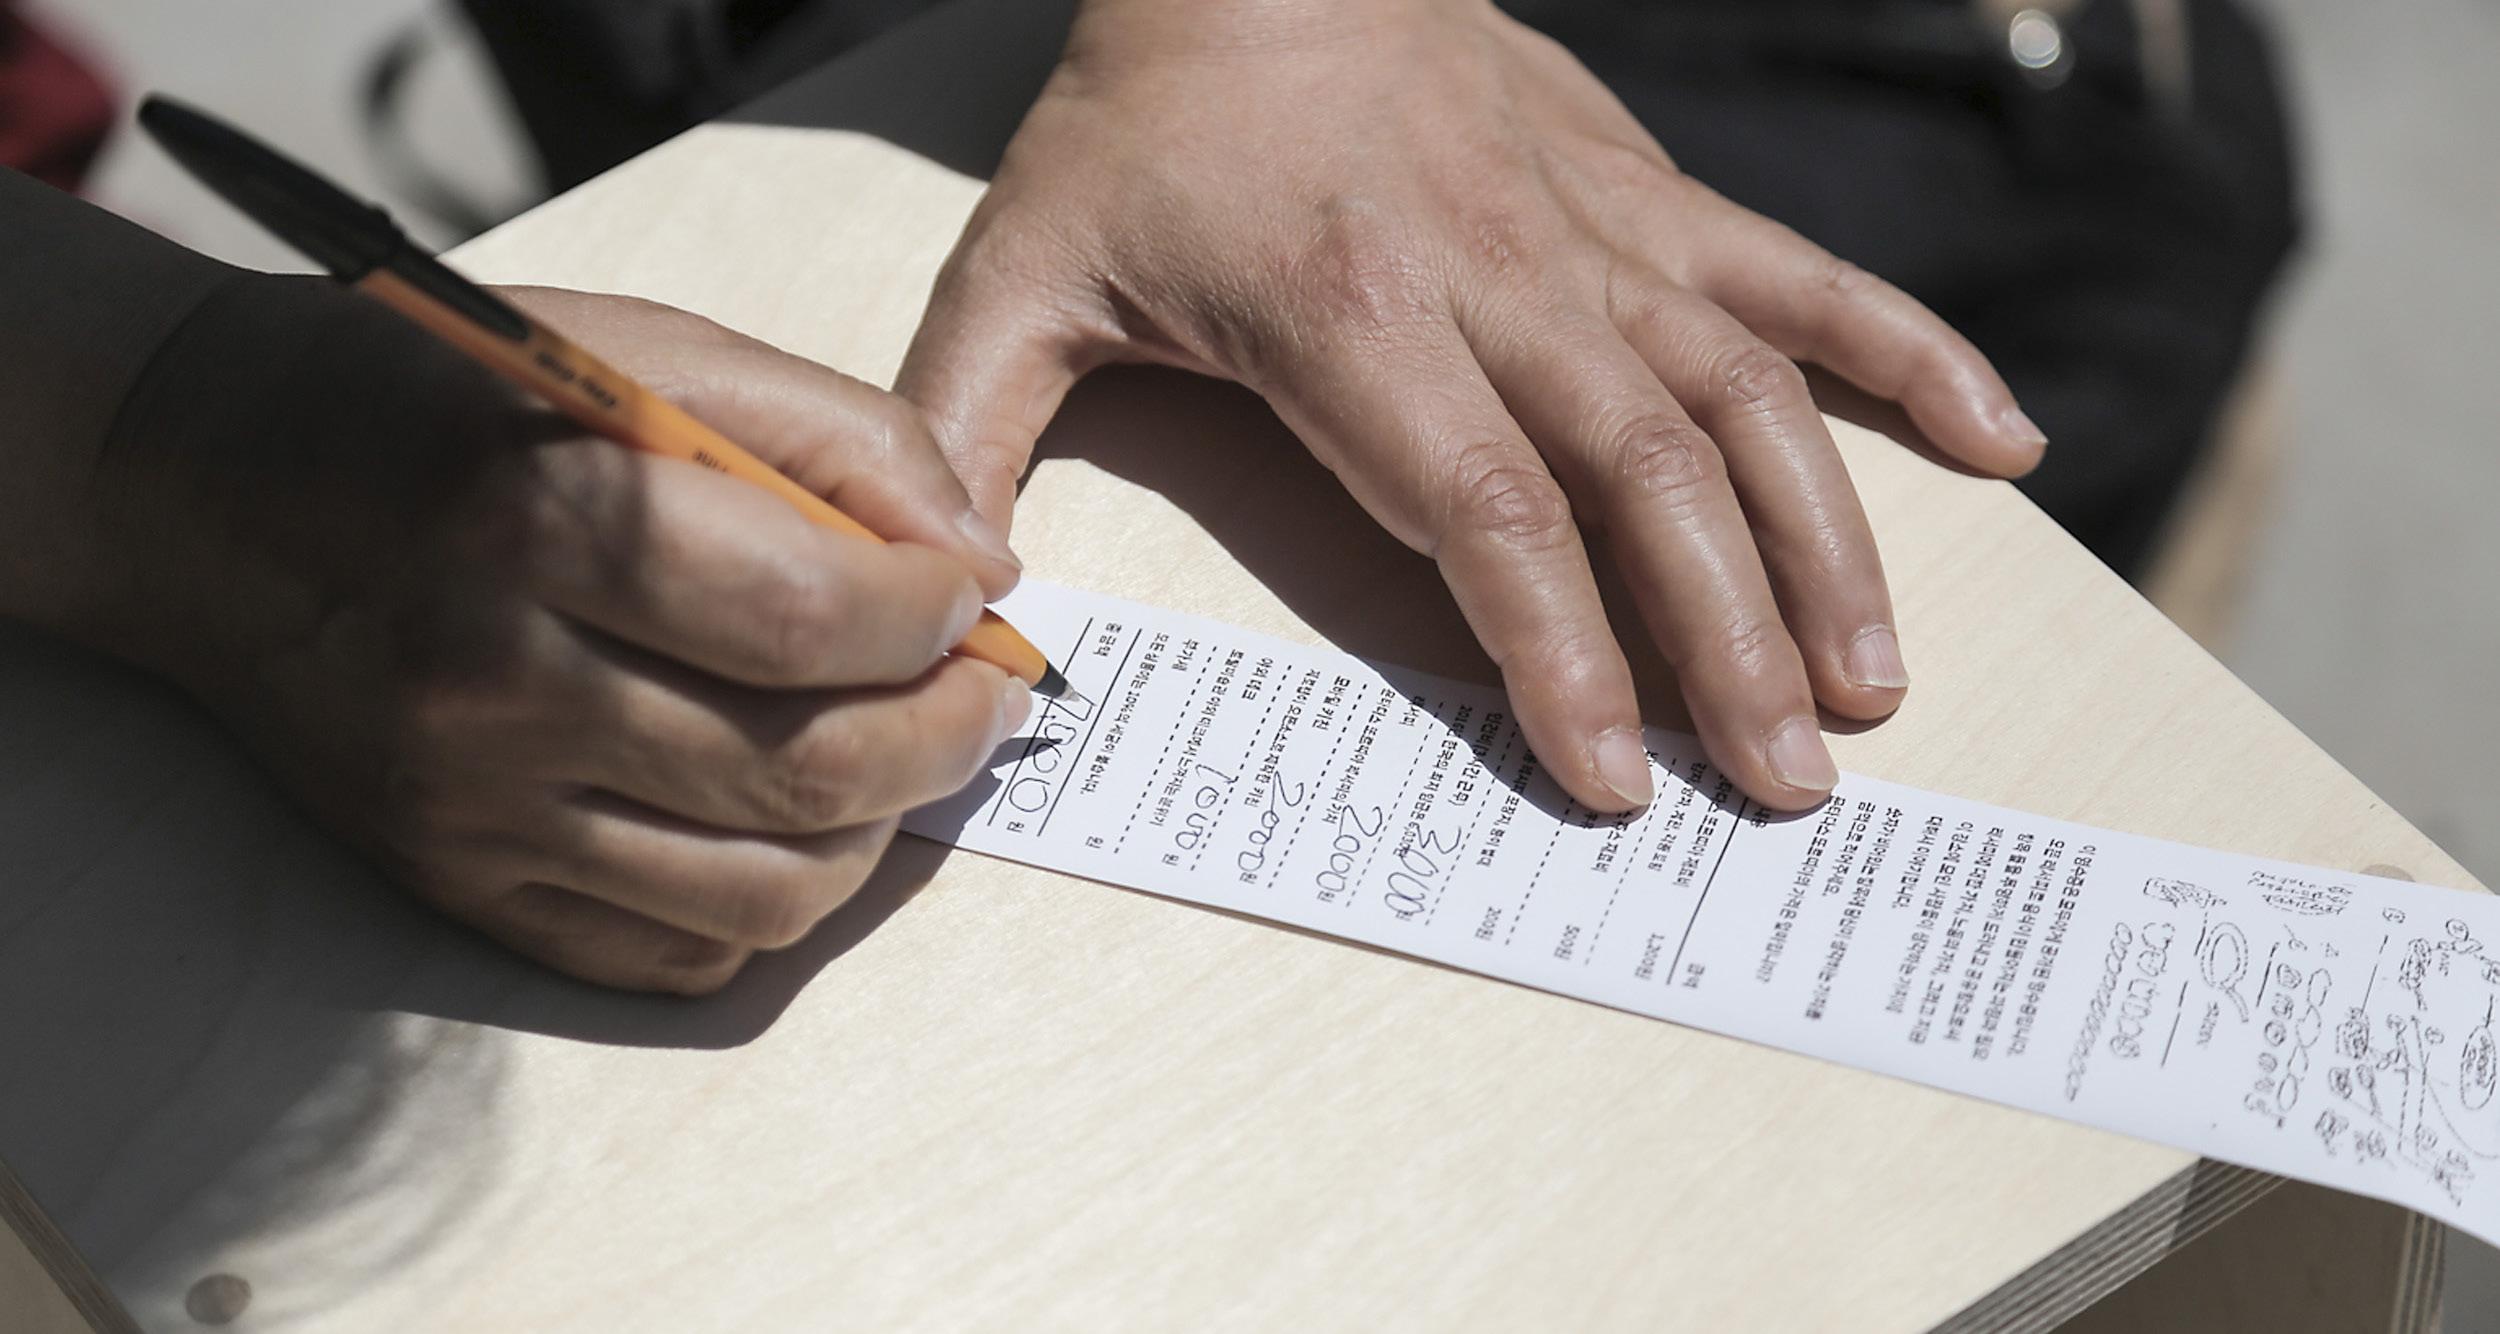
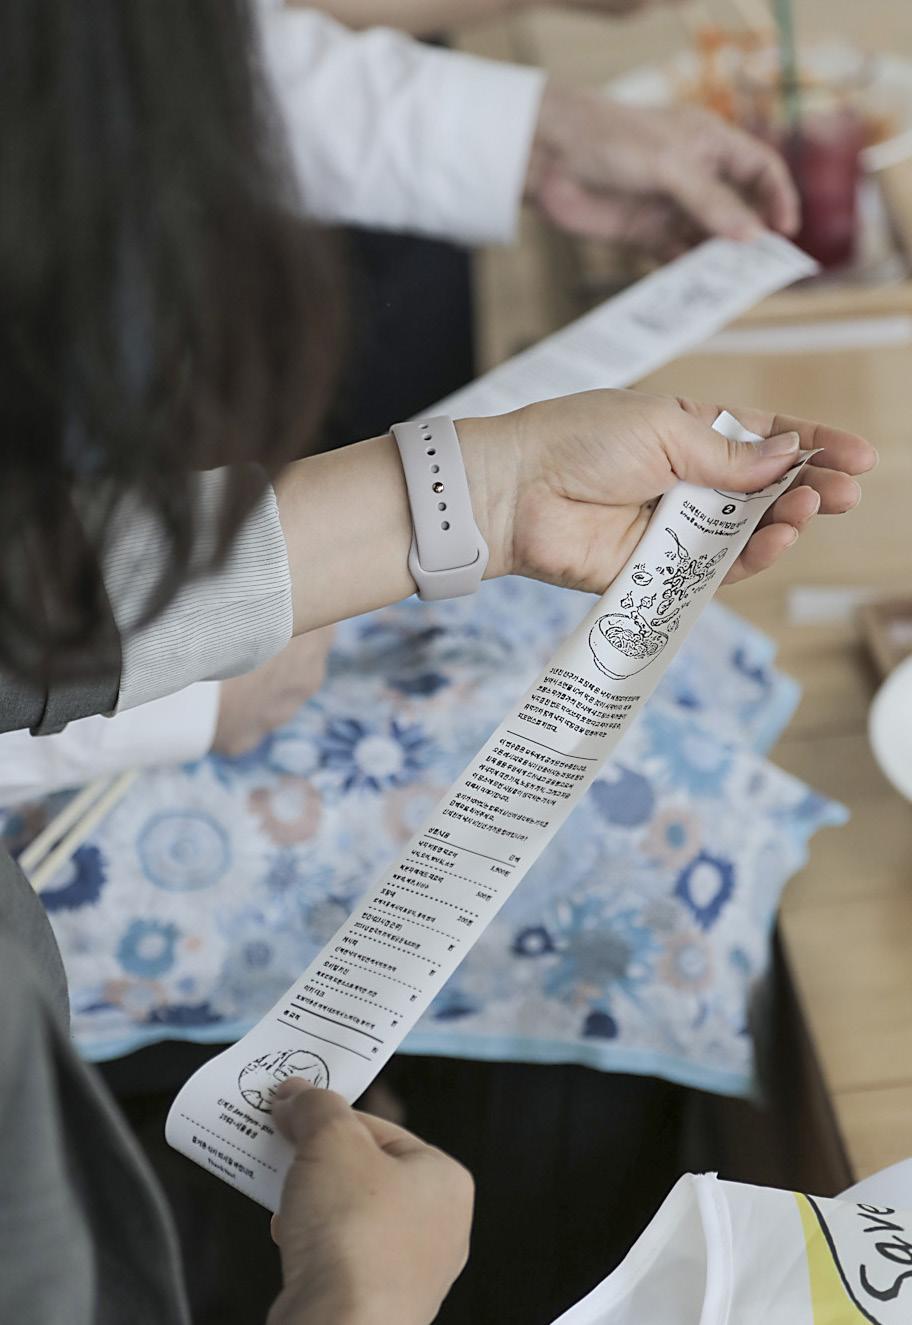
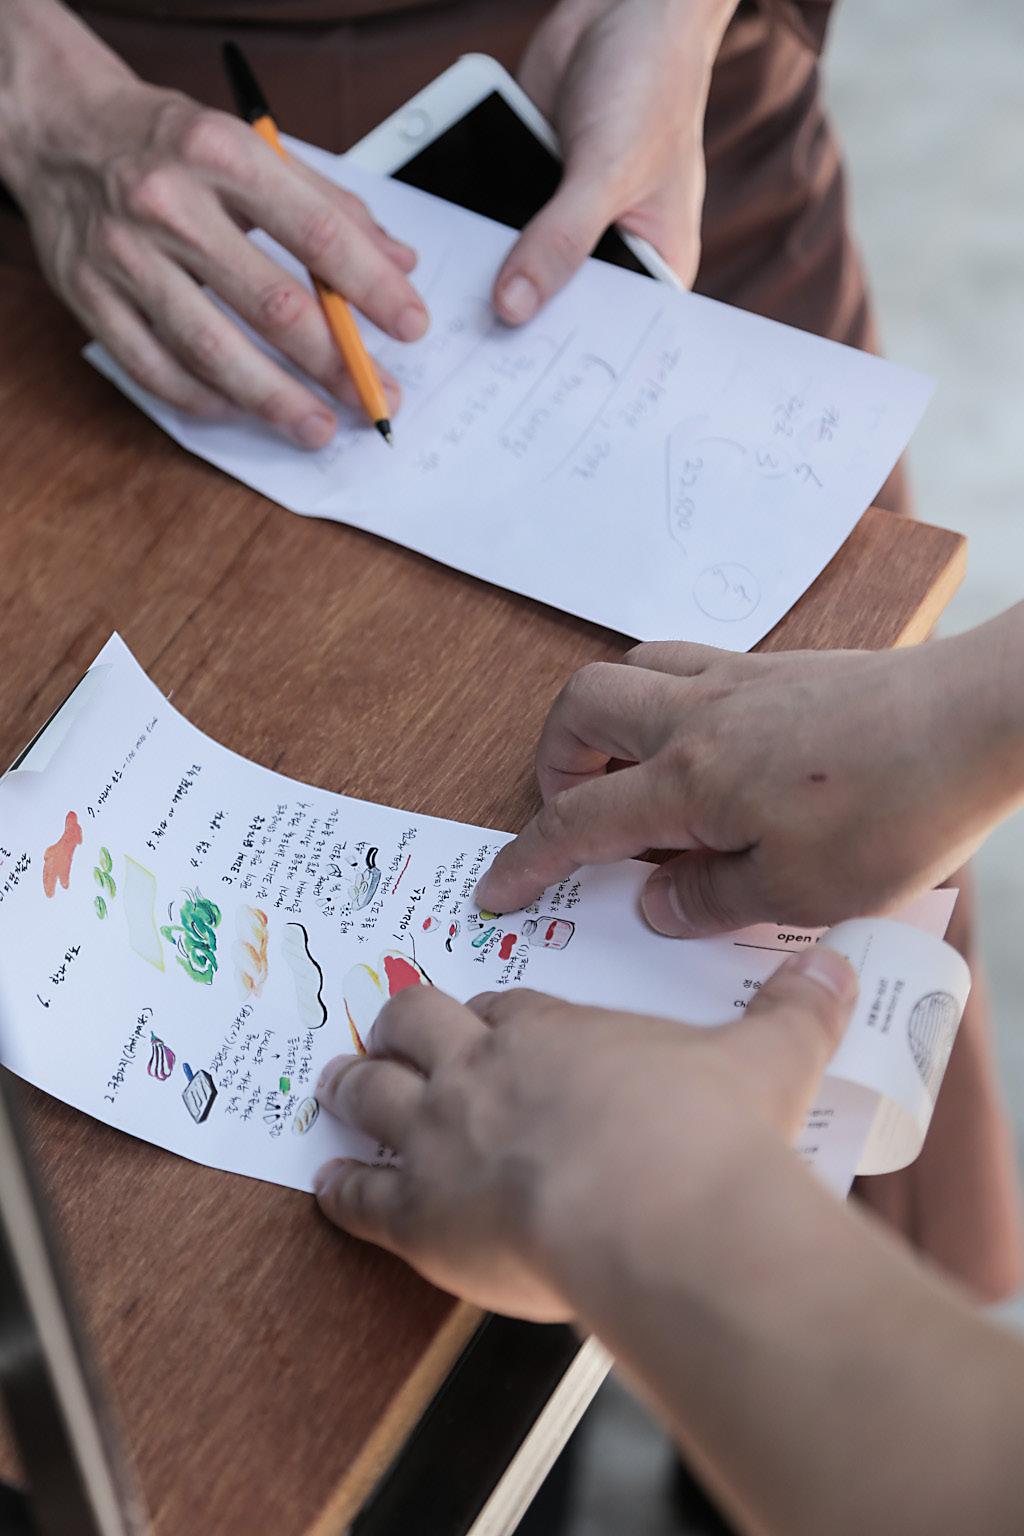
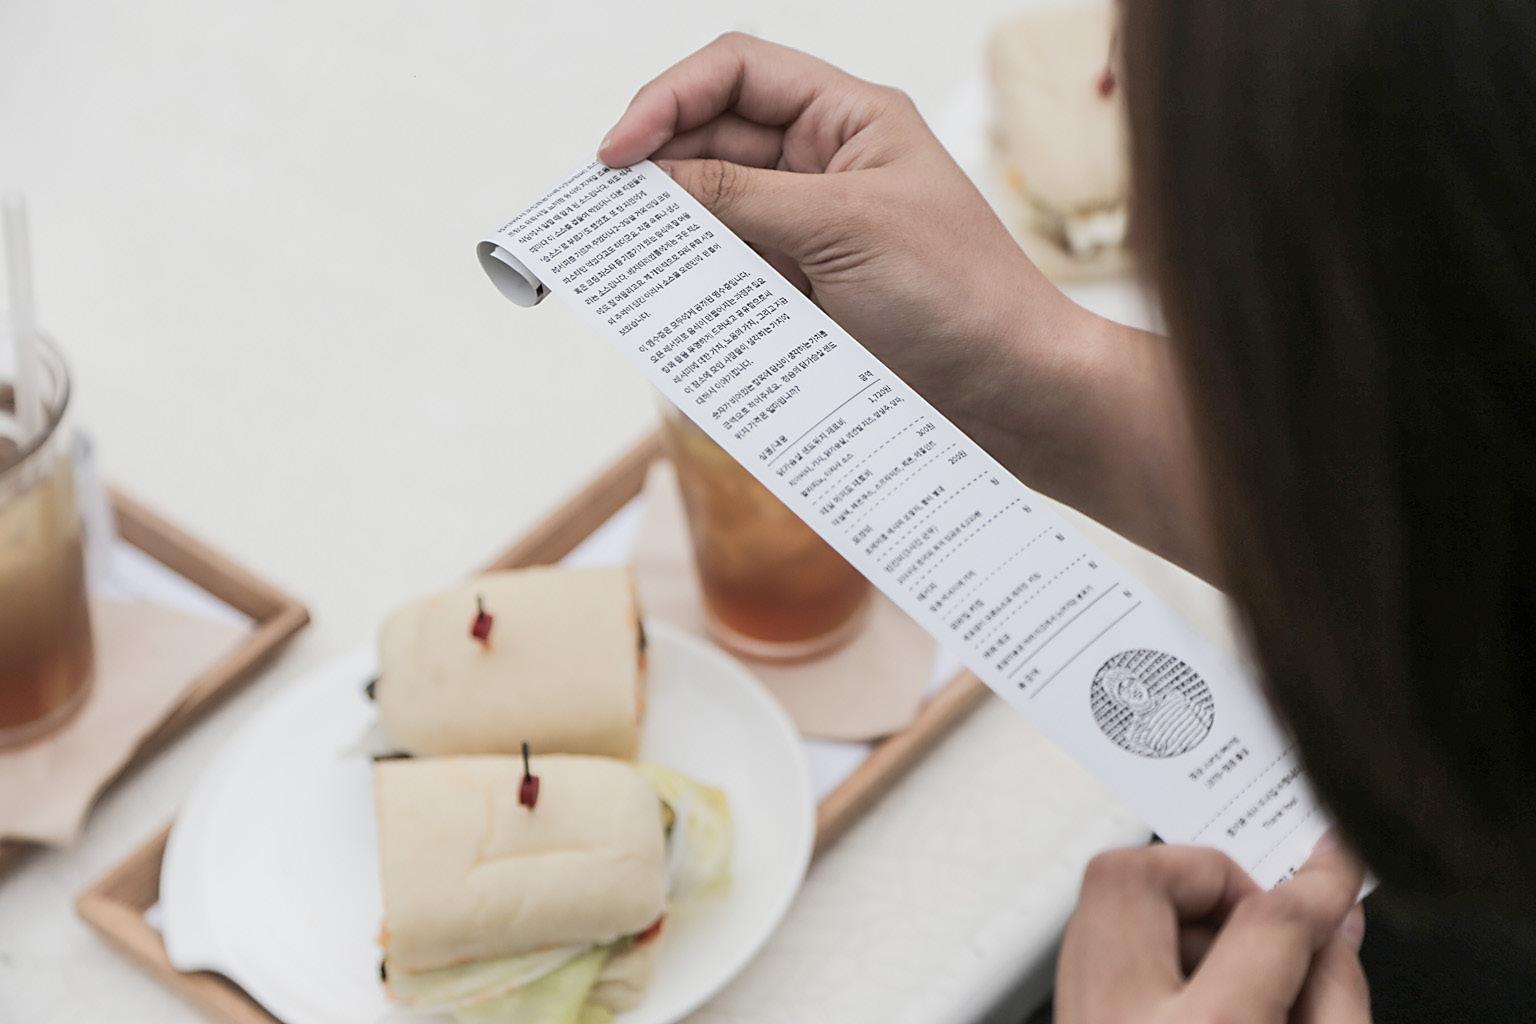
주문방법
How to Order
오픈 레서피로 음식이 만들어지는
이야기합니다.
1 2
주문하고 싶은 메뉴의
영수증을 선택해주세요.
영수증의 빈항목에
당신이 선택한 음식에
대한 가치를 금액으로
적어주세요.
3
항목이 채워진 영수증을 가지고 주문을 해주시면 됩니다.
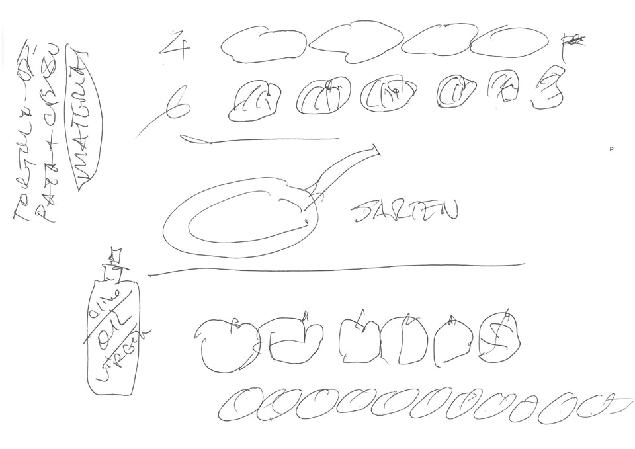
안토니오 문타다스 Antonio Muntadas 1942~바르셀로나 출생
1 menu
2 menu
3 menu 문타다스
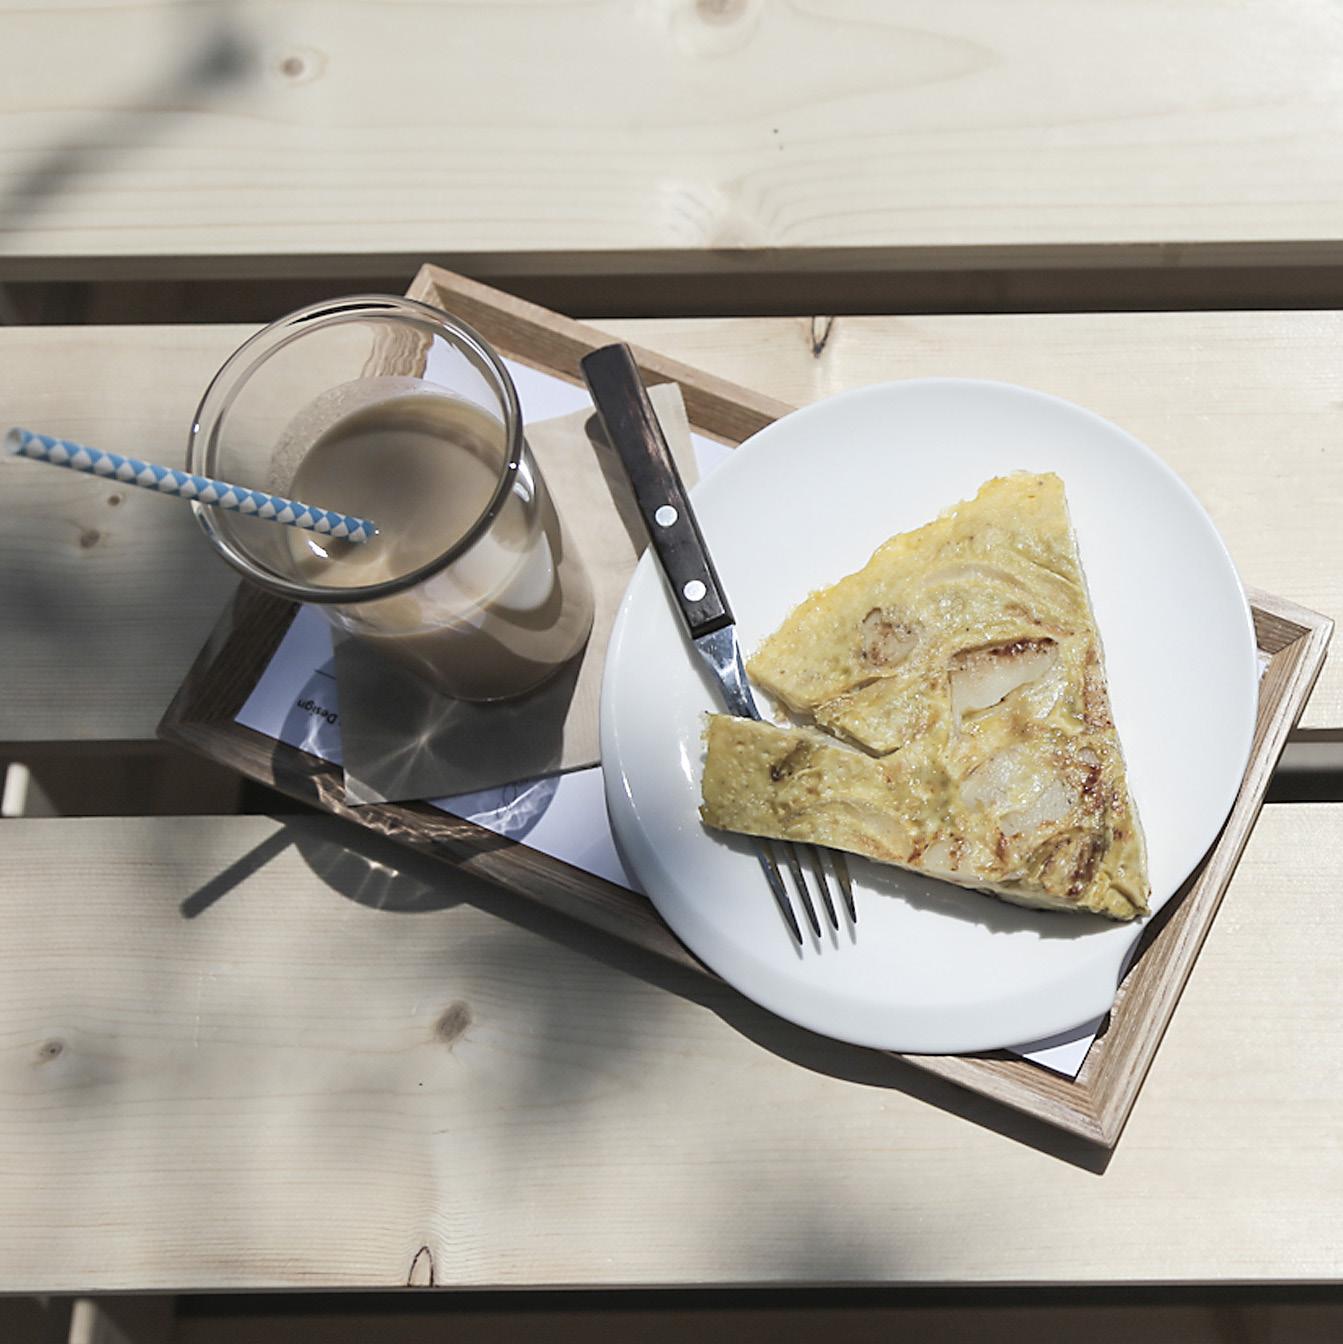
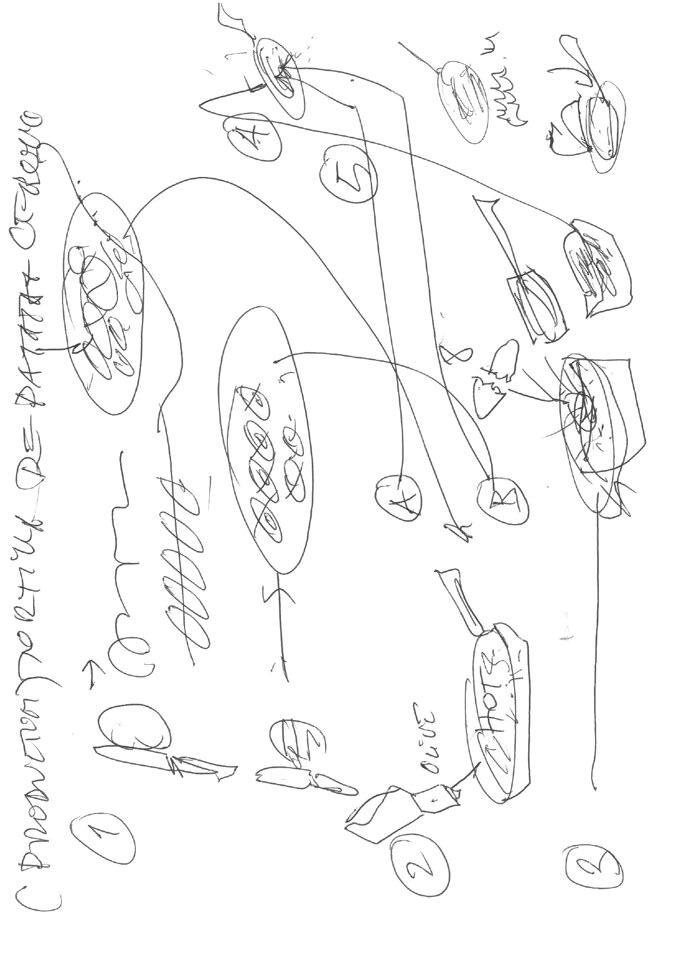
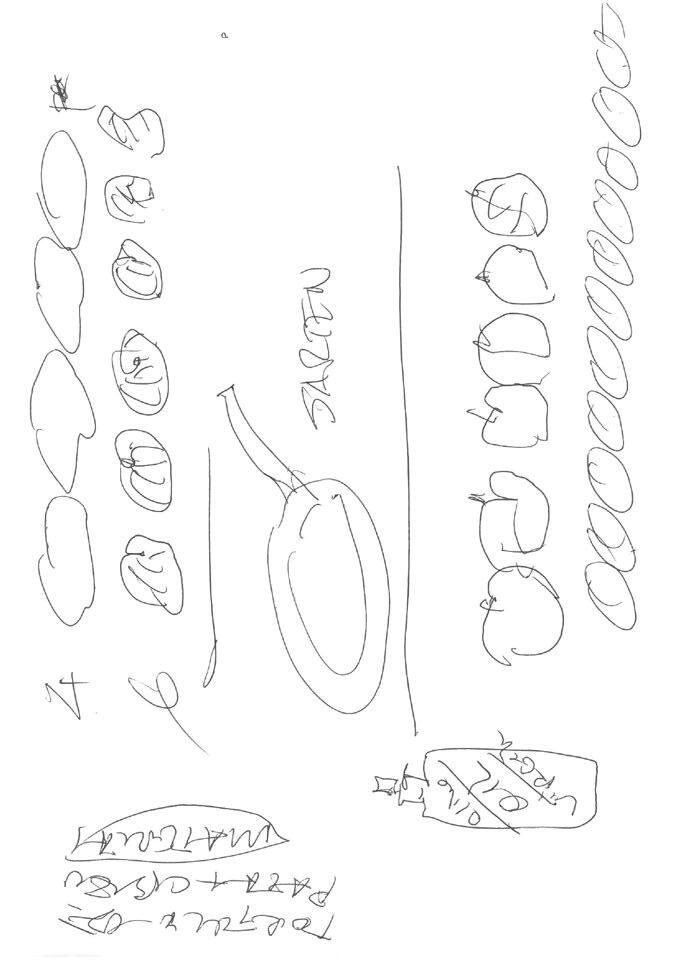
tortilla de patatas
banana detox Juice
tortilla de patatas
gin & tonic
gin & tonic
design without Design open recipe
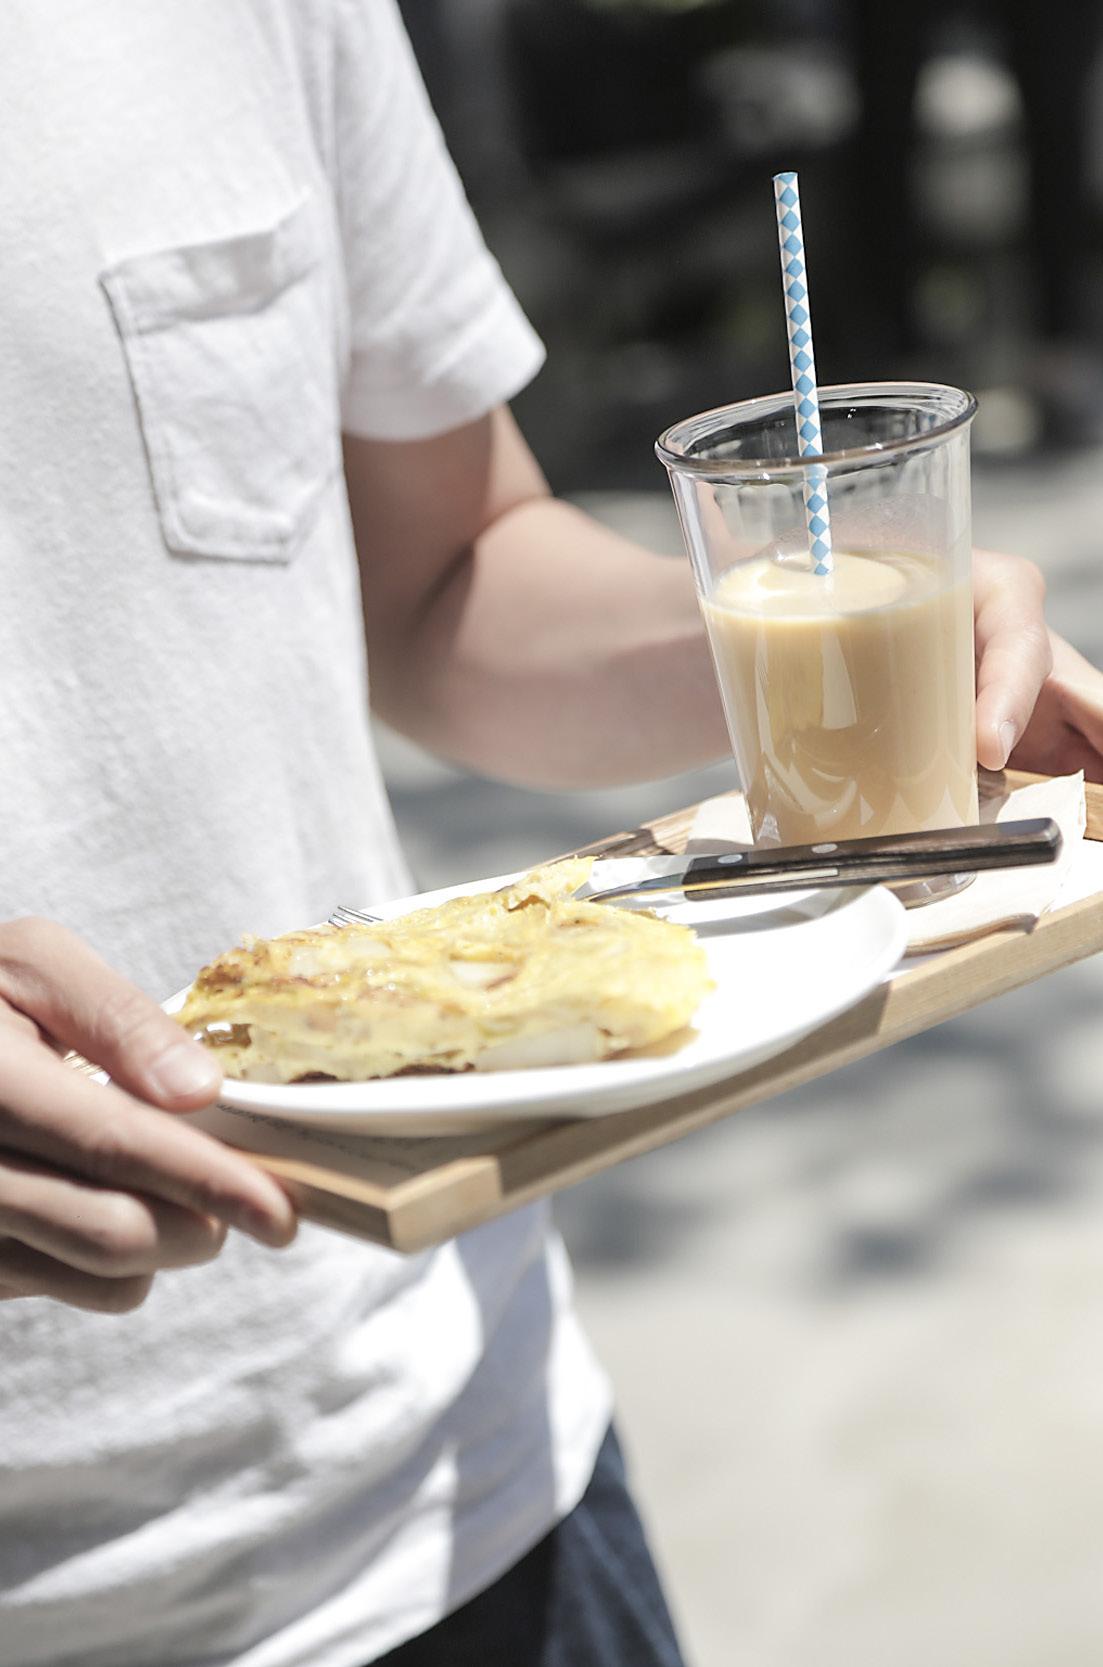

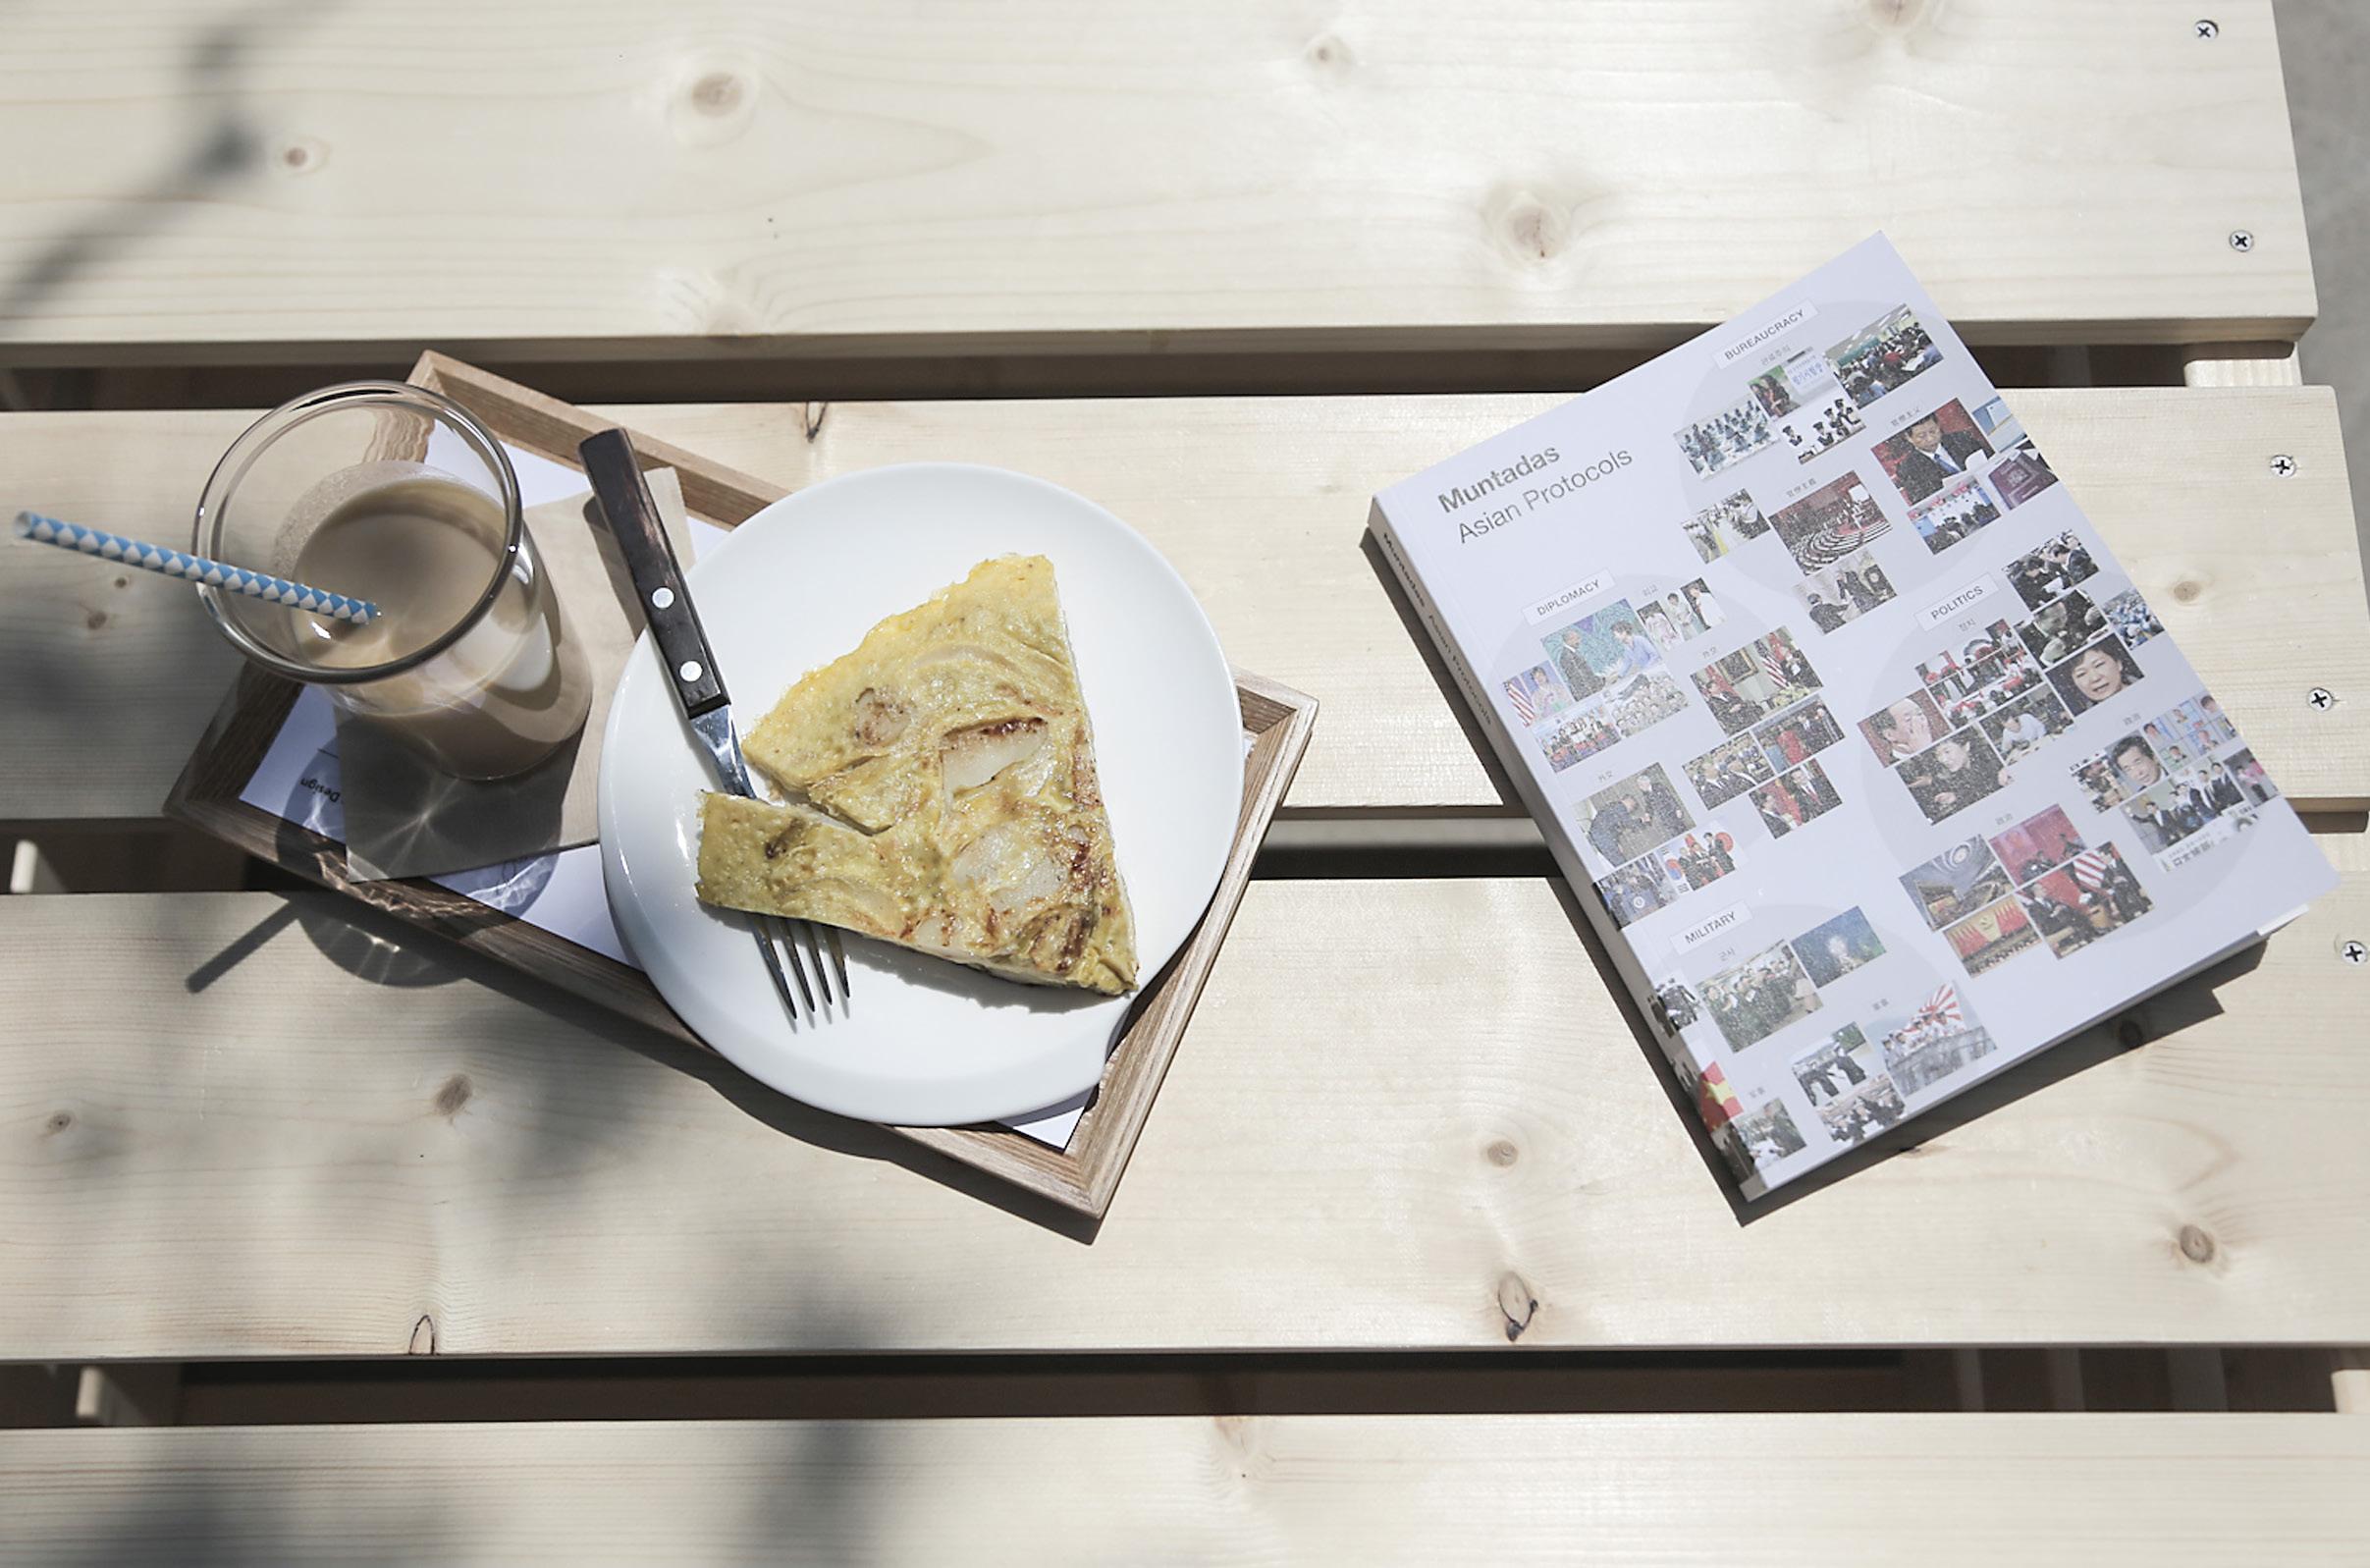
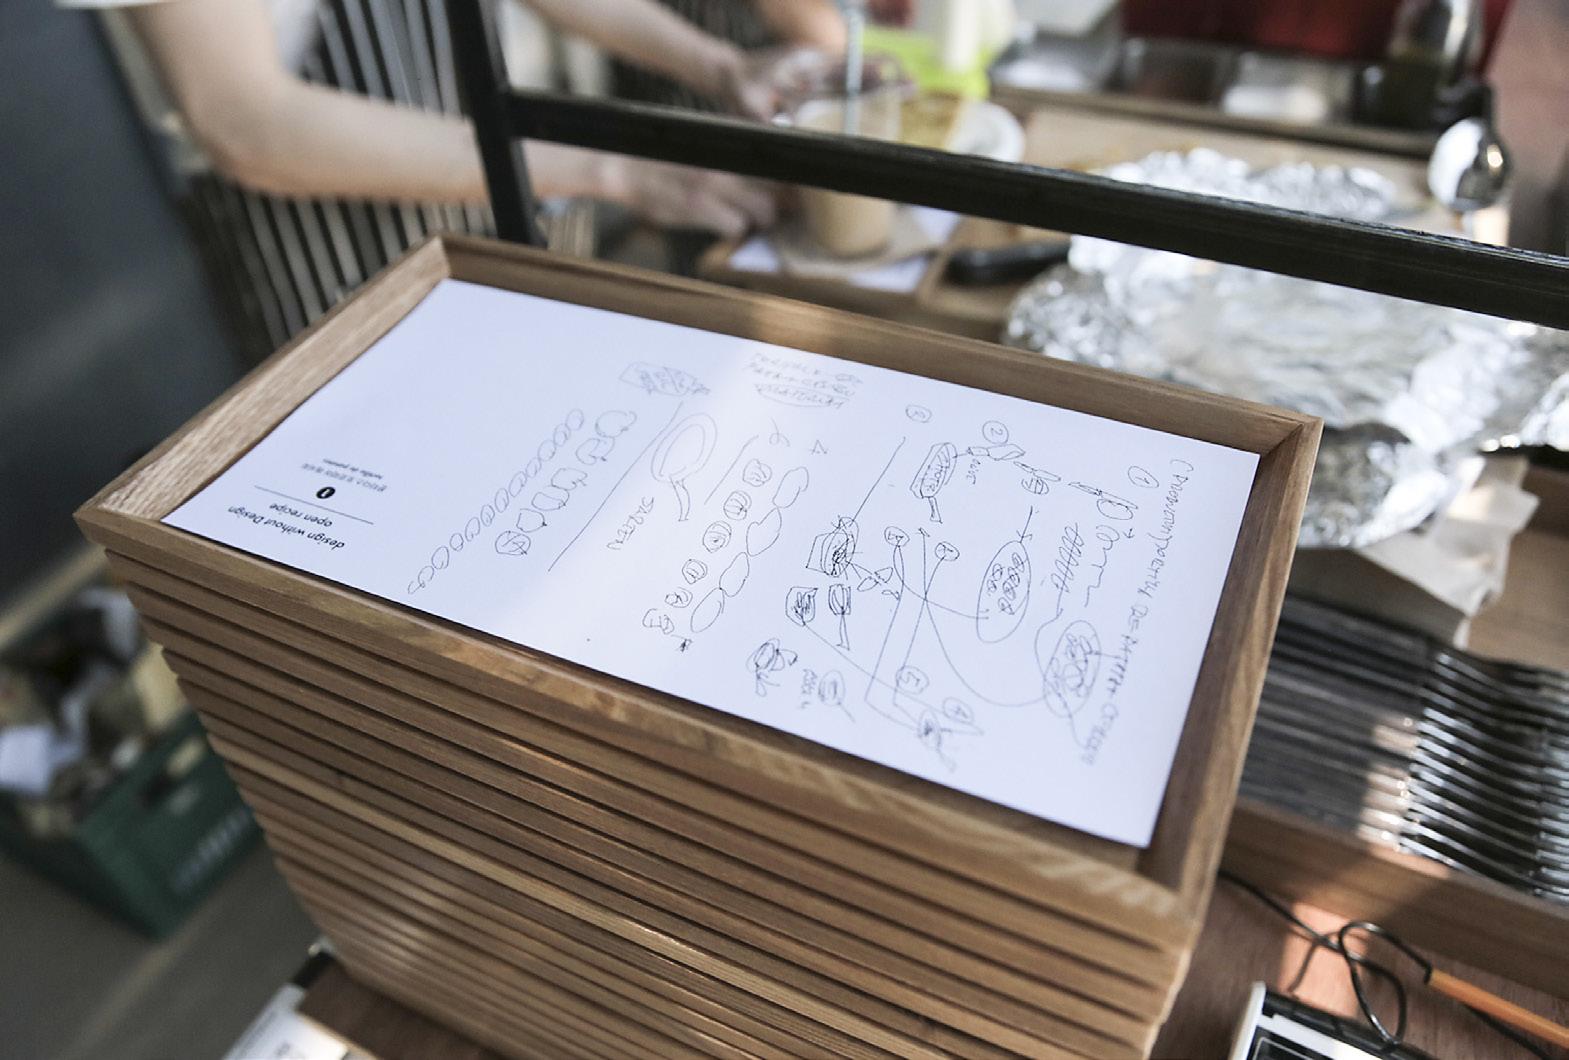
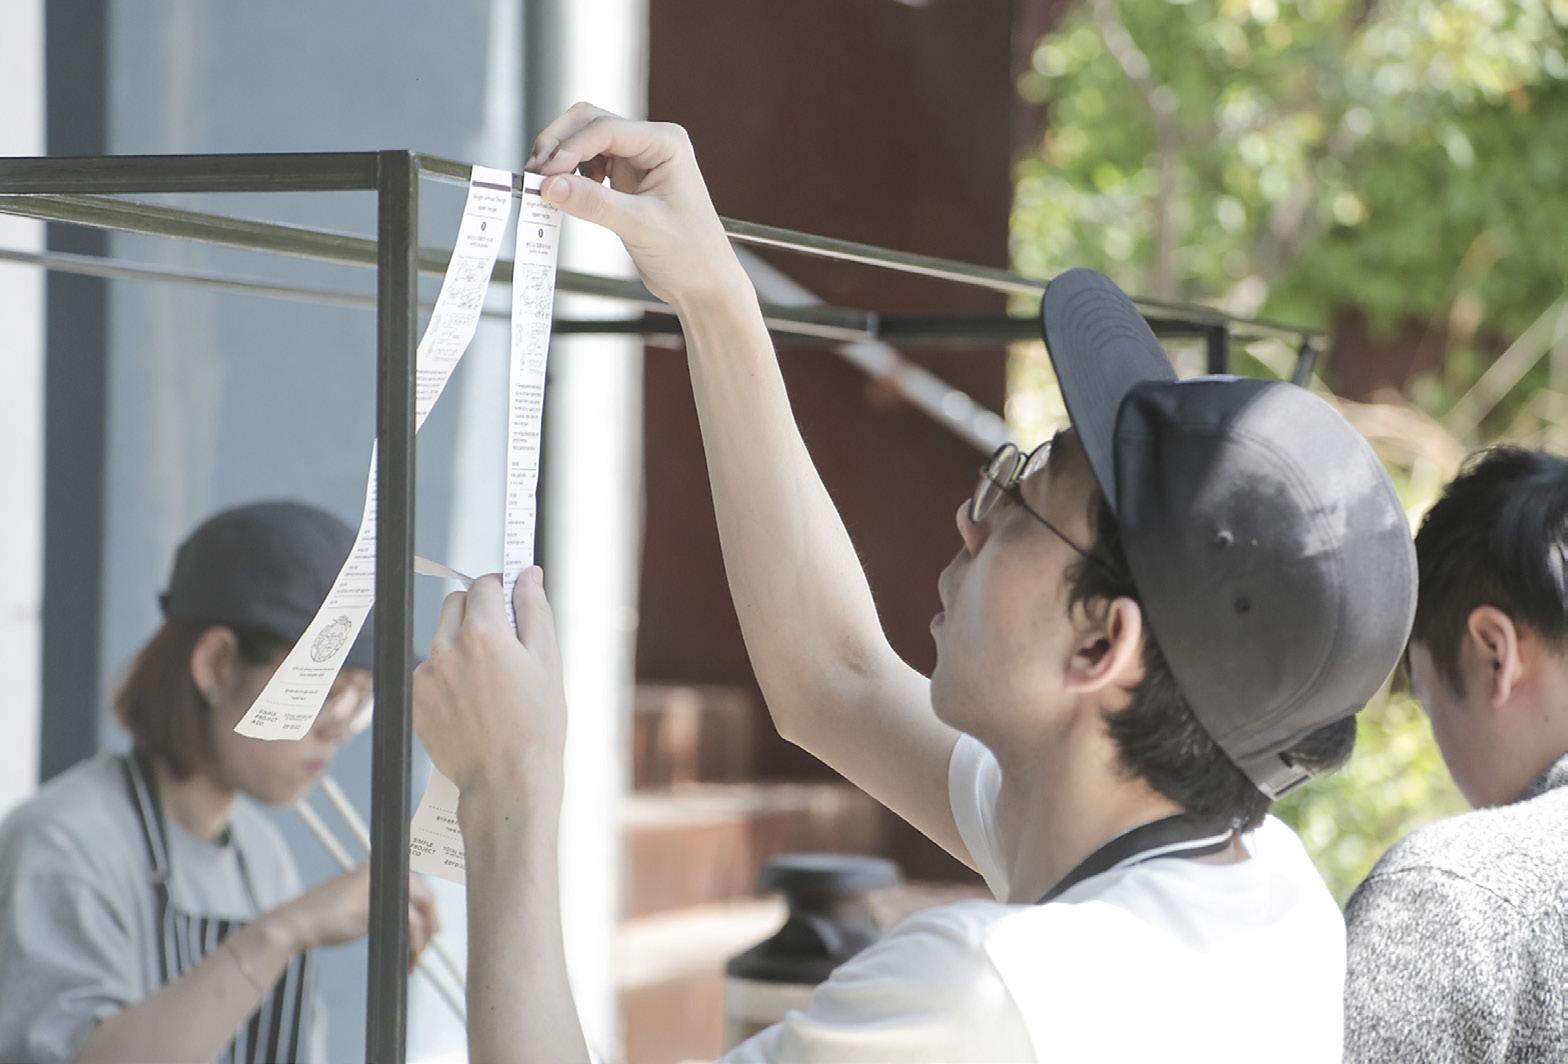
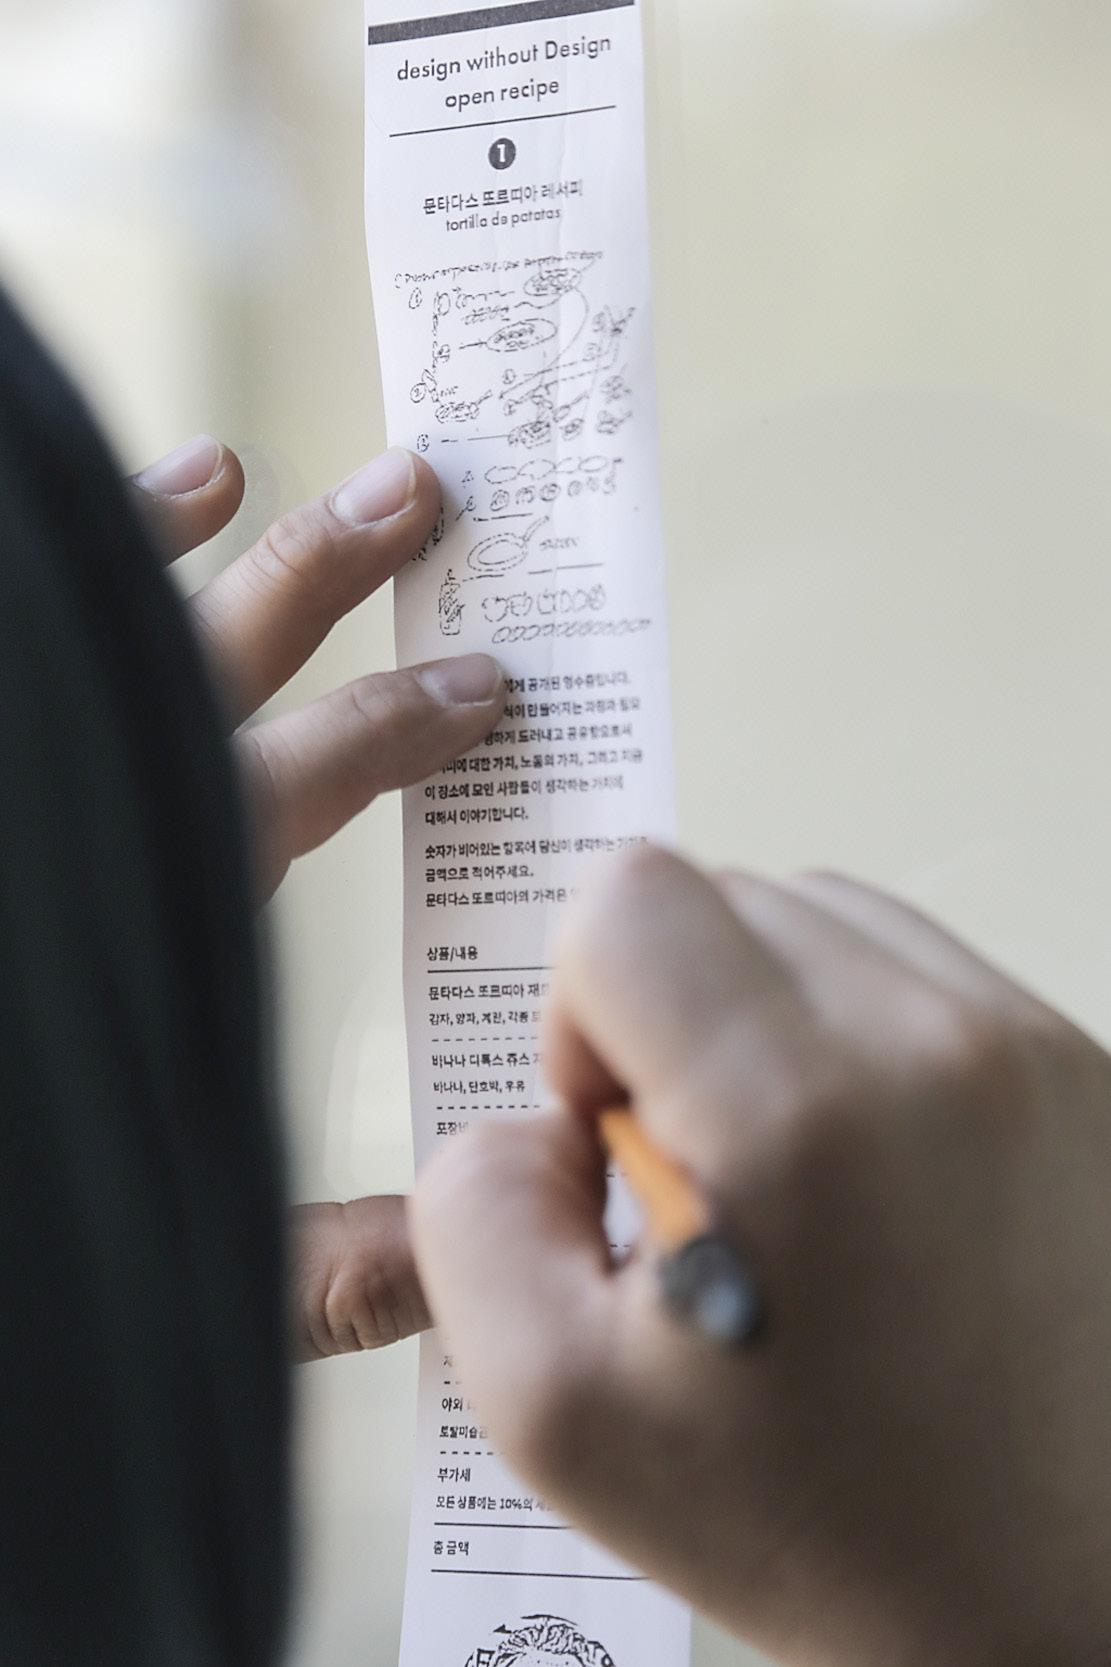
design without Design open recipe
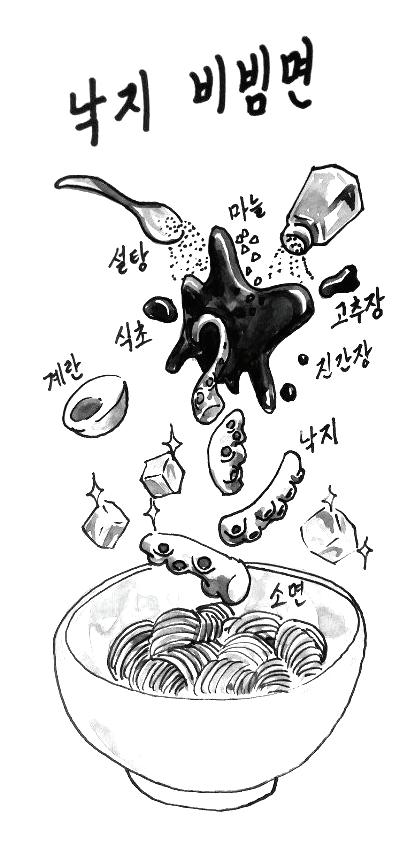
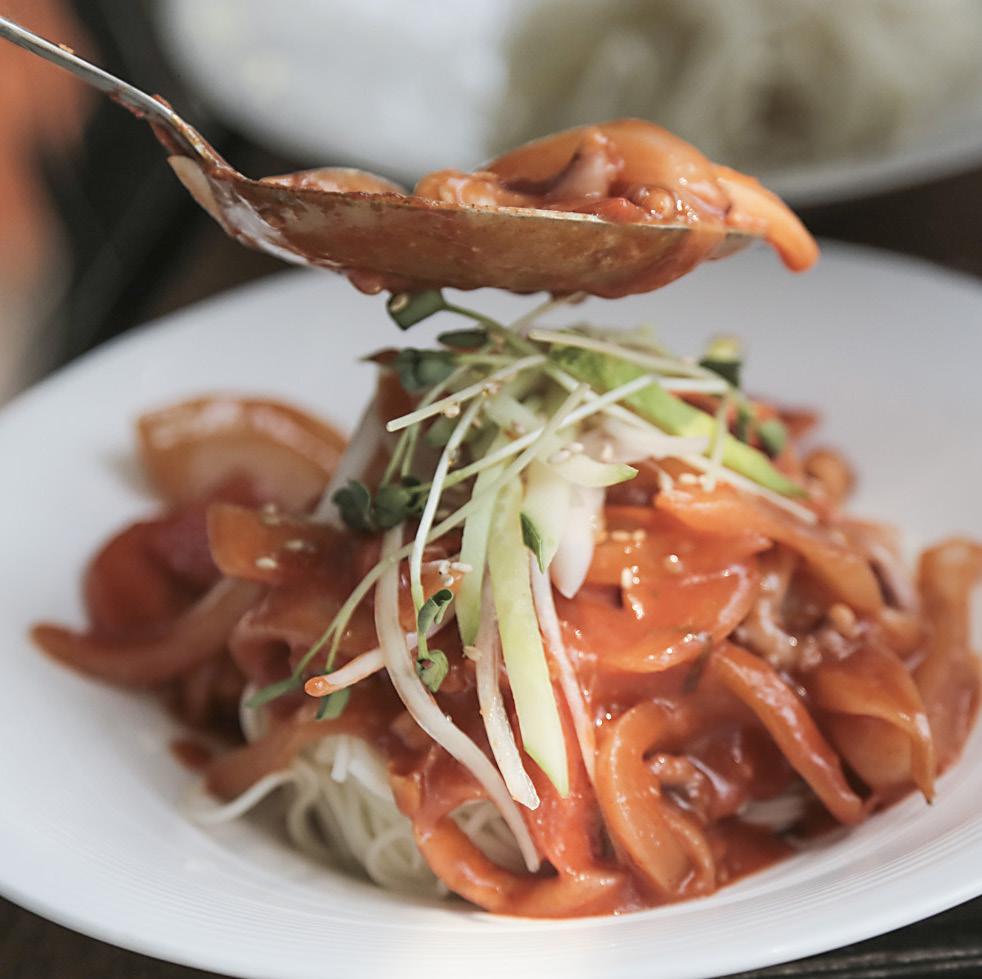
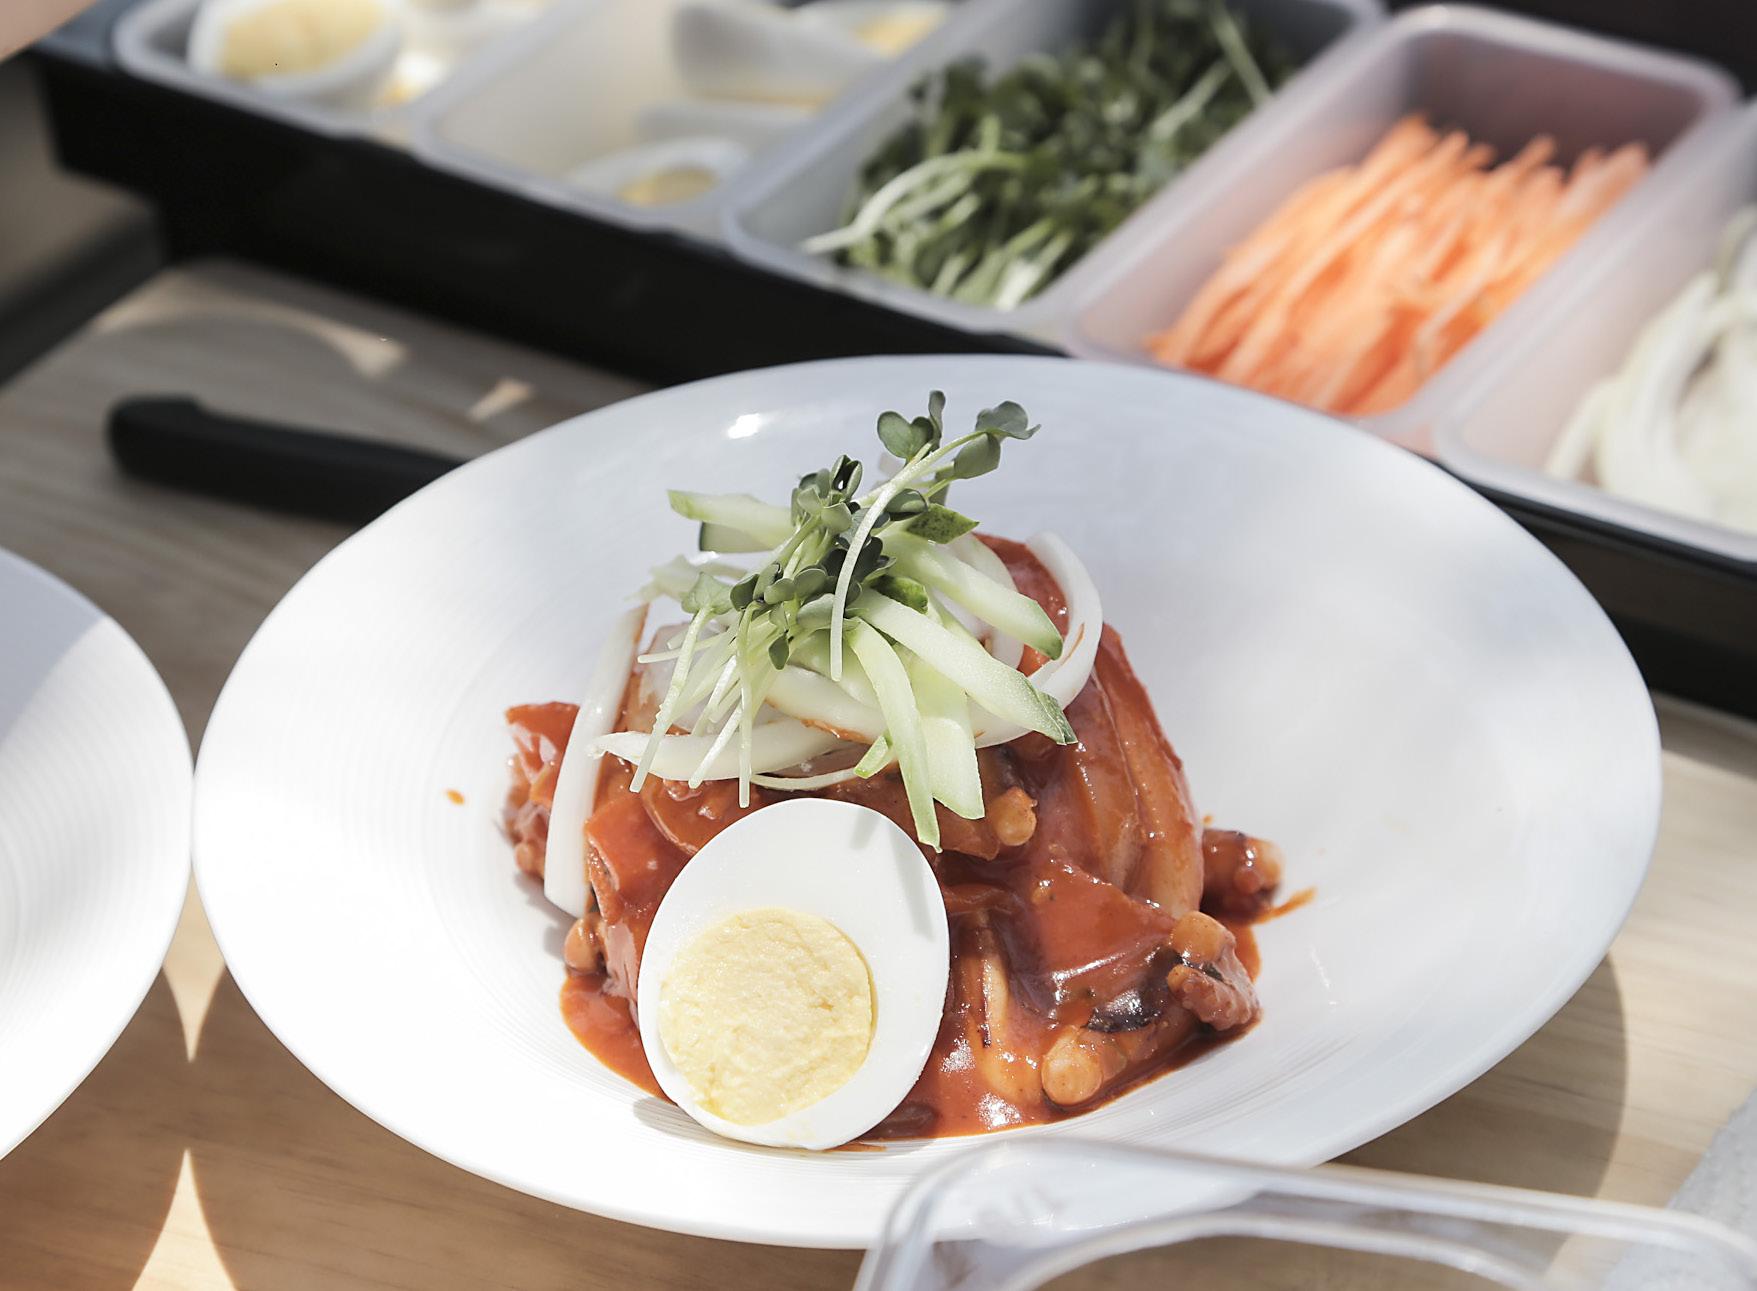
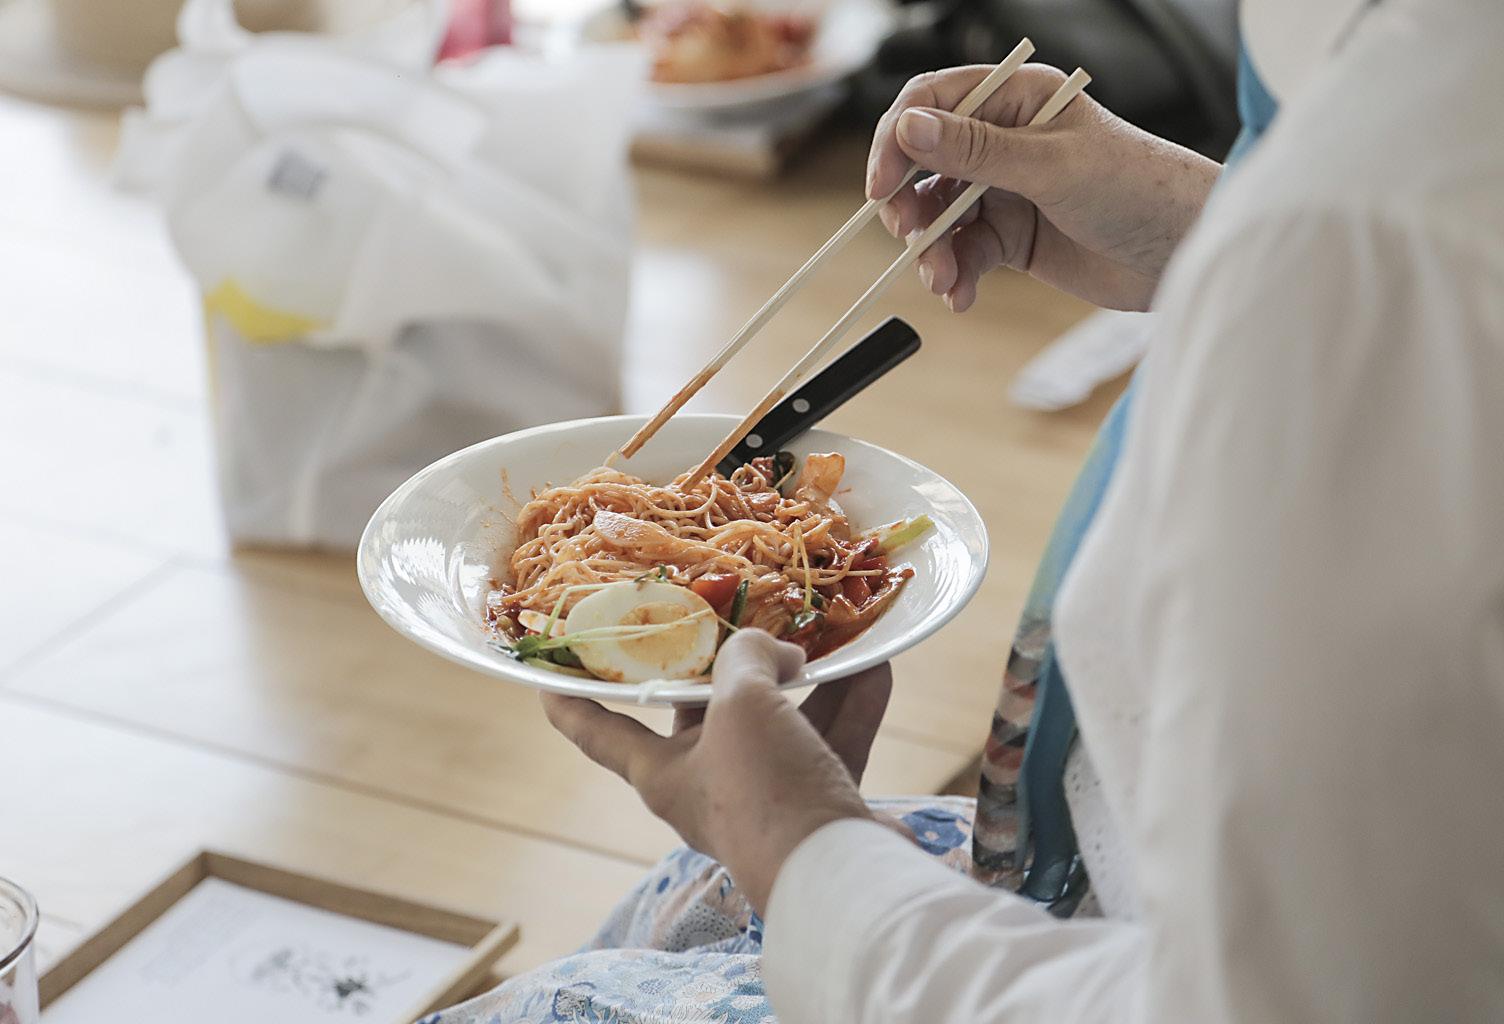
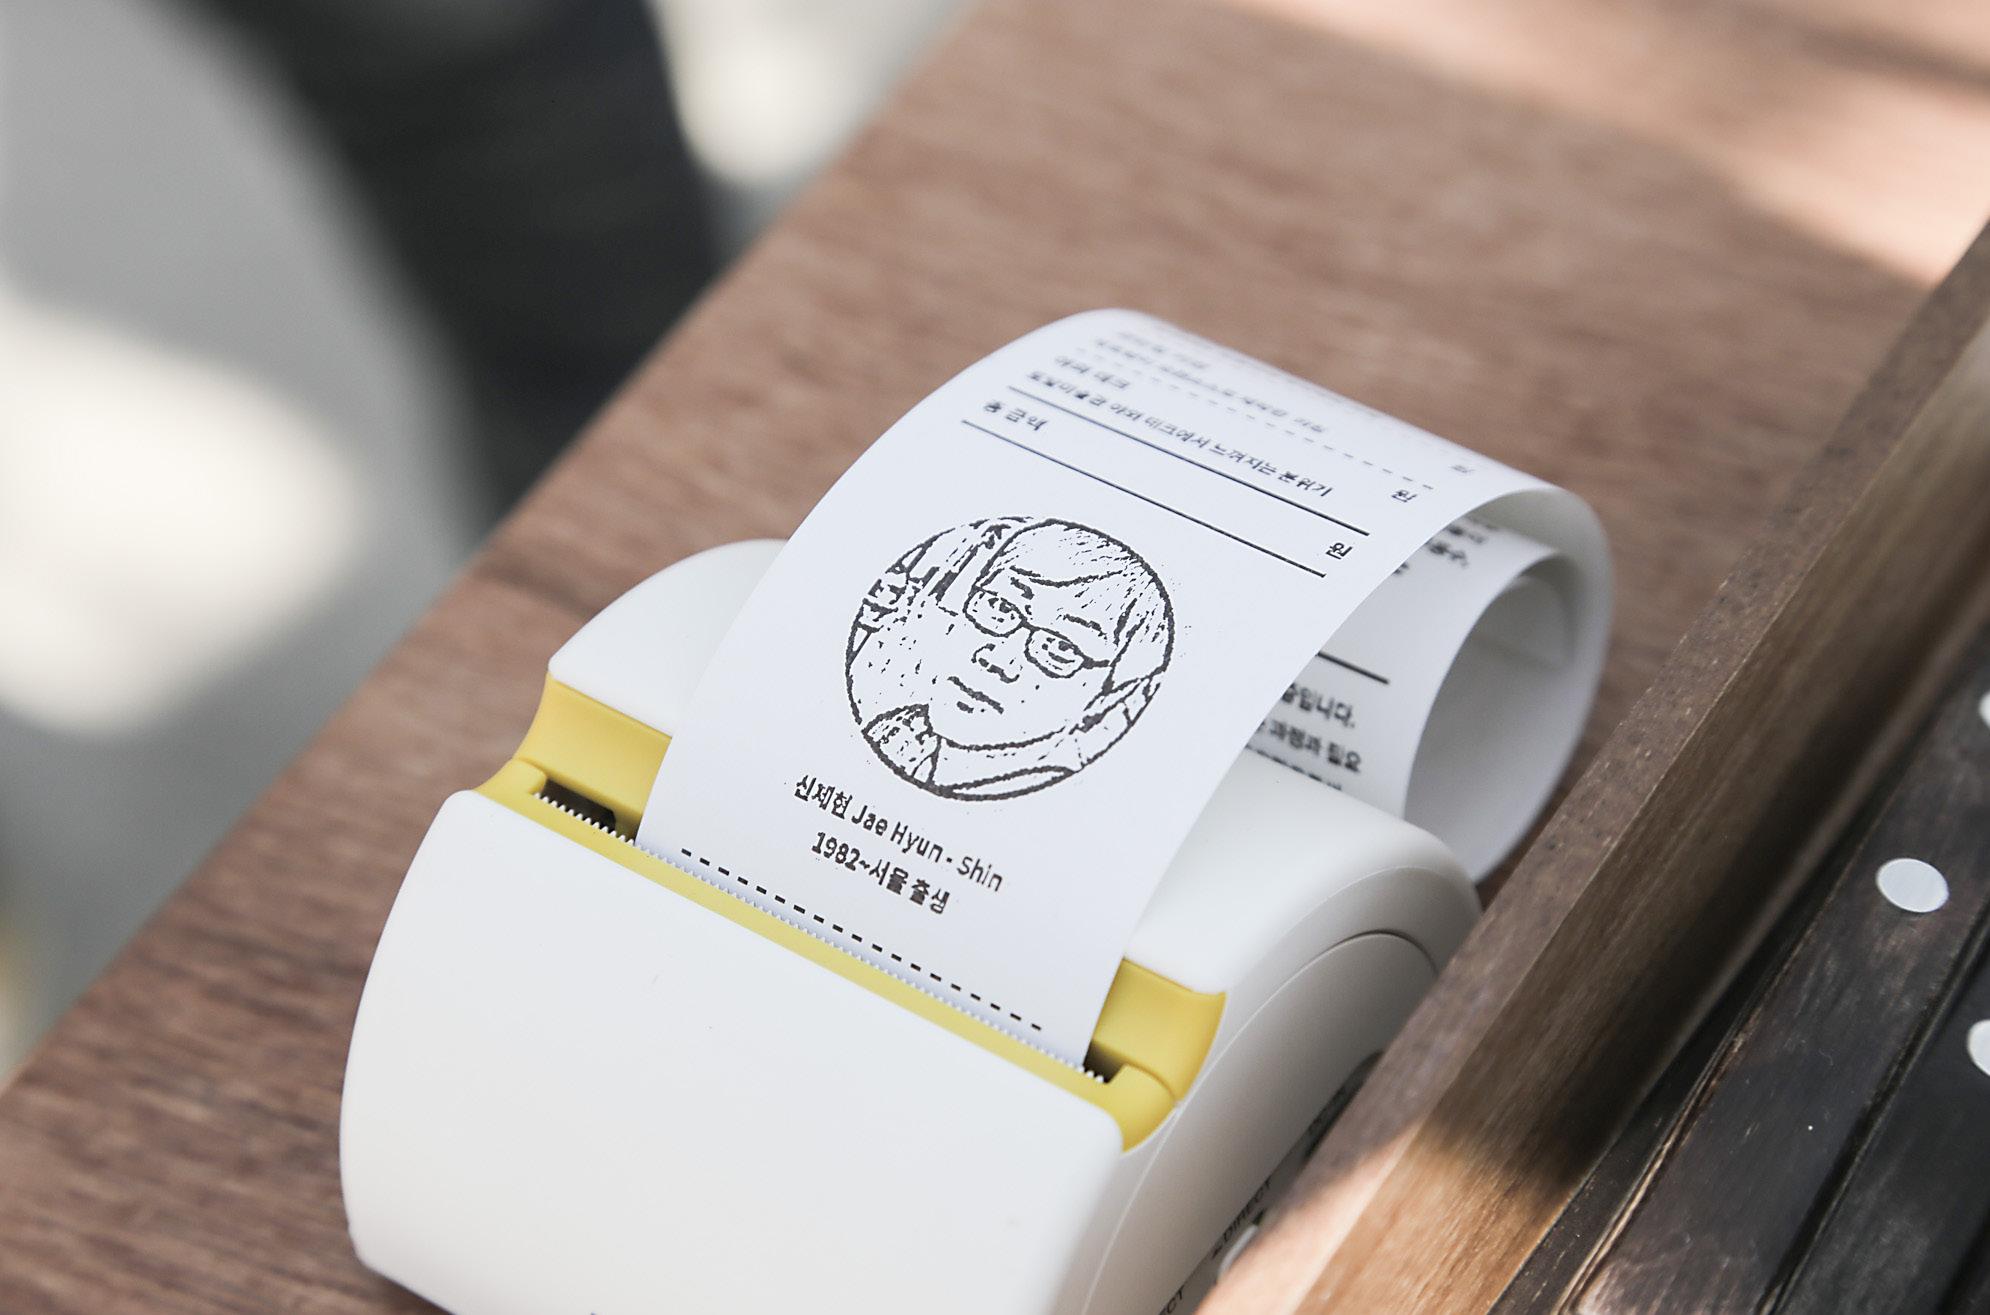
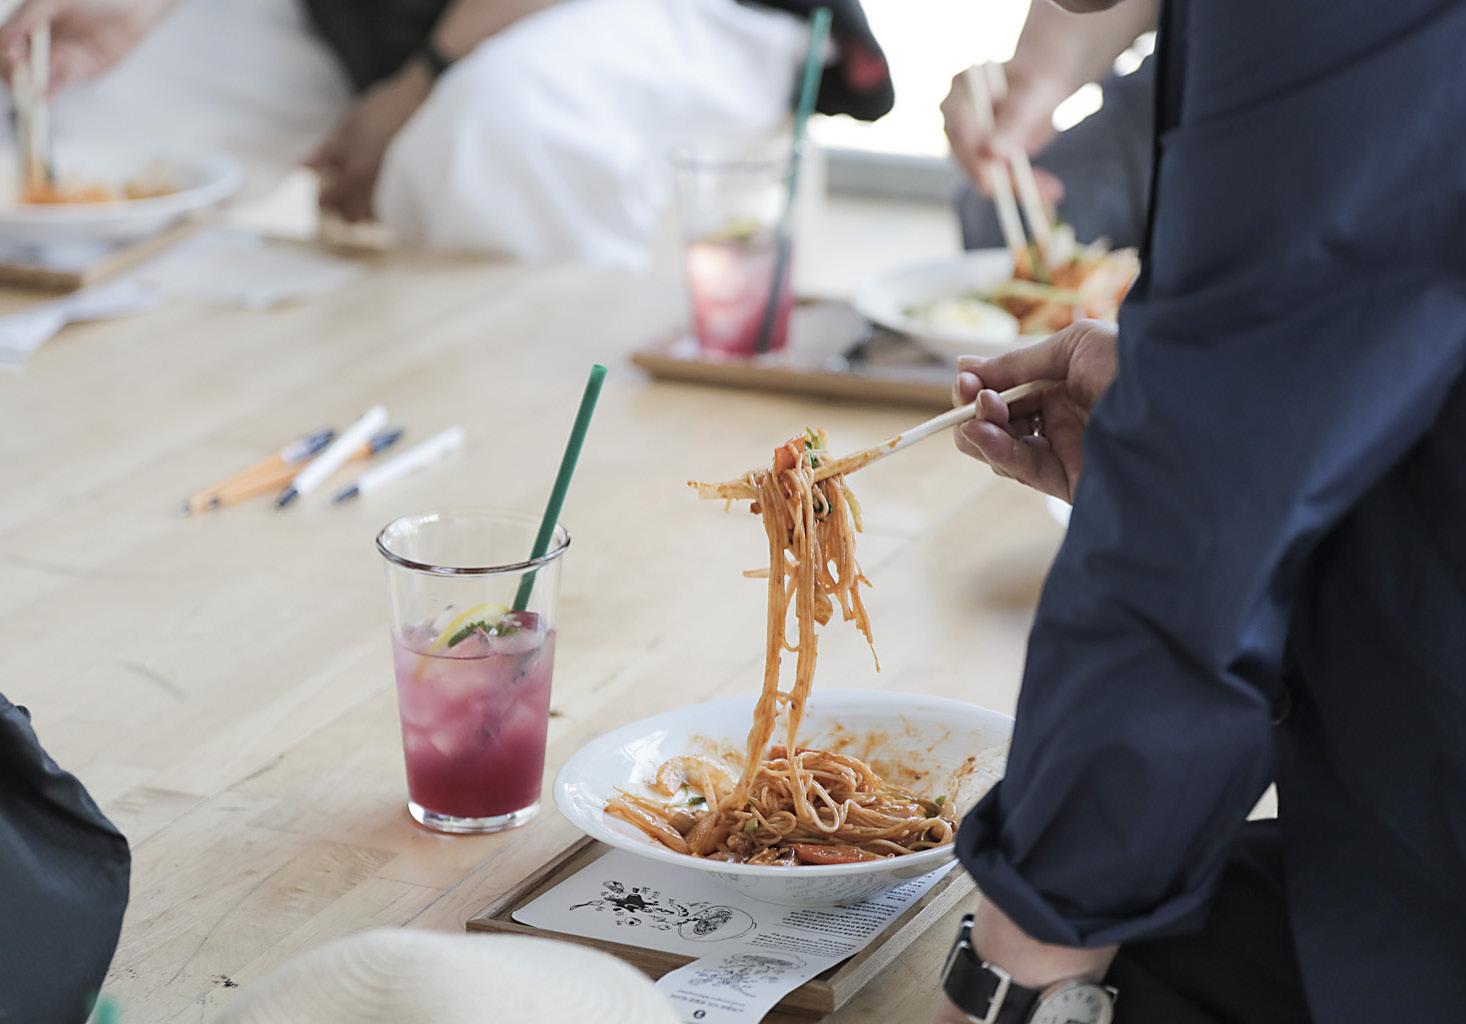
신제현의 낙지 비빔면 레서피 small octopus bibimmyeon 2
1
menu
낙지 비빔면 small octopus bibimmyeon
복분자 에이드 raspberry ade
2
menu
낙지 비빔면 small octopus bibimmyeon
오픈 레서피 2 신제현의 낙지 비빔면 드로잉
3년 전 친구가 포장해 온 낙지 비빔밥에 양념이 남아서 소면을 비벼 먹은 것이 시작이다. 이후 프랑스 작가들과의 전시에서 프랑스 작가들이 낙지를 한 번도 먹어보지 못했다고 하여 무용수, 음악가와 함께 낙지 비빔면을 만들어 먹는 퍼포먼스를 하였다.
3
menu
복분자 에이드 raspberry ade
3년 전 친구가 포장해 온 낙지 비빔밥에 양념이 남아서
소면을 비벼 먹은 것이 시작이다. 이후 프랑스 작가들과의
전시에서 프랑스 작가들이 낙지를 한 번도 먹어보지
못했다고 하여 무용수, 음악가와 함께 낙지 비빔면을
만들어 먹는 퍼포먼스를 하였다.
design without Design open recipe

design without Design
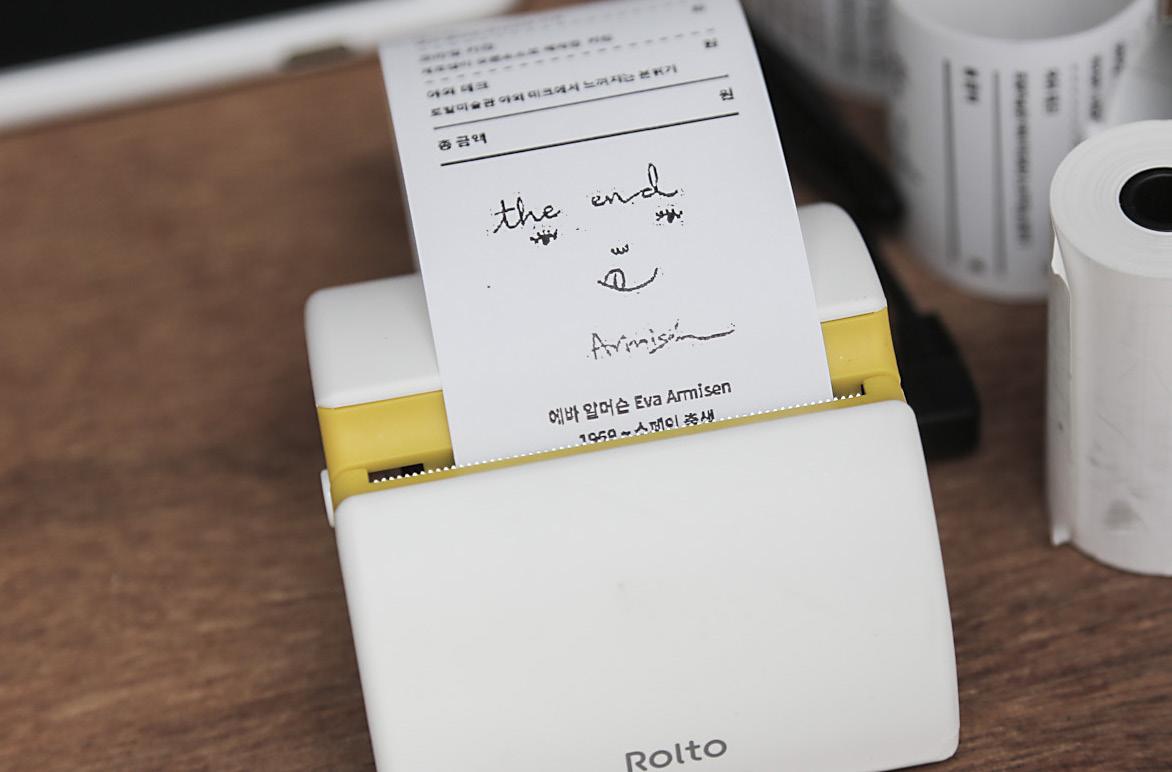
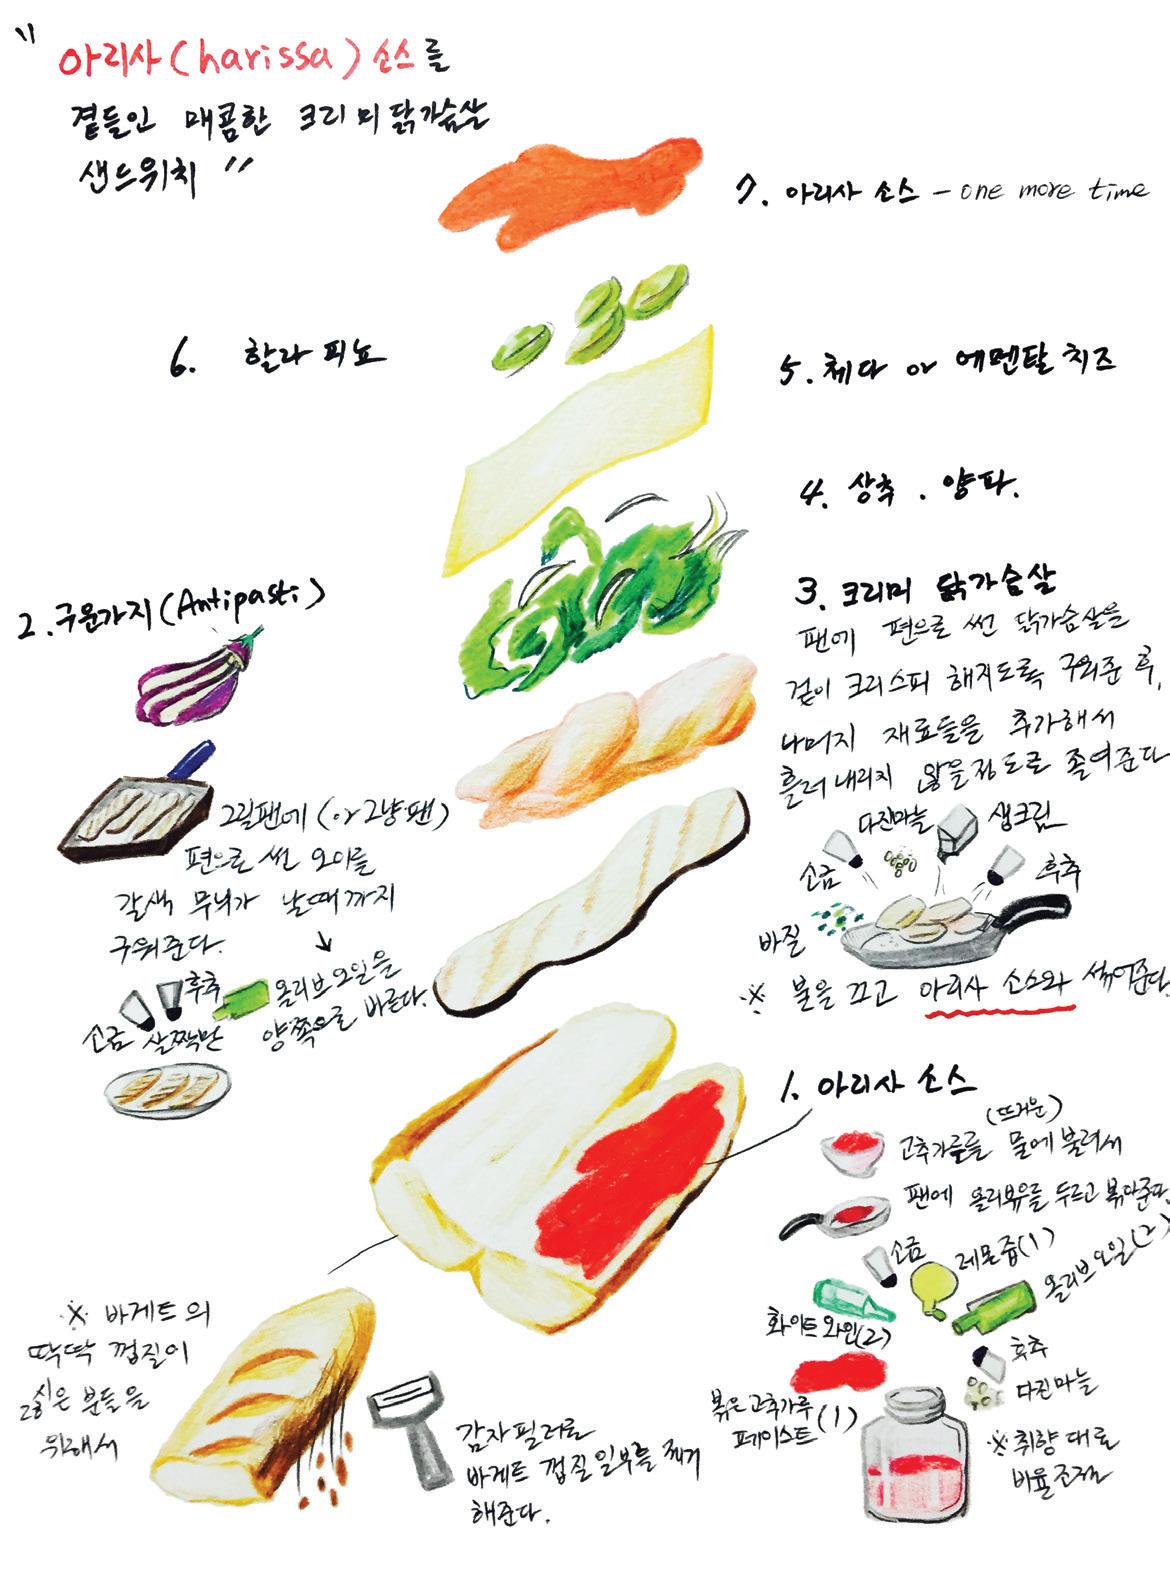
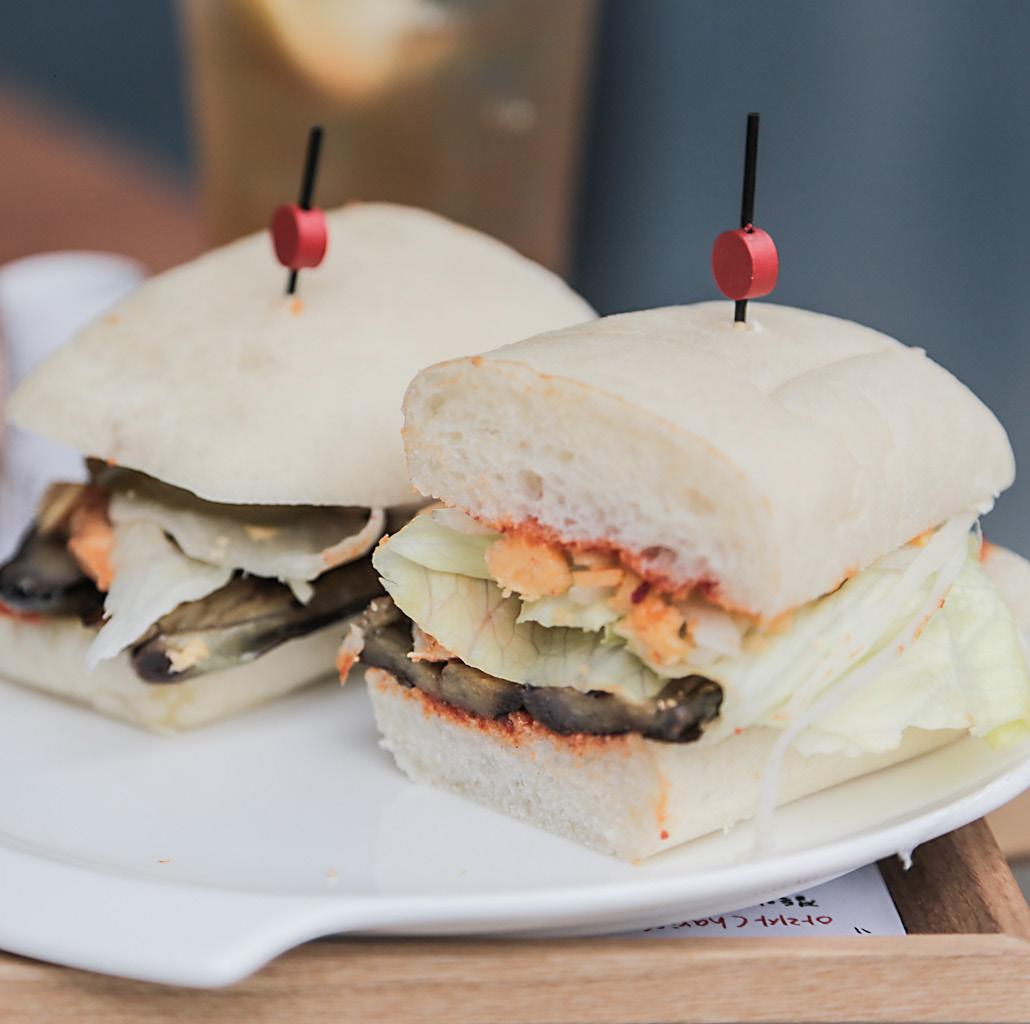
에바 알머슨 Eva Armisen 1969~스페인 출생
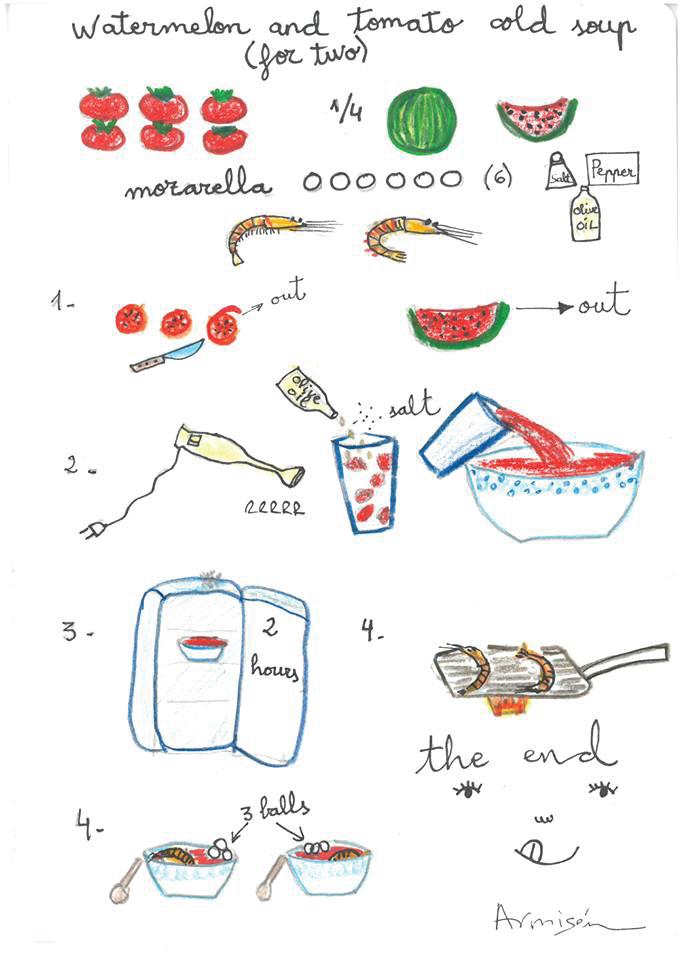
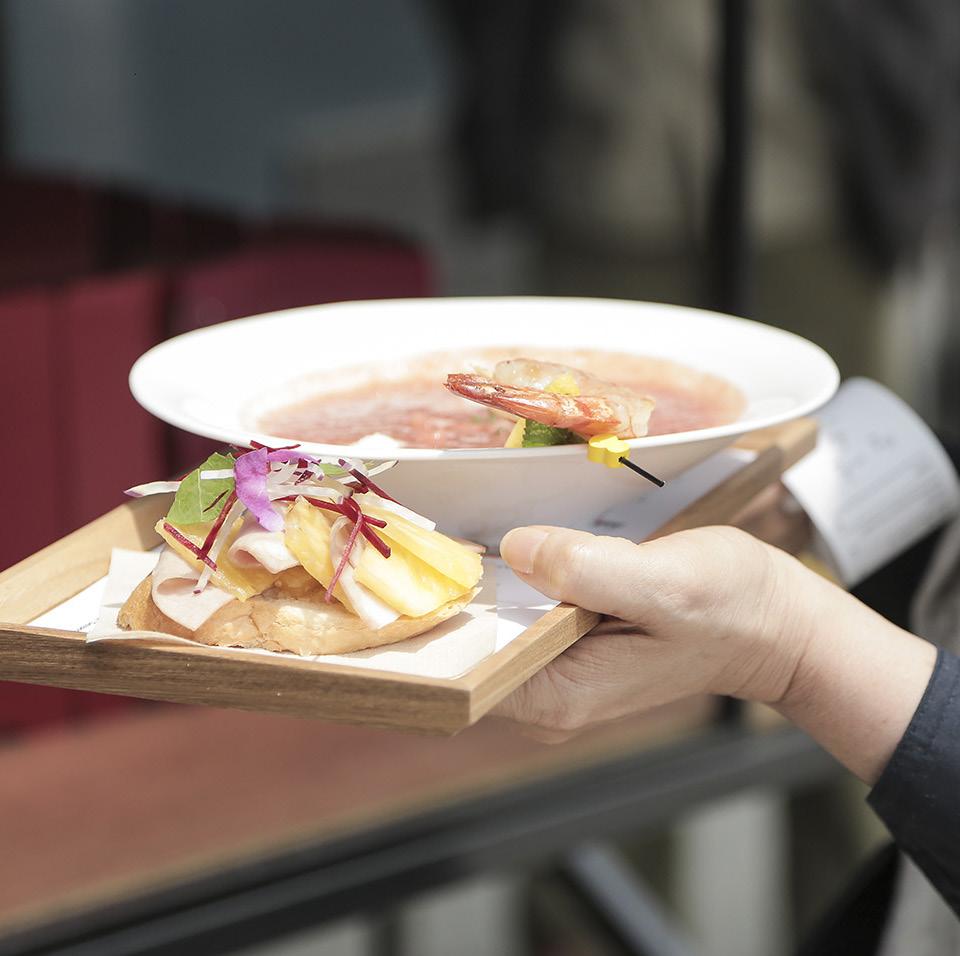
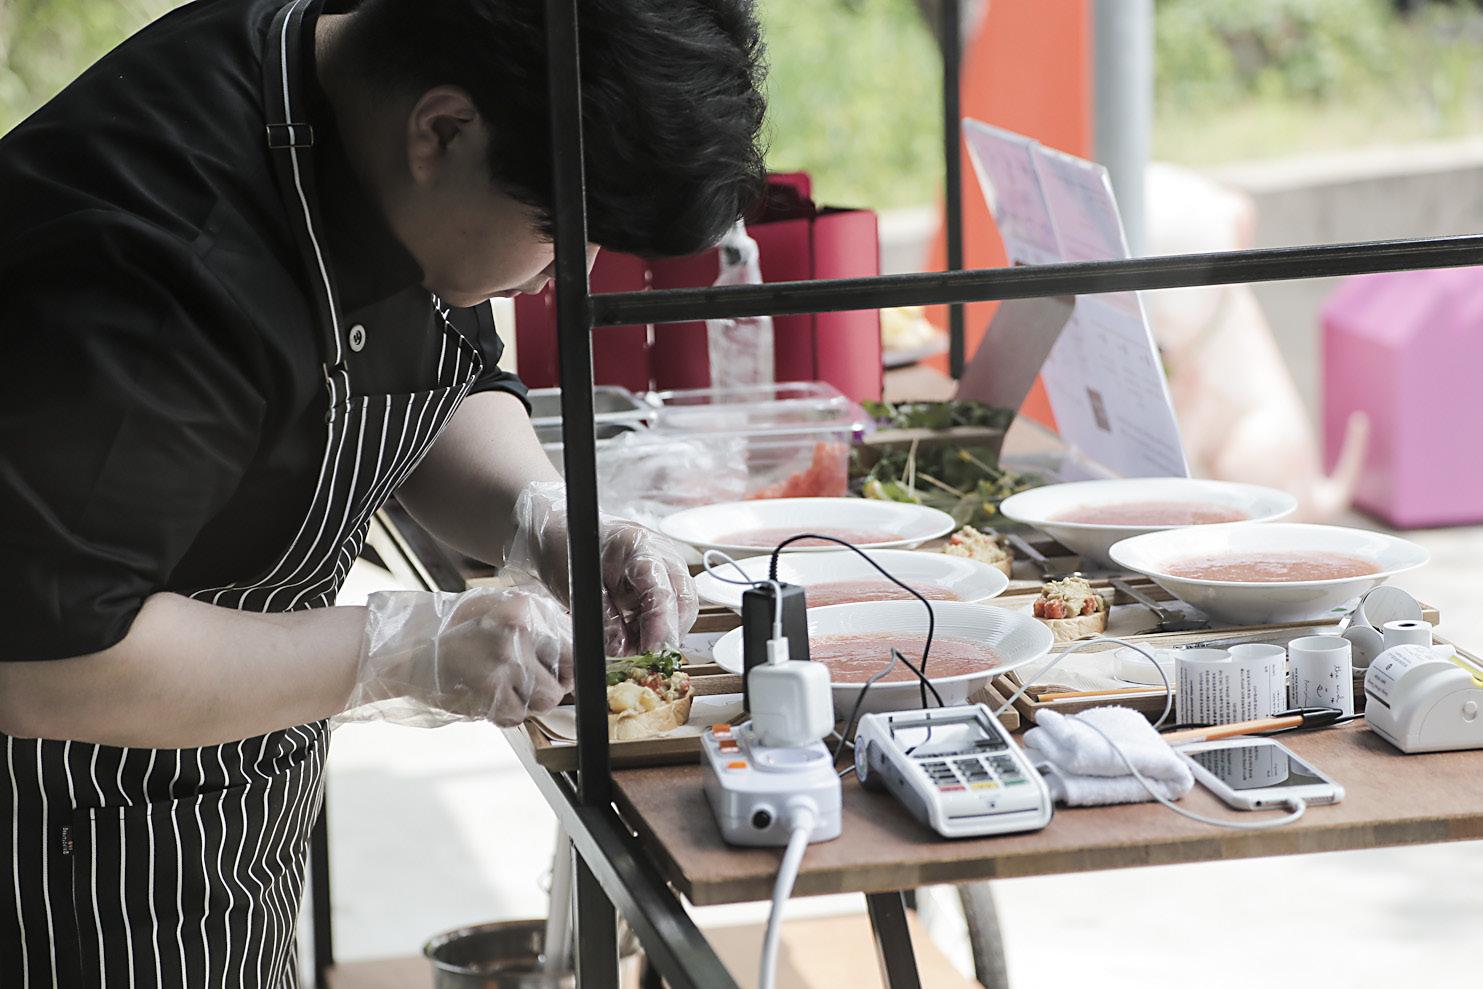
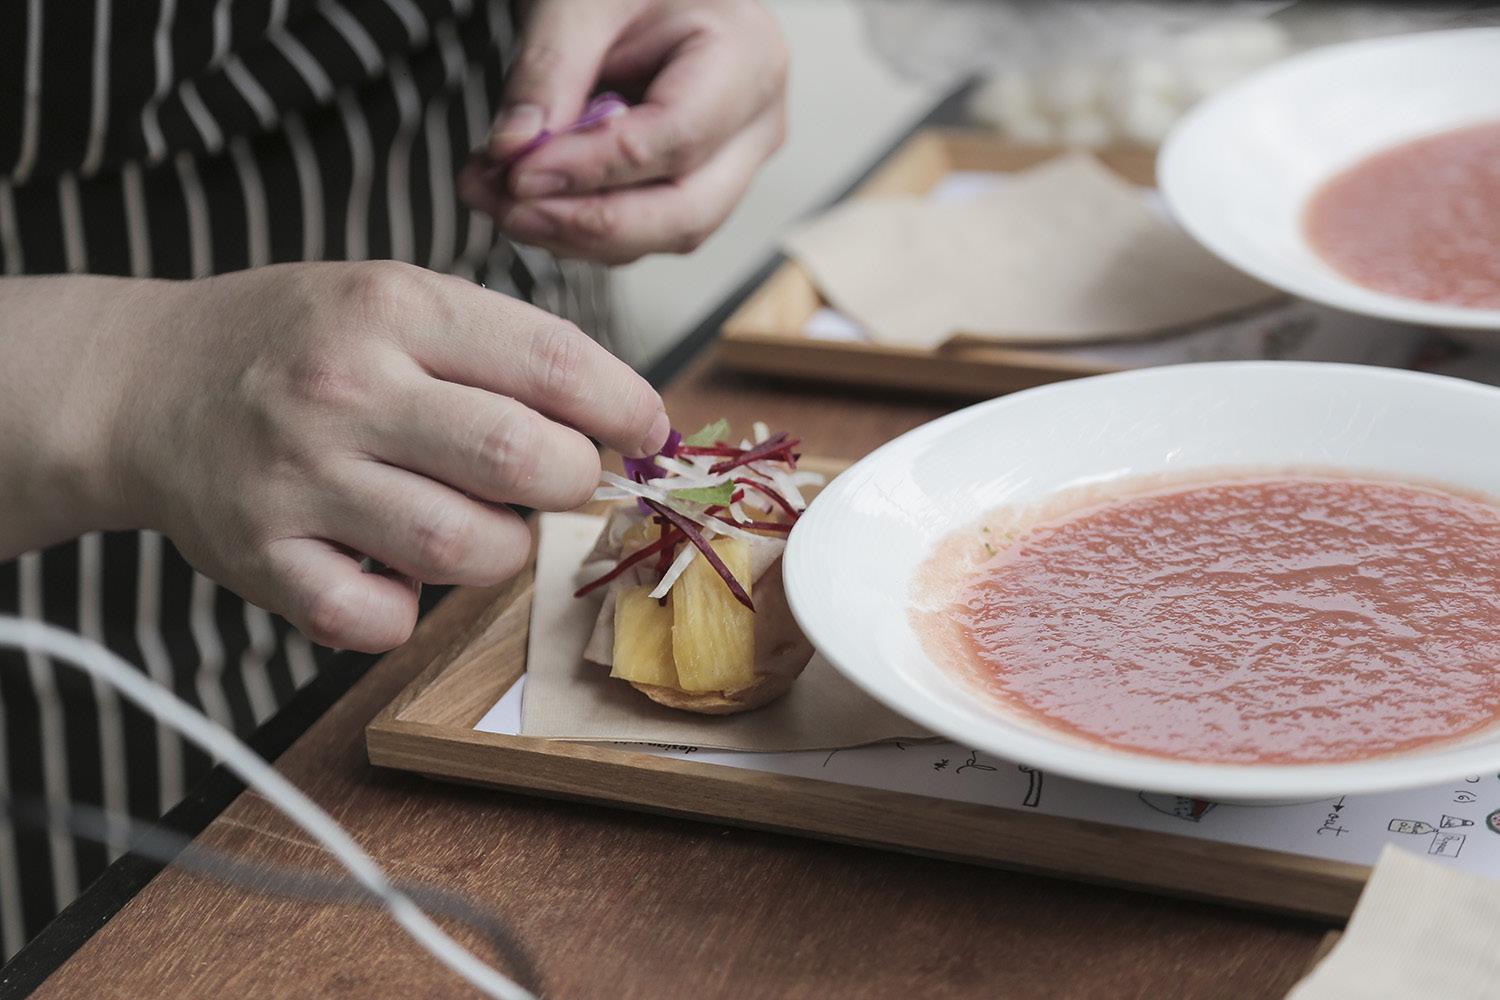
1 menu 토마토 콜드 스프 gazpacho
bruschetta
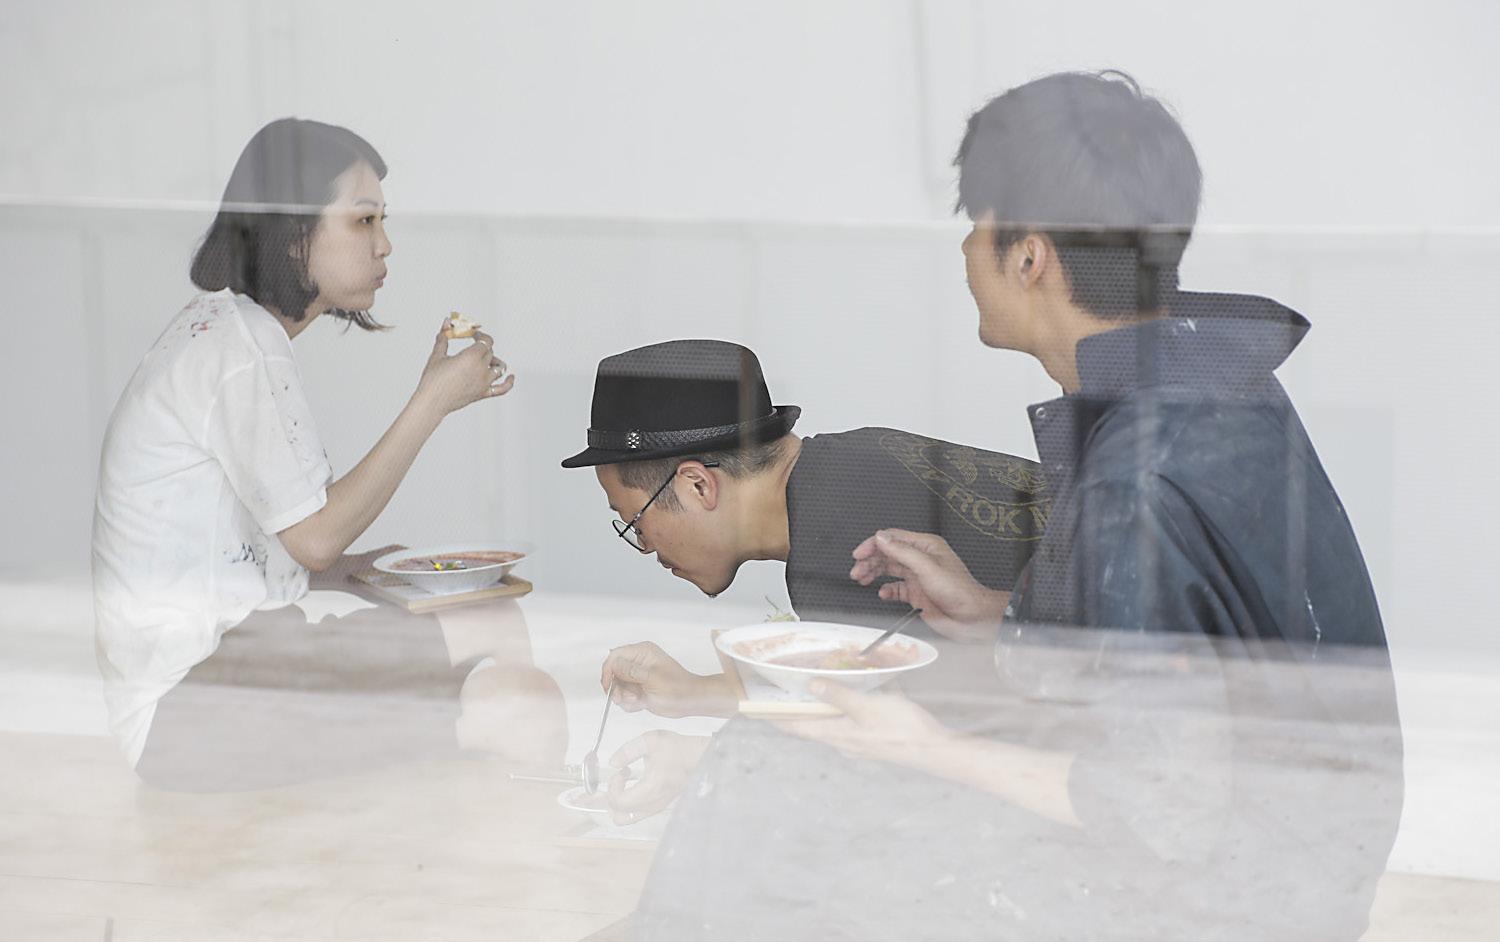
Eva Armisen - Gazpacho
“The food. This soup is ideal from summer. It is refreshing and energetic. A revision of the traditional spanish ‘Gazpacho’.
design without Design open recipe
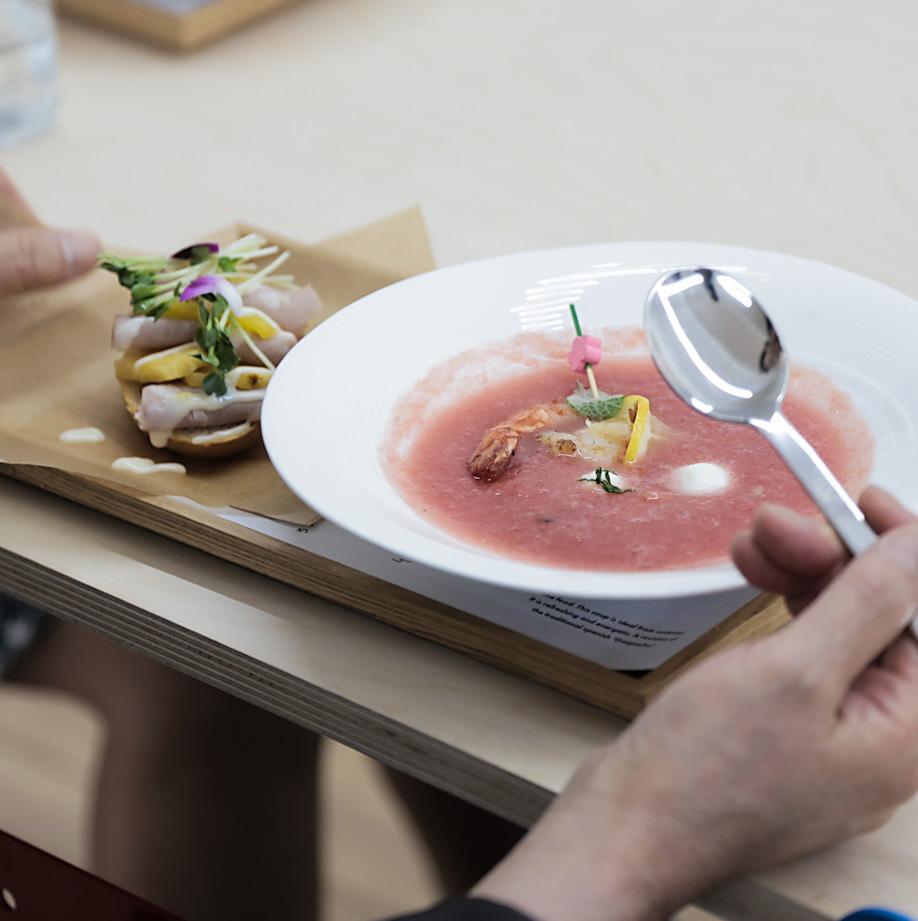
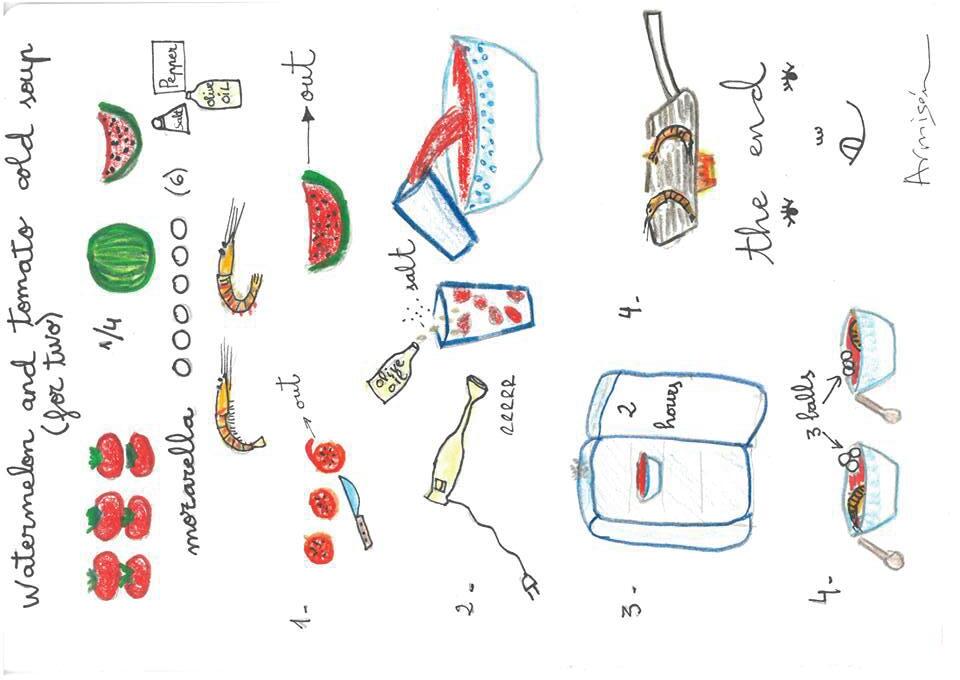
“The food. This soup is ideal from summer. It is refreshing and energetic. A revision of the traditional spanish ‘Gazpacho’.

Eva Armisen - Gazpacho
design without Design open recipe

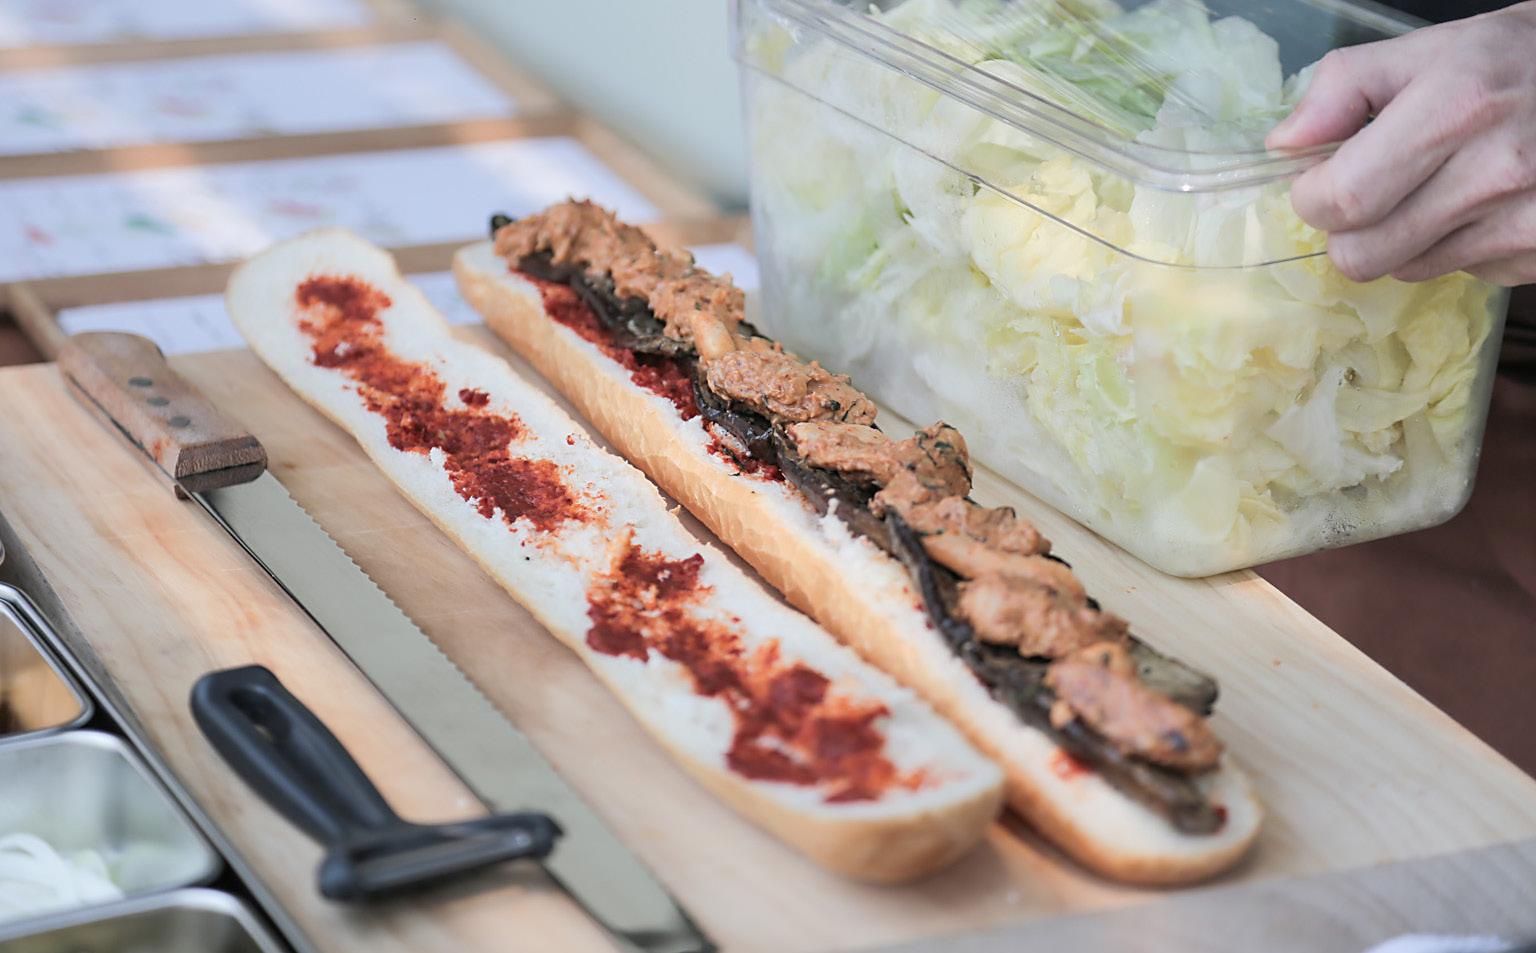
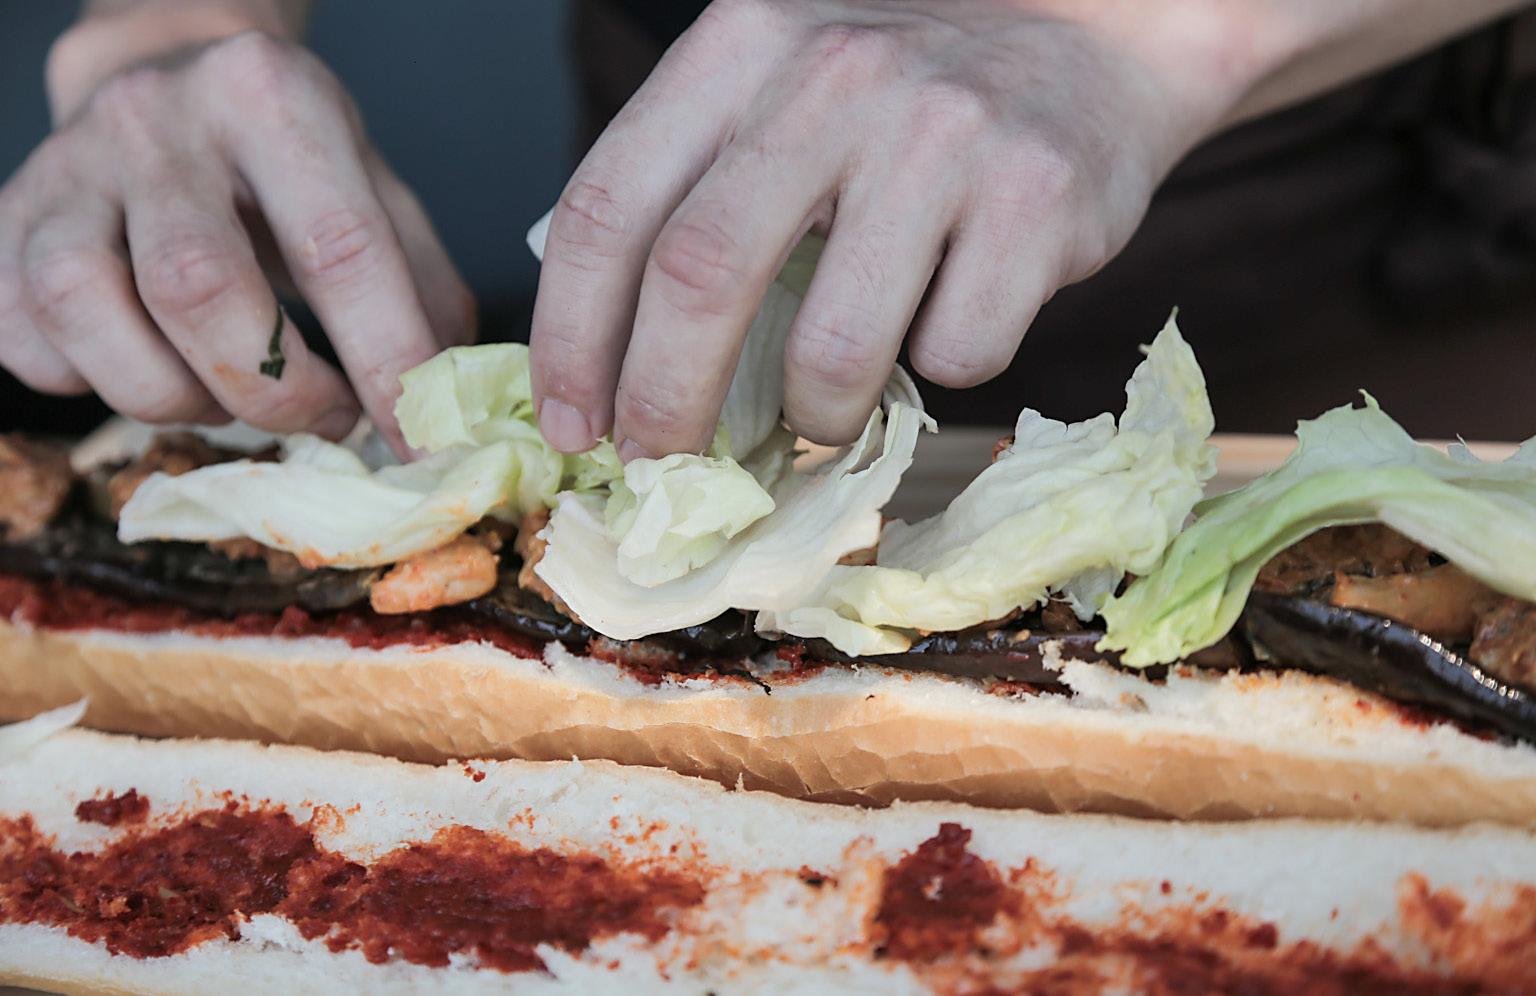
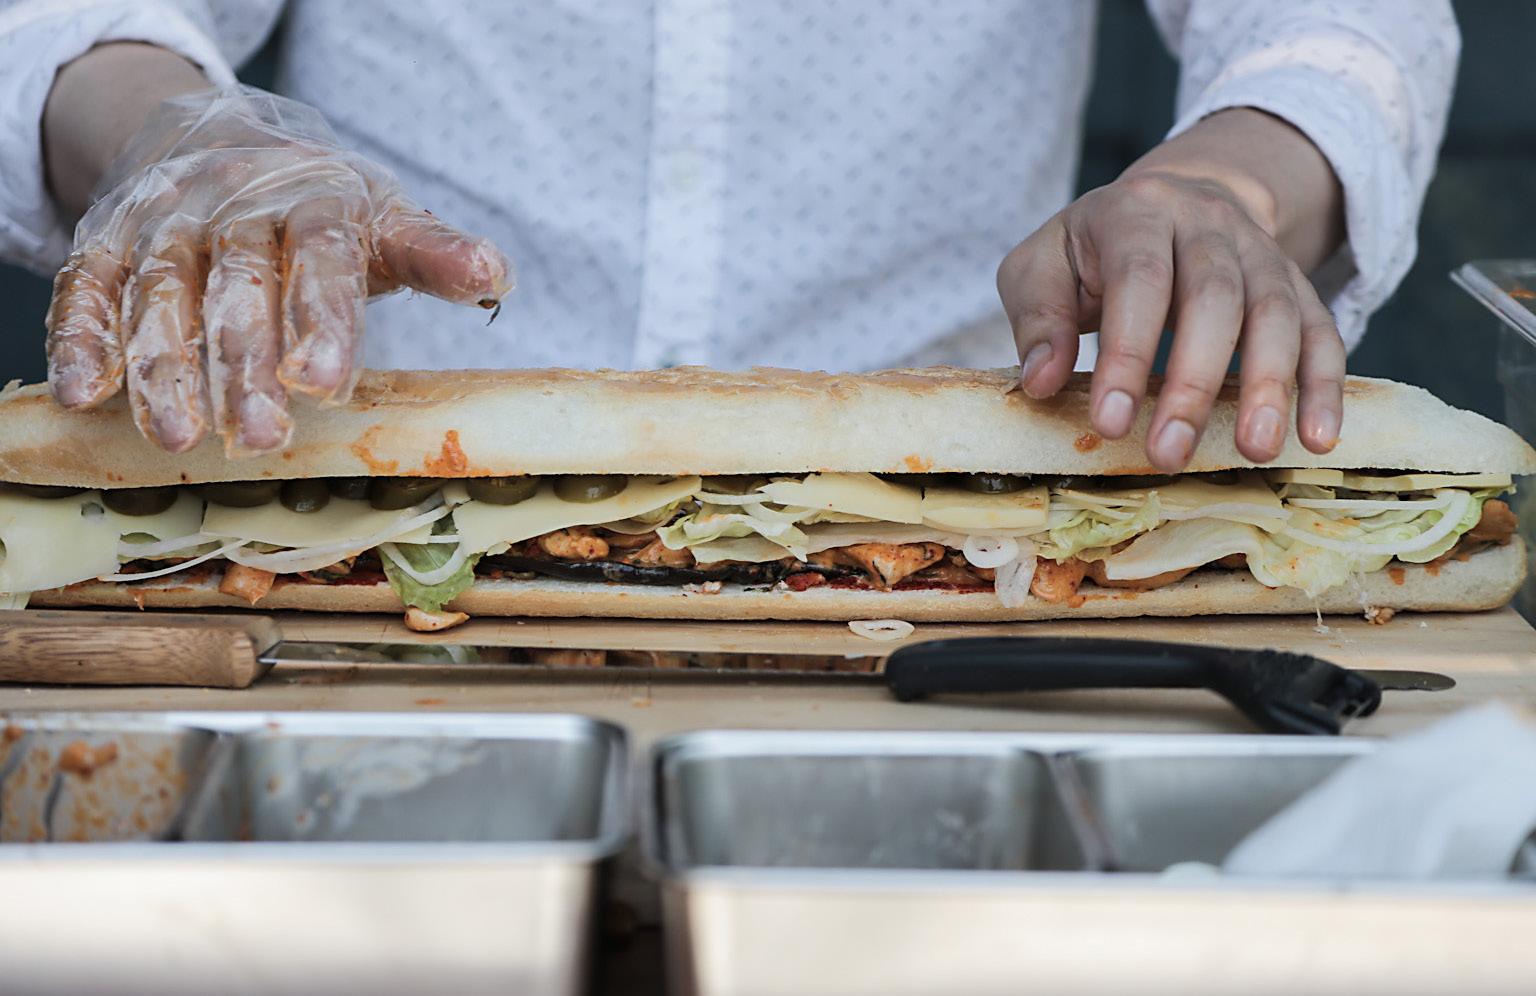
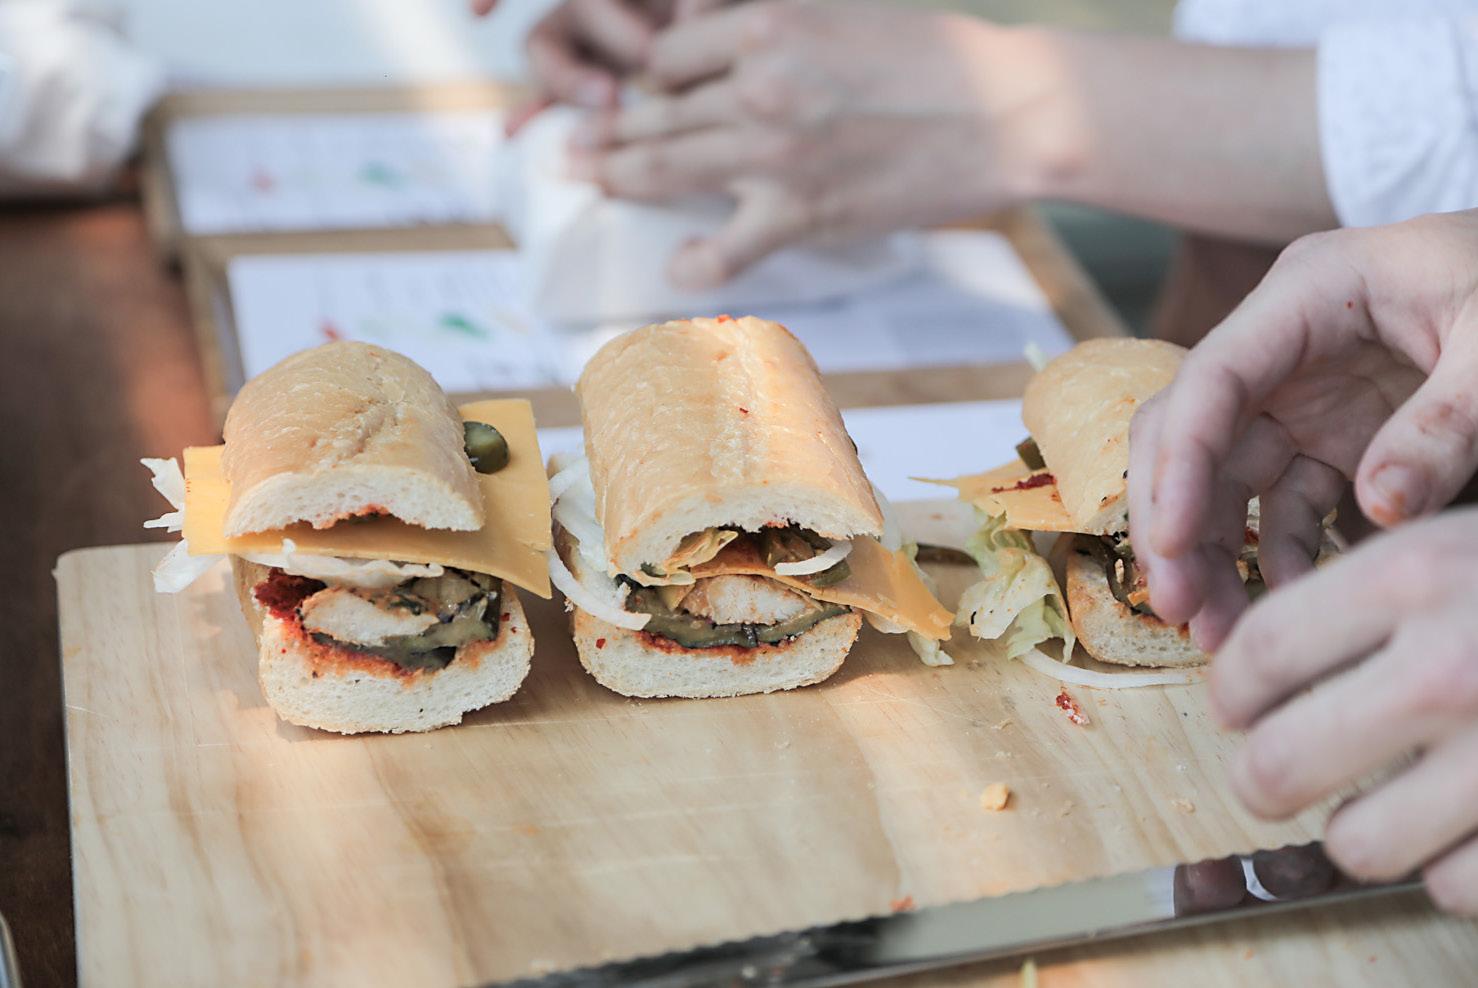
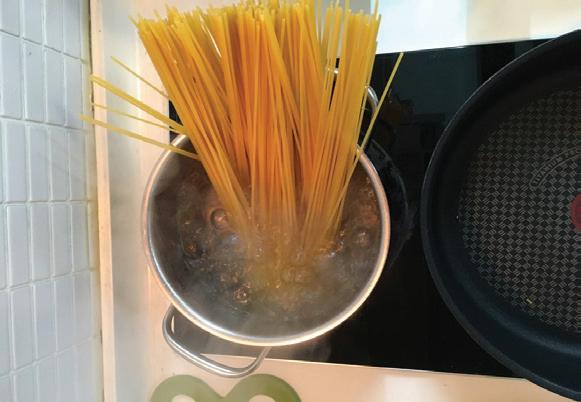
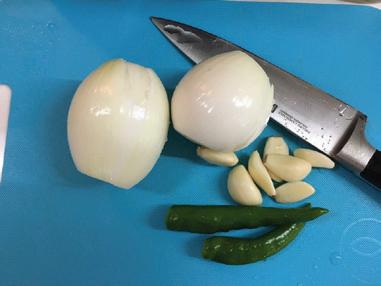
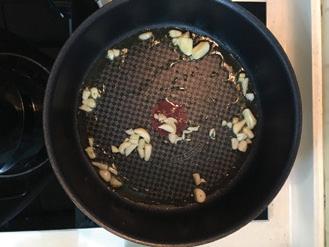
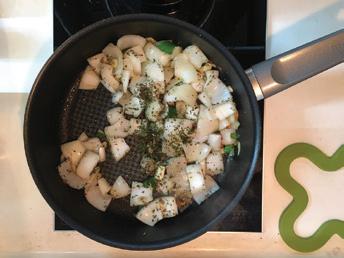

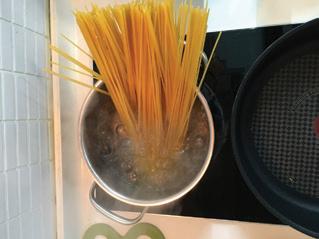
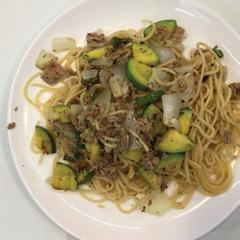
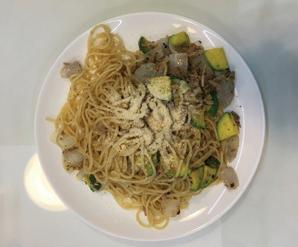
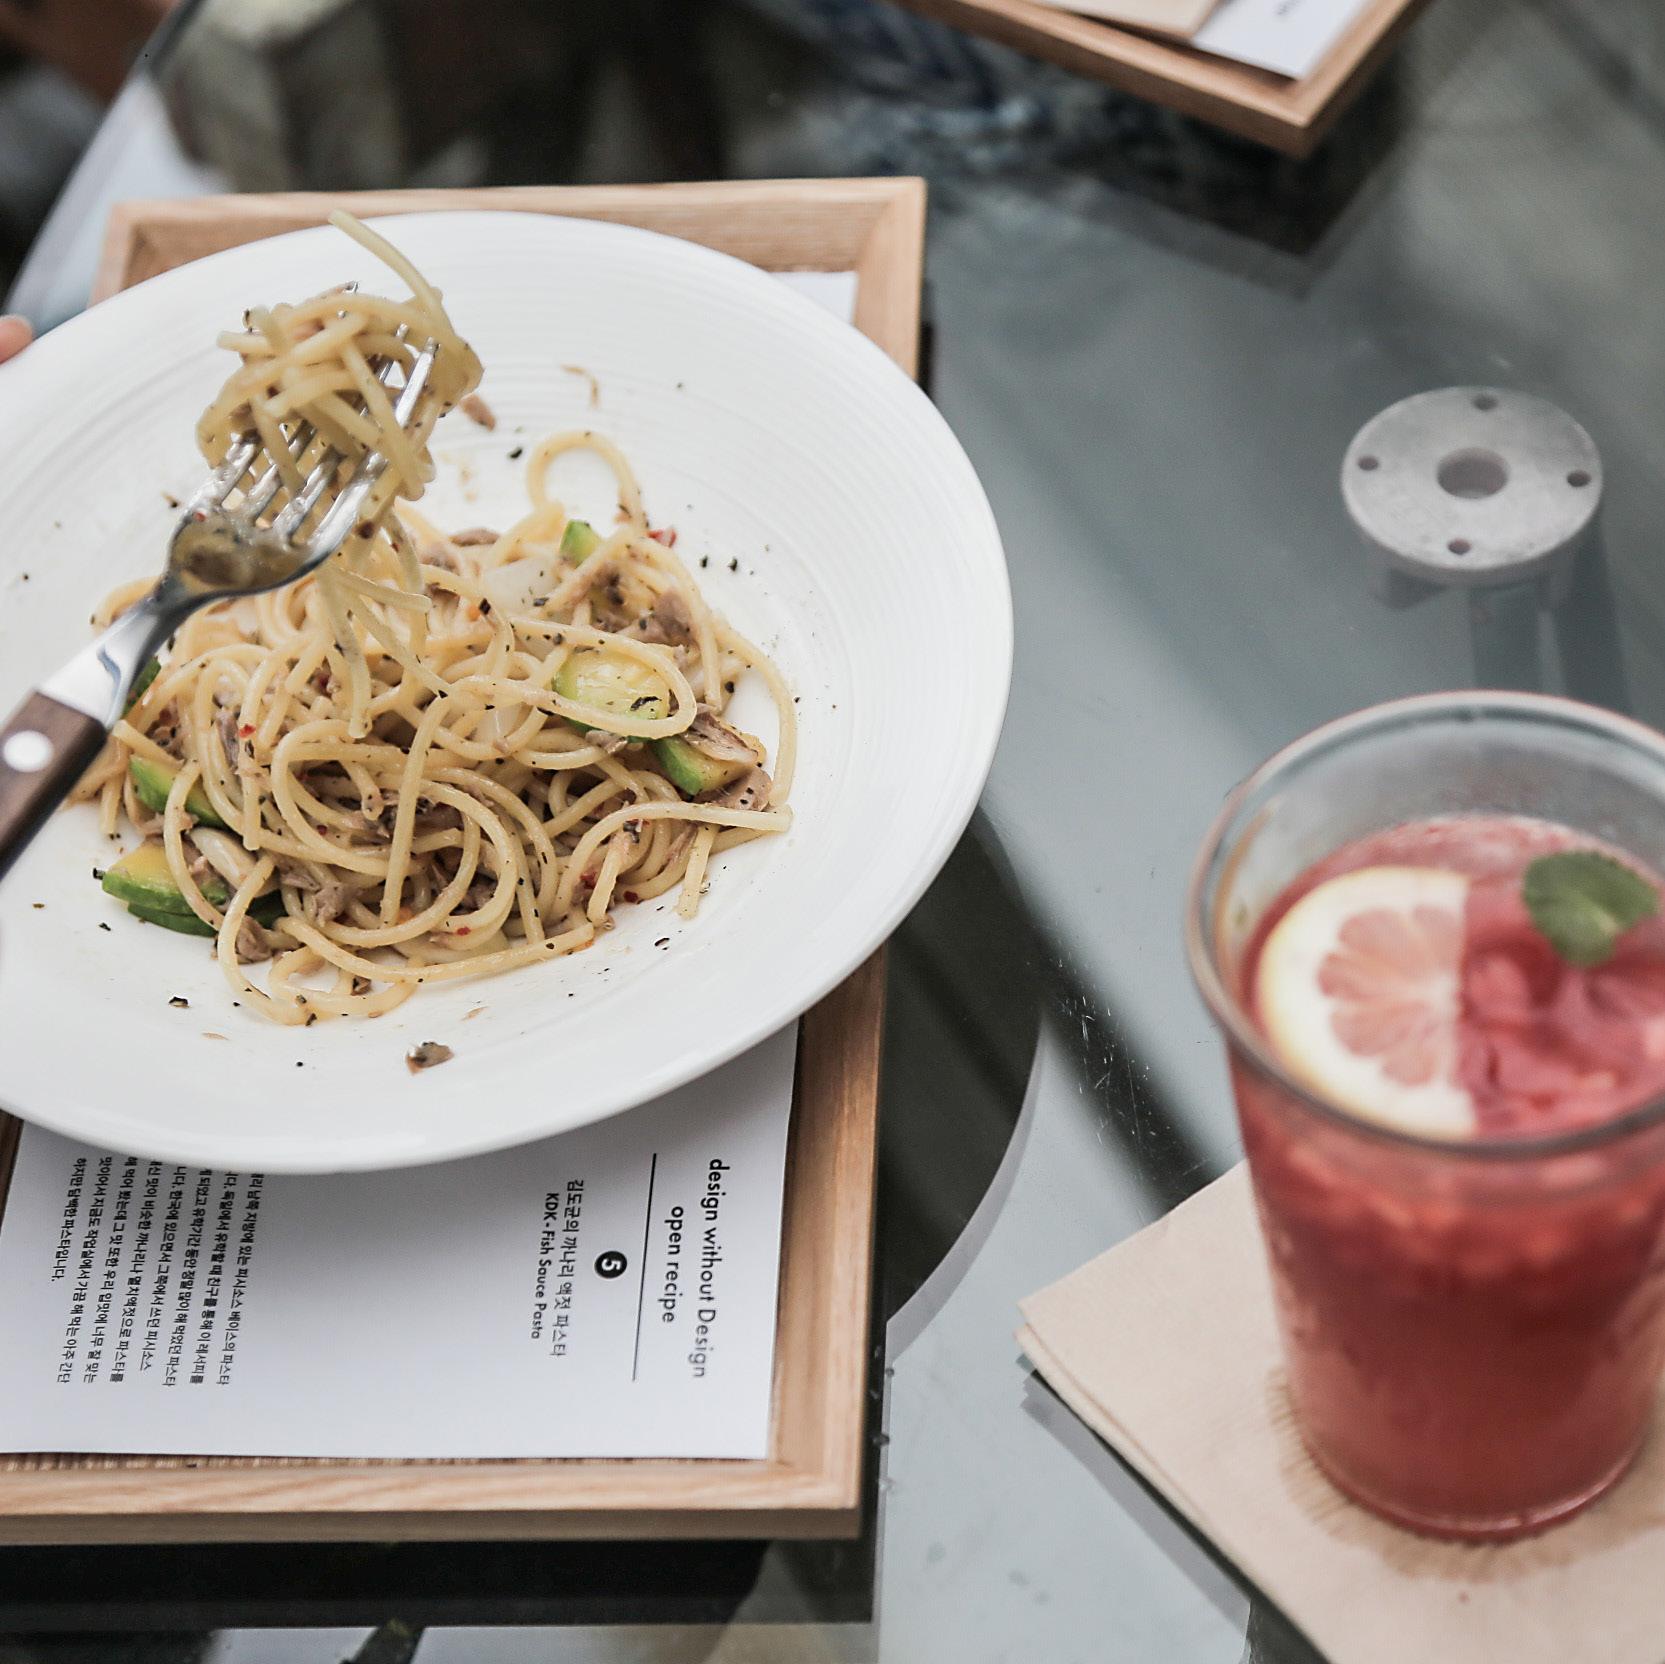
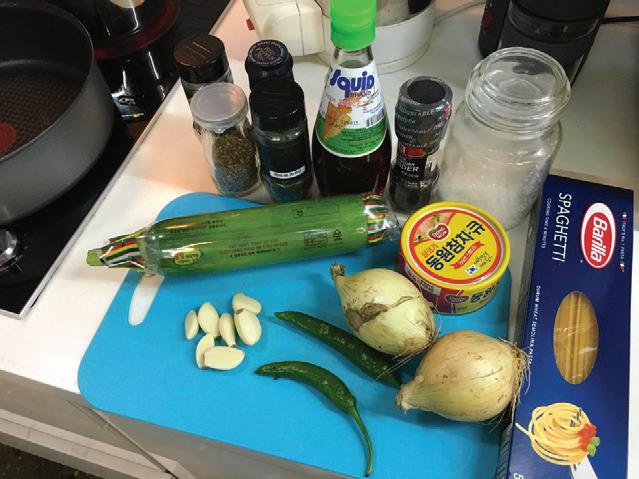
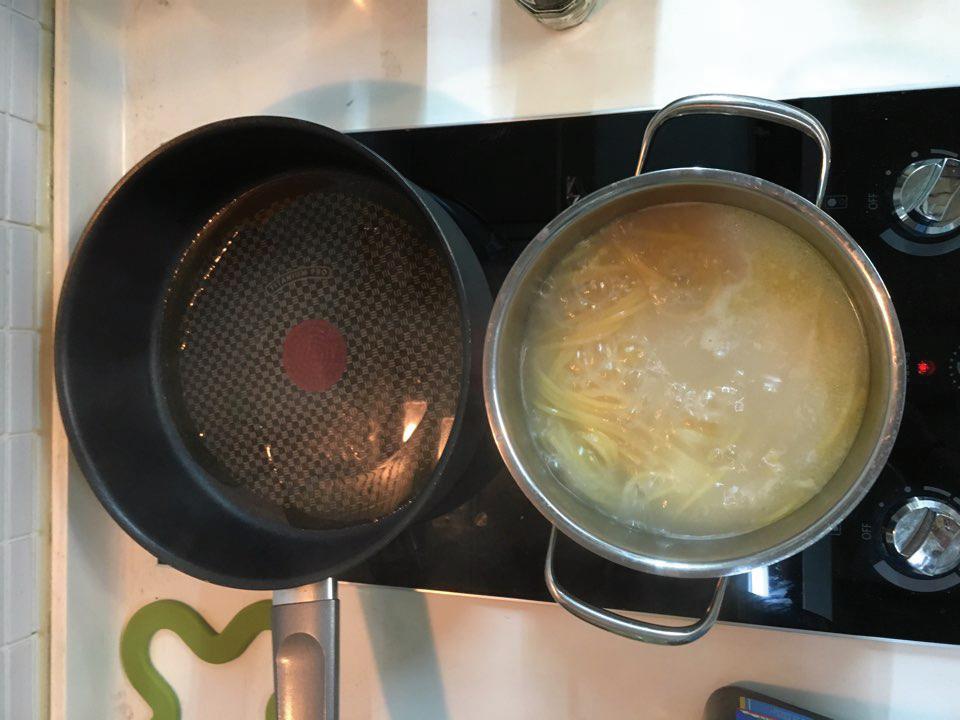
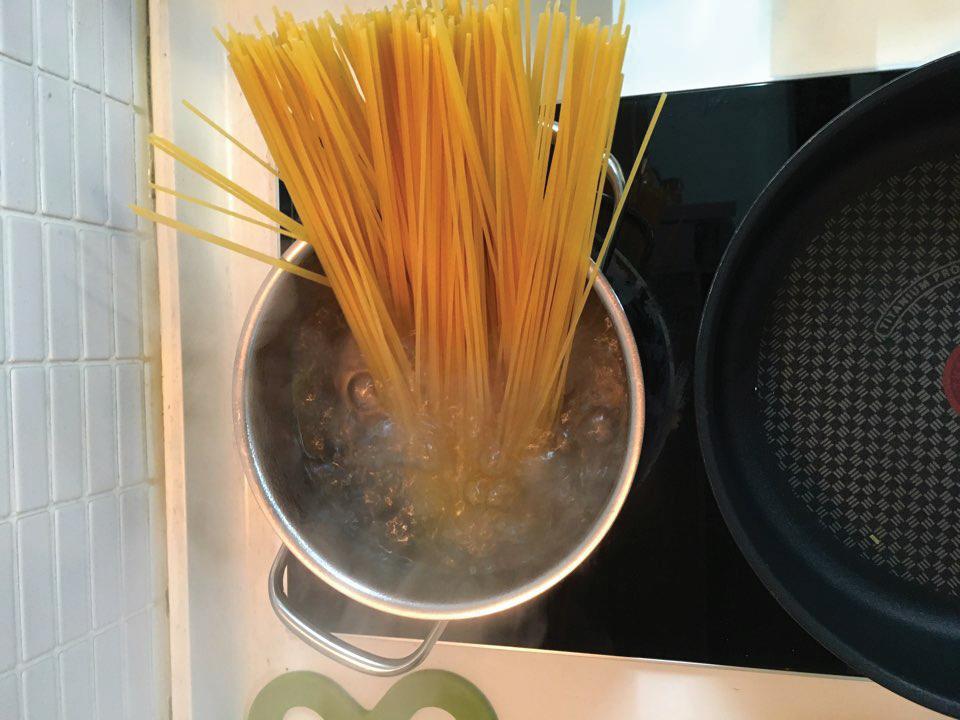
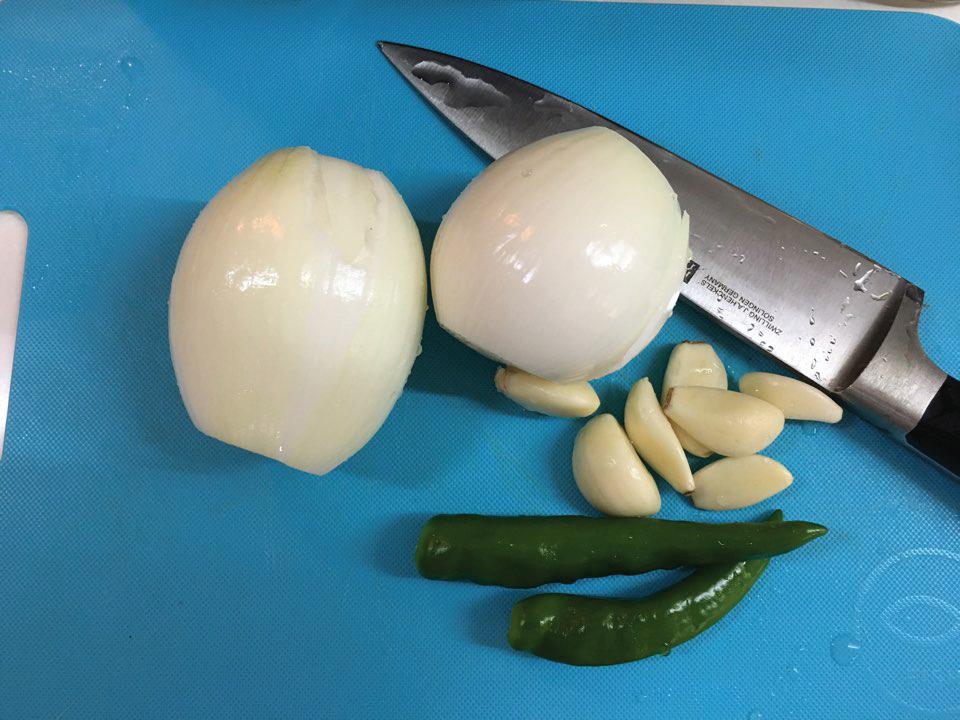
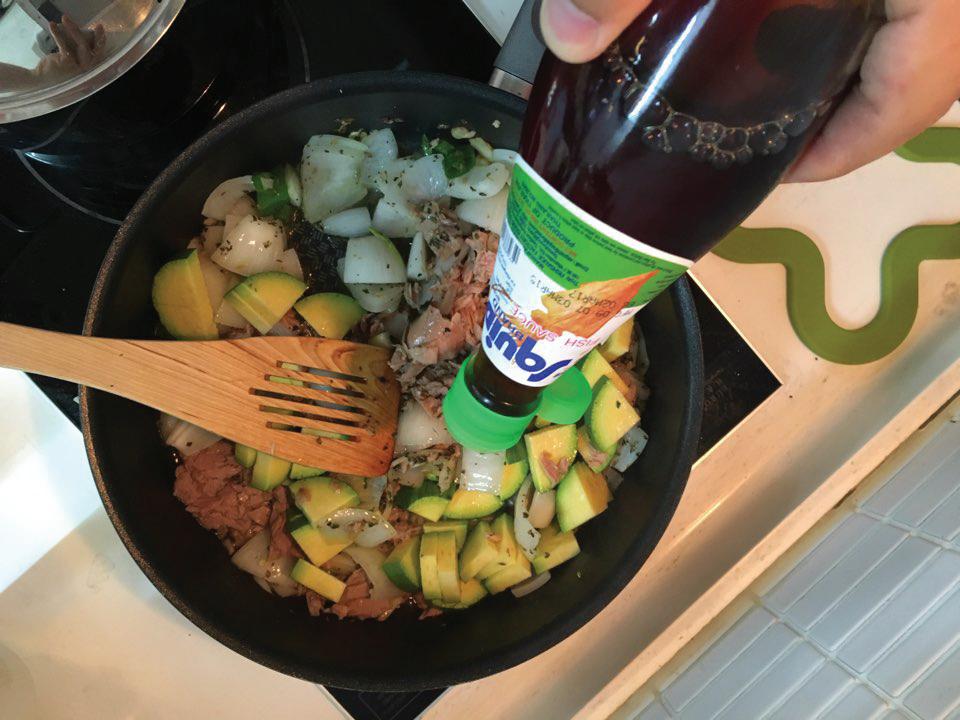
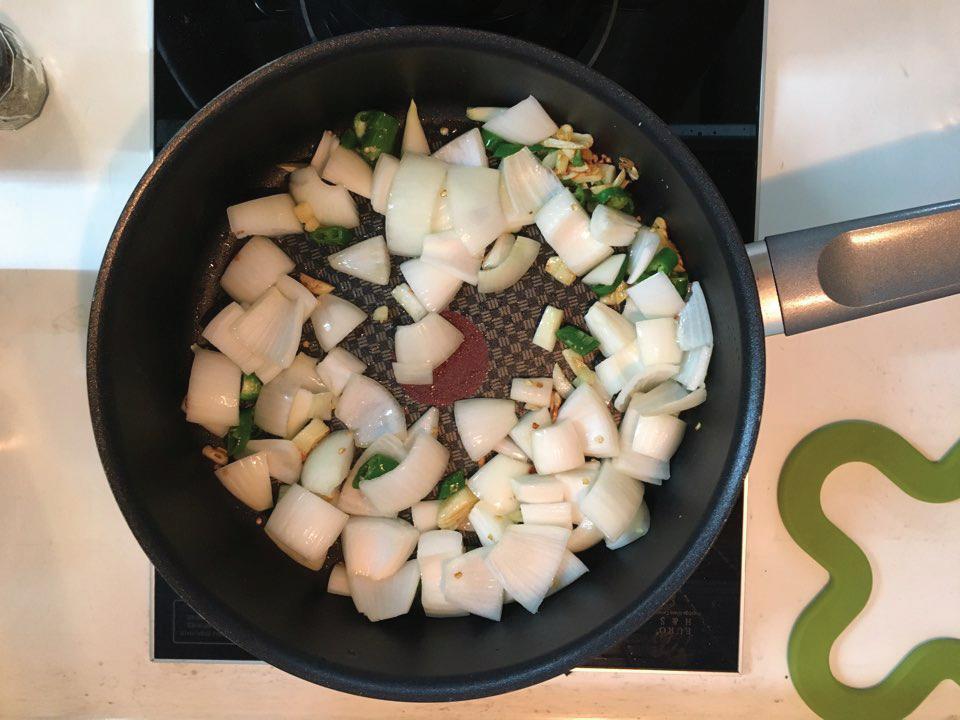
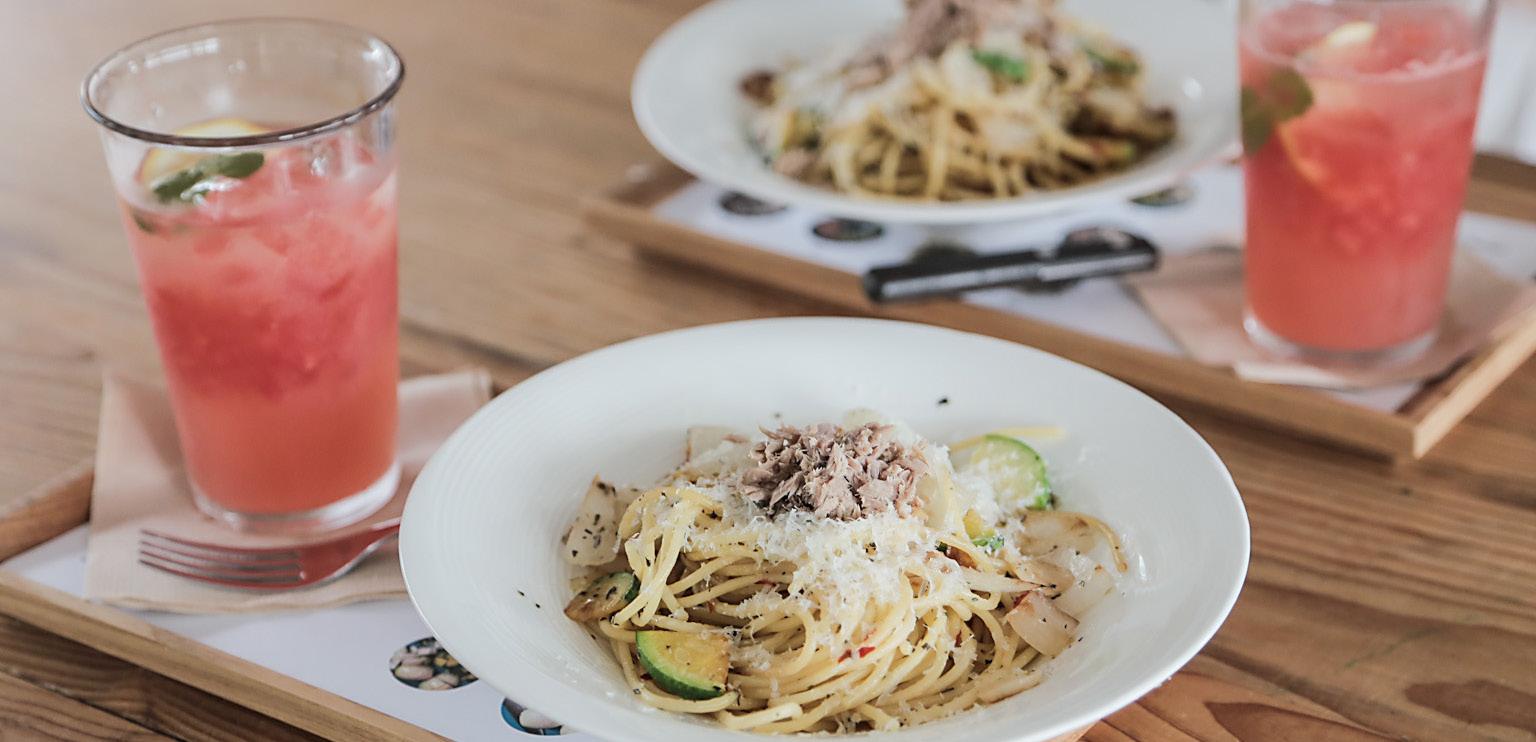
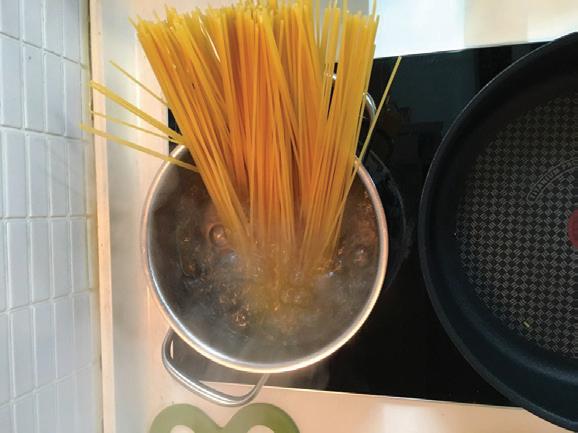
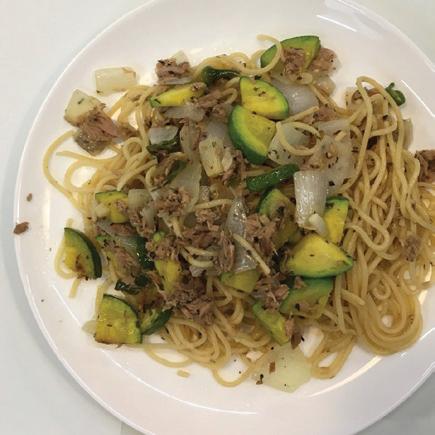
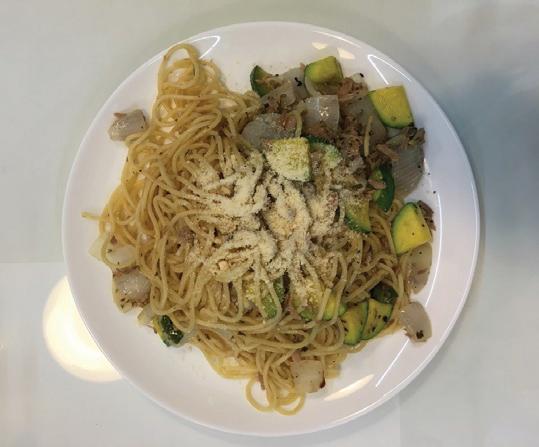

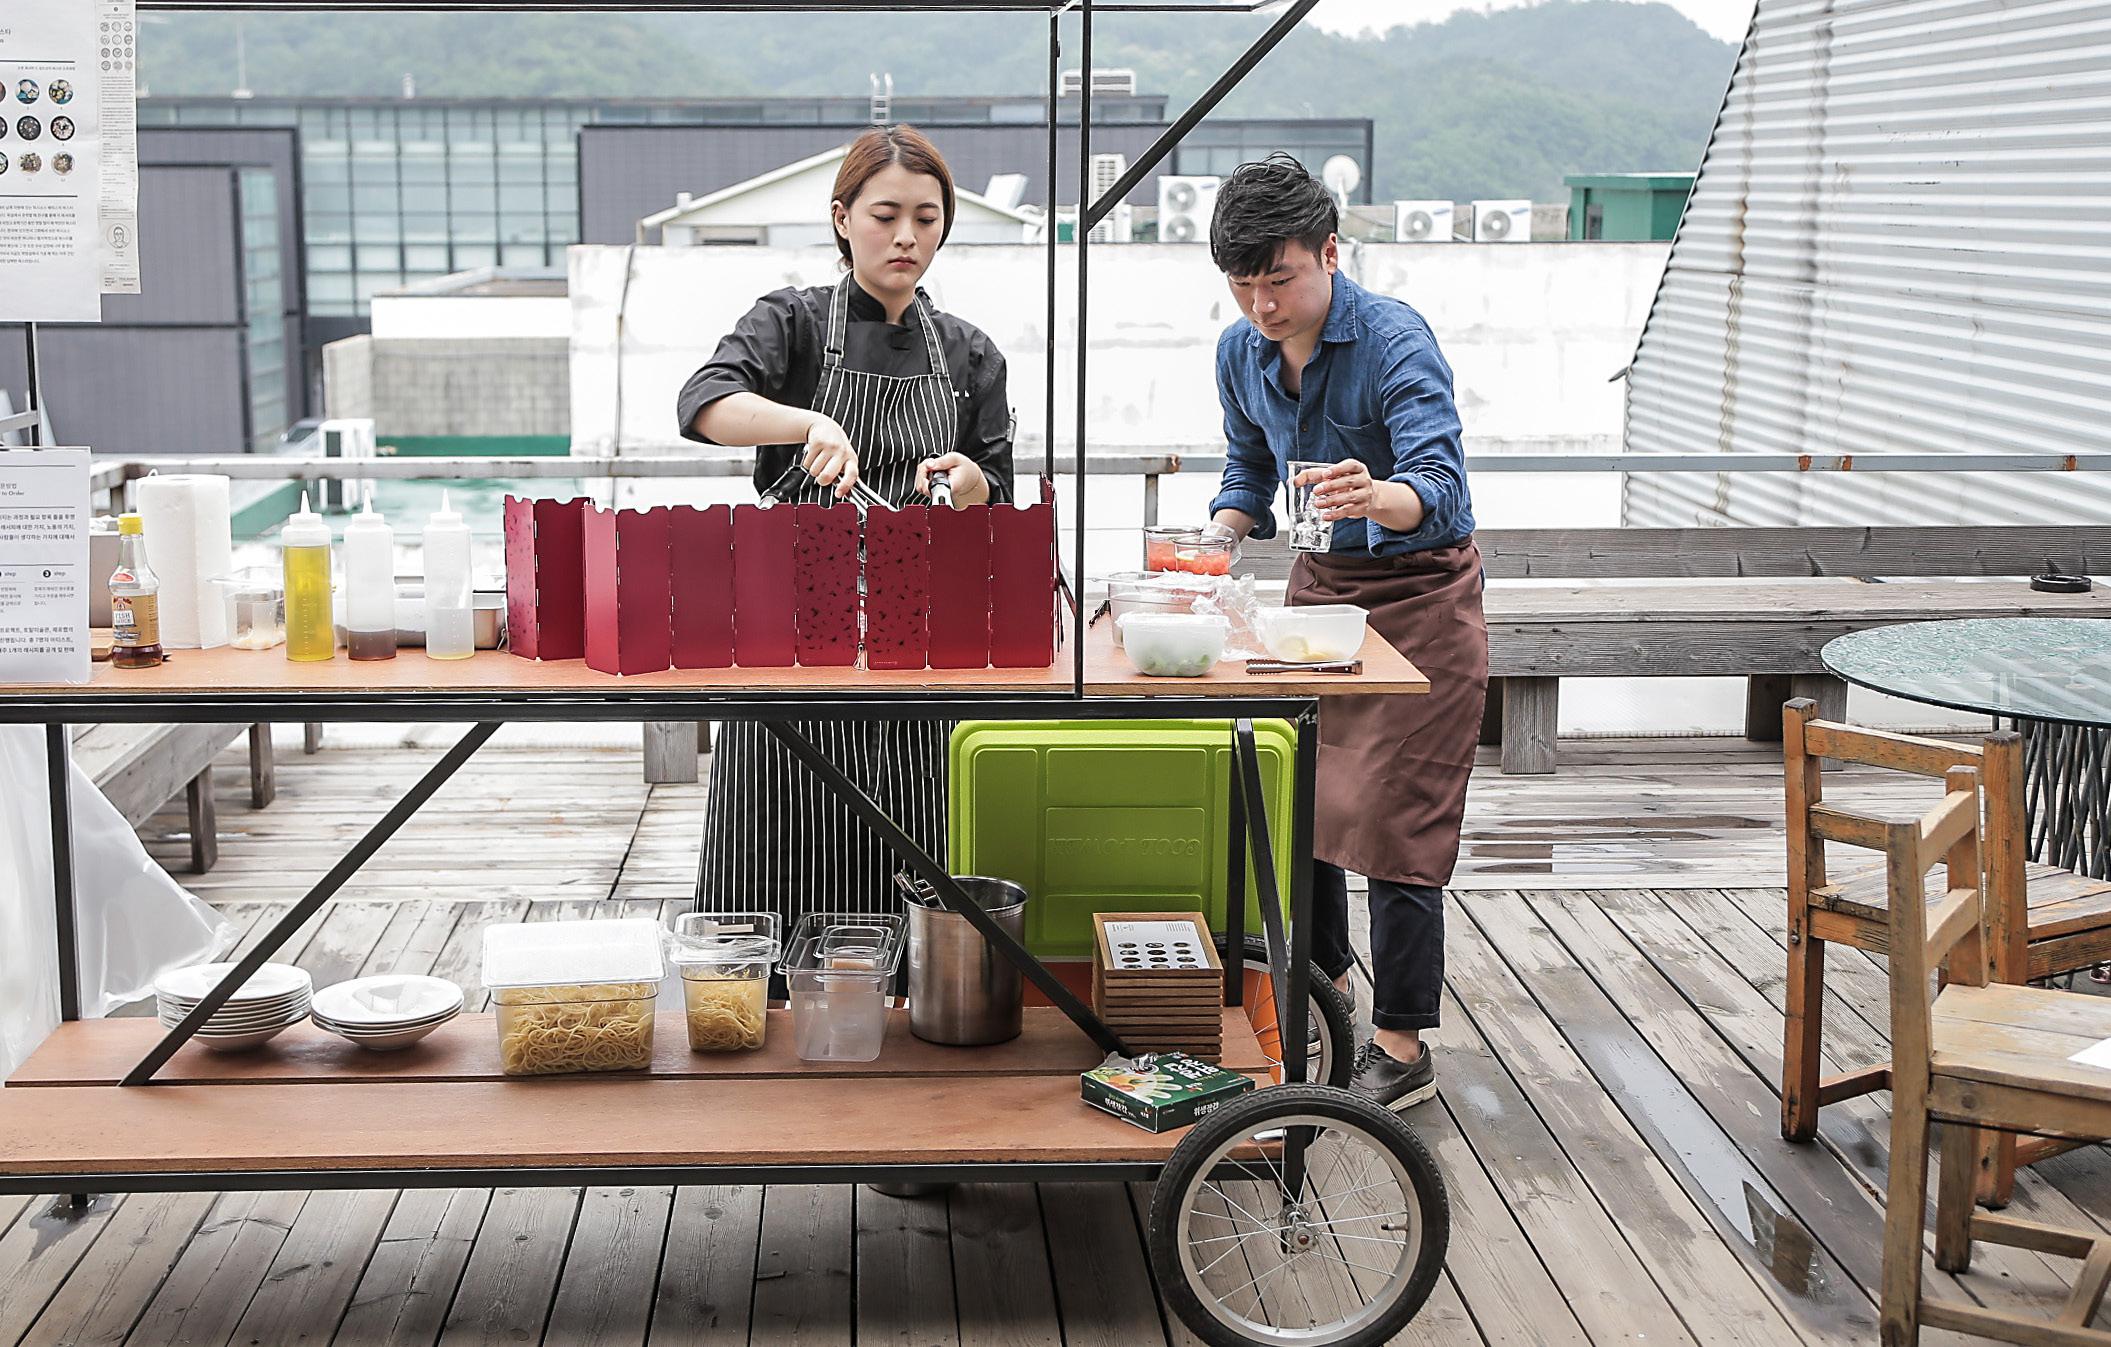
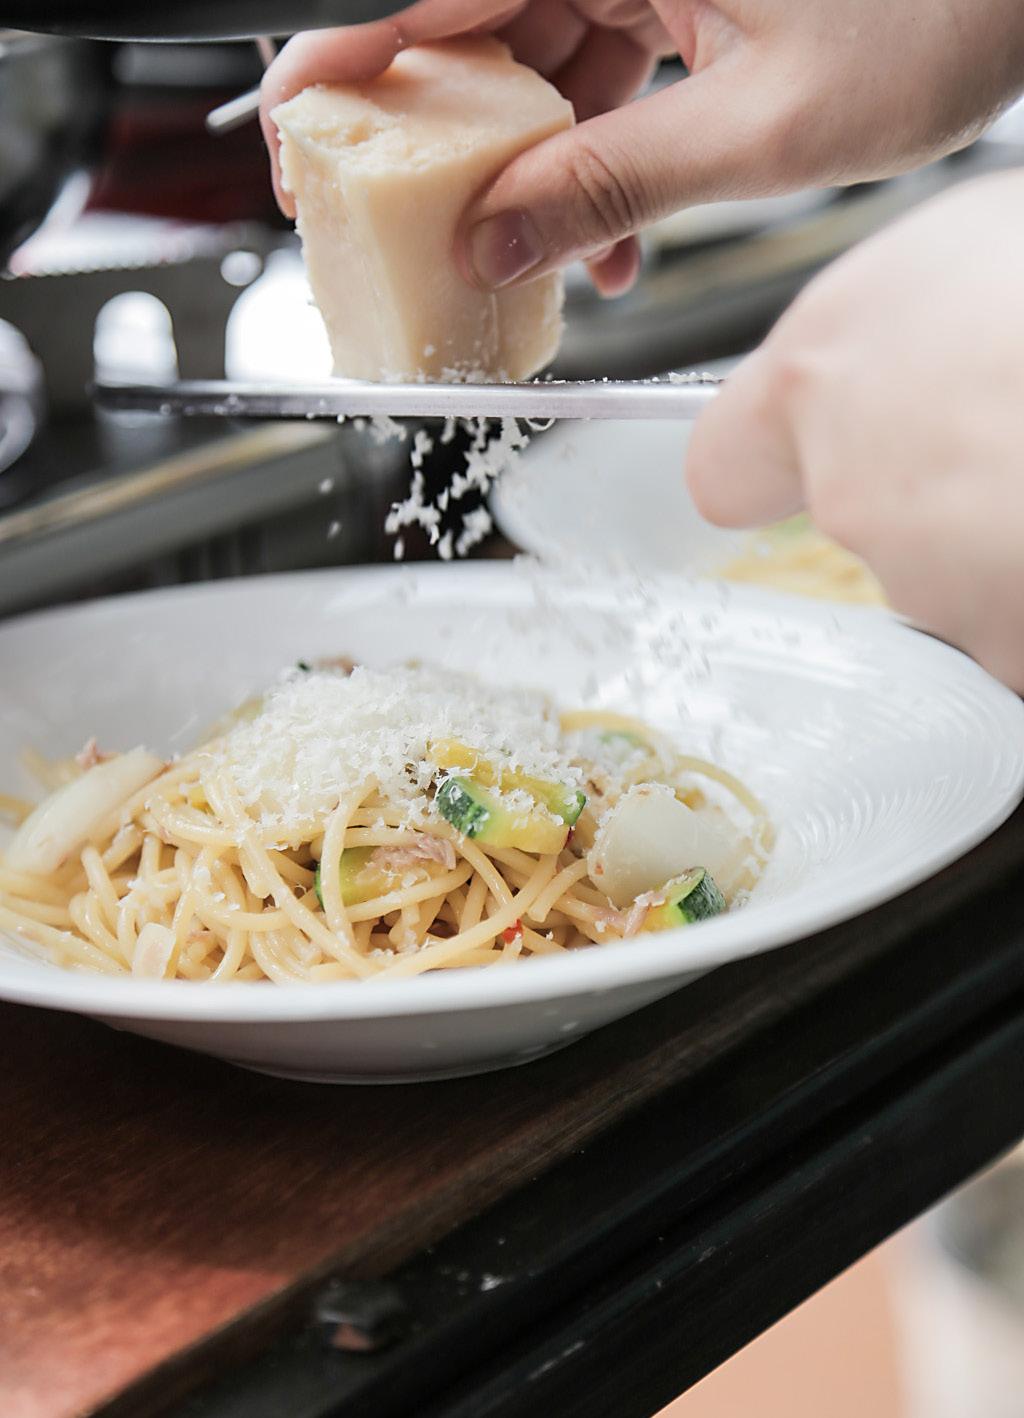
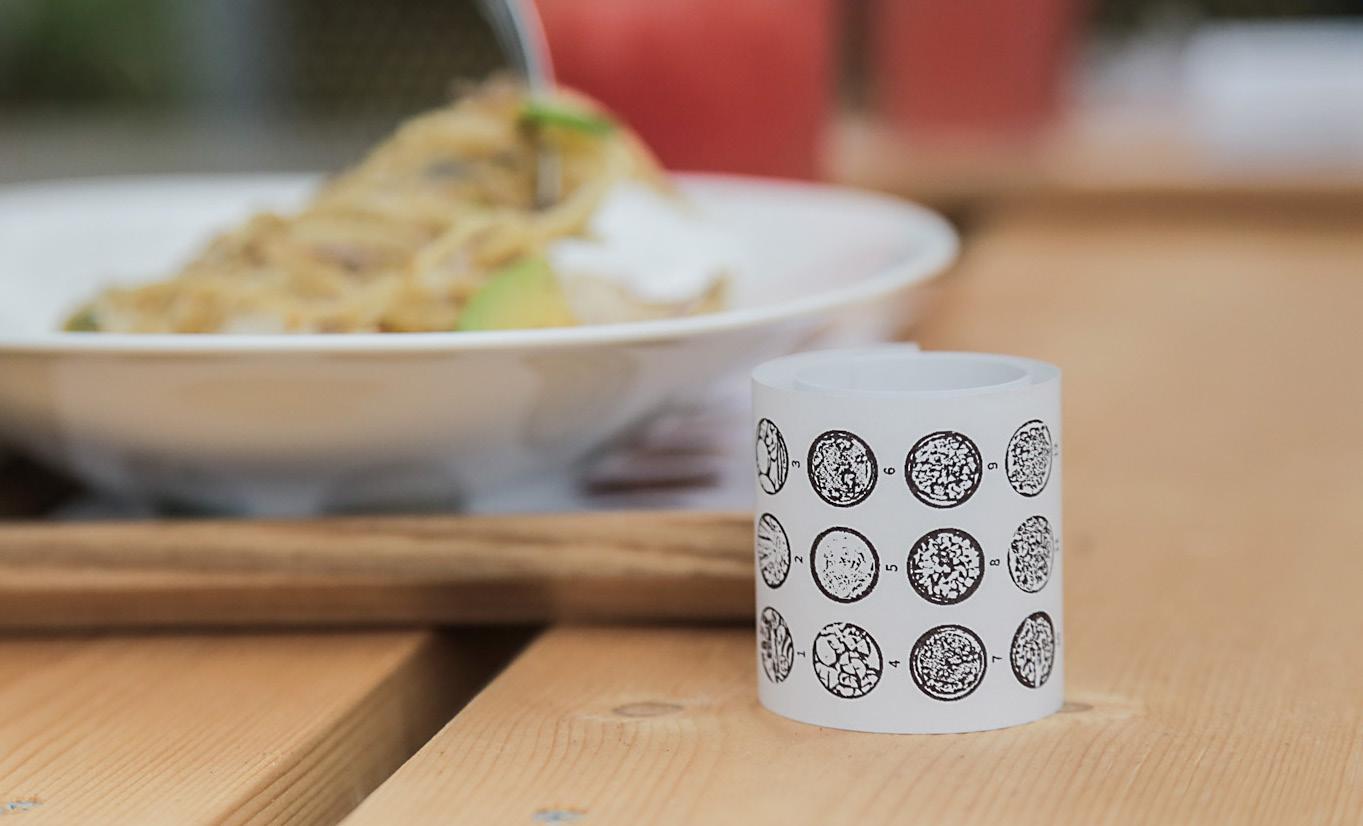
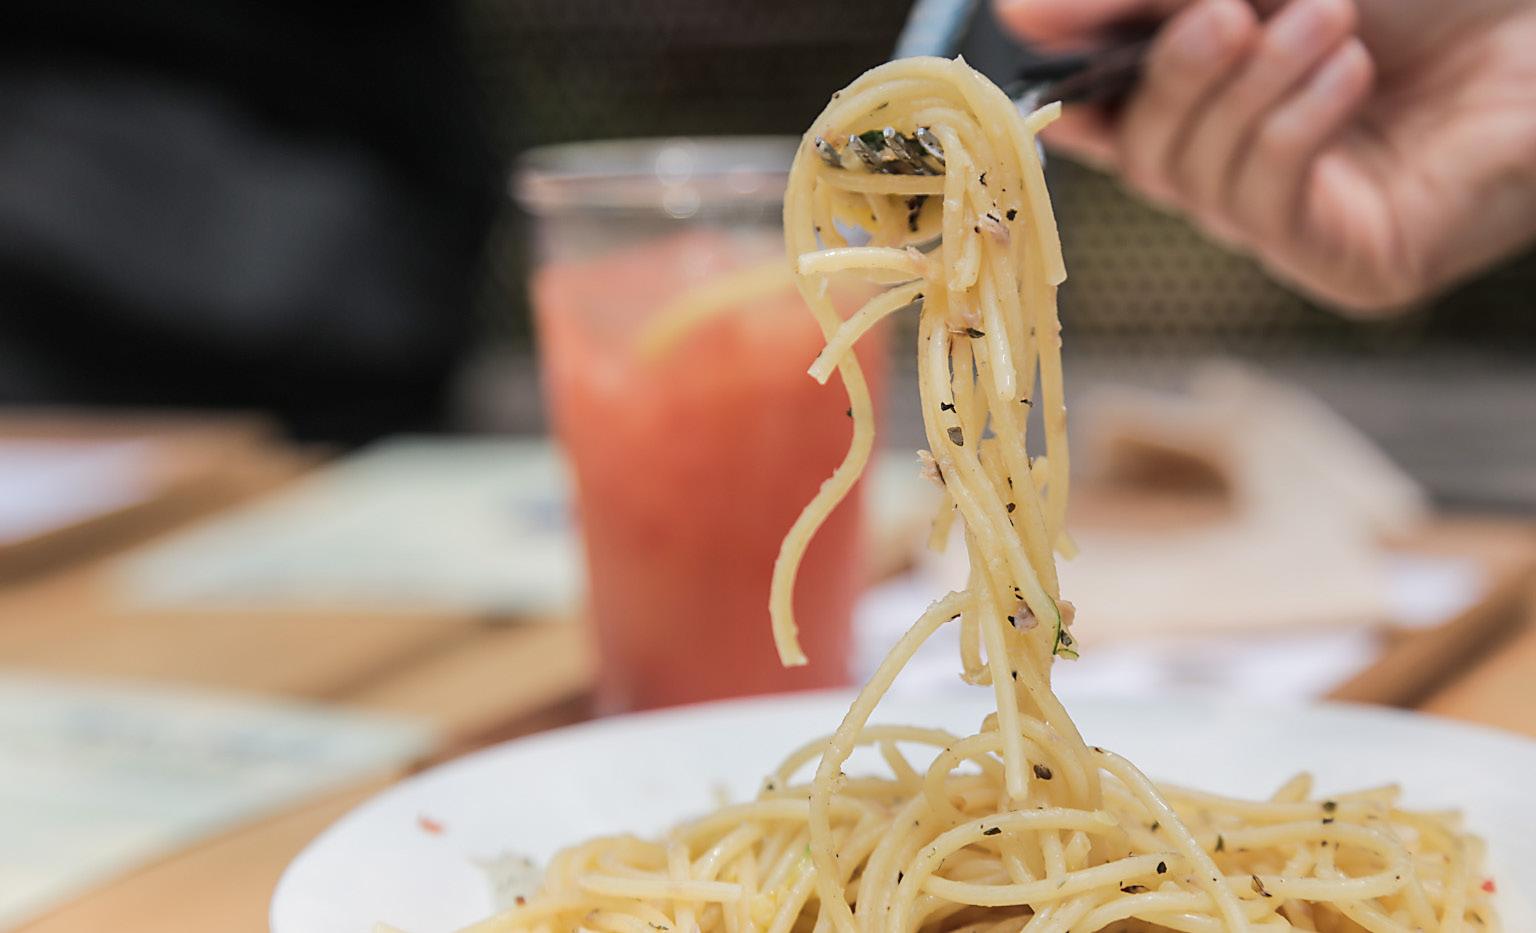
design without Design open recipe
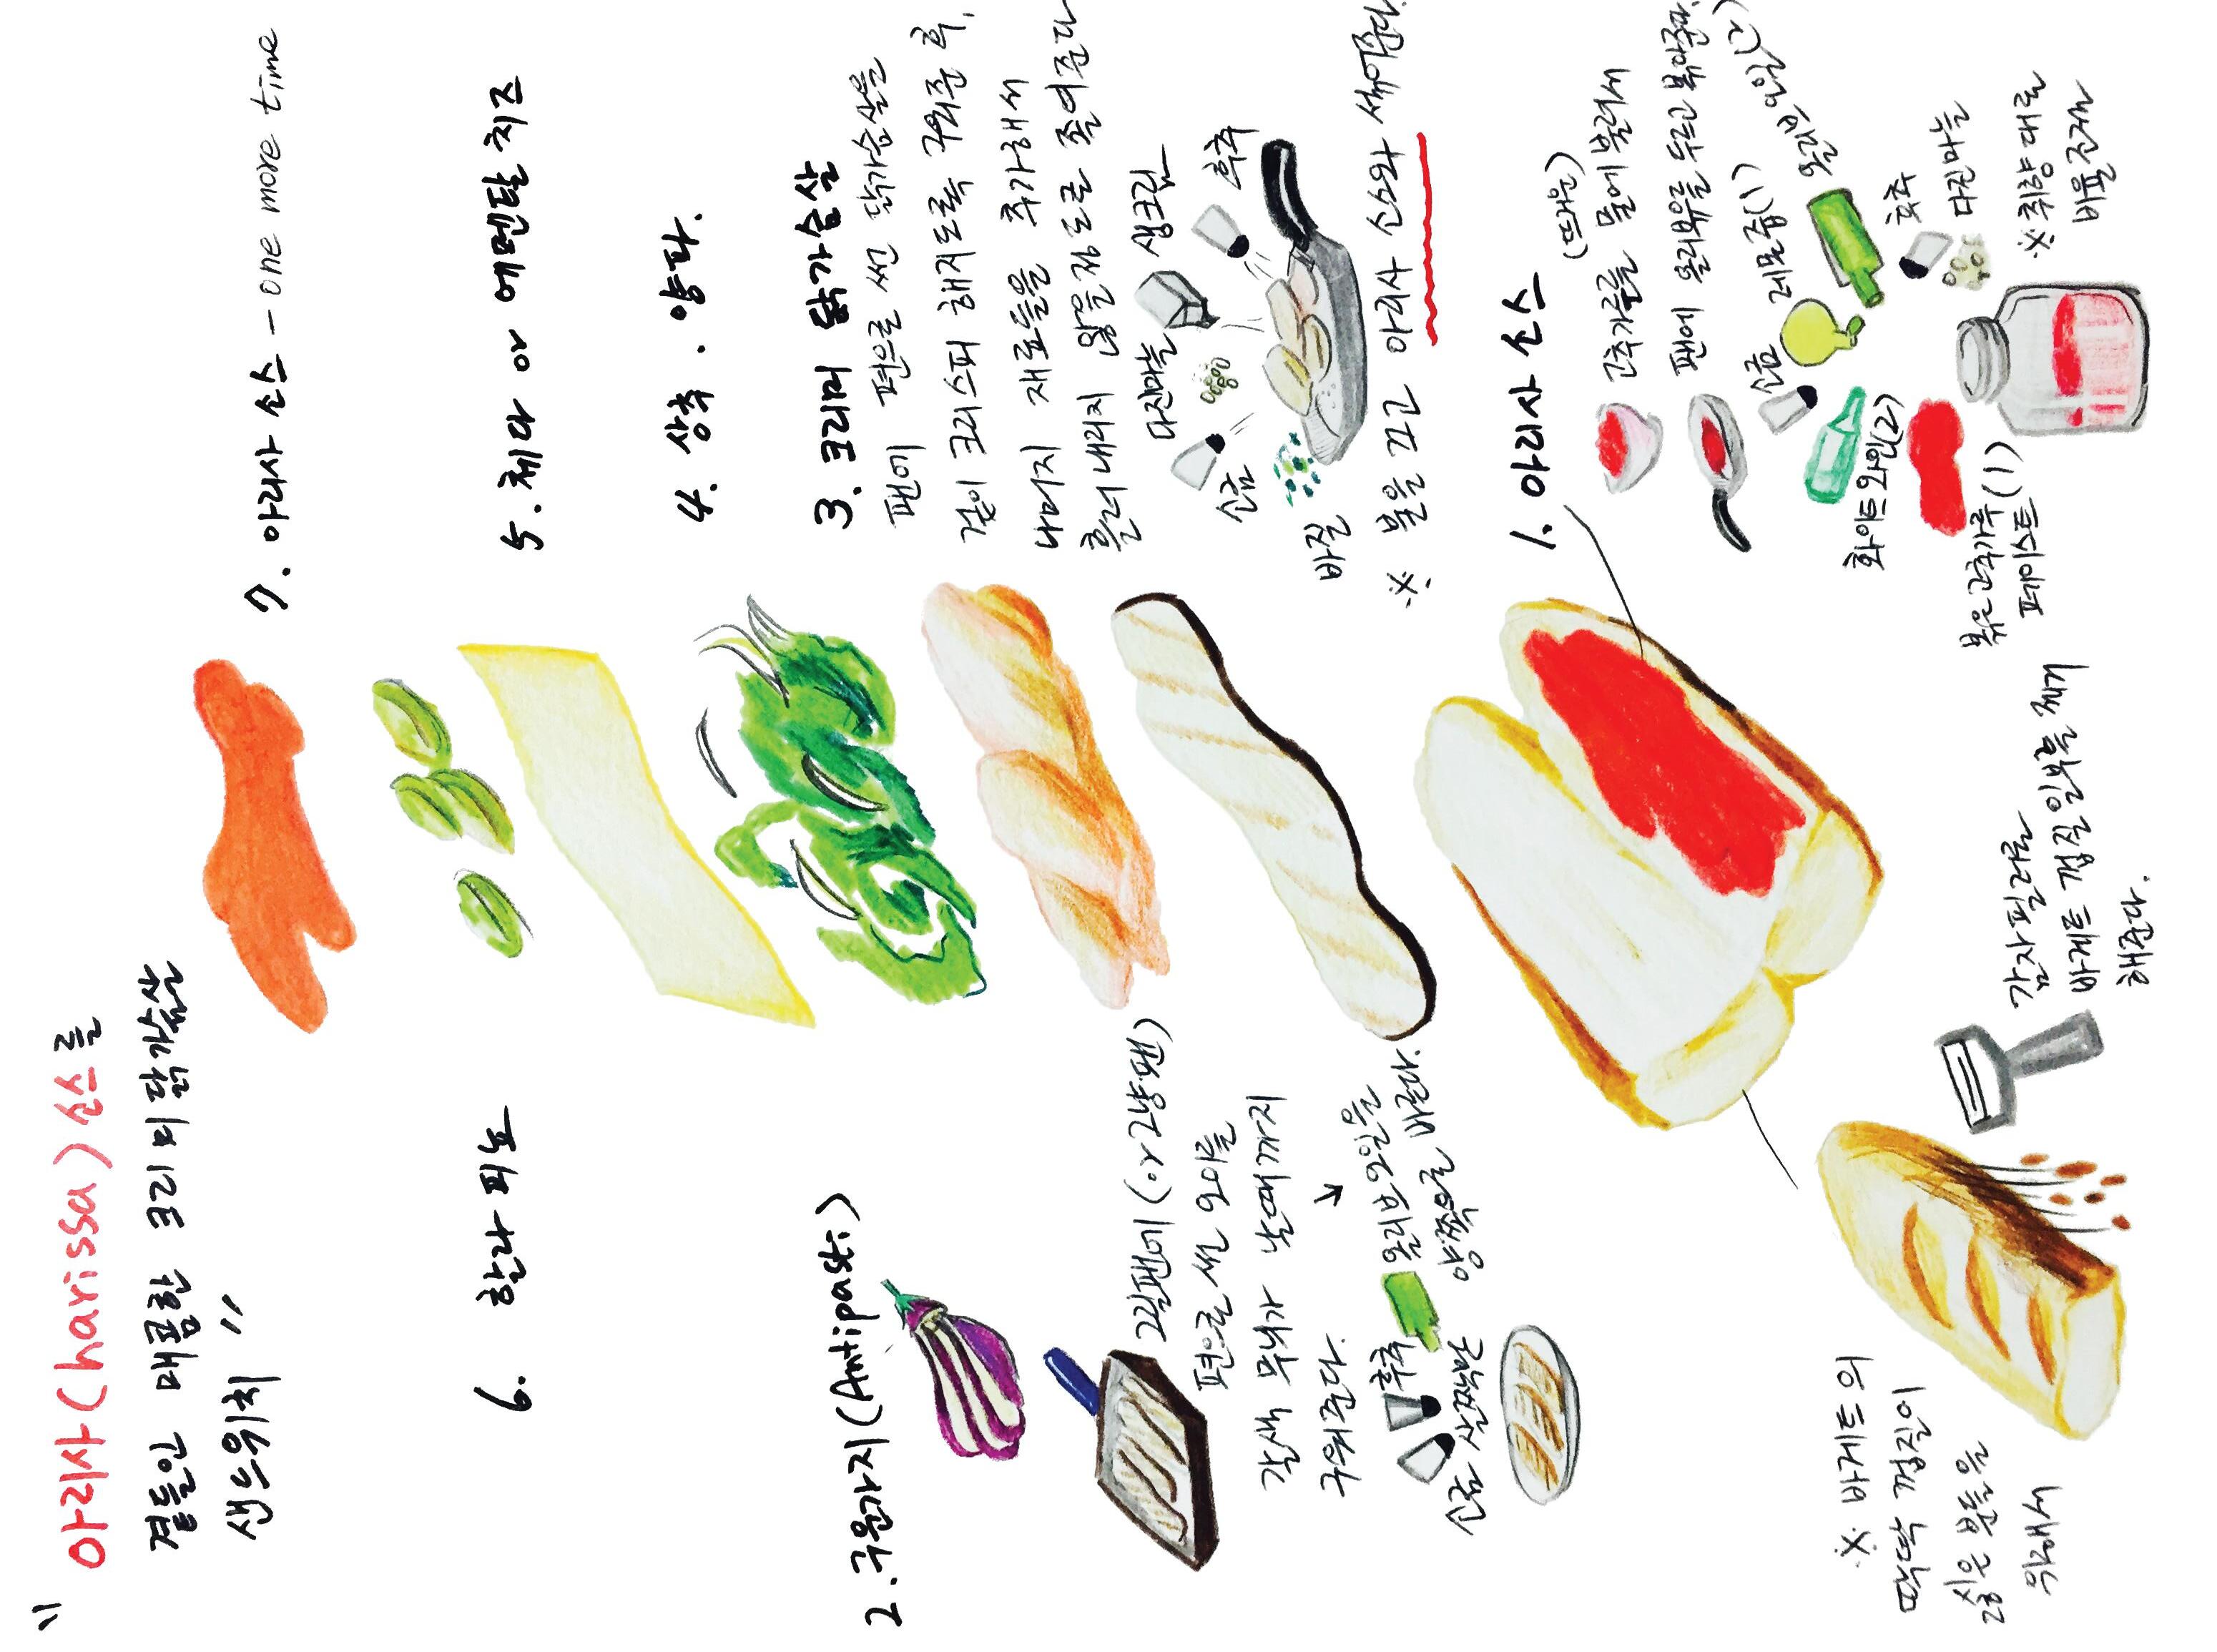
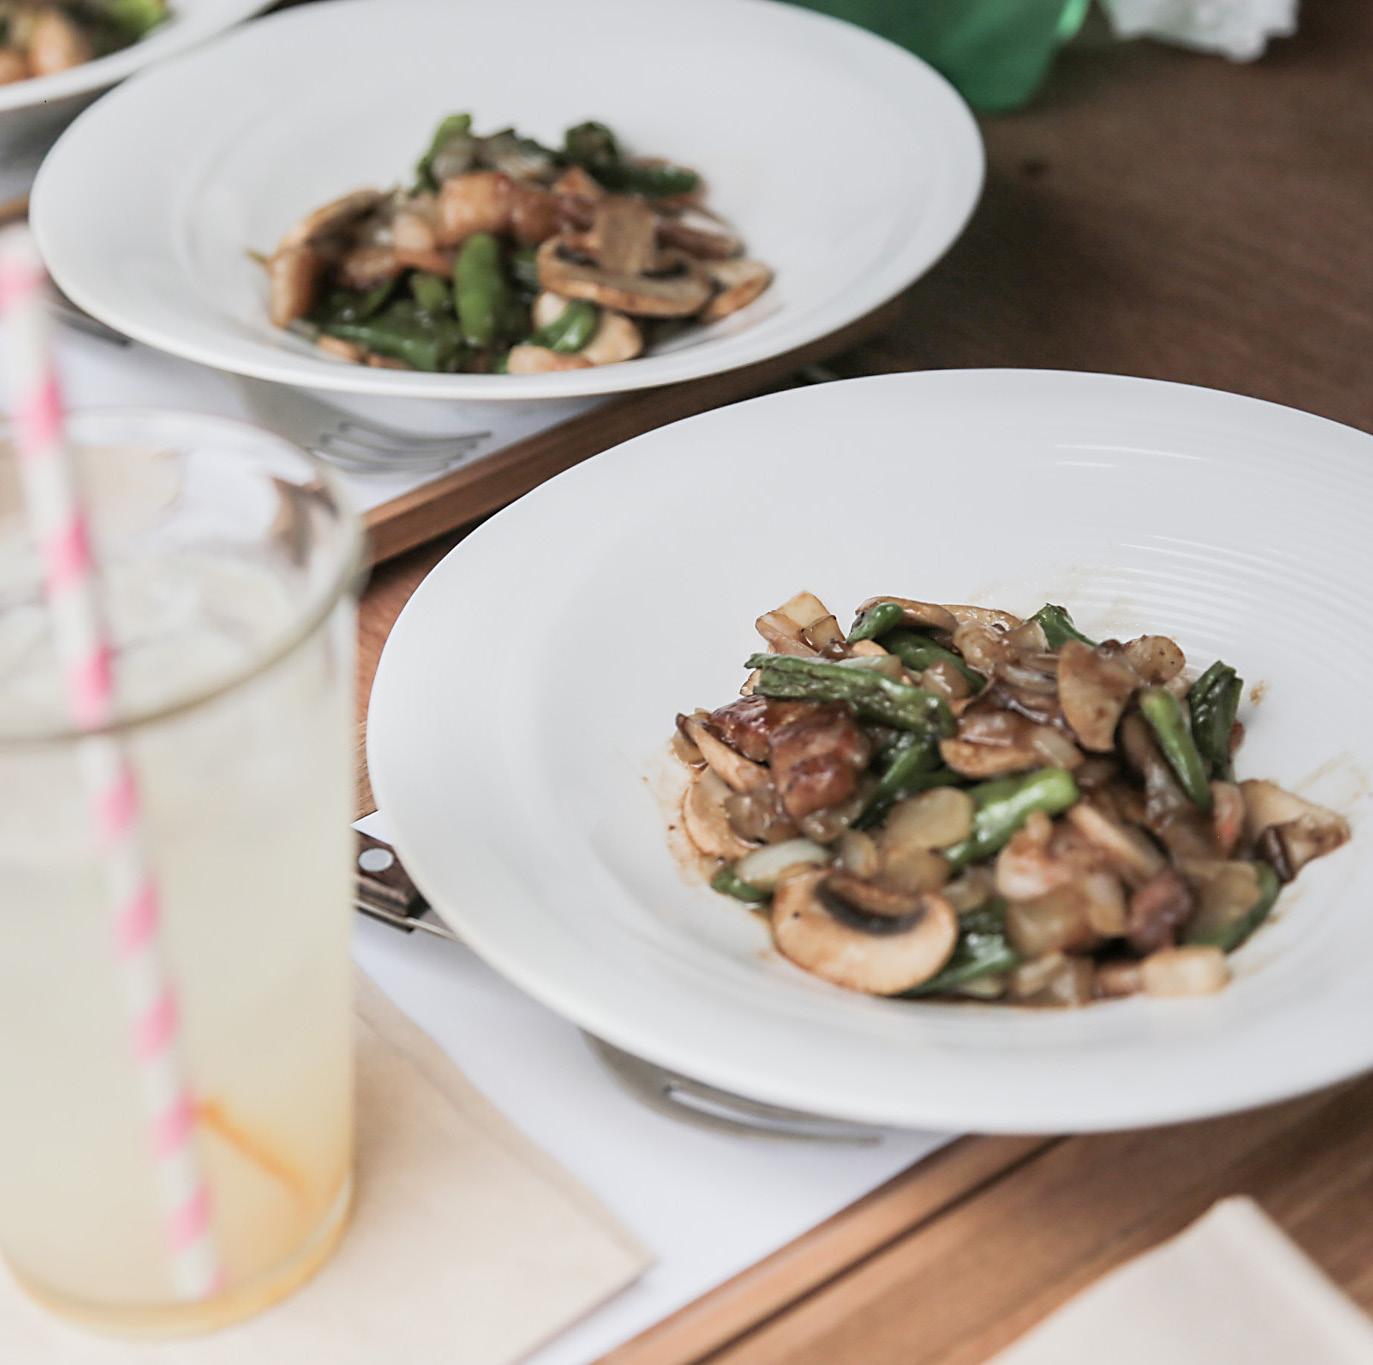
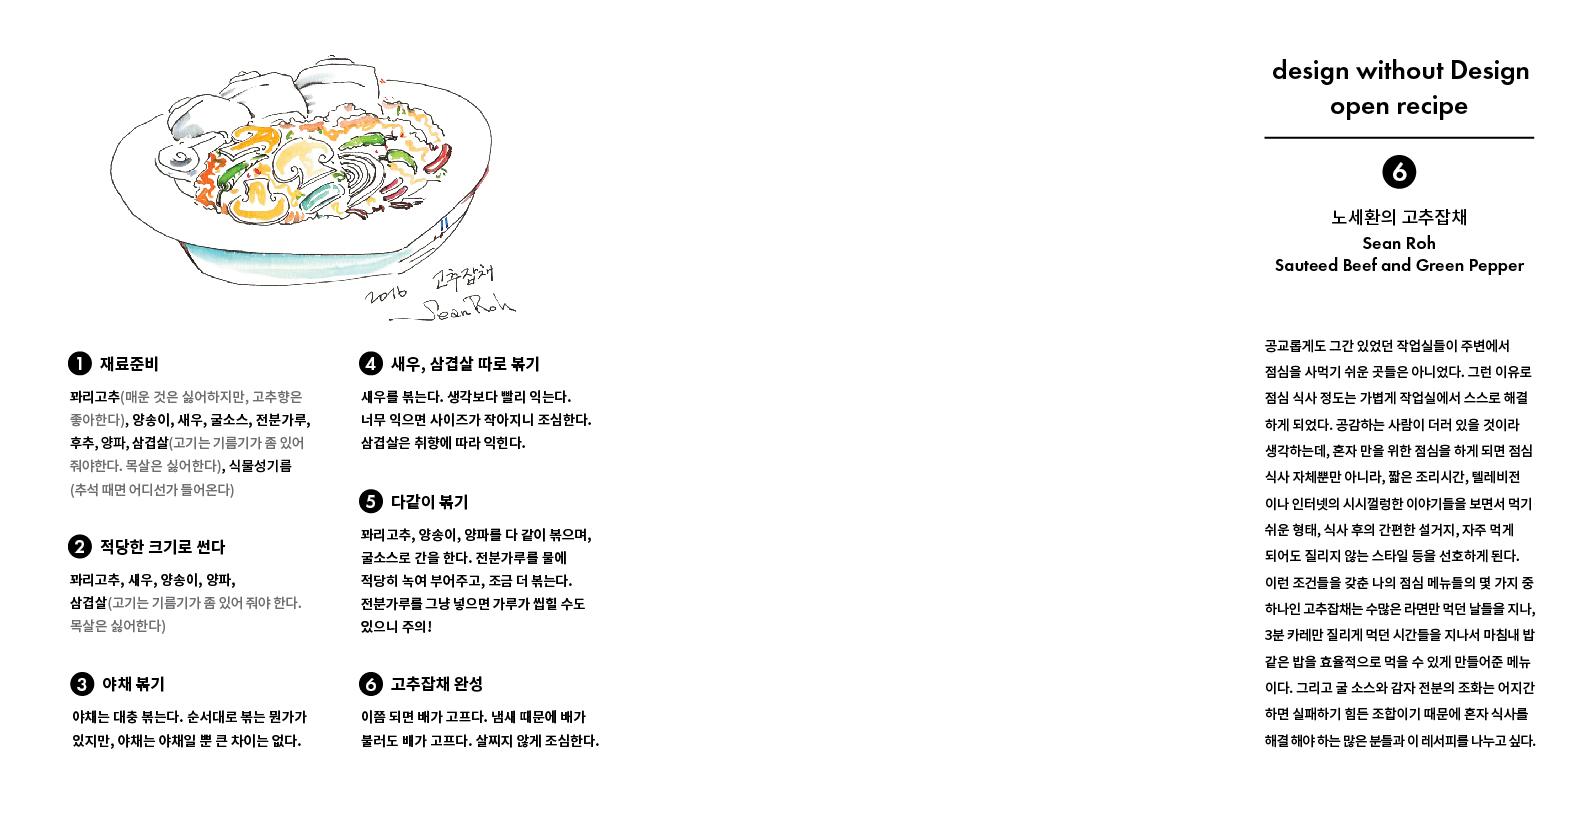
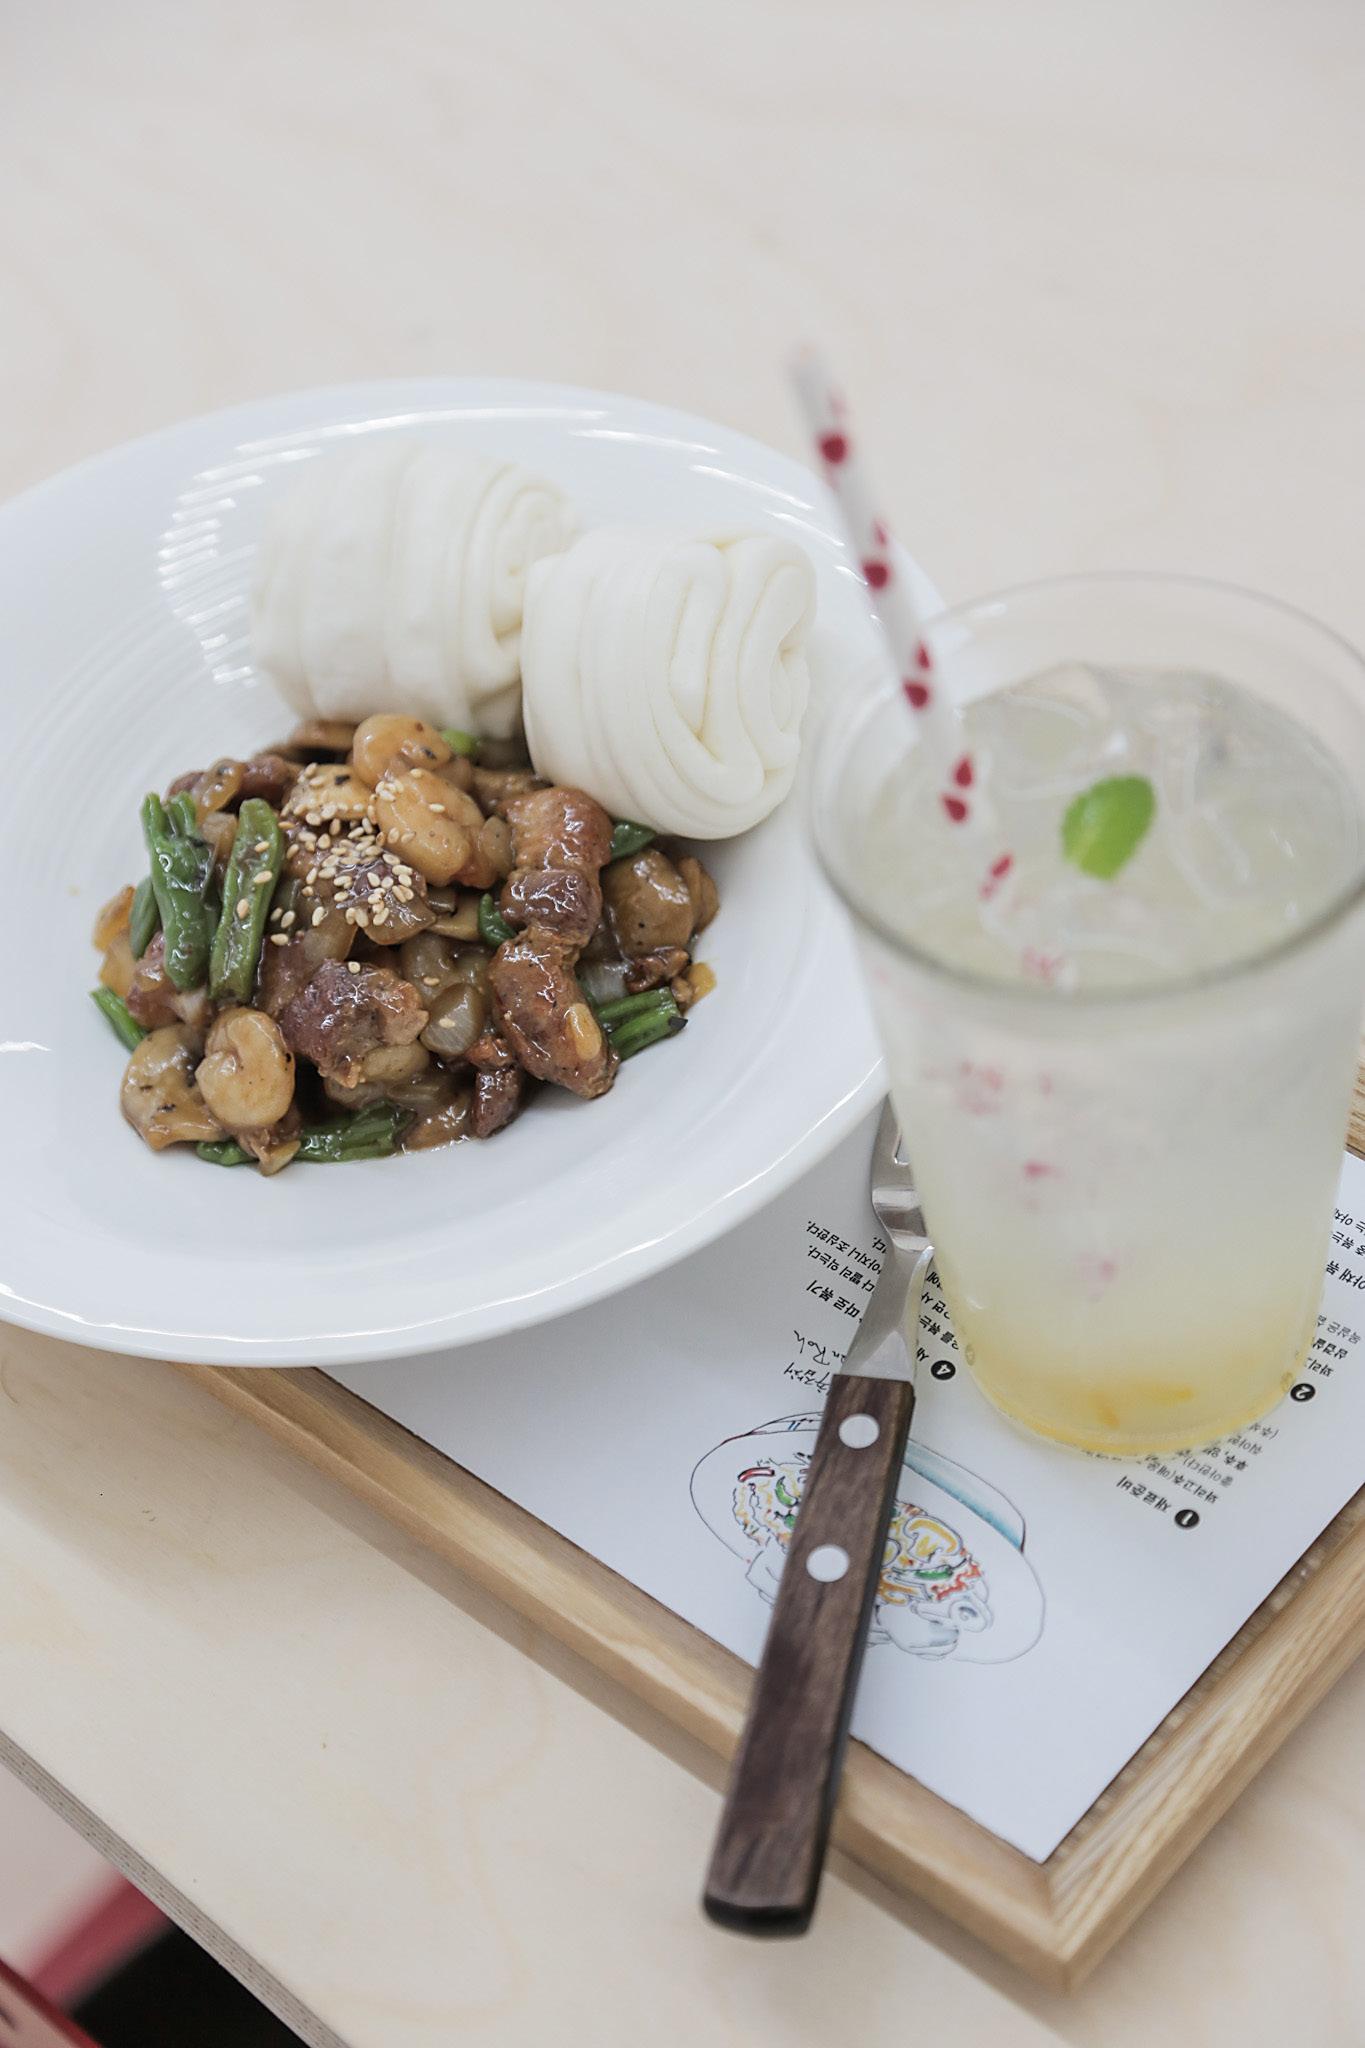
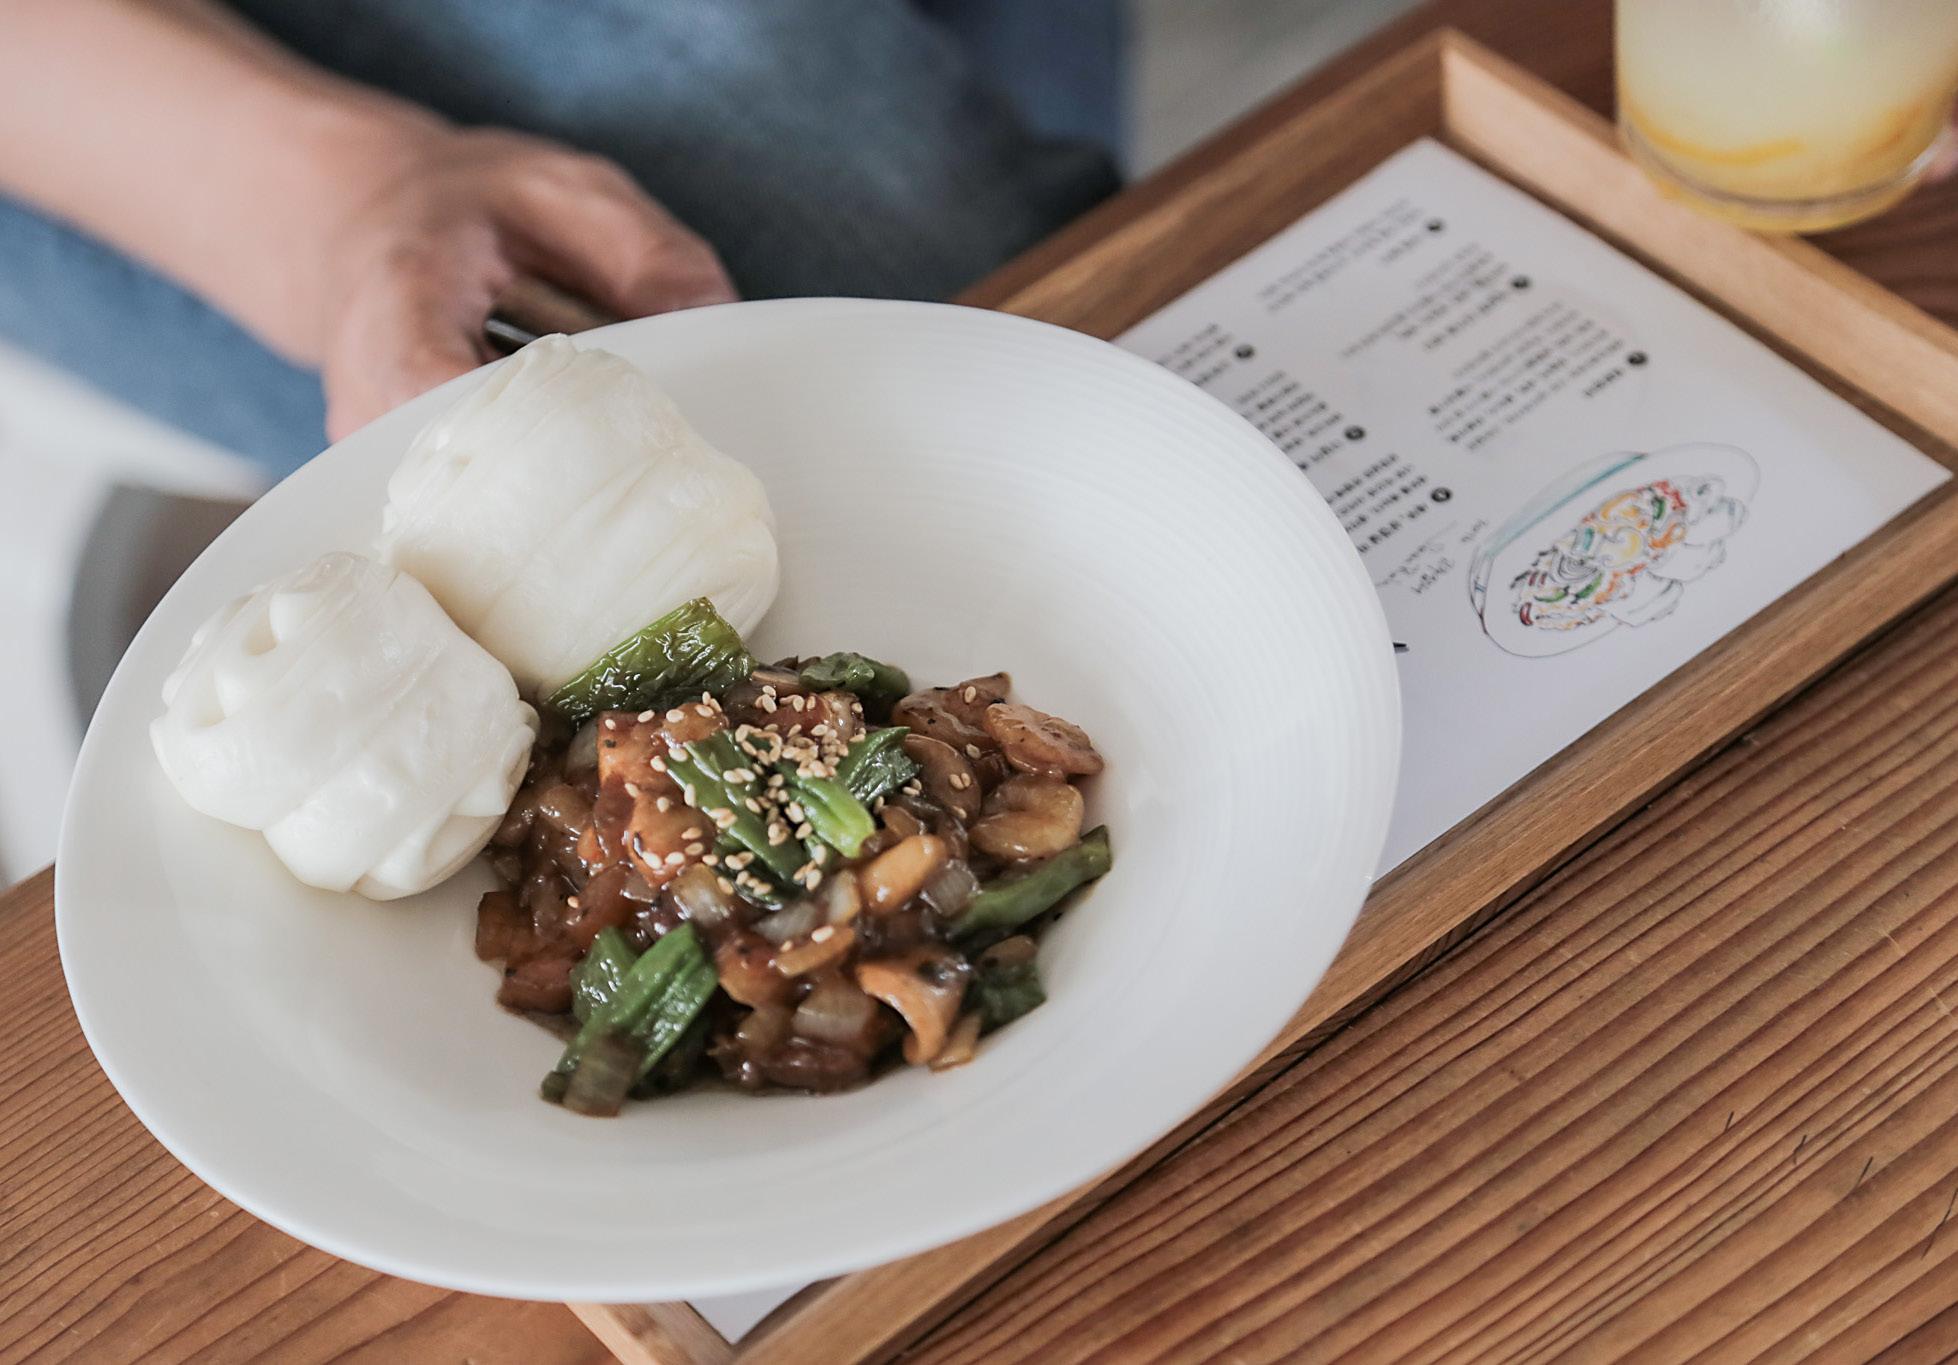
Sean Roh - Sauteed Beef and Green Pepper 6
menu
Sauteed Beef and Green Pepper
Yuzu Ade
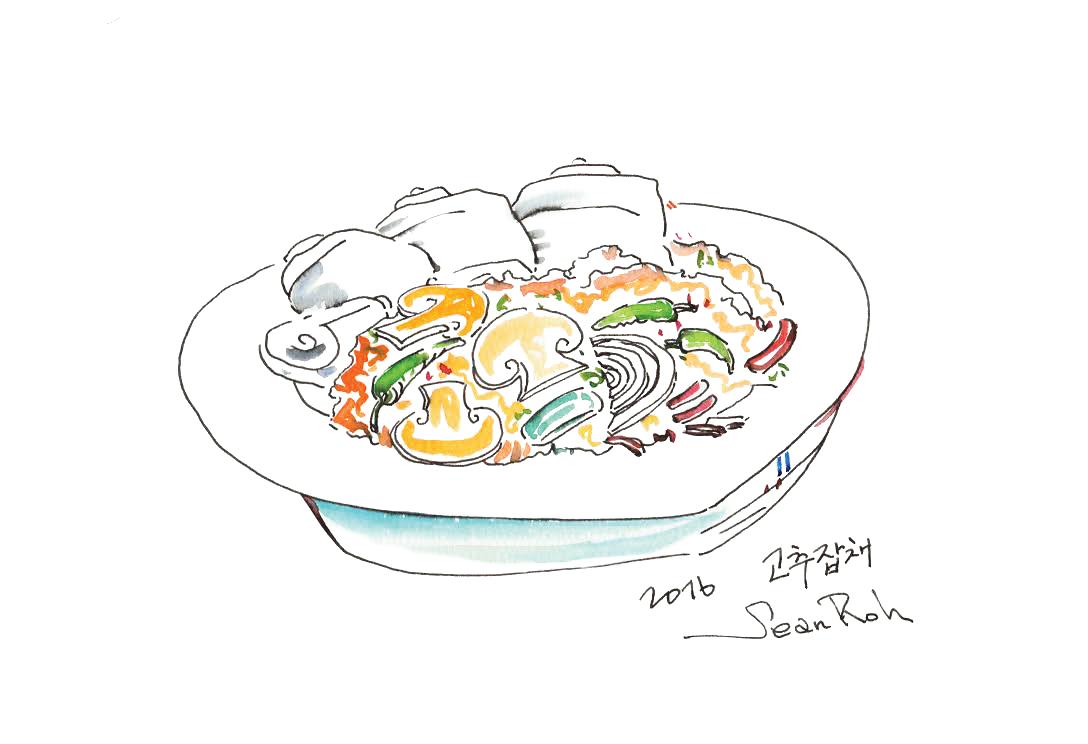
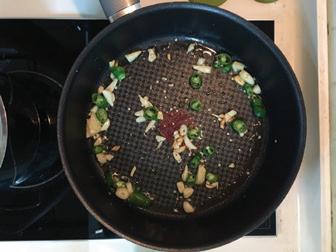
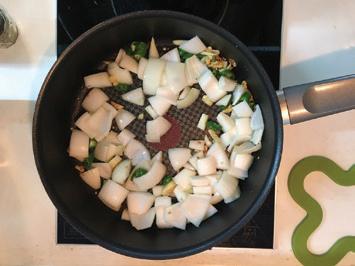
야채 볶기 3
* 당일 준비된 재료 모두 소진 시 모바일 키친 운영이 조기 종료될 수 있습니다. 오픈 레서피 6: 노세환의 고추잡채 드로잉 및
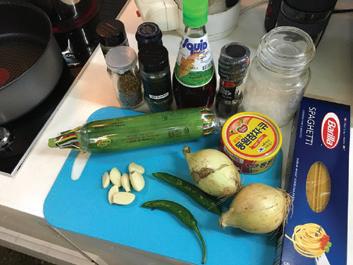
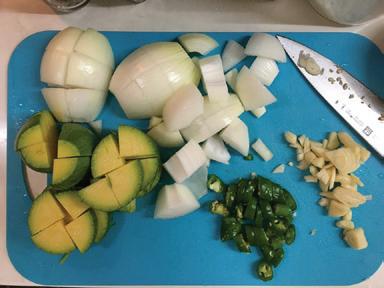
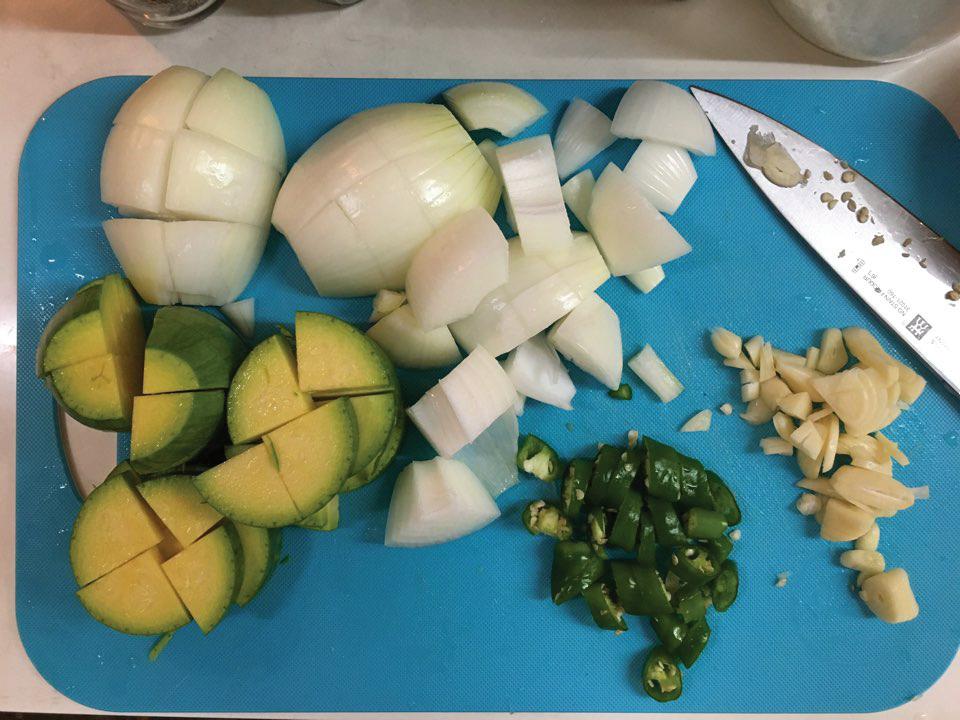
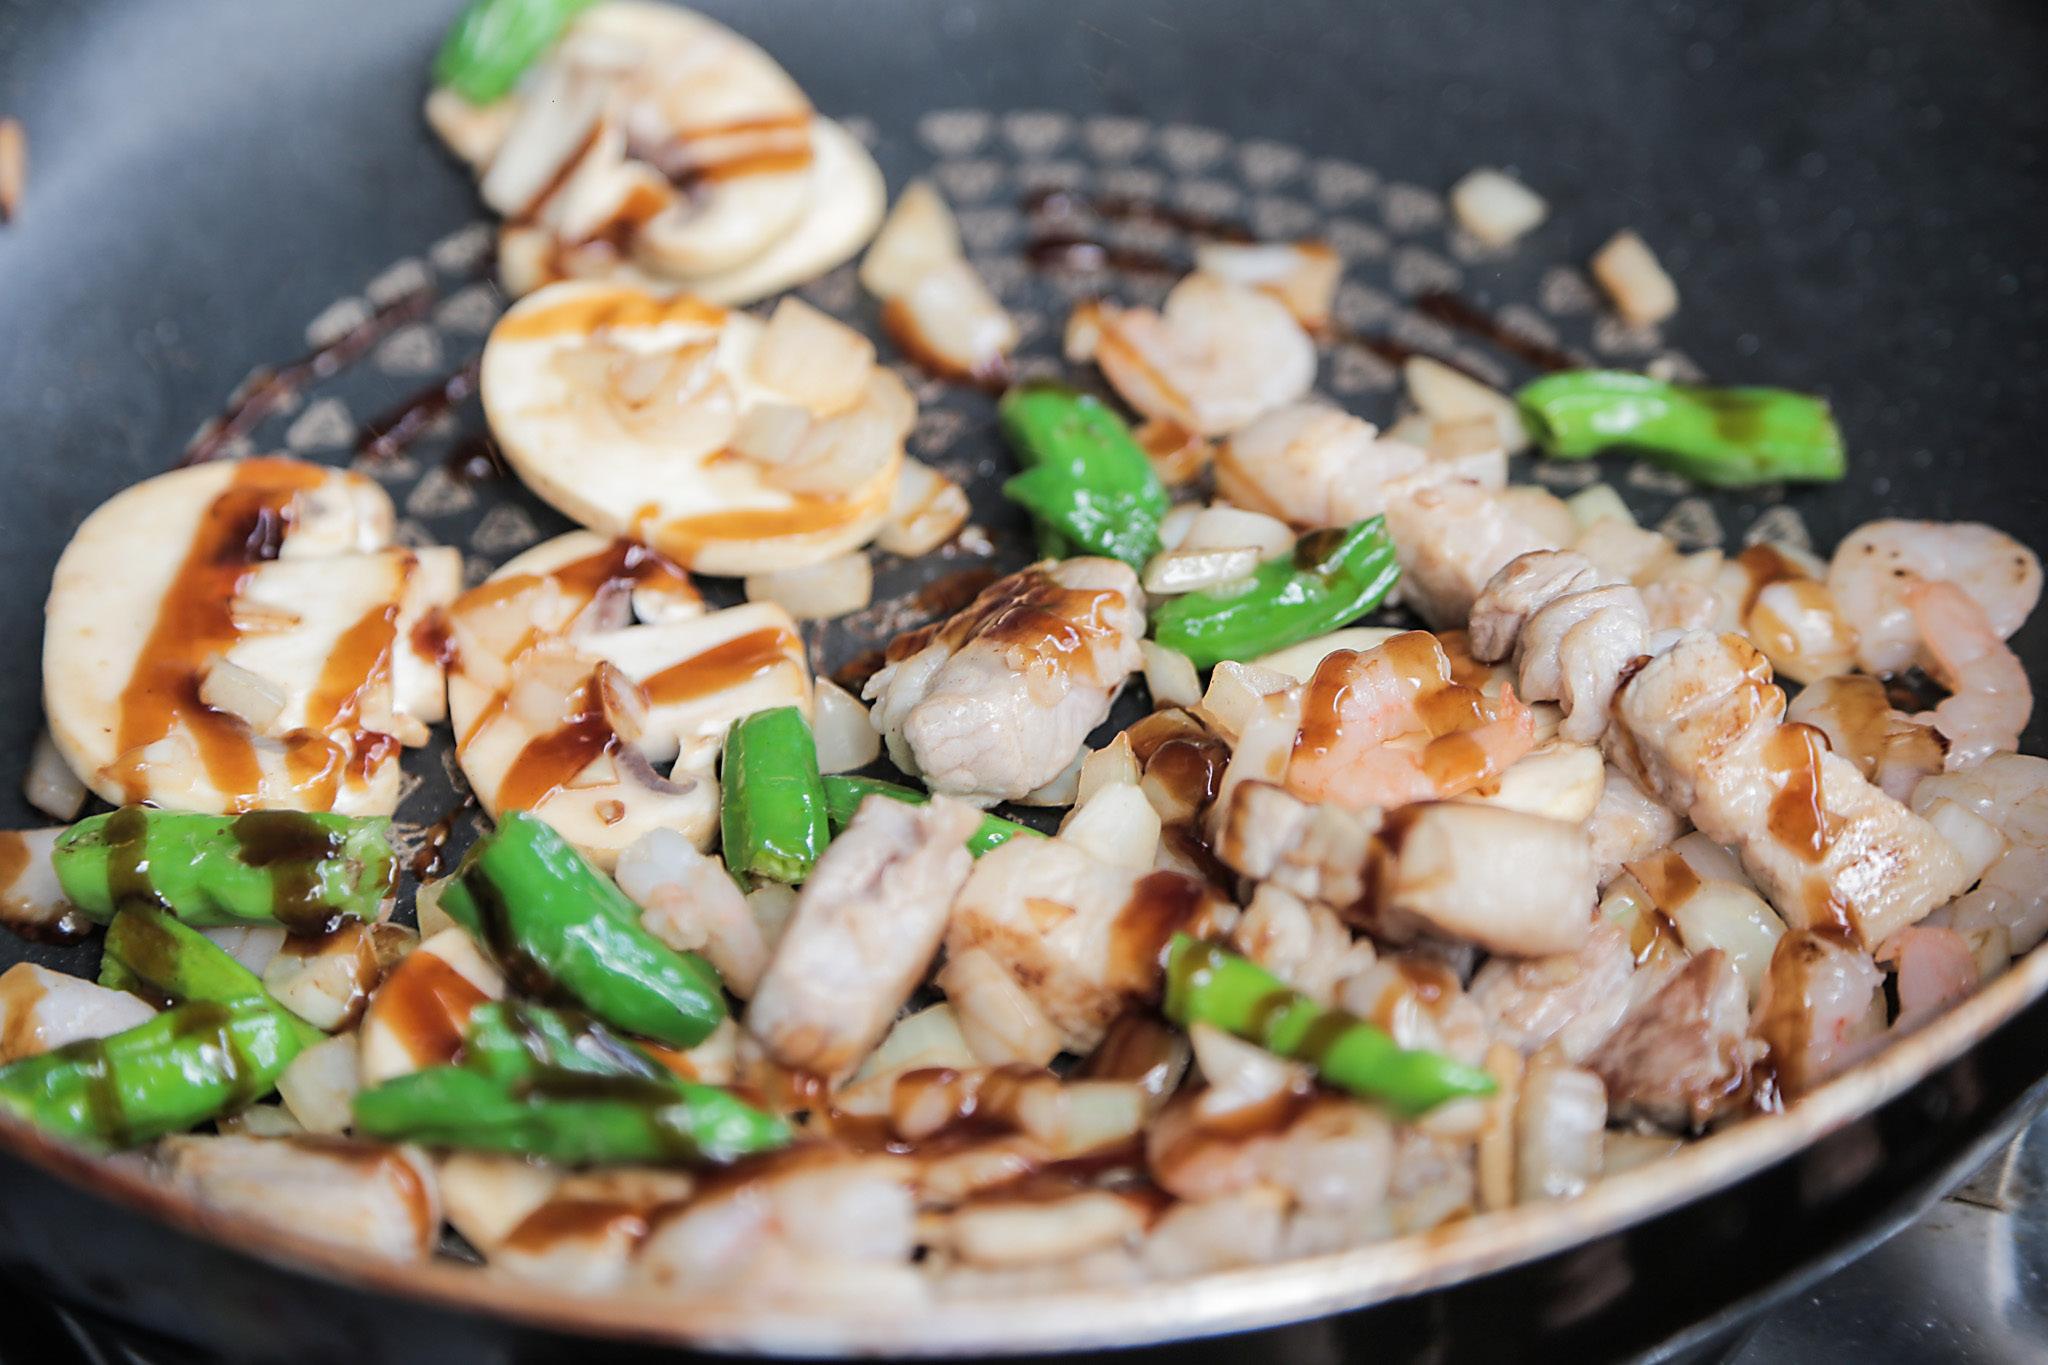
꽈리고추(매운 것은 싫어하지만, 고추향은 좋아한다), 양송이, 새우, 굴소스, 전분가루, 후추, 양파, 삼겹살(고기는 기름기가 좀 있어 줘야한다. 목살은 싫어한다), 식물성기름 (추석 때면 어디선가 들어온다)
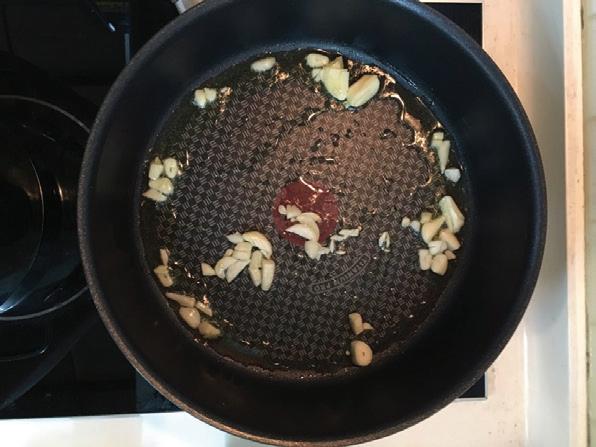
적당한 크기로 썬다 2
꽈리고추, 새우, 양송이, 양파, 삼겹살(고기는 기름기가 좀 있어 줘야 한다. 목살은 싫어한다)
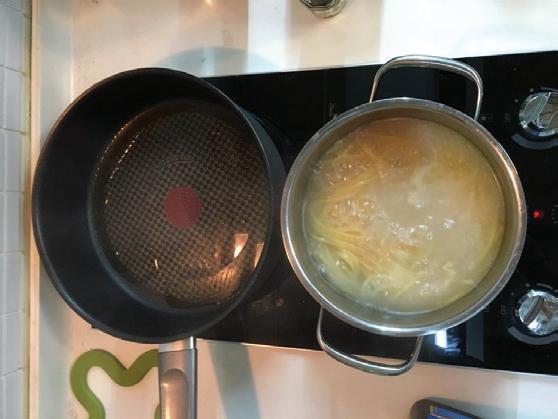
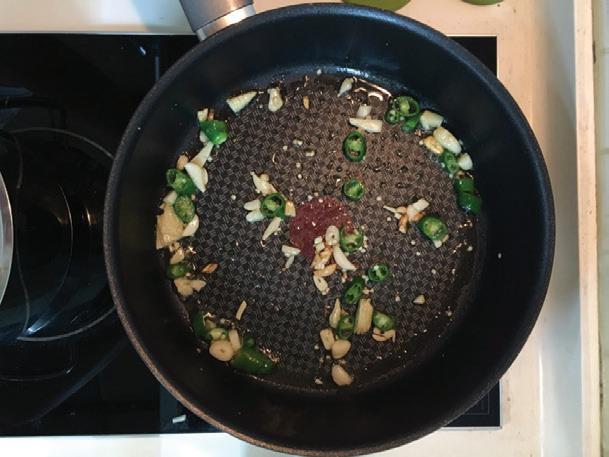
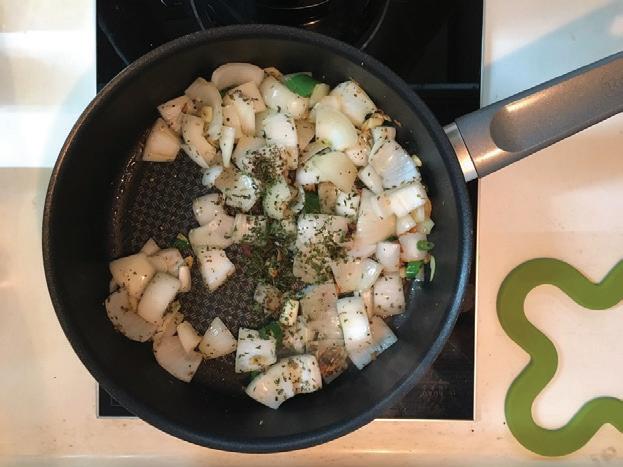
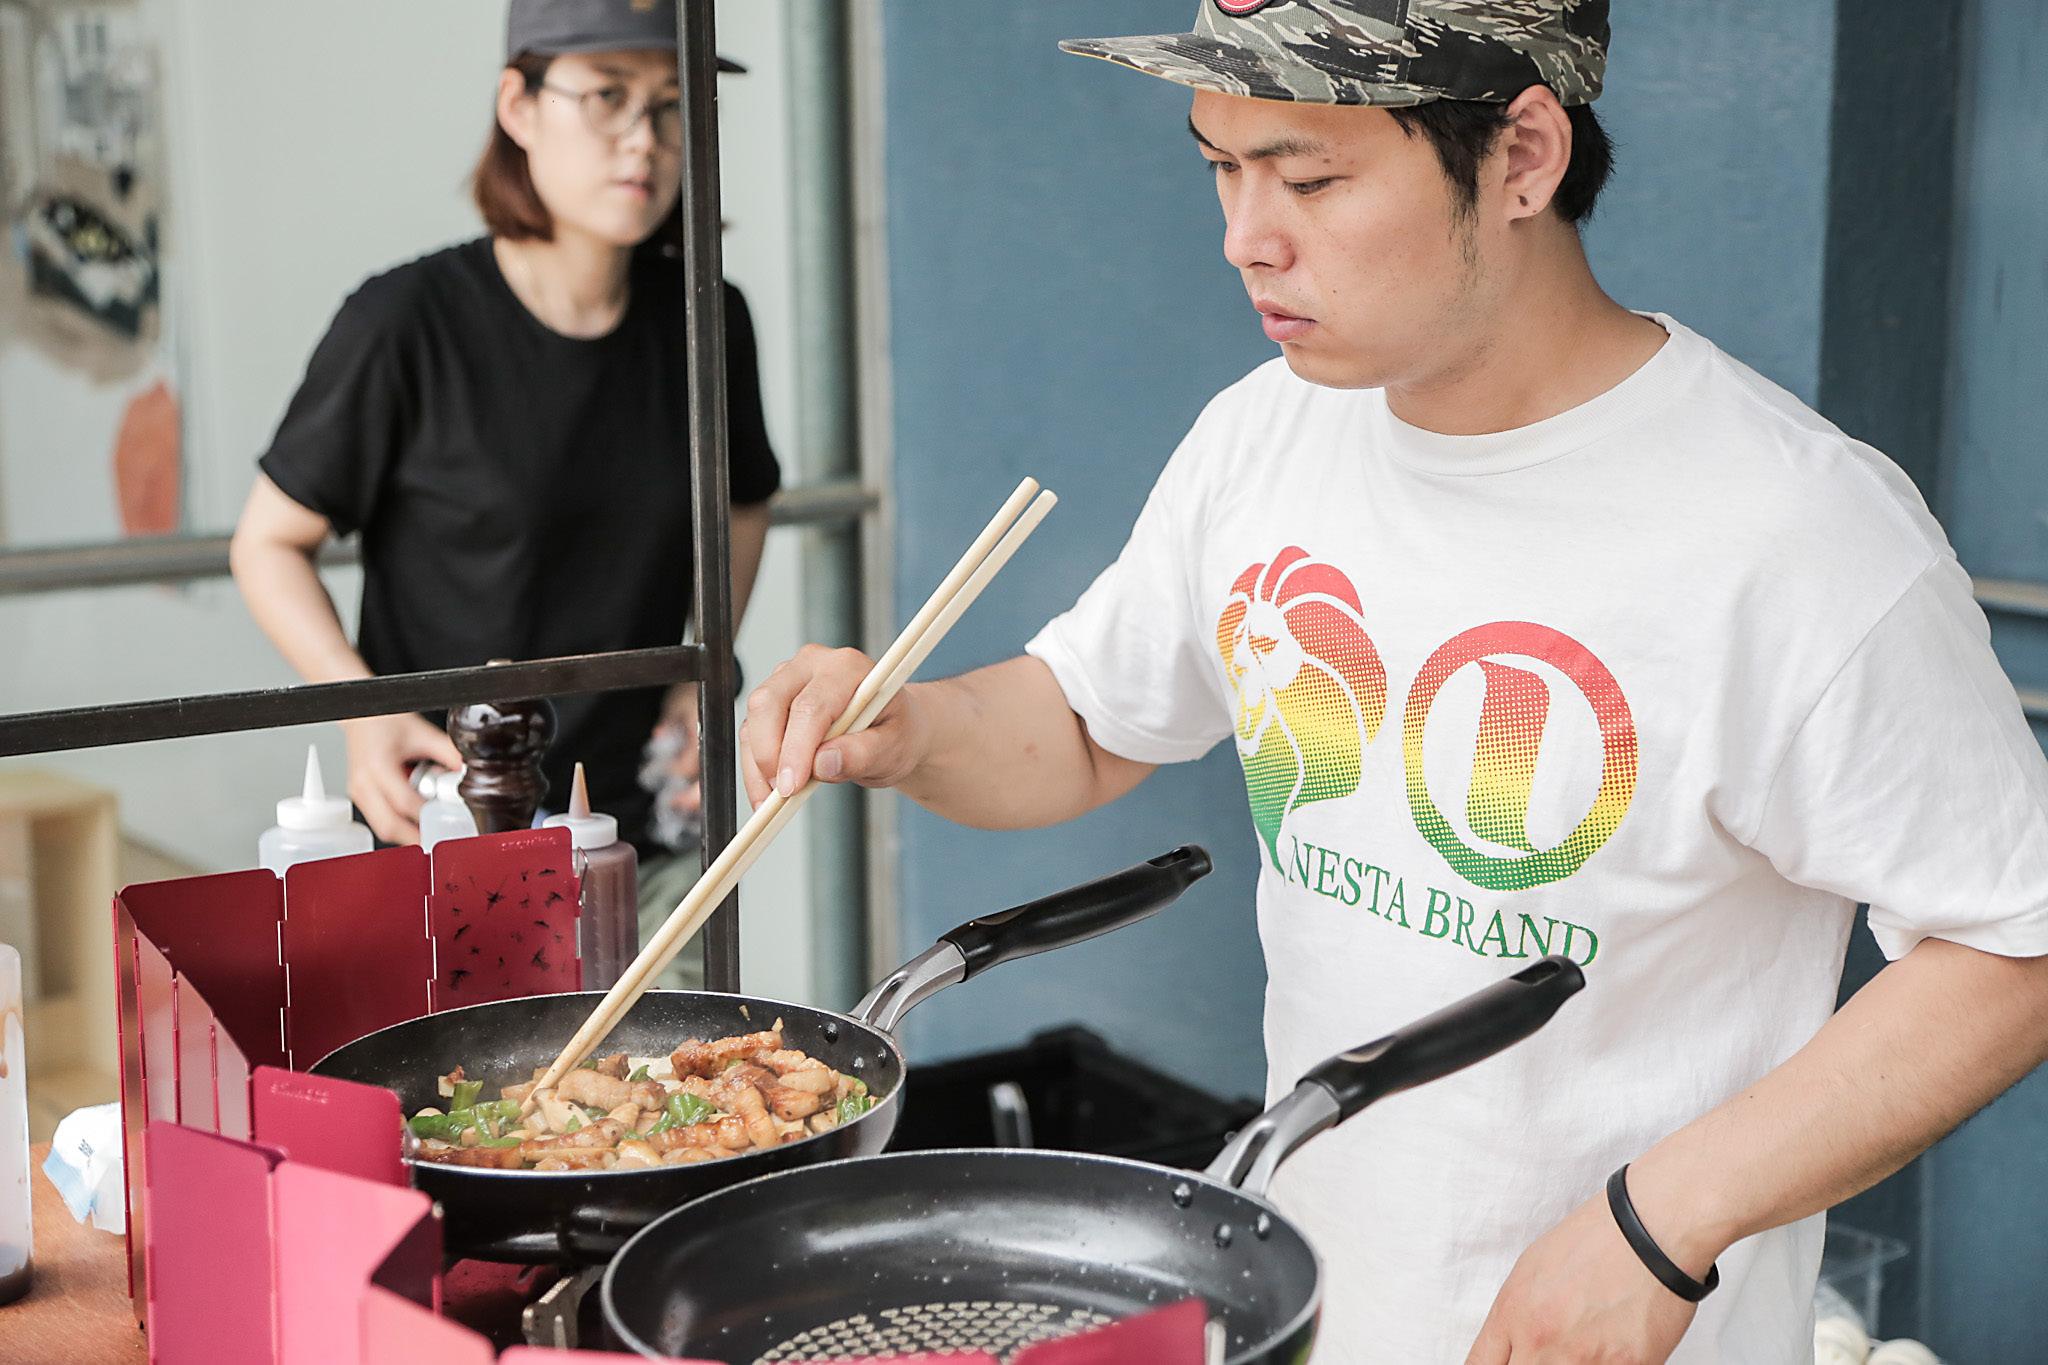
야채는 대충 볶는다. 순서대로 볶는 뭔가가 있지만, 야채는 야채일 뿐 큰 차이는 없다.
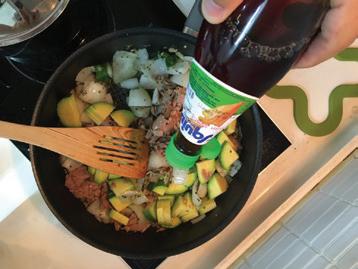
새우, 삼겹살 따로 볶기 4
새우를 볶는다. 생각보다 빨리 익는다.
너무 익으면 사이즈가 작아지니 조심한다. 삼겹살은 취향에 따라 익힌다.
고추잡채 완성 6
꽈리고추, 양송이, 양파를 다 같이 볶으며, 굴소스로 간을 한다. 전분가루를 물에 적당히 녹여 부어주고, 조금 더 볶는다. 전분가루를 그냥 넣으면 가루가 씹힐 수도 있으니 주의! 다같이 볶기 5 이쯤 되면 배가 고프다. 냄새 때문에 배가 불러도 배가 고프다. 살찌지 않게 조심한다.
Recipe Story
공교롭게도 그간 있었던 작업실들이 주변에서 점심을 사먹기 쉬운 곳들은 아니었다.
그런 이유로 점심 식사 정도는 가볍게 작업실에서 스스로 해결하게 되었다.
공감하는 사람이 더러 있을 것이라 생각하는데, 혼자 만을 위한 점심을 하게 되면 점심 식사 자체뿐만 아니라, 짧은 조리시간, 텔레비전이나 인터넷의 시시껄렁한 이야기들을 보면서 먹기 쉬운 형태, 식사 후의 간편한 설거지, 자주 먹게 되어도 질리지 않는 스타일 등을 선호하게 된다. 이런 조건들을 갖춘 나의 점심 메뉴들의 몇 가지 중 하나인 고추

design without Design open recipe
menu
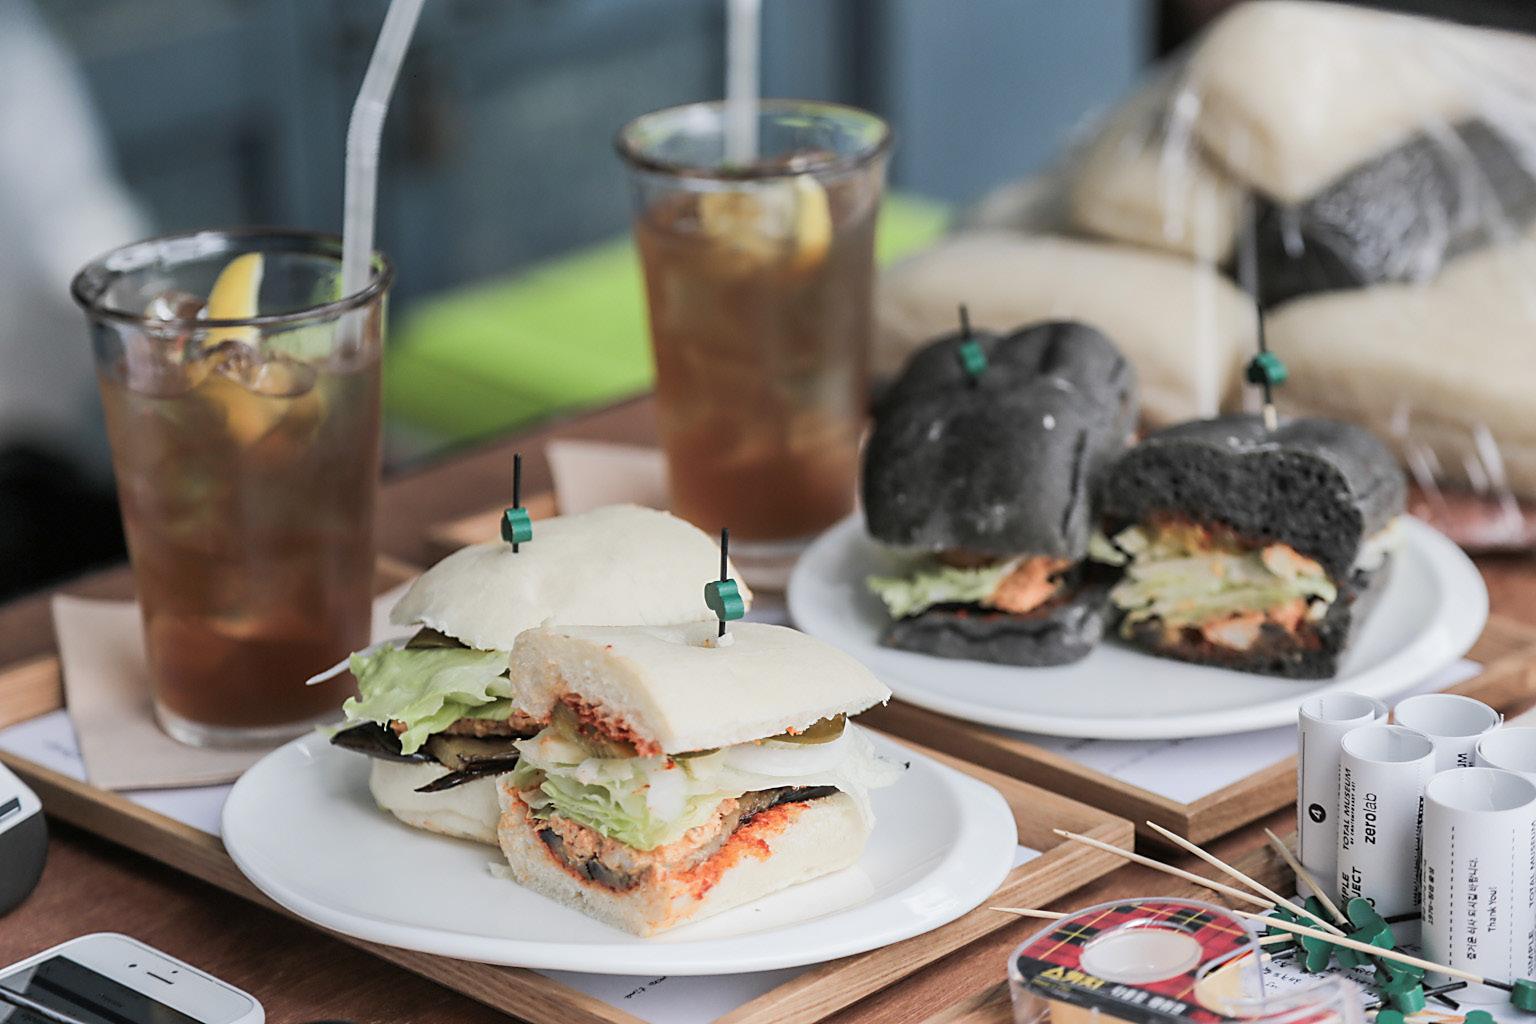
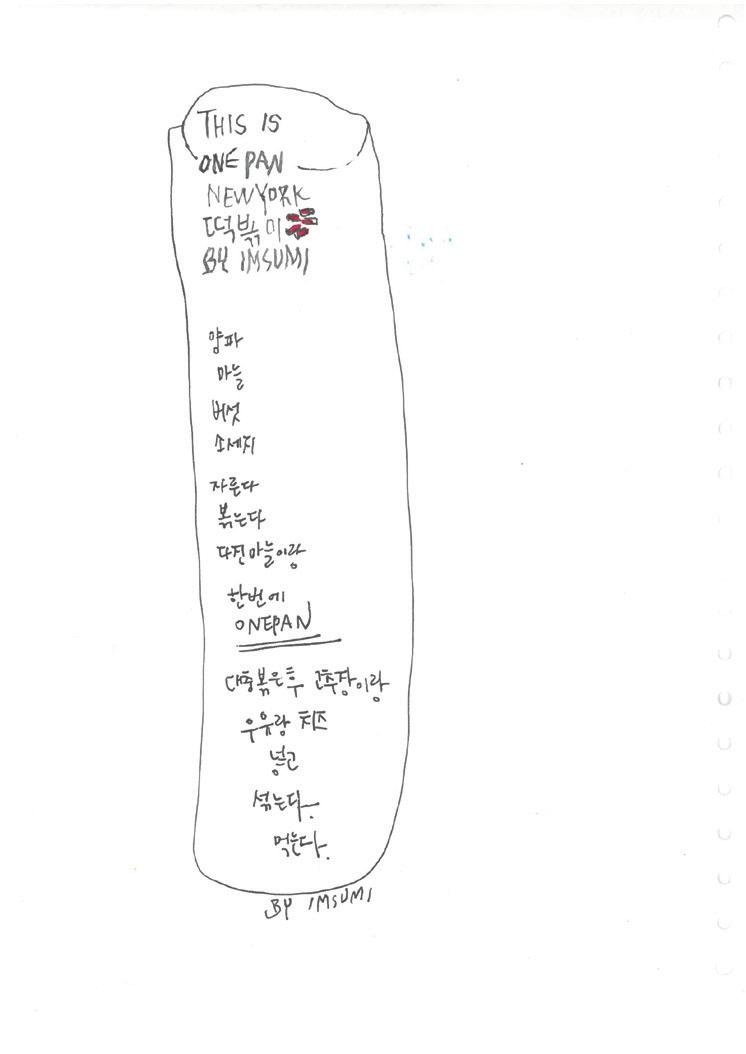
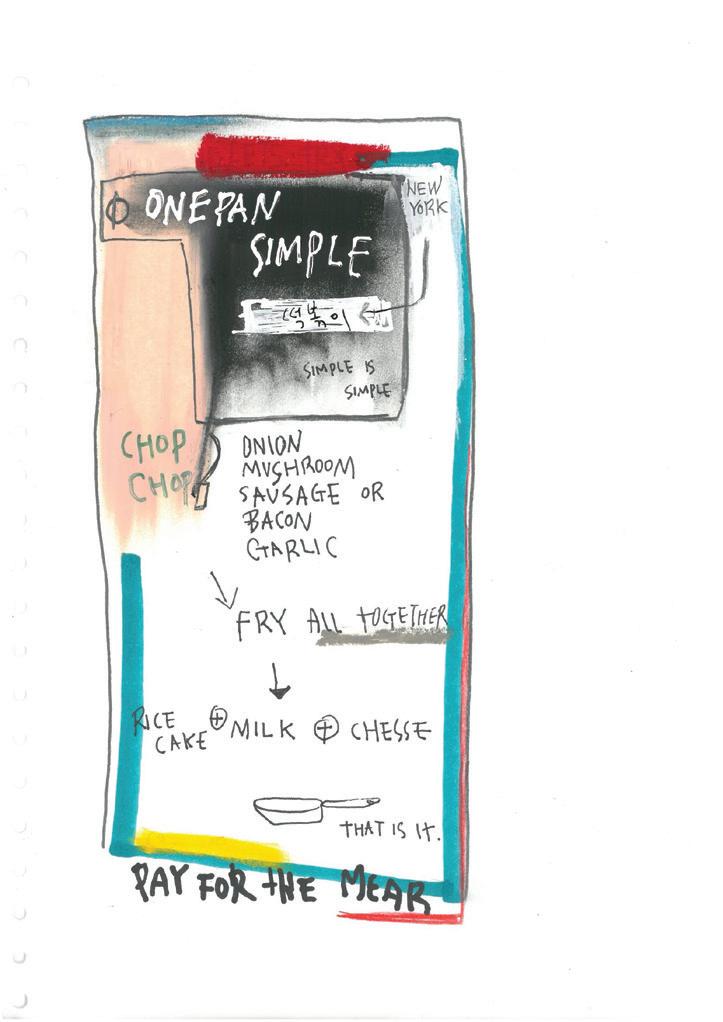
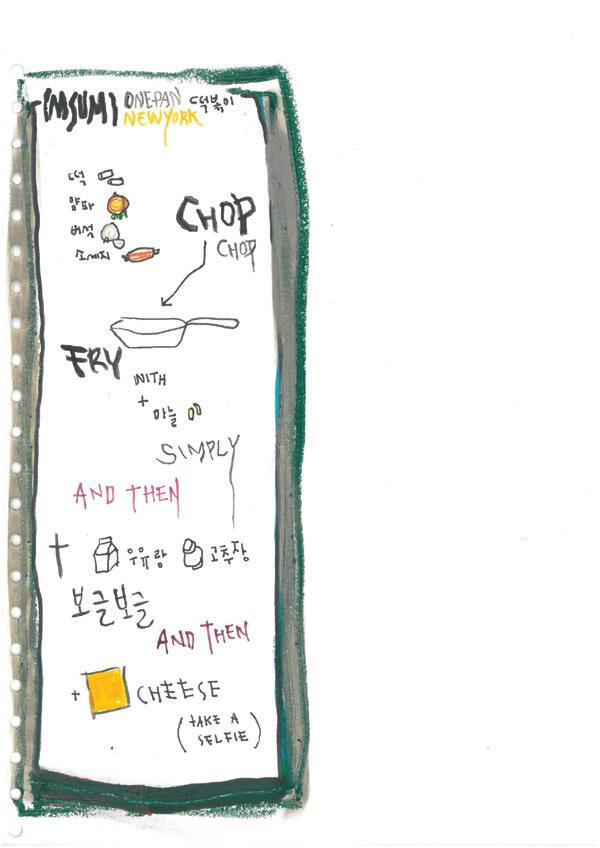
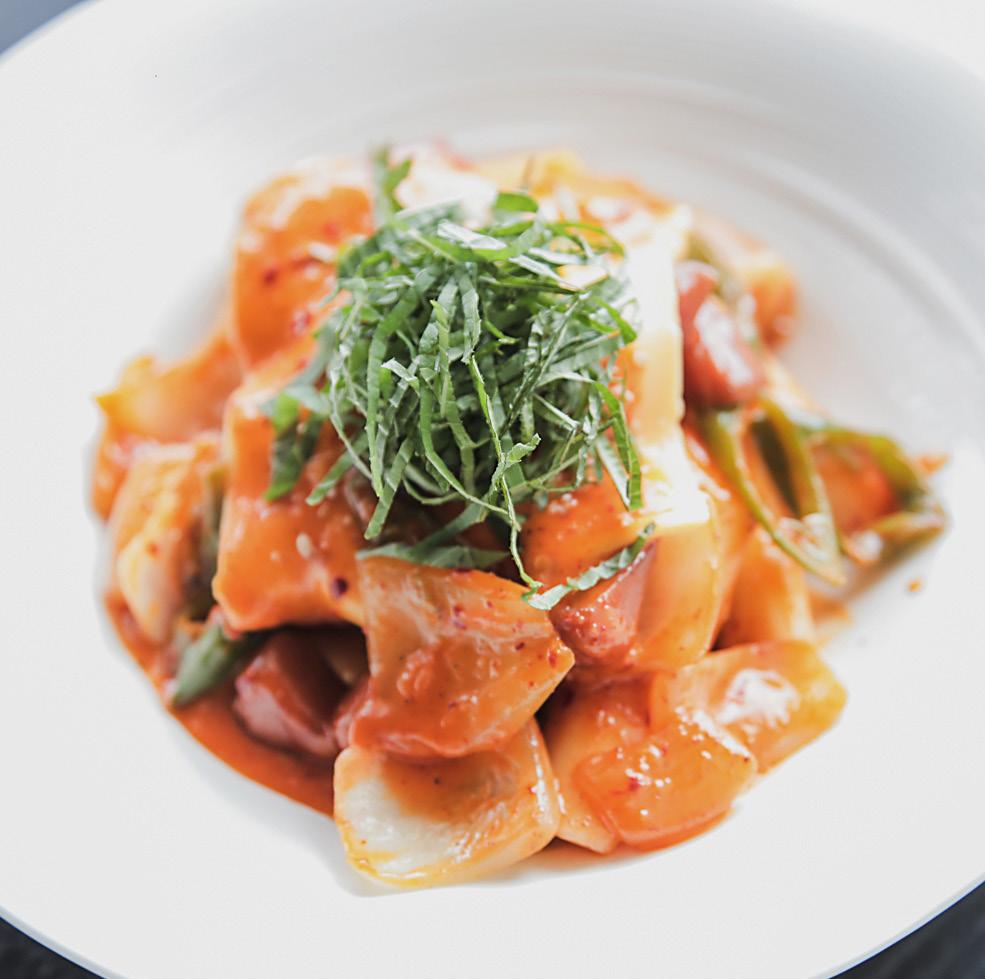
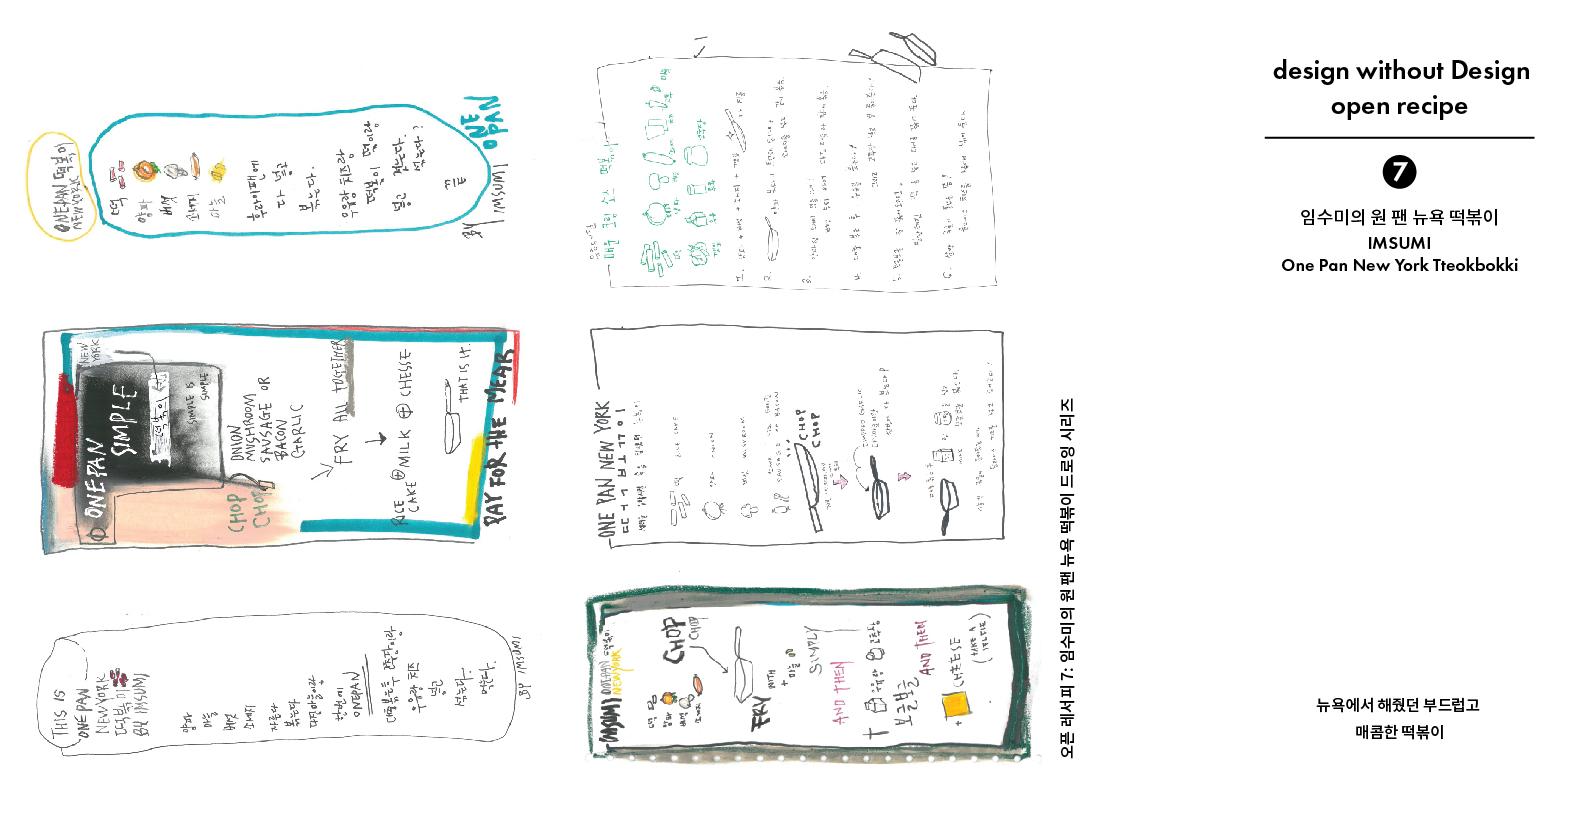
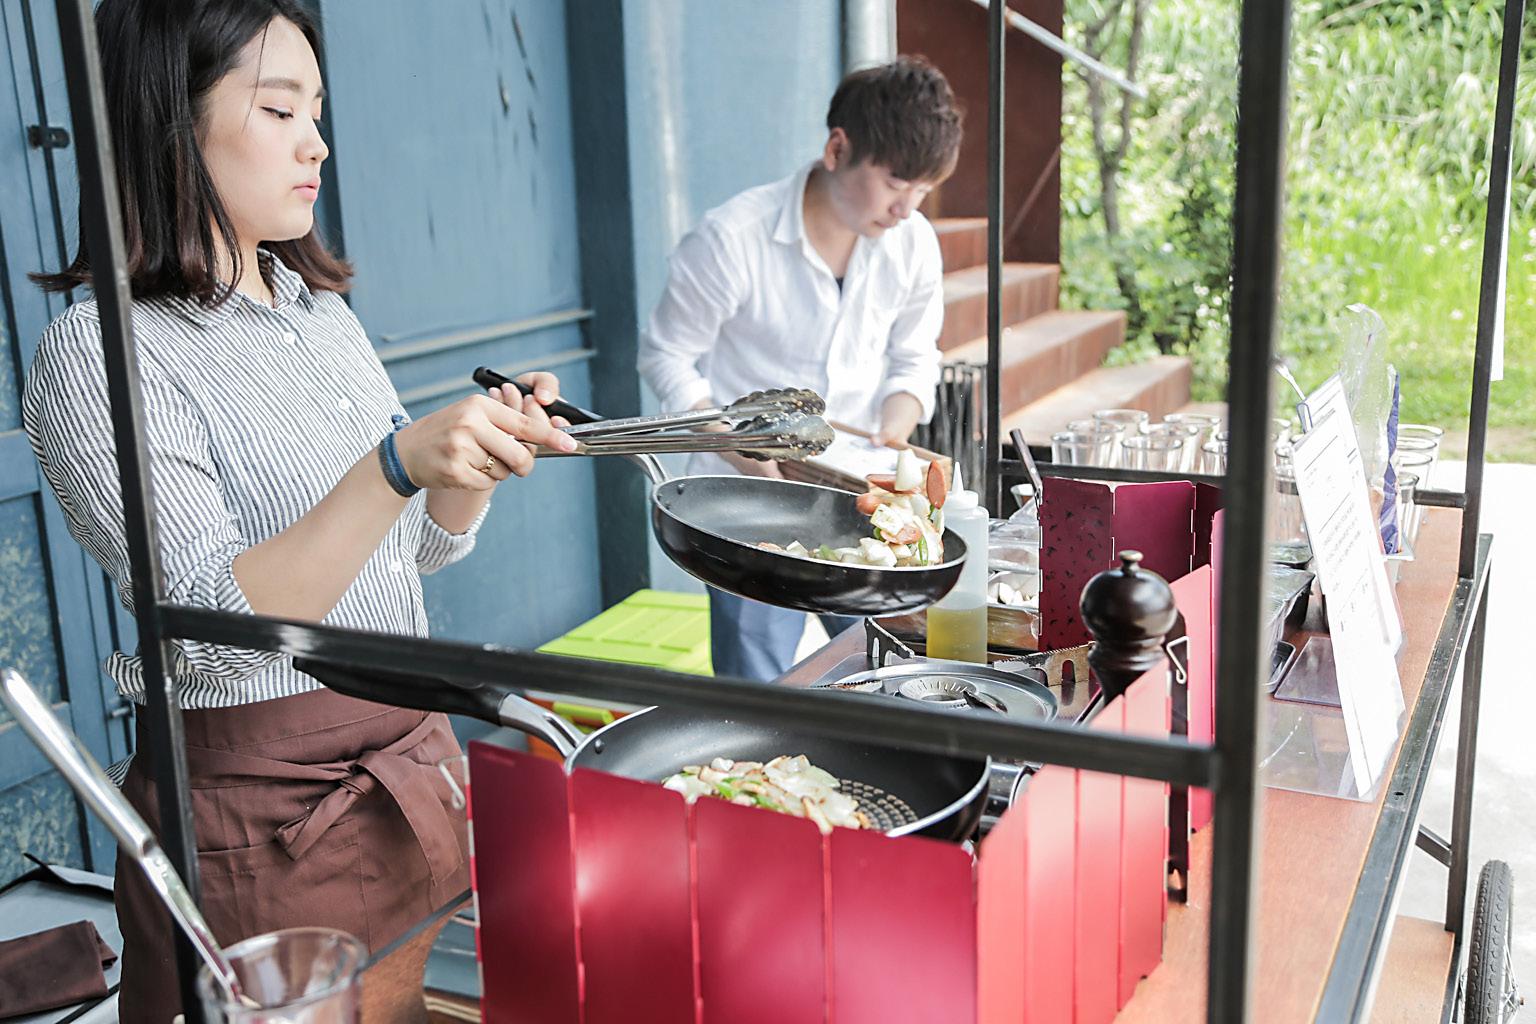
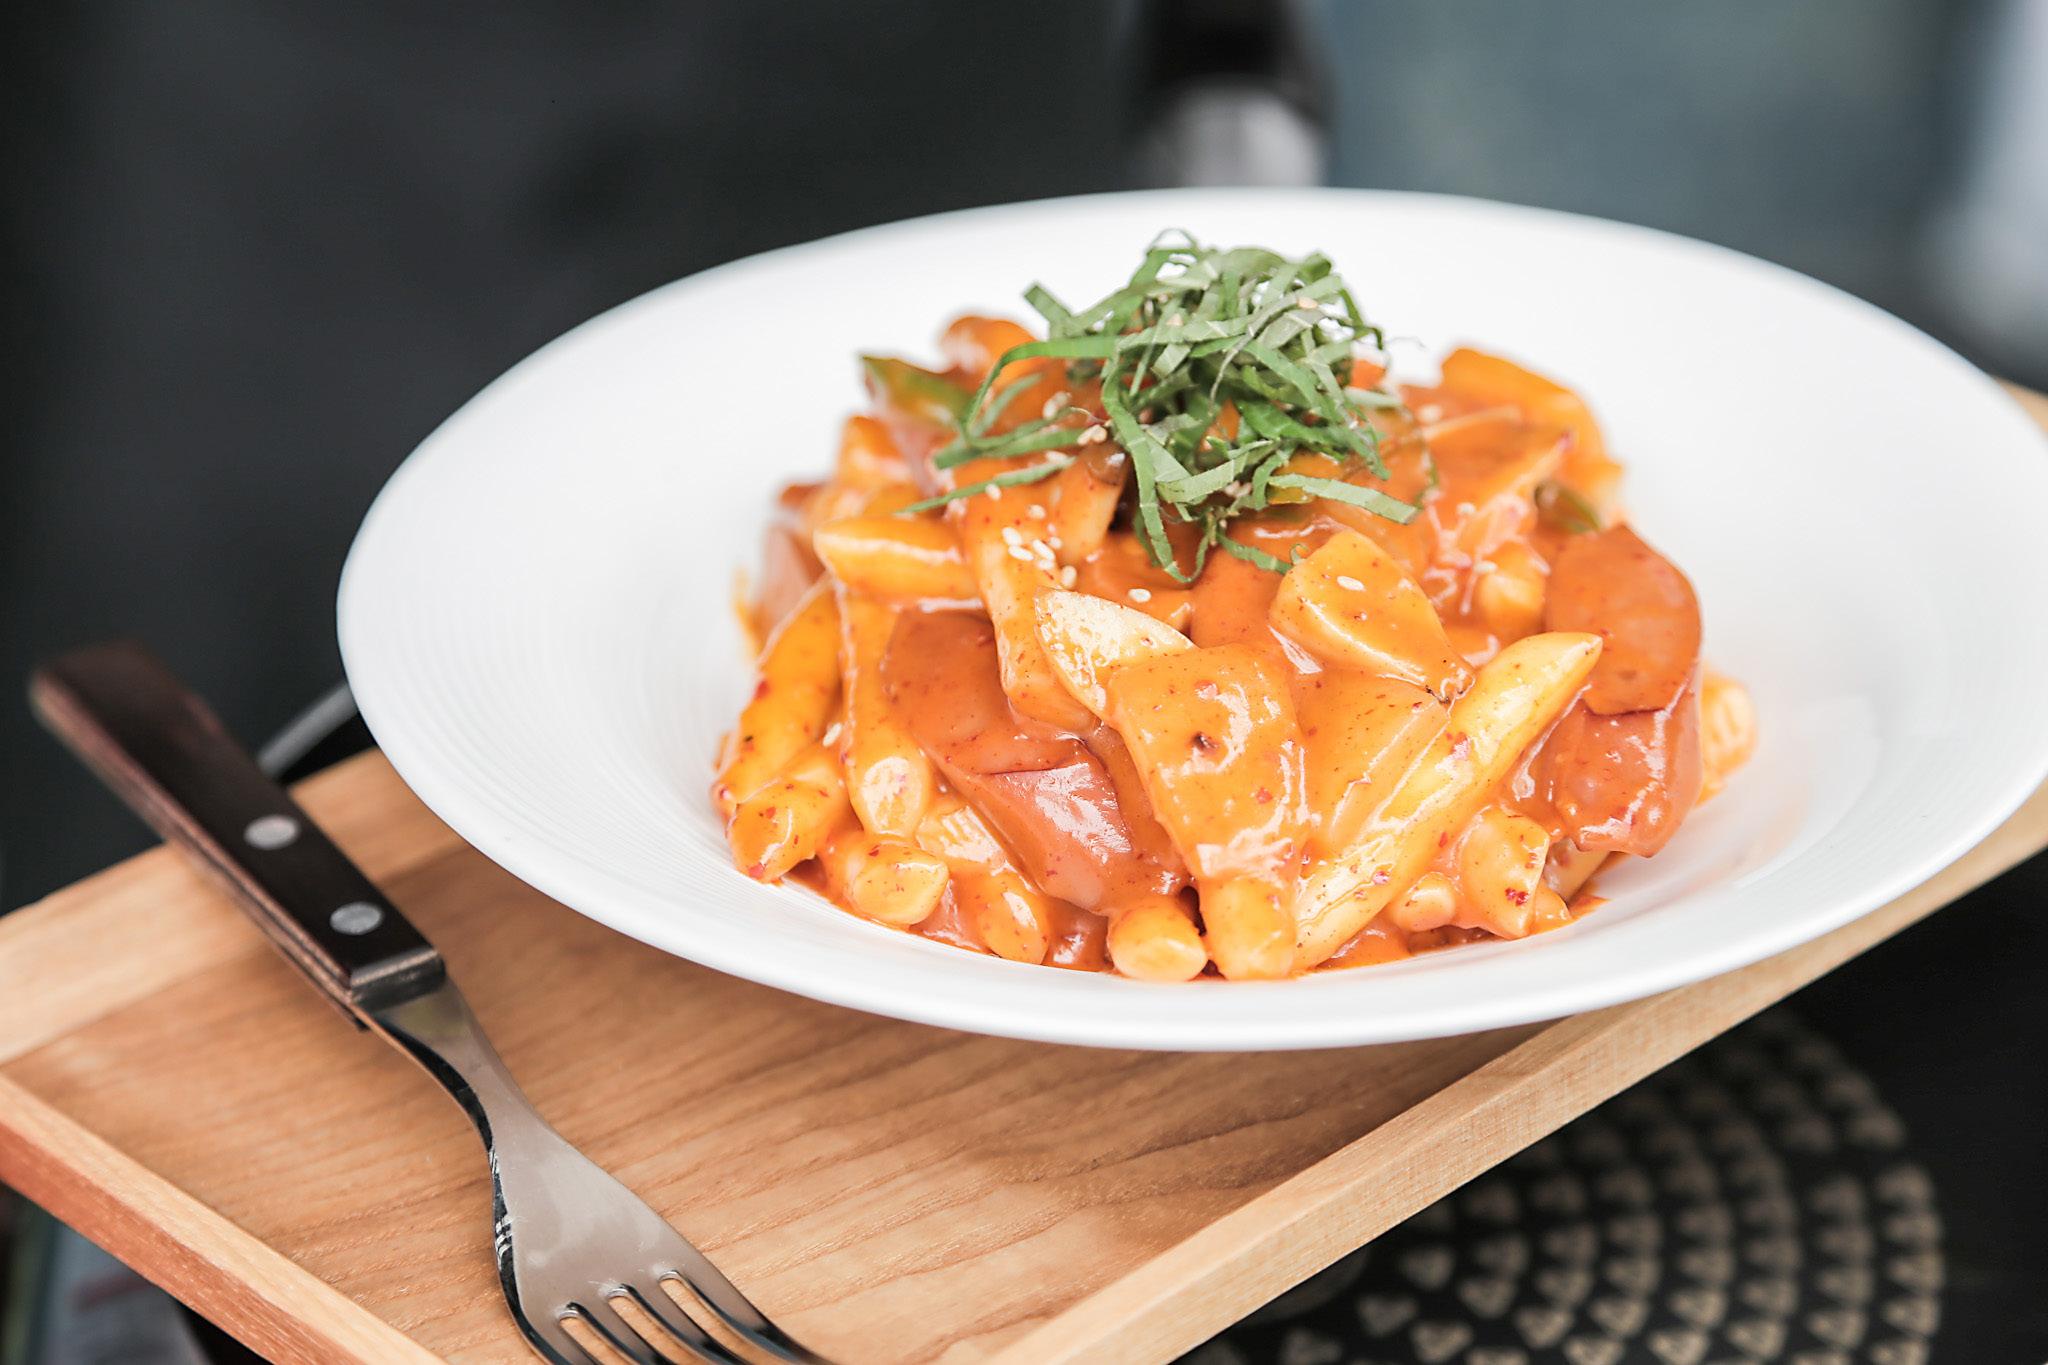
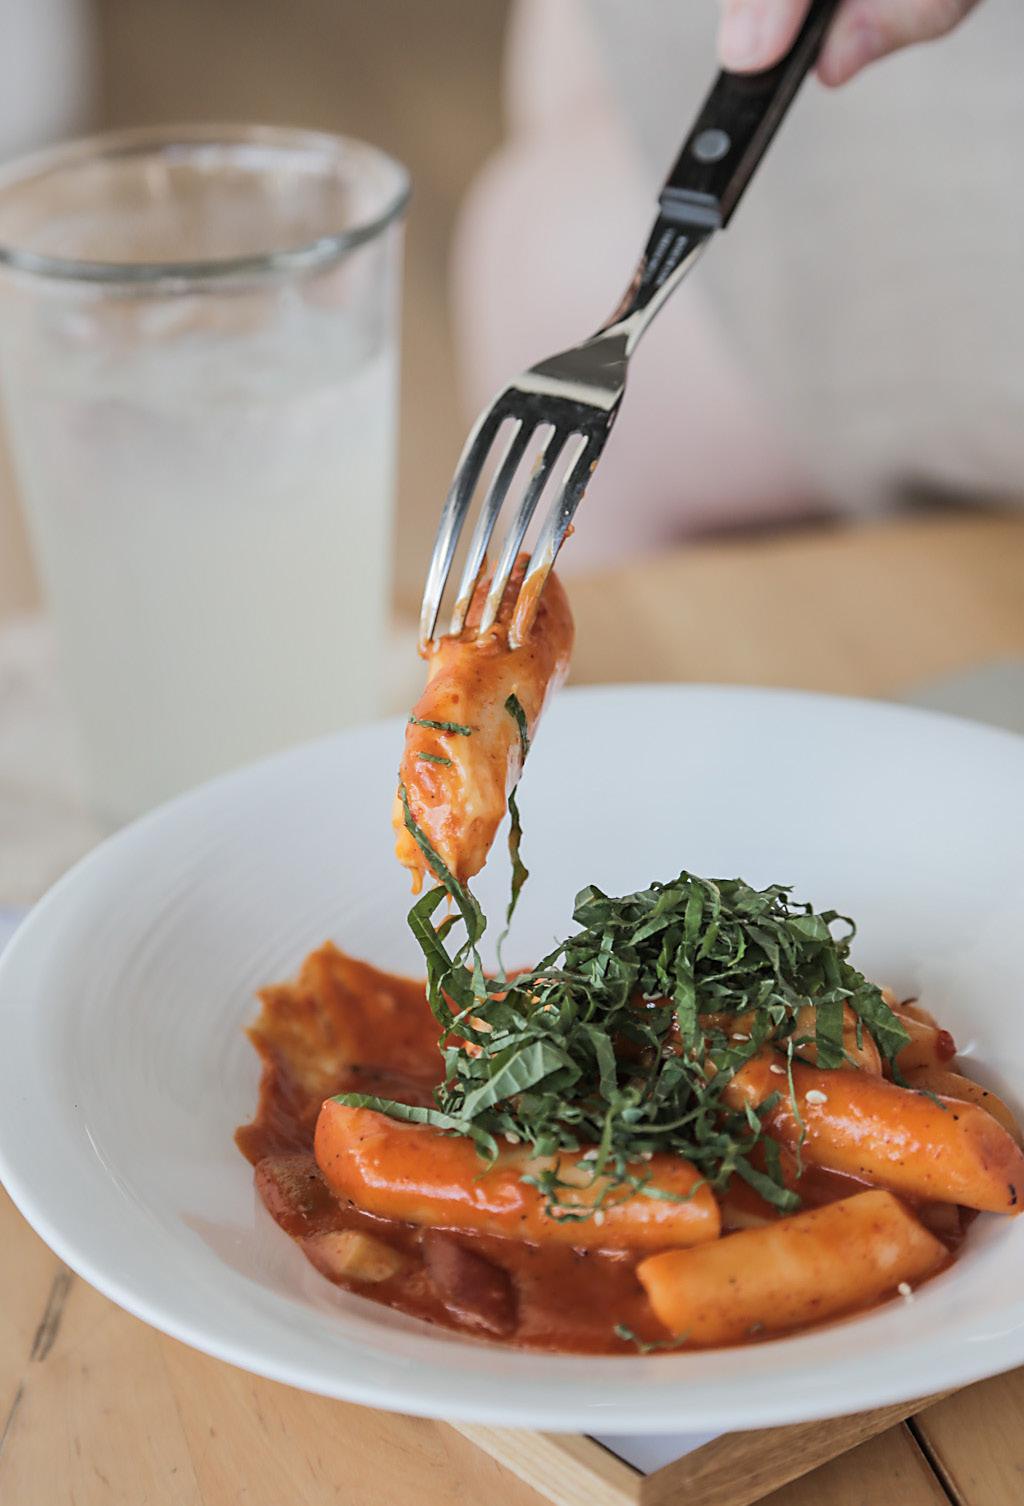
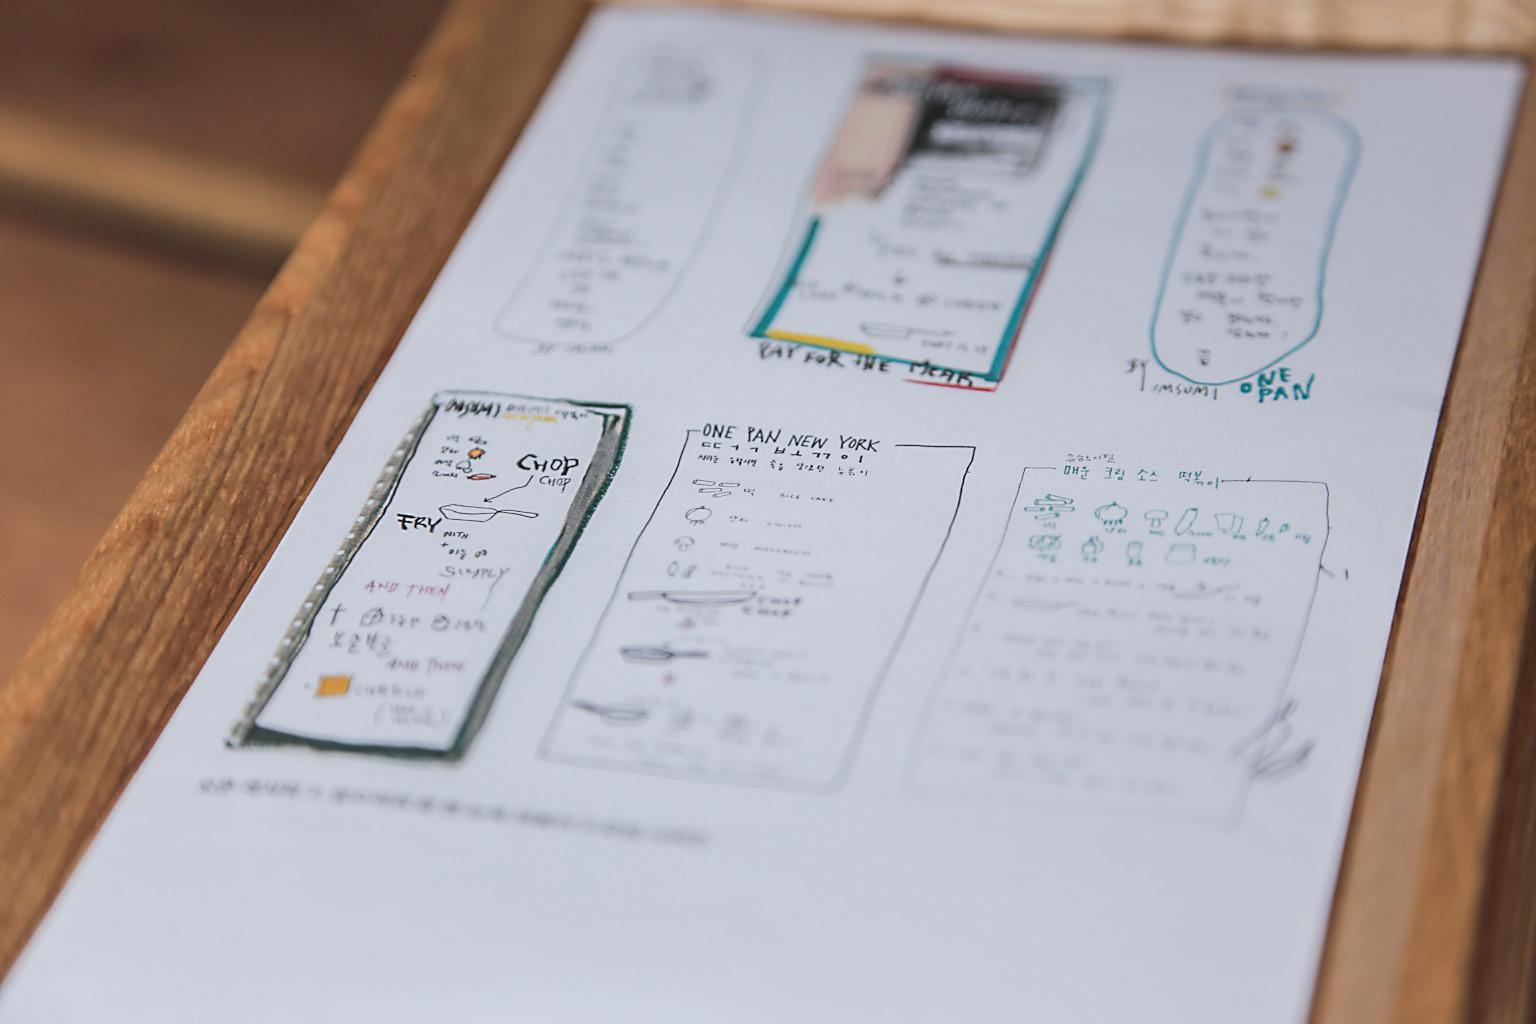
One Pan New York Tteokbokki
Ade
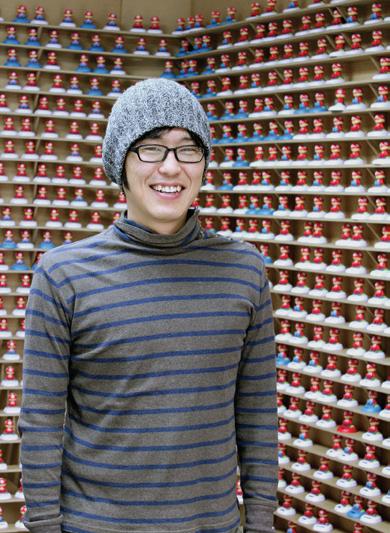
IMSUMI
One Pan New York Tteokbokki
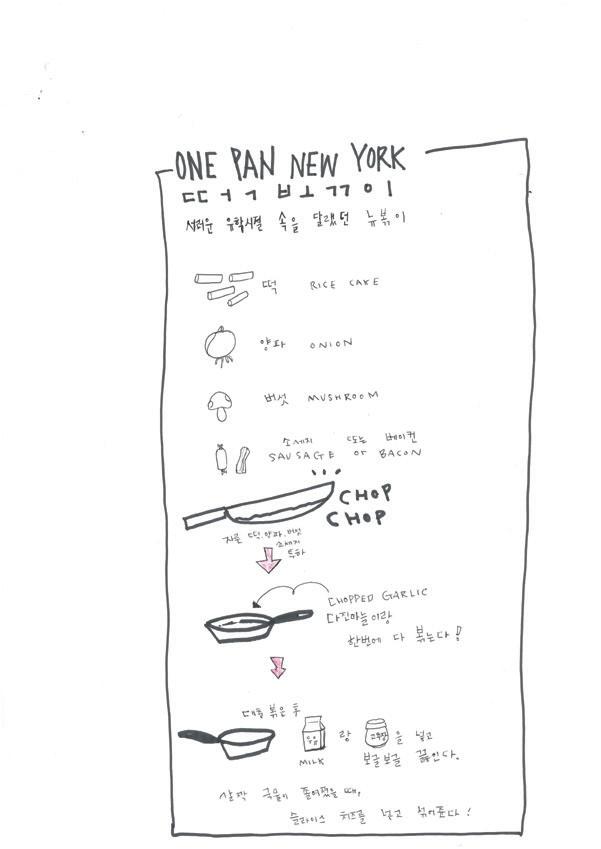
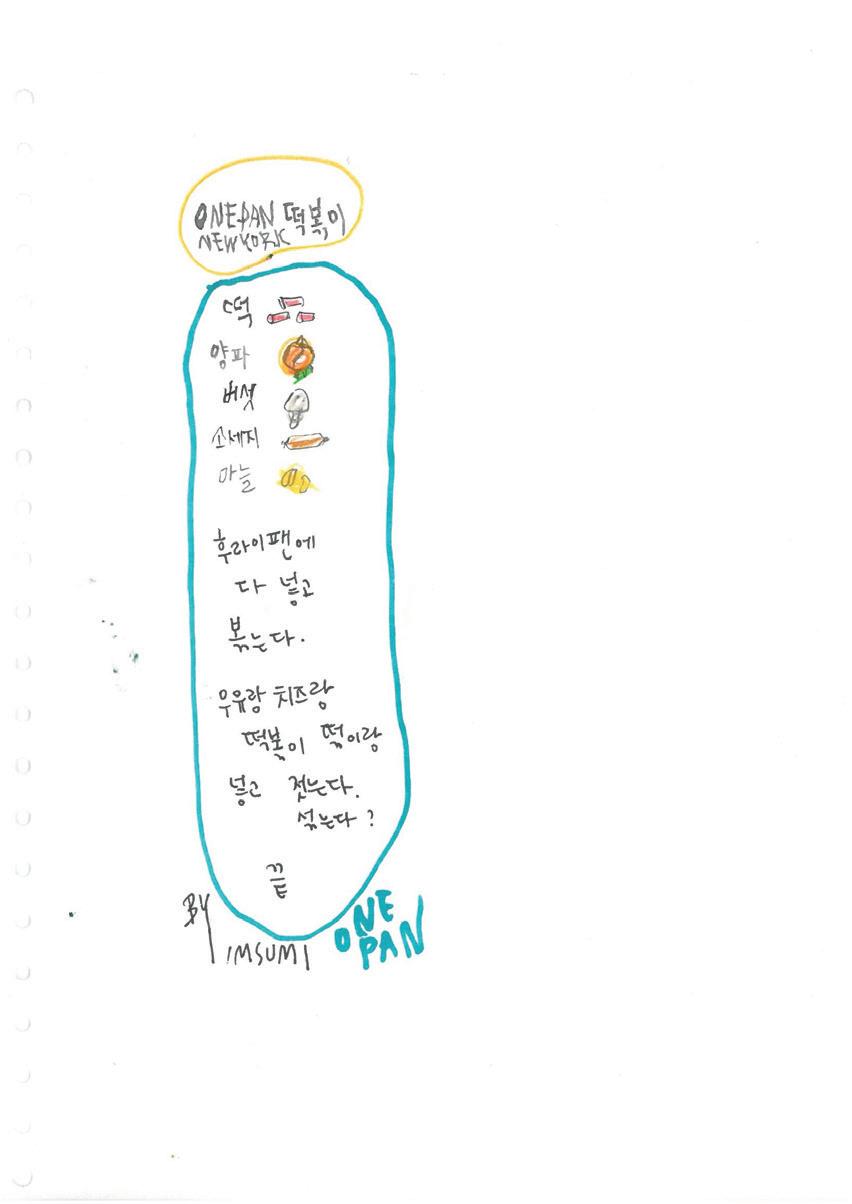
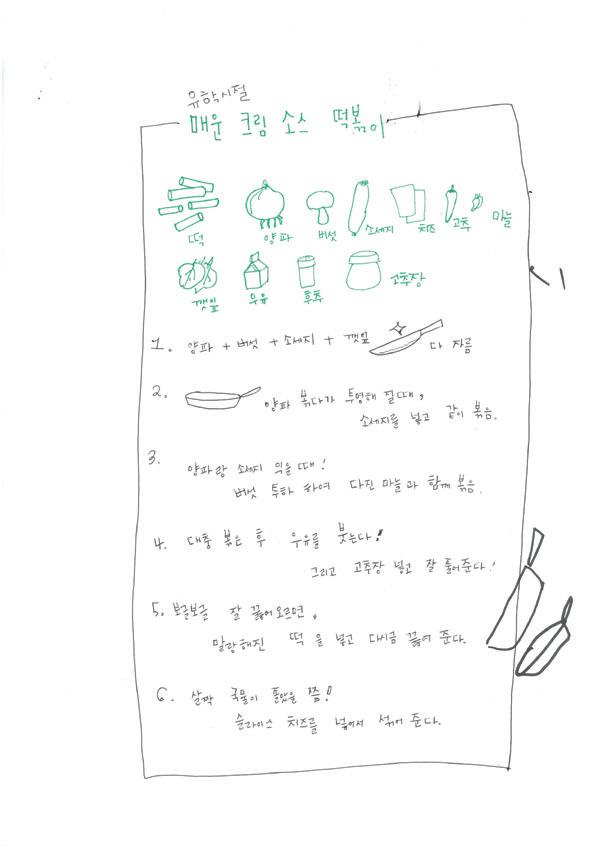
Recipe Story
Lemon
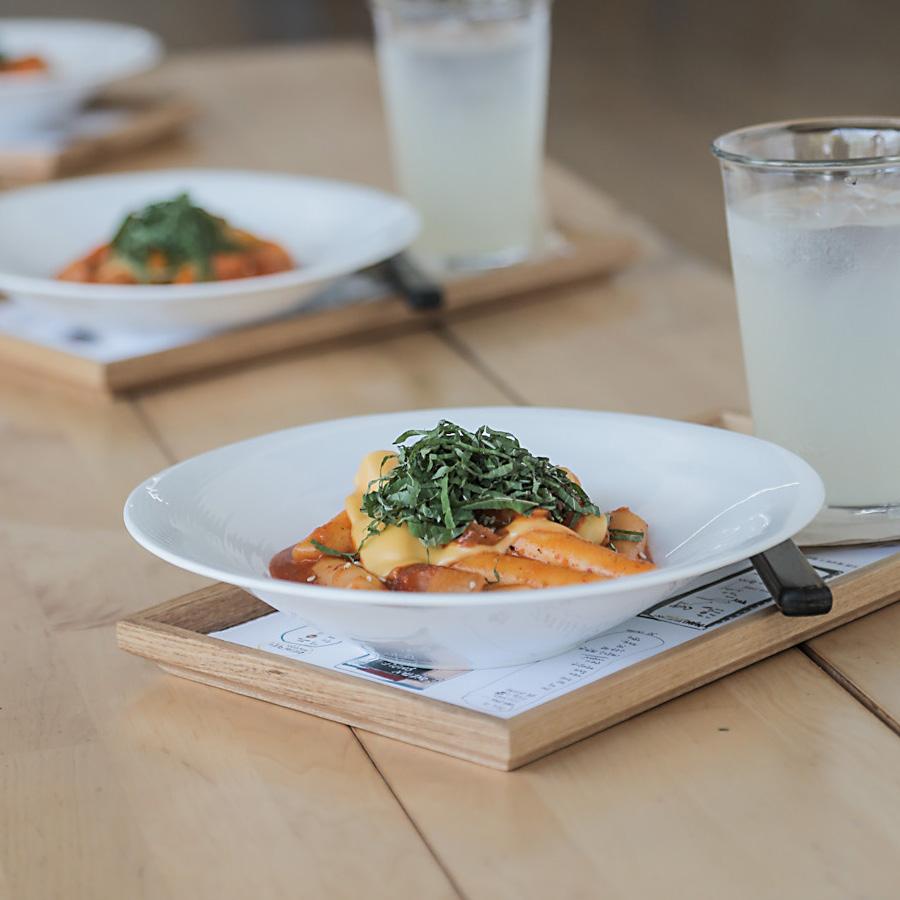

AnOtherShoe
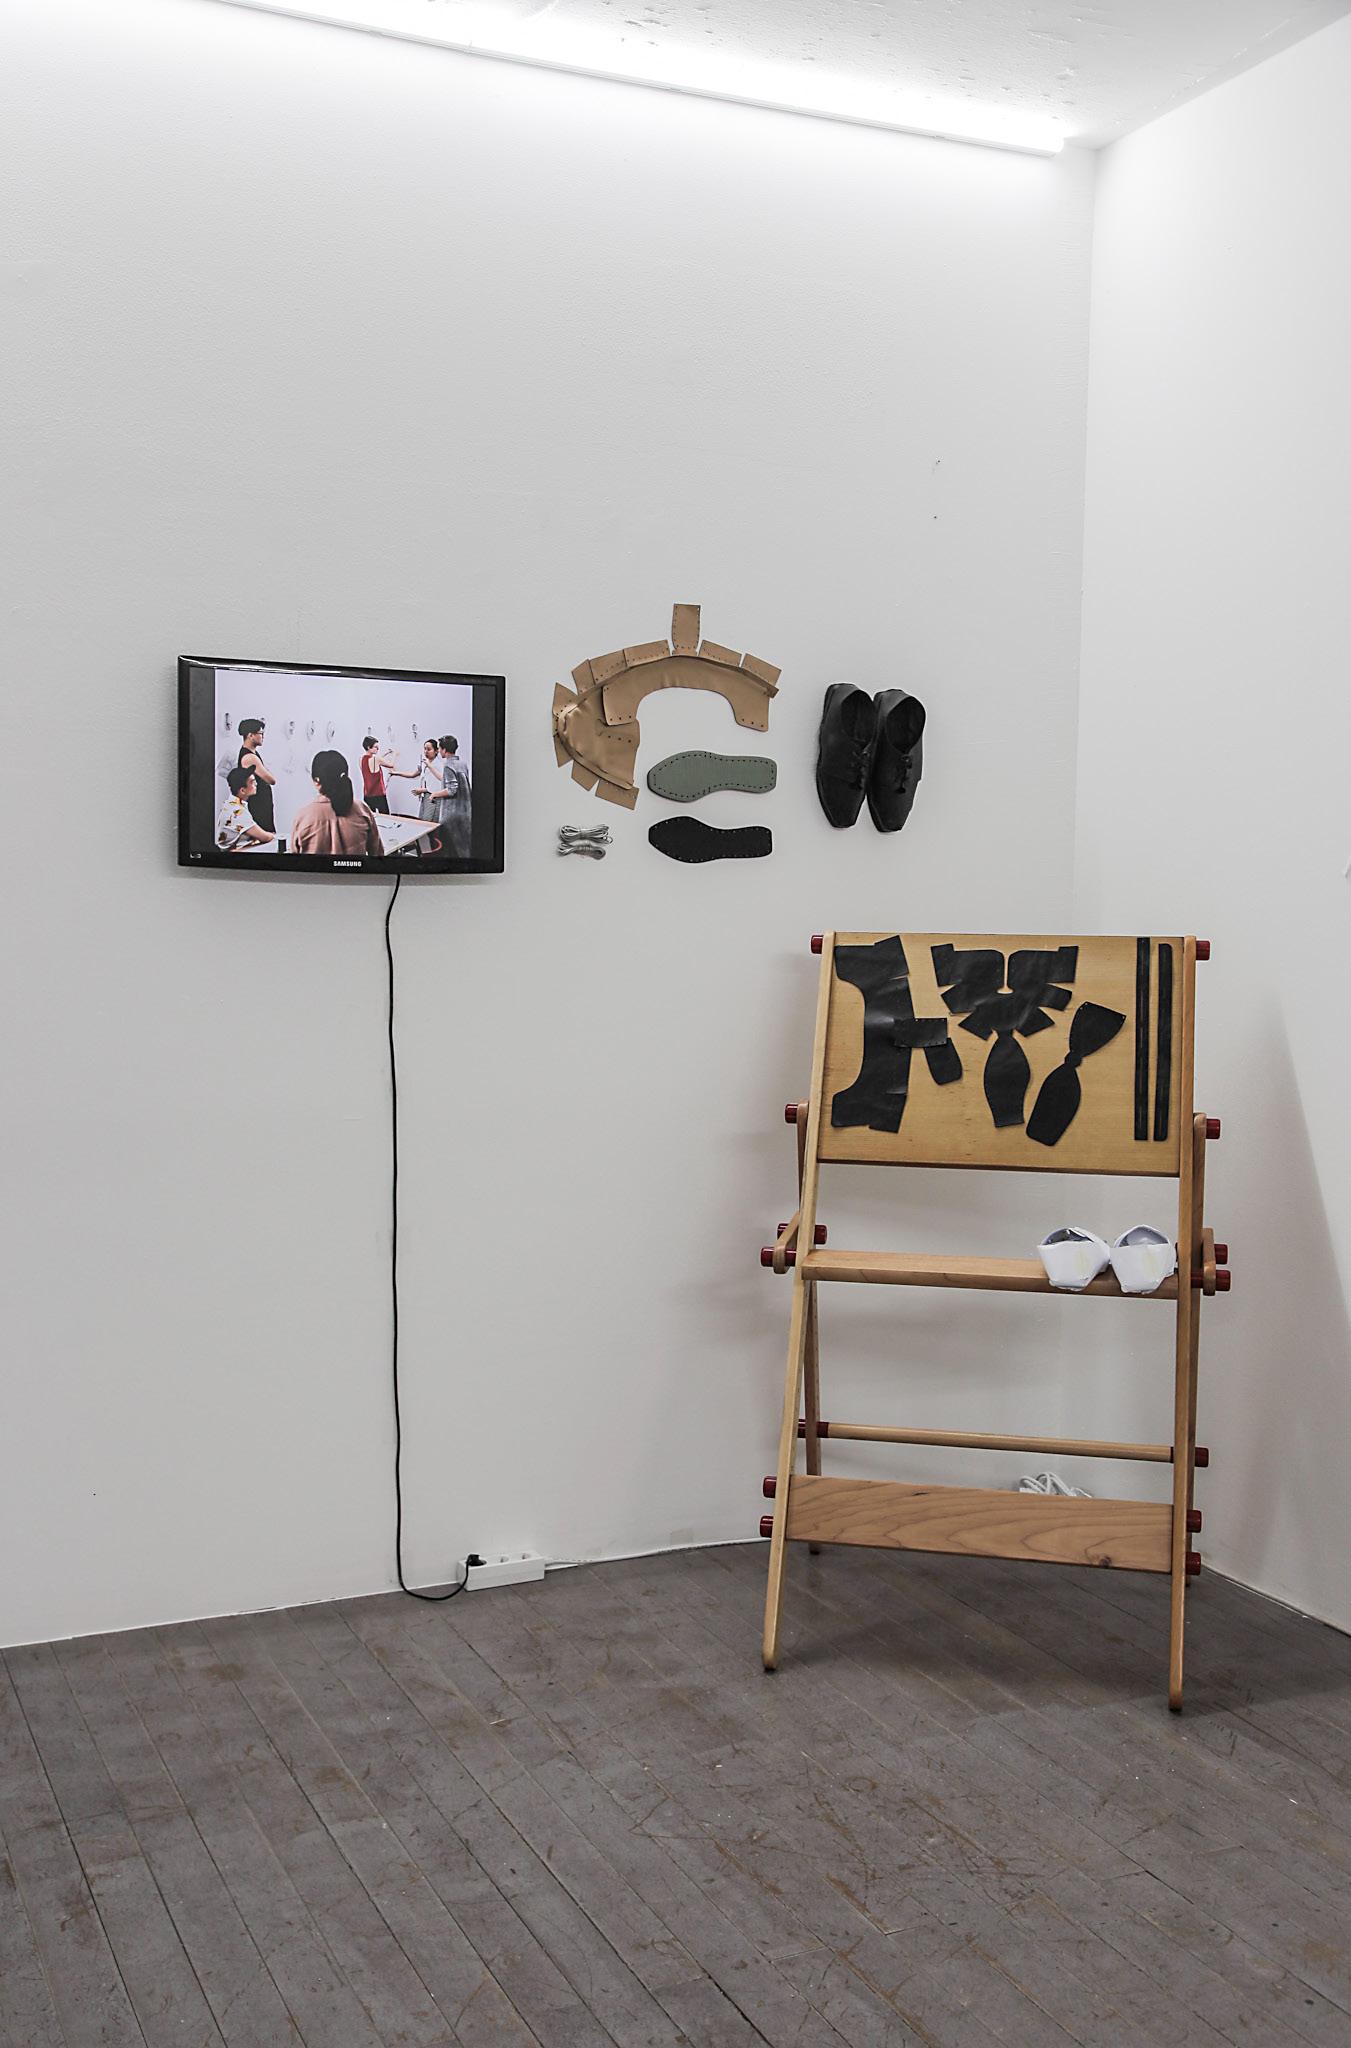
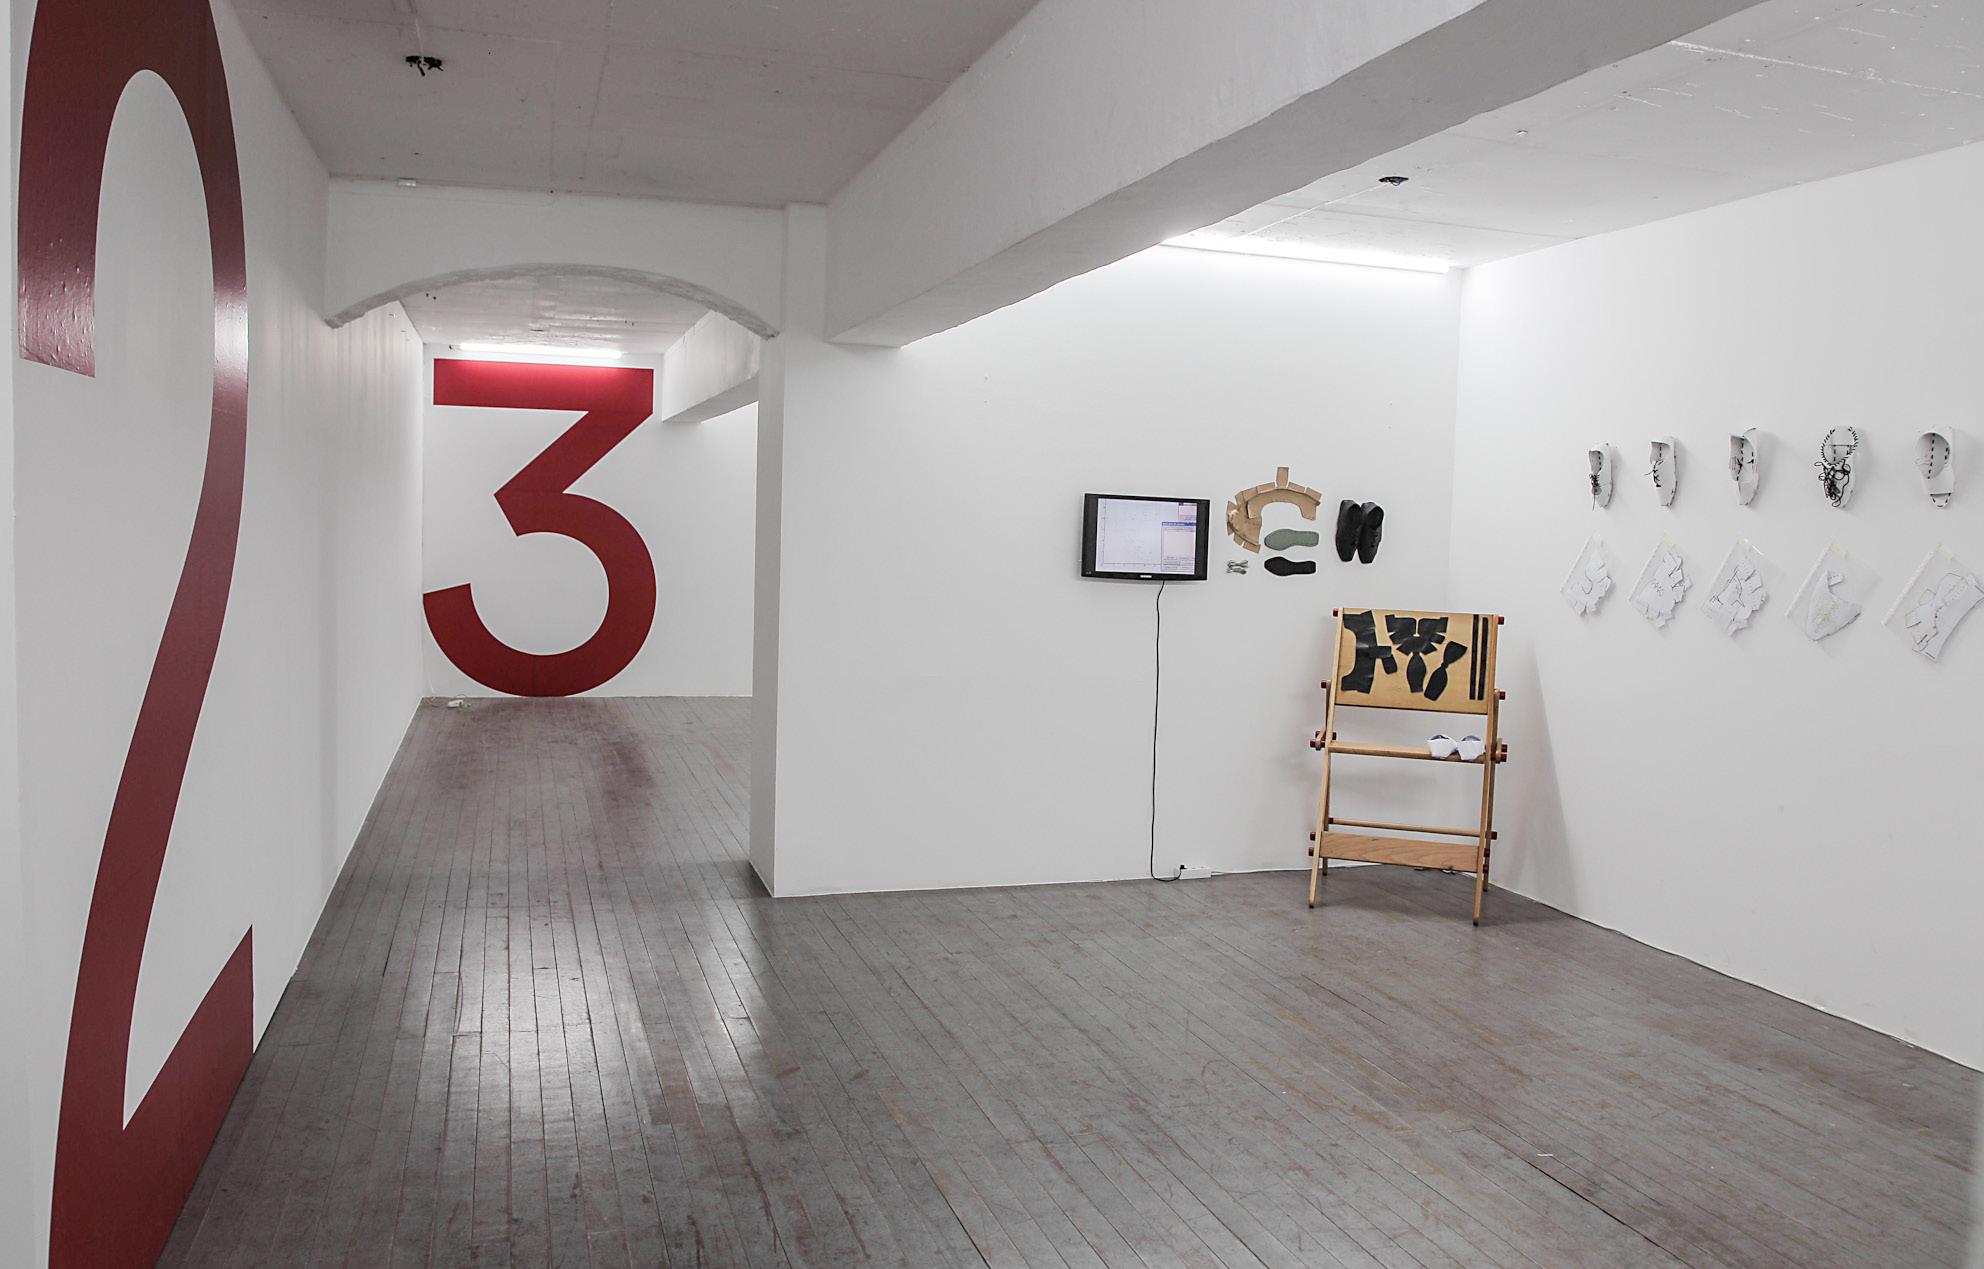
AnOtherShoe 는 소피아 구겐버거와 에우지니아 모르푸르고의
프로젝트다.
AnOtherShoe 는:
열려있는
공유한다
쉽게 이해할 수 있게 된다.
지속할 수 있는.
신발은 수요에 의해 로컬로 제작되며, 따라서
수리할 수 있으며, 신발의 구성 요소들은 따로 처리할 수 있다.
Sophia Guggenberger
오스트리아 출신의 풋웨어 디자이너/제작자이다. 초기에는
텍스타일을 배경으로 시작하여 패션디자인과 의류공학을 공부
했으며, 2009년 풋웨어라는 광대한 세계로 뛰어들었다. 런던예술
대학(UAL) 학사학위 이수를 위해 2009년 런던으로 이동했다.
풋웨어 디자인과 개발로 2012년 UAL패션대학을 졸업한 후 스페인의
풋웨어 회사인 캠퍼에서 소속 디자이너로 일하기 시작
했다. 2014년 가을 베를린으로 옮겨와 베를린예술대학교(UDK)
에서 디자인으로 석사과정을 밟았다. 현재 베를린에 머물며 신발제작을 위한 공법을 연구, 개발하고 있다. 그녀는 공예의 아이디어를 디자인의 맥락 속에 통합하는 작업을 다룬다.
Eugenia Morpurgo
이탈리안 디자이너로 디지털 공예 분야에서 일하며, 새로운 생산 공정에 대해 연구하고 있다. 2009년 베니스의 IUAV대학에서
산업디자인 과정을 수료했다. 이후, 네덜란드로 옮겨와 아인트호벤 디자인 아카데미에서 소셜 디자인 석사과정을 밟았다. 연구를
지속함과 동시에, 르완다 키갈리에 기반을 둔 르완다 기술개발 아틀리에의 연구프로그램에 참여했다. 지난 2014년 이후, 이탈리아 볼차노의 보첸자유대학에서 생산기술과 시스템을 가르치고 있다.
현재 파리에 거주하며 소셜 디자인과 리서치 프로젝트 분야의 독립 디자이너로 활동 중이며, 여러 문화 기관의 의뢰를 받아 국제적인 팹랩(fabrication laboratory제작실험실) 네트워크 안에서 여러 워크샵을 진행하고 있다.
Workshop
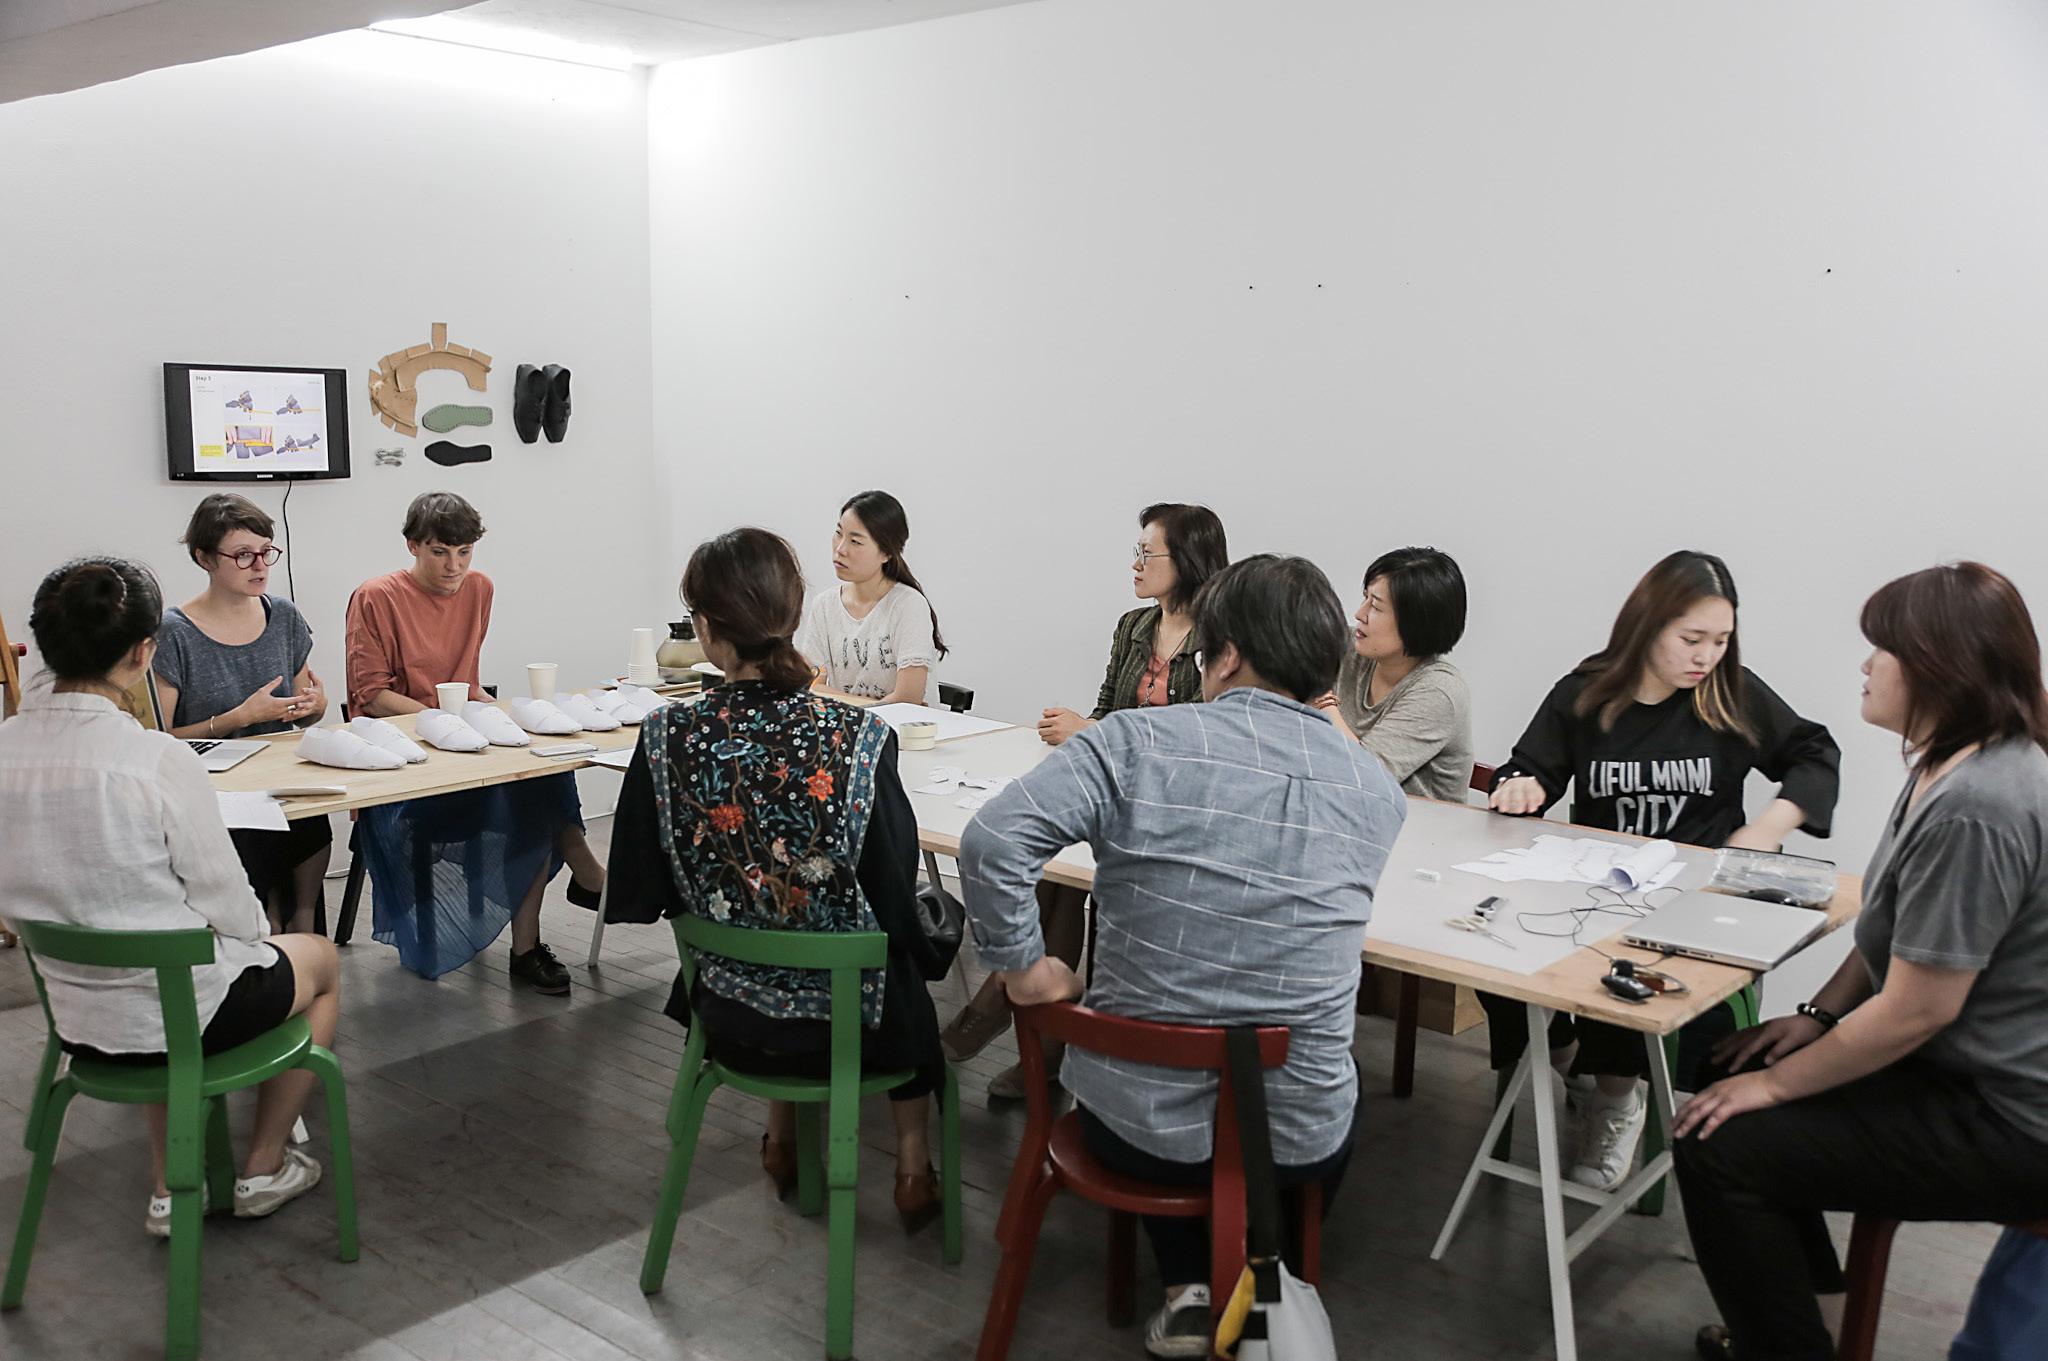
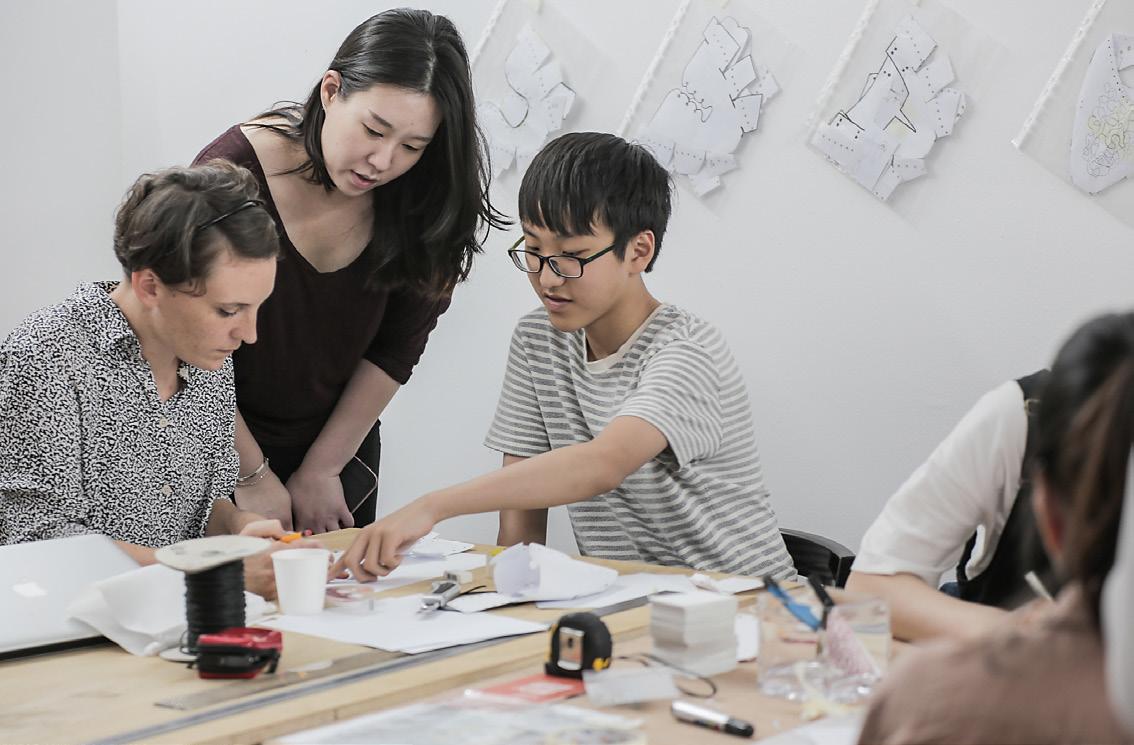
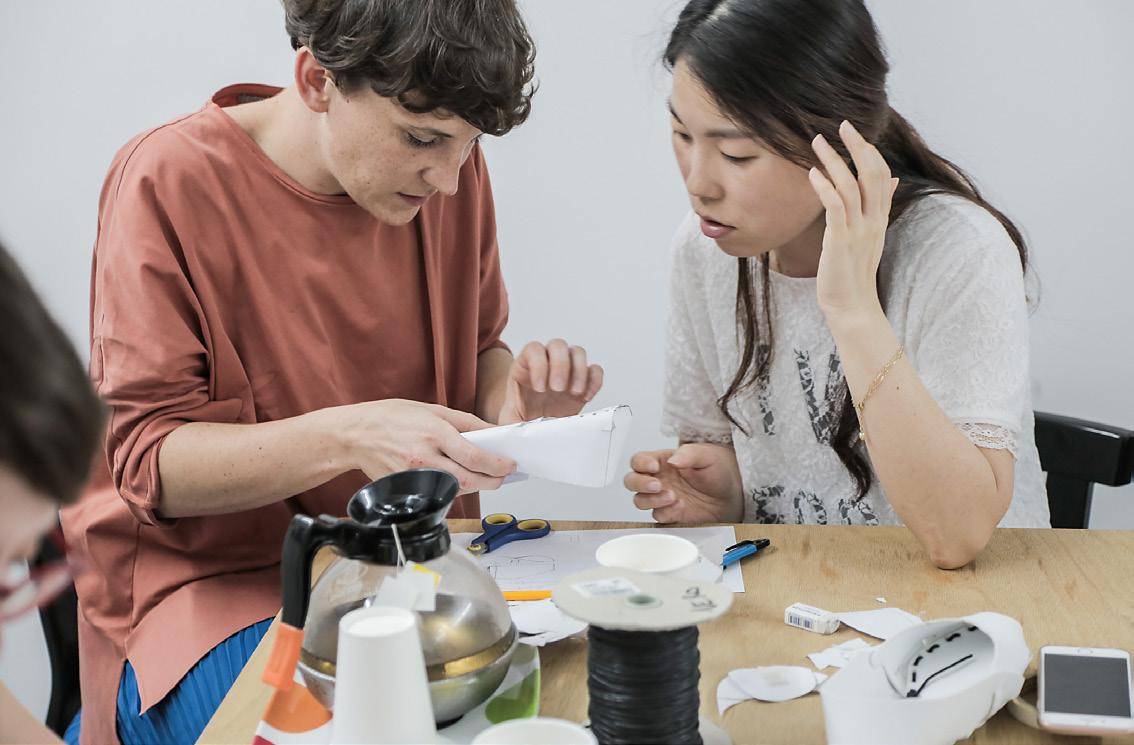
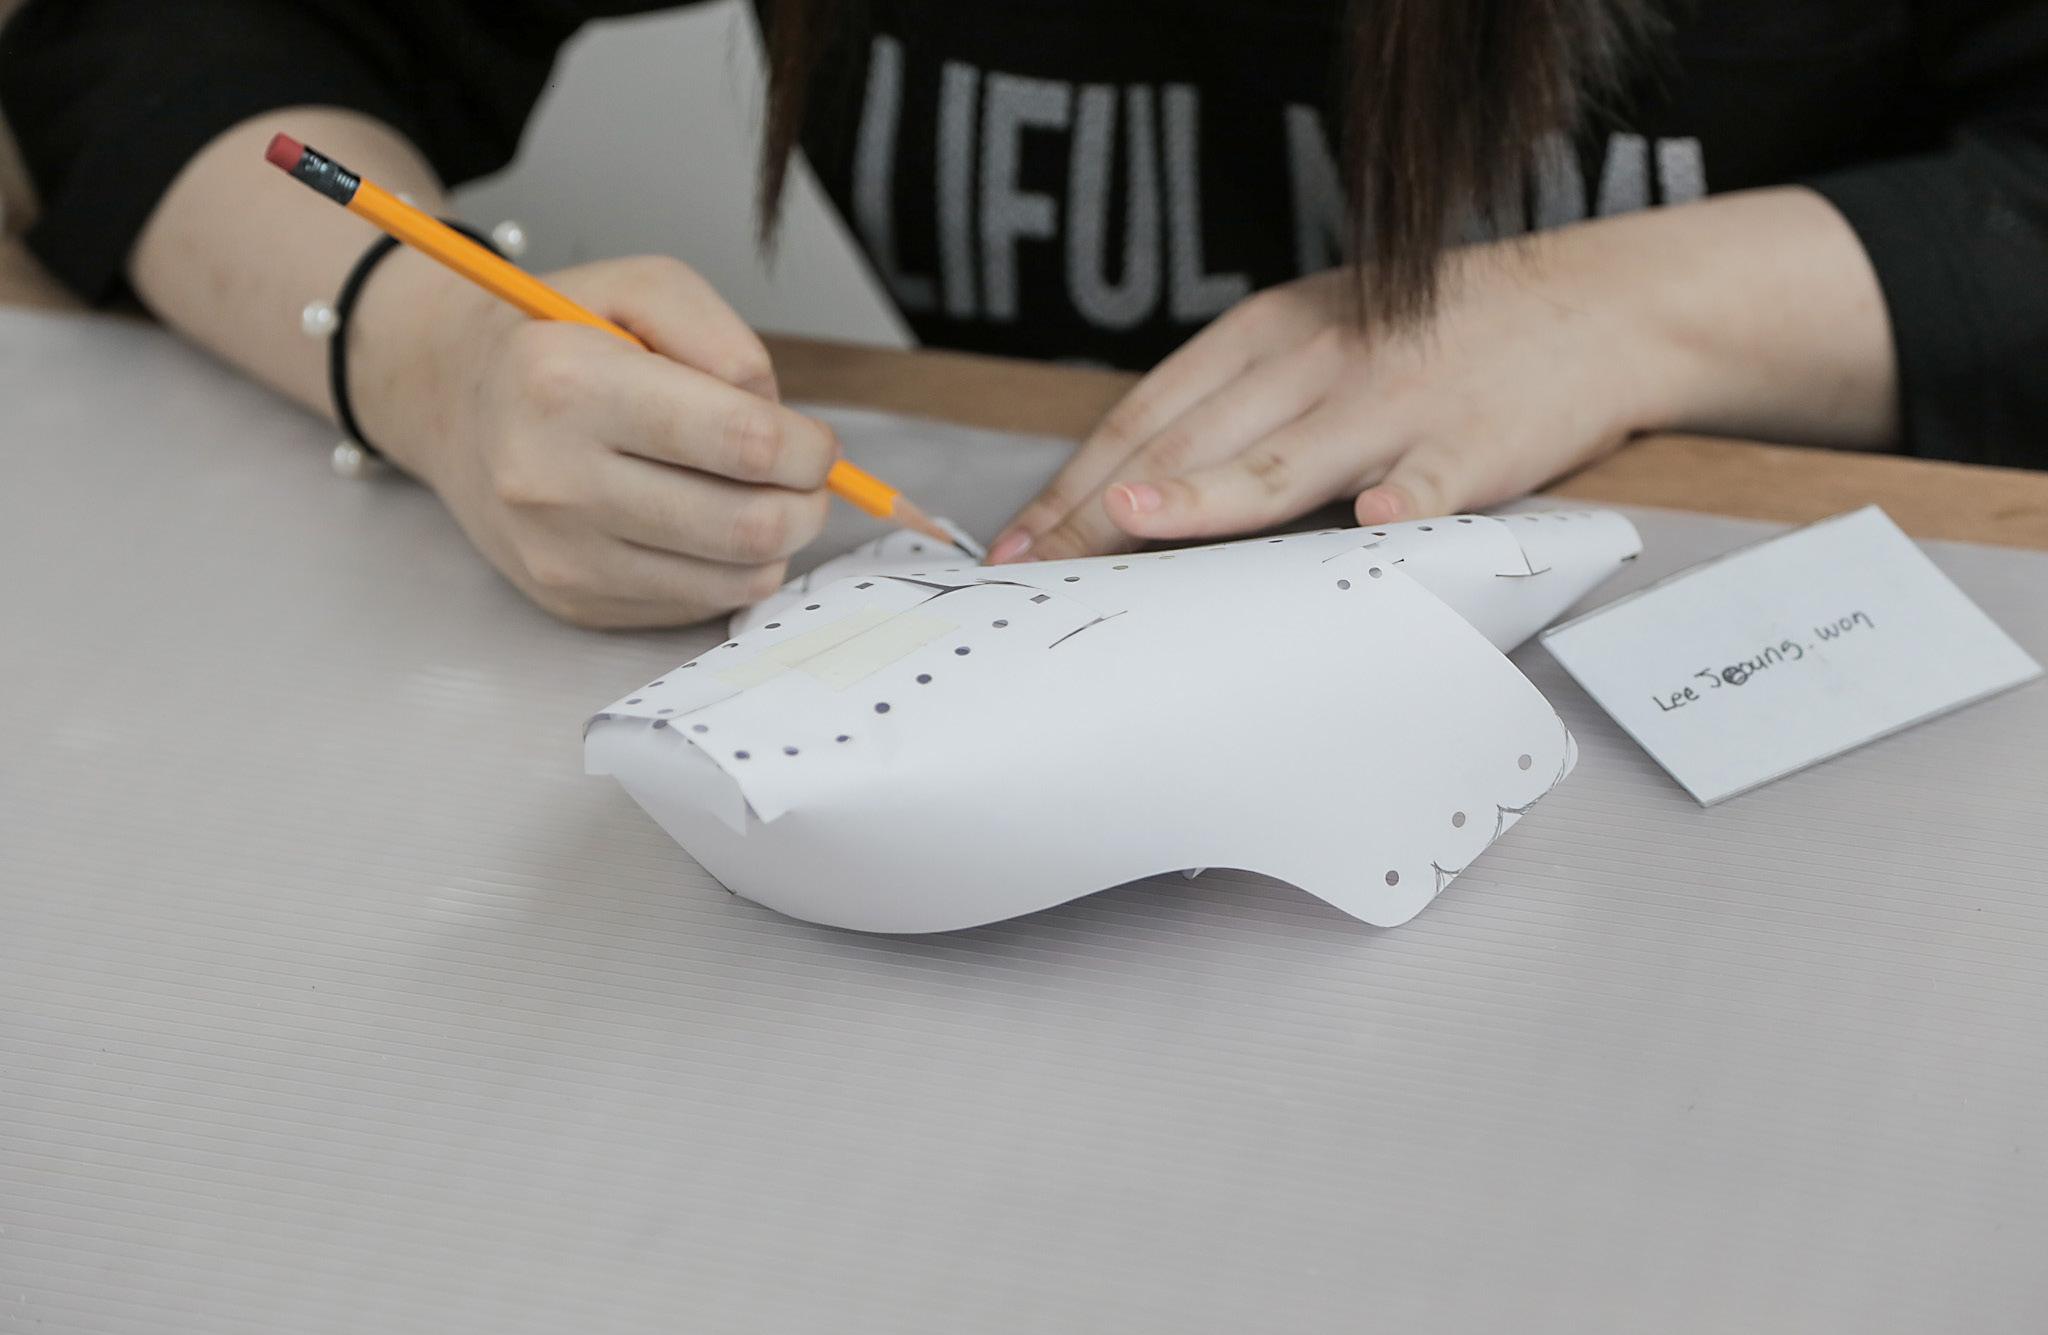
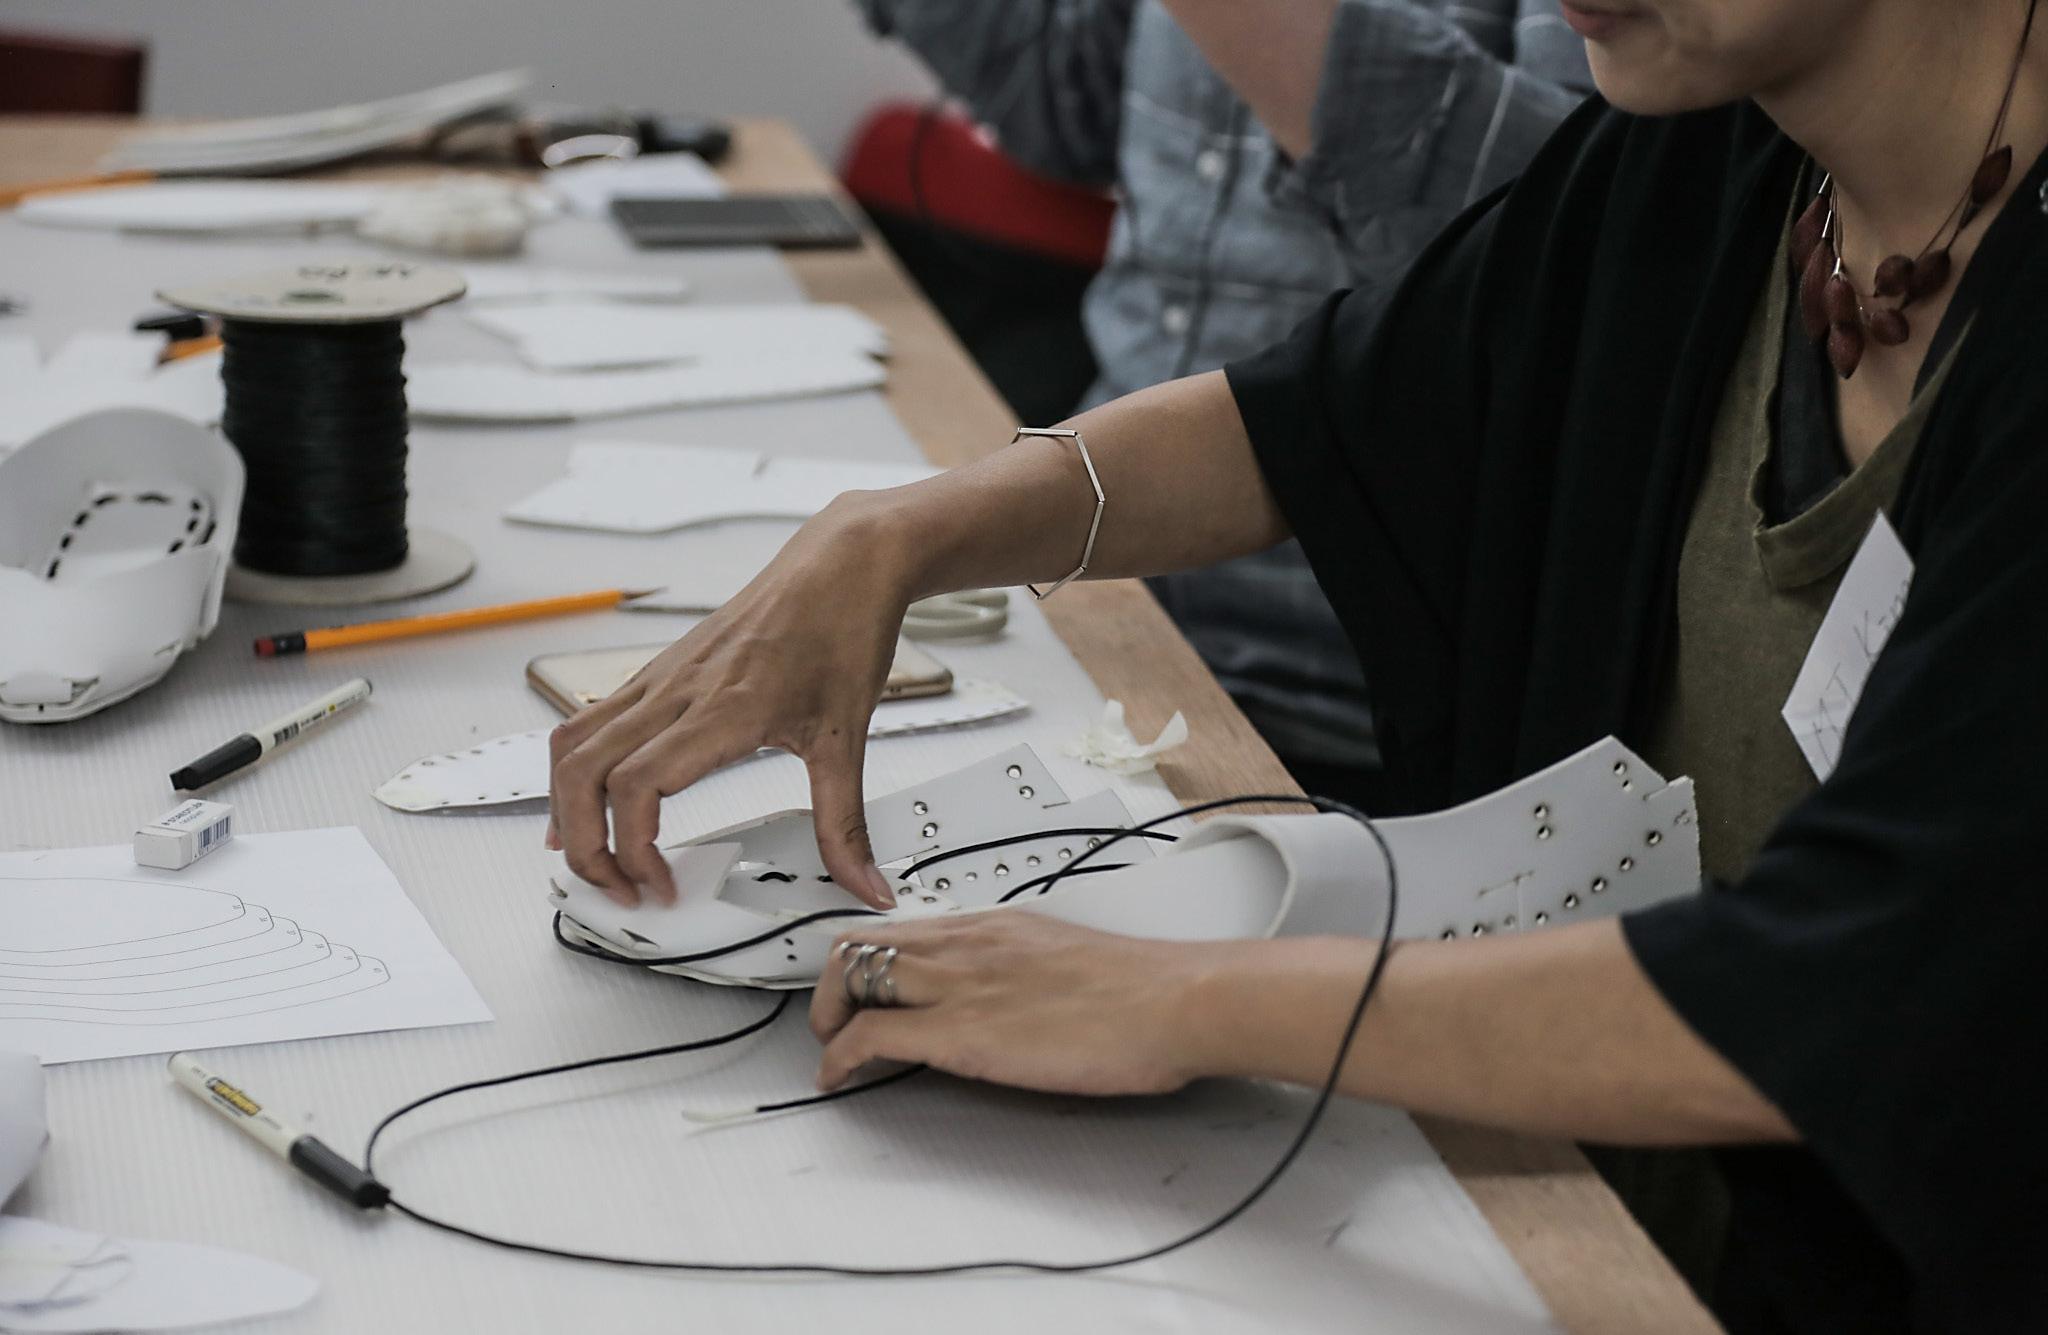
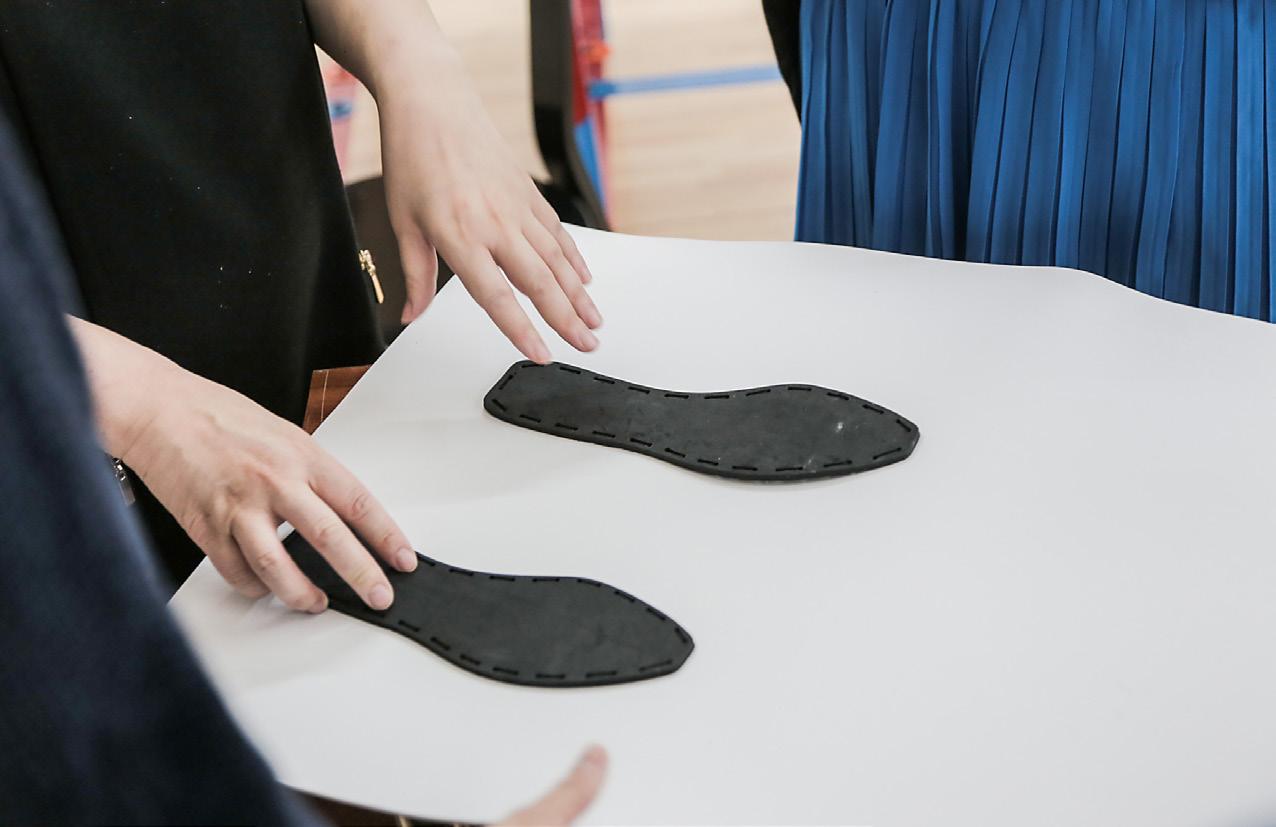
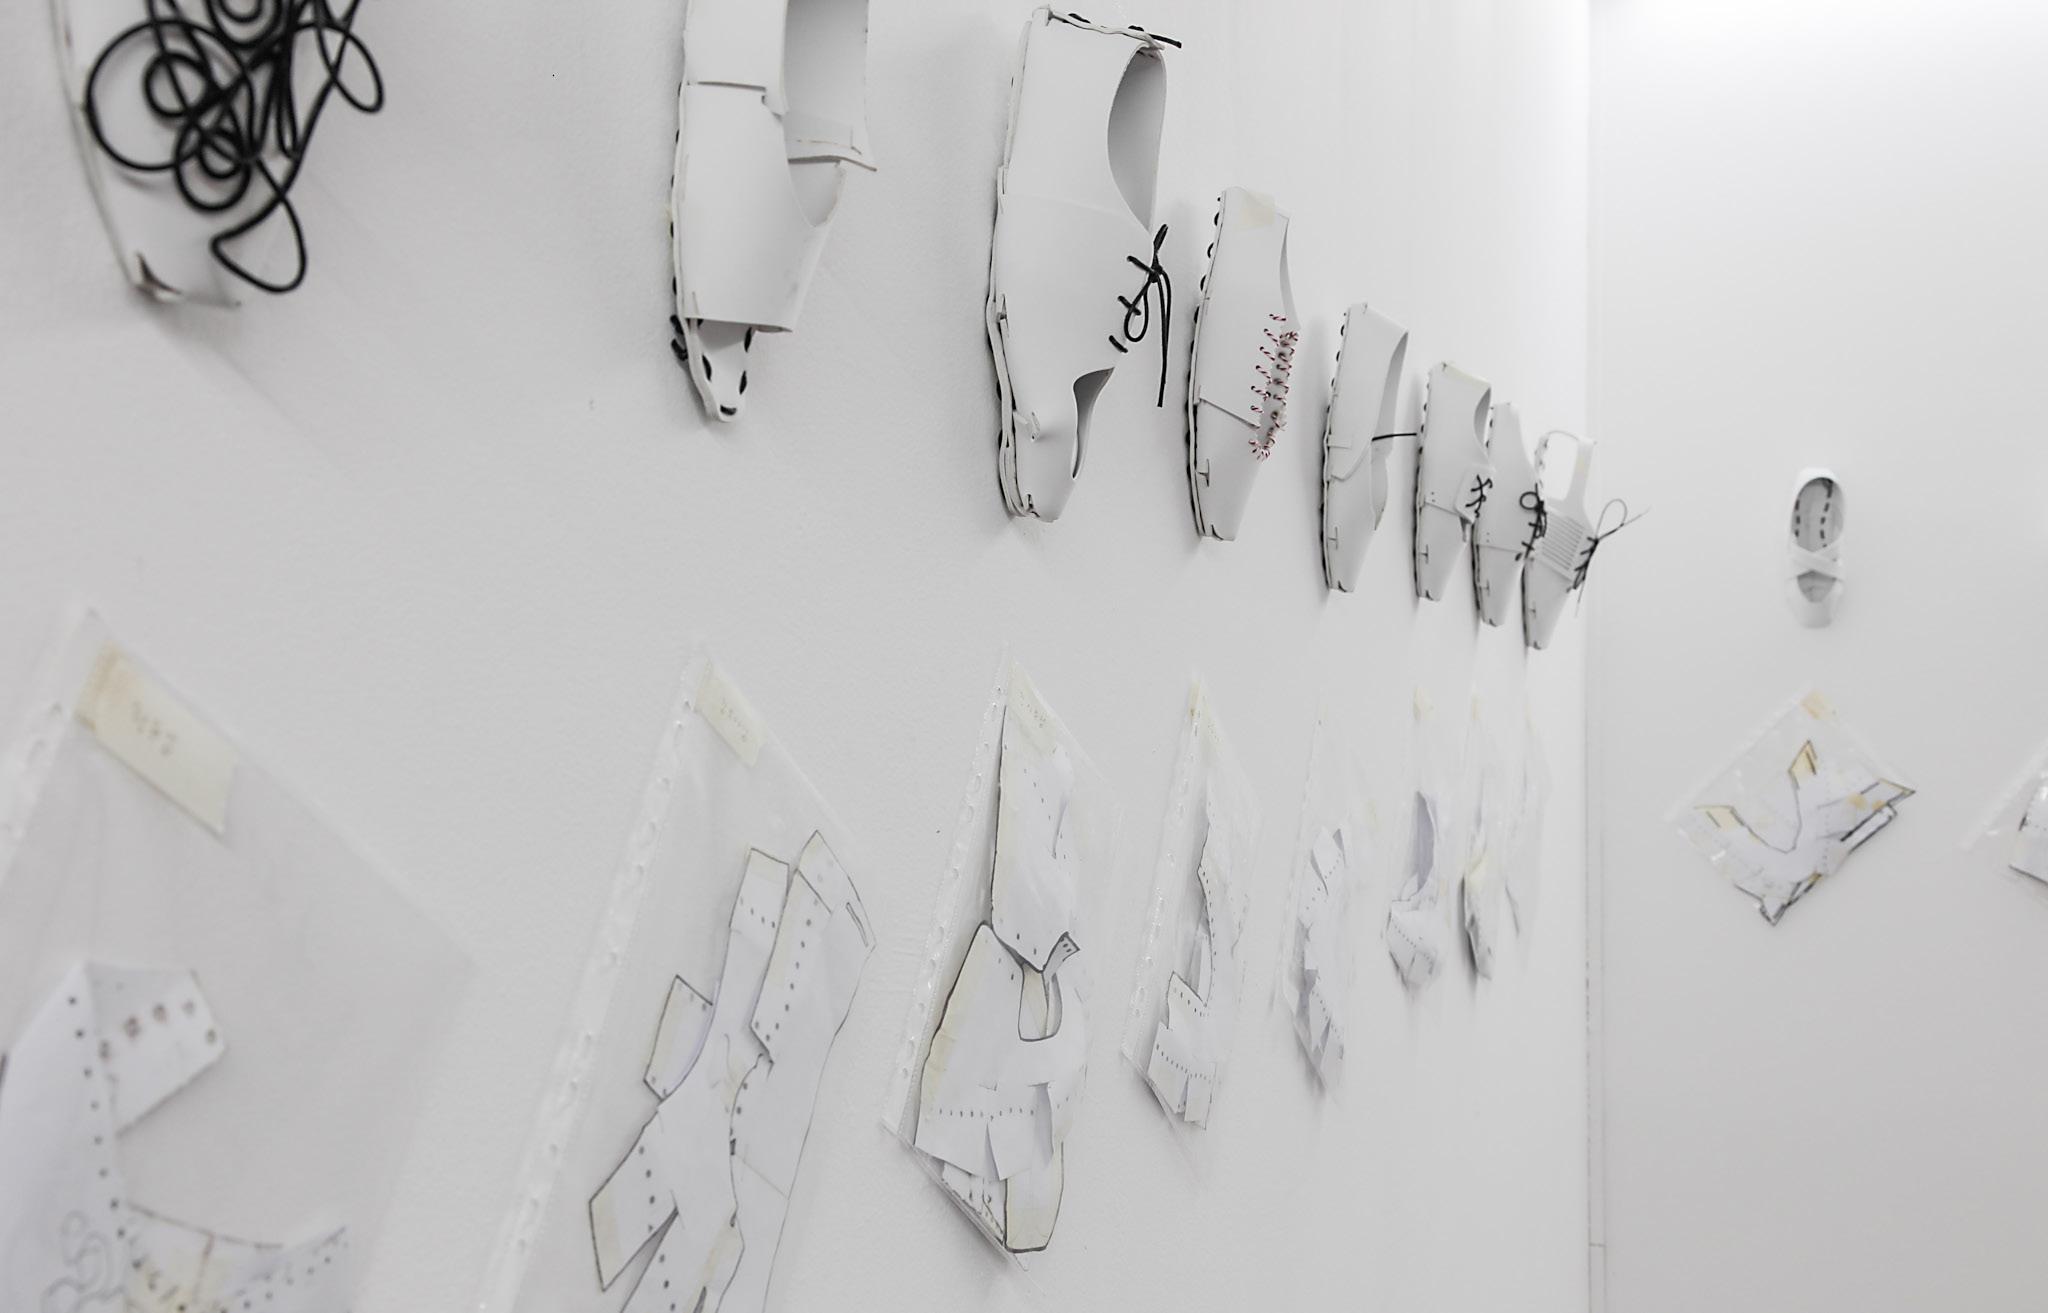
AnOtherShoe
Bridging the gap between digital fabrication and traditional market relations, AnOtherShoe Is a project developed by Sophia Guggenberger and Eugenia Morpurgo.
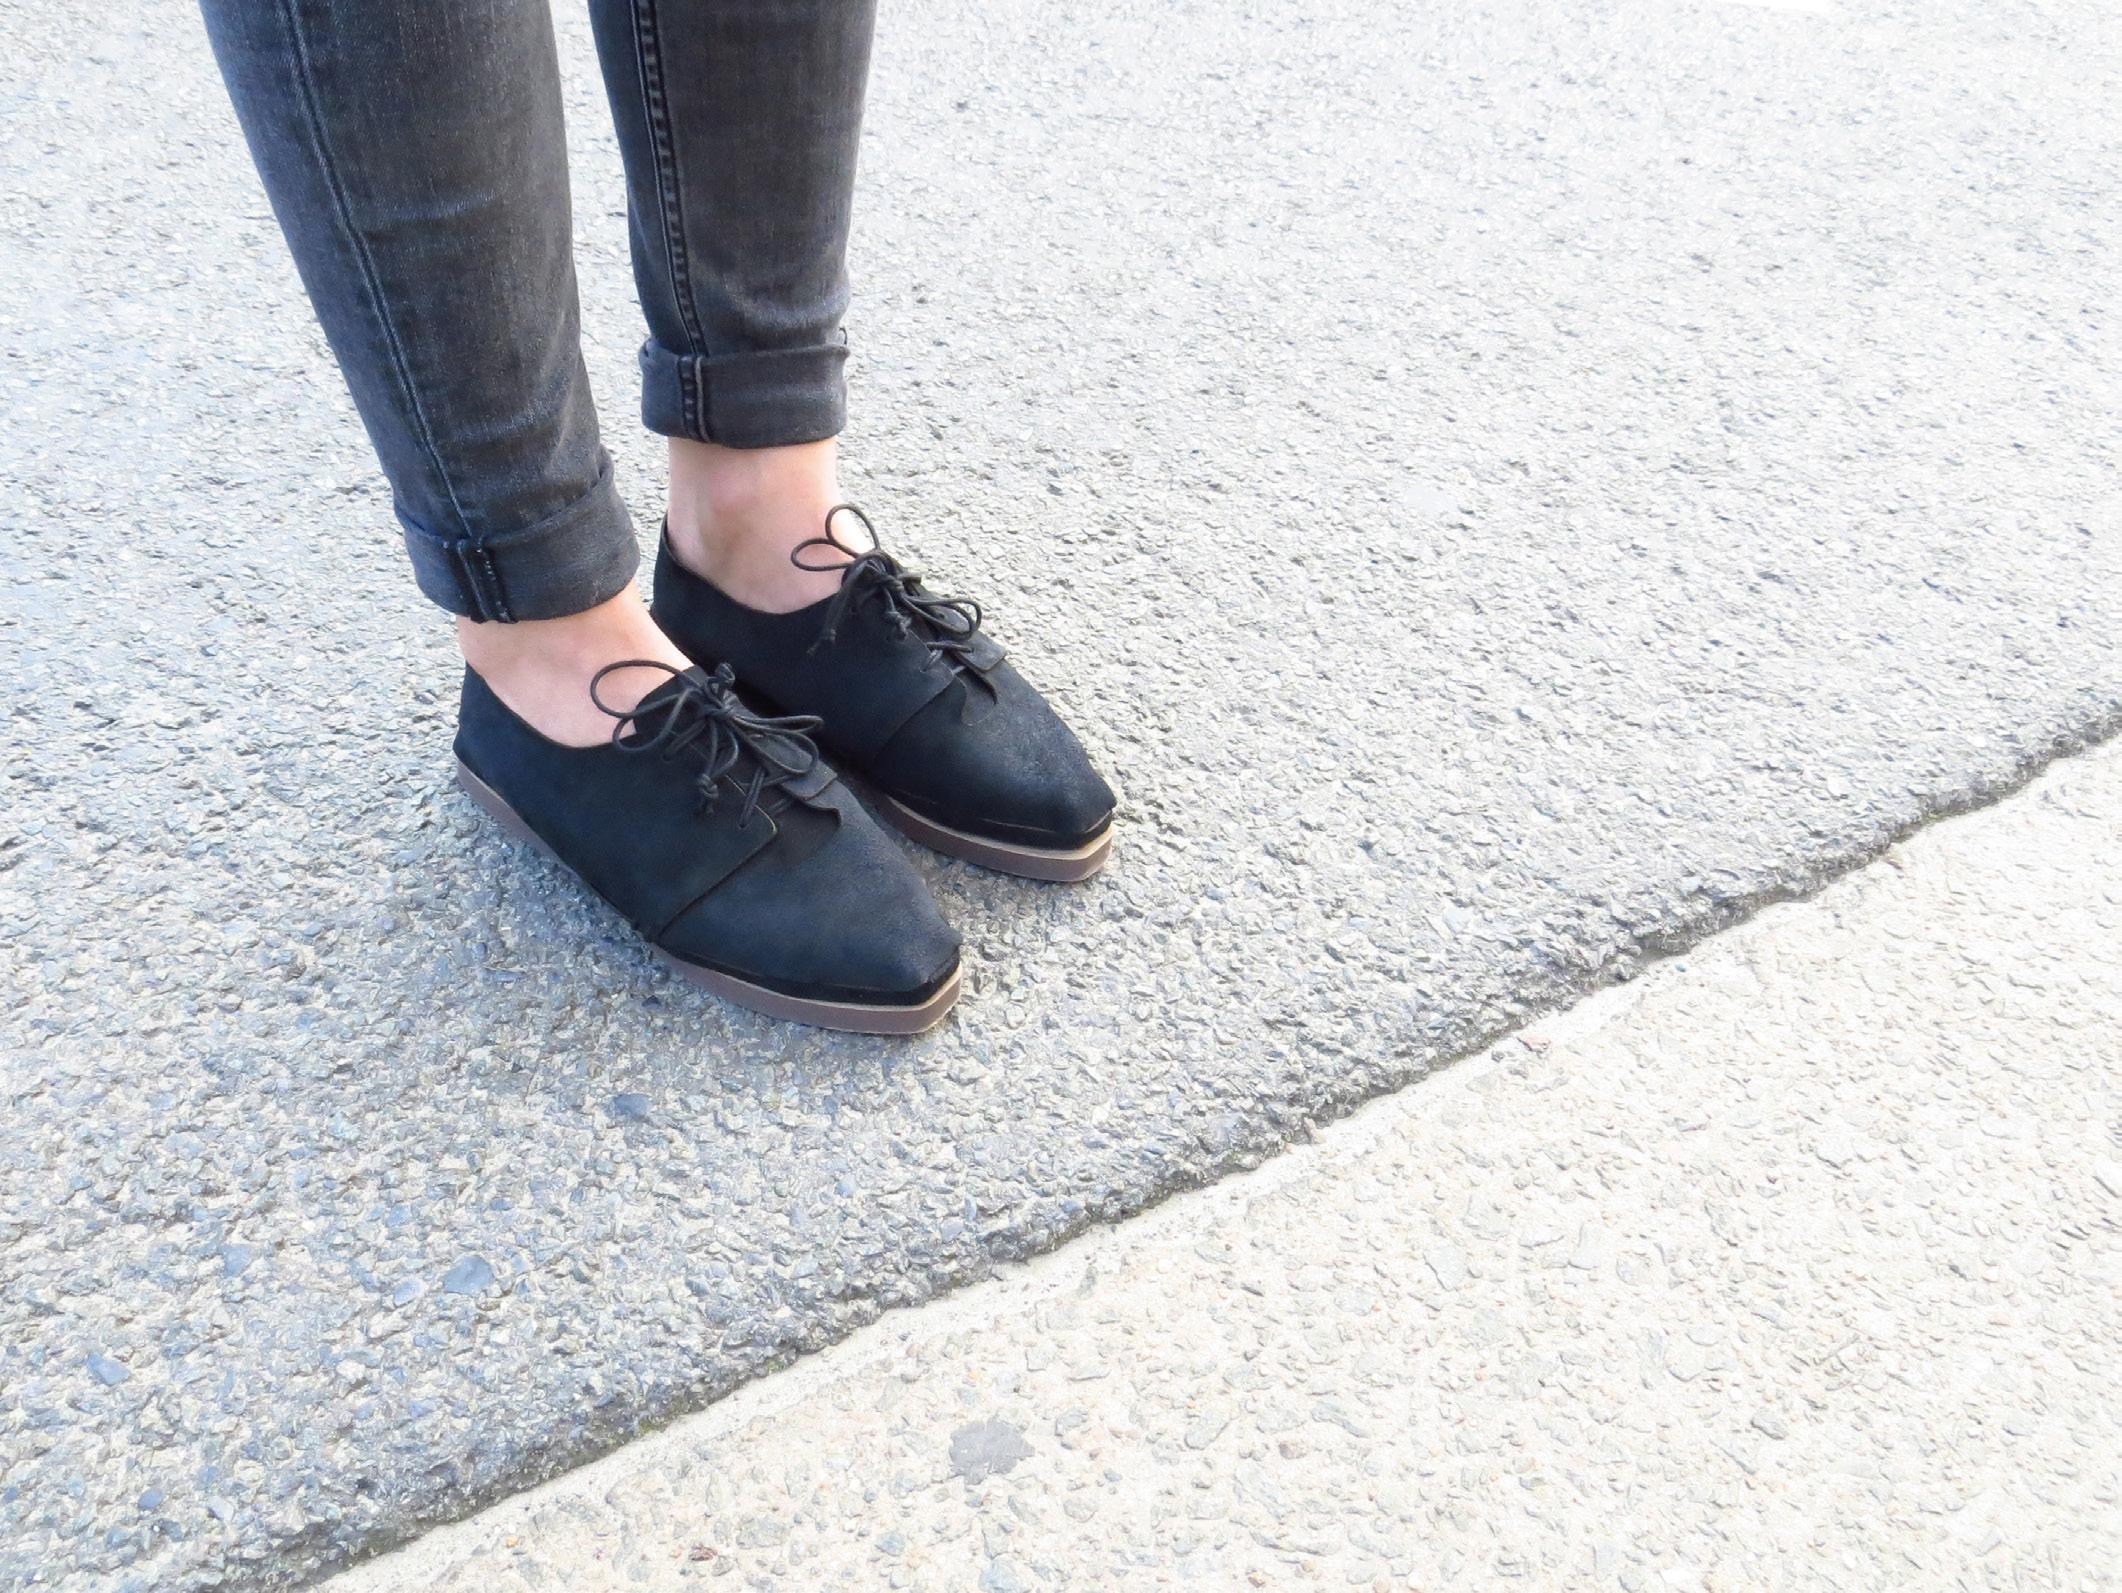
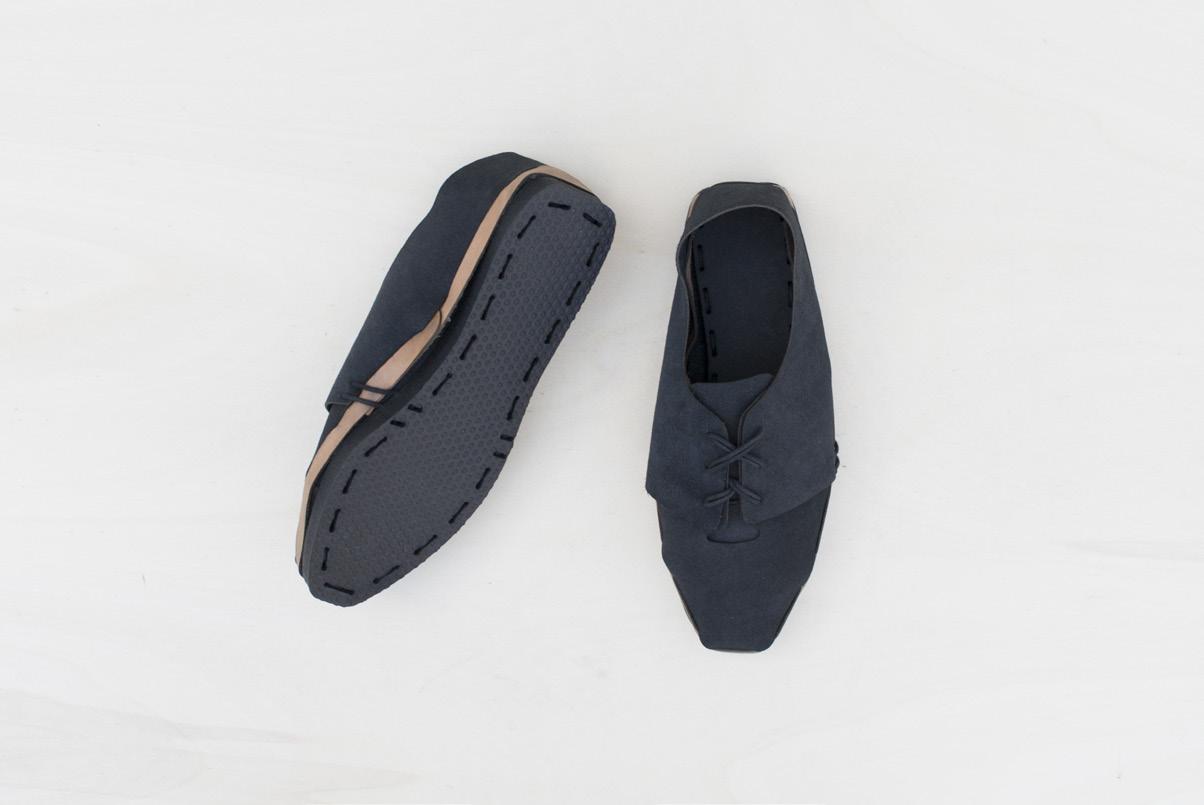
We make shoes using alternative production strategies wich allow consumers to own their product as well as the knowledge to make, modify and repair it.
Production Process
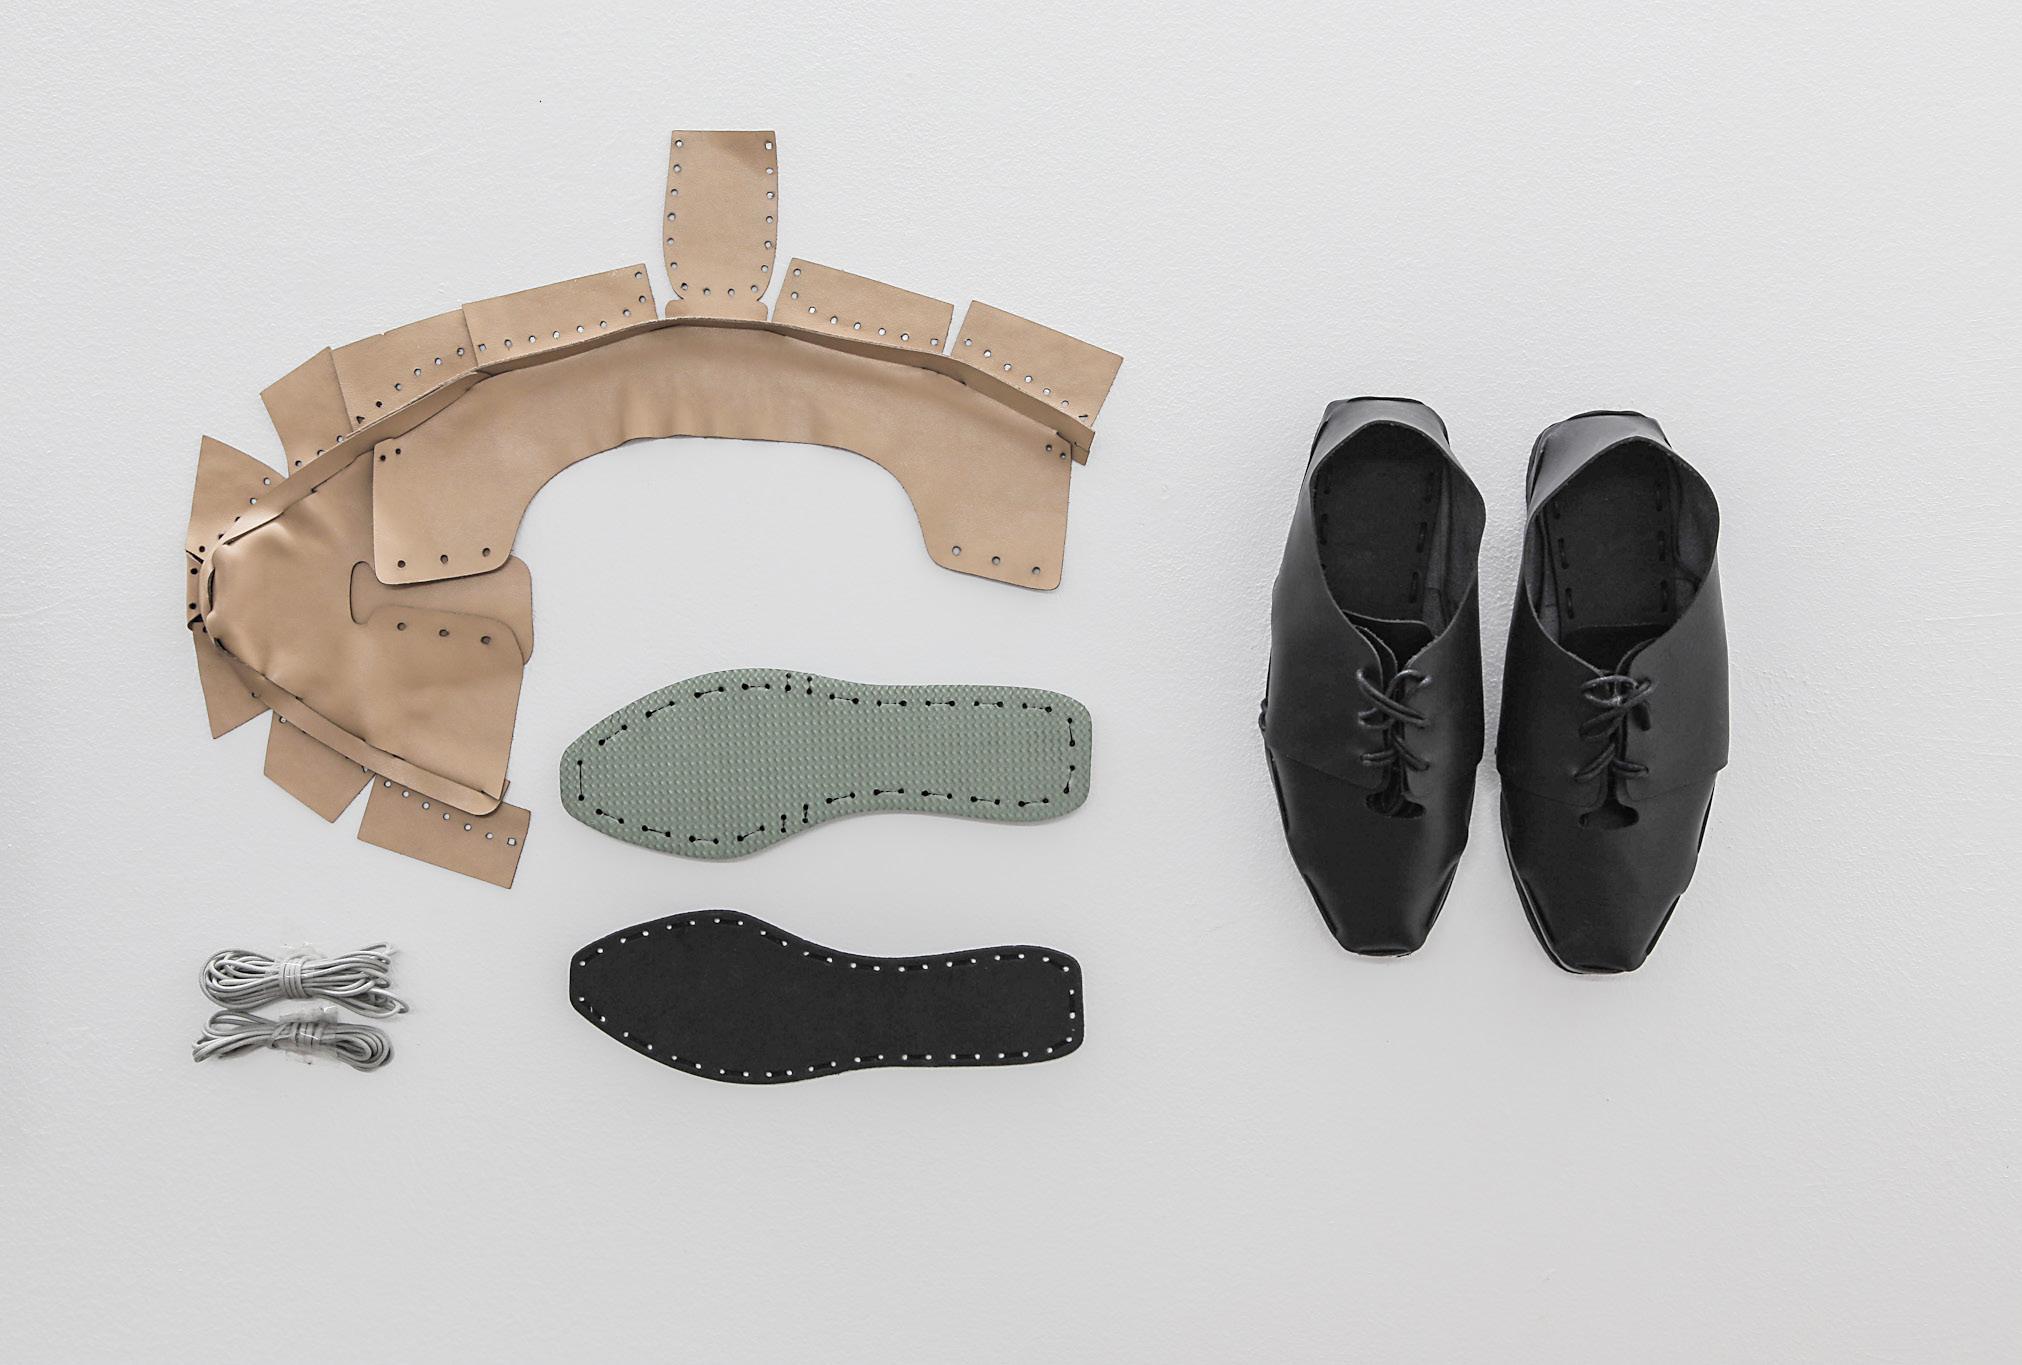
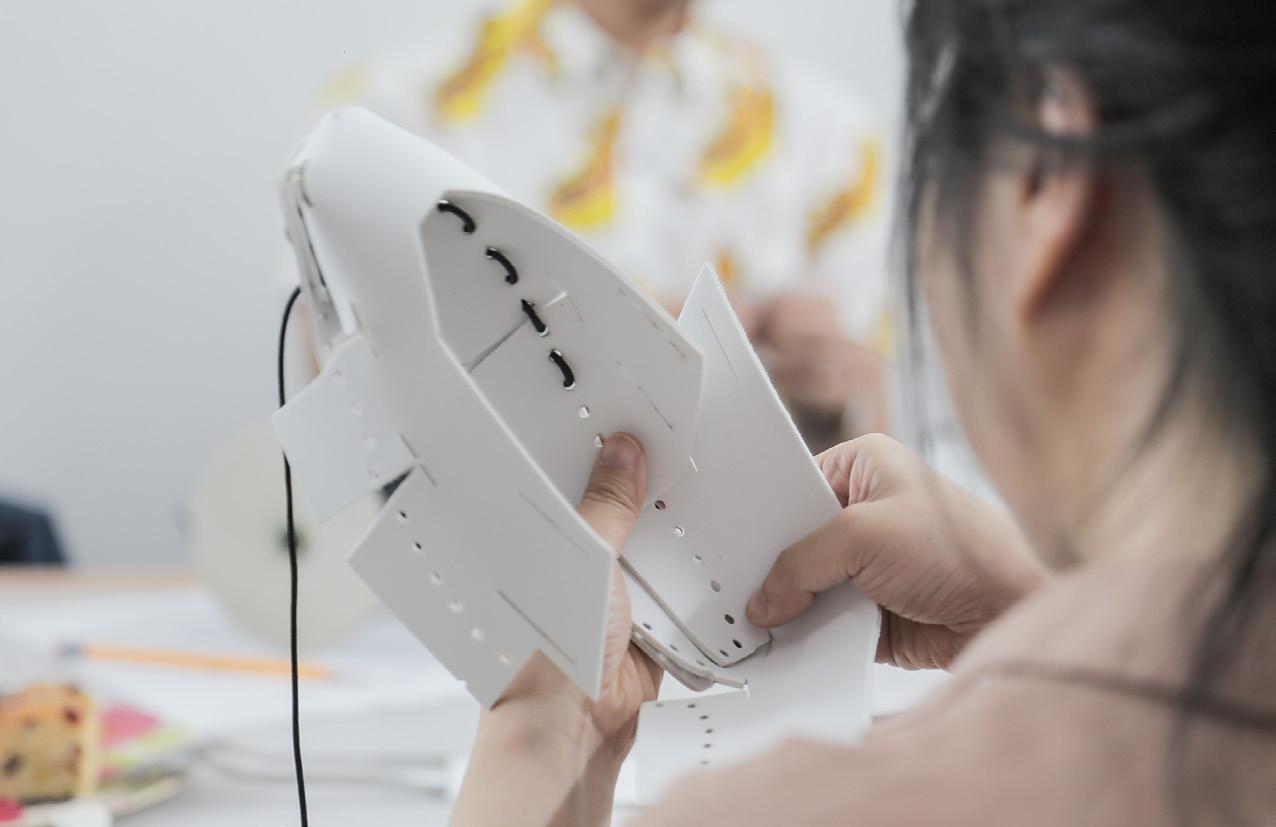
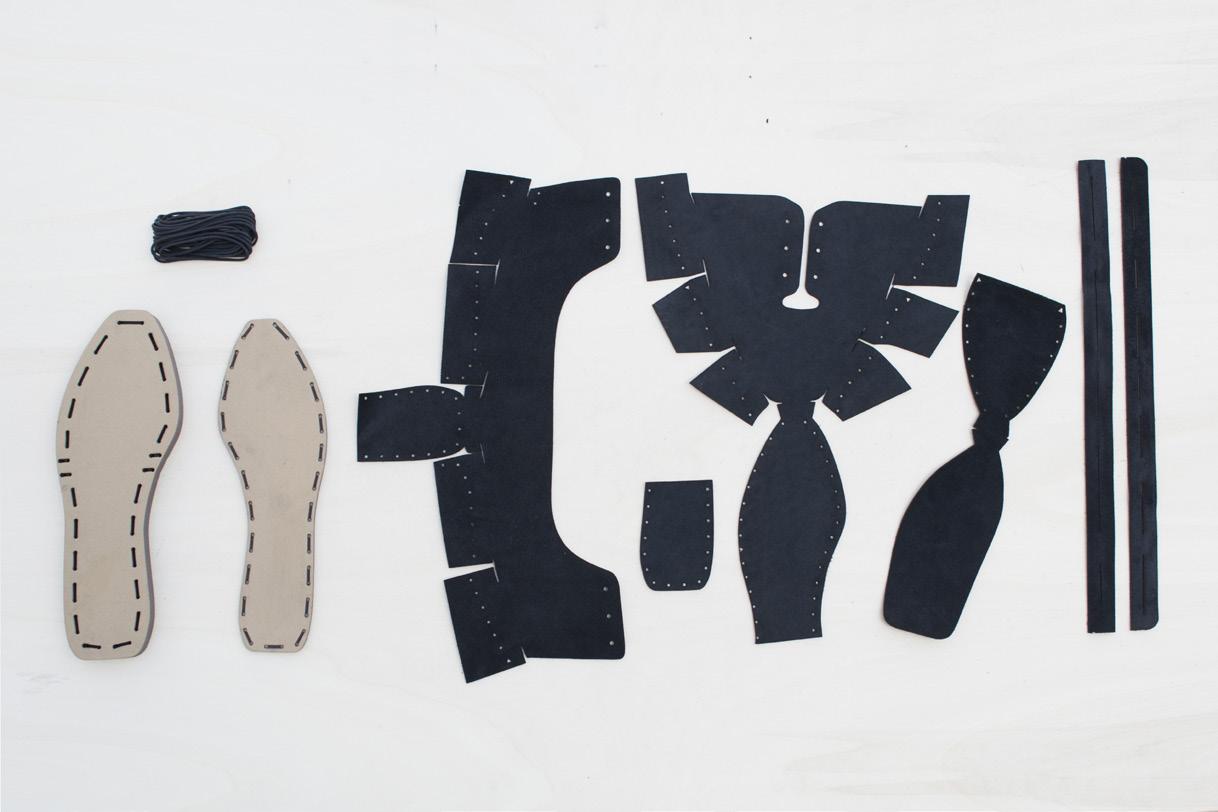
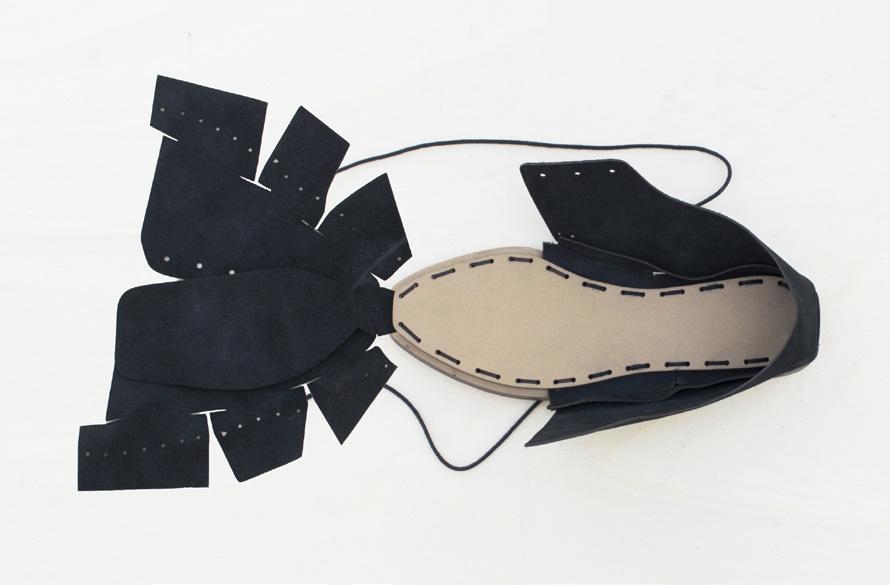
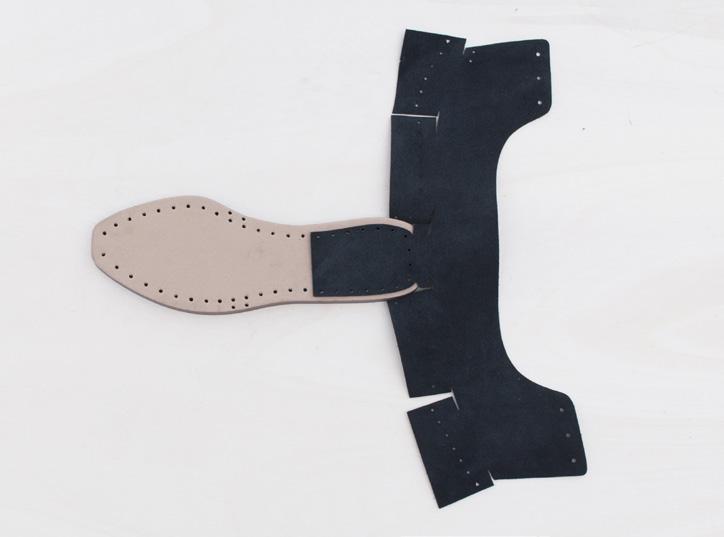
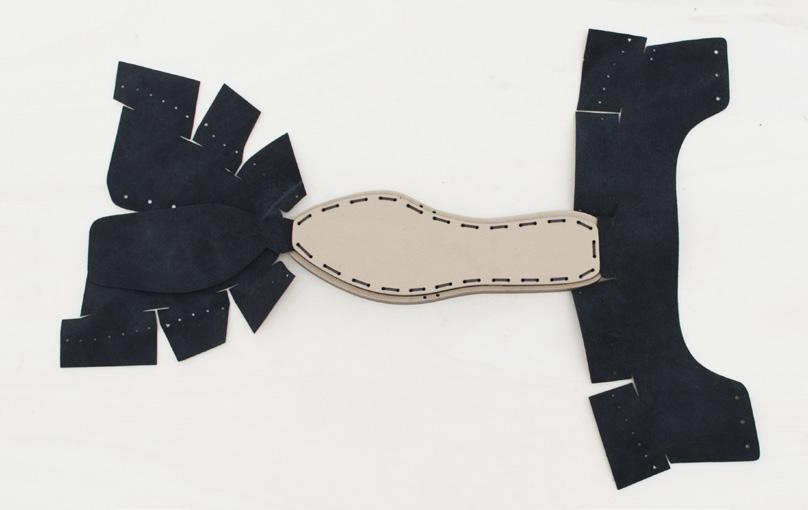
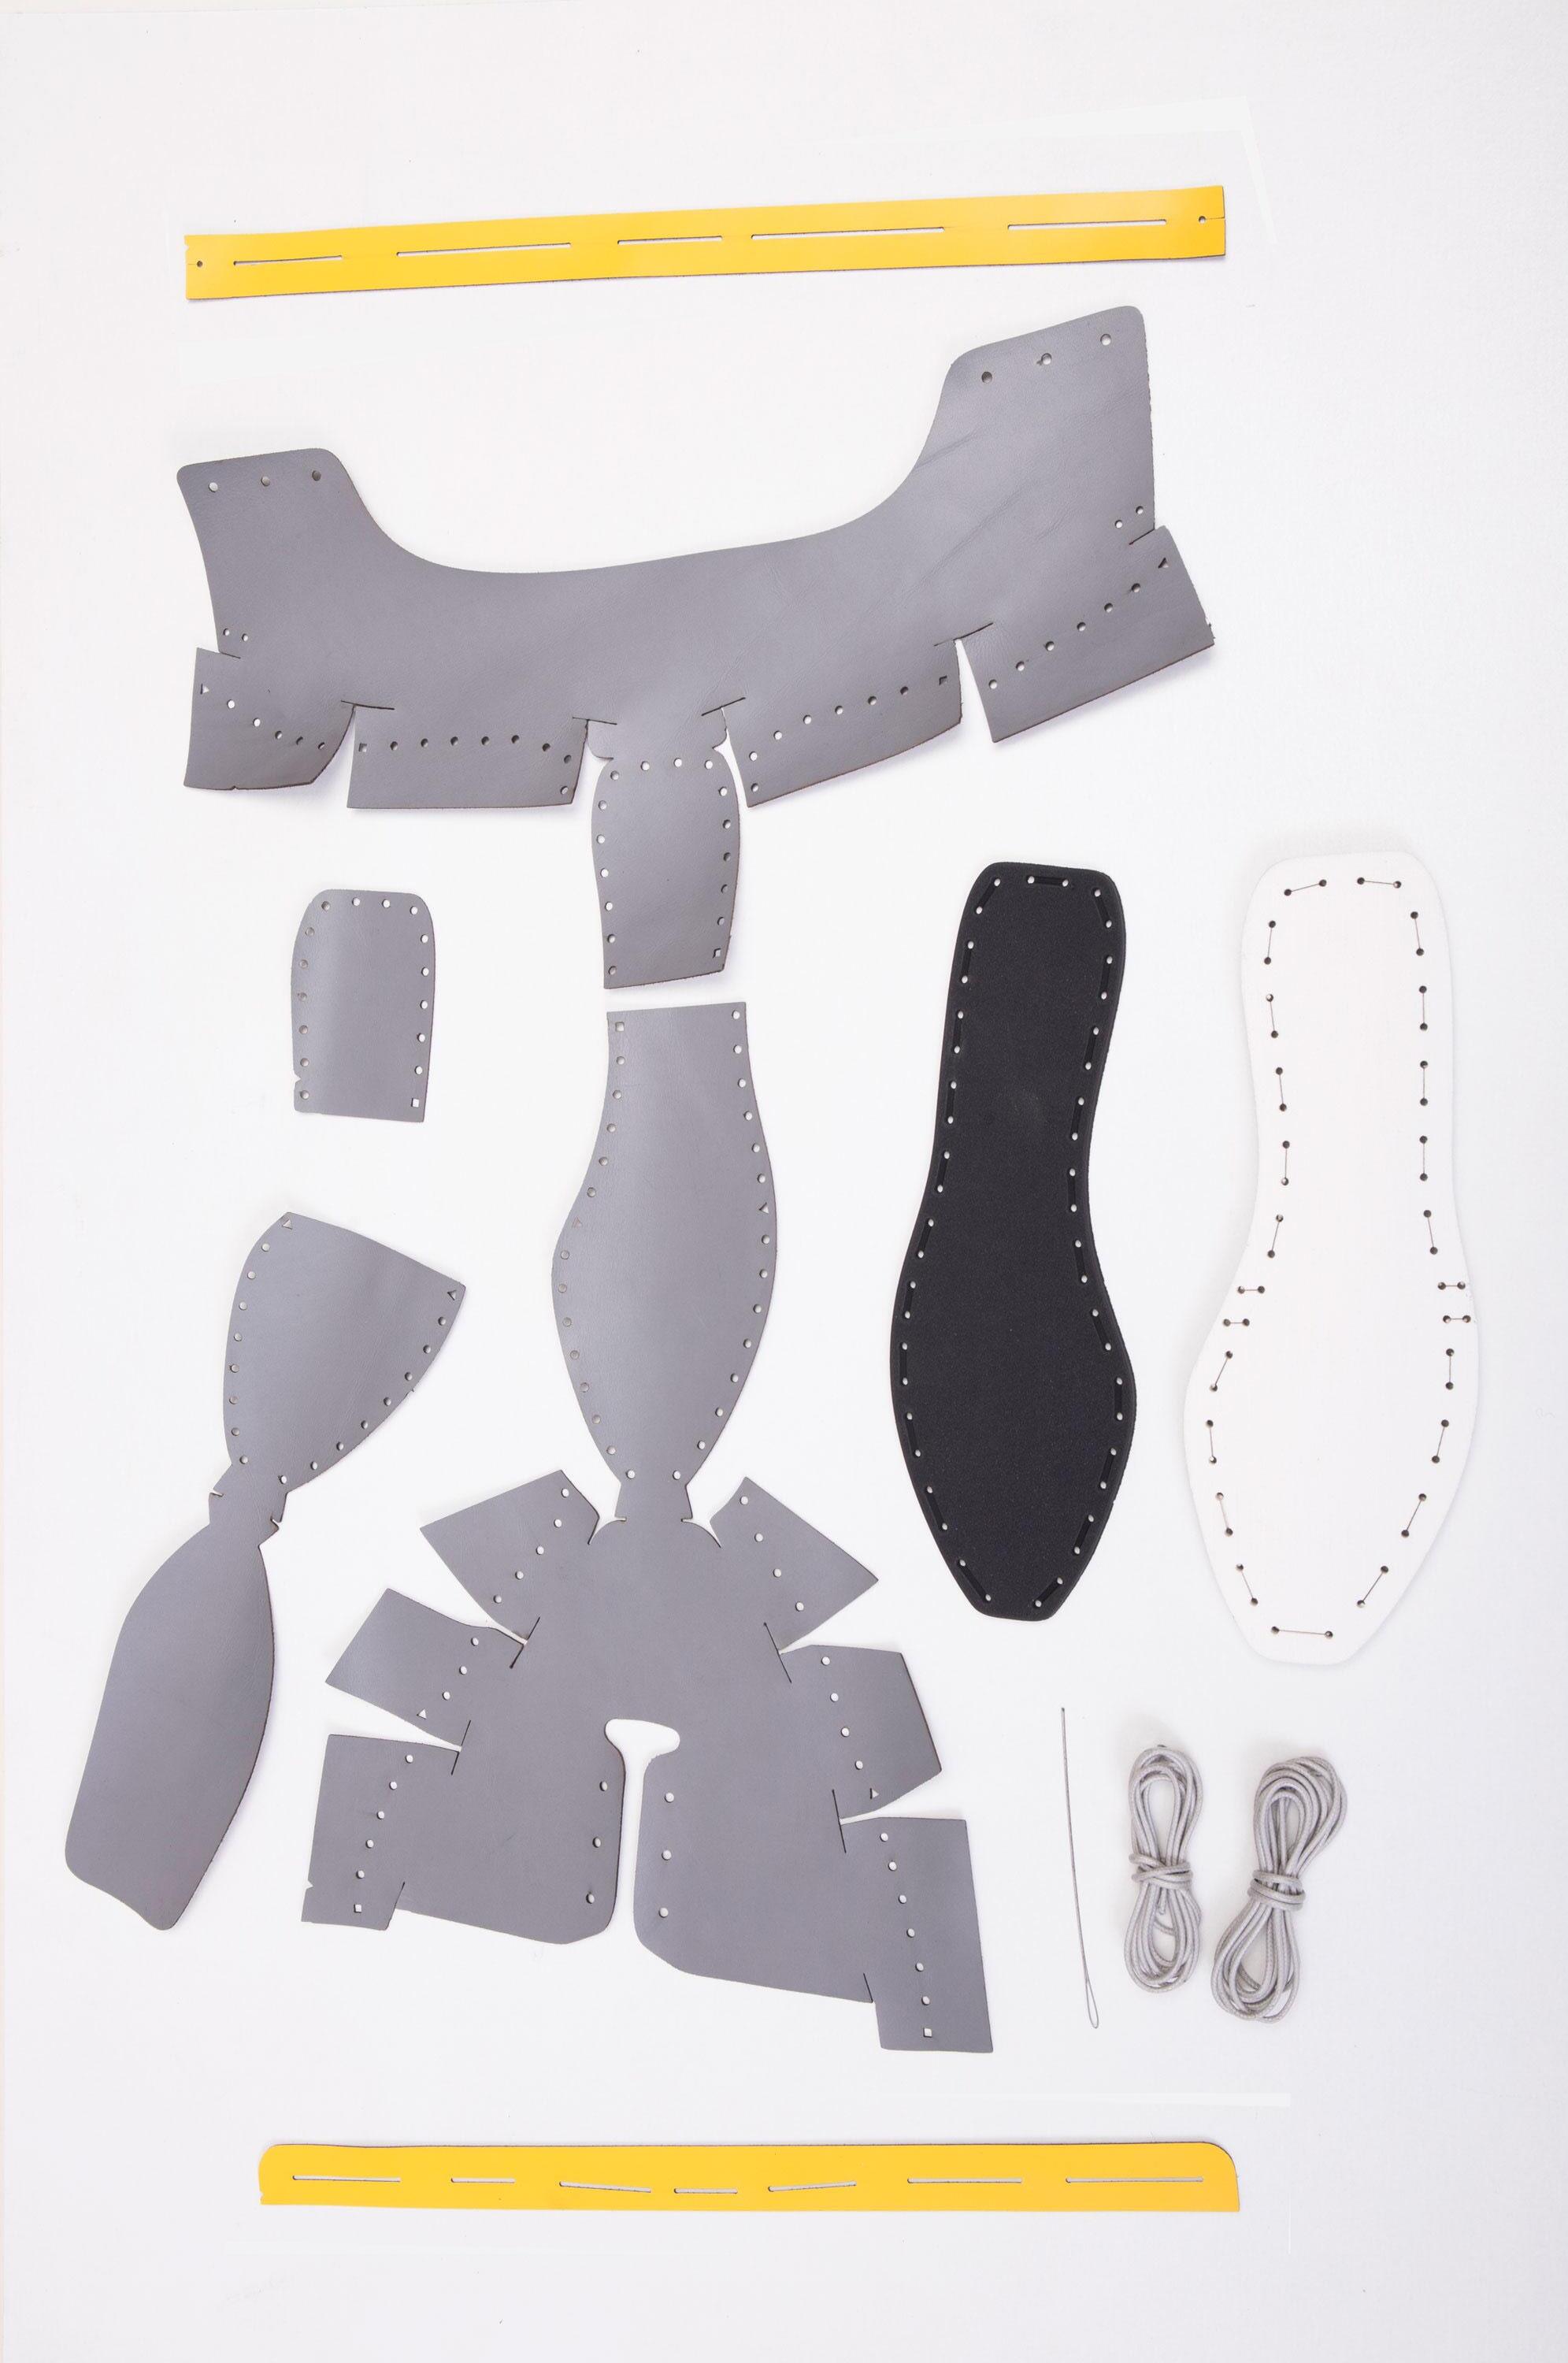
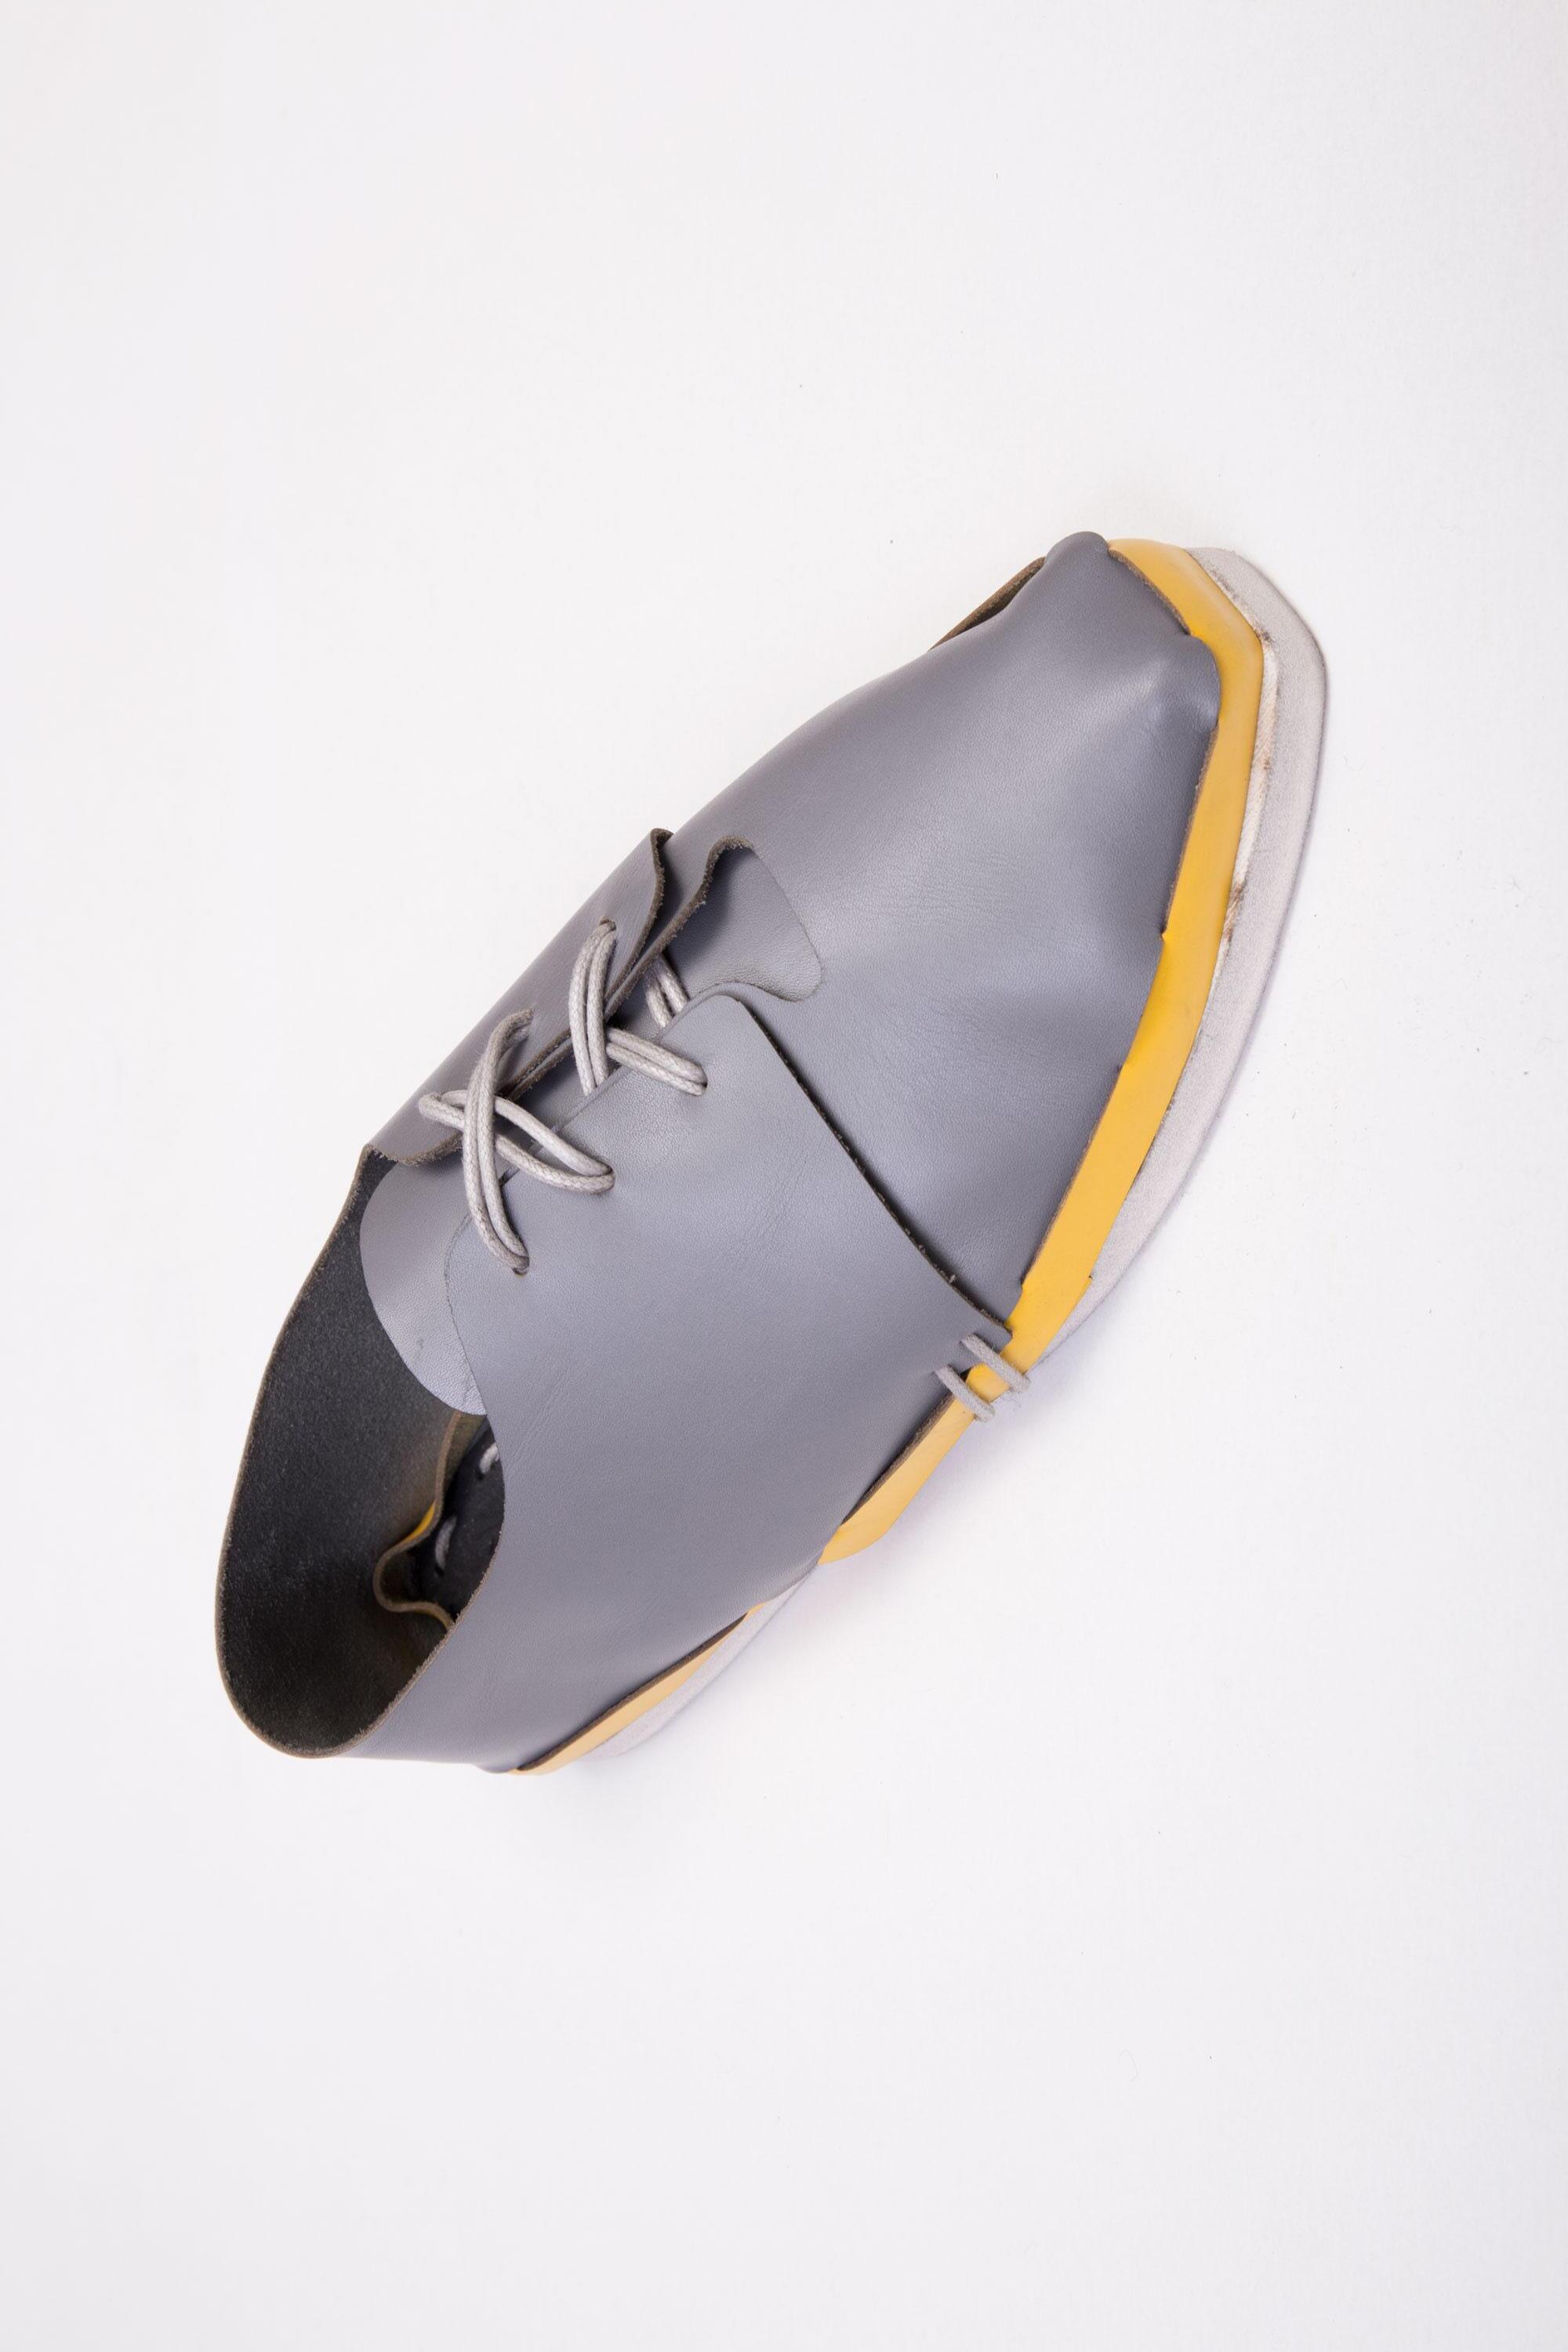
Employing a Laser Cutter, all the necessary parts can be cut using a single file containing all the information for the production. The shoes can then be assembled by hand using only a shoe lace.
Workshops
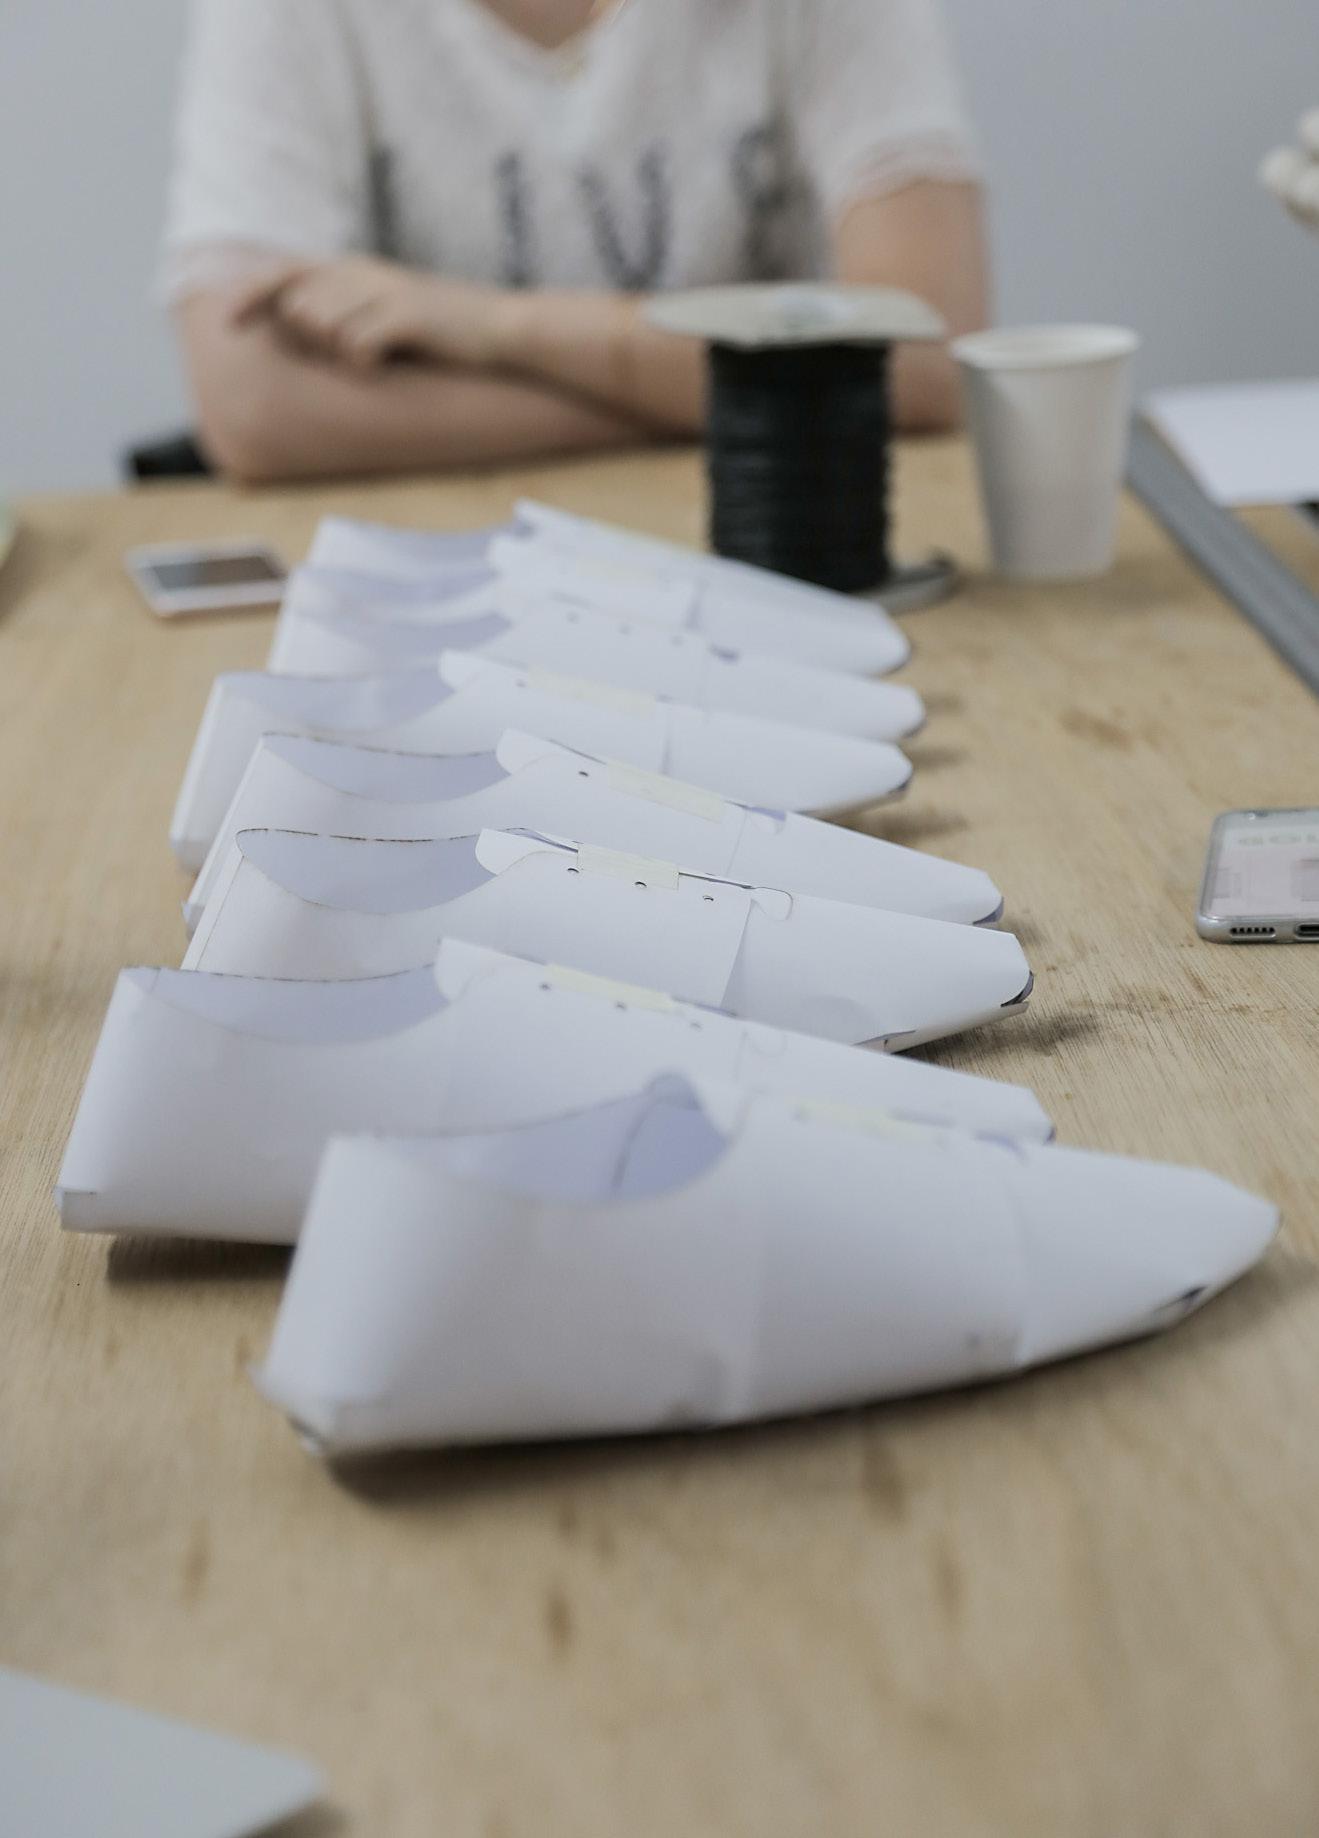
In order to engage the consumer in the production process we are interested to give workshops in a variety of Maker Spaces. We see these workshops as moments to help distribute the values of the project and facilitate the sharing of knowledge. They can range from a shared production experience to a design-focused creative workshop promoting modification and improvement.
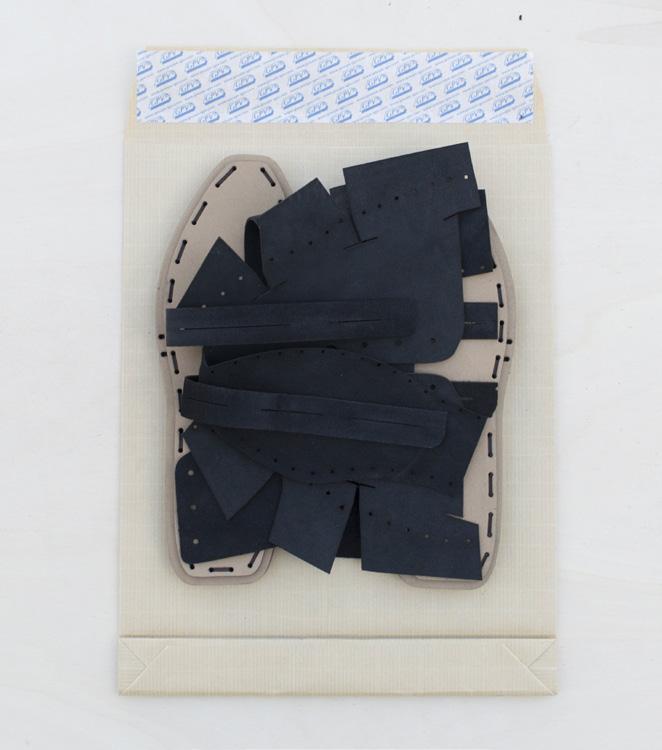
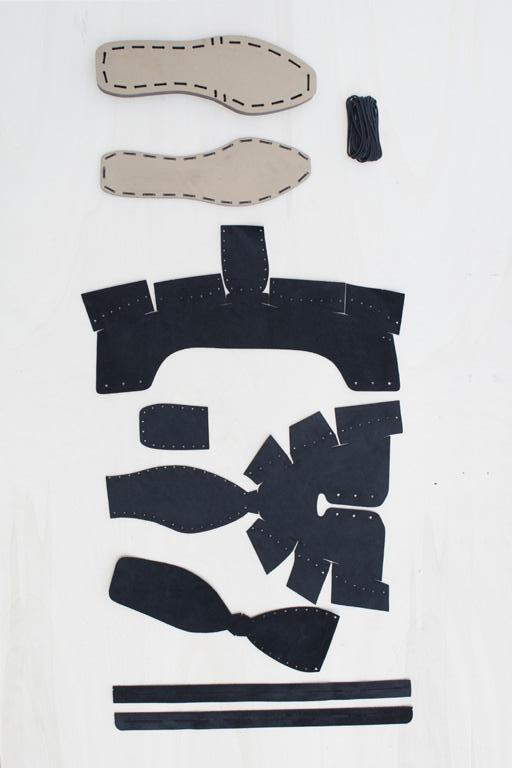
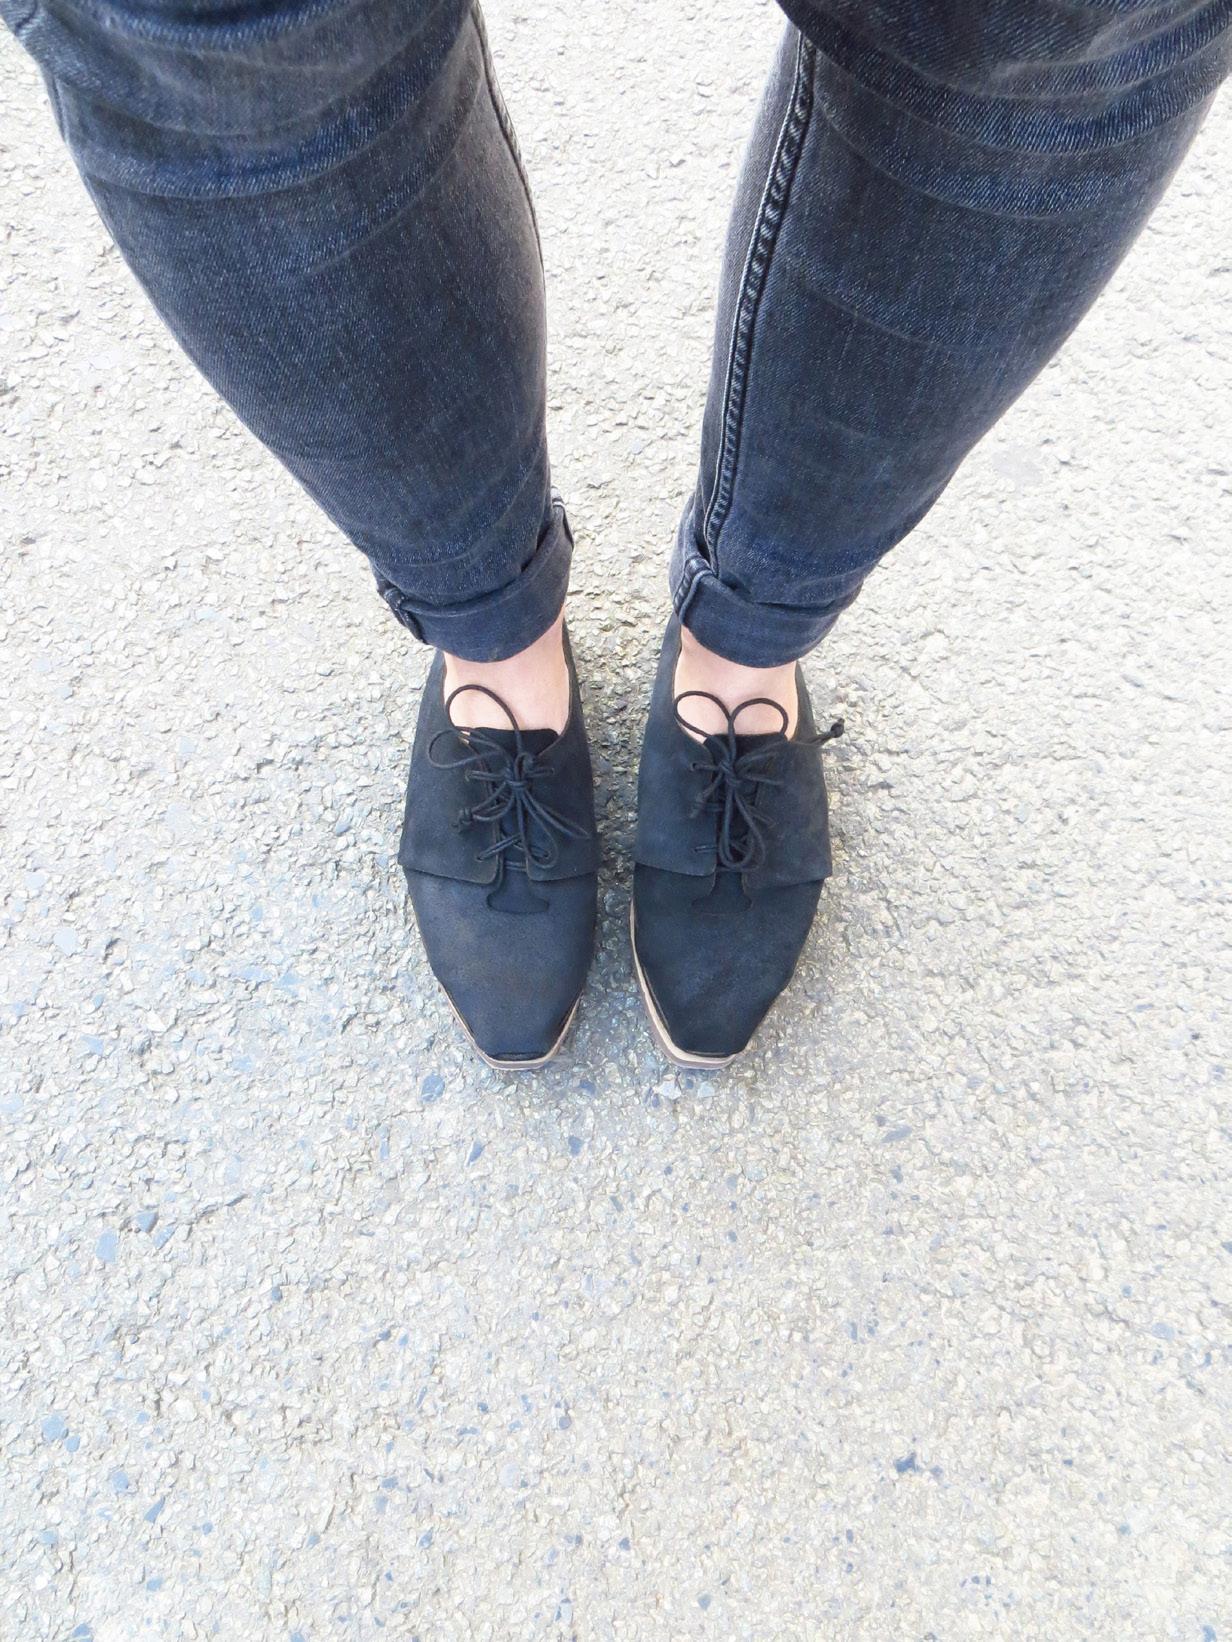
AnOtherShoe is thought to be versatile.
Make it Yourself
The production file, instructions and a sourcing guide can be downloaded online for free. The maker is able to choose all the materials by himself and create his personal version of AnOtherShoe. He gains complete understanding of the production process.
Assemble it Yourself
The customer can purchase an Assembly-Kit, which delivers all the components pre cut. The material and components are sourced and selected by AnOtherShoe. This option enables the customer to better understand the parts involved in making his product, as well as its construction.
Wear it Yourself
In order to be able to offer the shoes to a more differentiated audience, which does not necessarily come from a DIY background, this option consists of a finished pair of shoes, ready to wear. All the different elements of the production are organized by AnOtherShoe.
Contact
hello@anothershoe.net anothershoe.net
Sophia Guggenberger 004917625396798
Eugenia Morpurgo 00393398056887
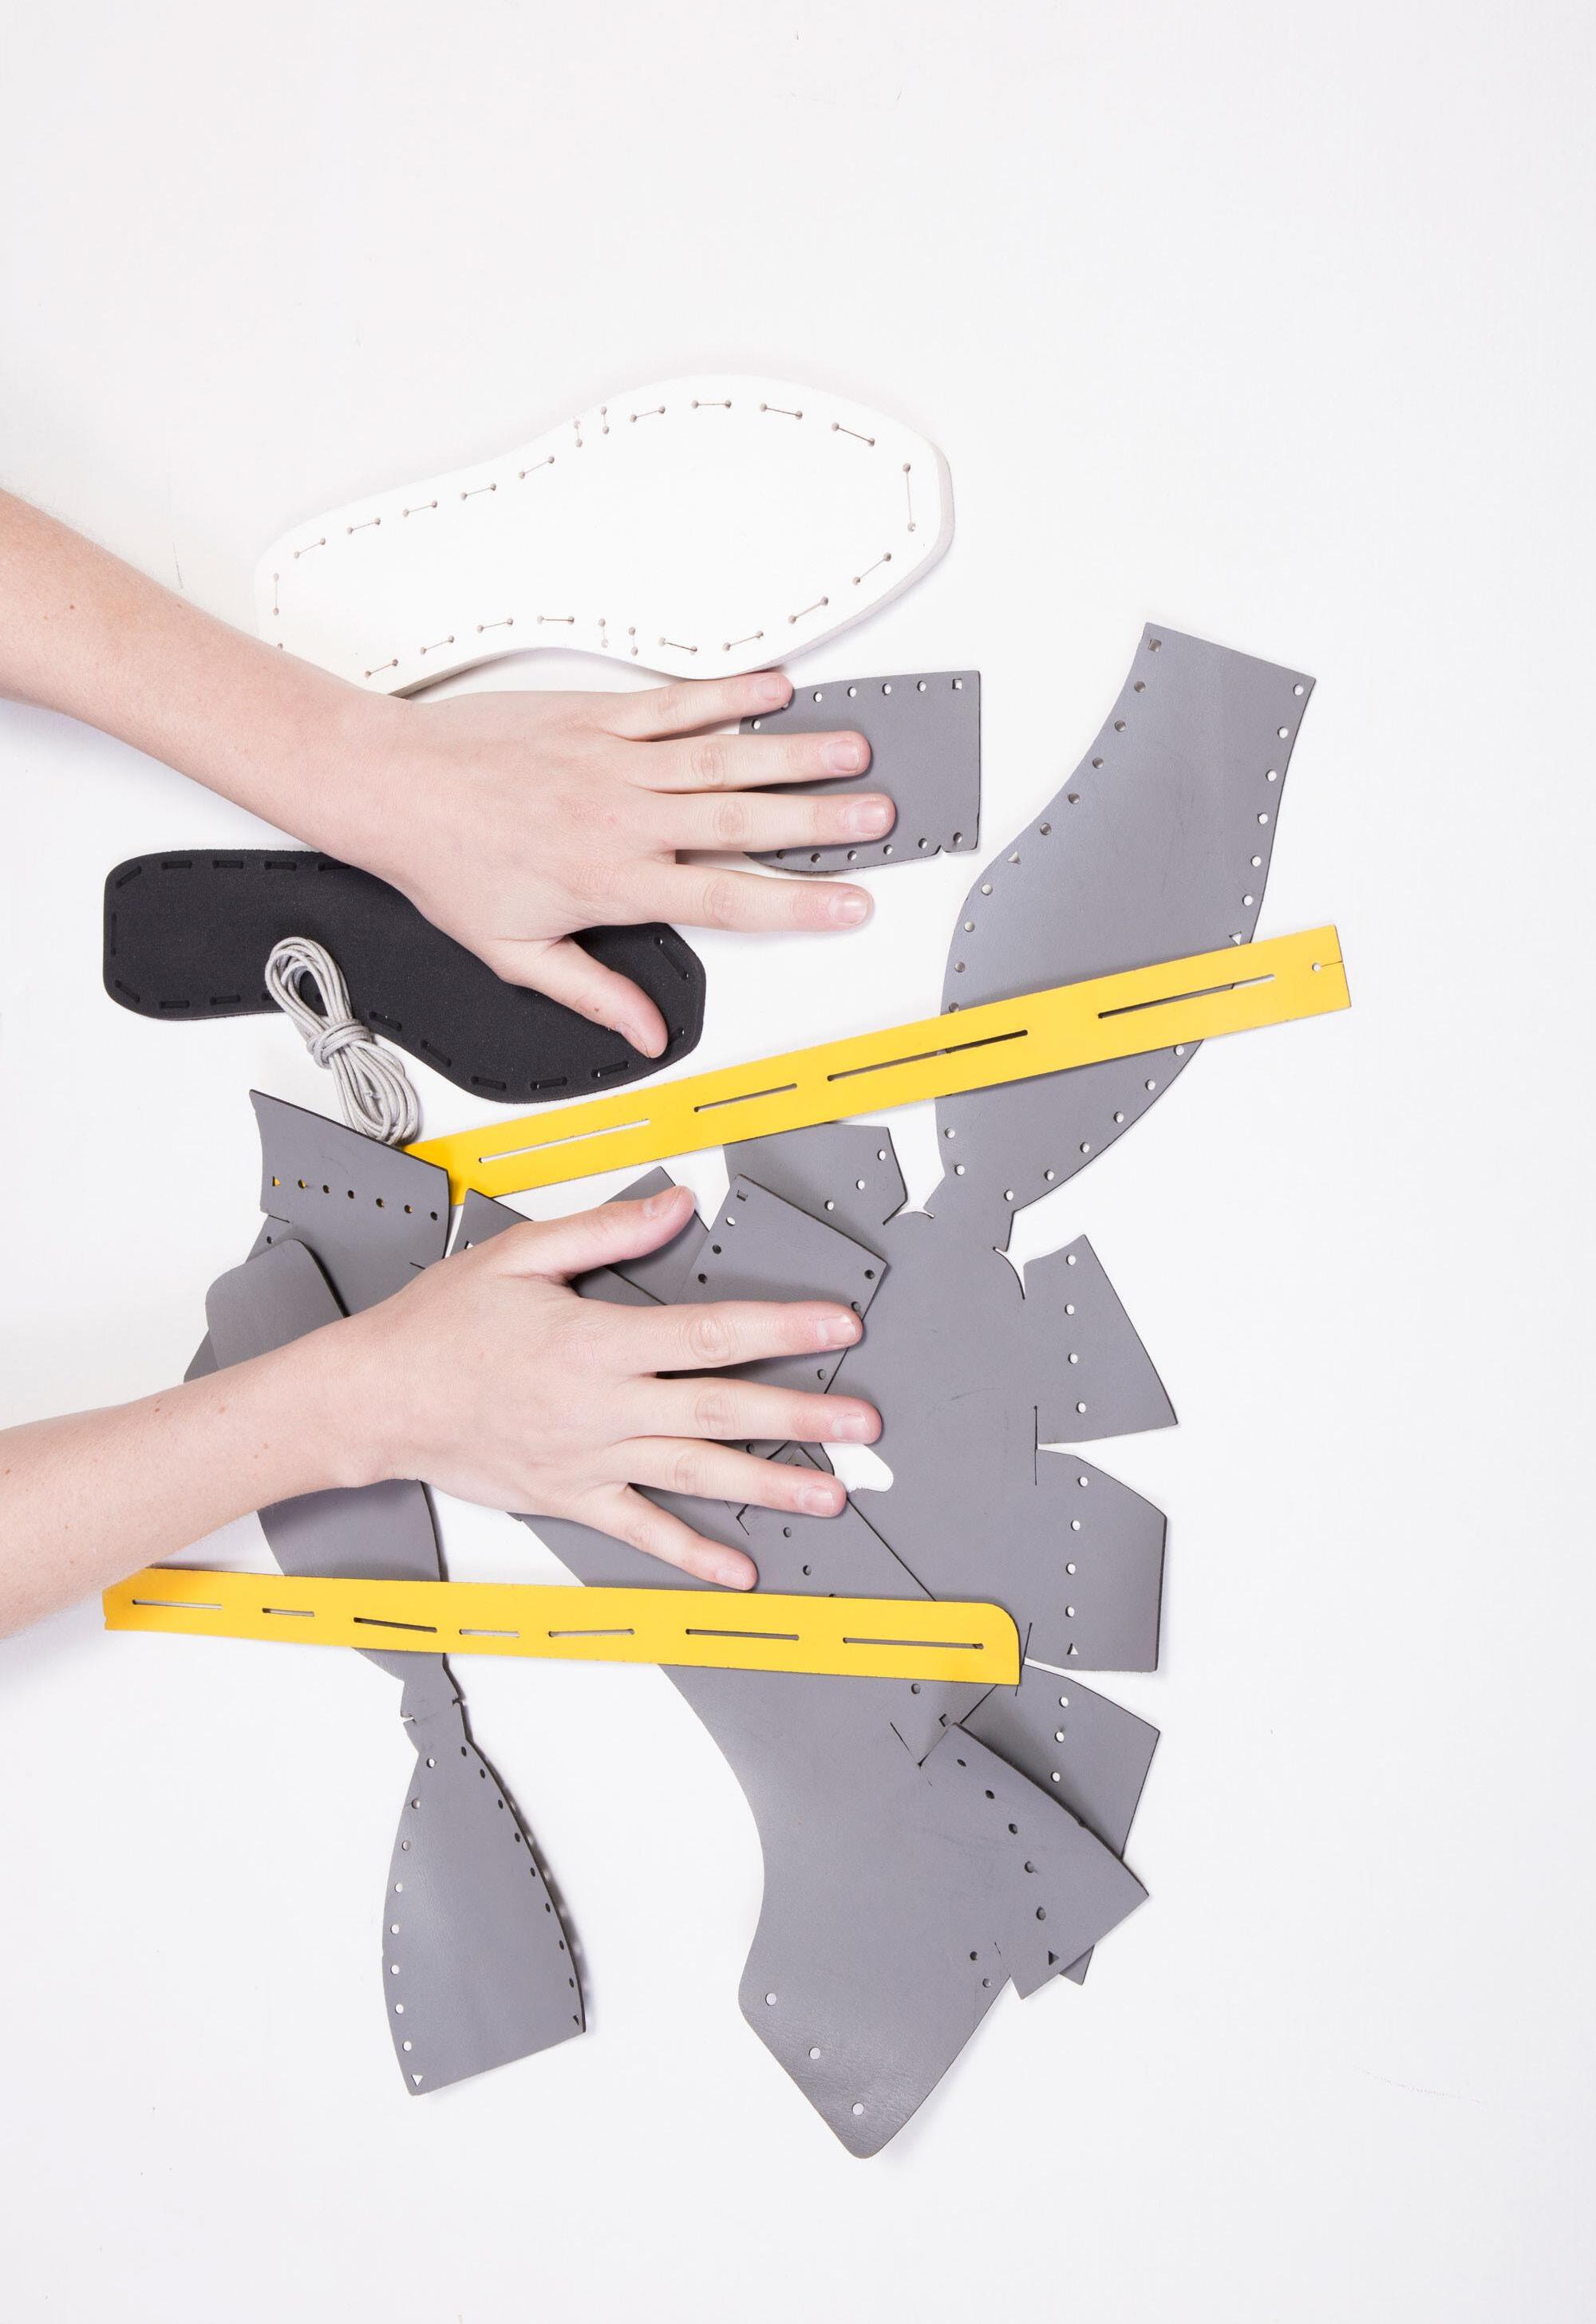
Assembly Guide
Front Strap
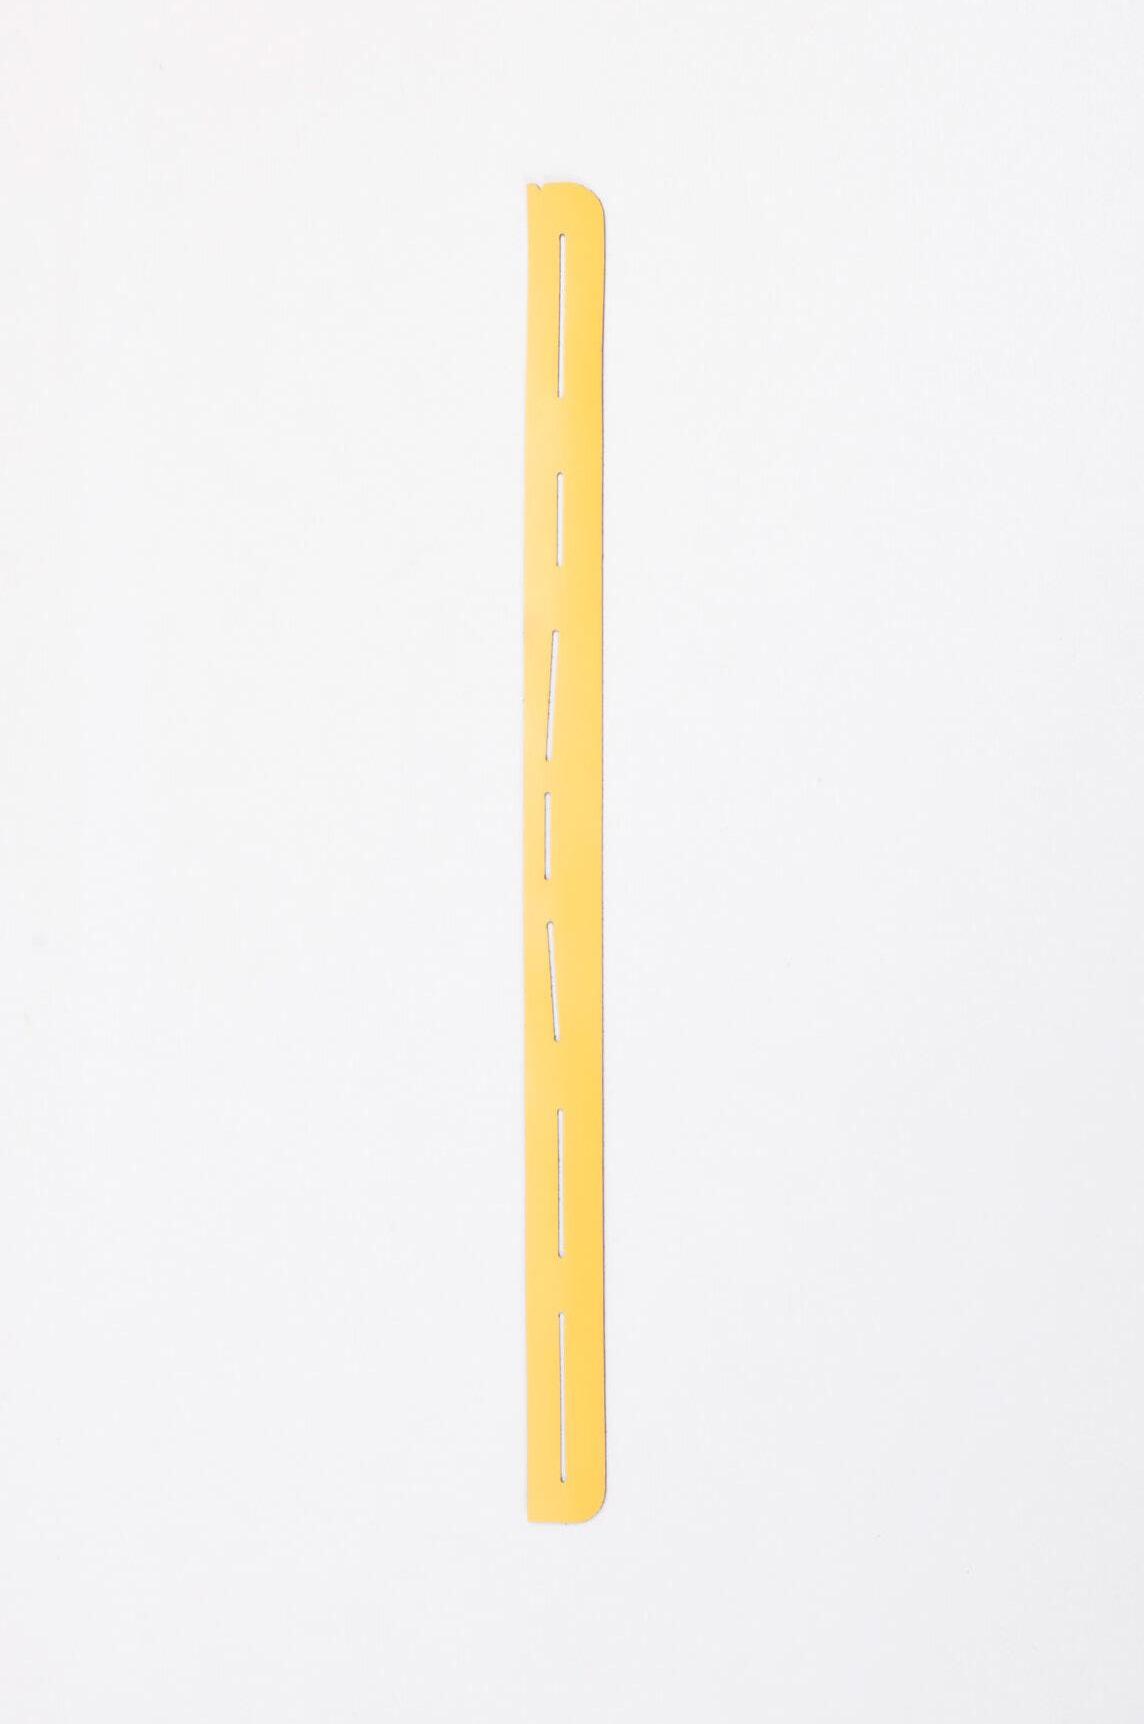
/ Inside Mark / Central Slot / Rounded off Edges along the bottom of the strap. / The bottom (part underneath the slots) is wider than the top
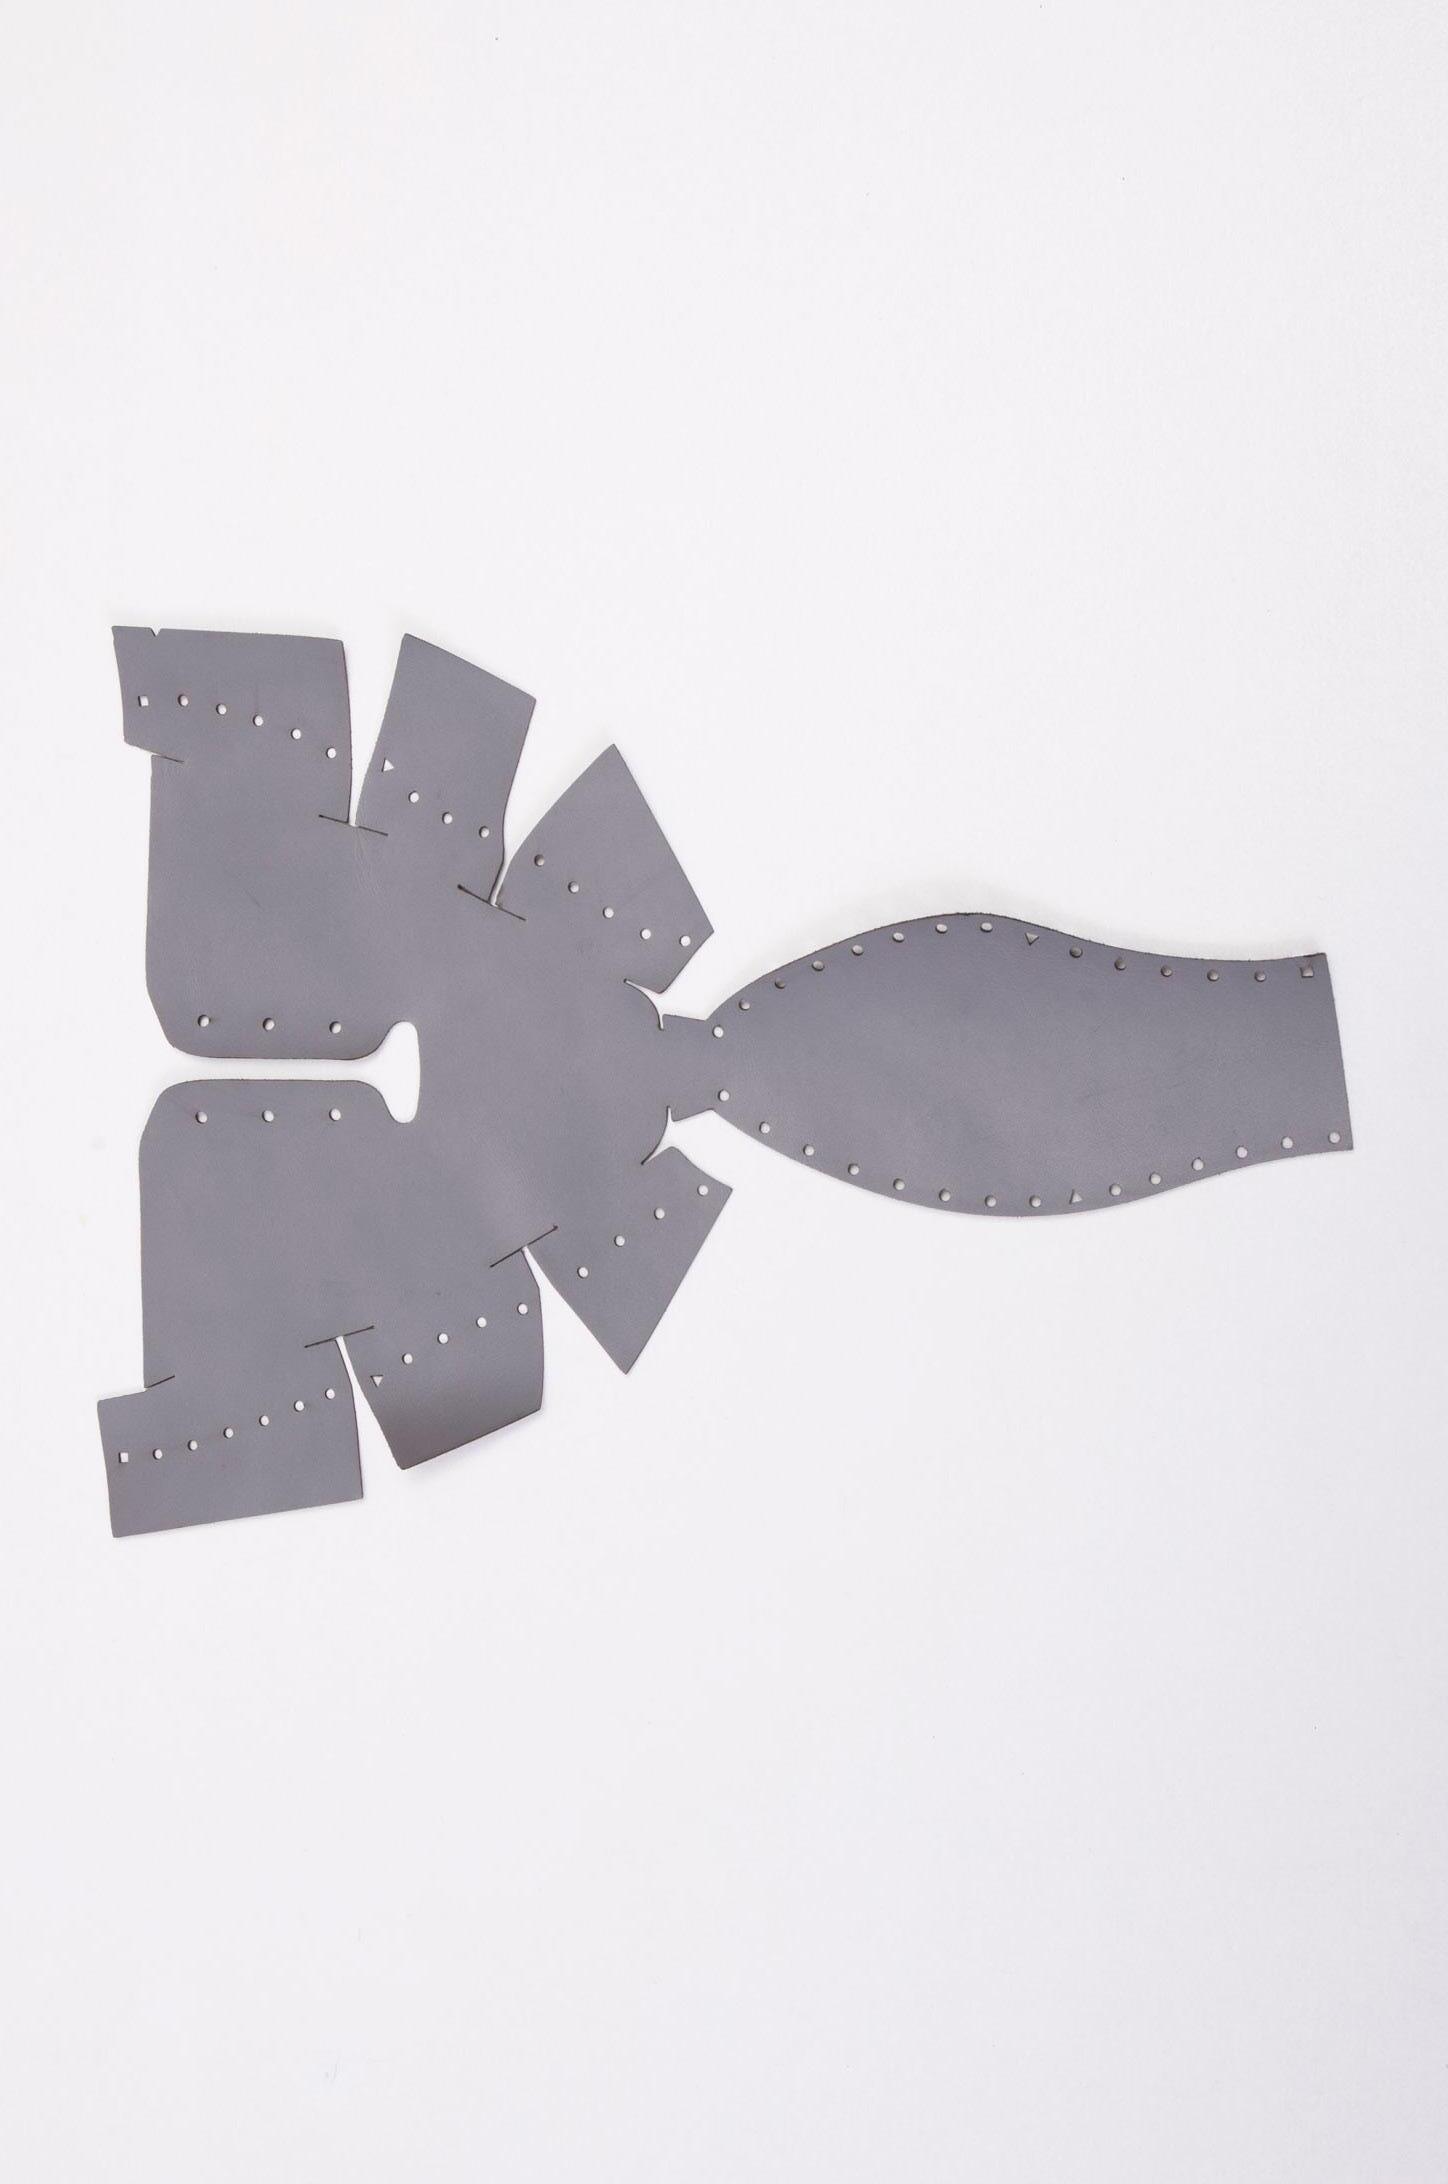
Vamp / See curve following the line of the inside of the shoe / Inside Mark / Triangular Marks for overlay in the front / Square Marks for Overlay in the back
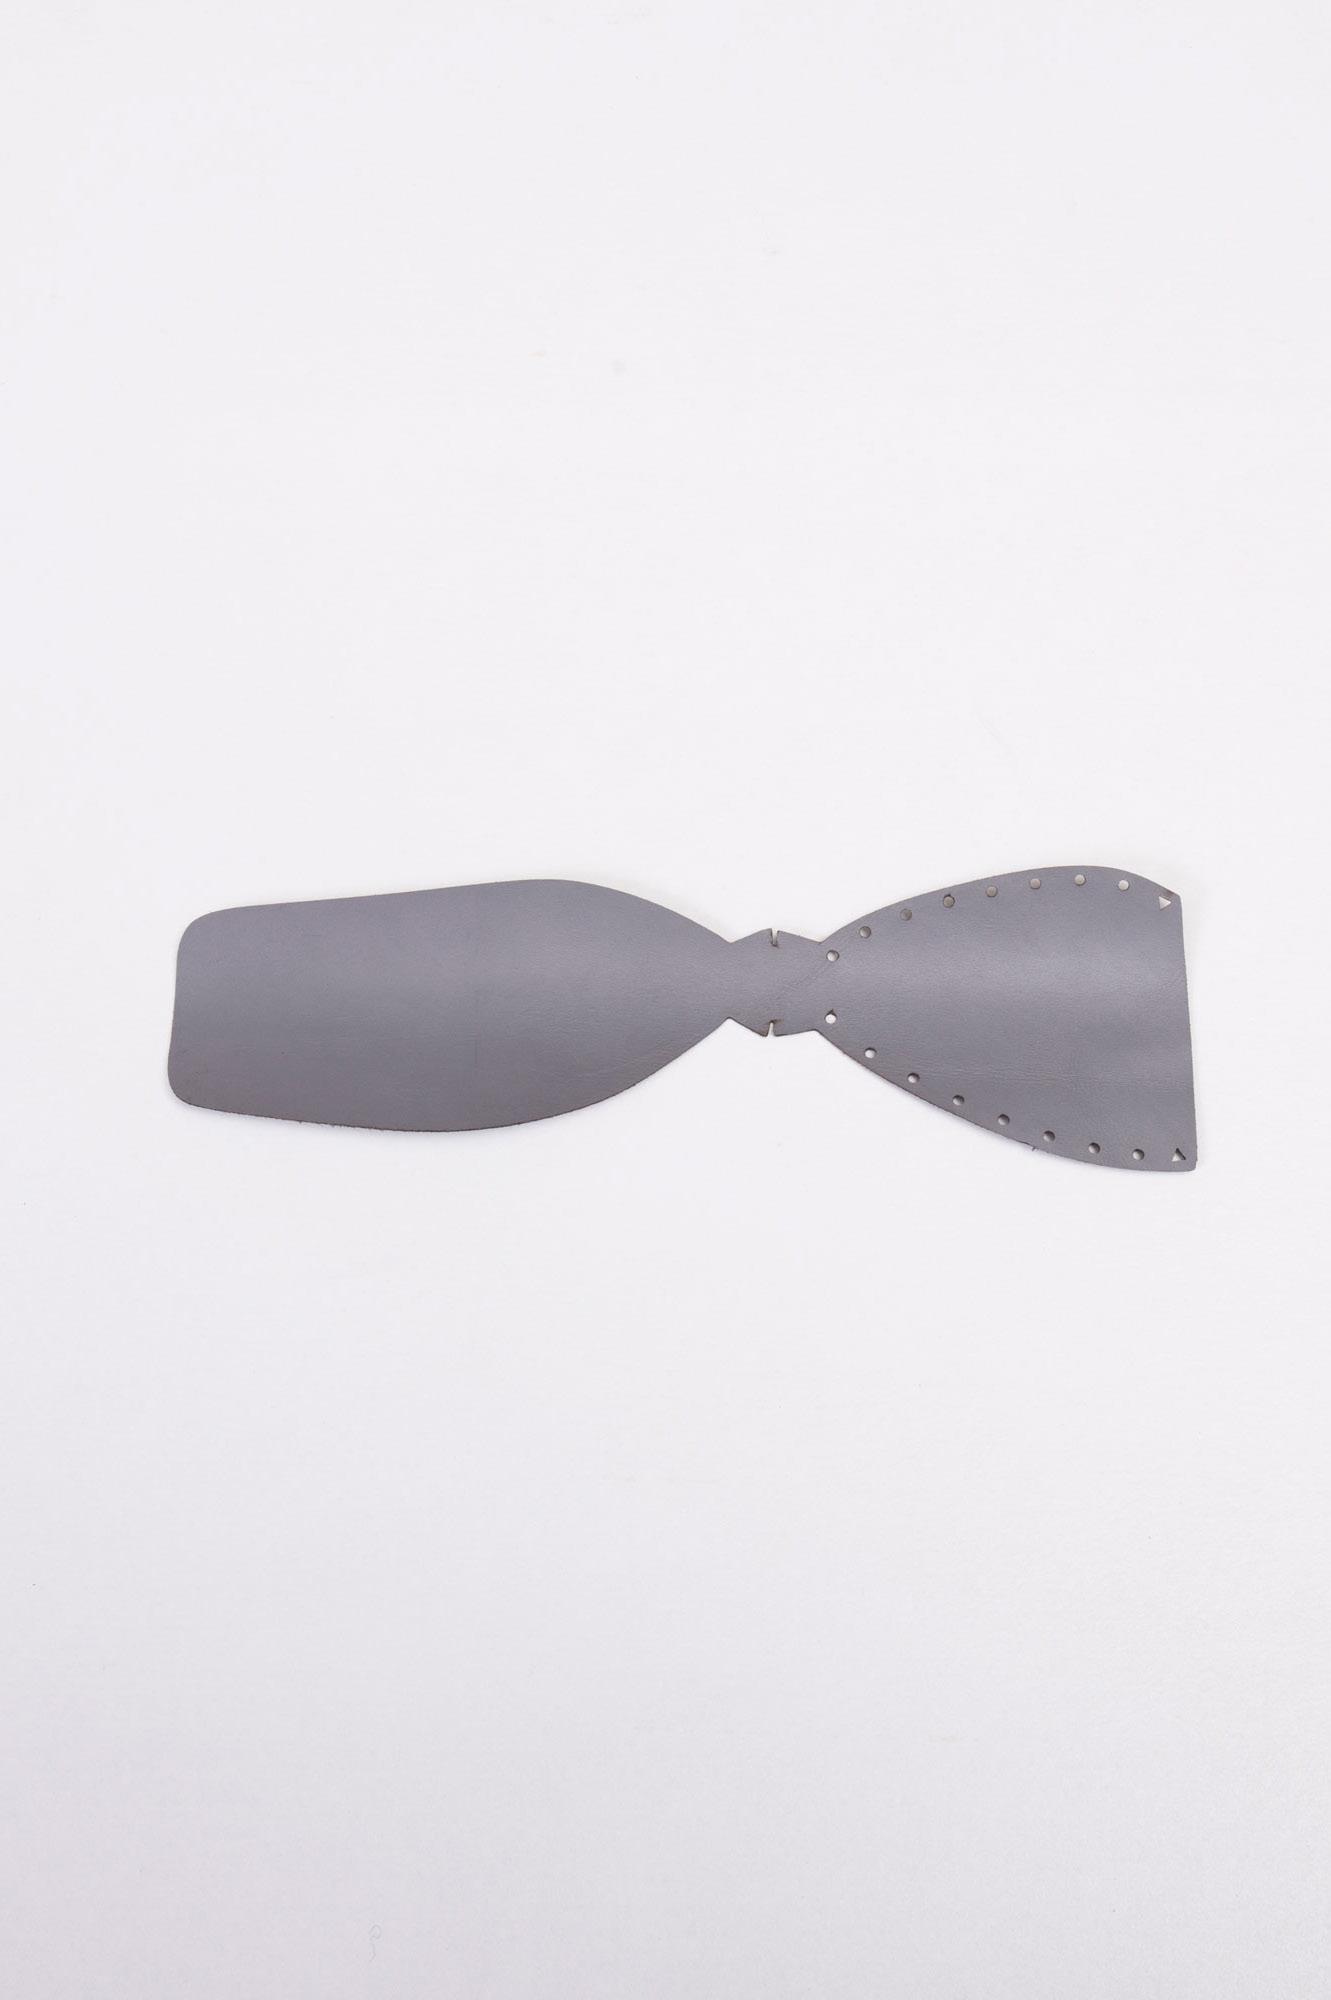
Tongue / See curve following the line of the inside of the shoe / Triangular Marks for overlay in the front
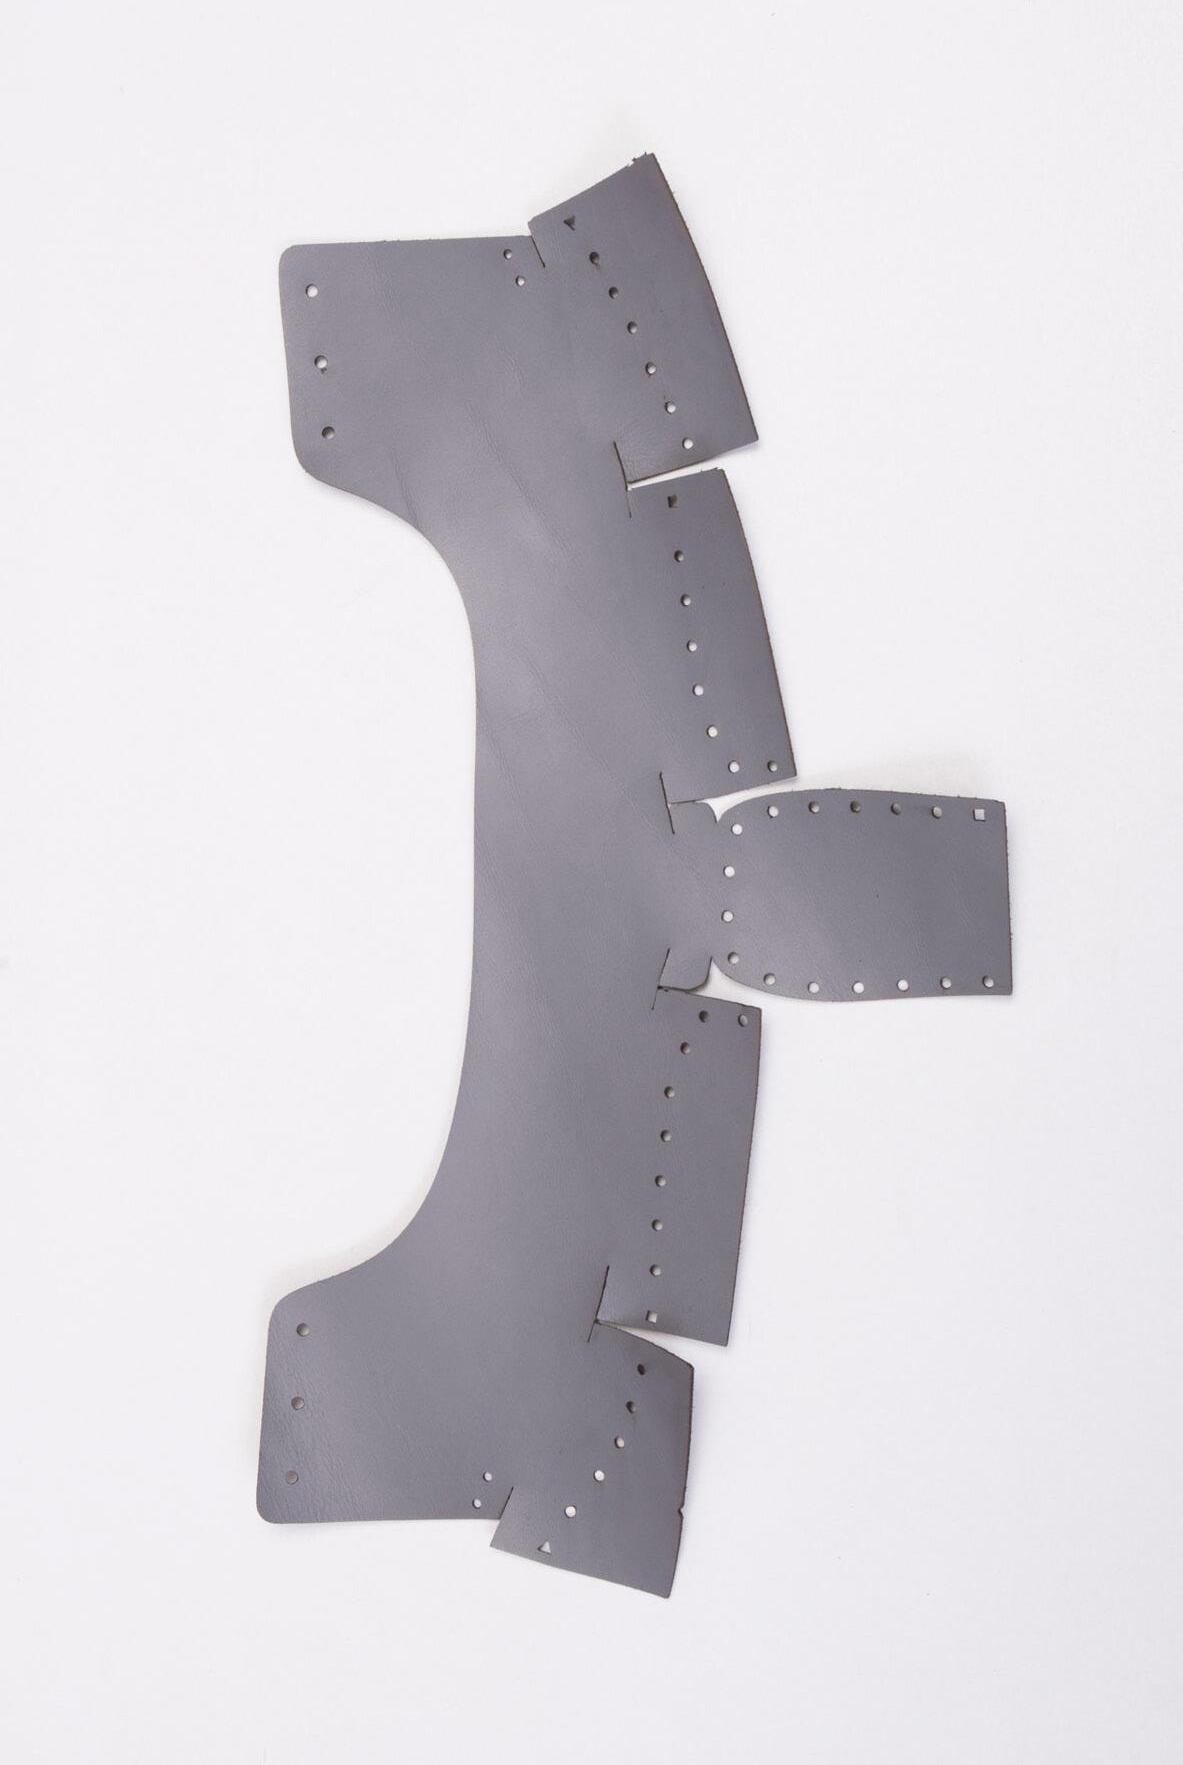
Counter / Inside Mark / Triangular Marks for overlay in the front / Square Marks for Overlay in the back
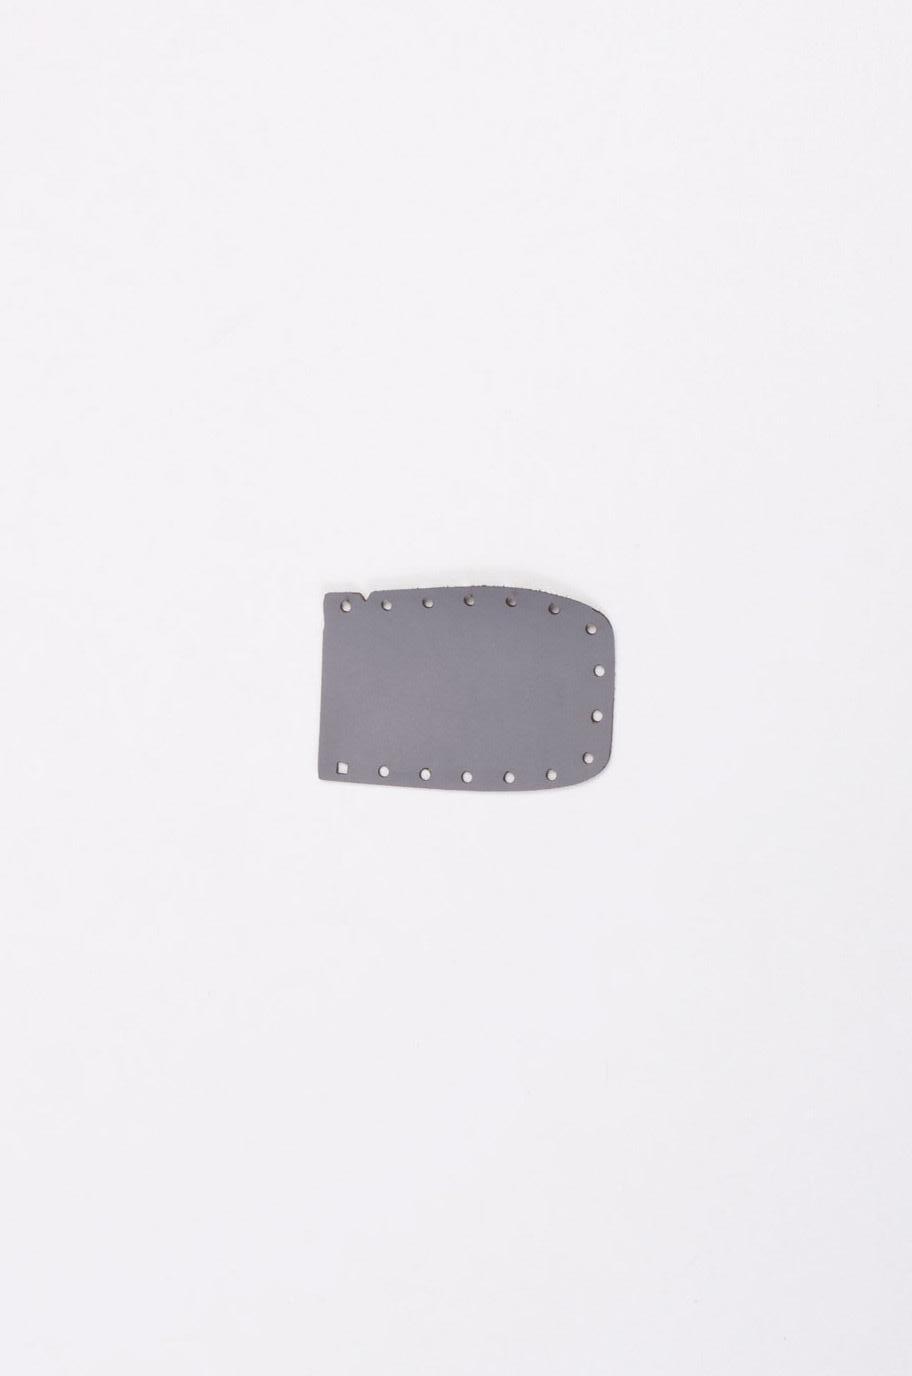
/ Inside Mark / Square Mark for Overlay in the back
Heel Piece
Back Strap
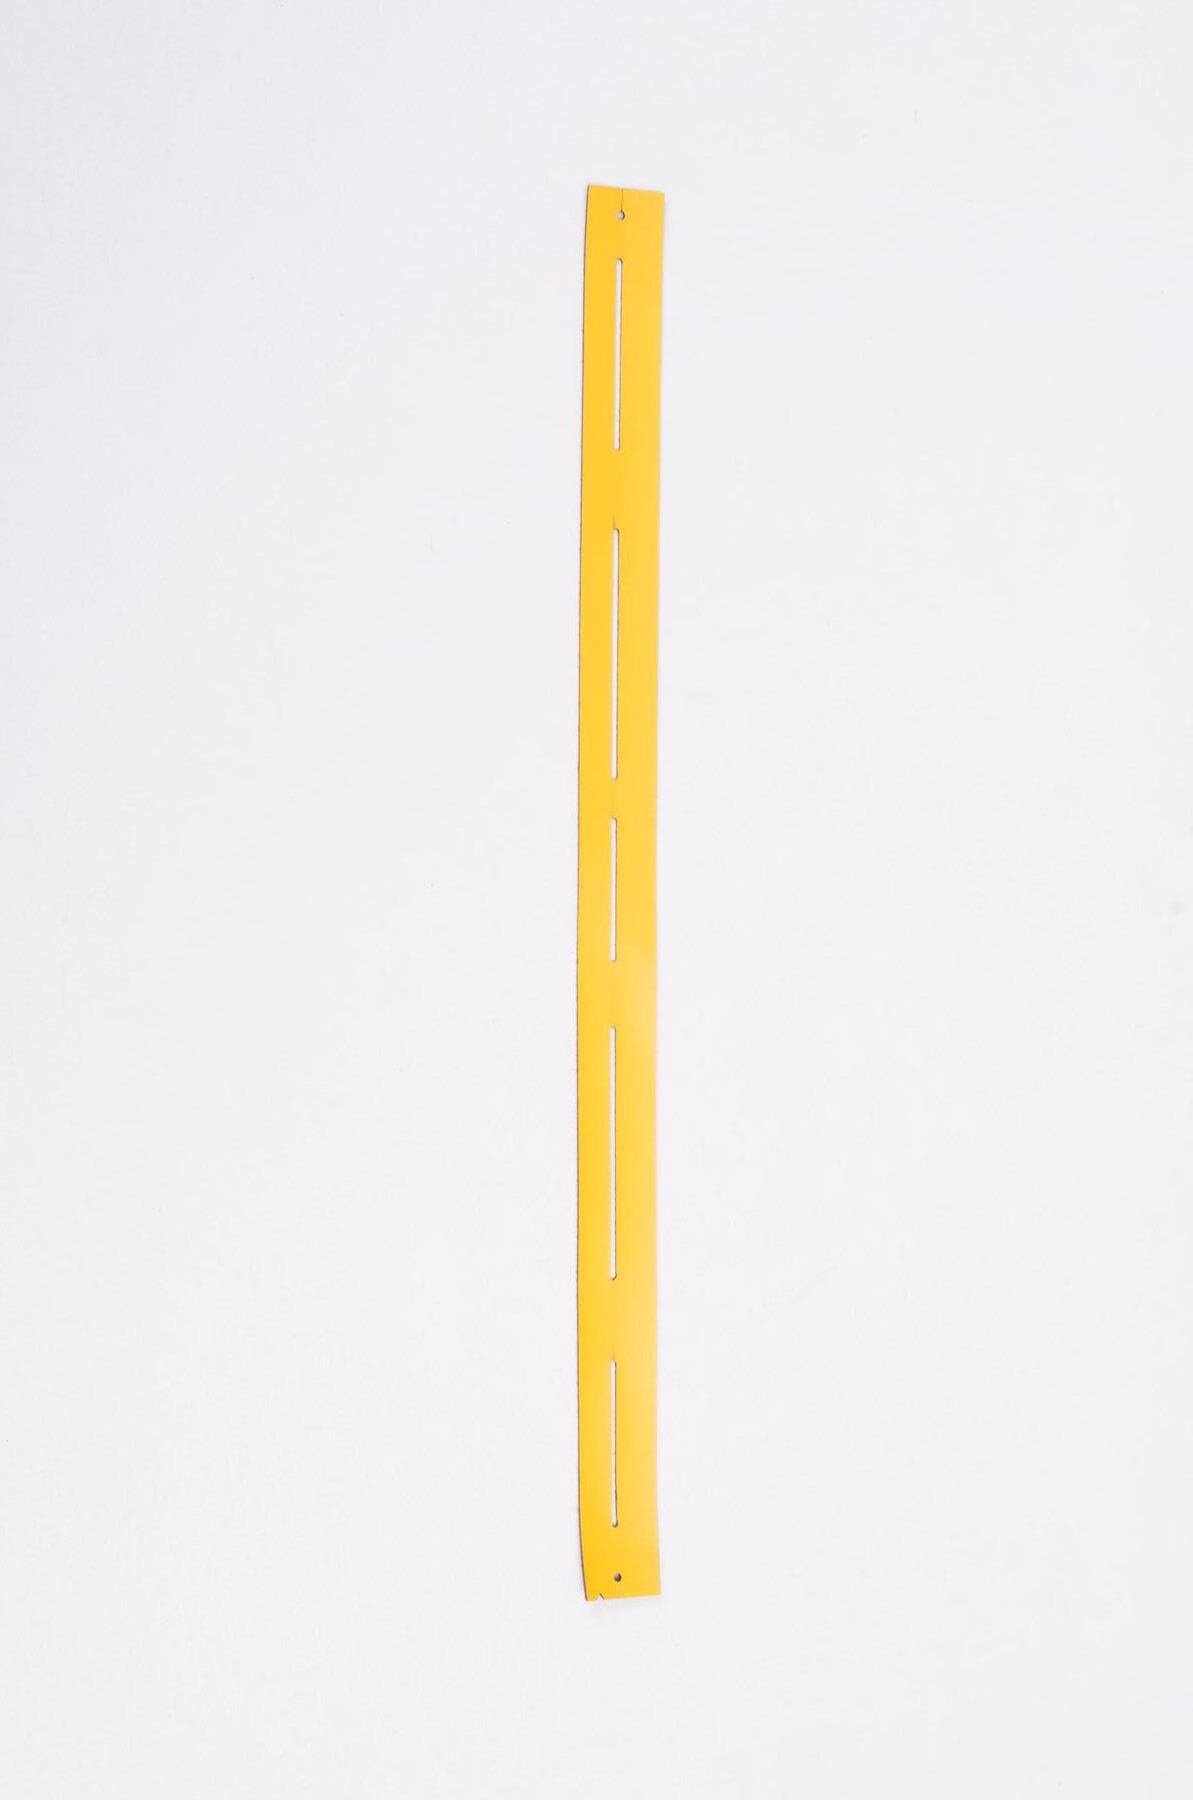
/ Inside Mark / Central Slot / The bottom (part underneath the slots) is wider than the top
Insole & Outsole
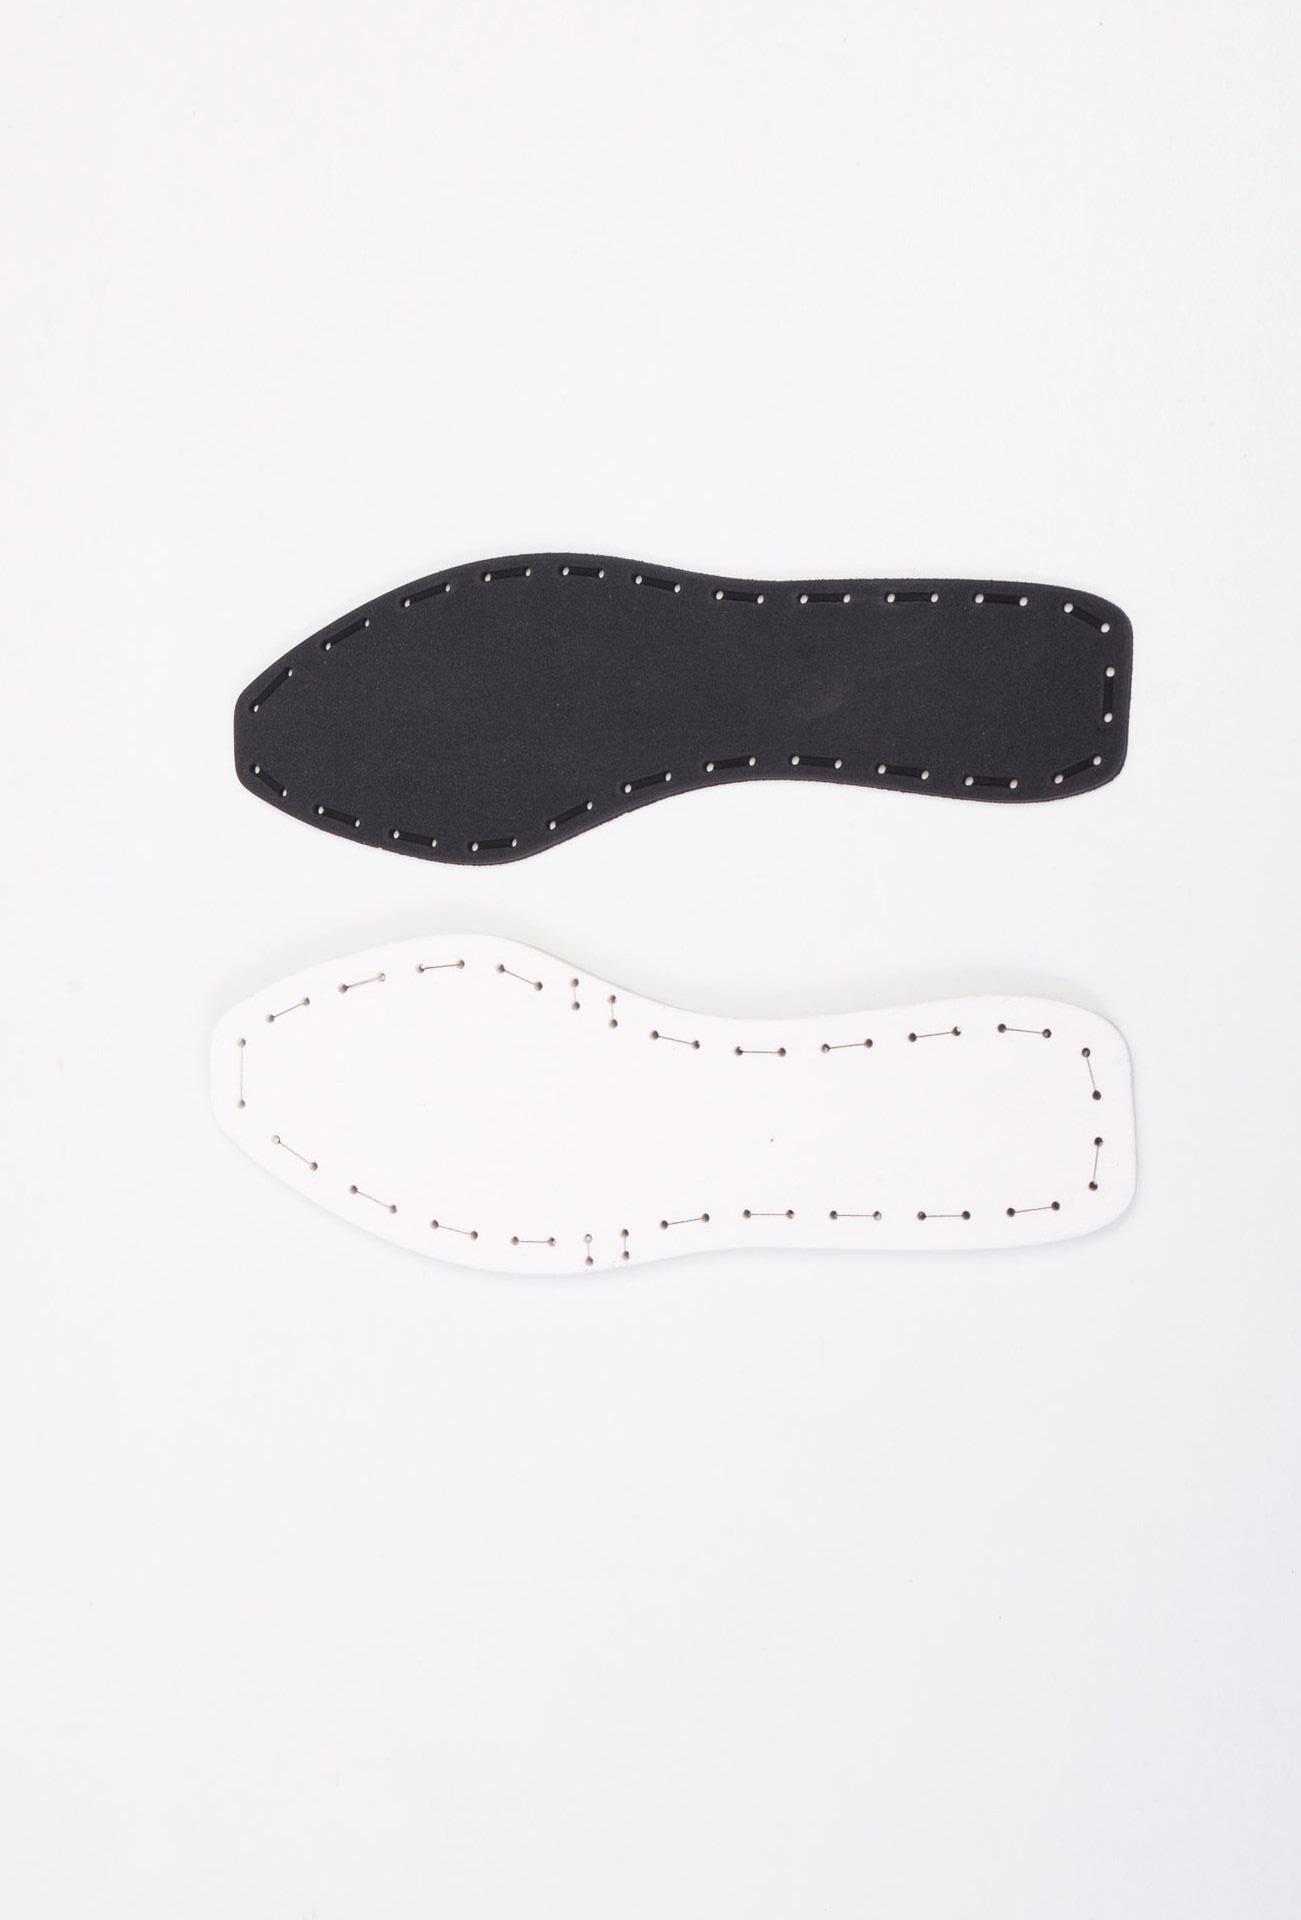
Insole / 4mm EVA / The channels created in the insole mark the top. They allow the lace to sit flat within the insole. Outsole / 13 mm EVA / The channels connecting to the holes are on the bottom of the outsole. They allow for the lace to disappear. / The double perforations are the lacing slots.
Laces & Needle
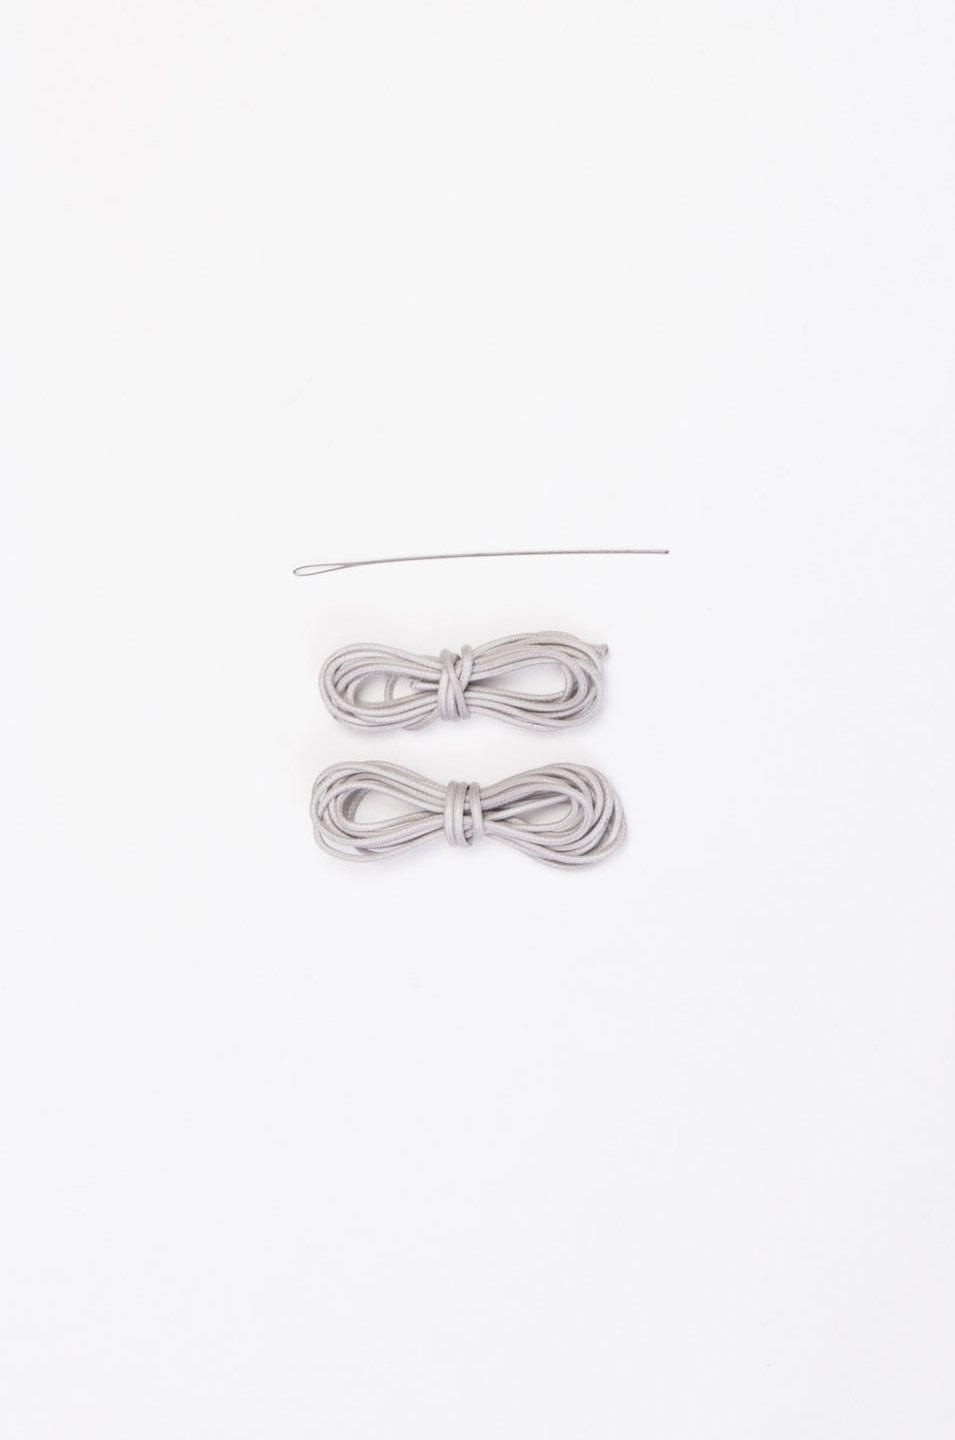
Front Lace / Short Lace
Back Lace / Long Lace Needle / Thin metal needle to lace the shoe.
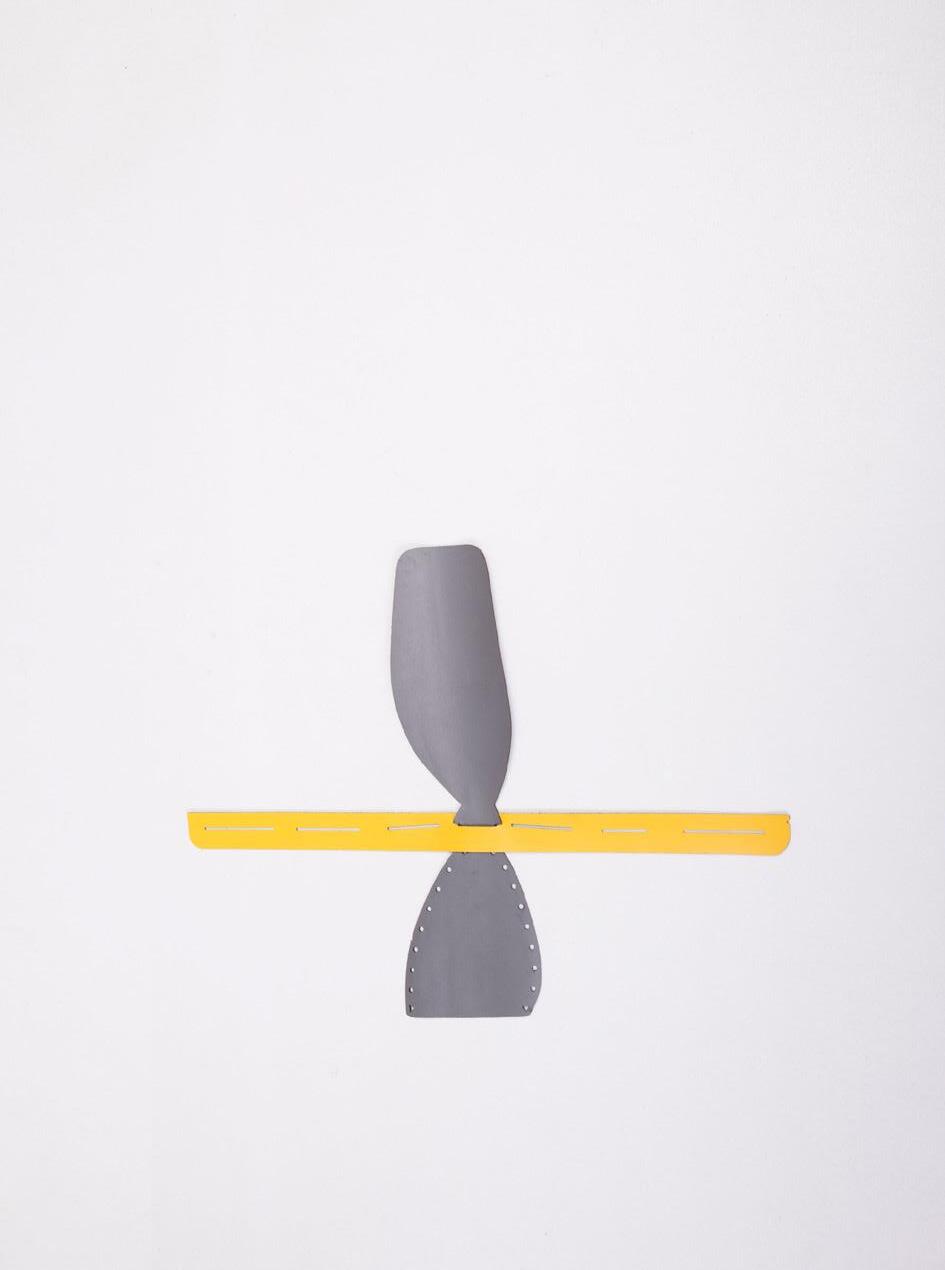
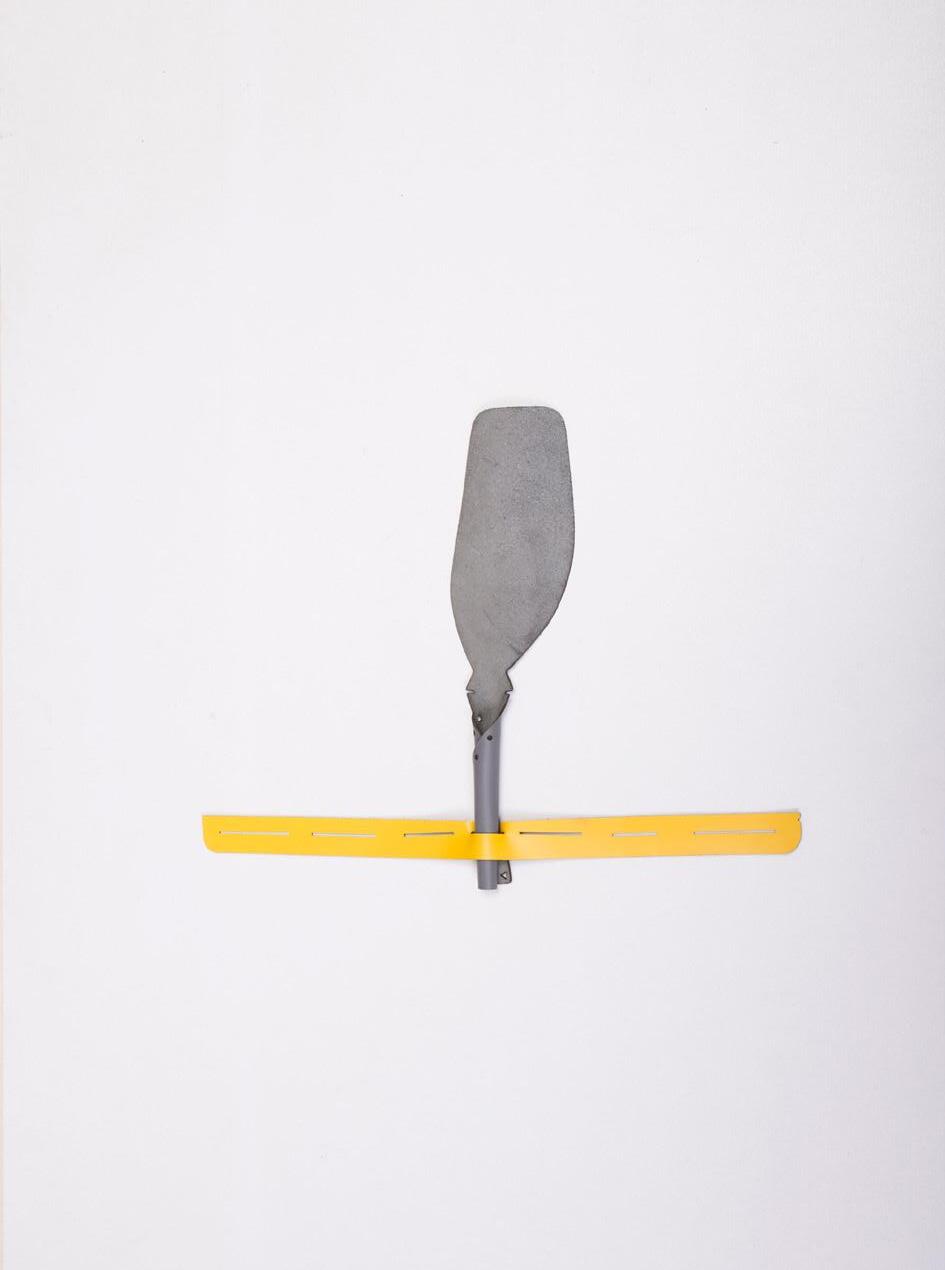
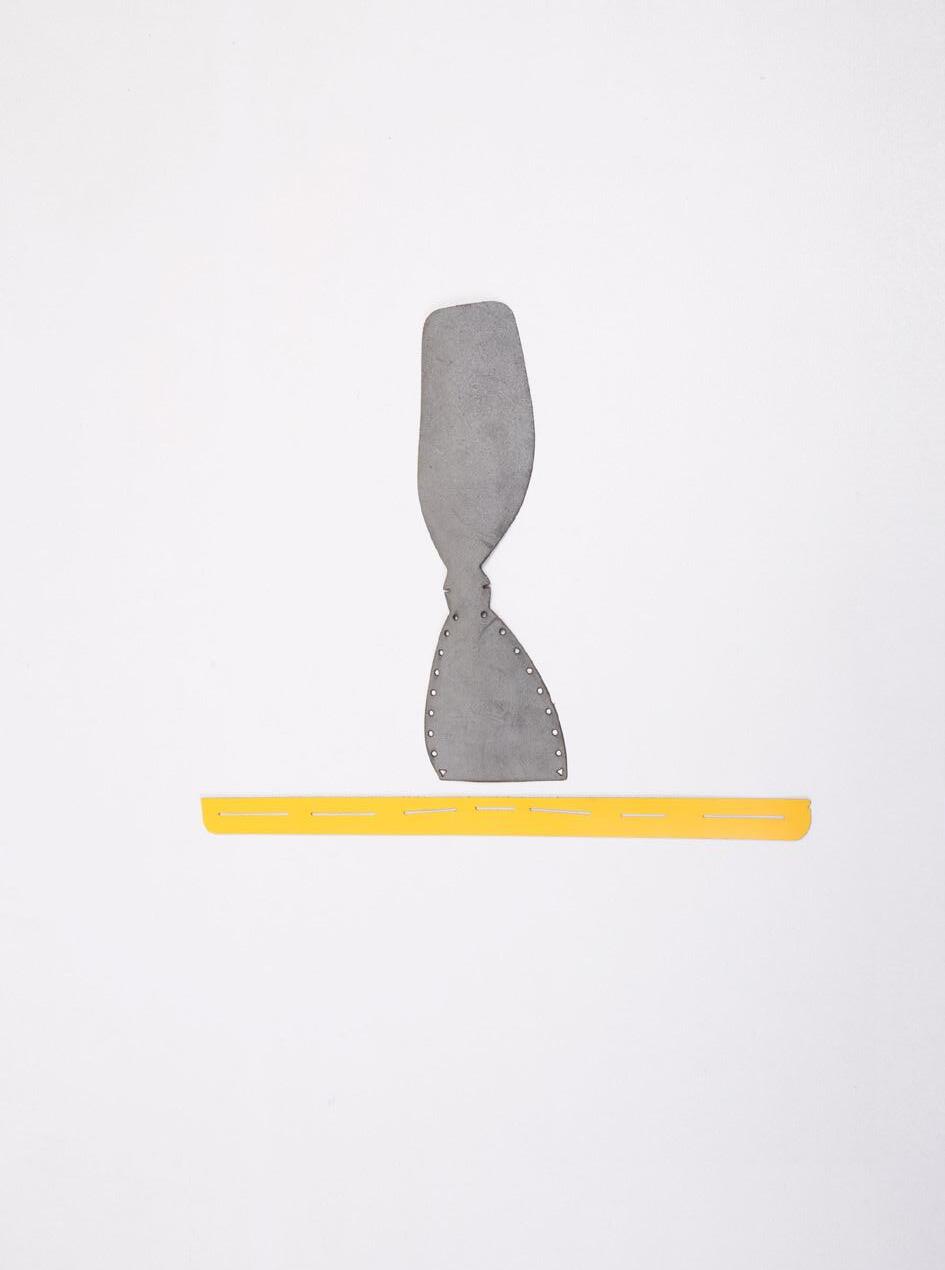
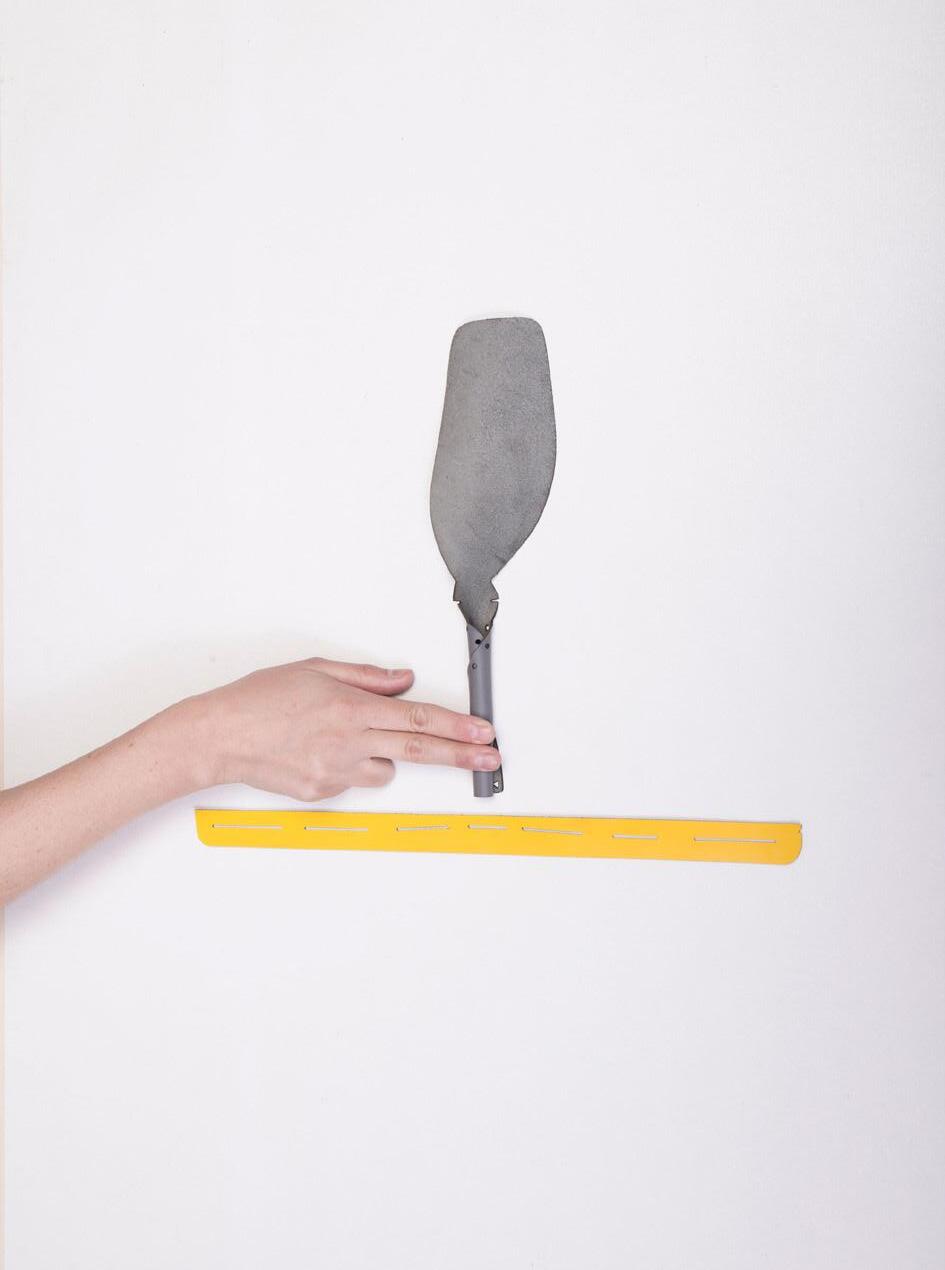
A Components: + Tongue + Front Strap
B Goal: Connect Tongue to Front Strap
1 roll tongue
2 slide tongue into the central slot
Be careful that the tongue first passes over the strap and after entering the slot under CHECK ORIENTATION OF PIECES
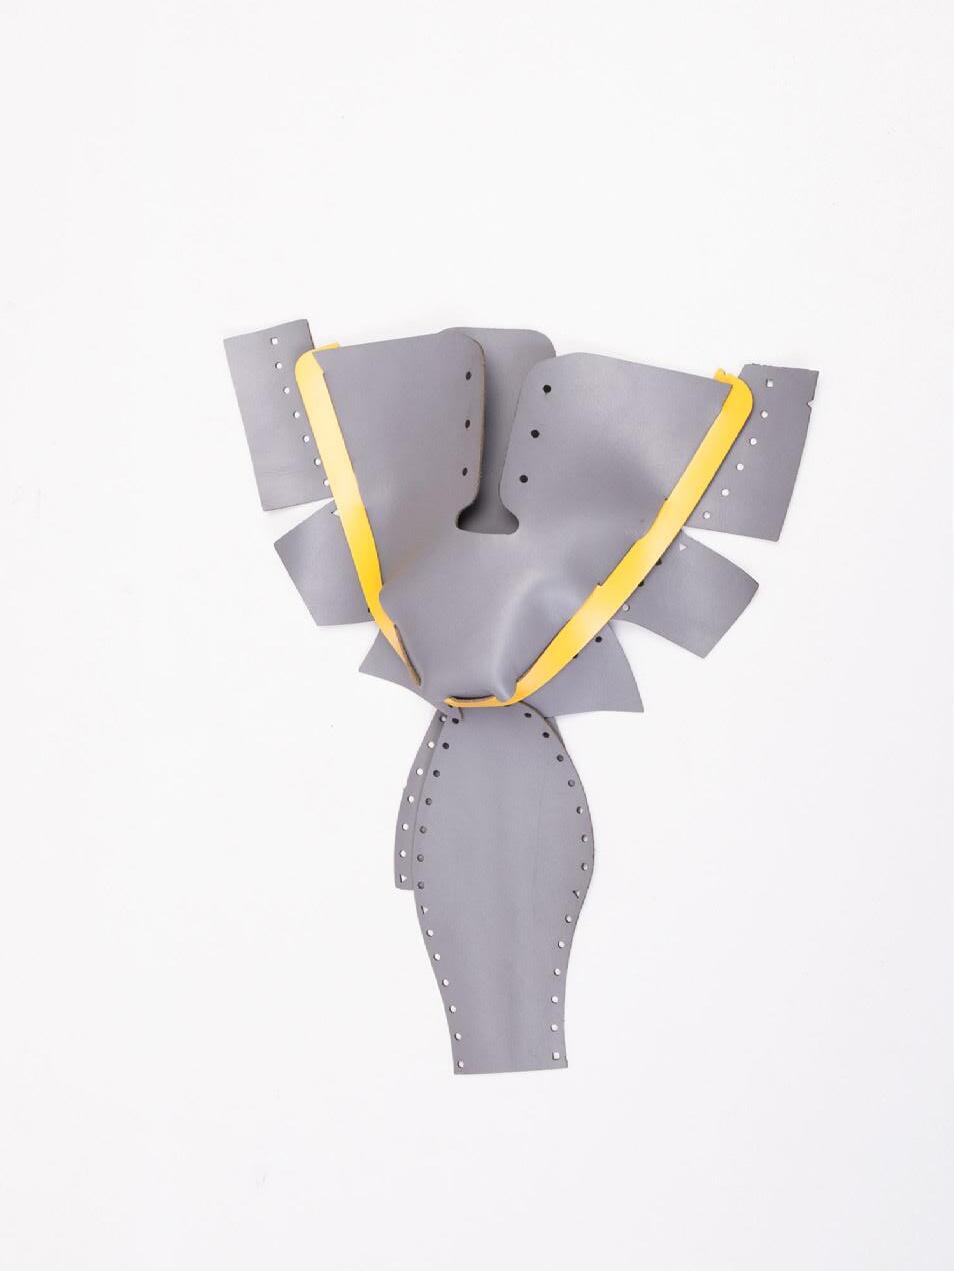
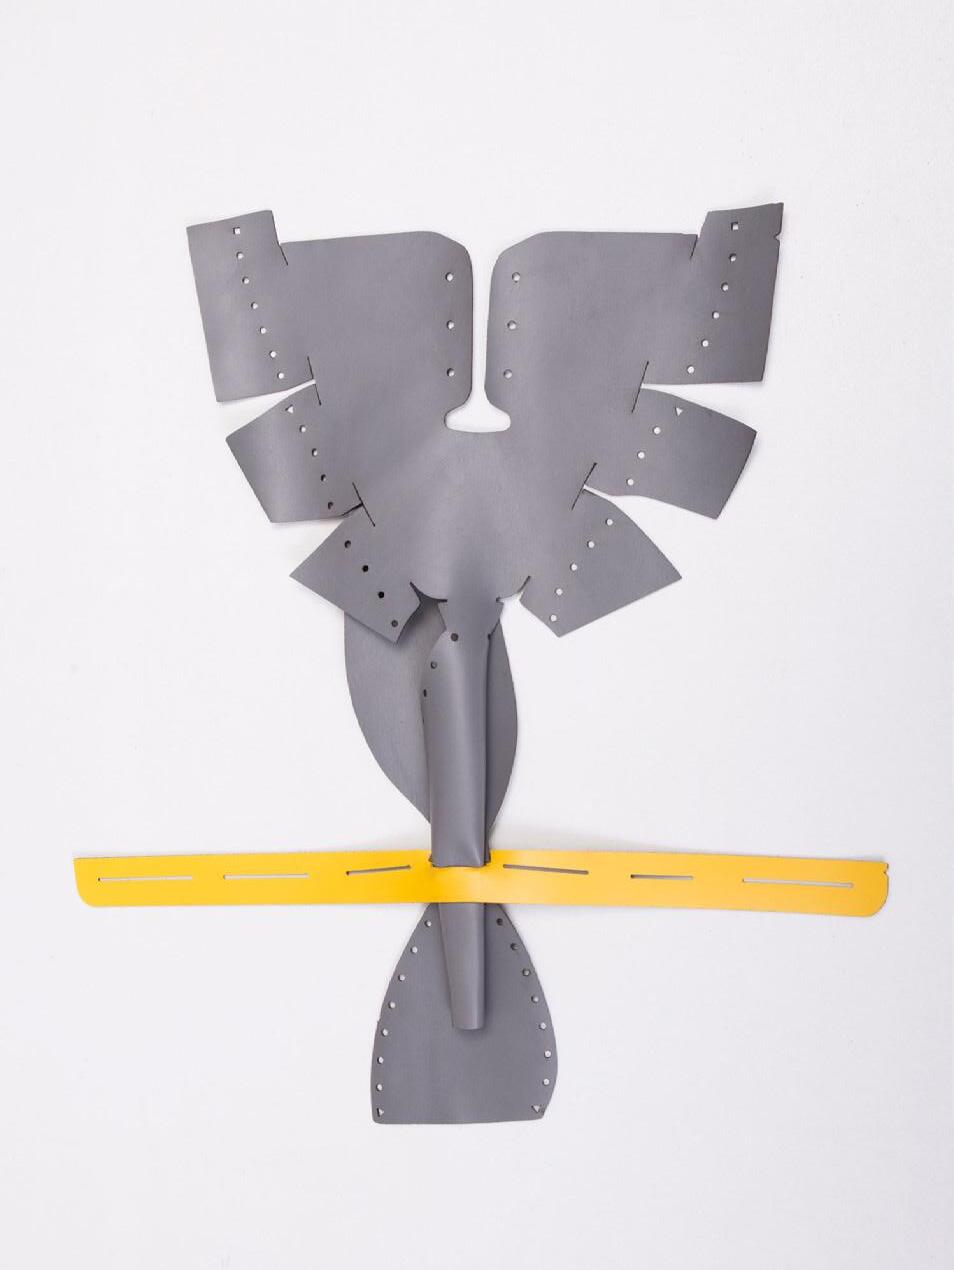
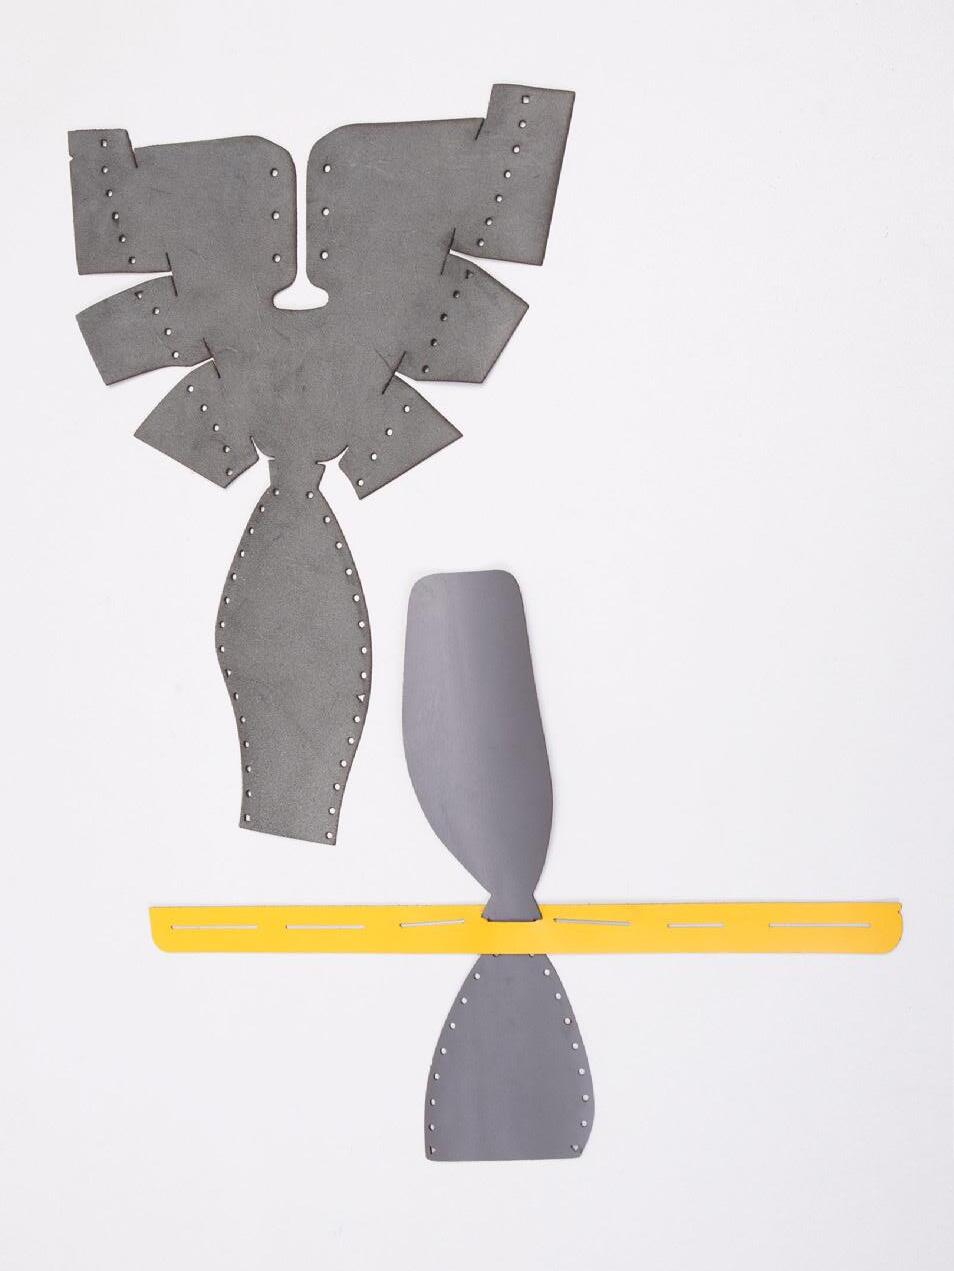
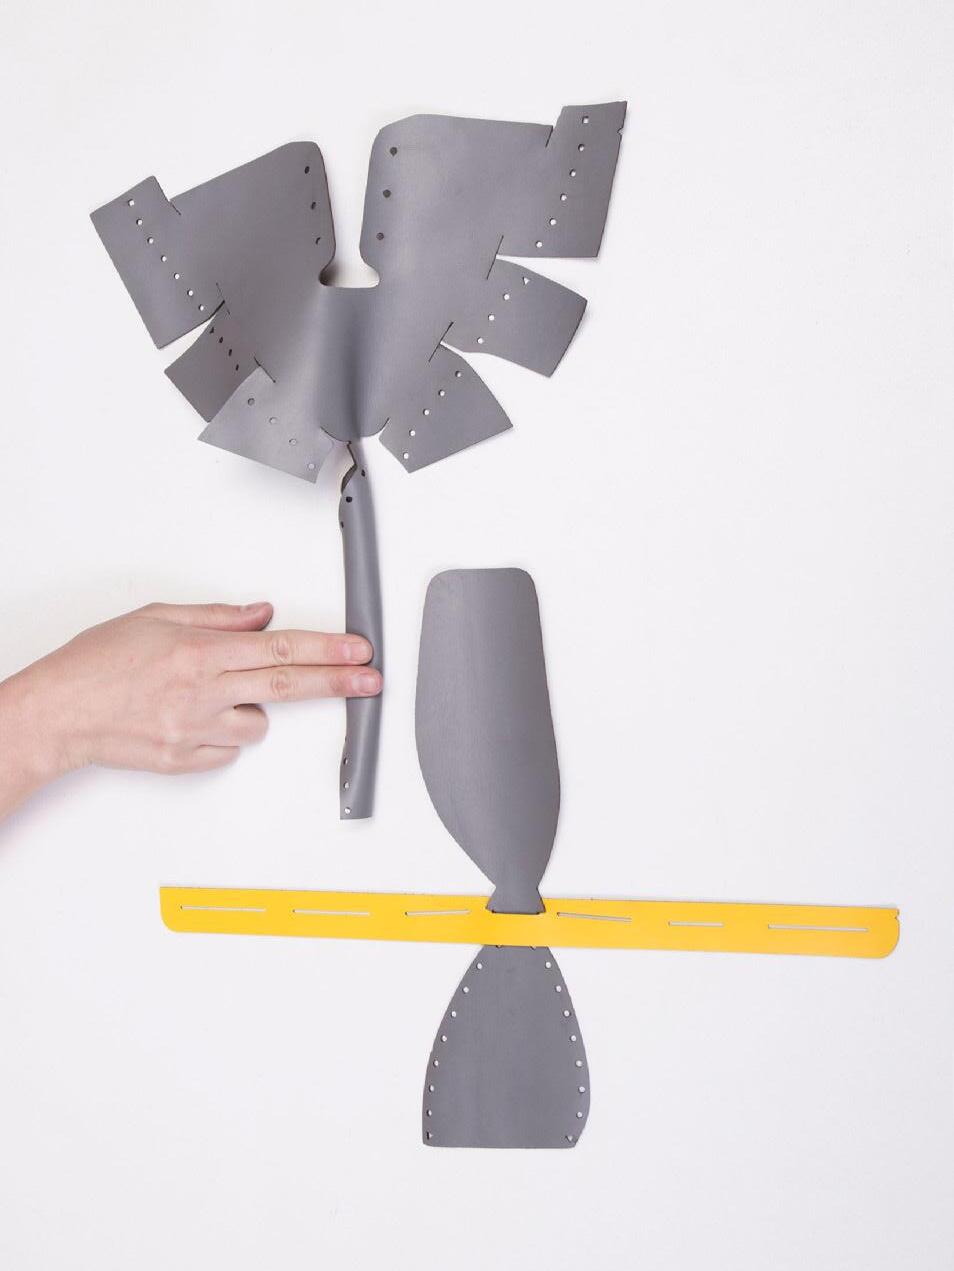
1 roll vamp Step 2 B Goal: Connect Vamp to Front Strap
Components: + Vamp
2 slide vamp into the central slot
Be careful that the vamp first passes over the strap and after entering the slot under CHECK ORIENTATION OF PIECES
Step 2
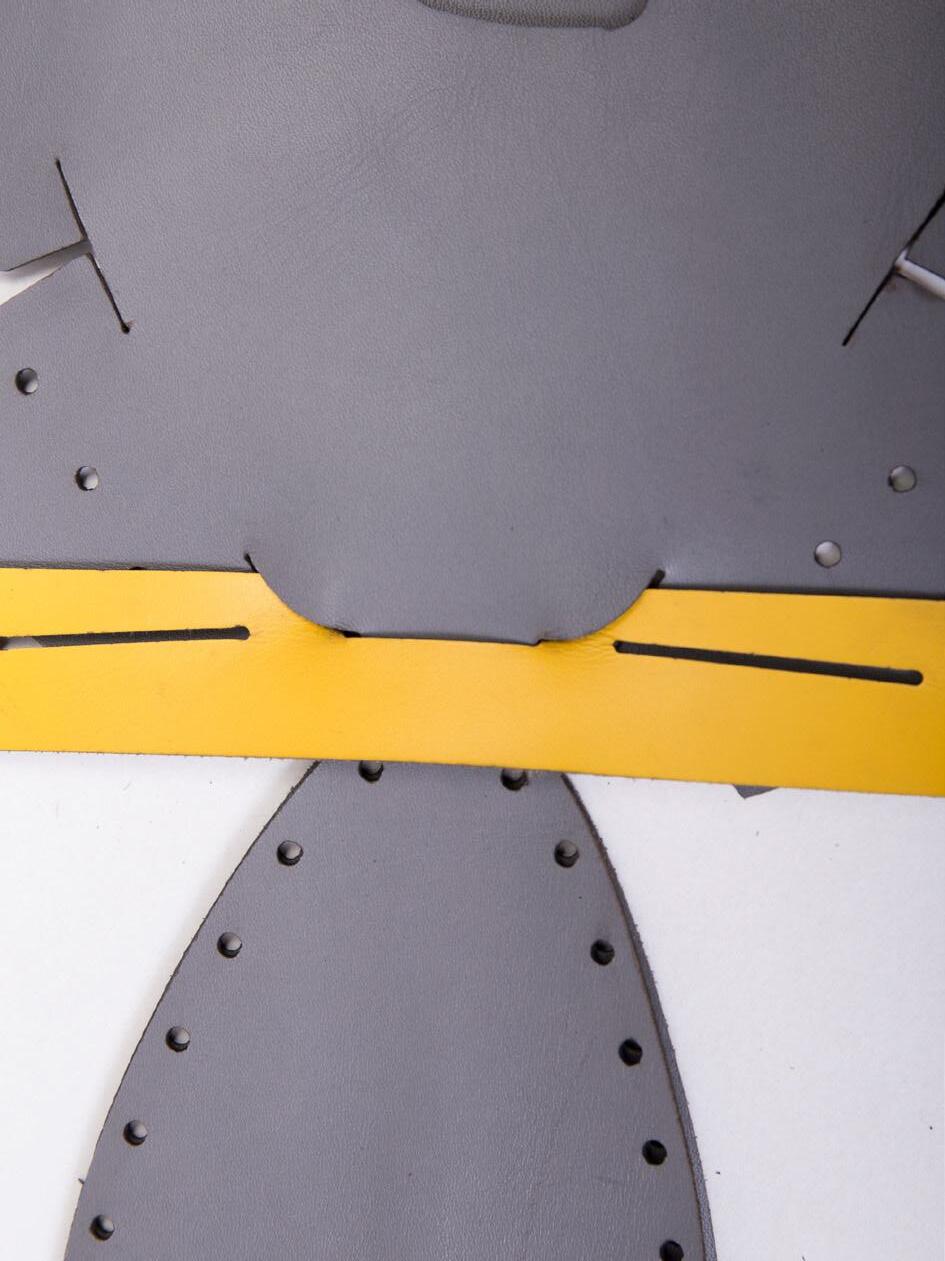
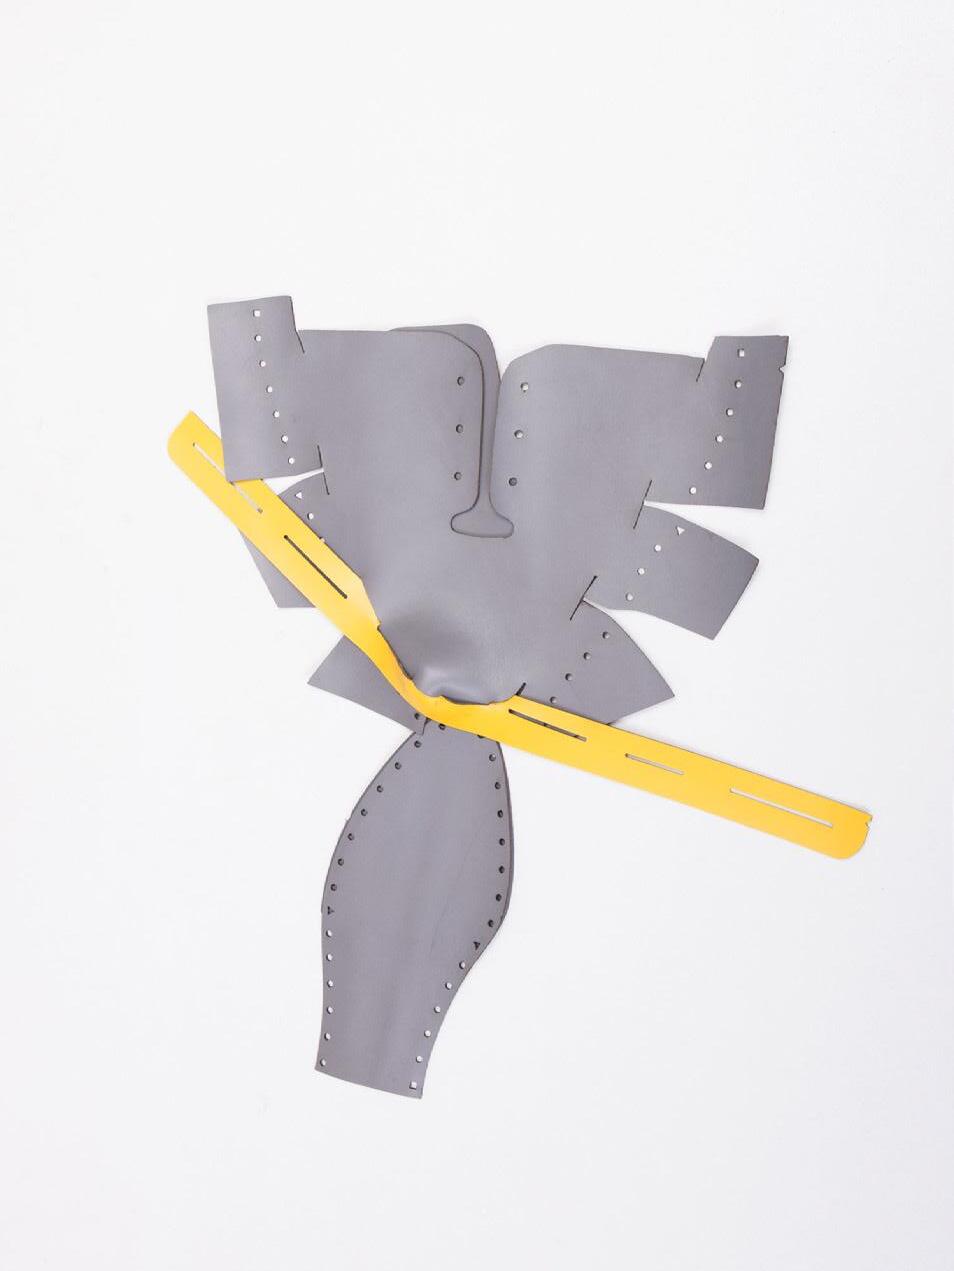
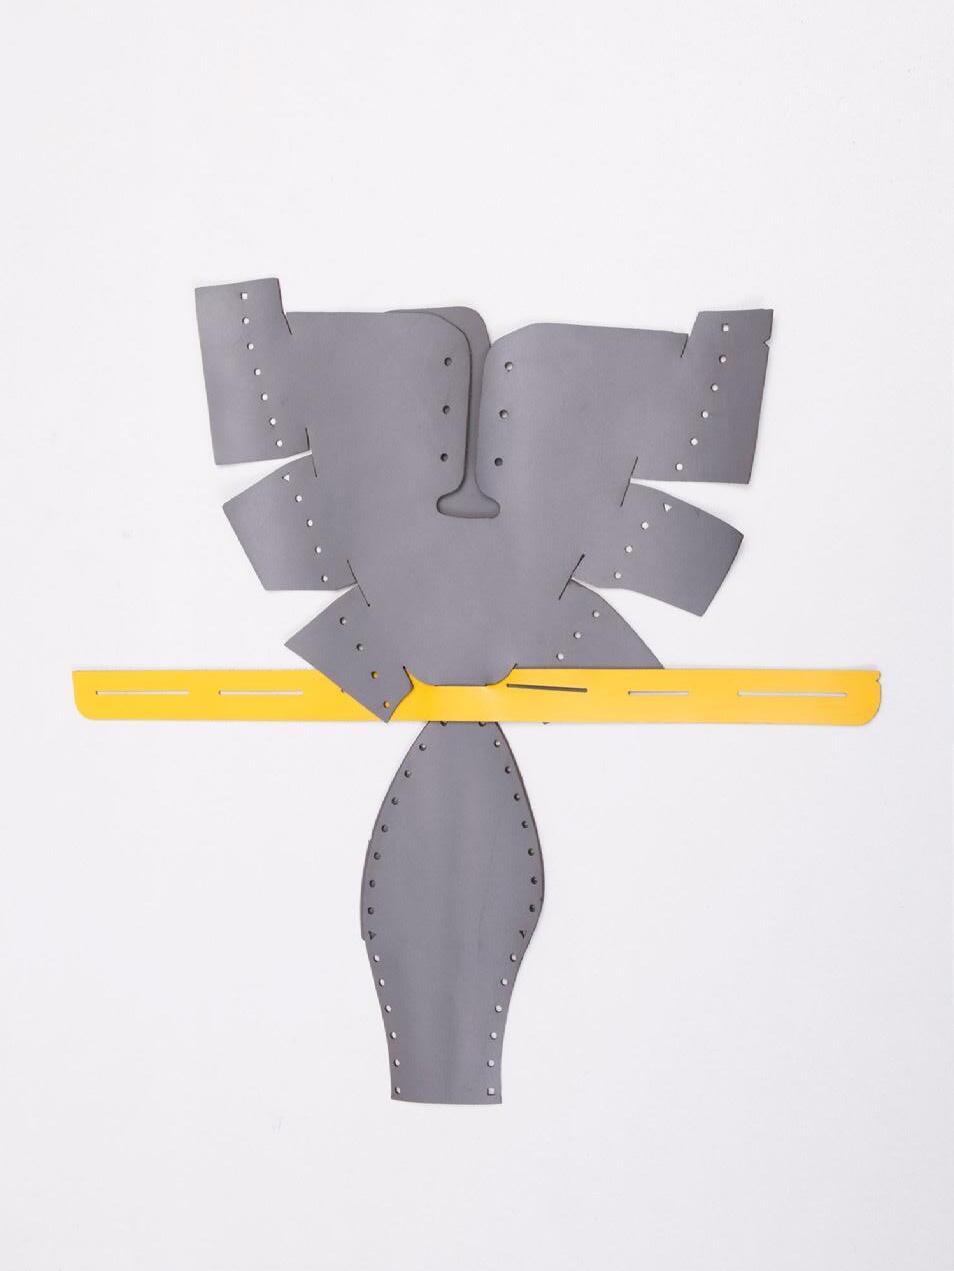
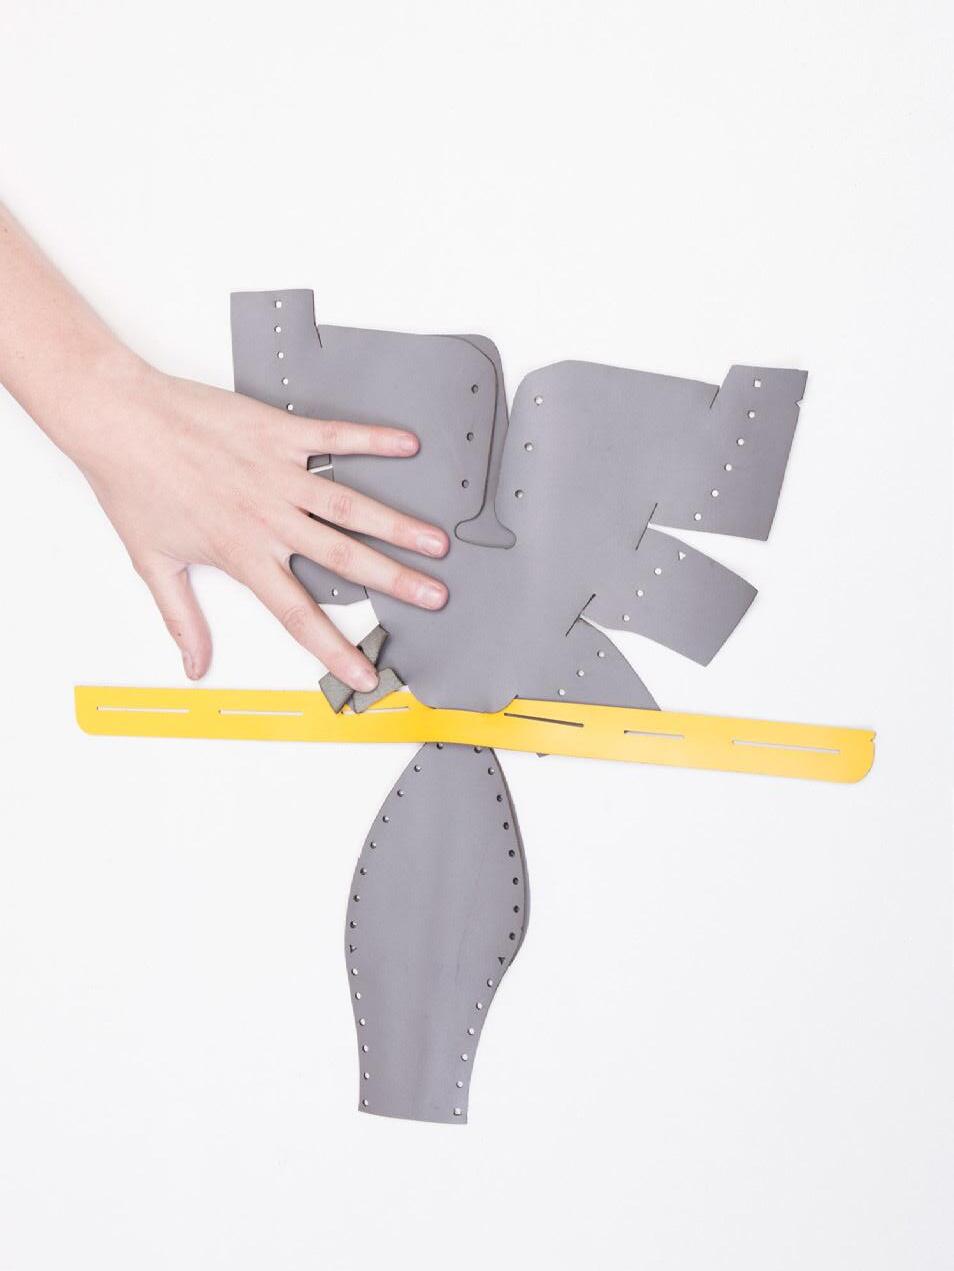
Be careful that the flaps first pass over the strap and after entering the slot under Make sure the parts sit flat in the slots Make sure the parts sit flat in the slots
fold flap
slide flaps into slots
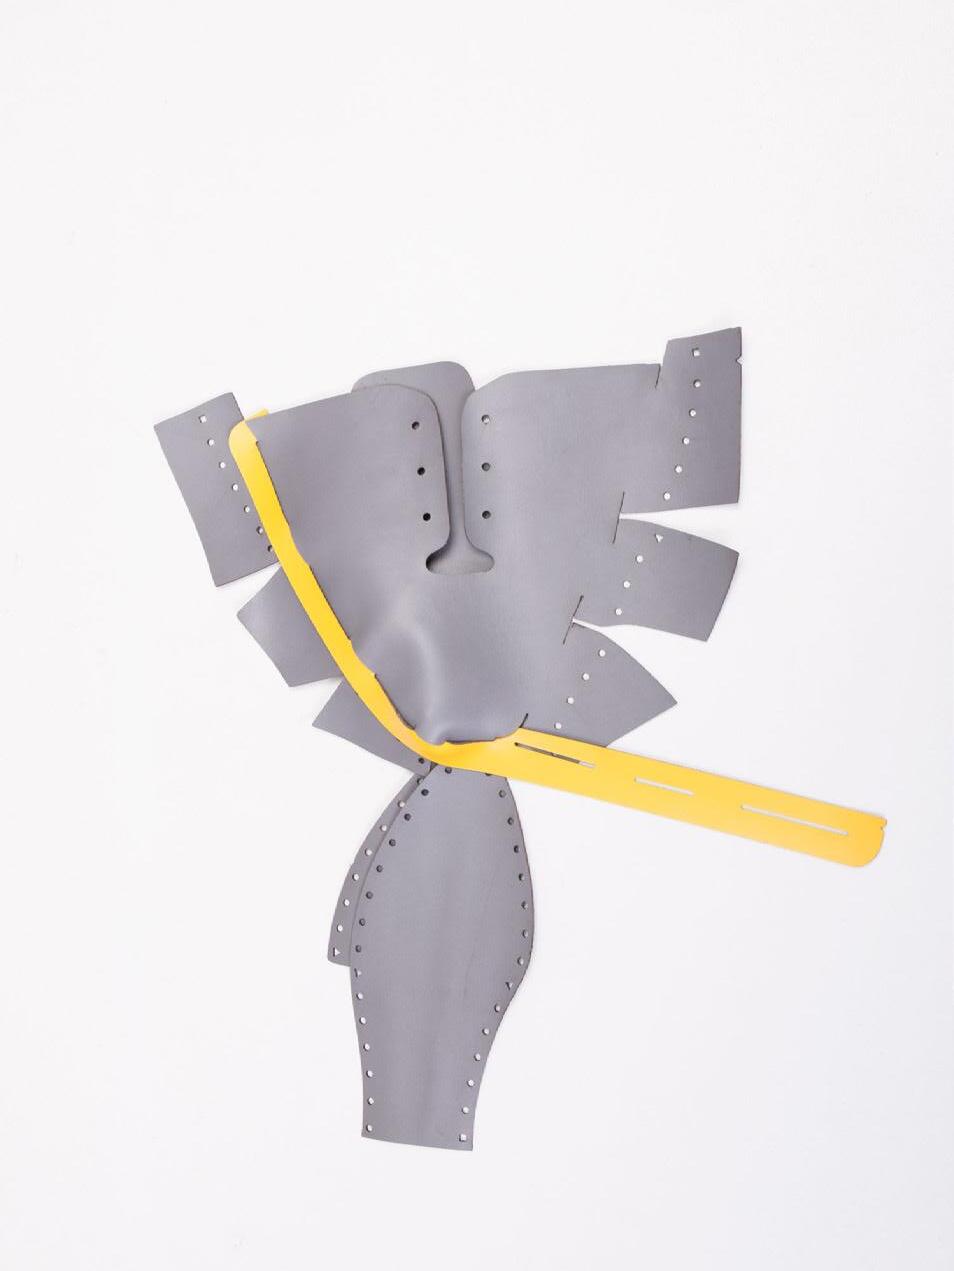
8 7
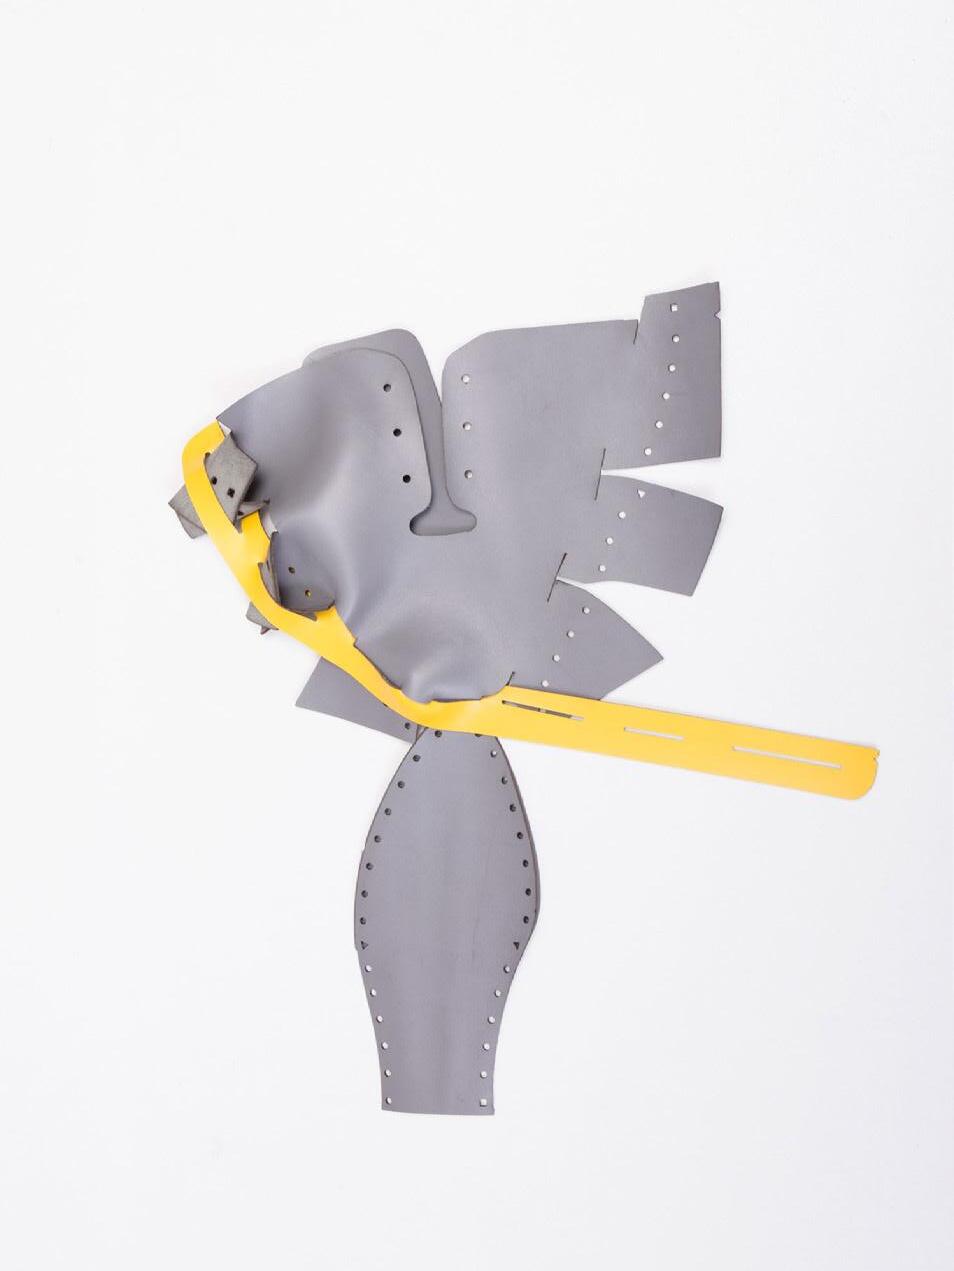
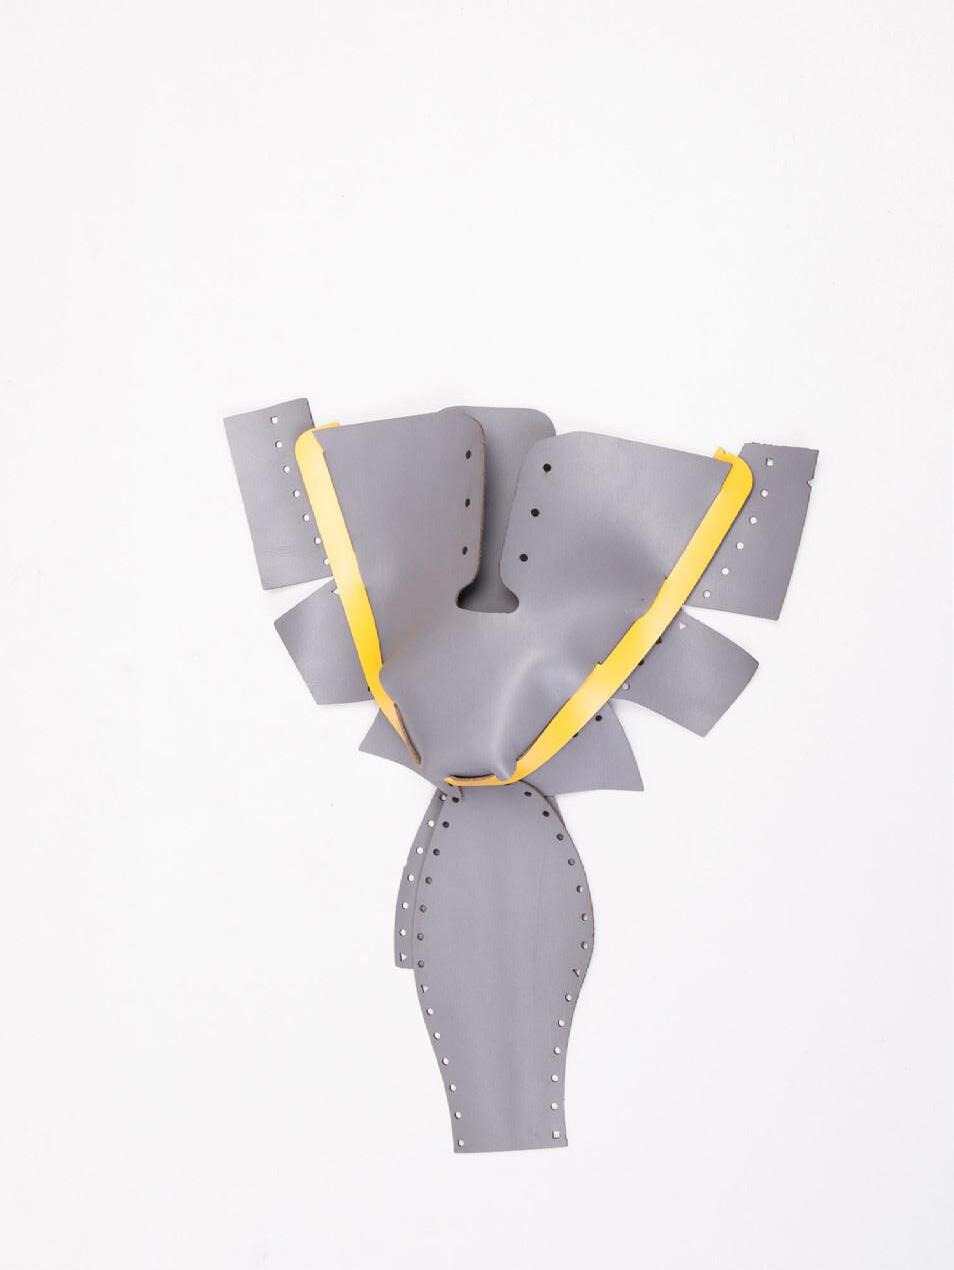
6 fold flap
slide flaps into slots
slide flaps into slots
Be careful that the flaps first pass over the strap and after entering the slot under Make sure the parts sit flat in the slots
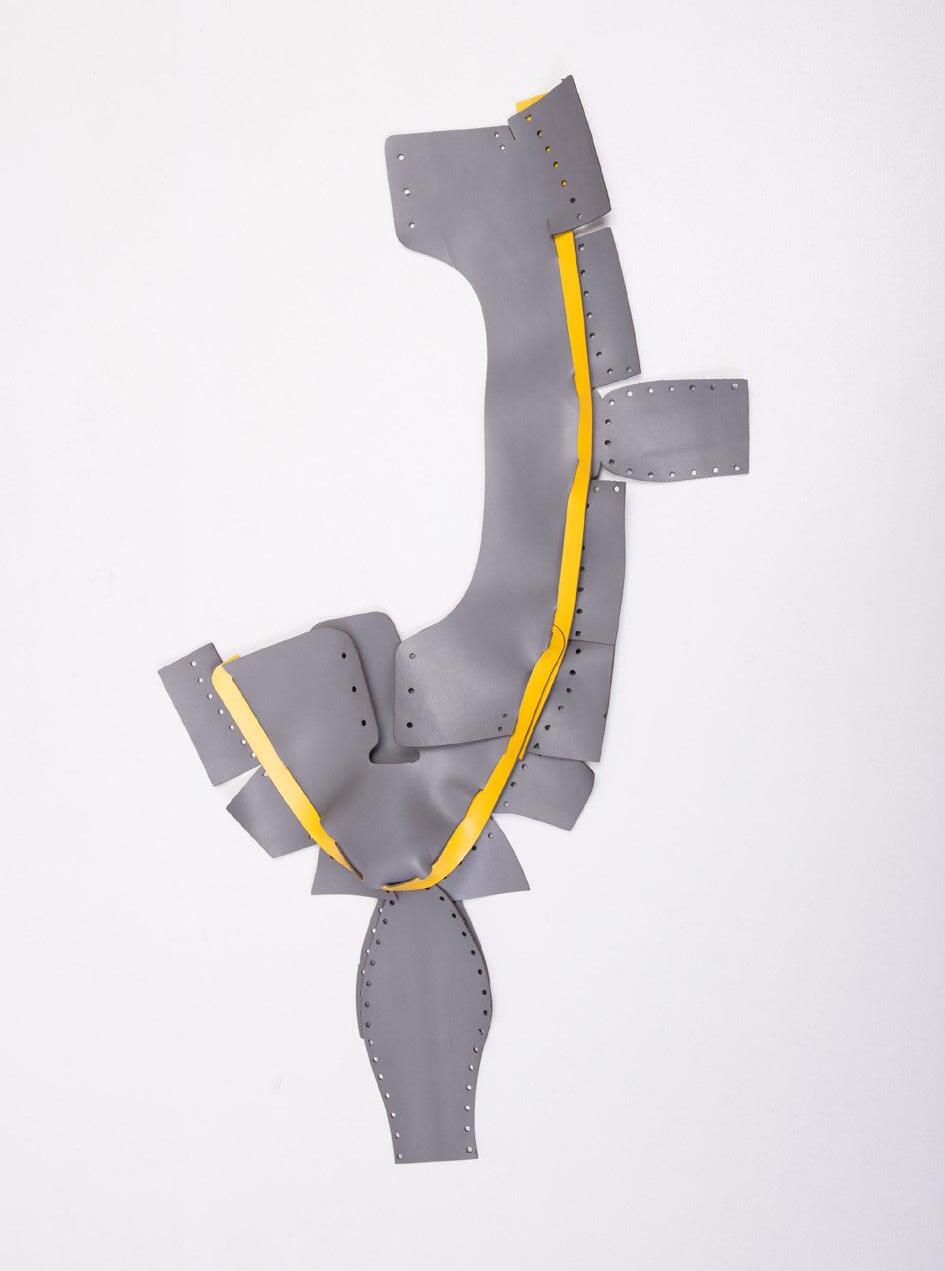
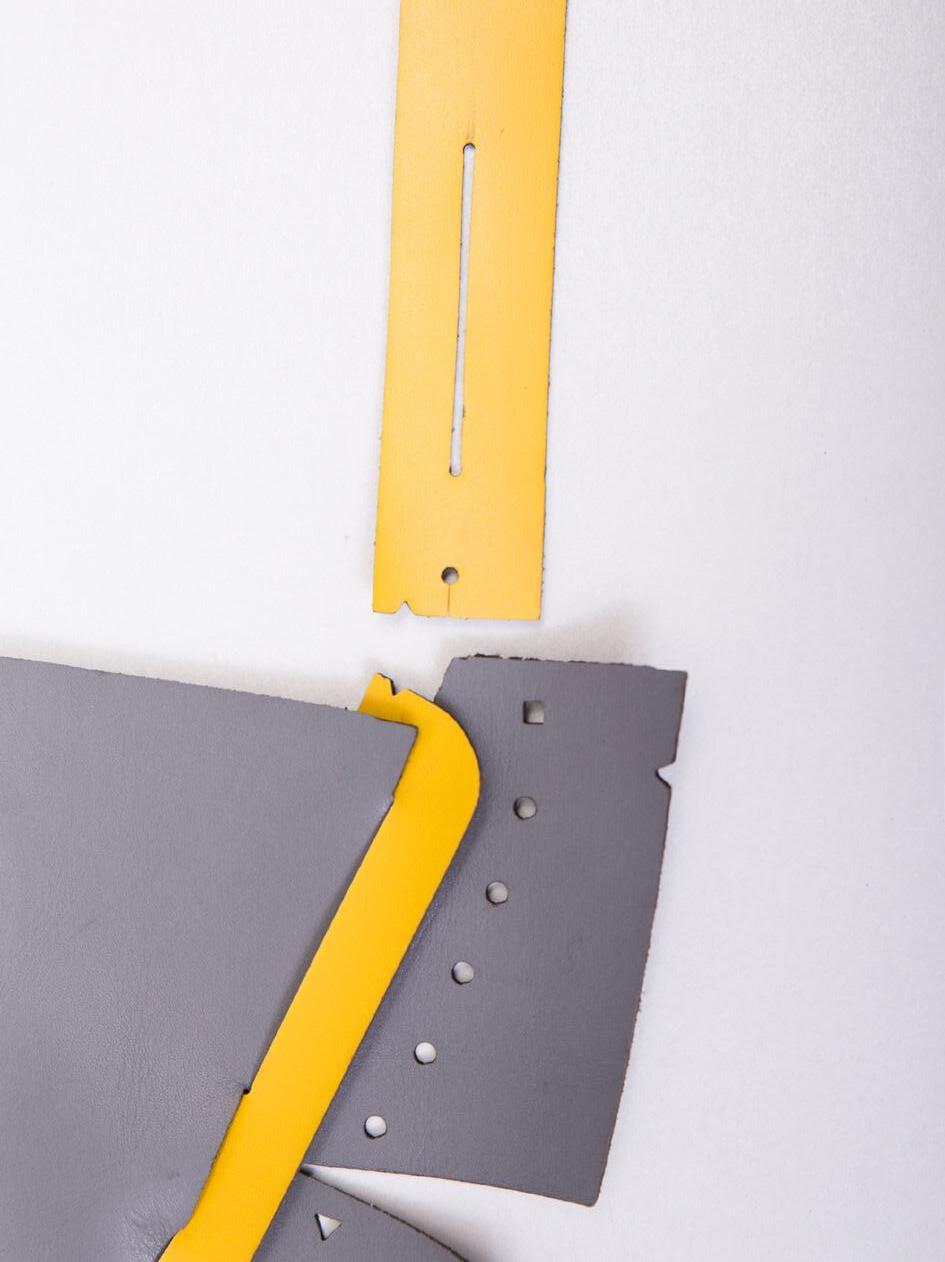
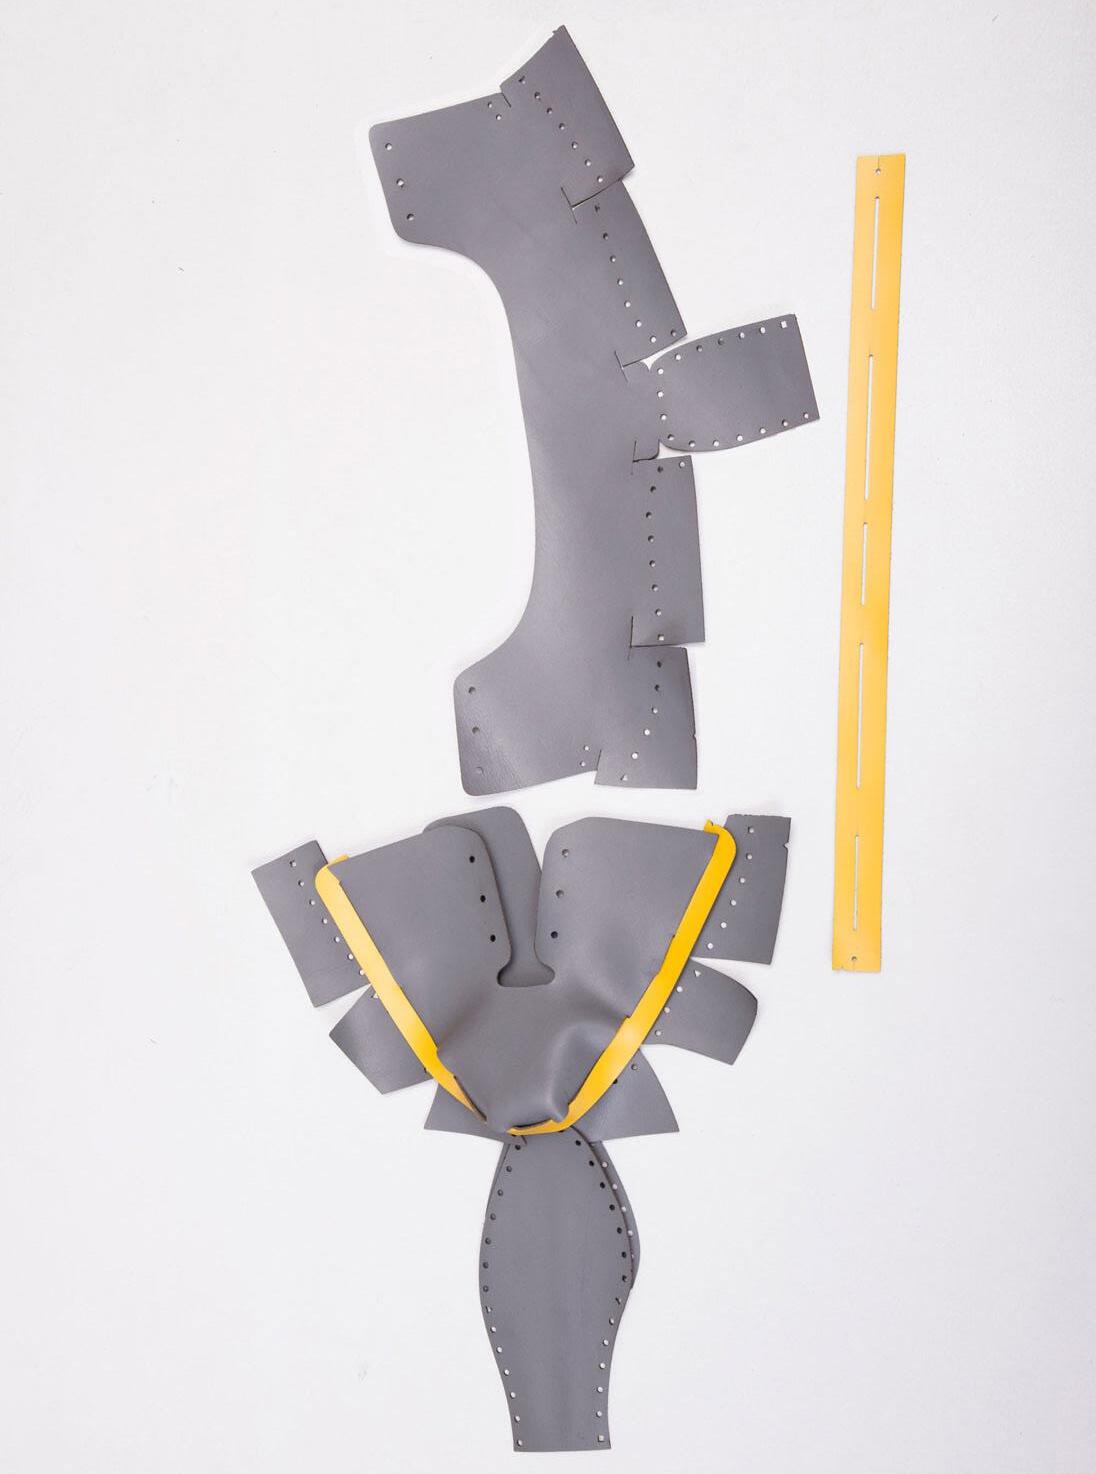
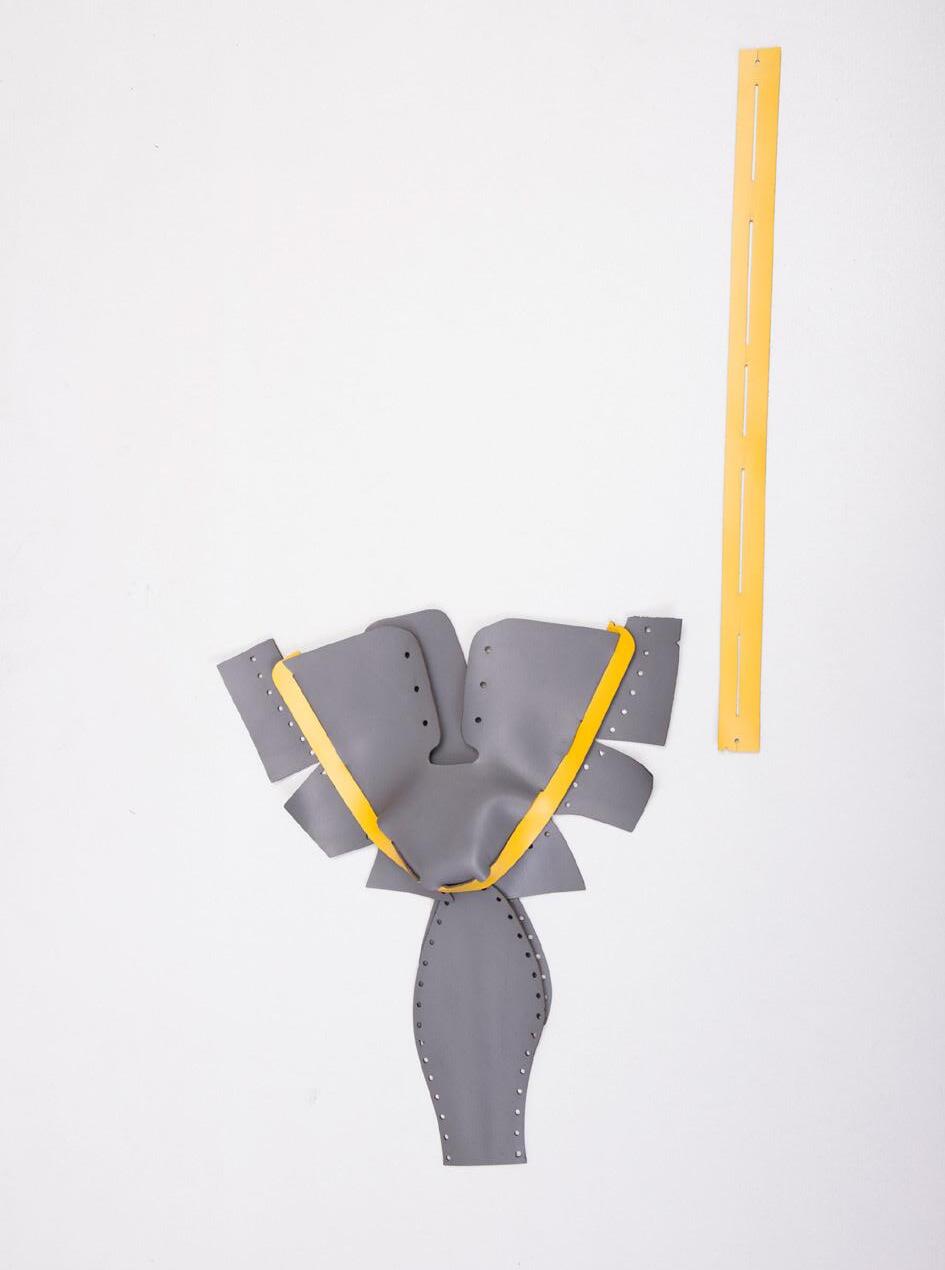
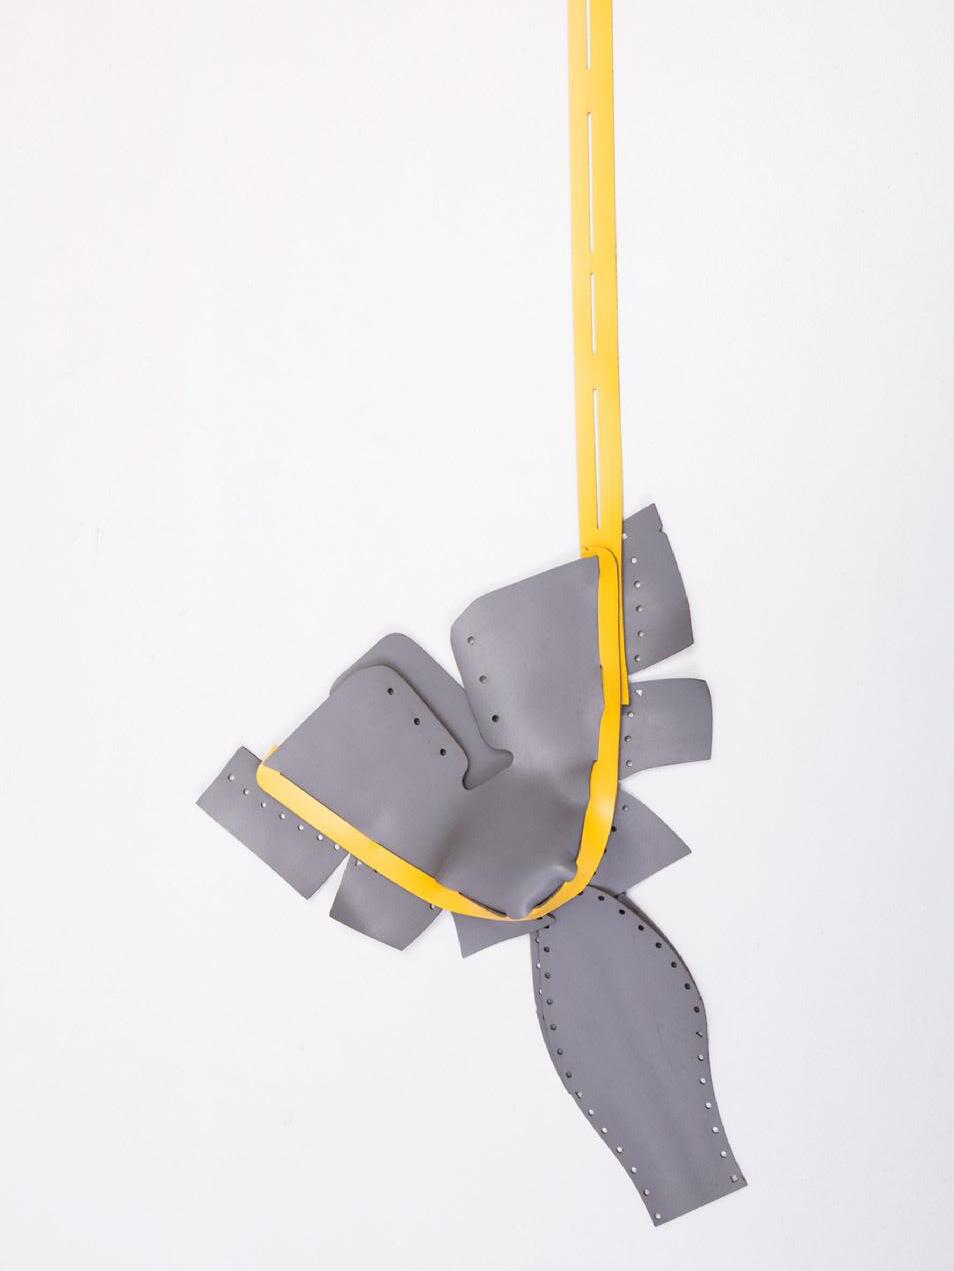
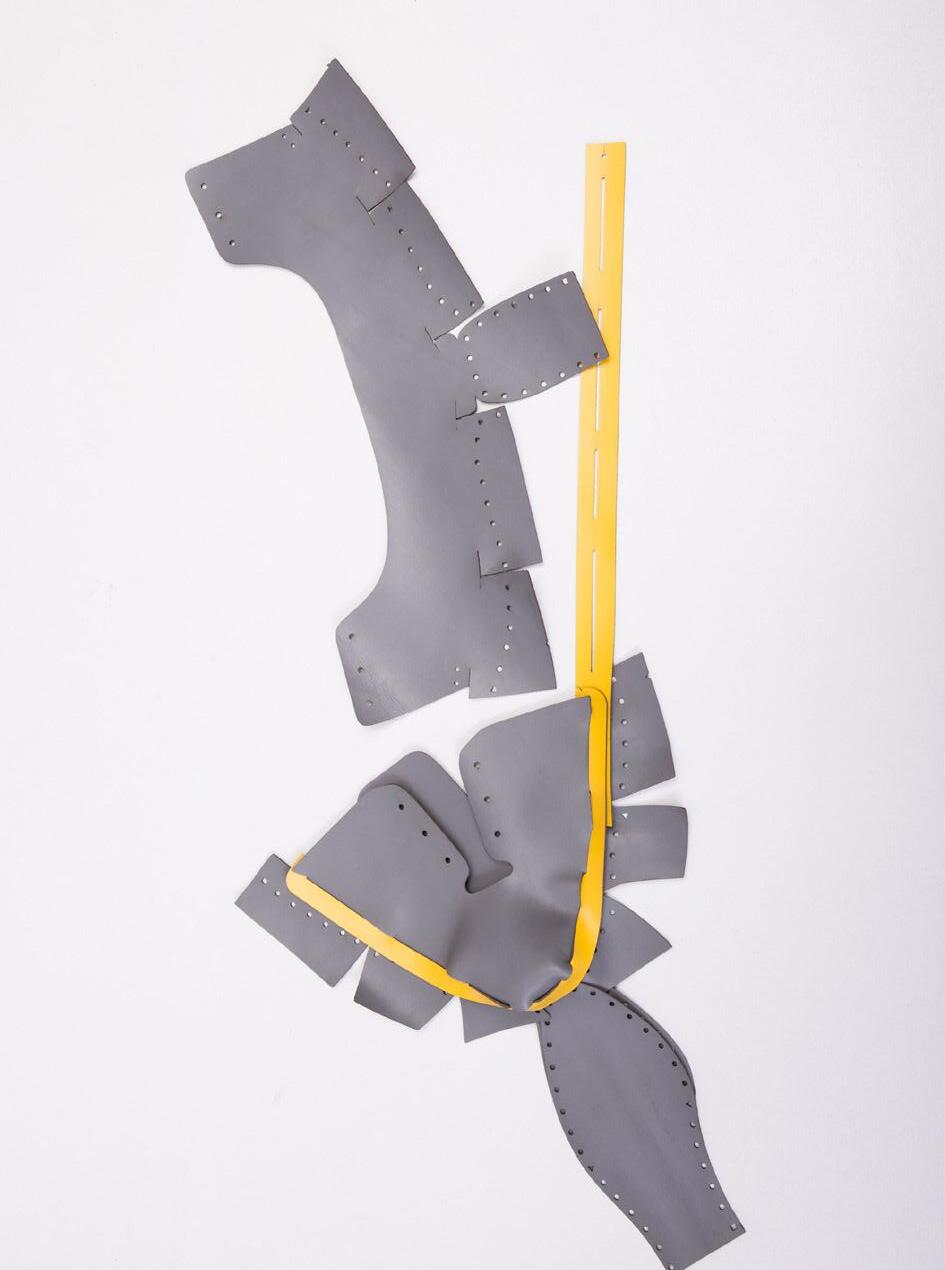
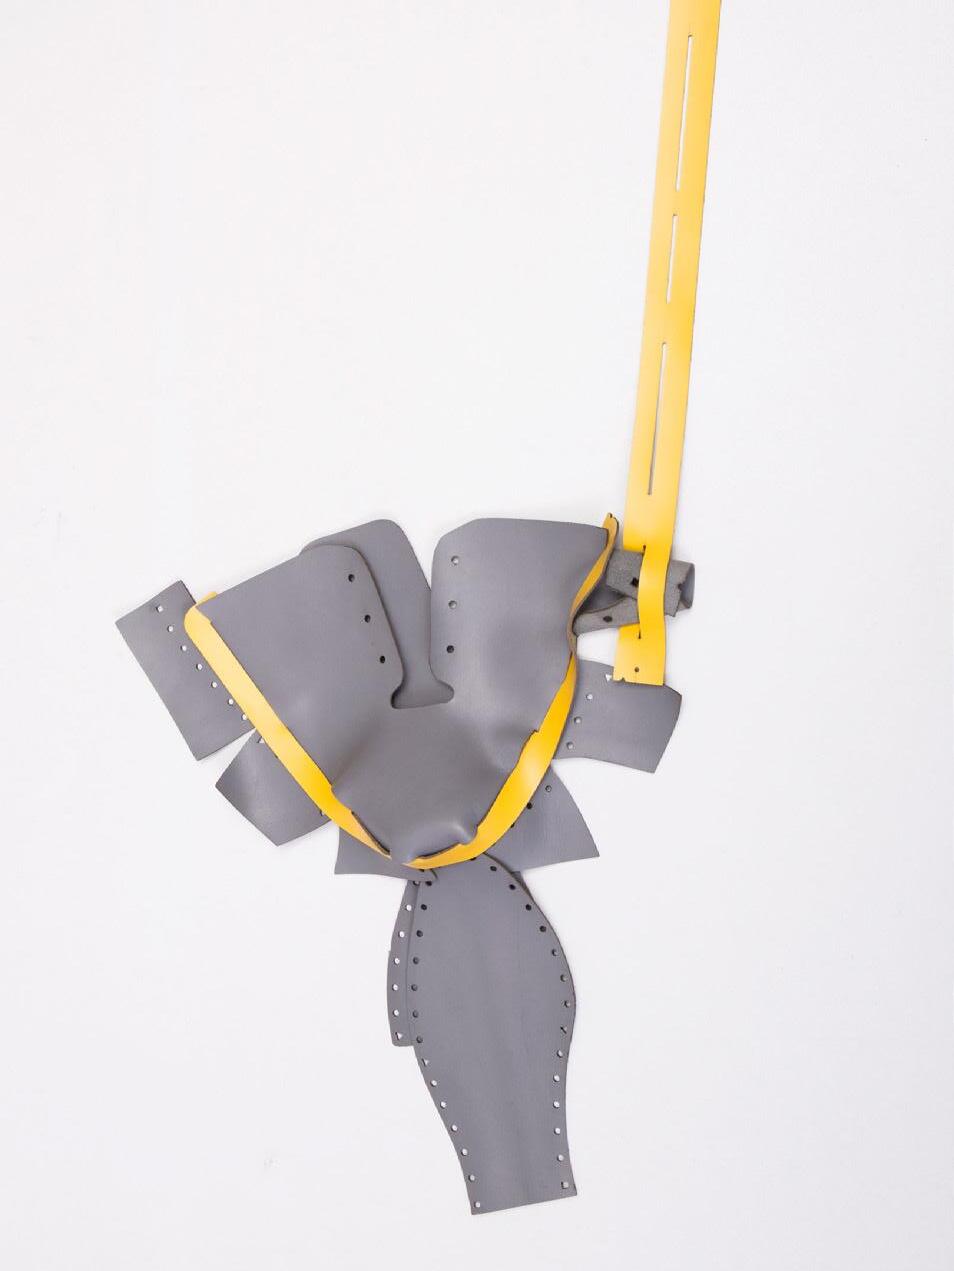
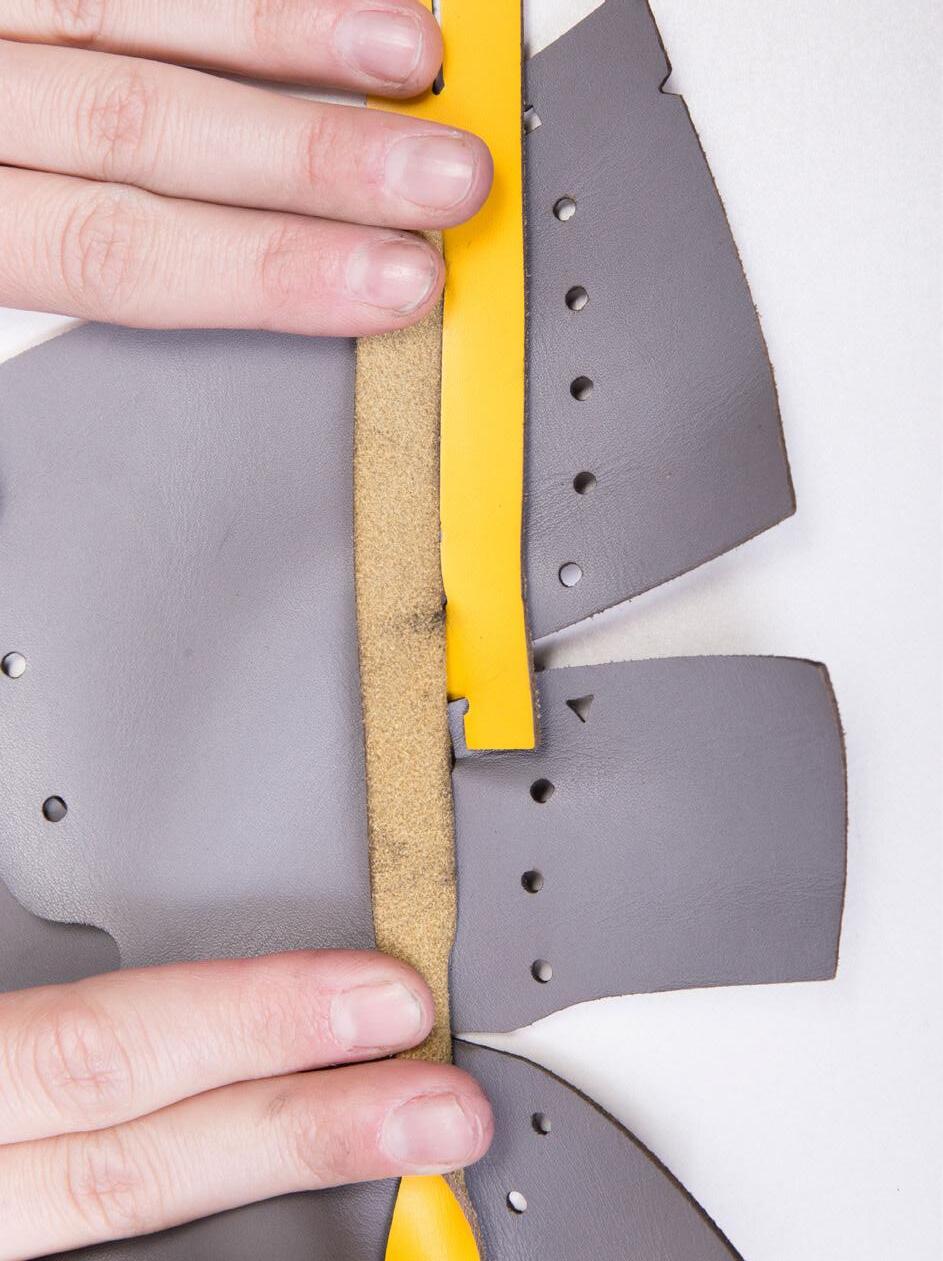
3 Be careful that the back strap sits under the front strap Make sure the parts sit flat in the slots
slide flaps into slots
Step 3
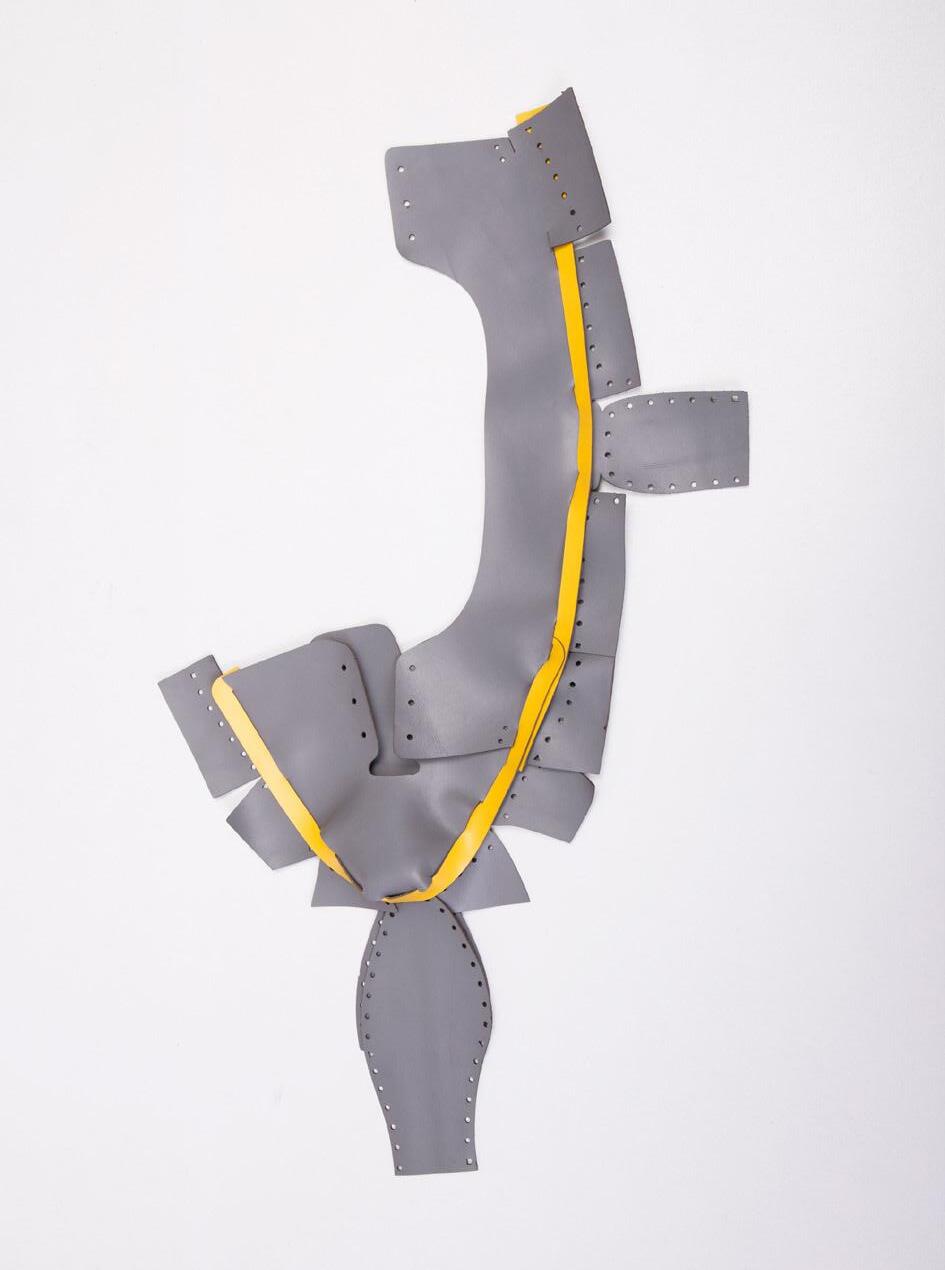
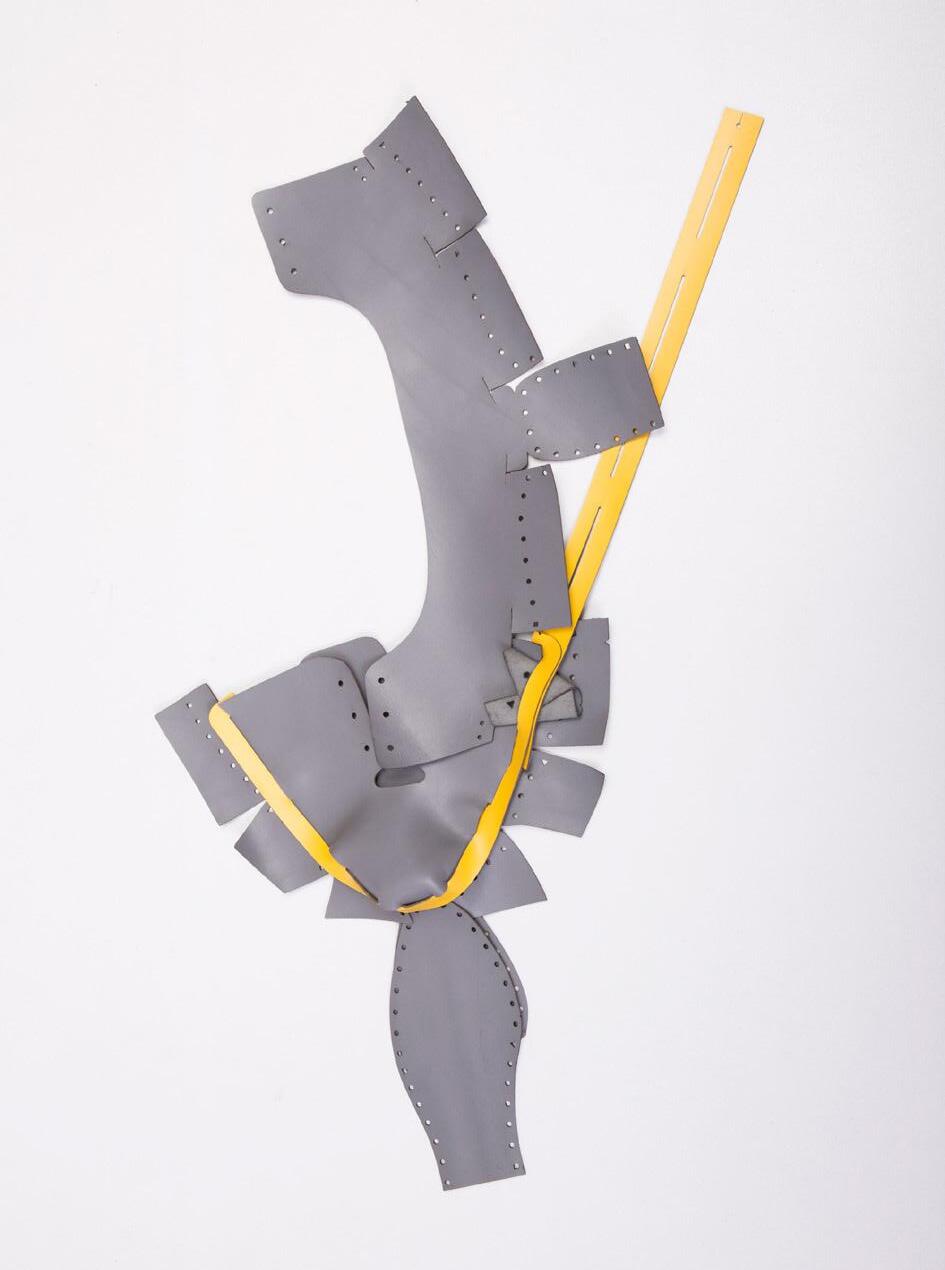
fold flap
Be careful that counter passes through both front strap and back strap Make sure the counter sits over the vamp 5 6 6 slide flaps into slots
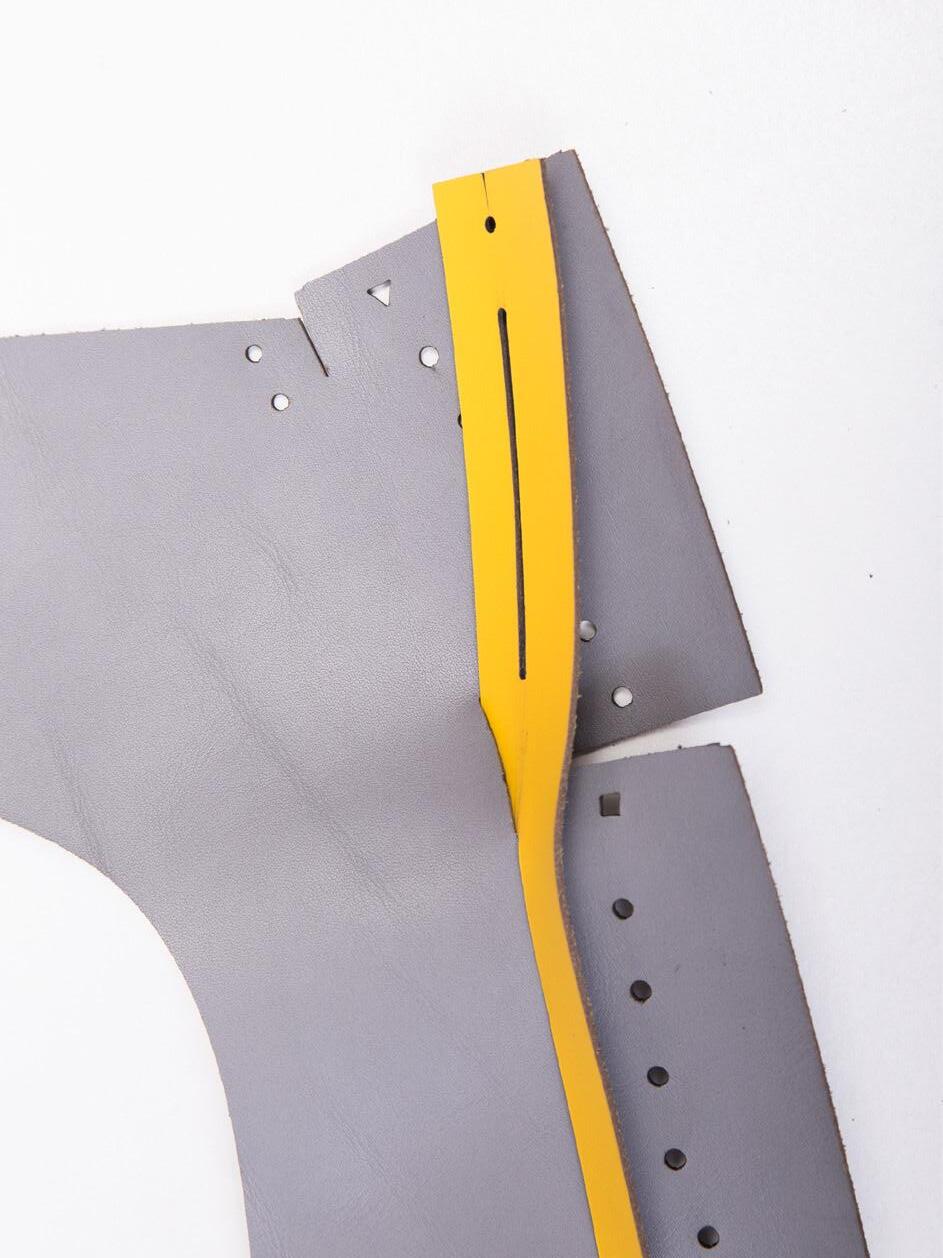
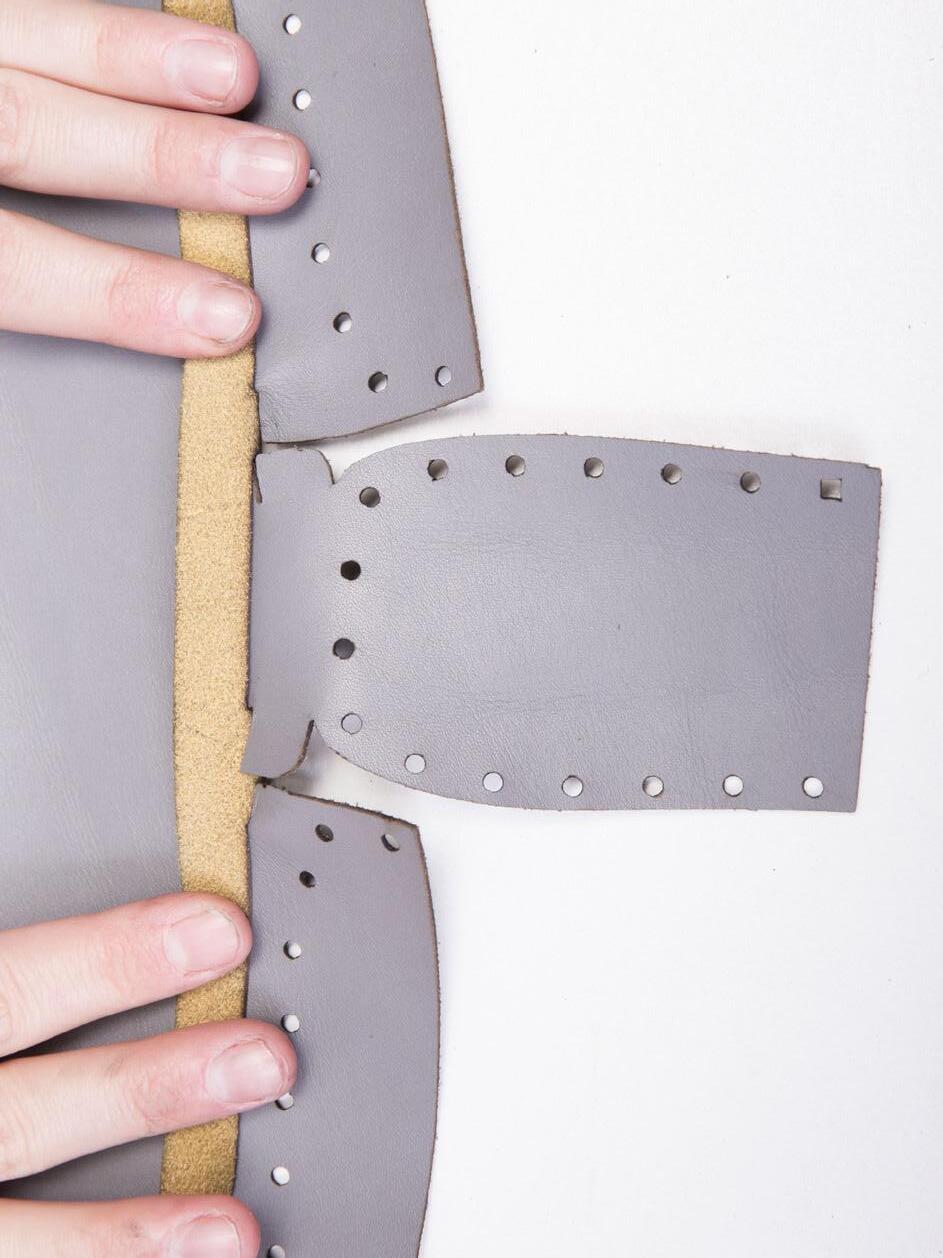
Make sure the parts sit flat in the slots DO NOT connect the last flap
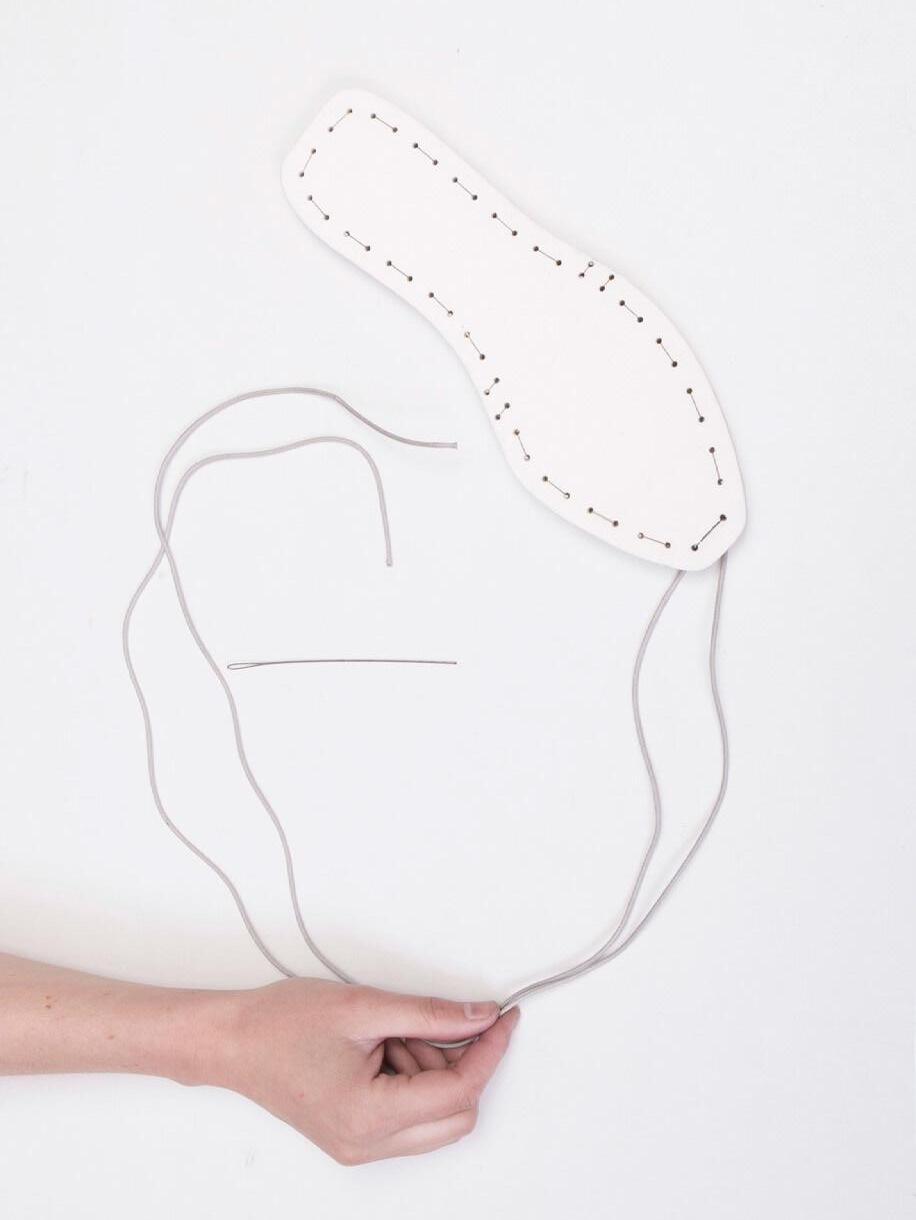
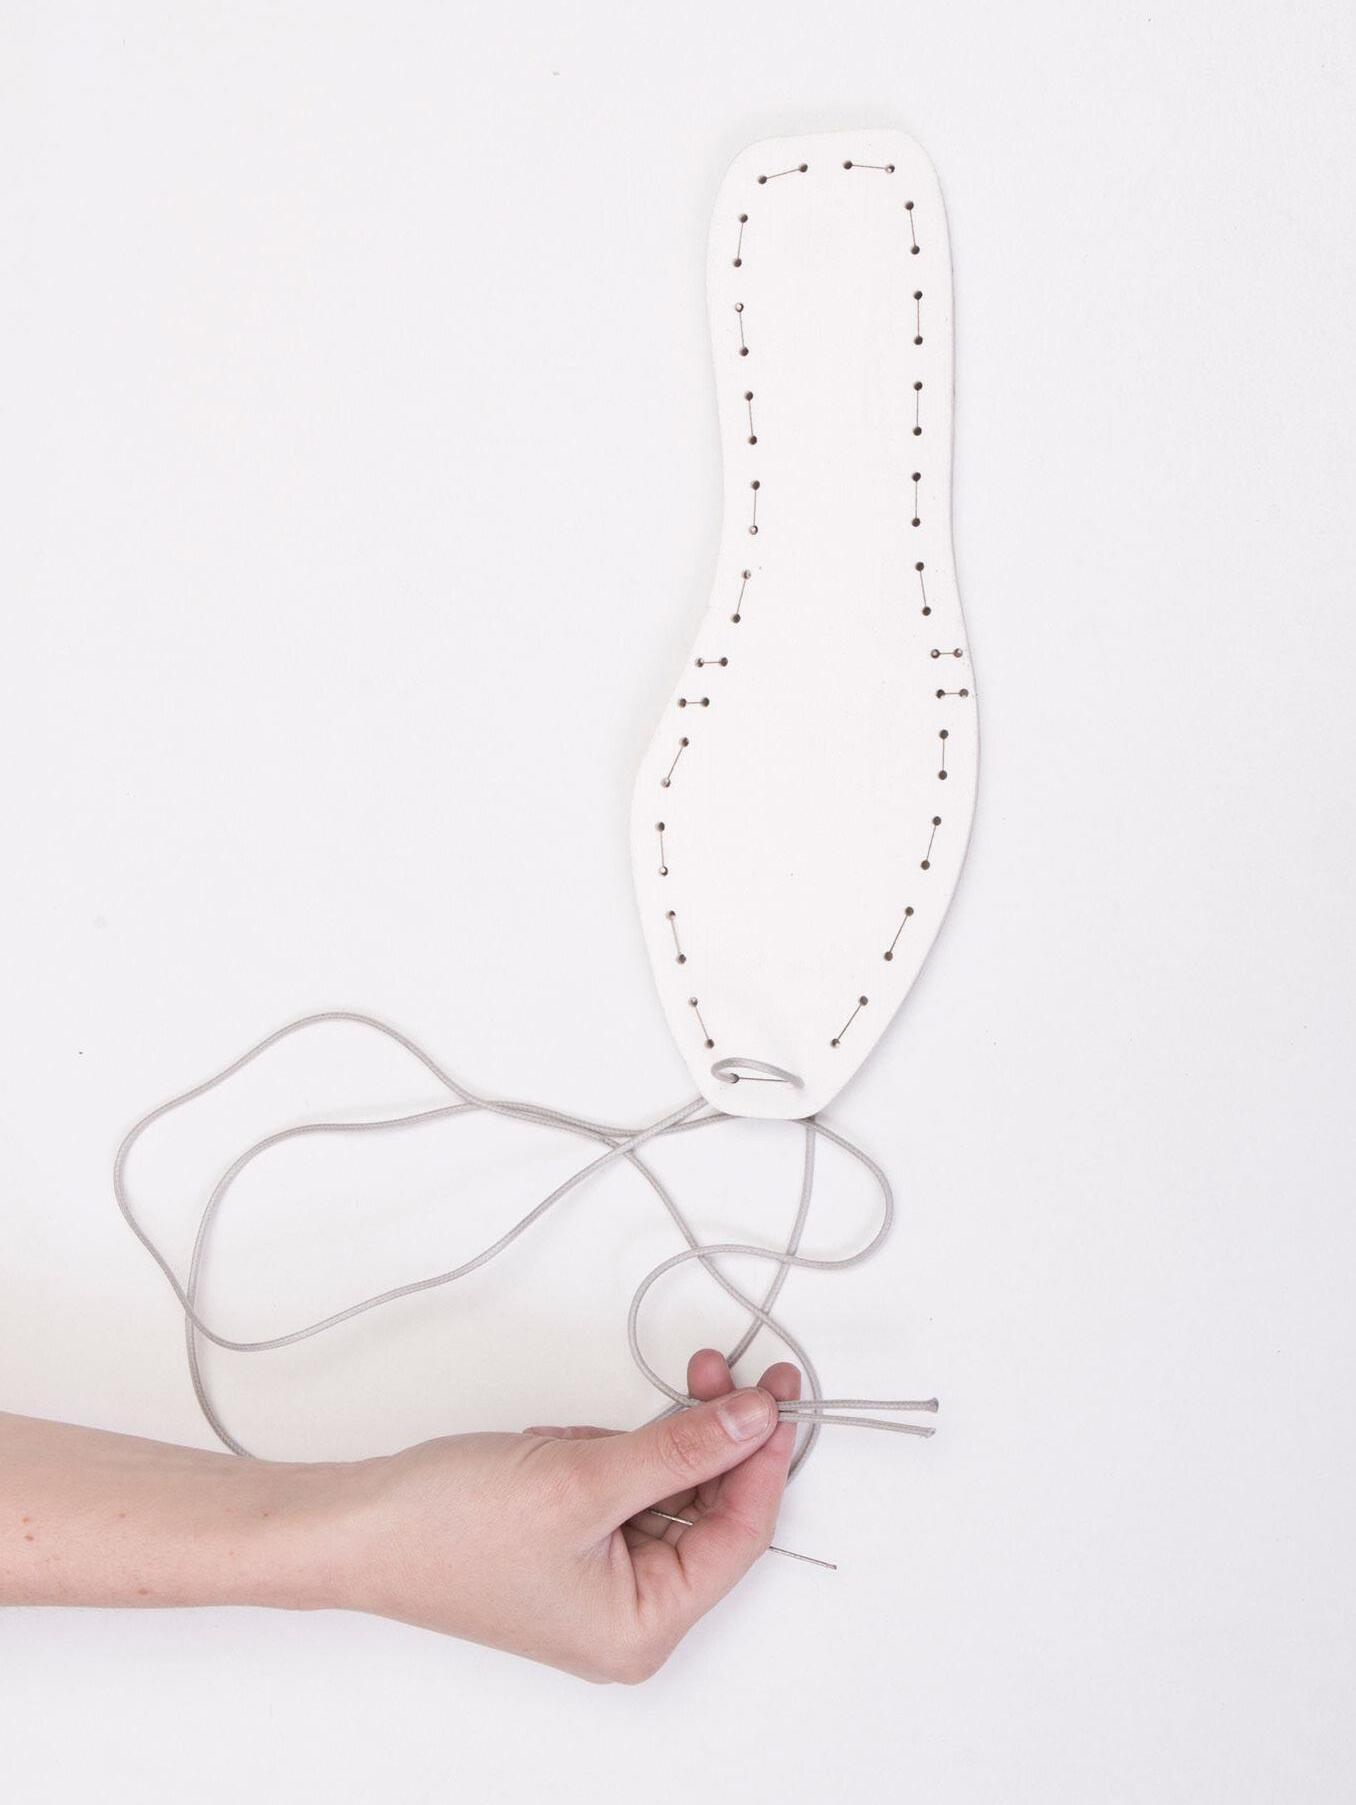
pull the lace until it sinks in the channel of the outsole
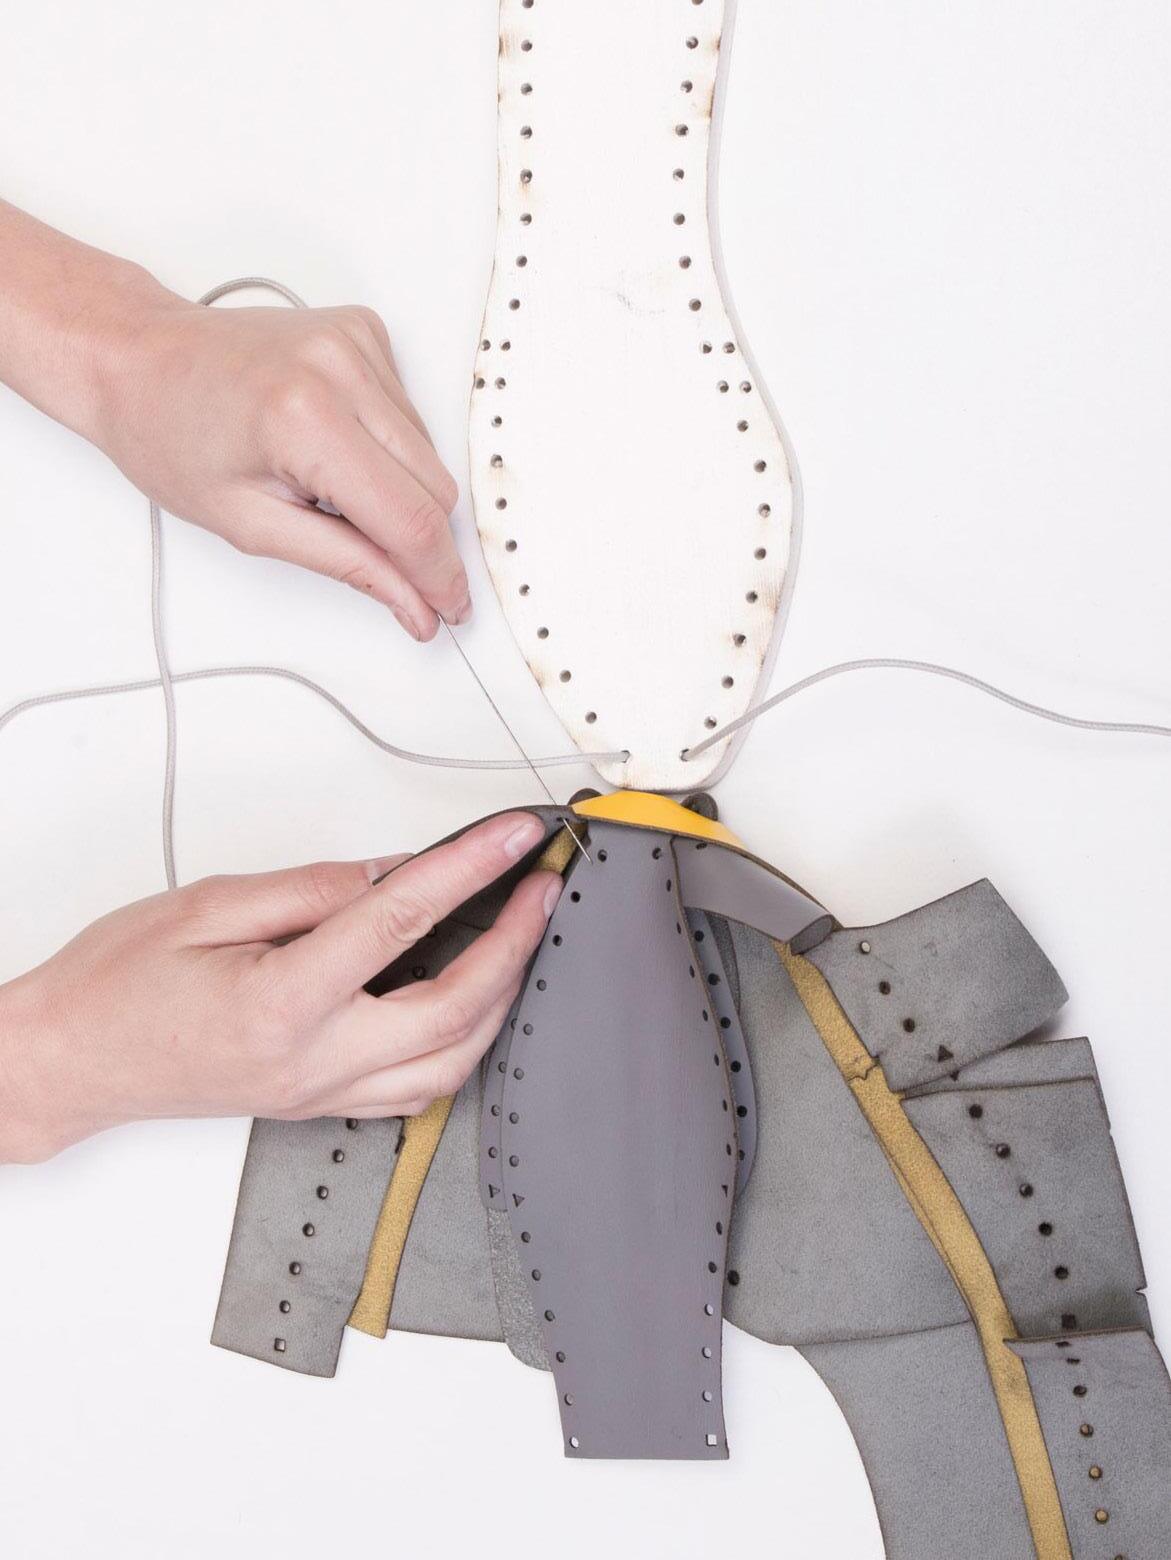
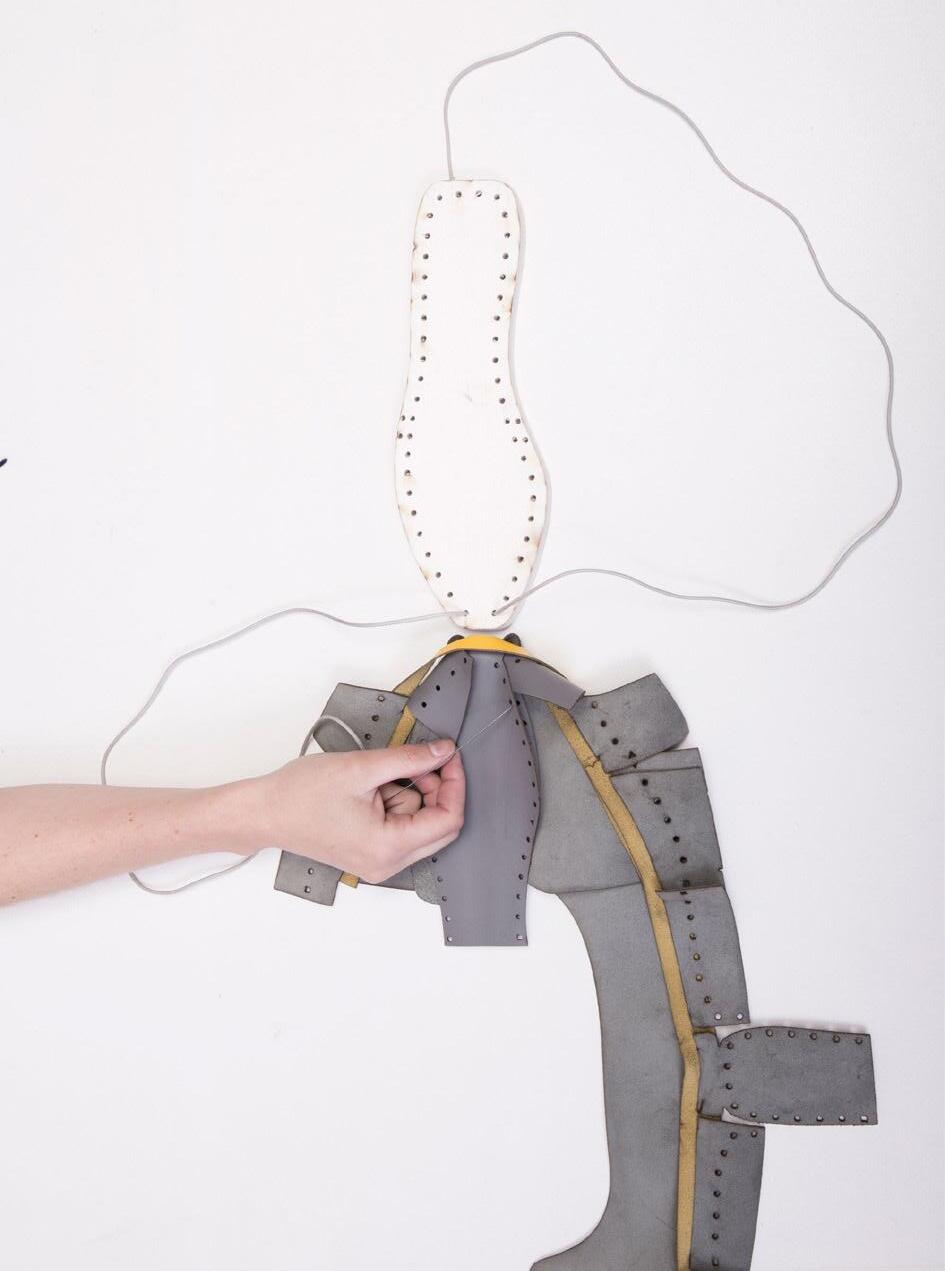
start lacing all the layers in the right order
careful to lace in the right order
SEE IMAGES Leave the lace quite loose so you have a better oversight over the parts
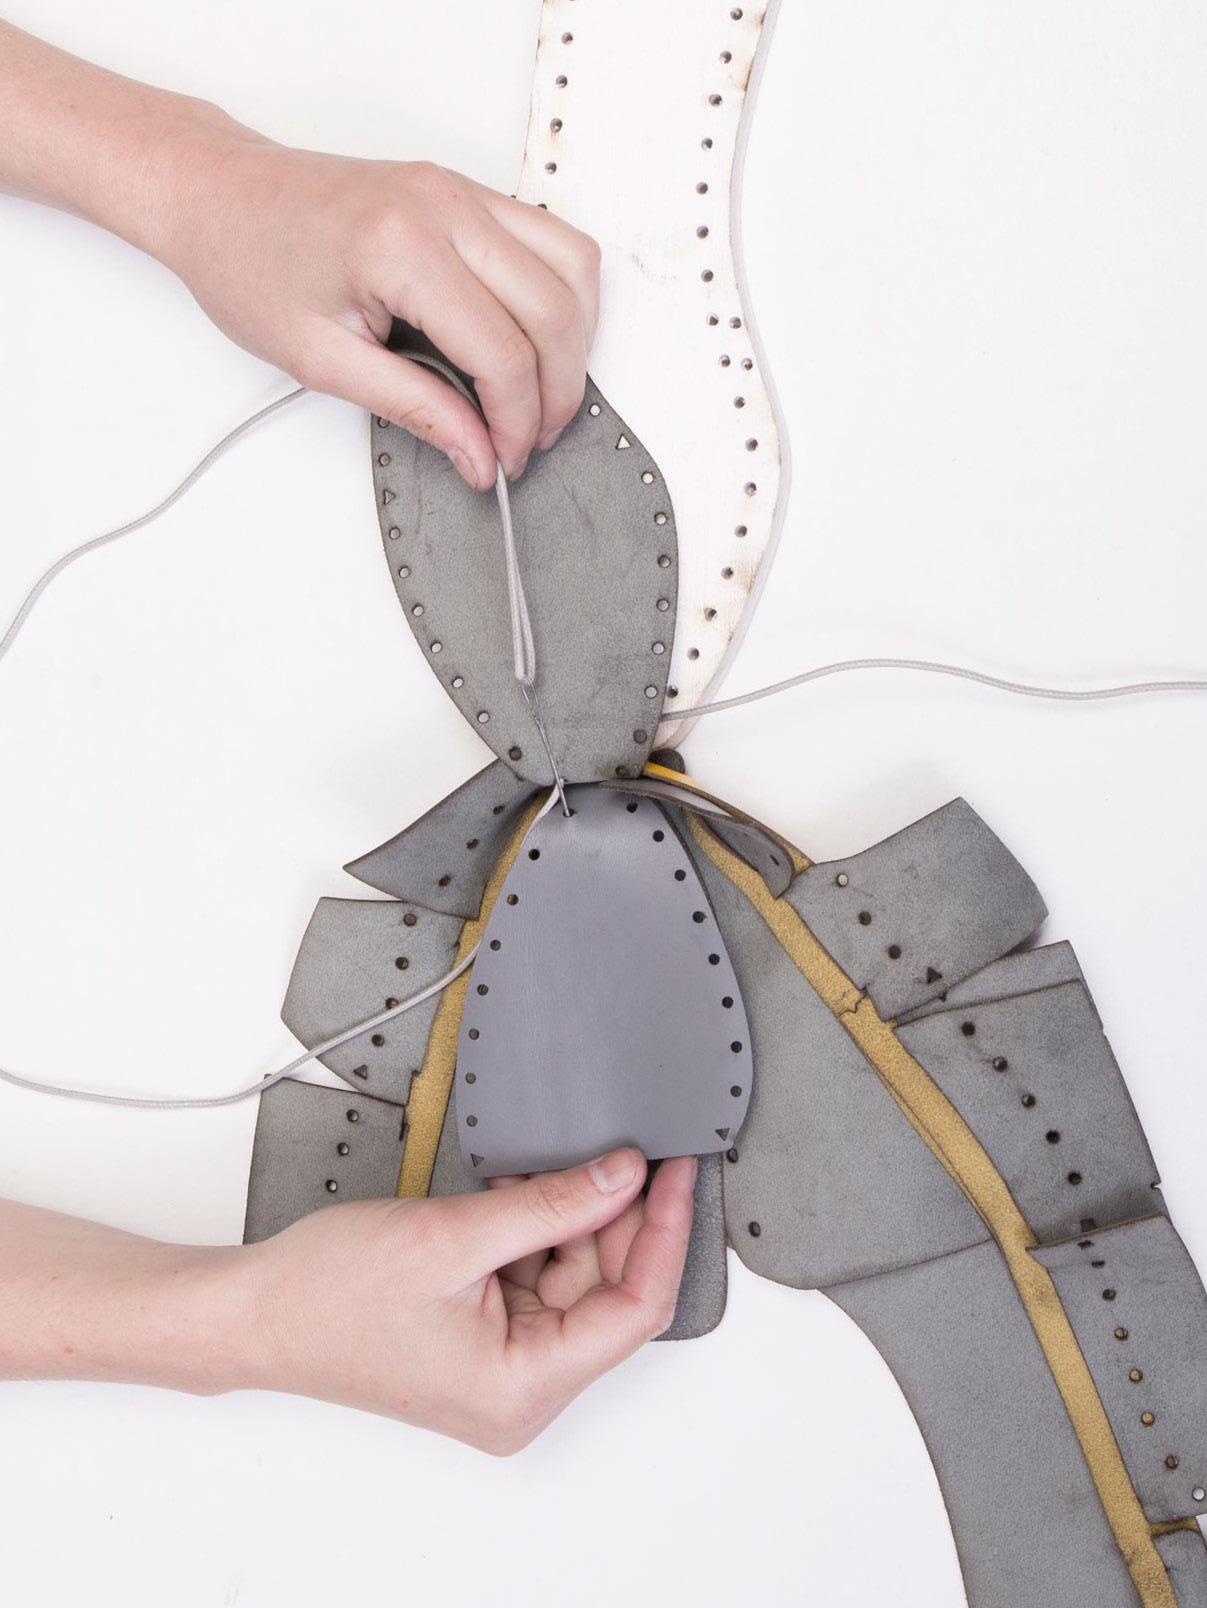
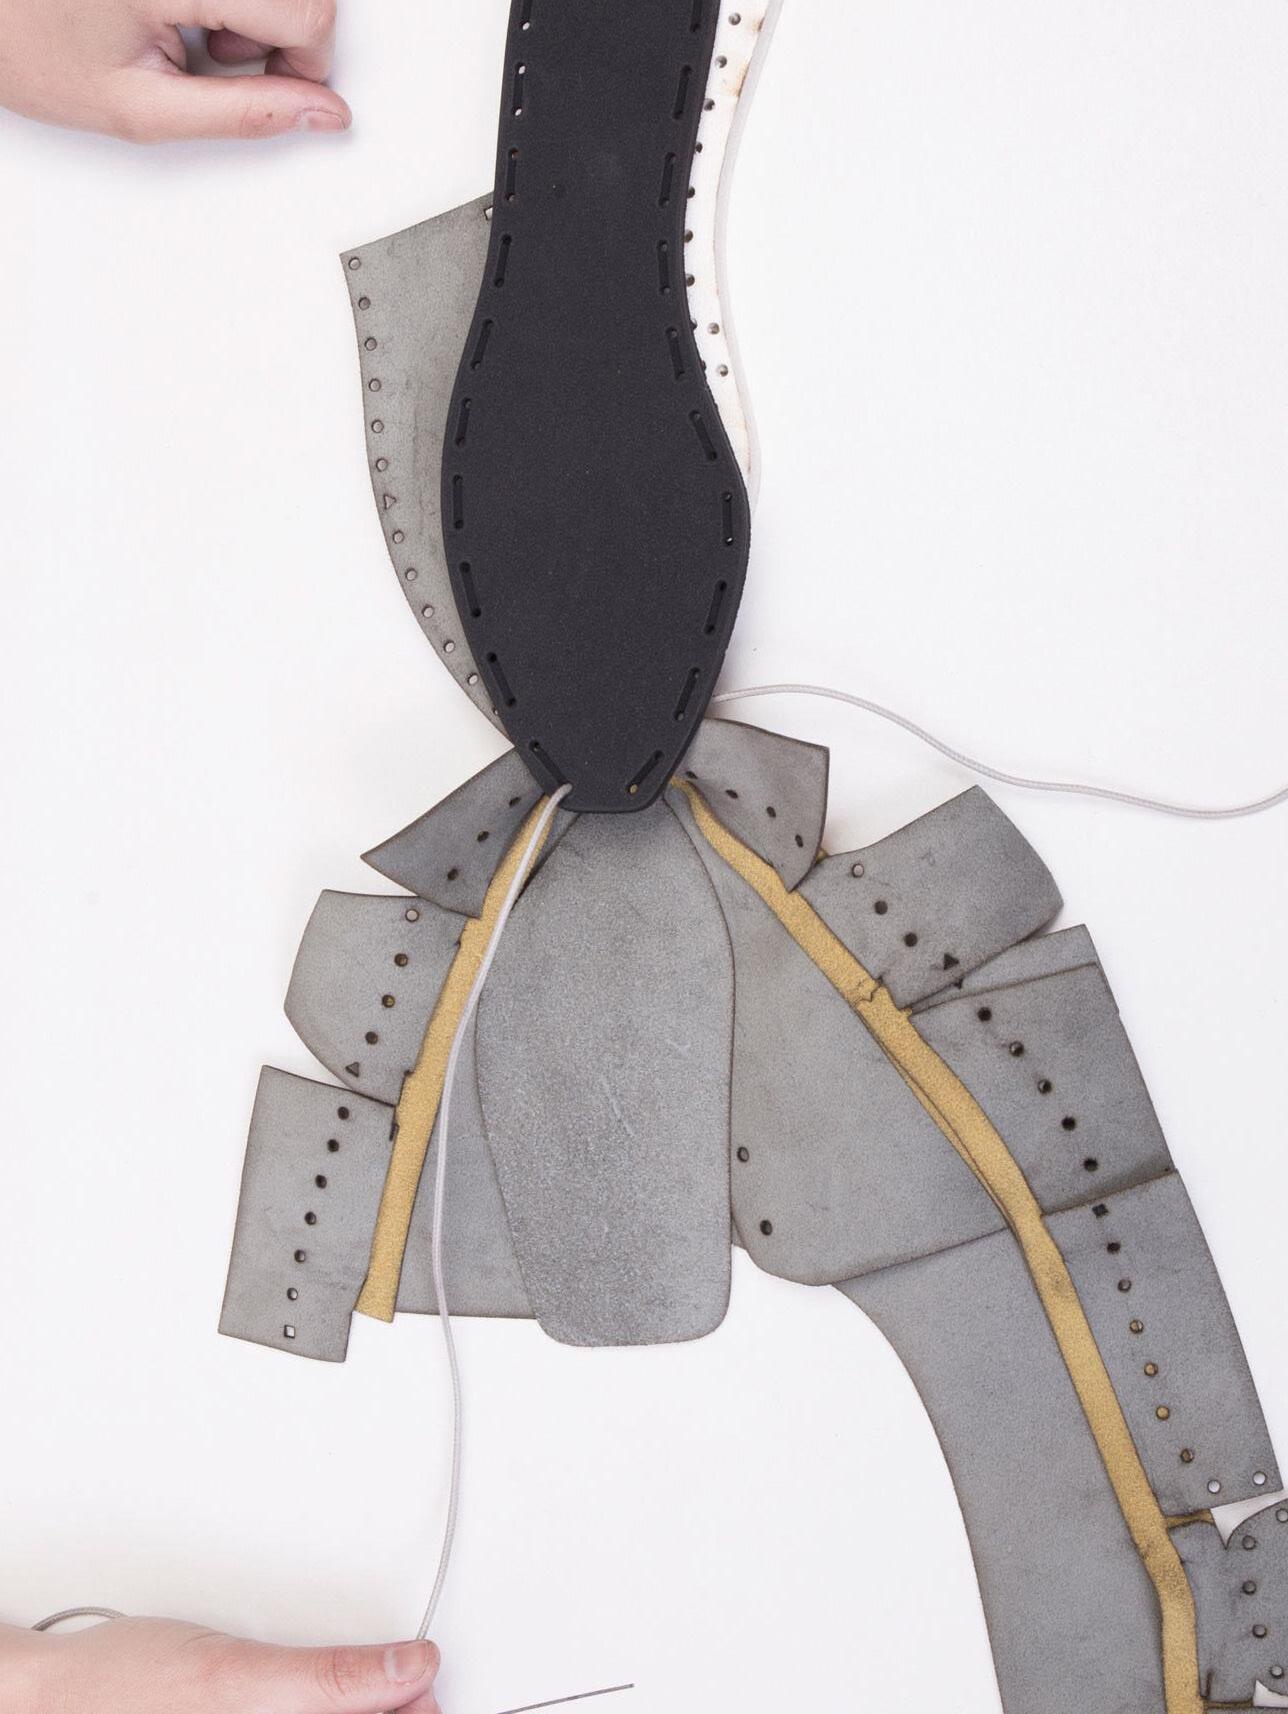
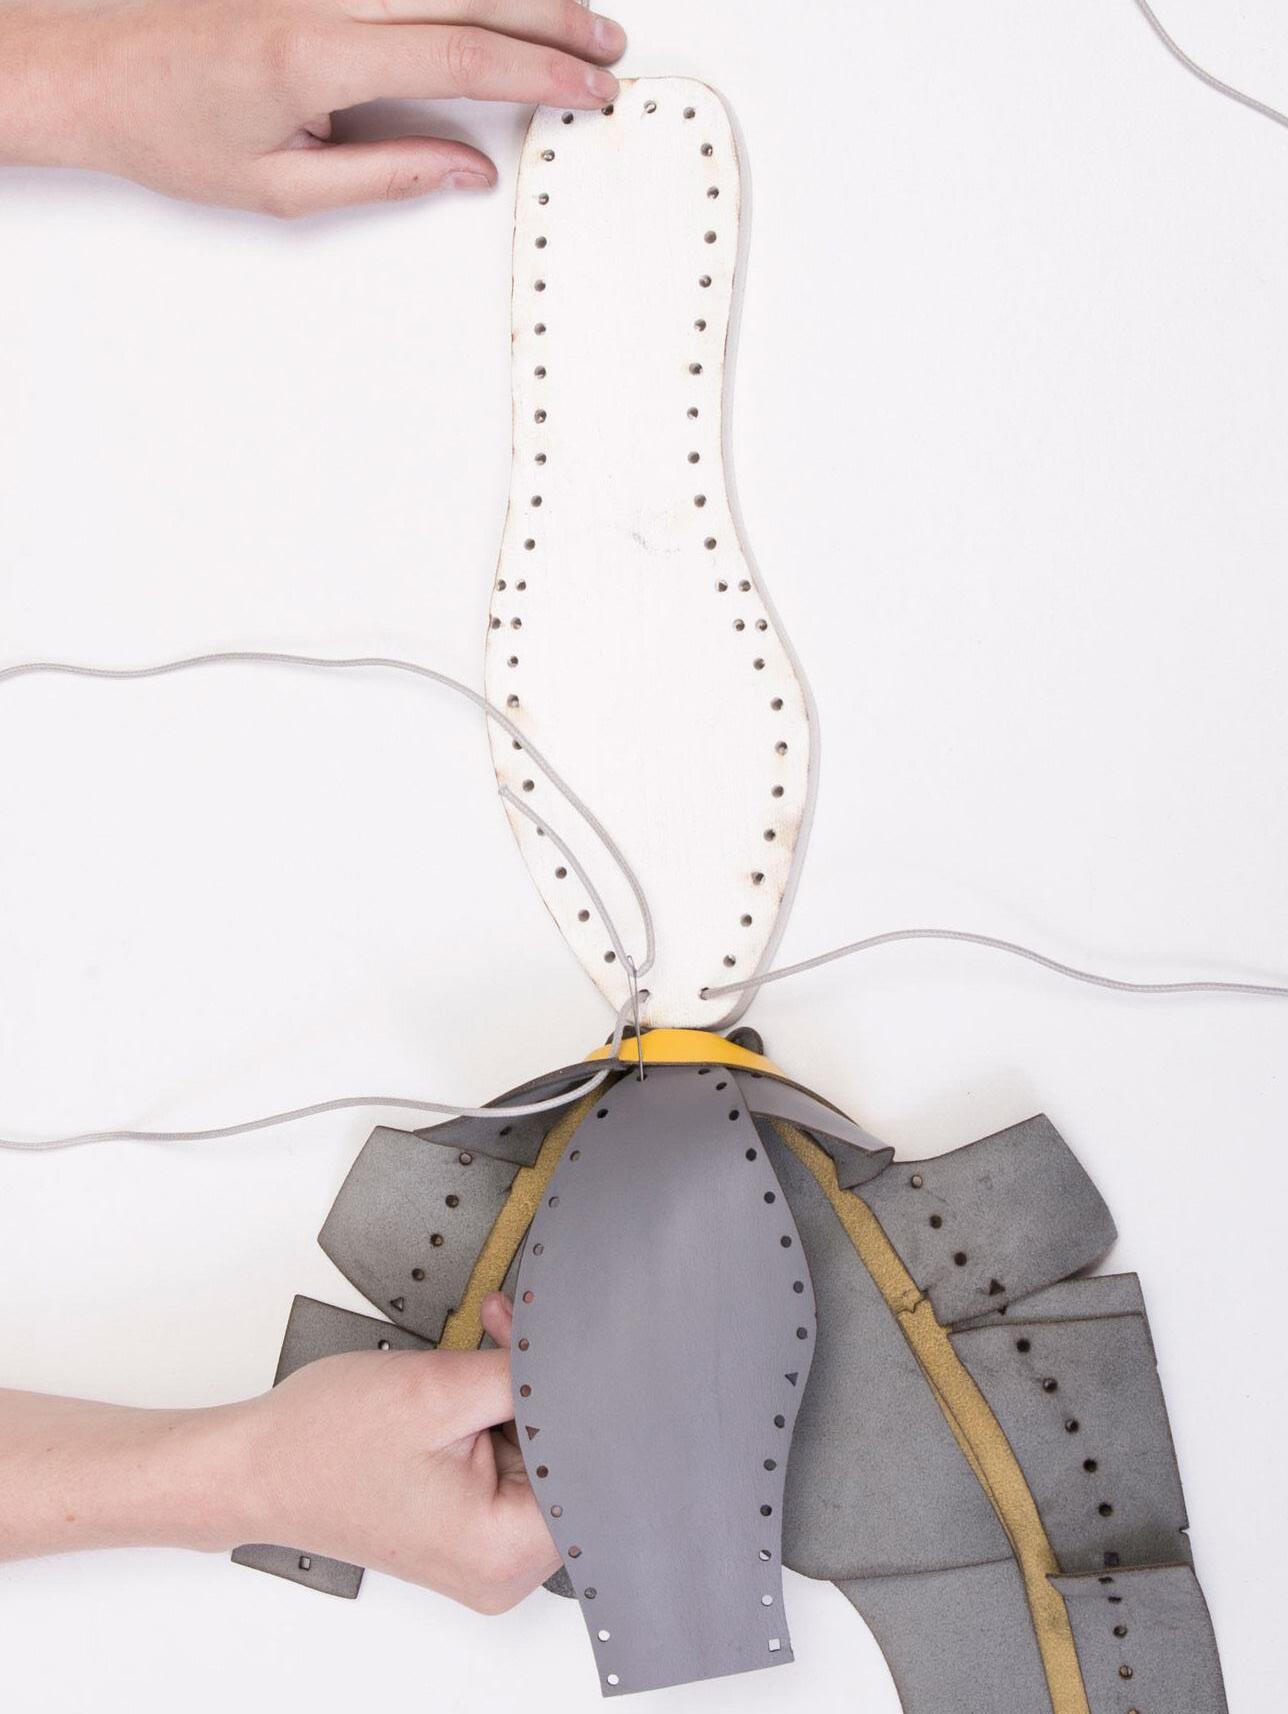
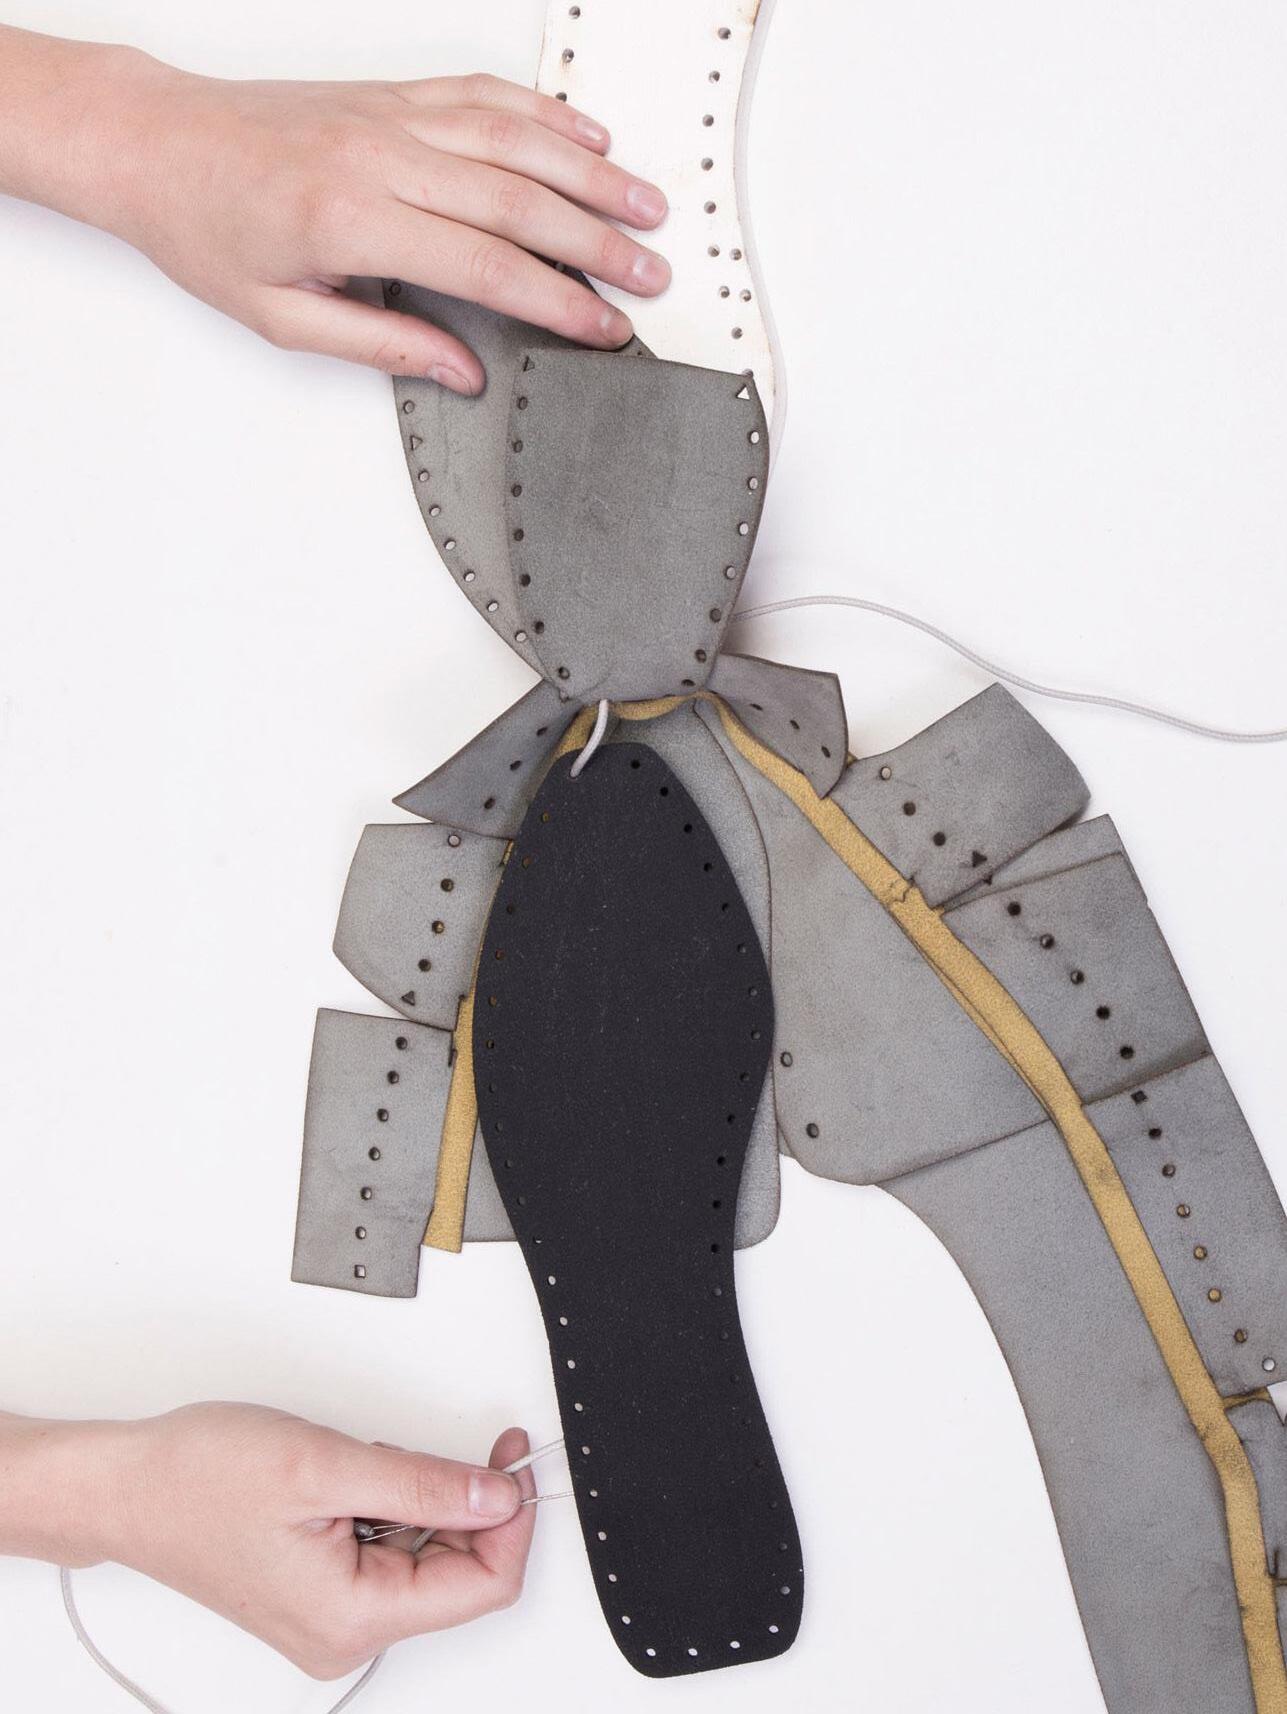
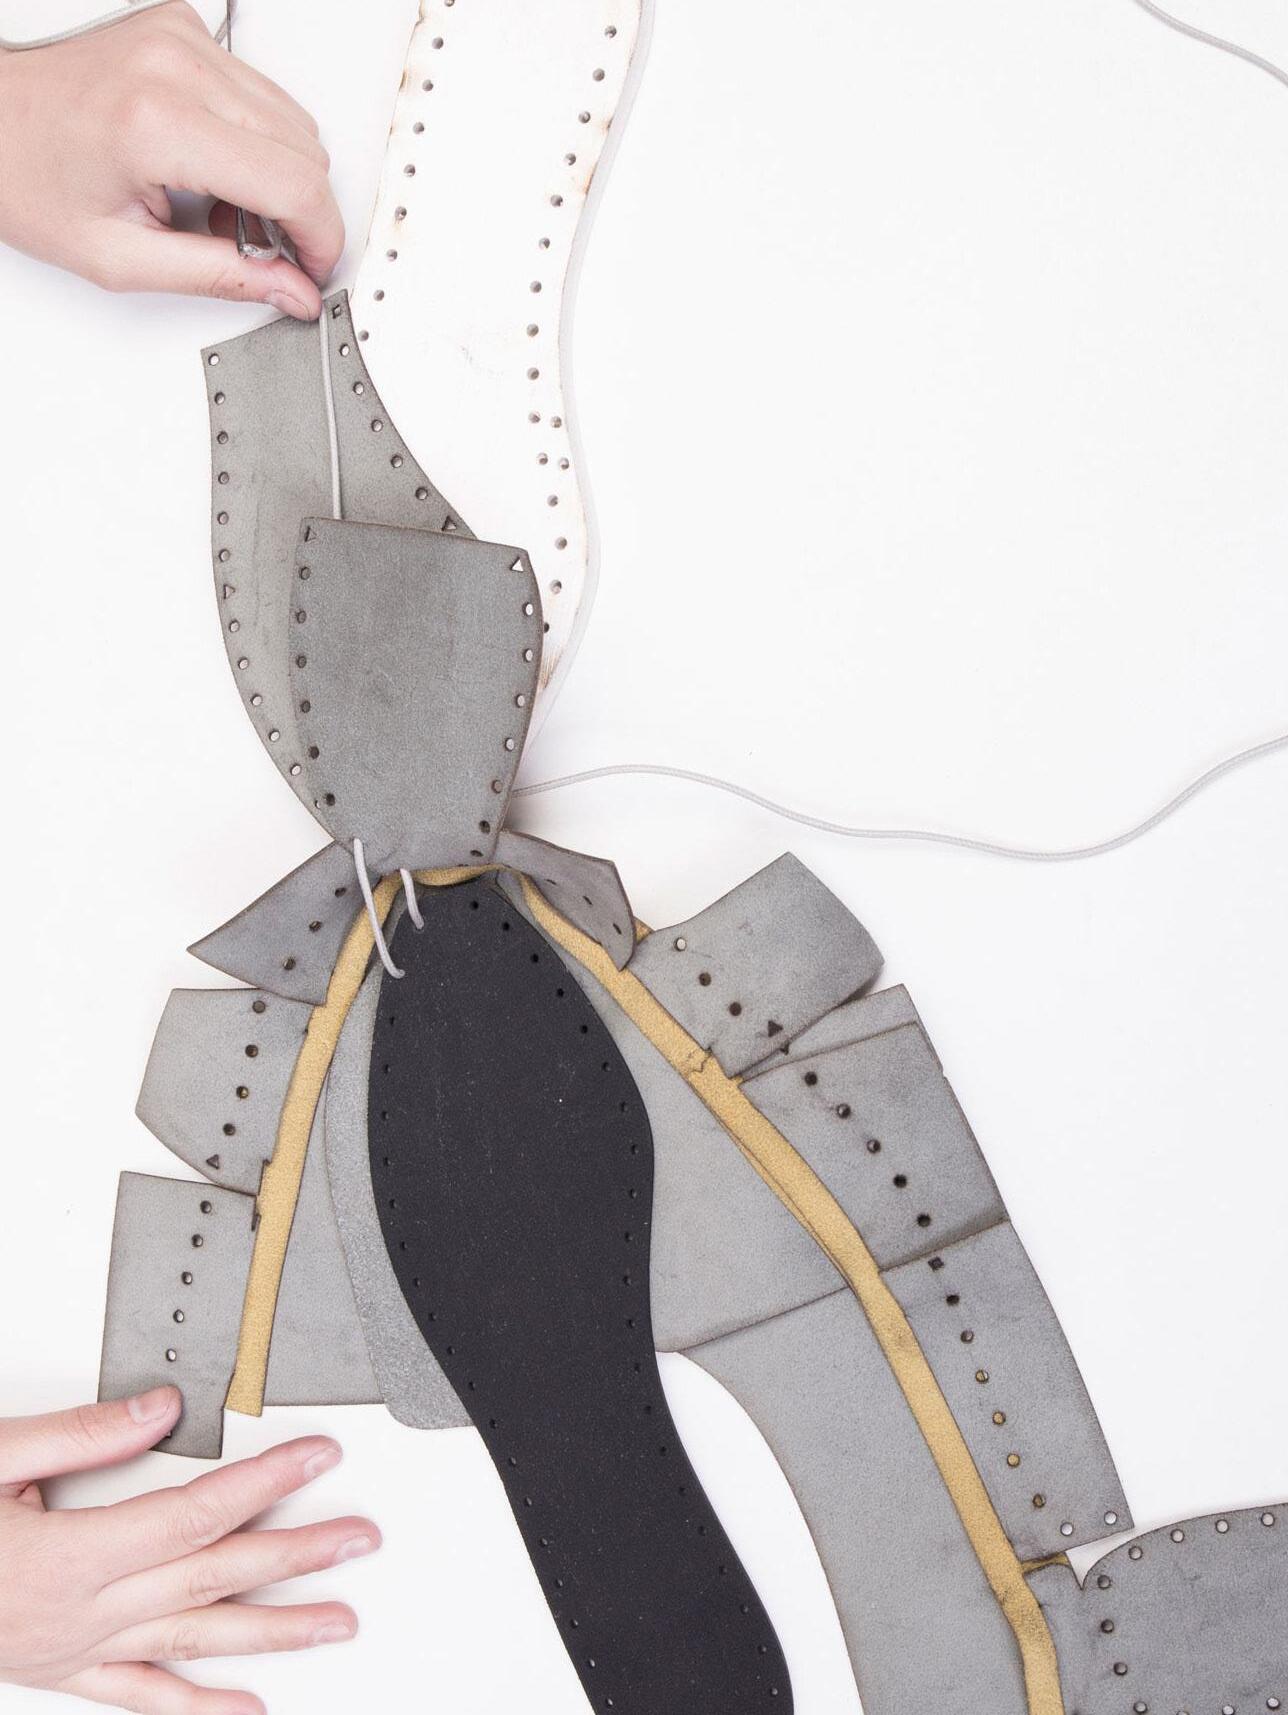
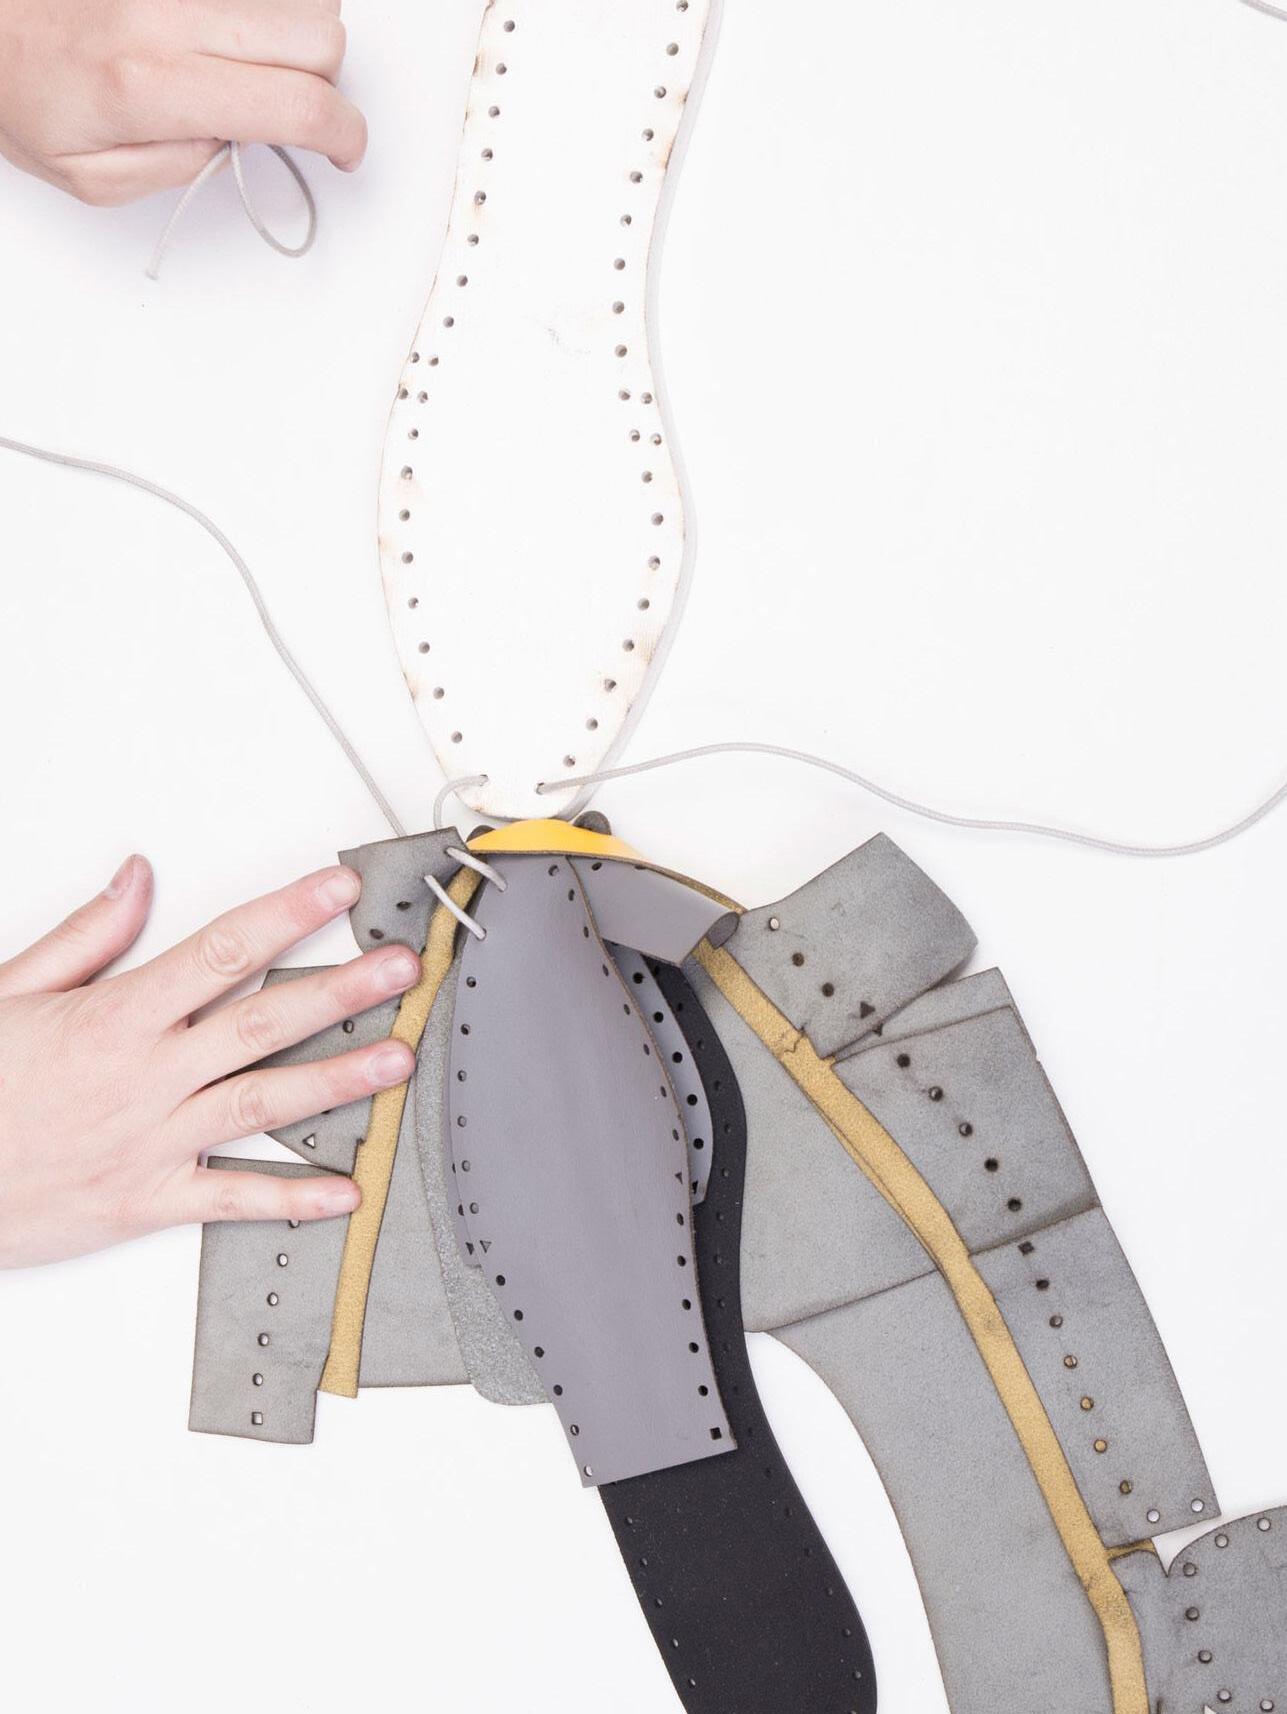
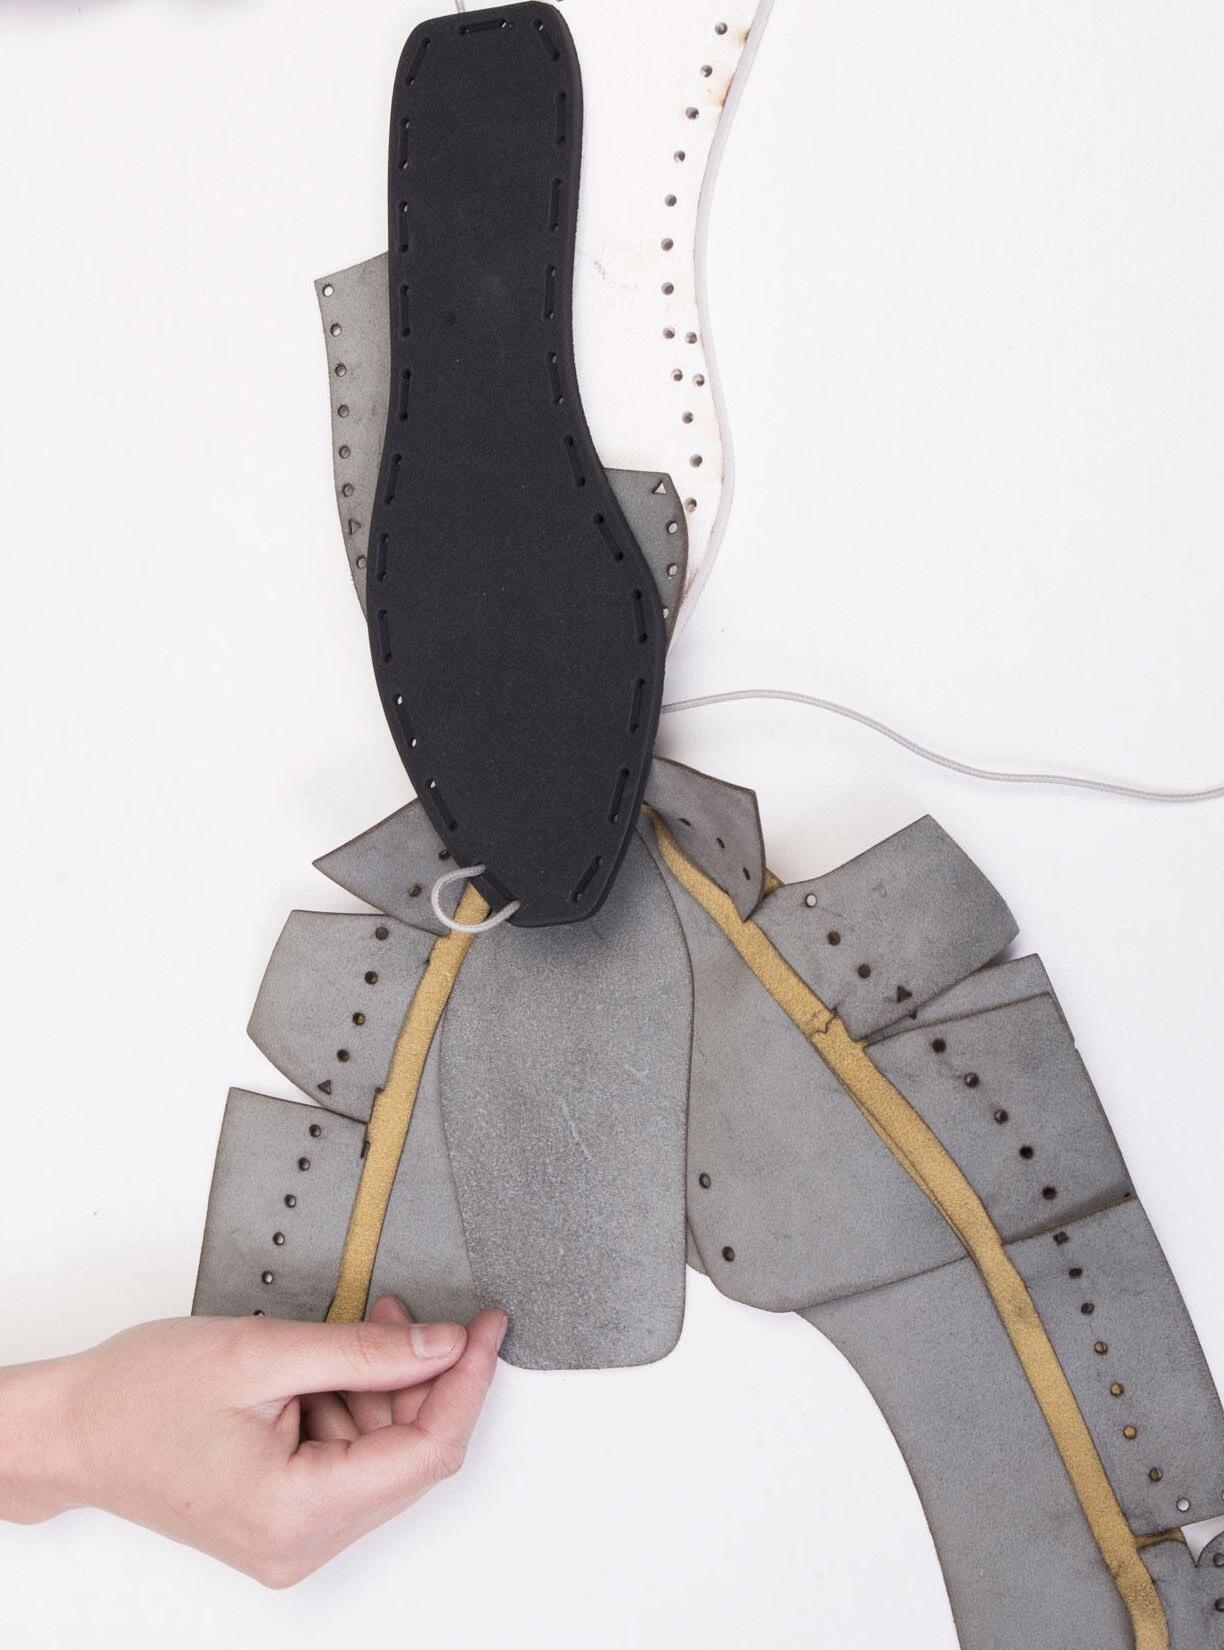
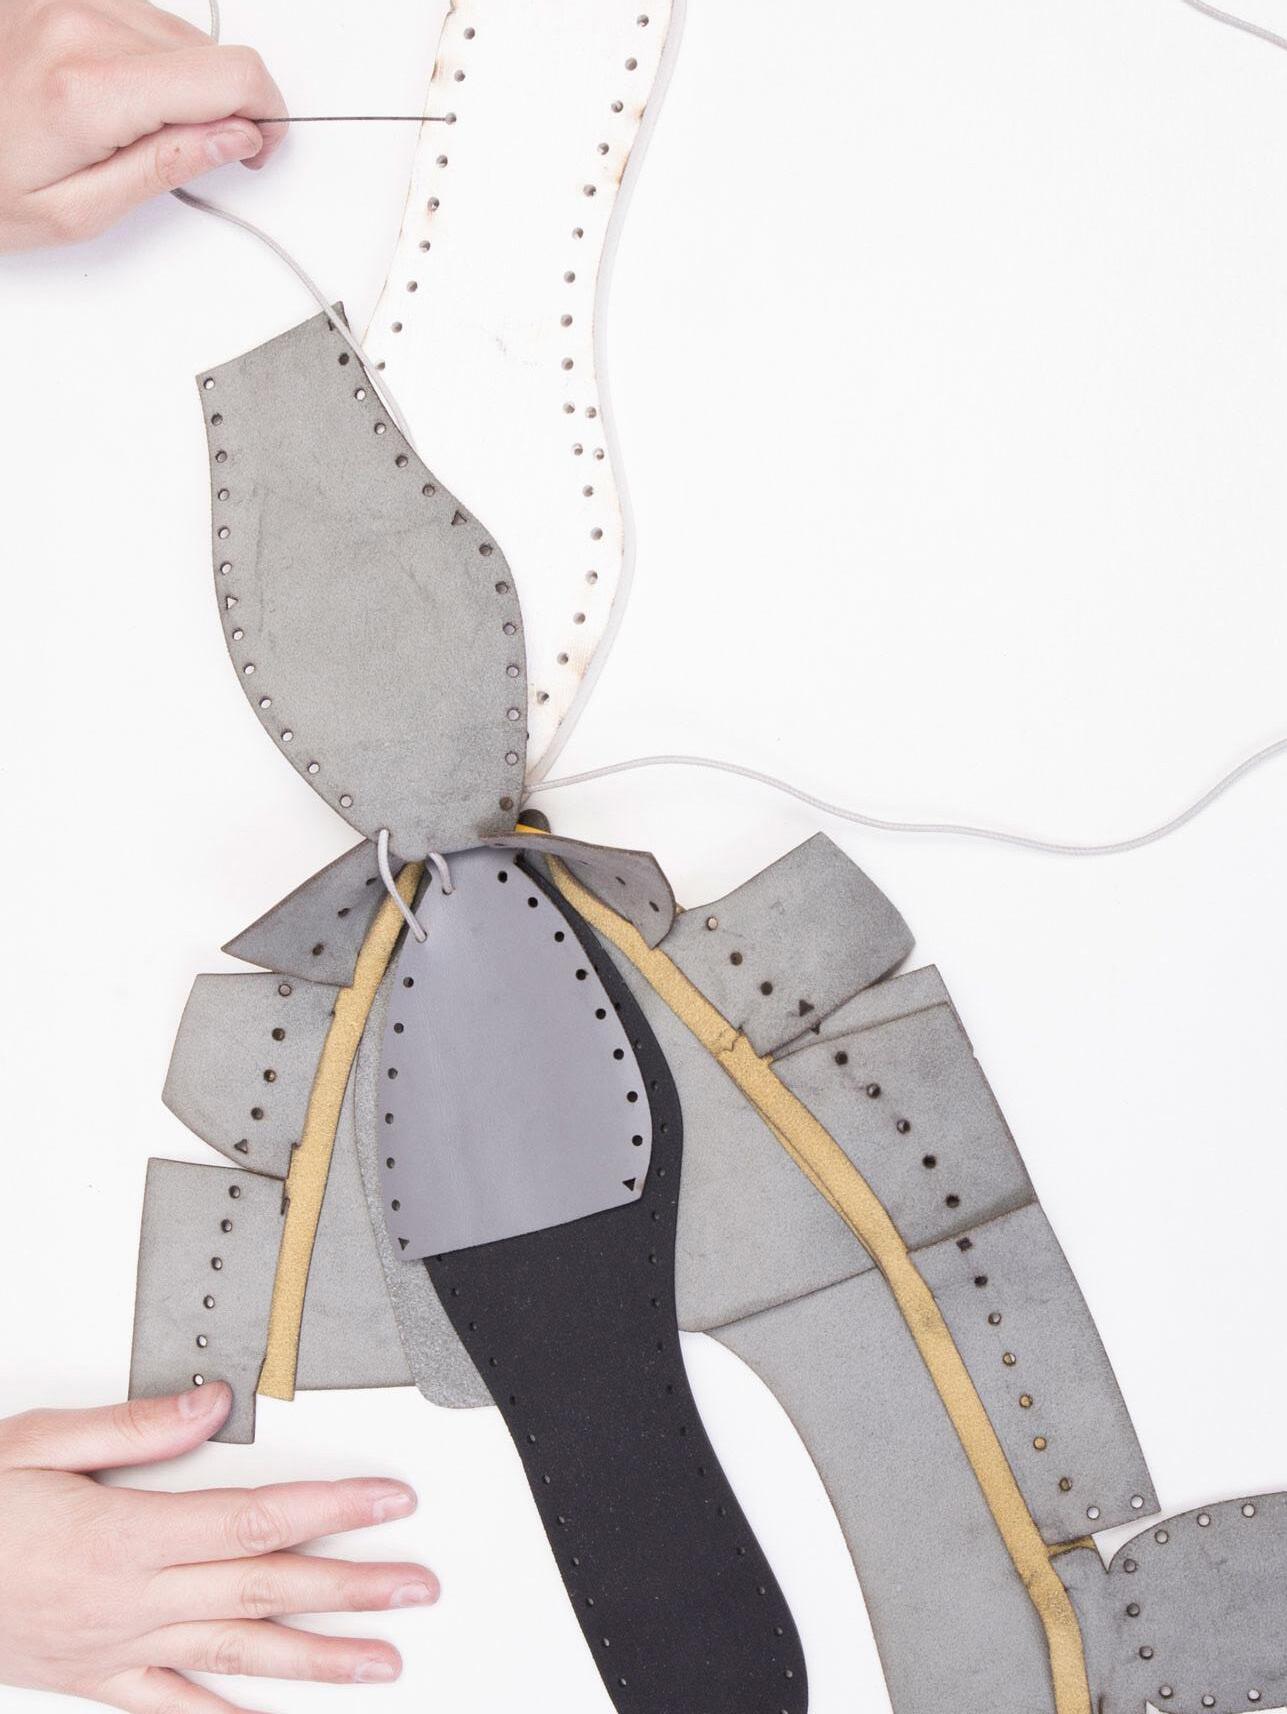
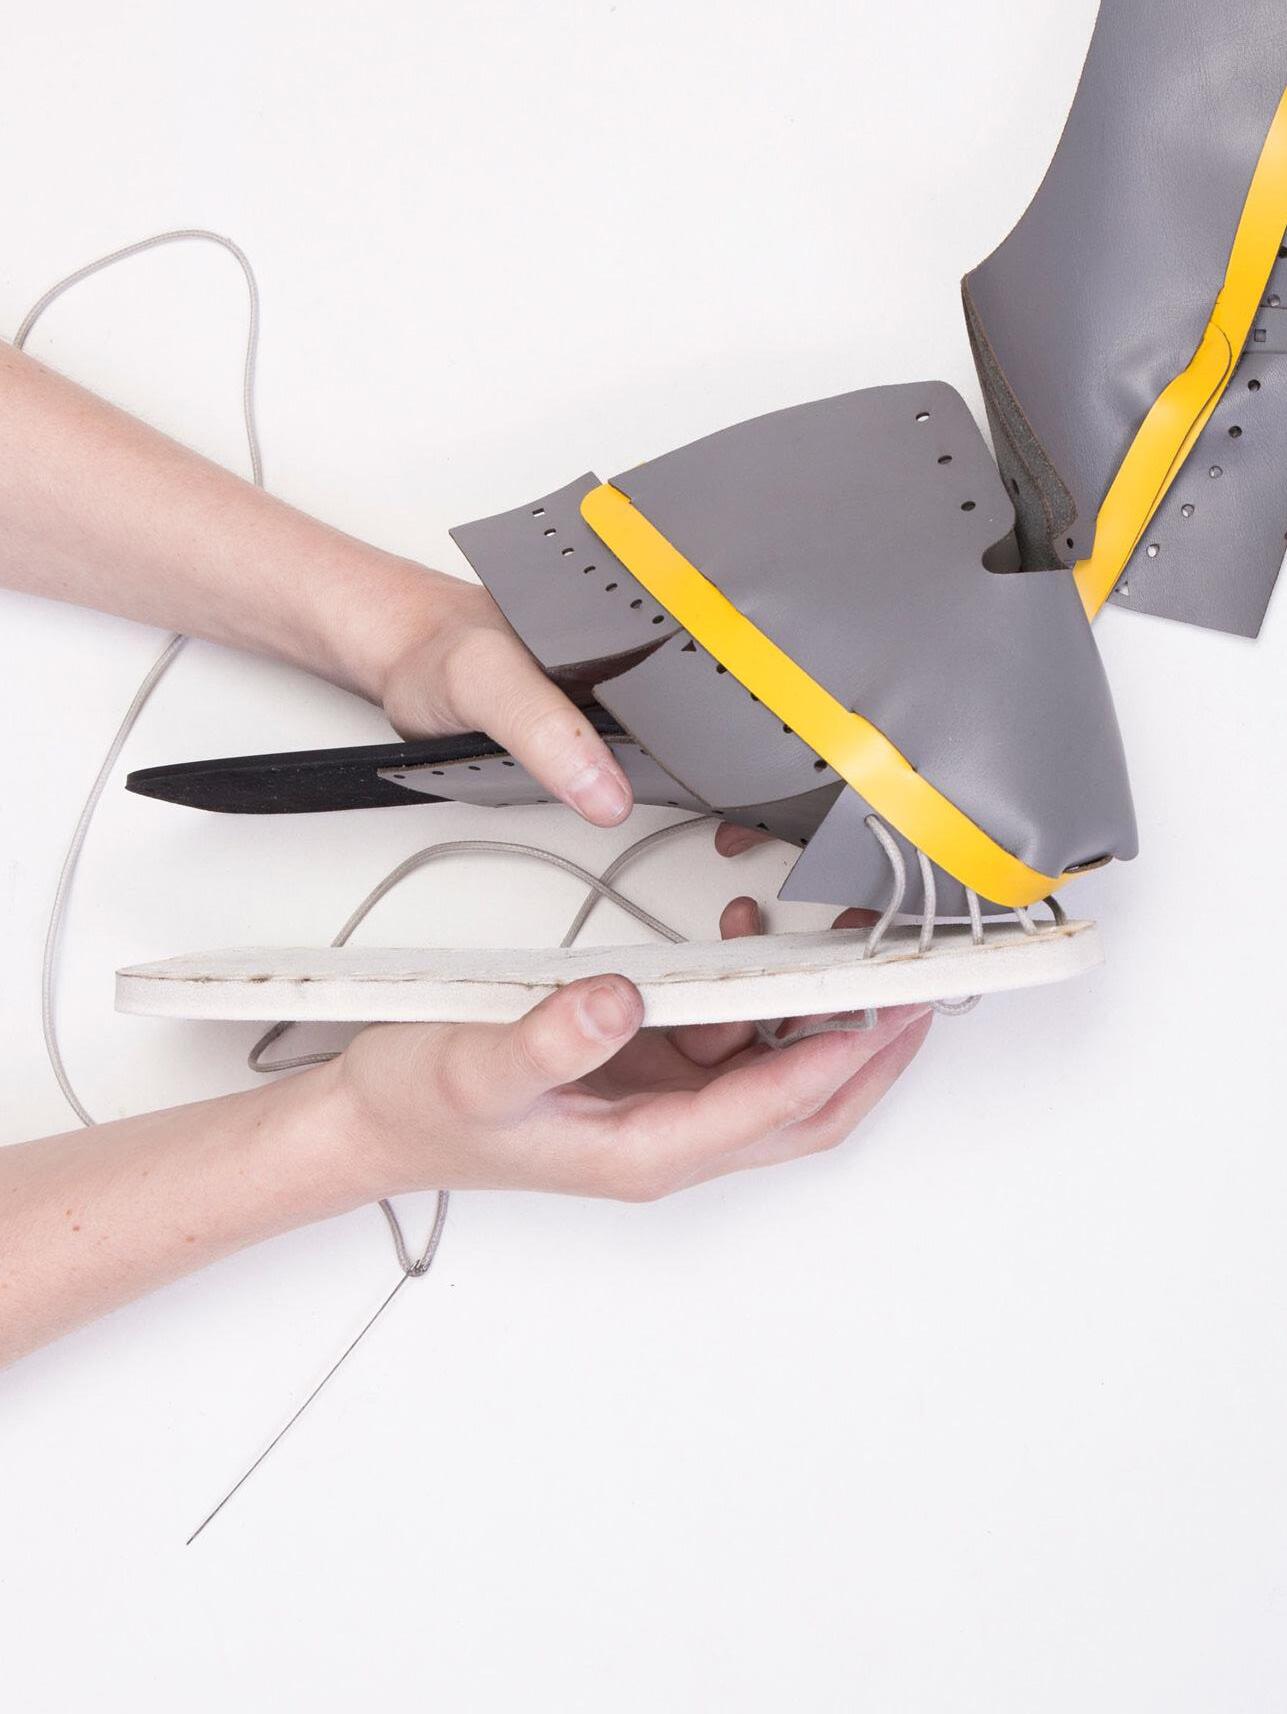
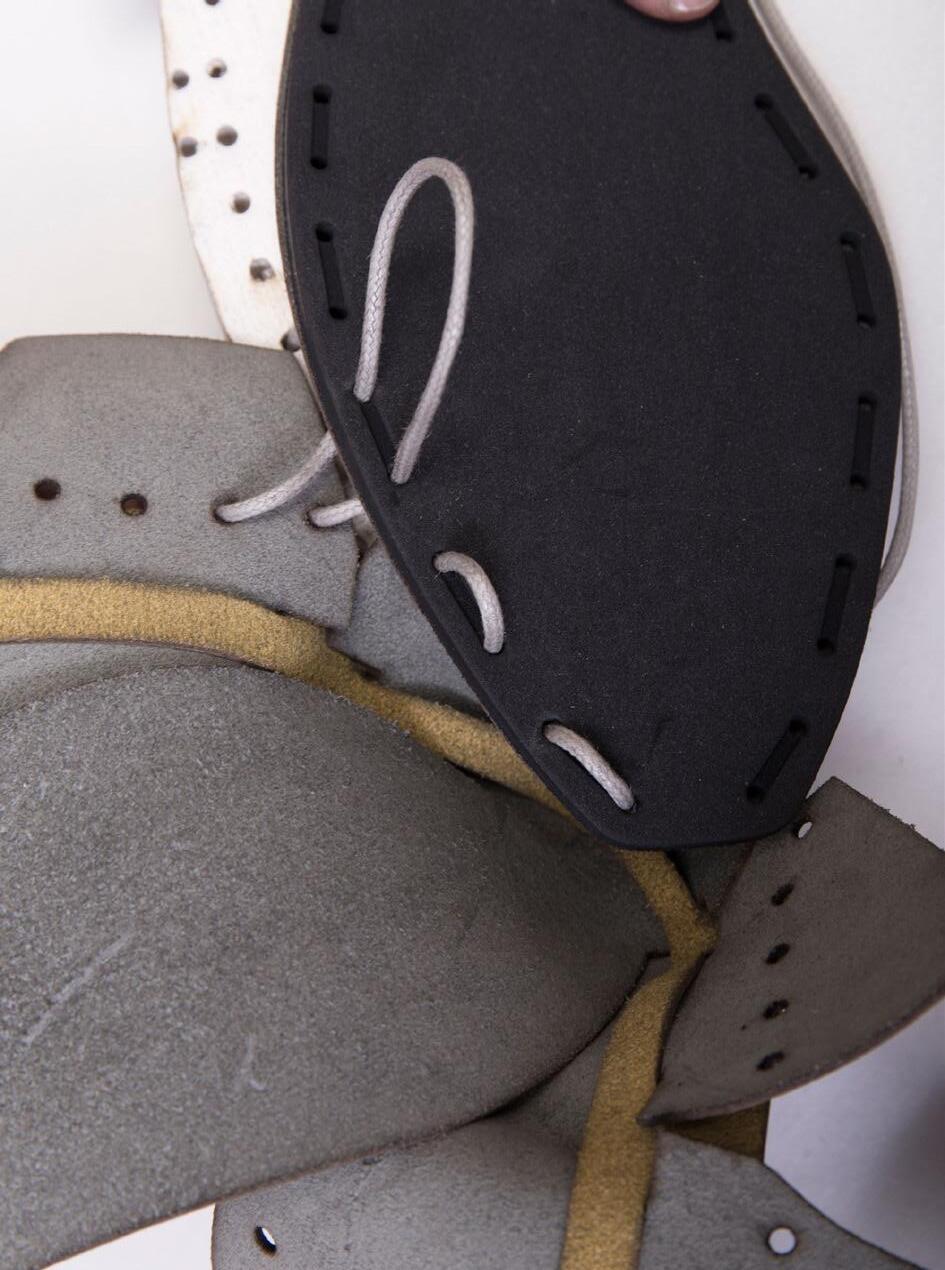
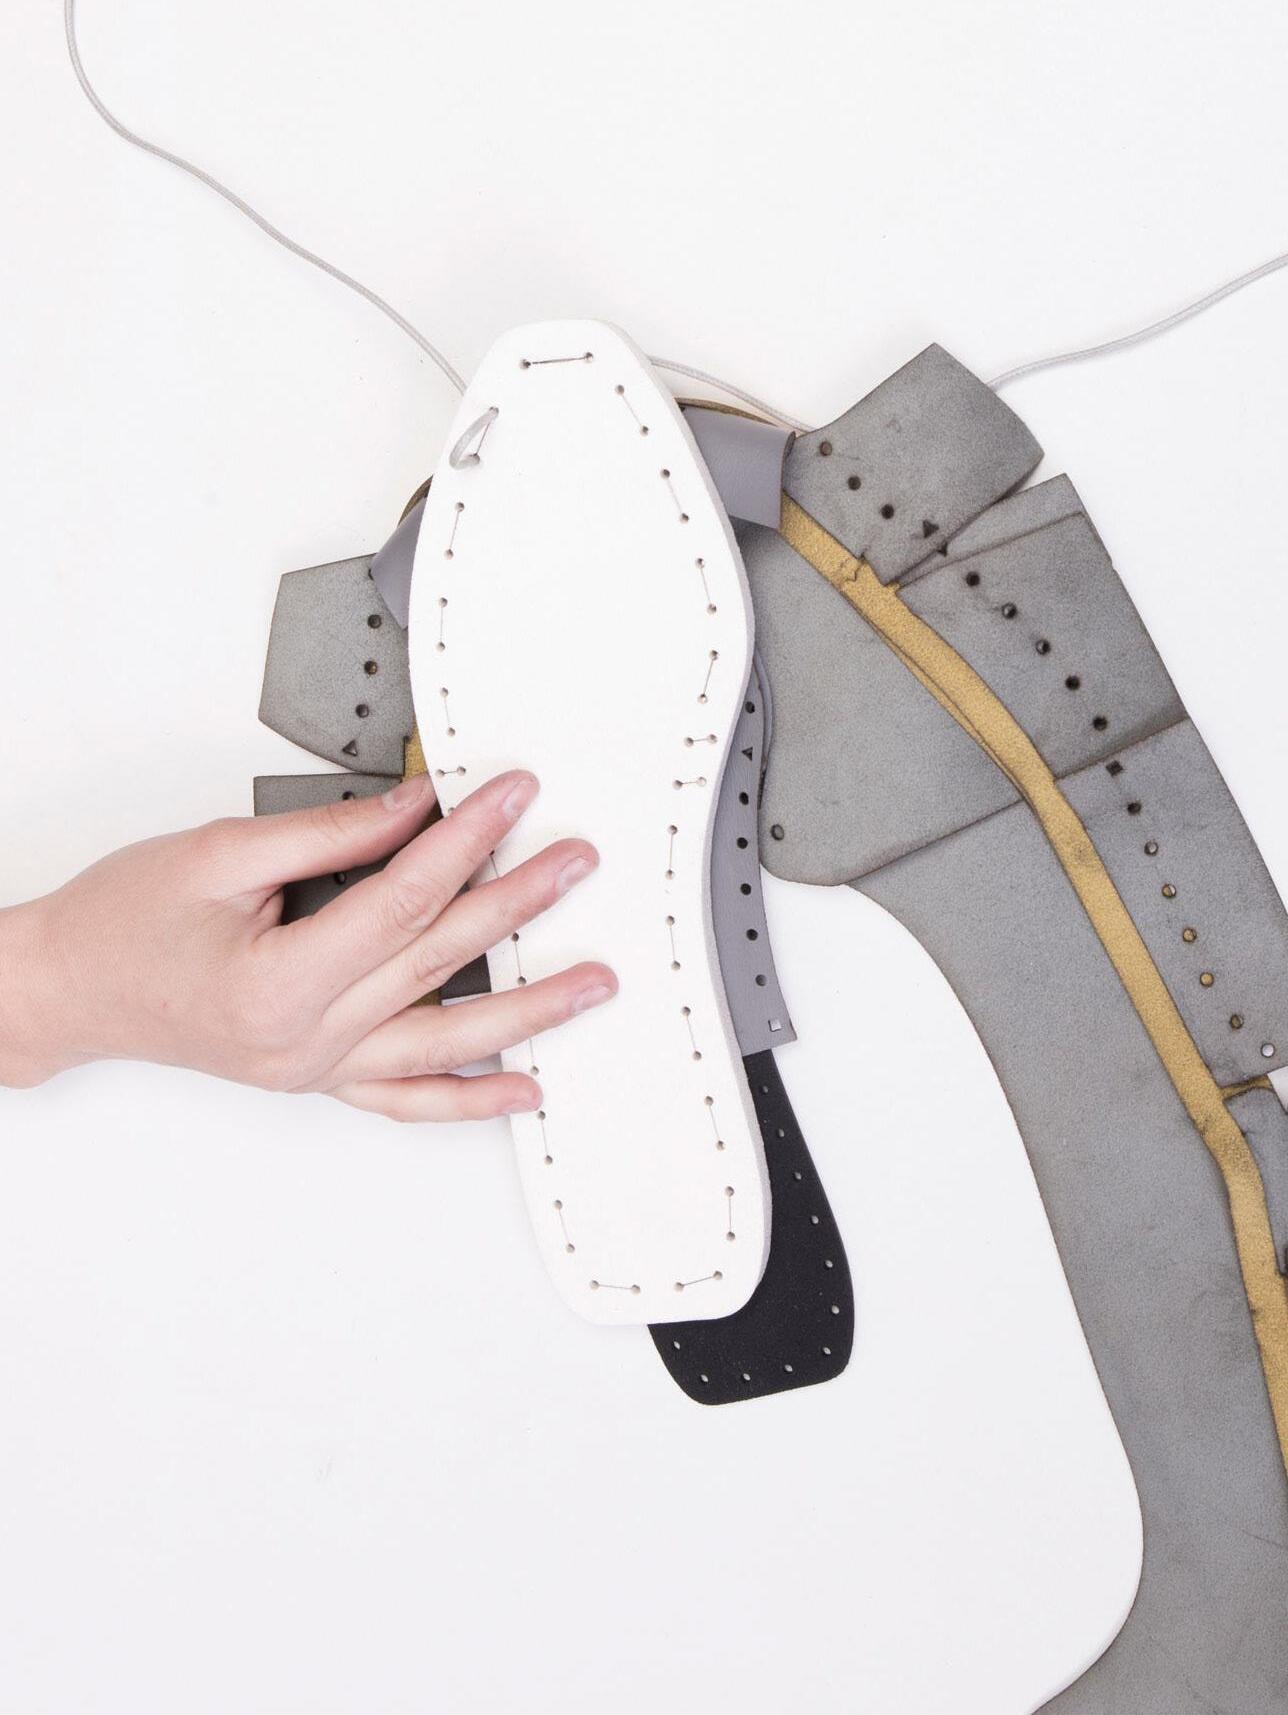
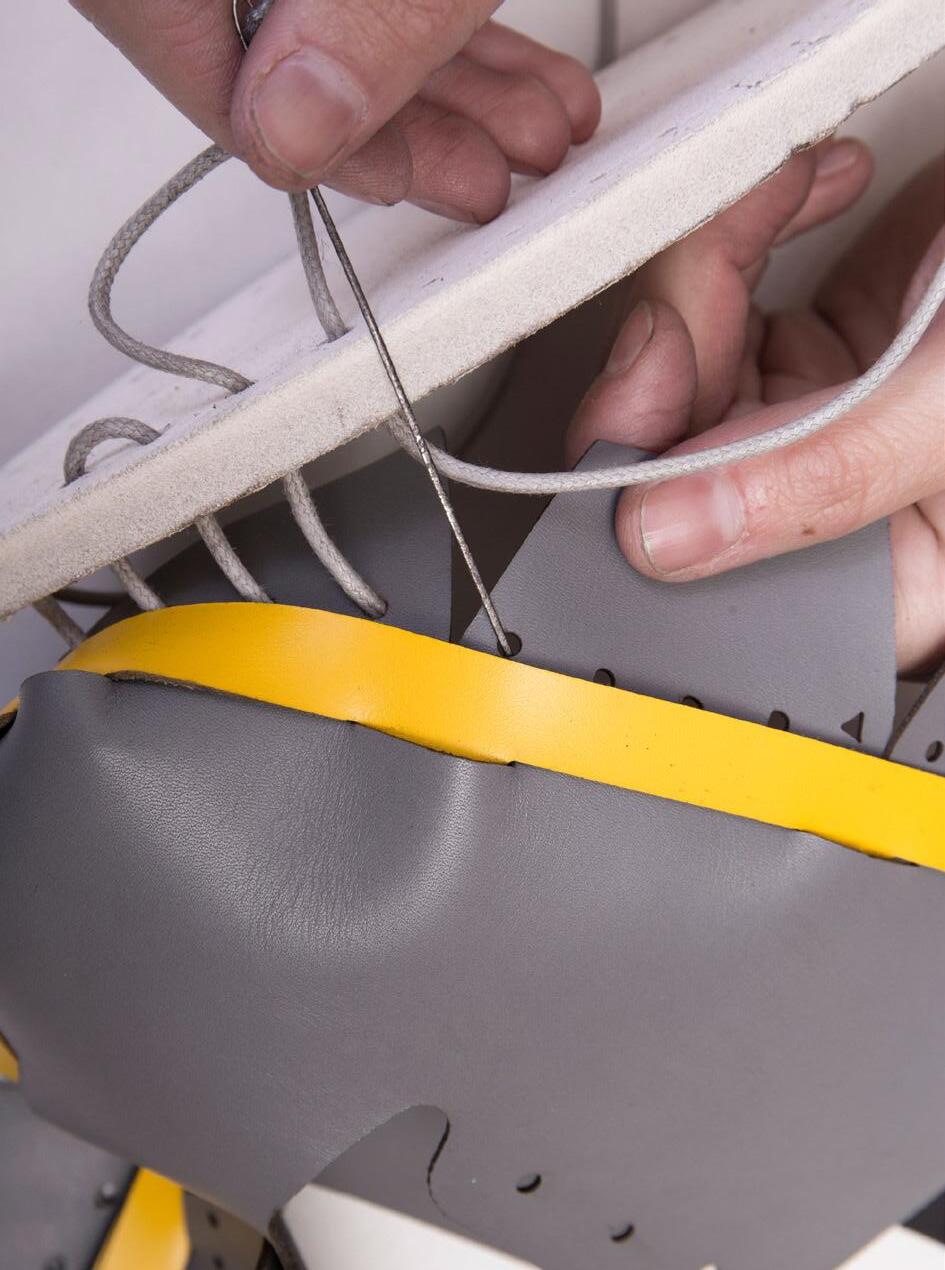
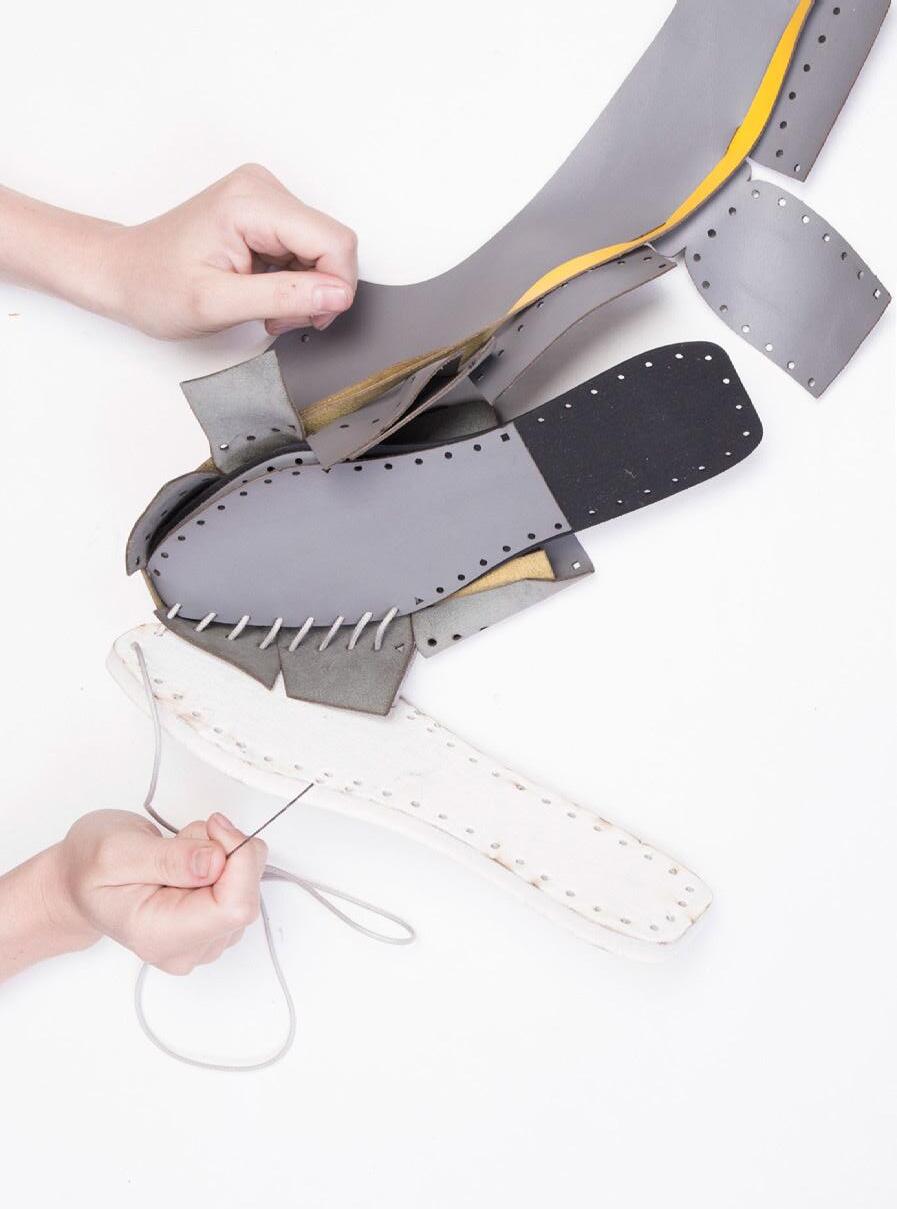
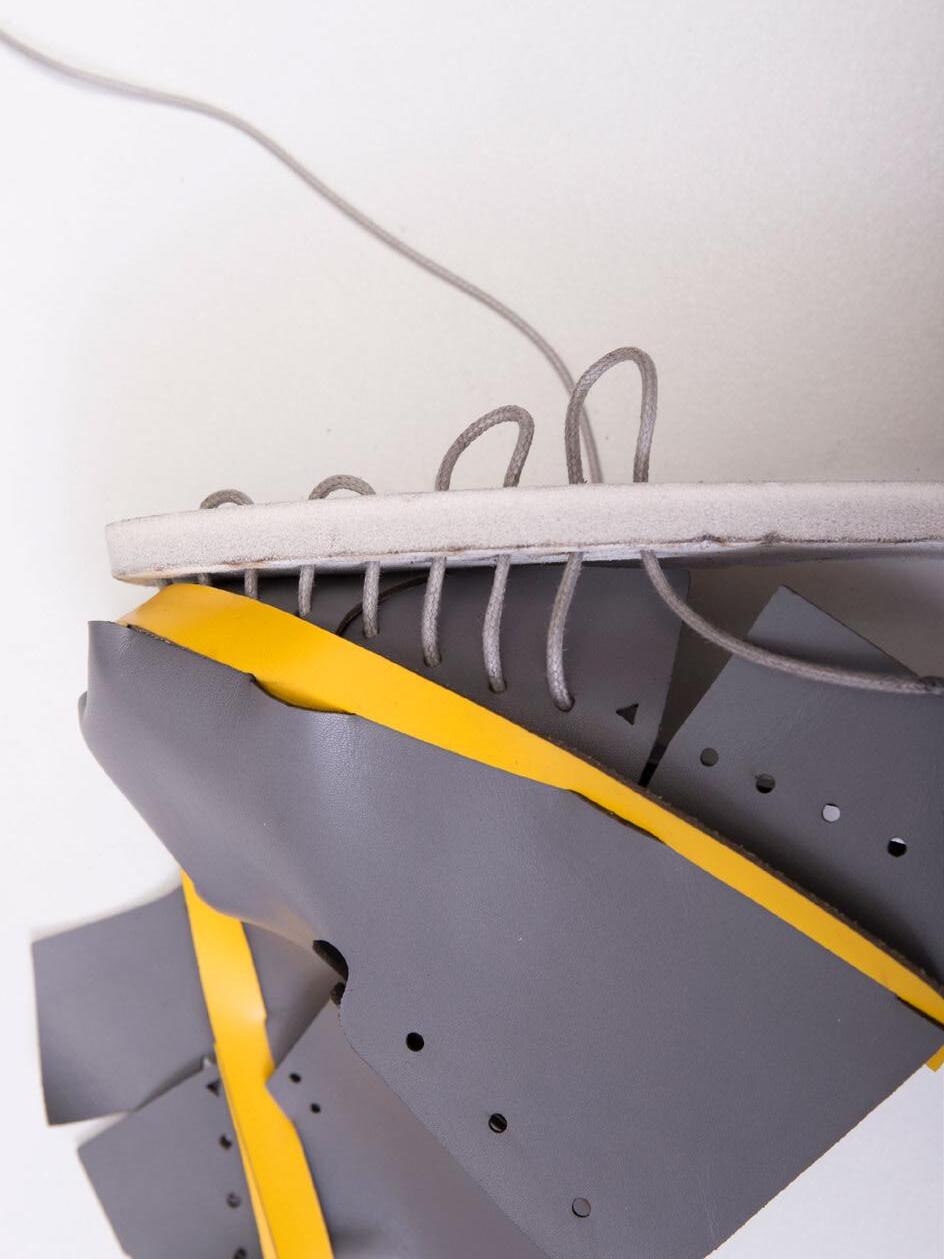
Step 4 STOP lacing BEFORE you reach the triangle Leave the lace quite loose so you have a better oversight over the parts
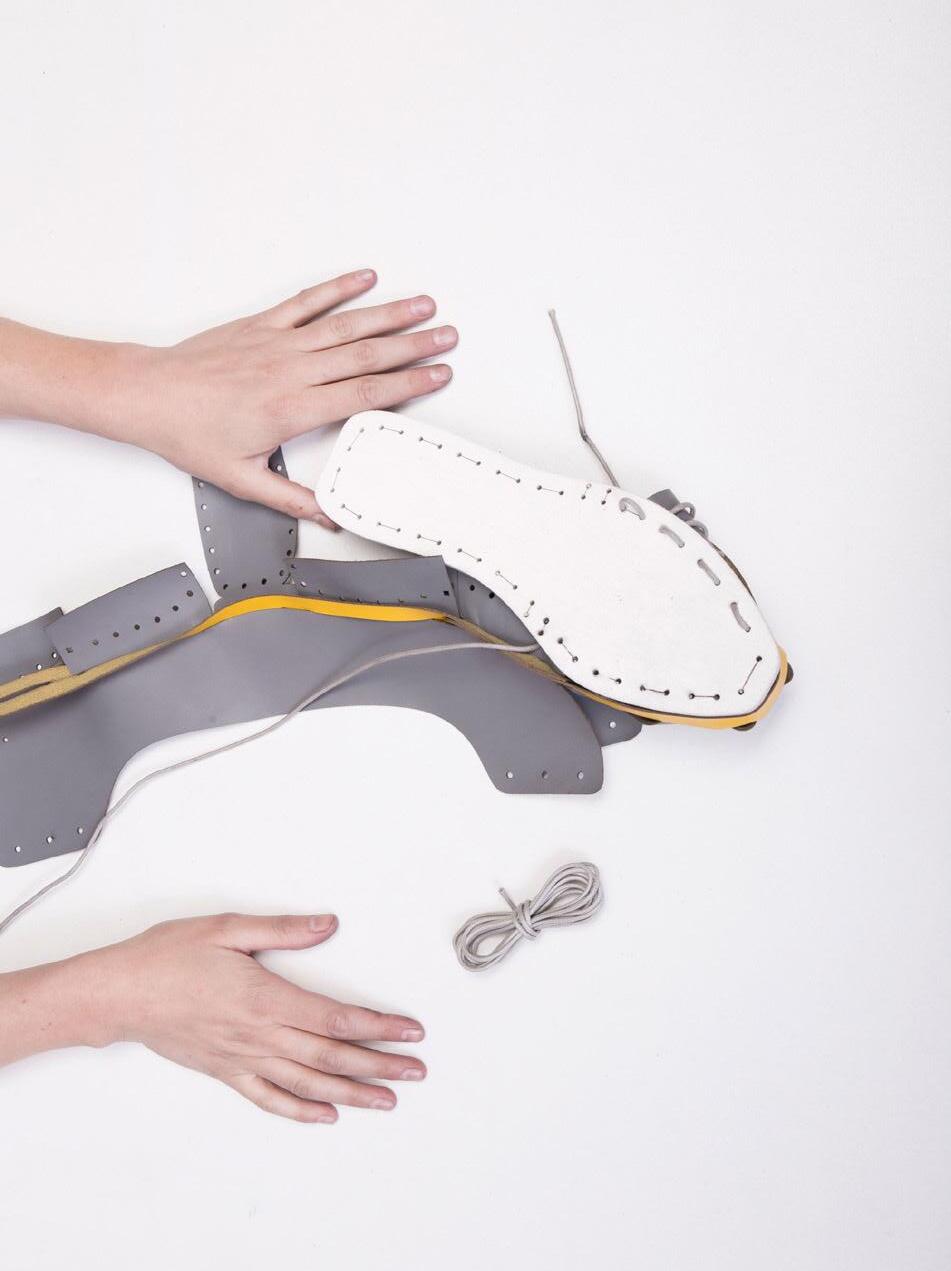
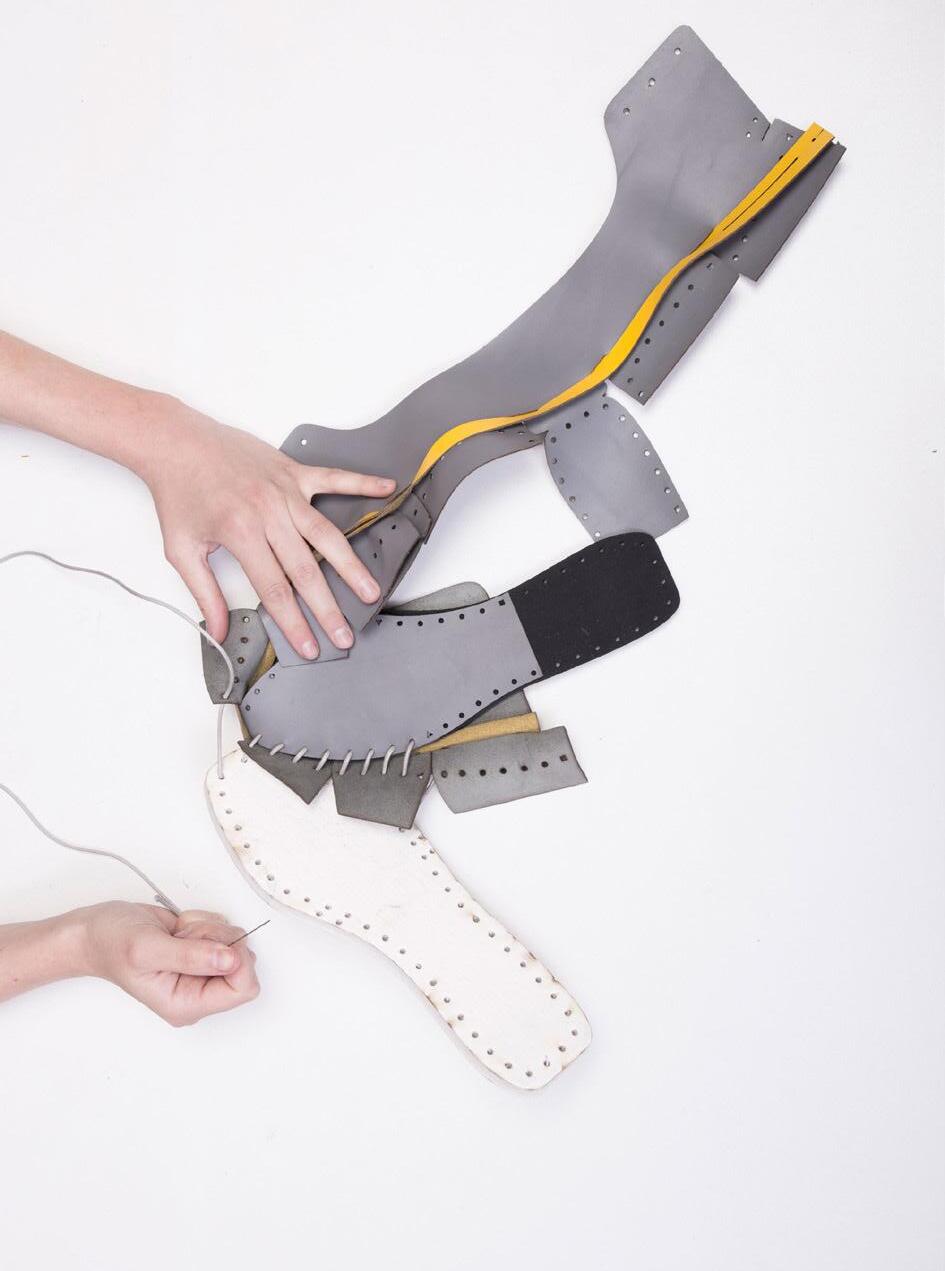
5 B Goal: Connect Inside Front of Upper, Insole and Outsole A Components: No additional Components
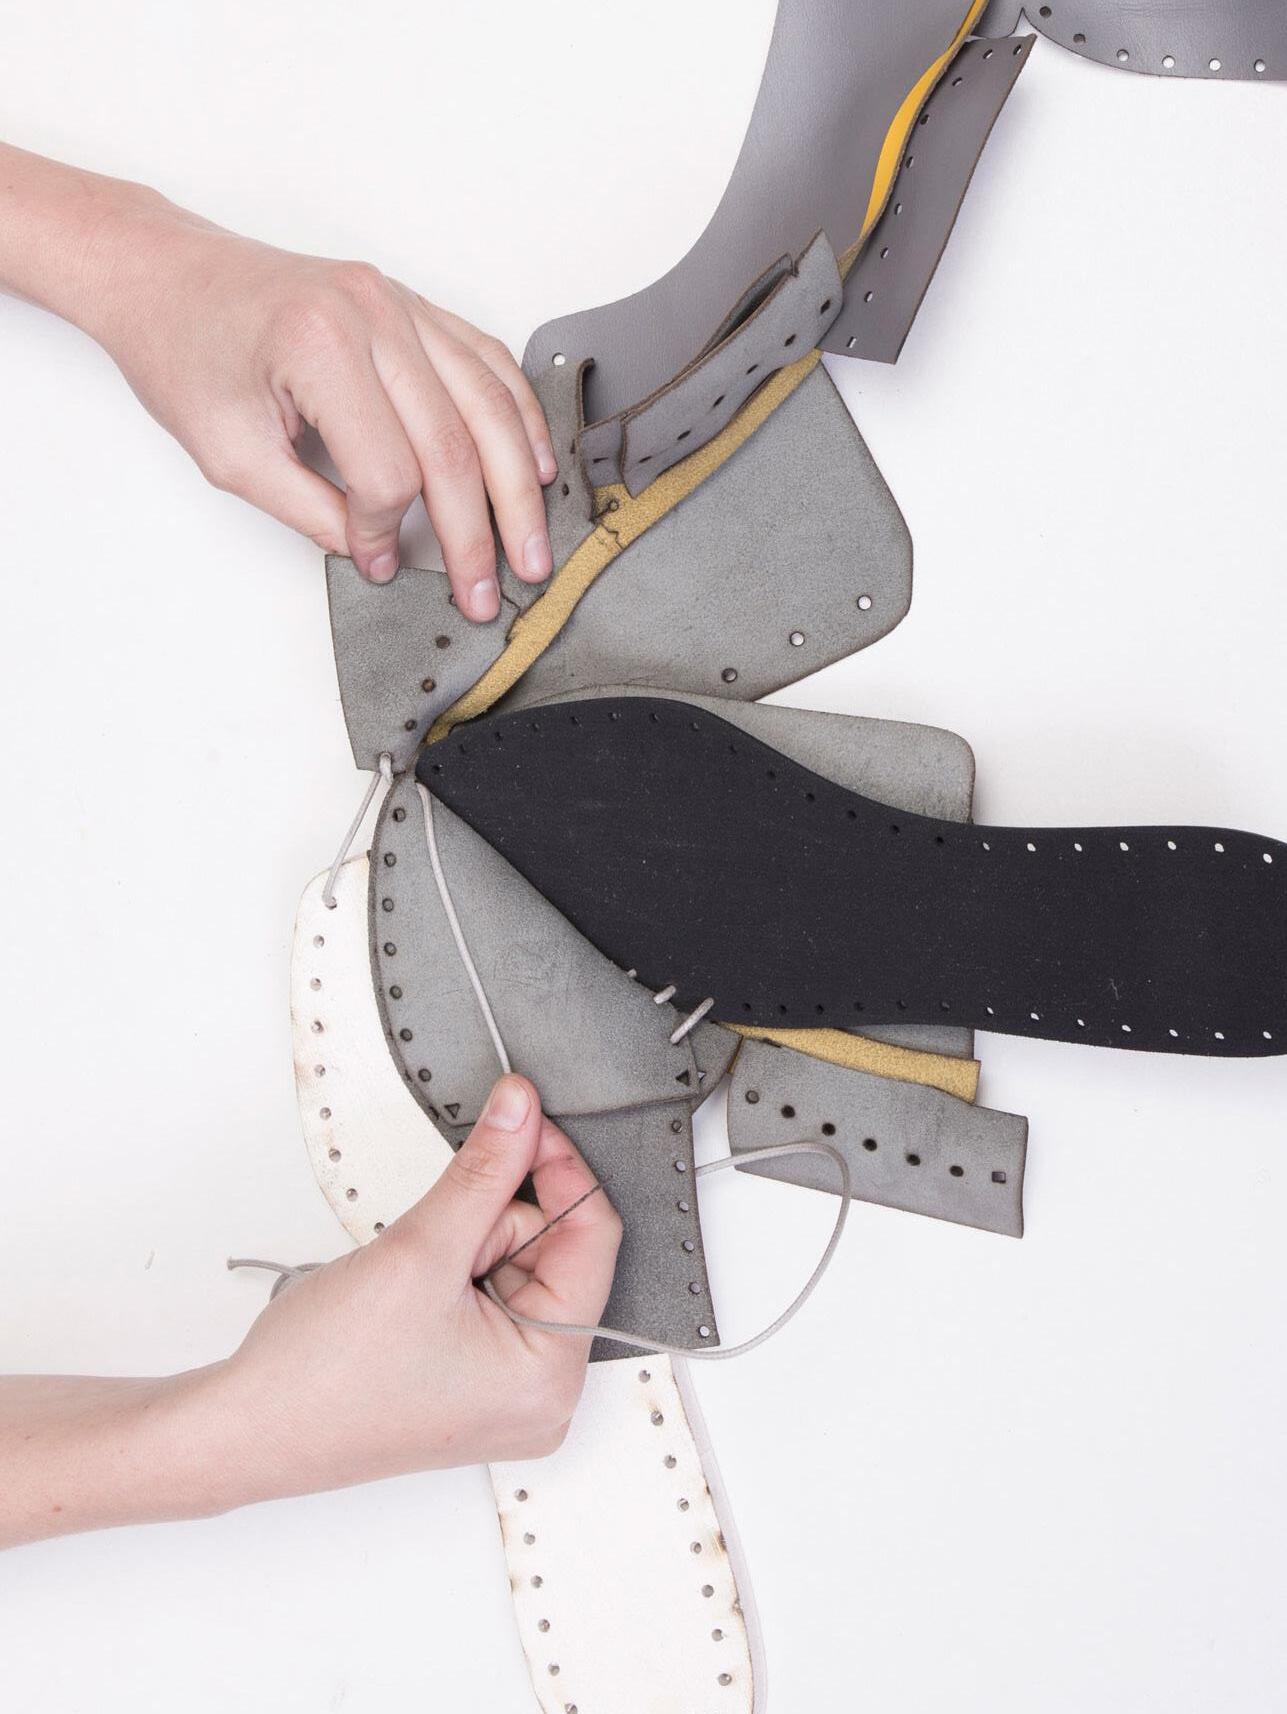
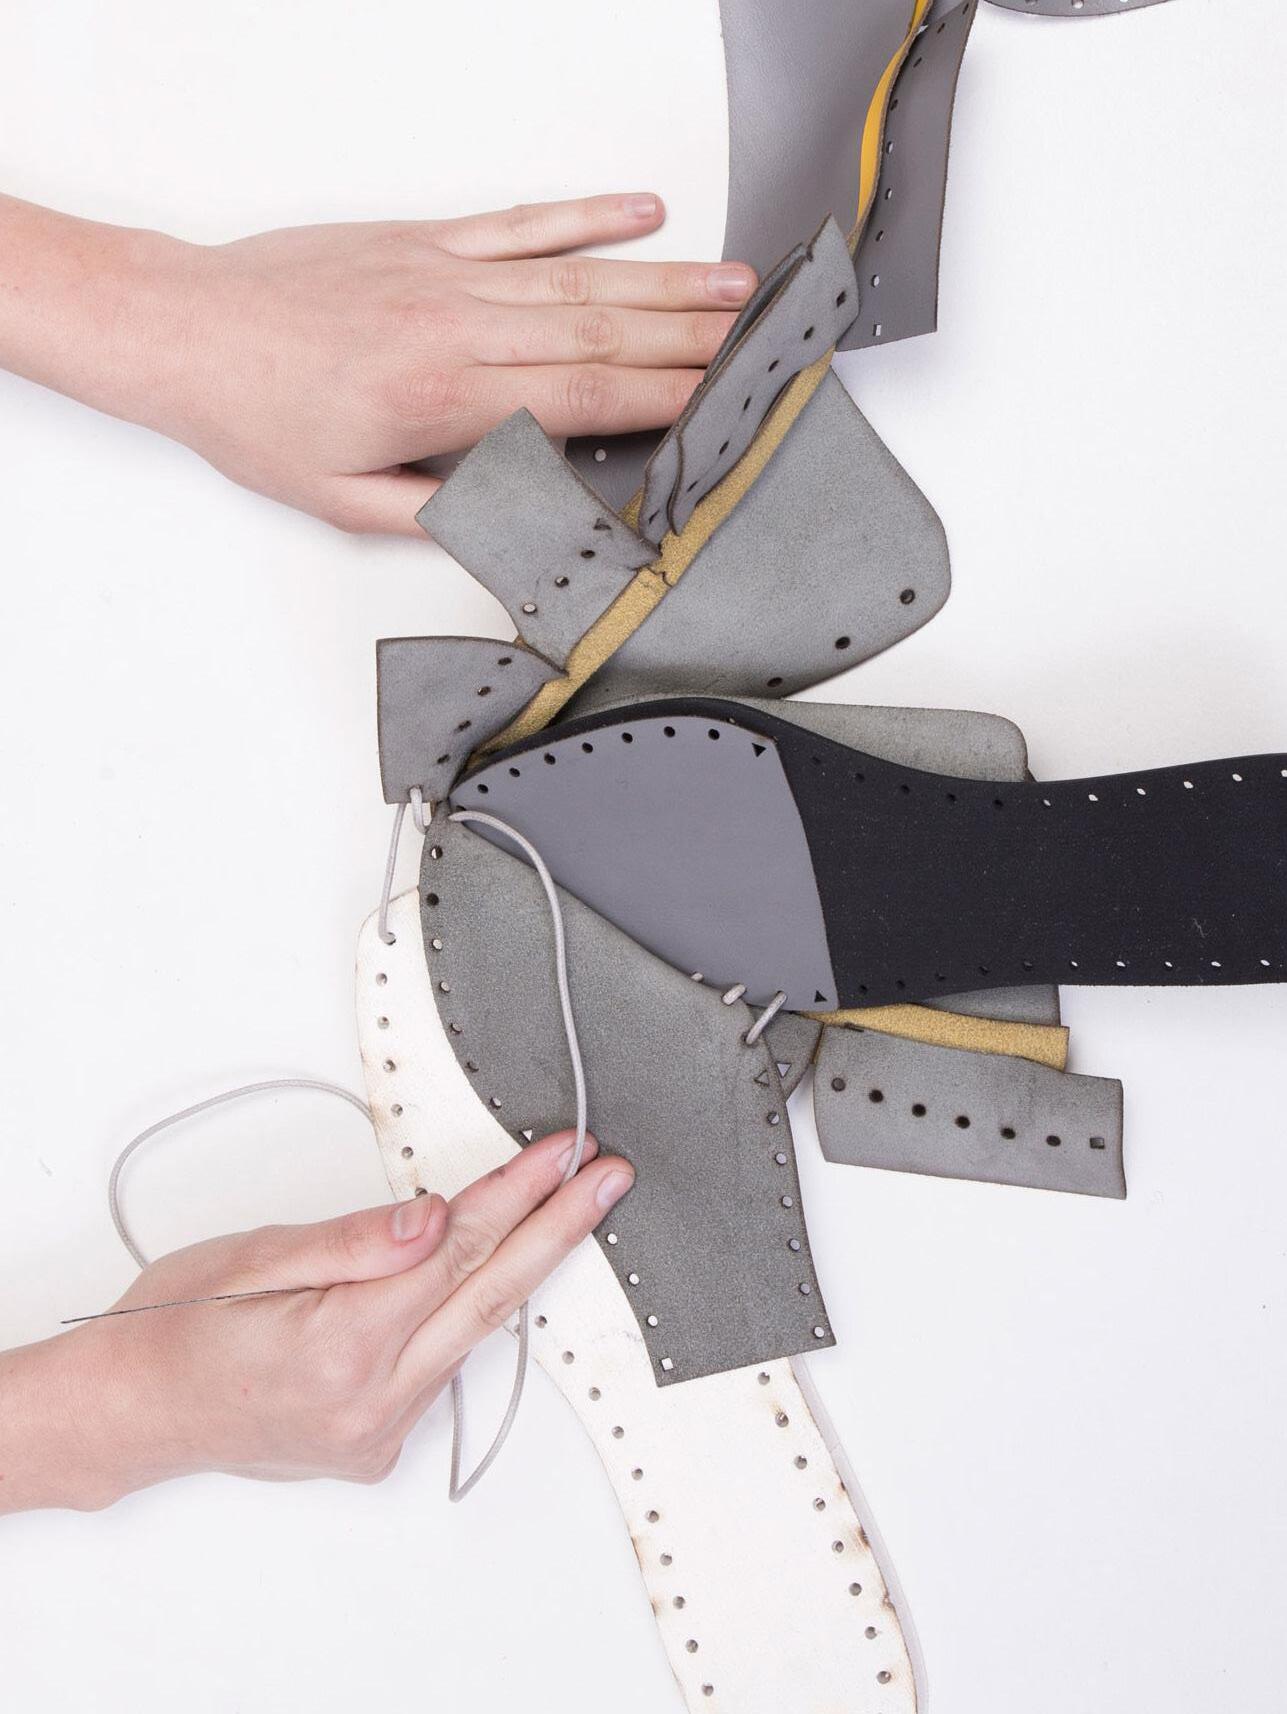
1 move back to the front of the shoe and repeat Step 4
Be careful to lace in the right orderSEE IMAGES Leave the lace quite loose so you have a better oversight over the parts
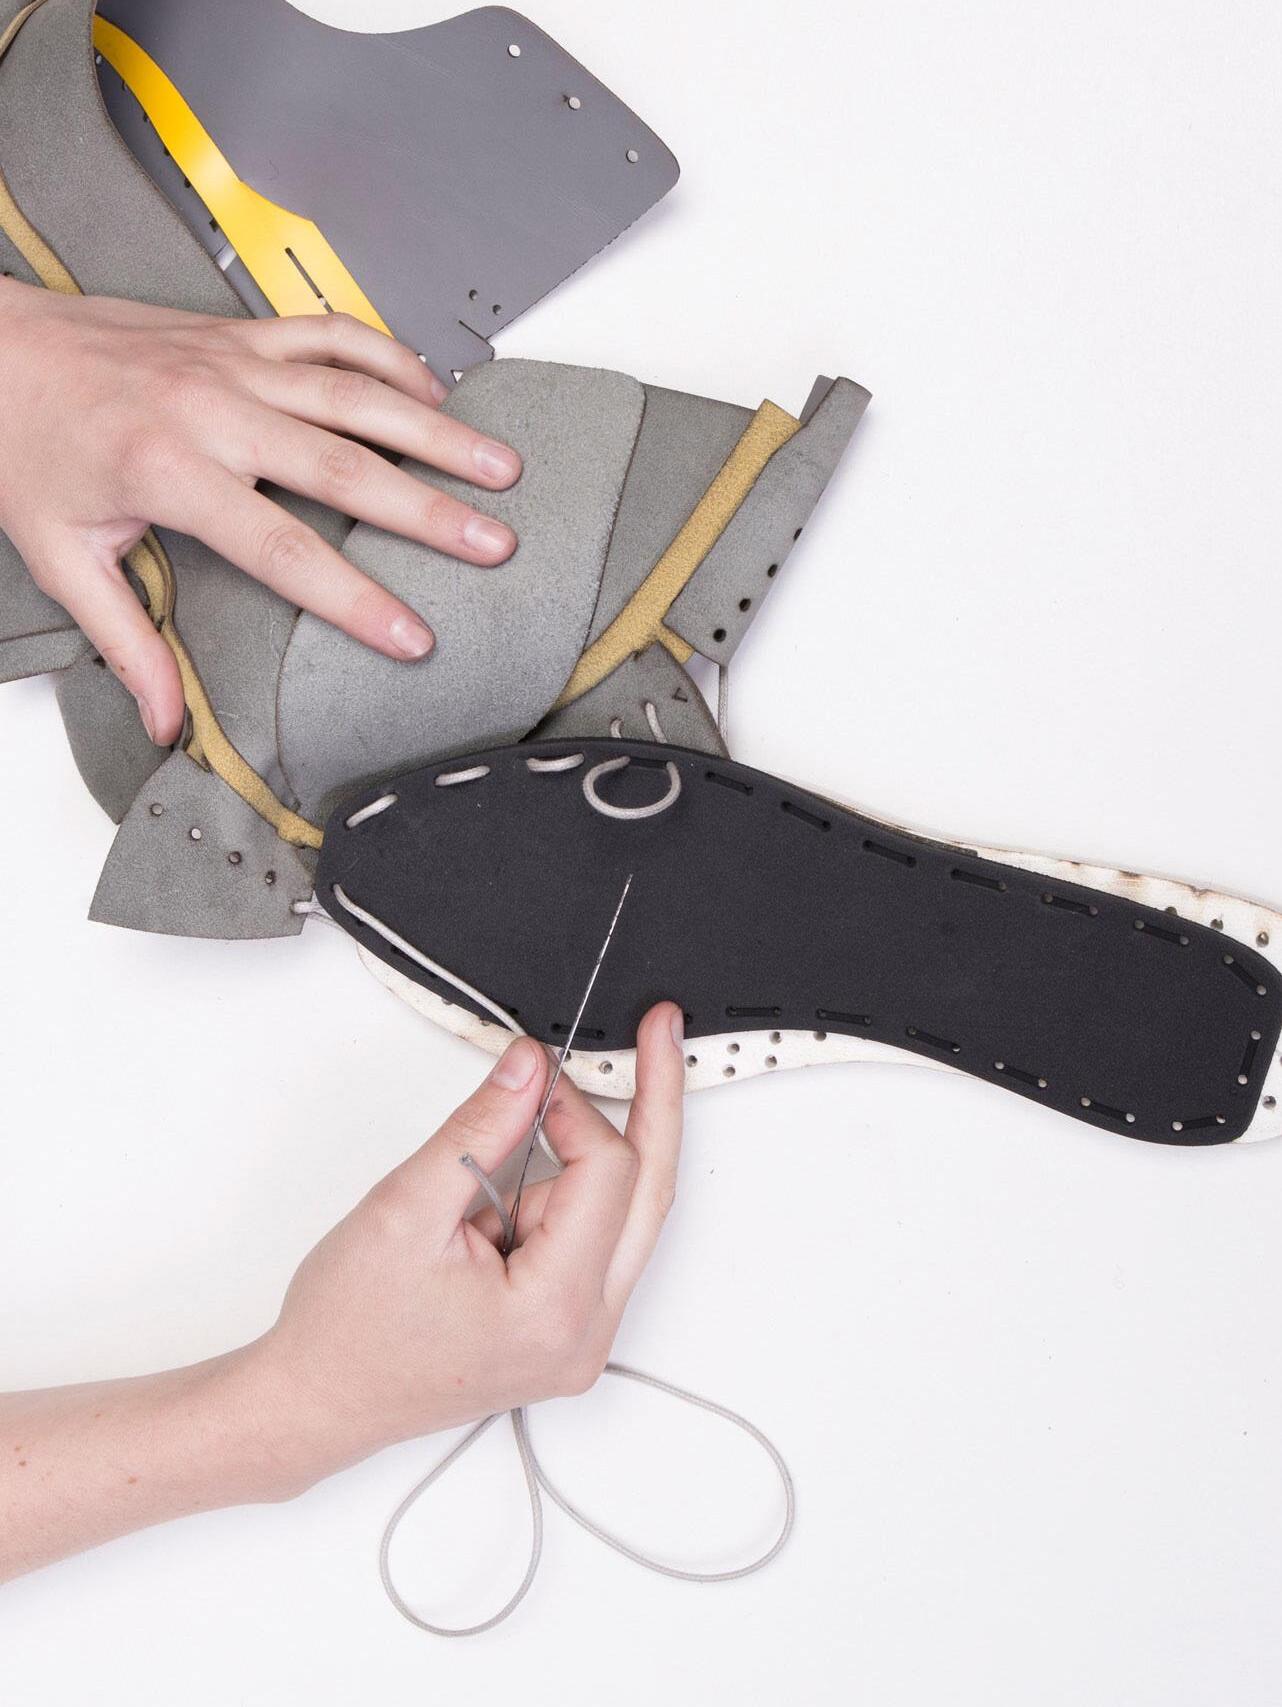
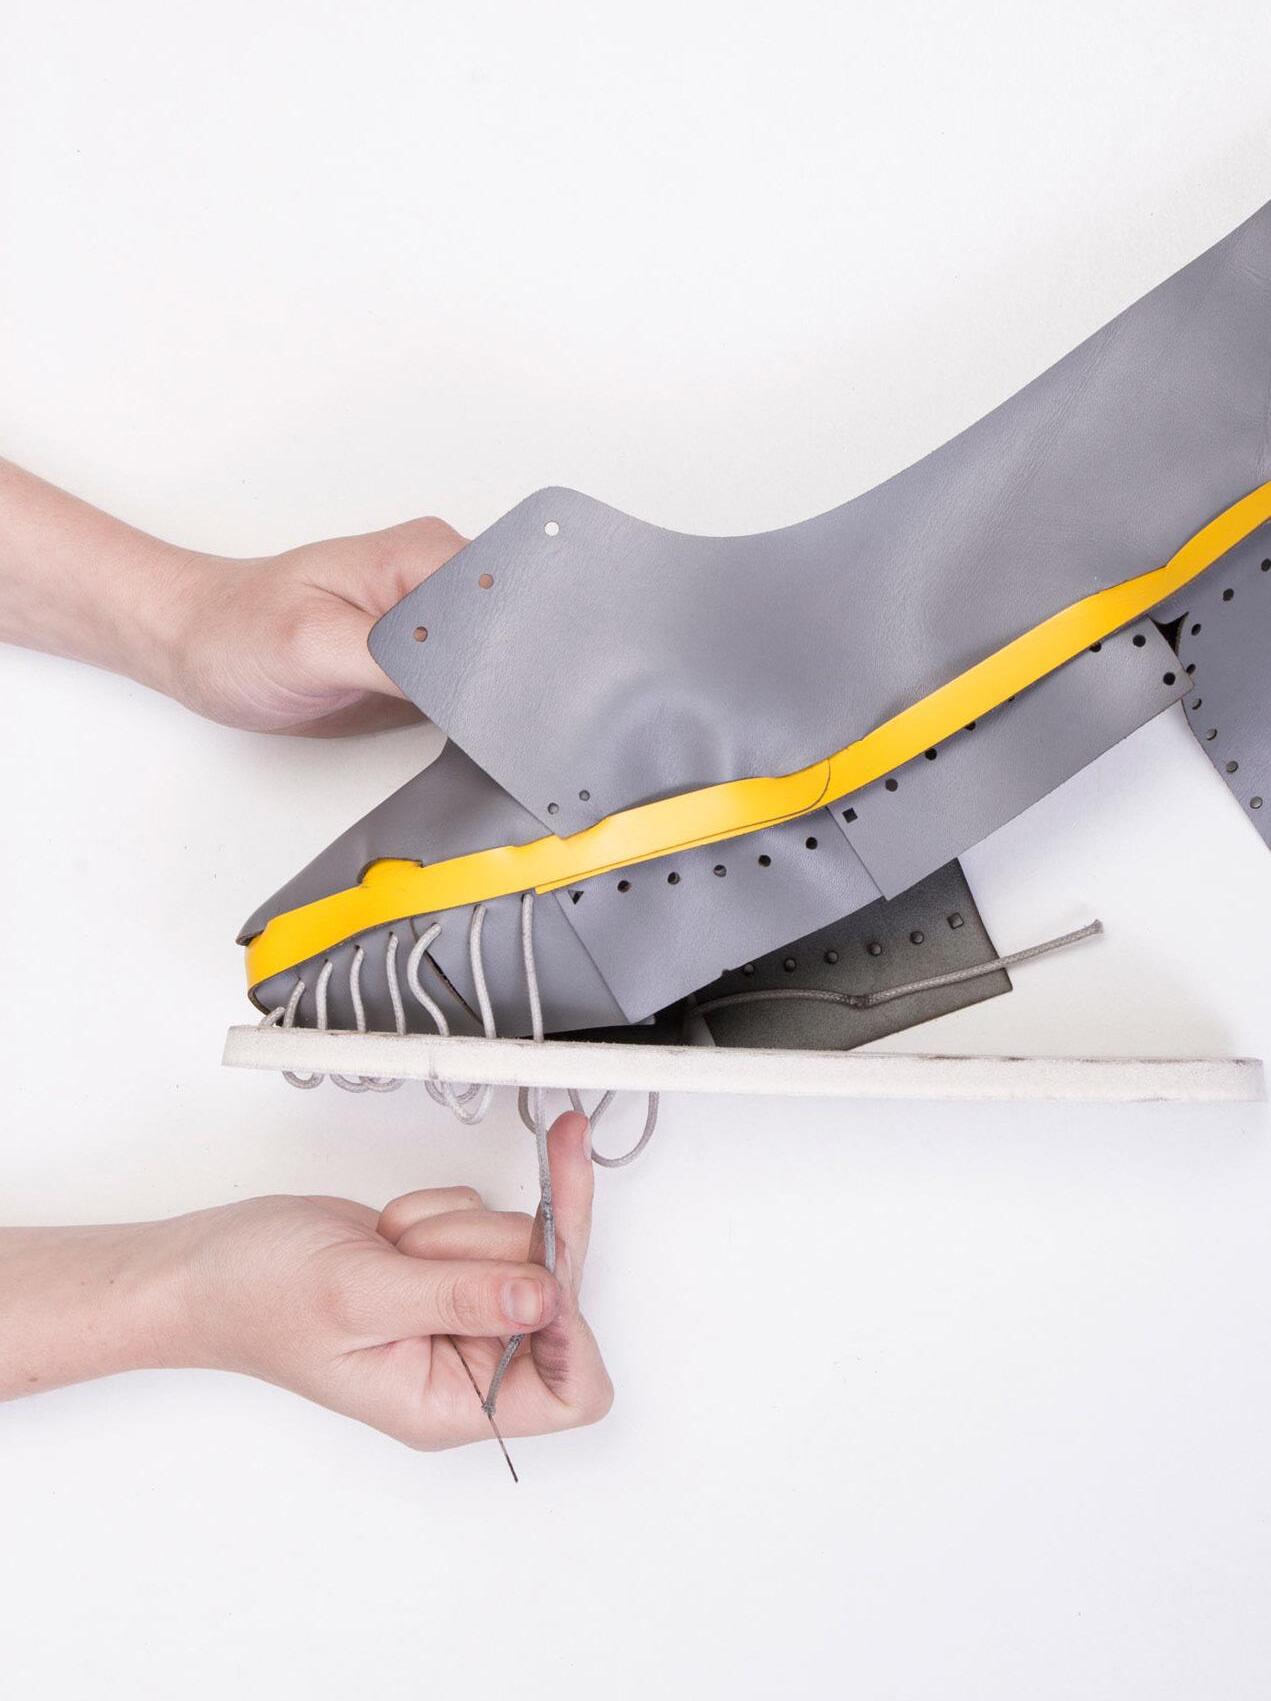
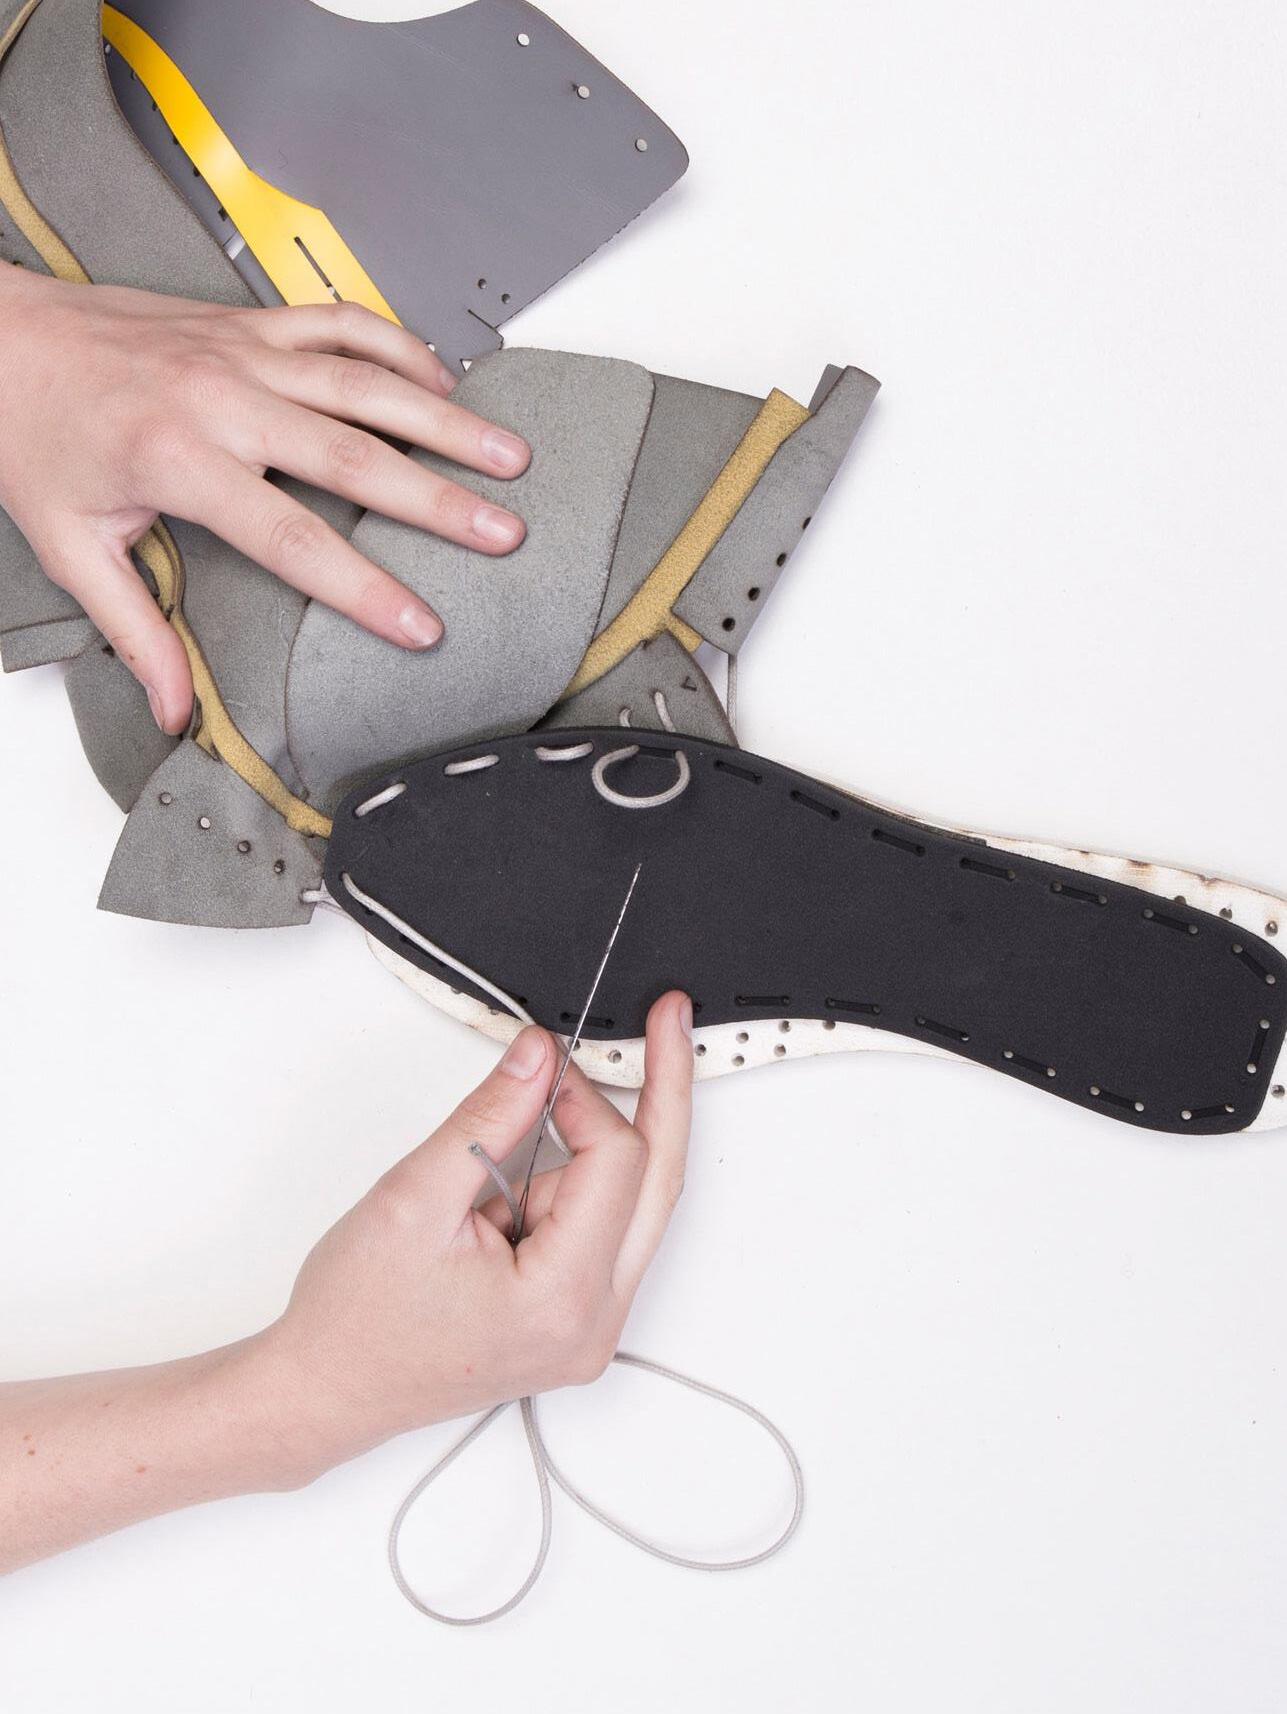
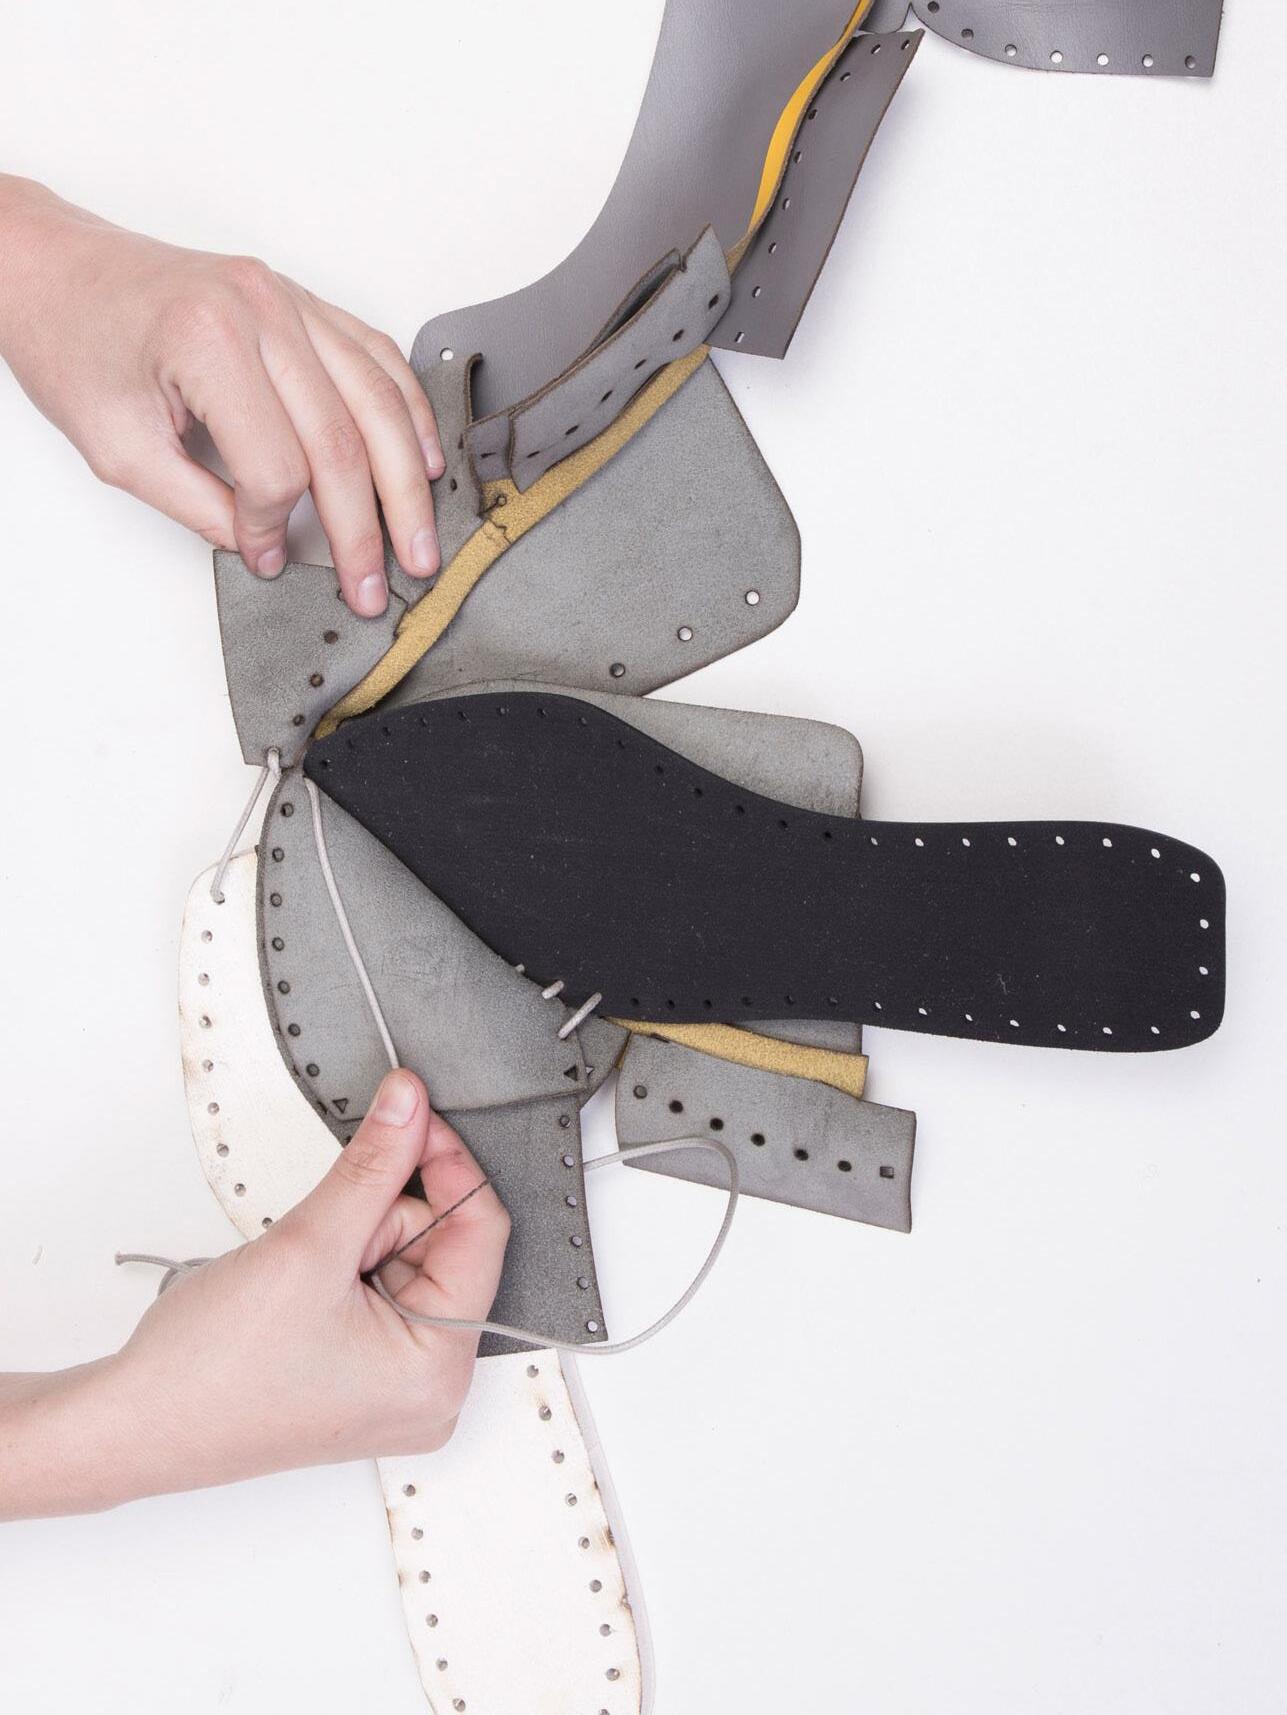
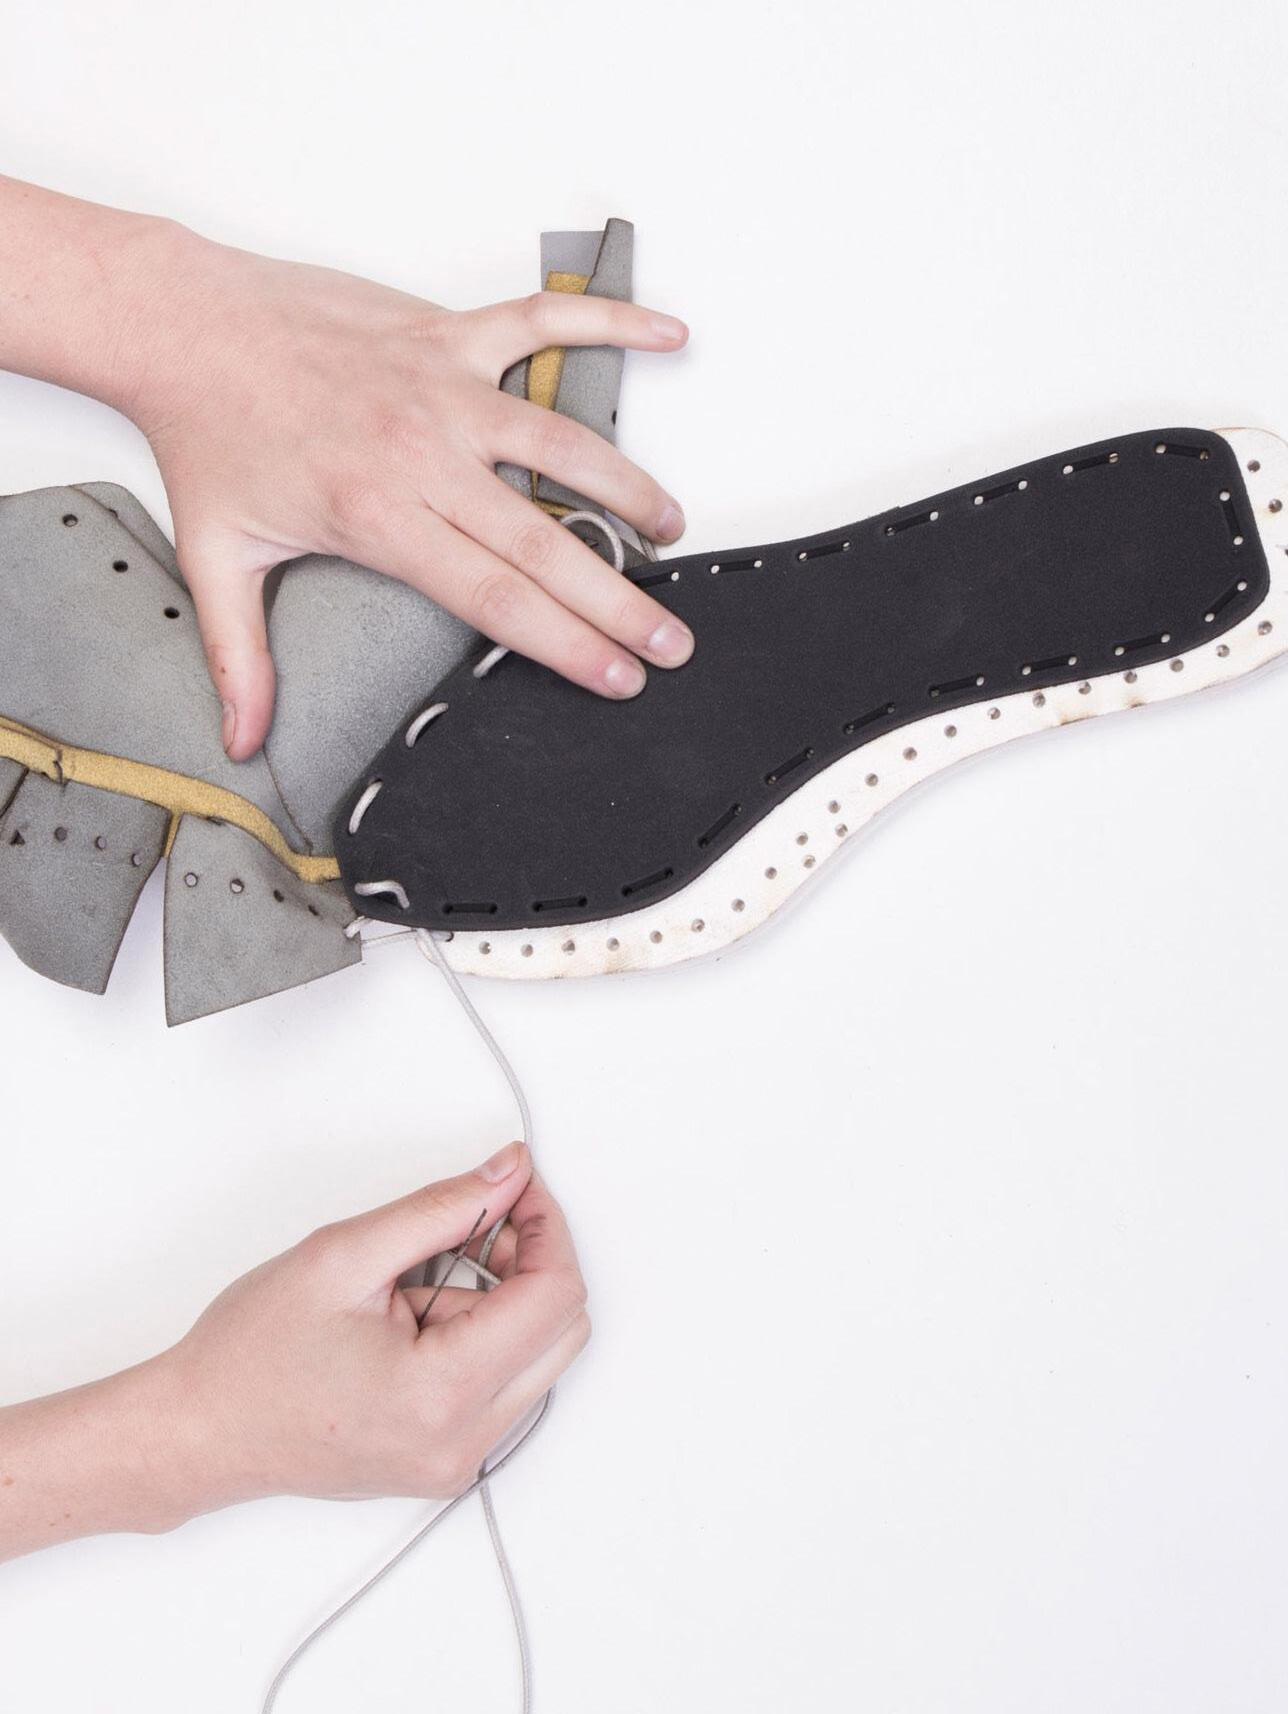
Step
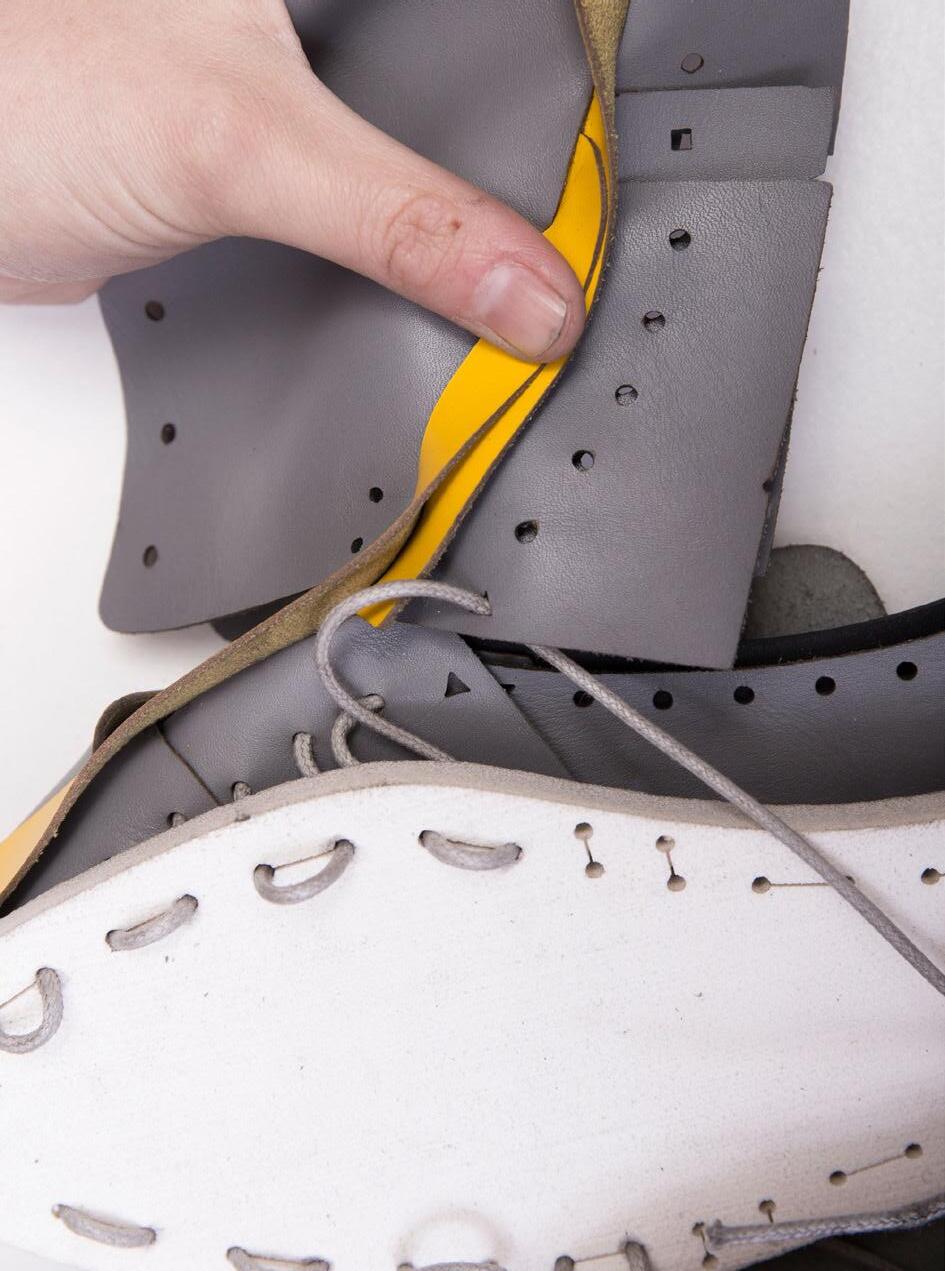
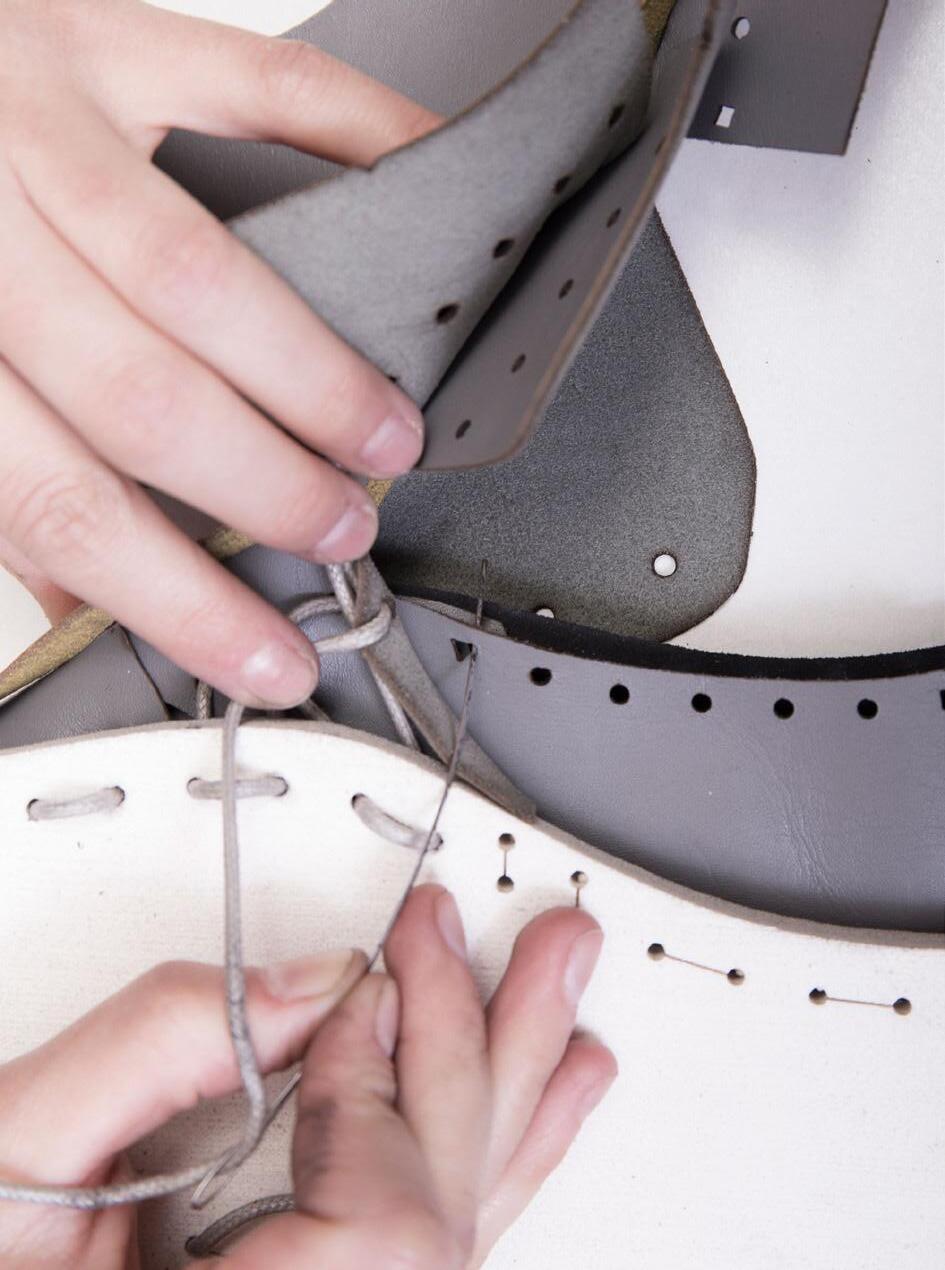
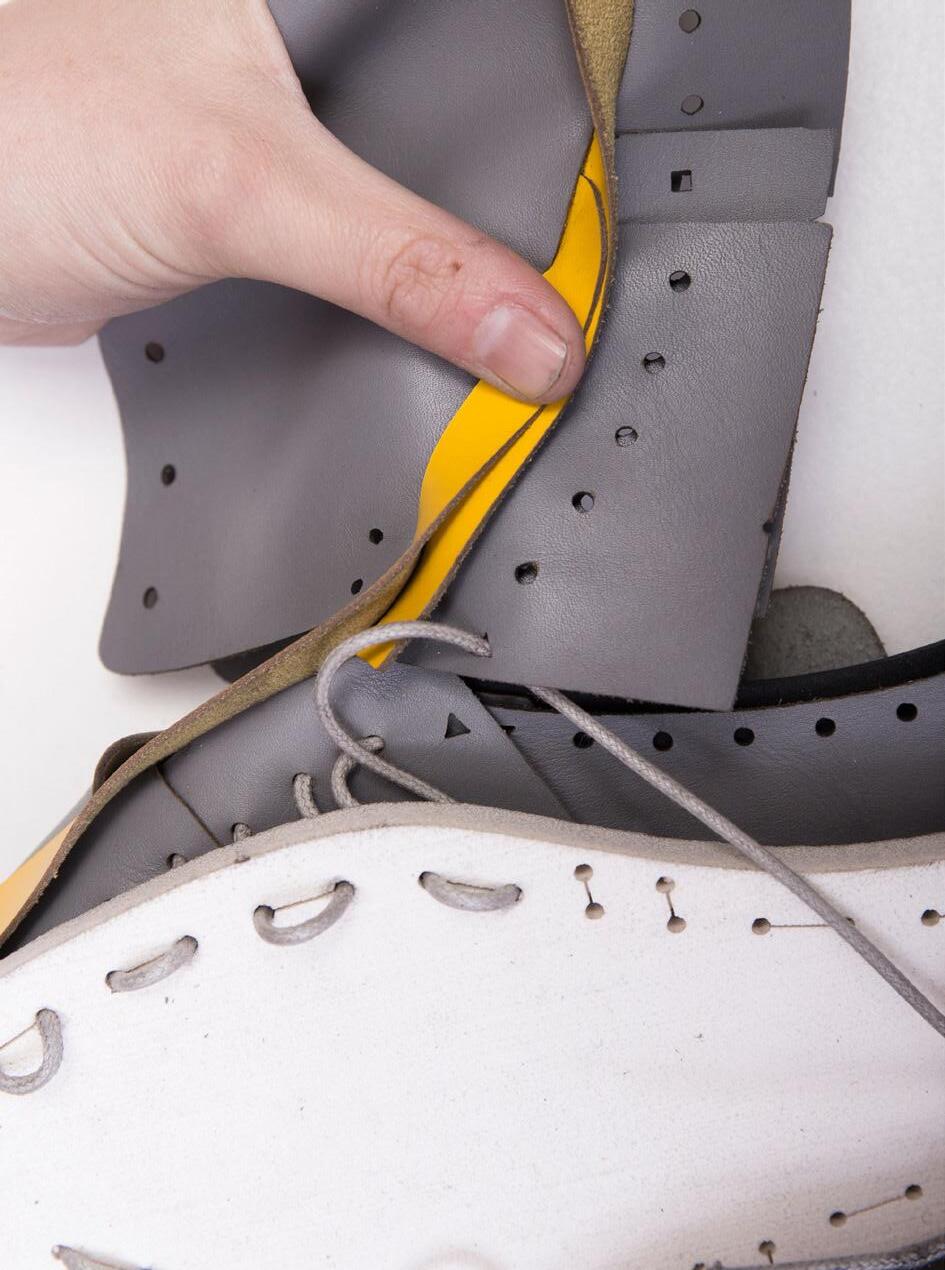
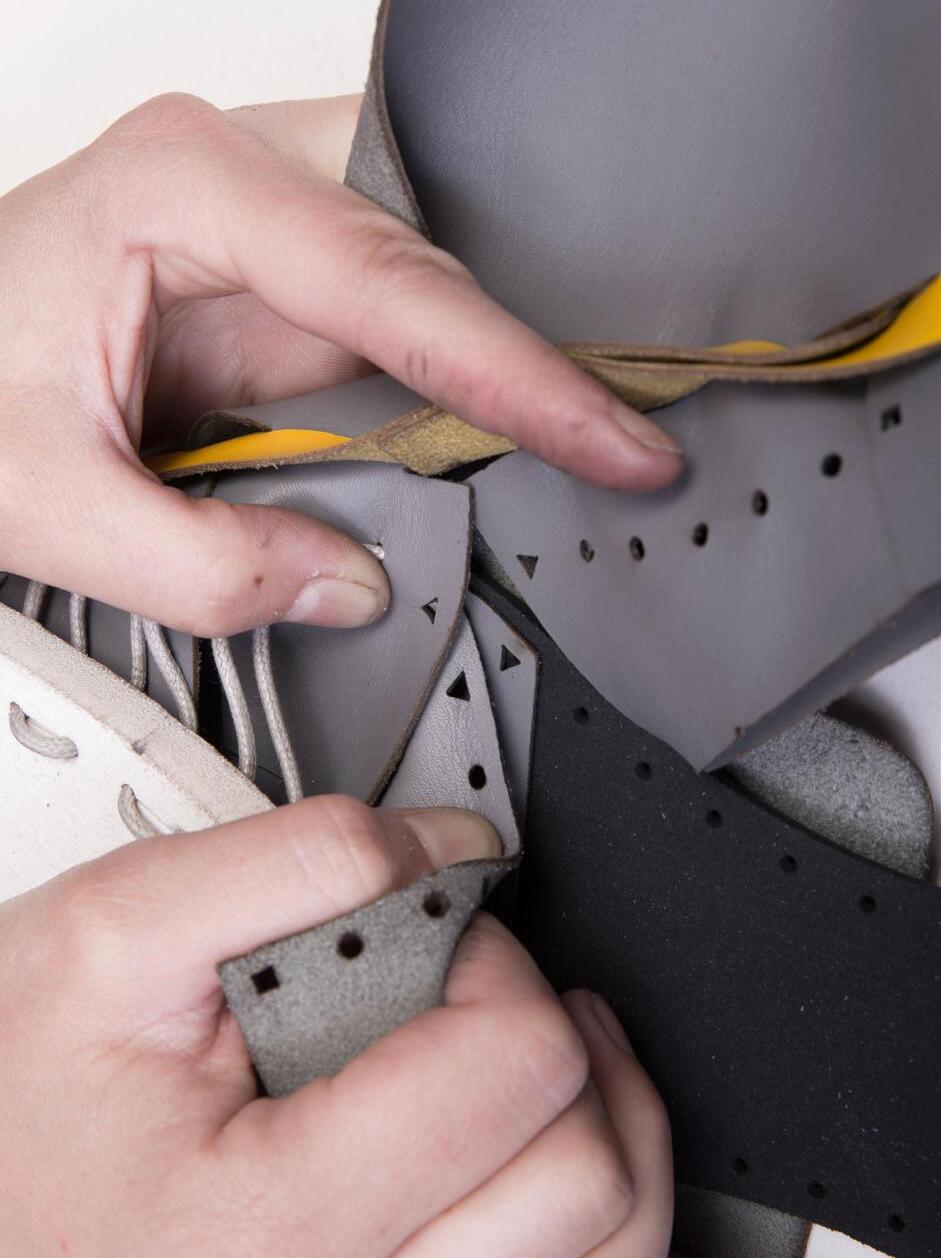
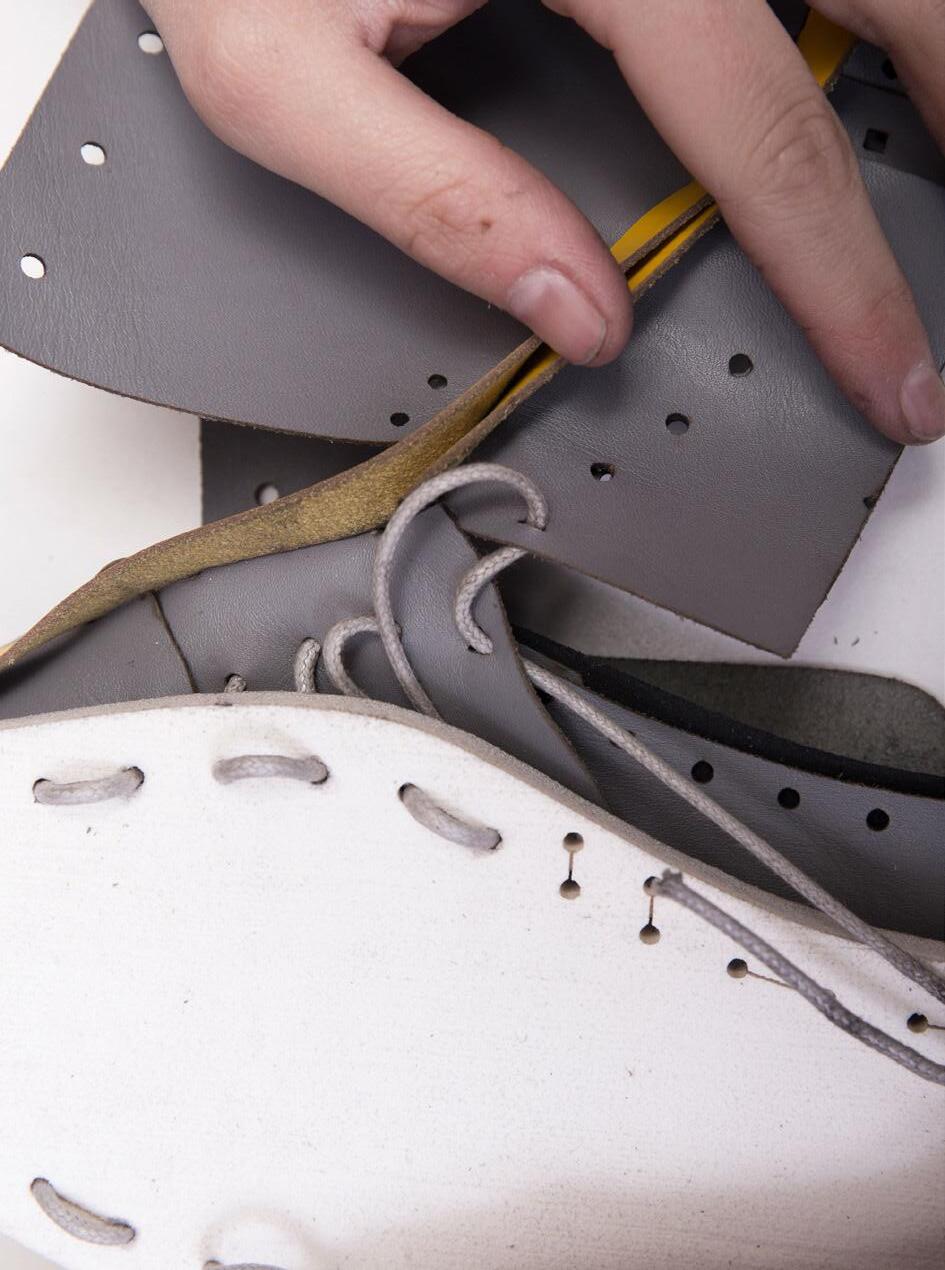
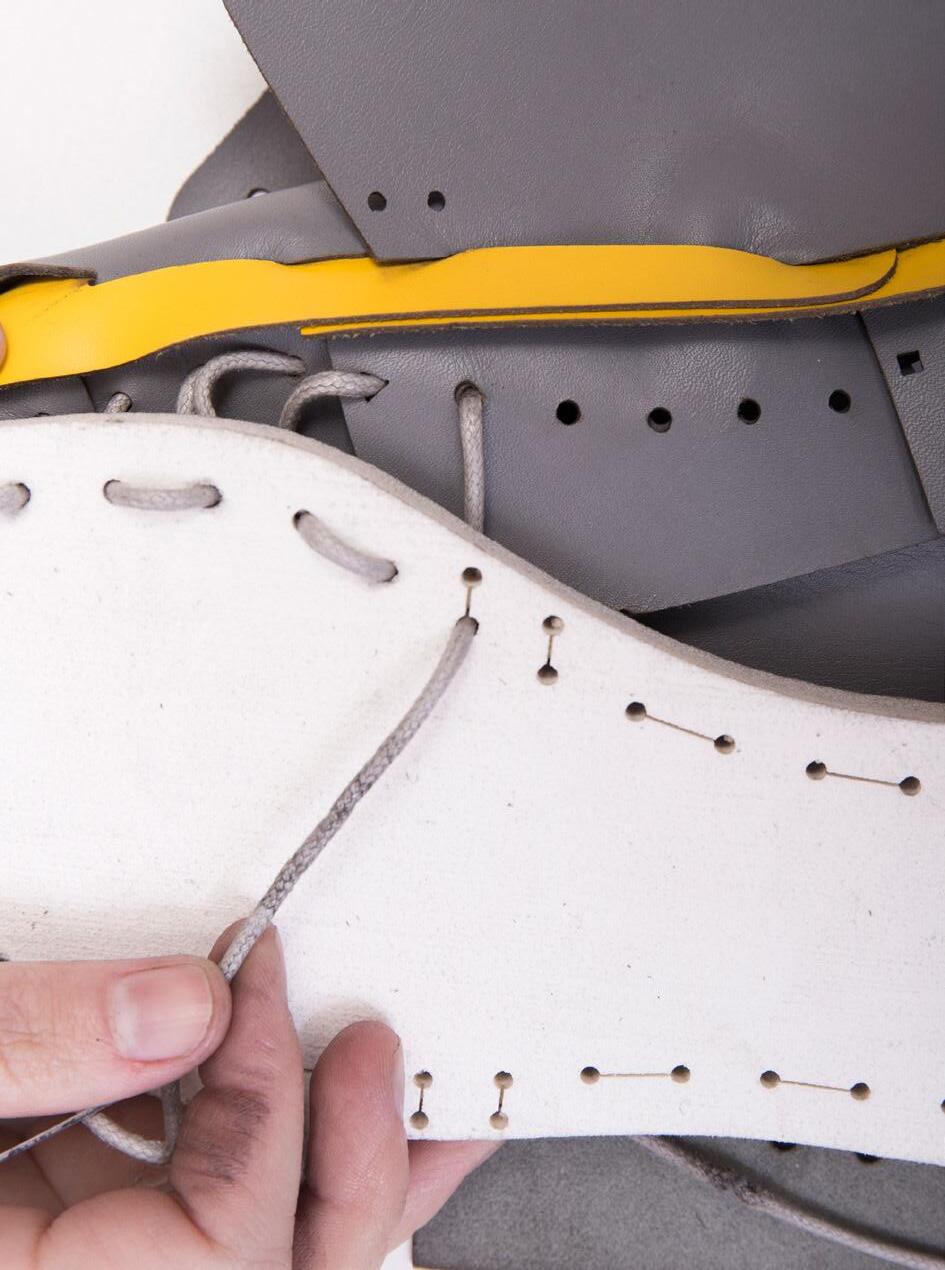
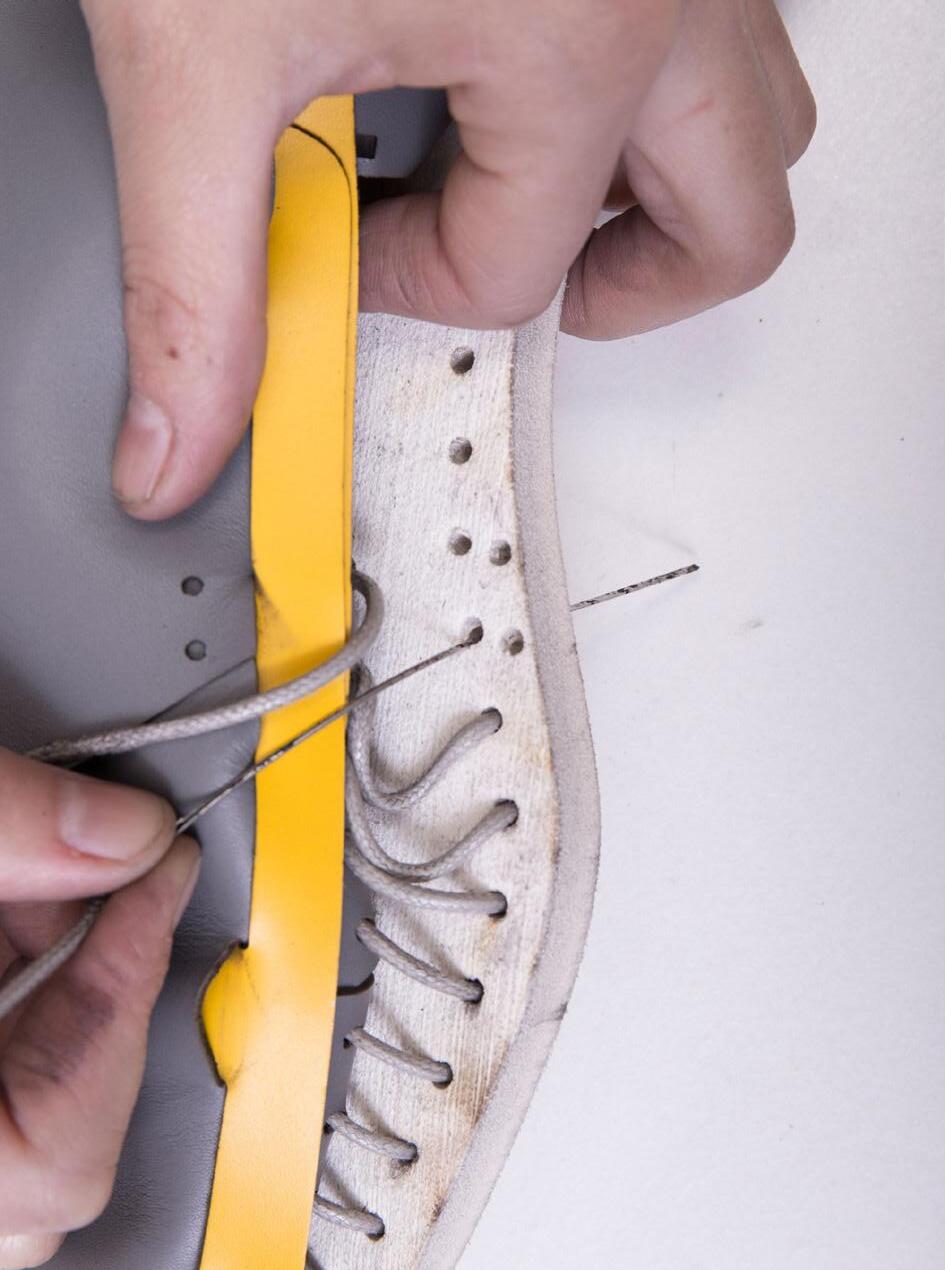
continue lacing the next hole to reach the lacing slot
10/11 follow the images to lace through the outsole in the correct order
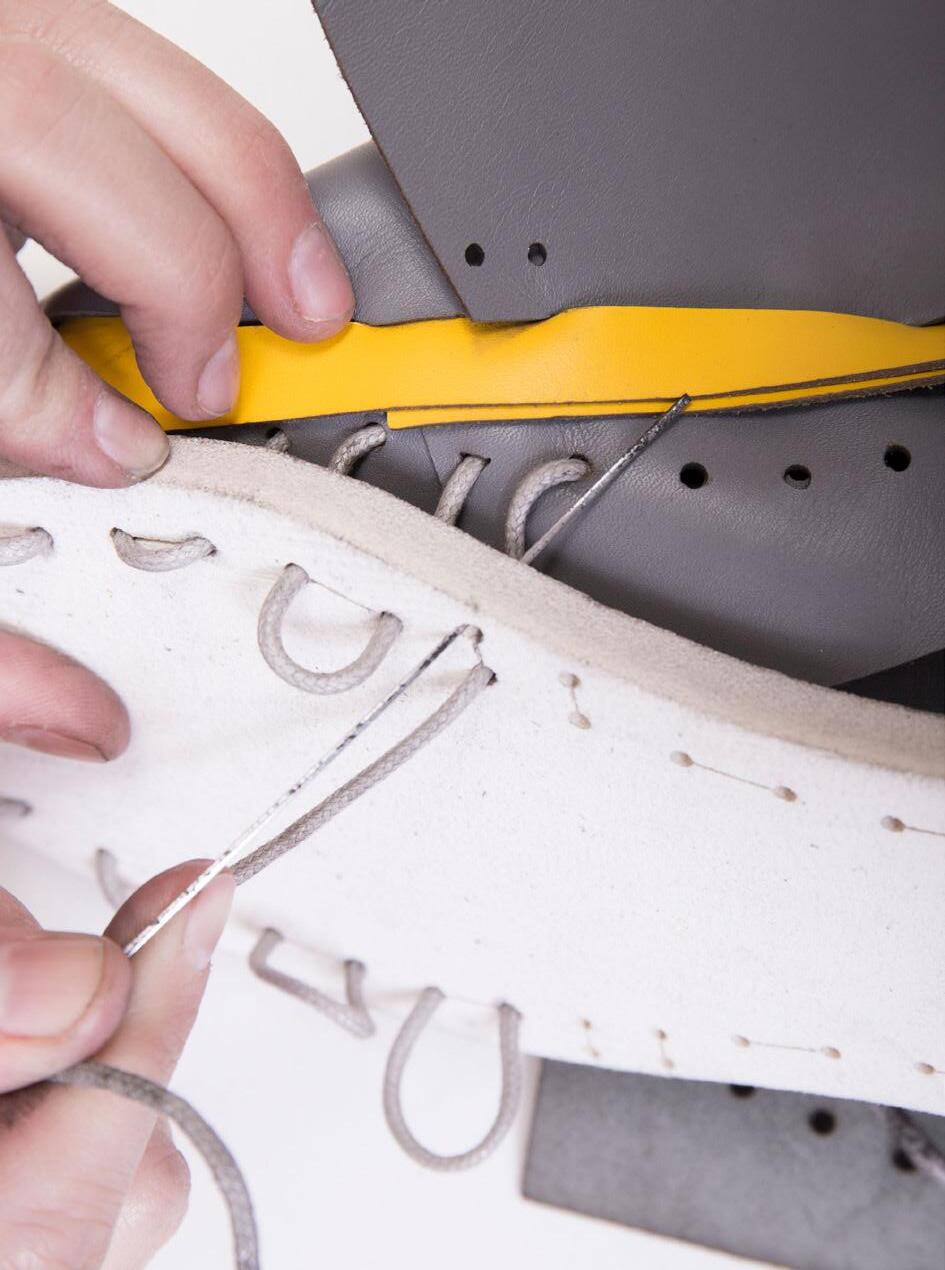
Be careful to lace in the right order
5
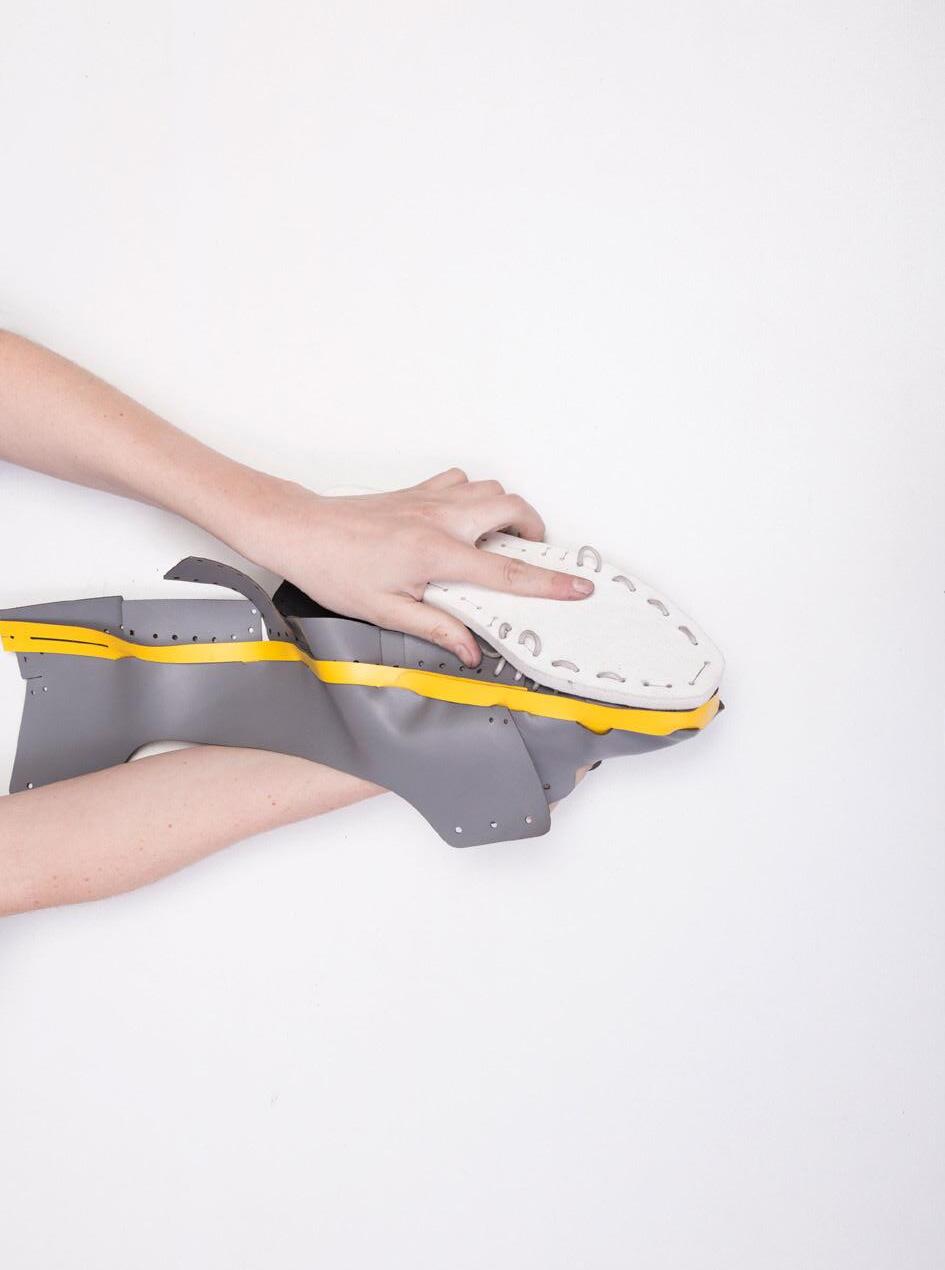
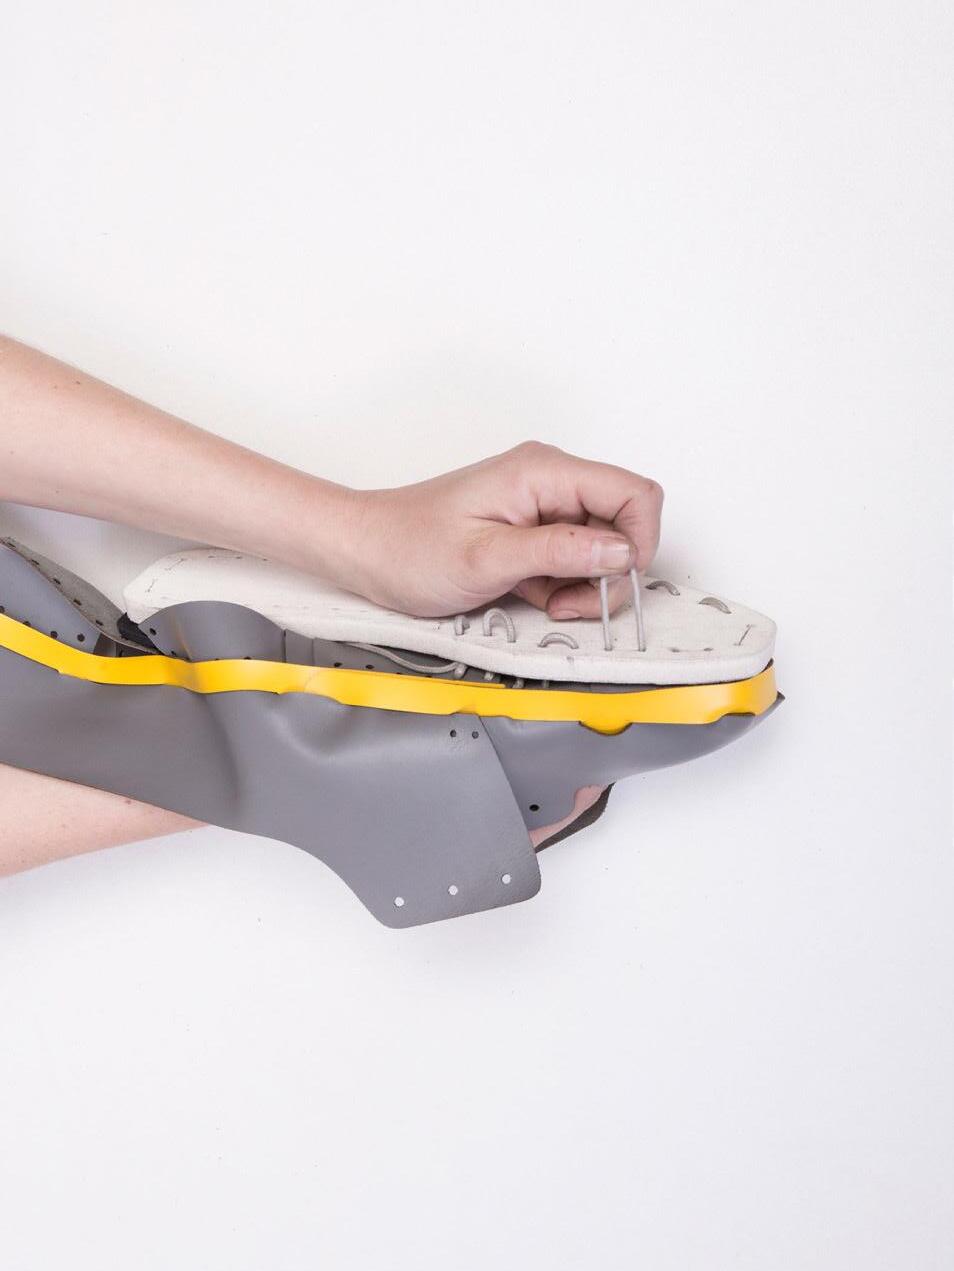
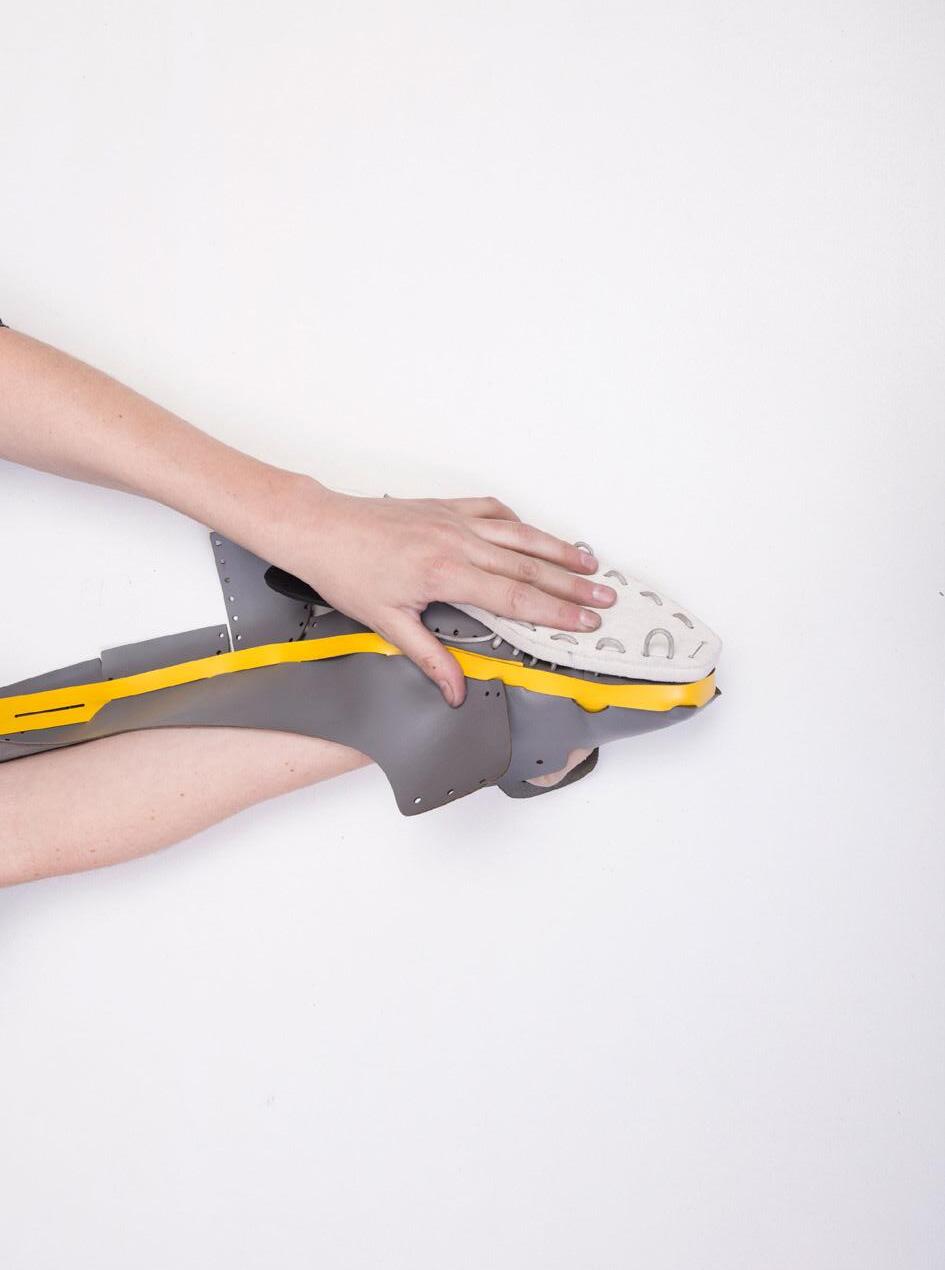
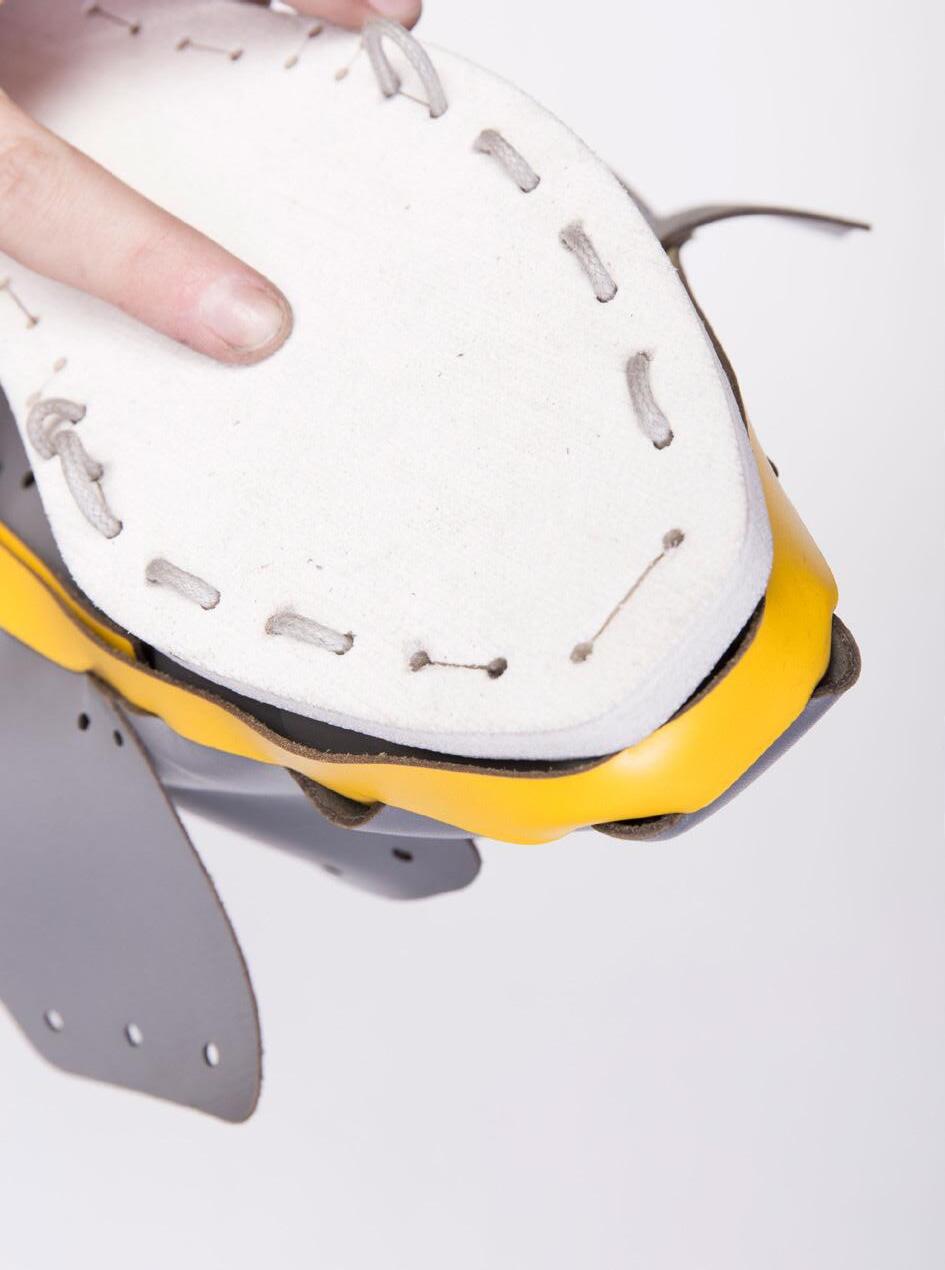
/ tighten the laces
12/14 start pulling the laces moving from the outsole to the insole and back as you go along
Make sure the lace sits nicely in the channels of the outsole so you wont walk on it later
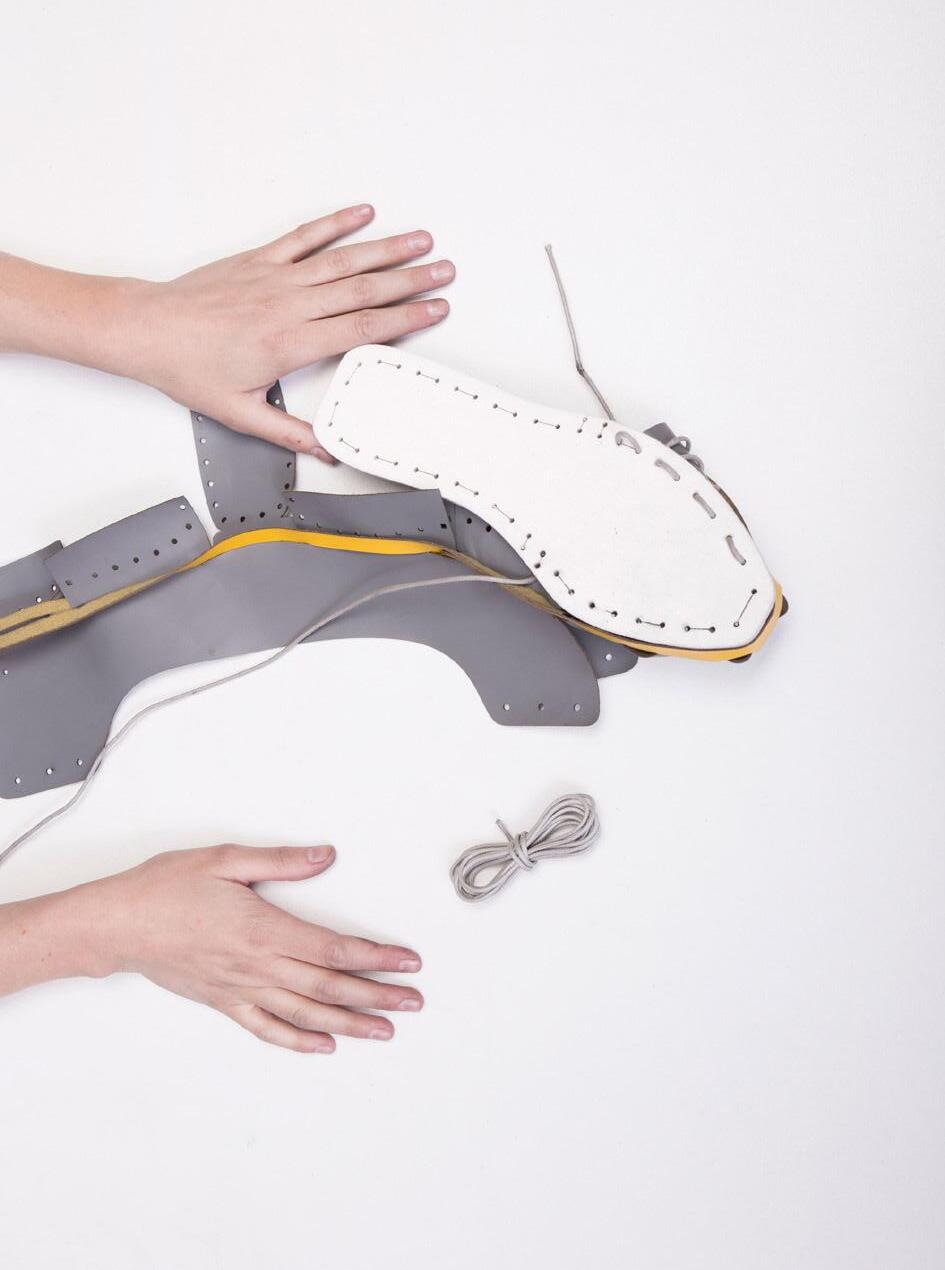
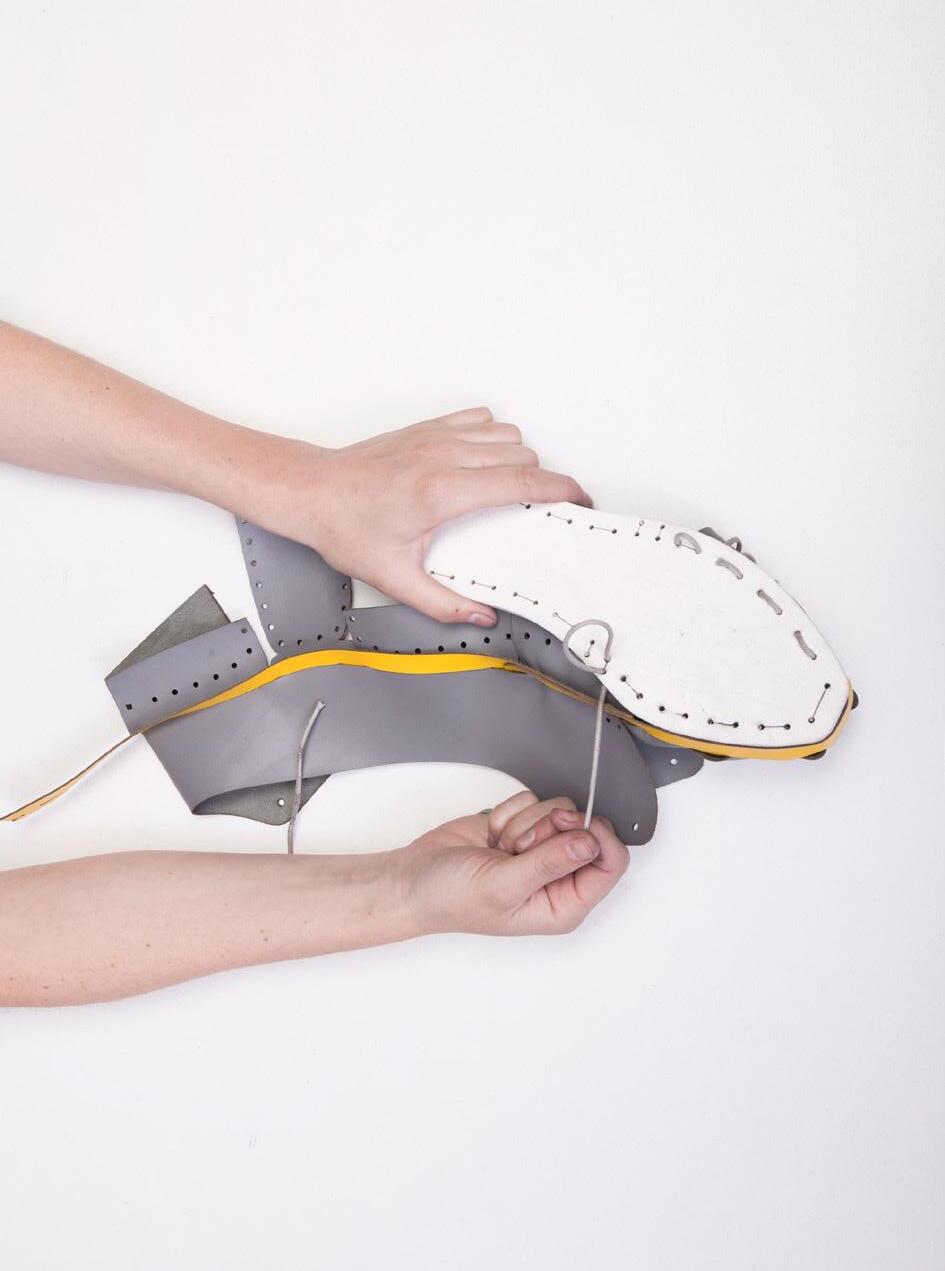
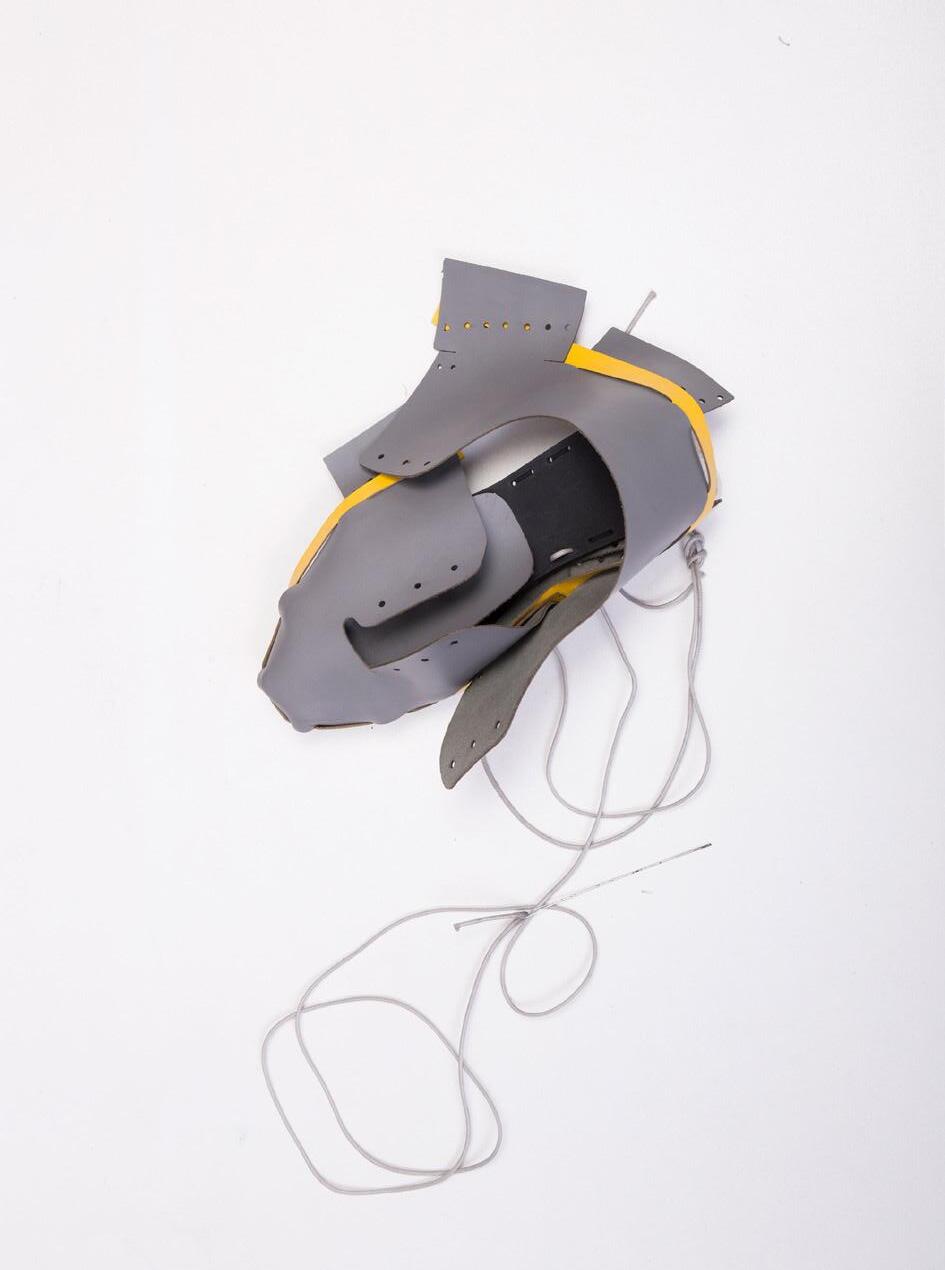
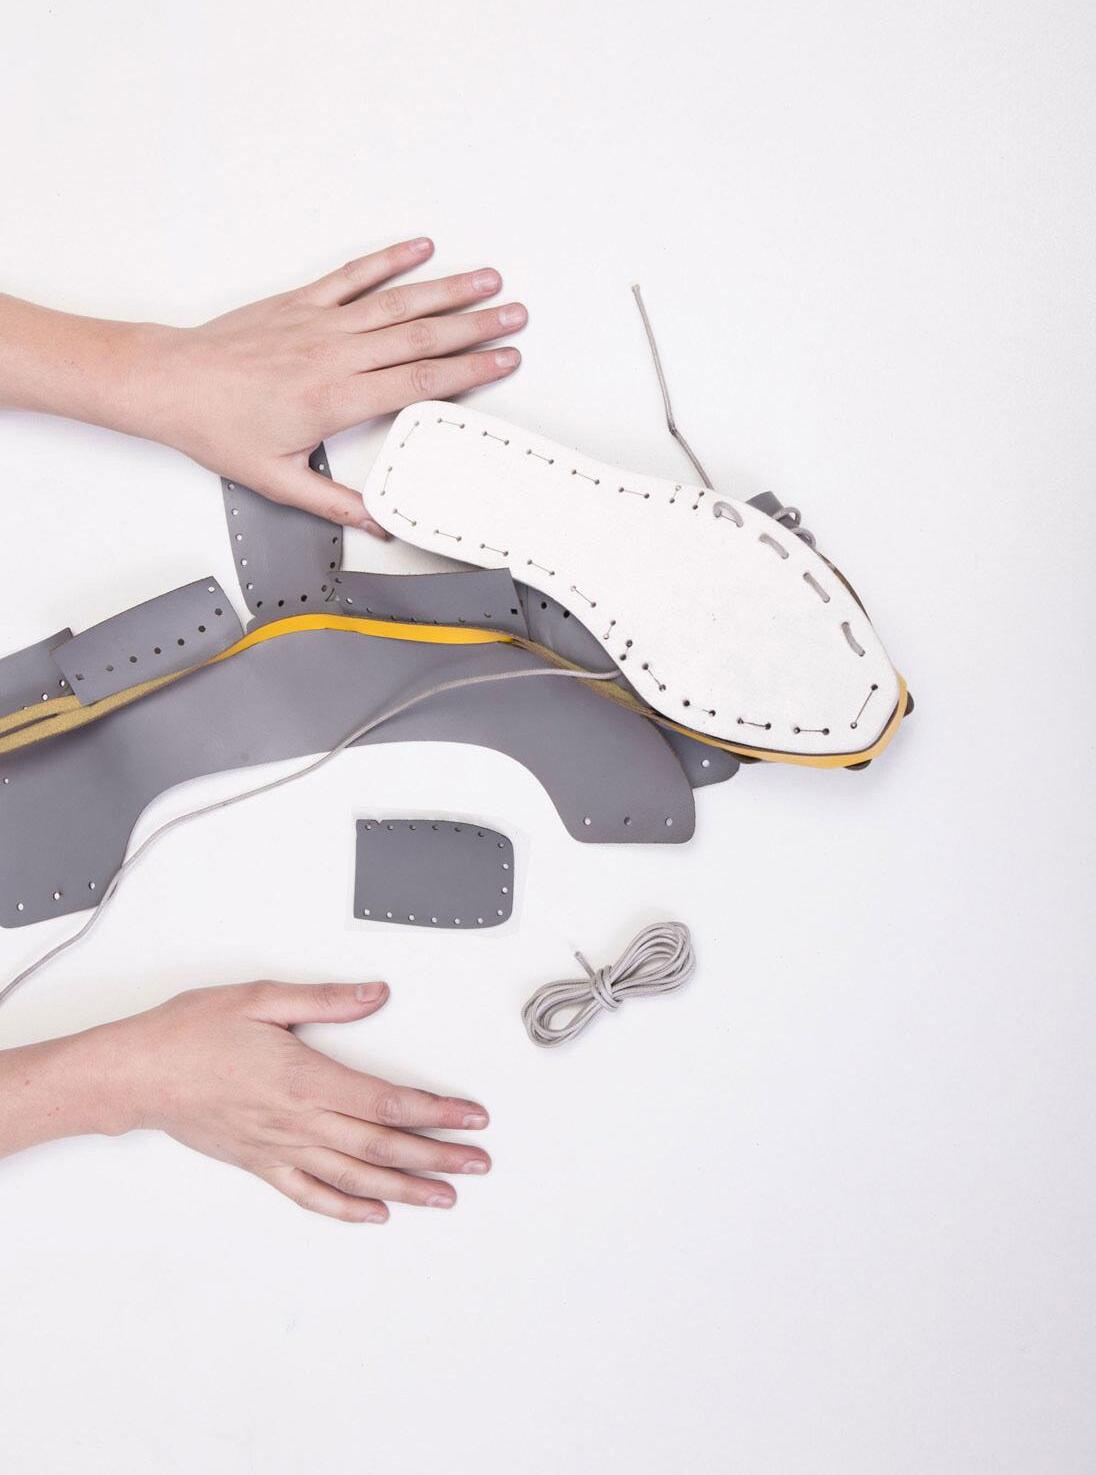
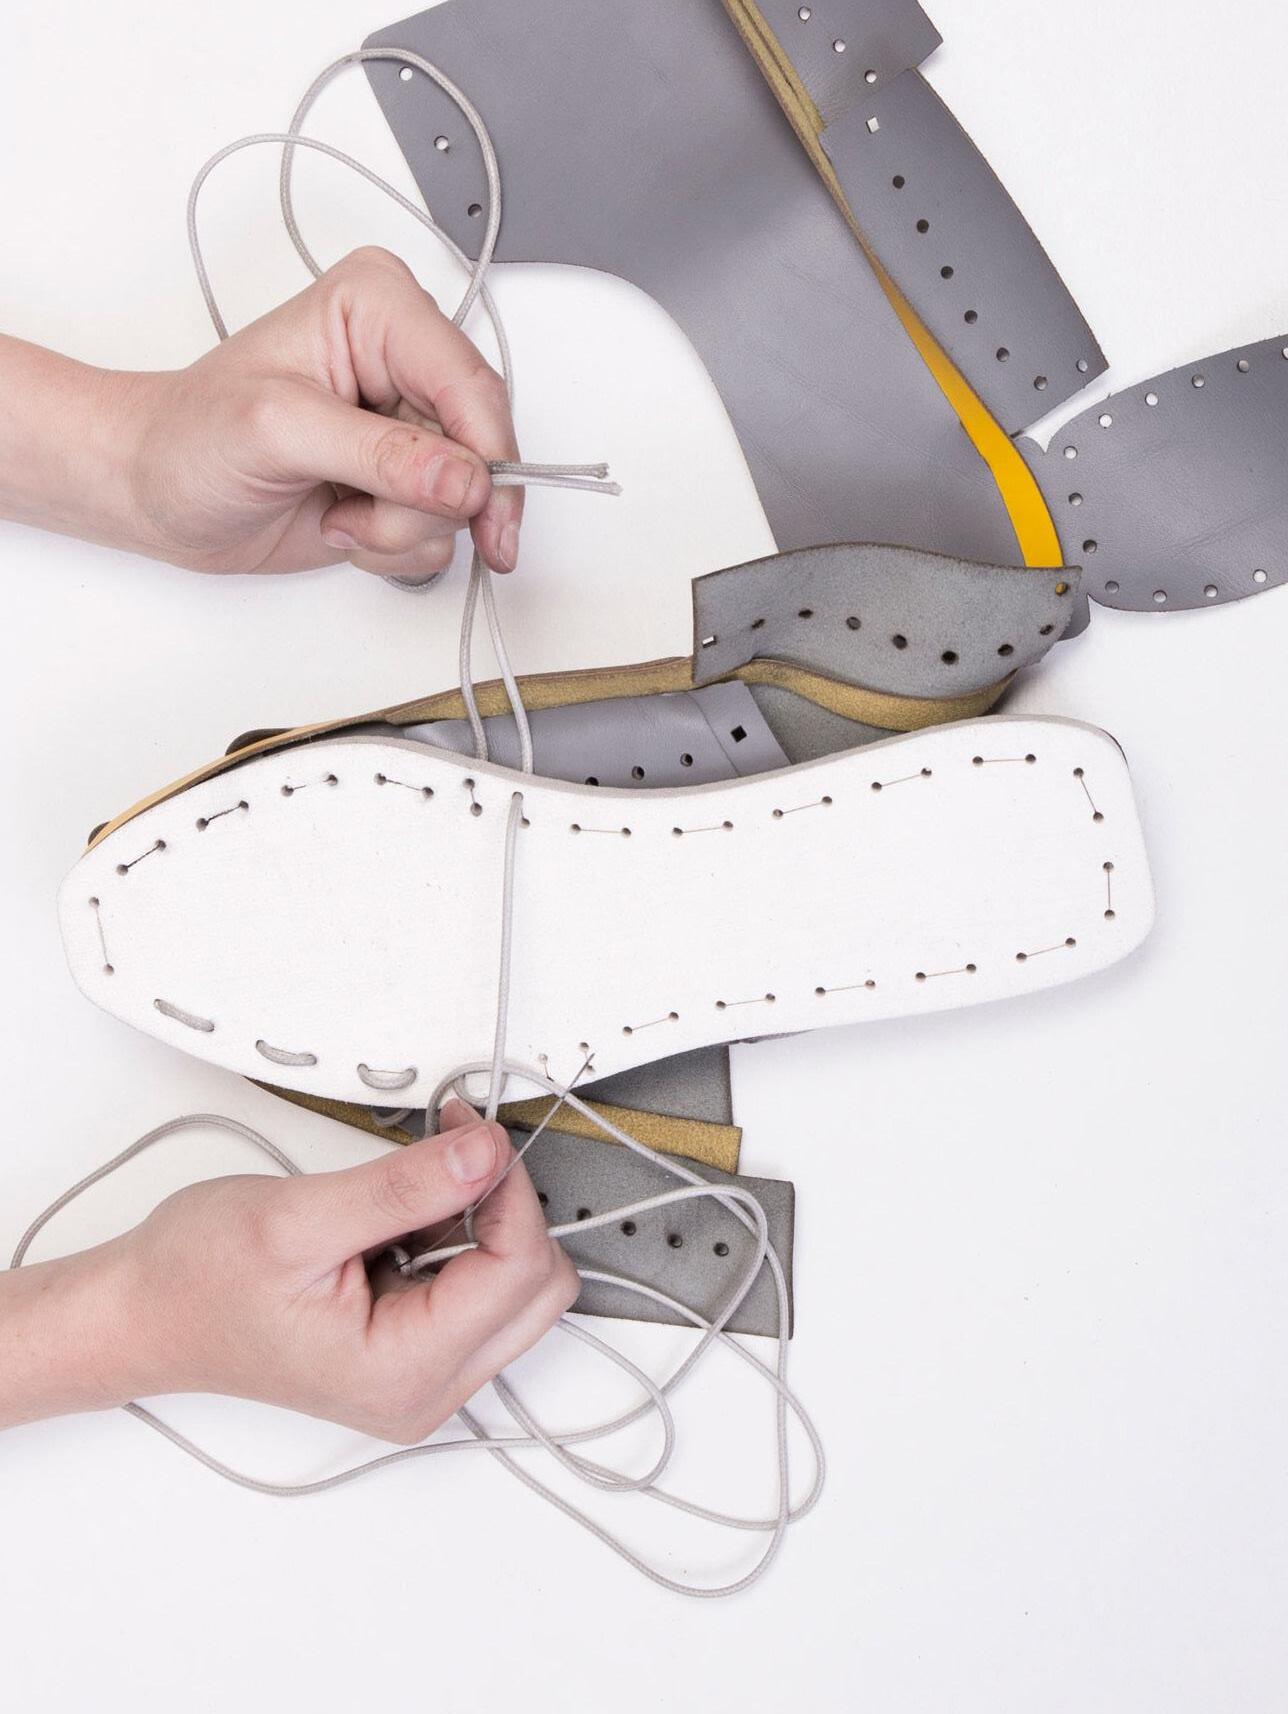
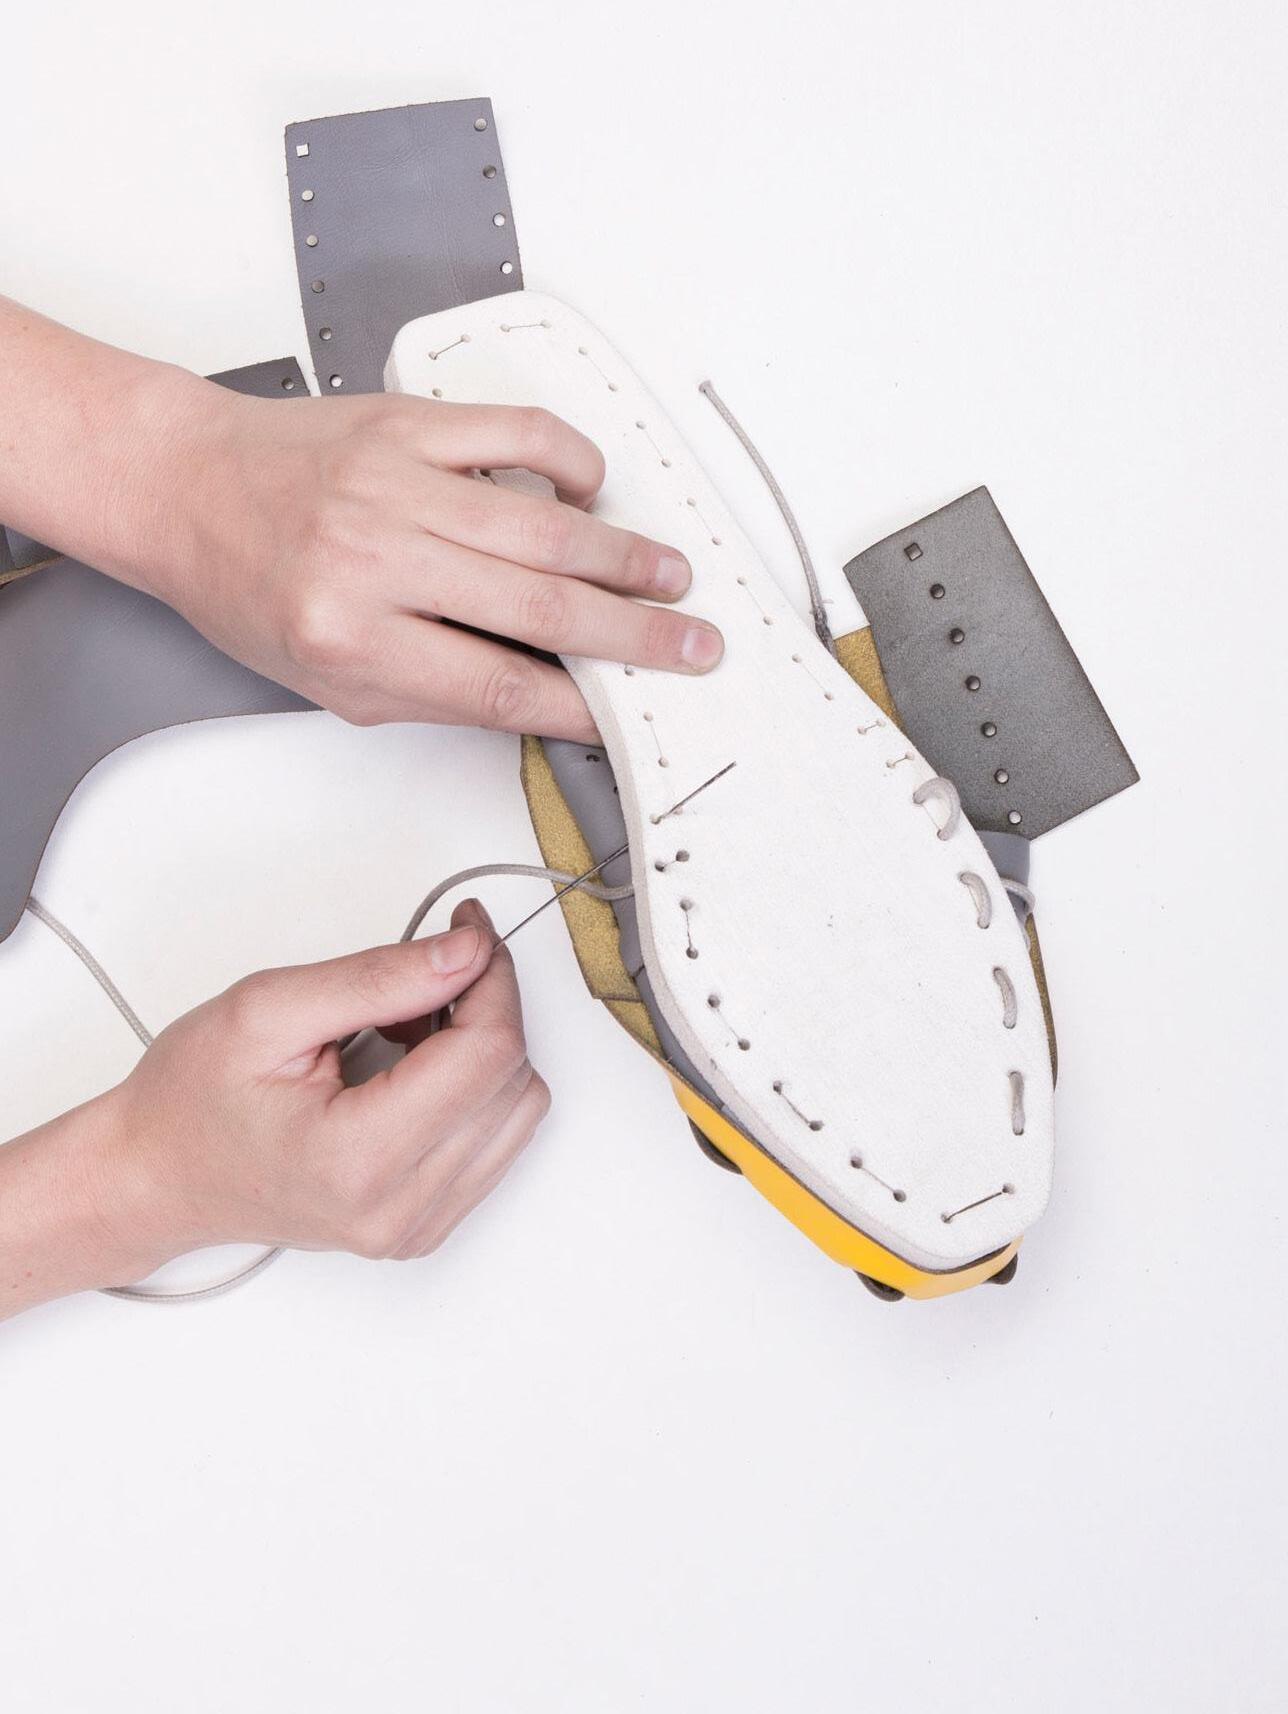
pull the back lace to the same length as the front lace Step 6 B Goal: Continue assembling the shoe until you reach the Centre Back
Components: + Back Lace + Heel Piece
add back lace
Be careful to lace in the right orderSEE IMAGES Pull the back lace to the same length as the front lace
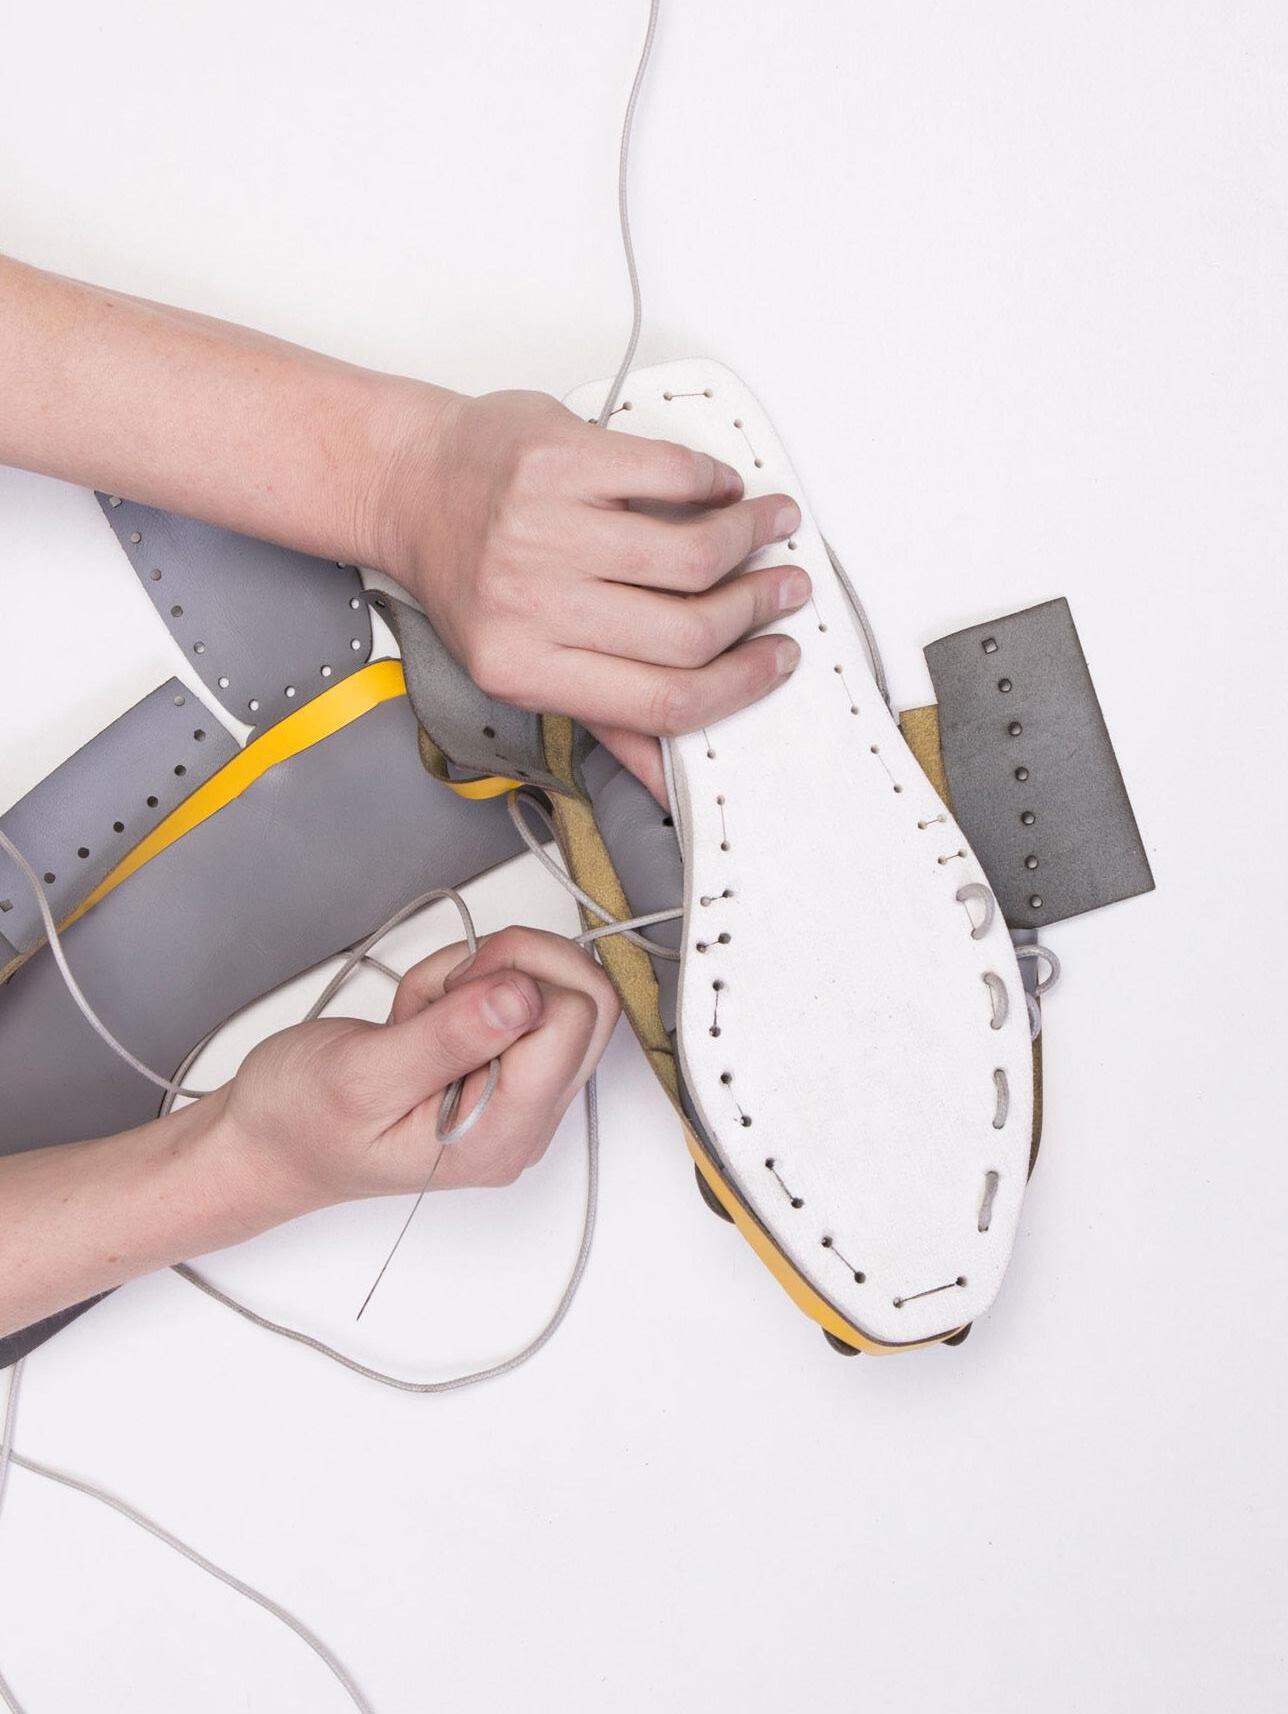
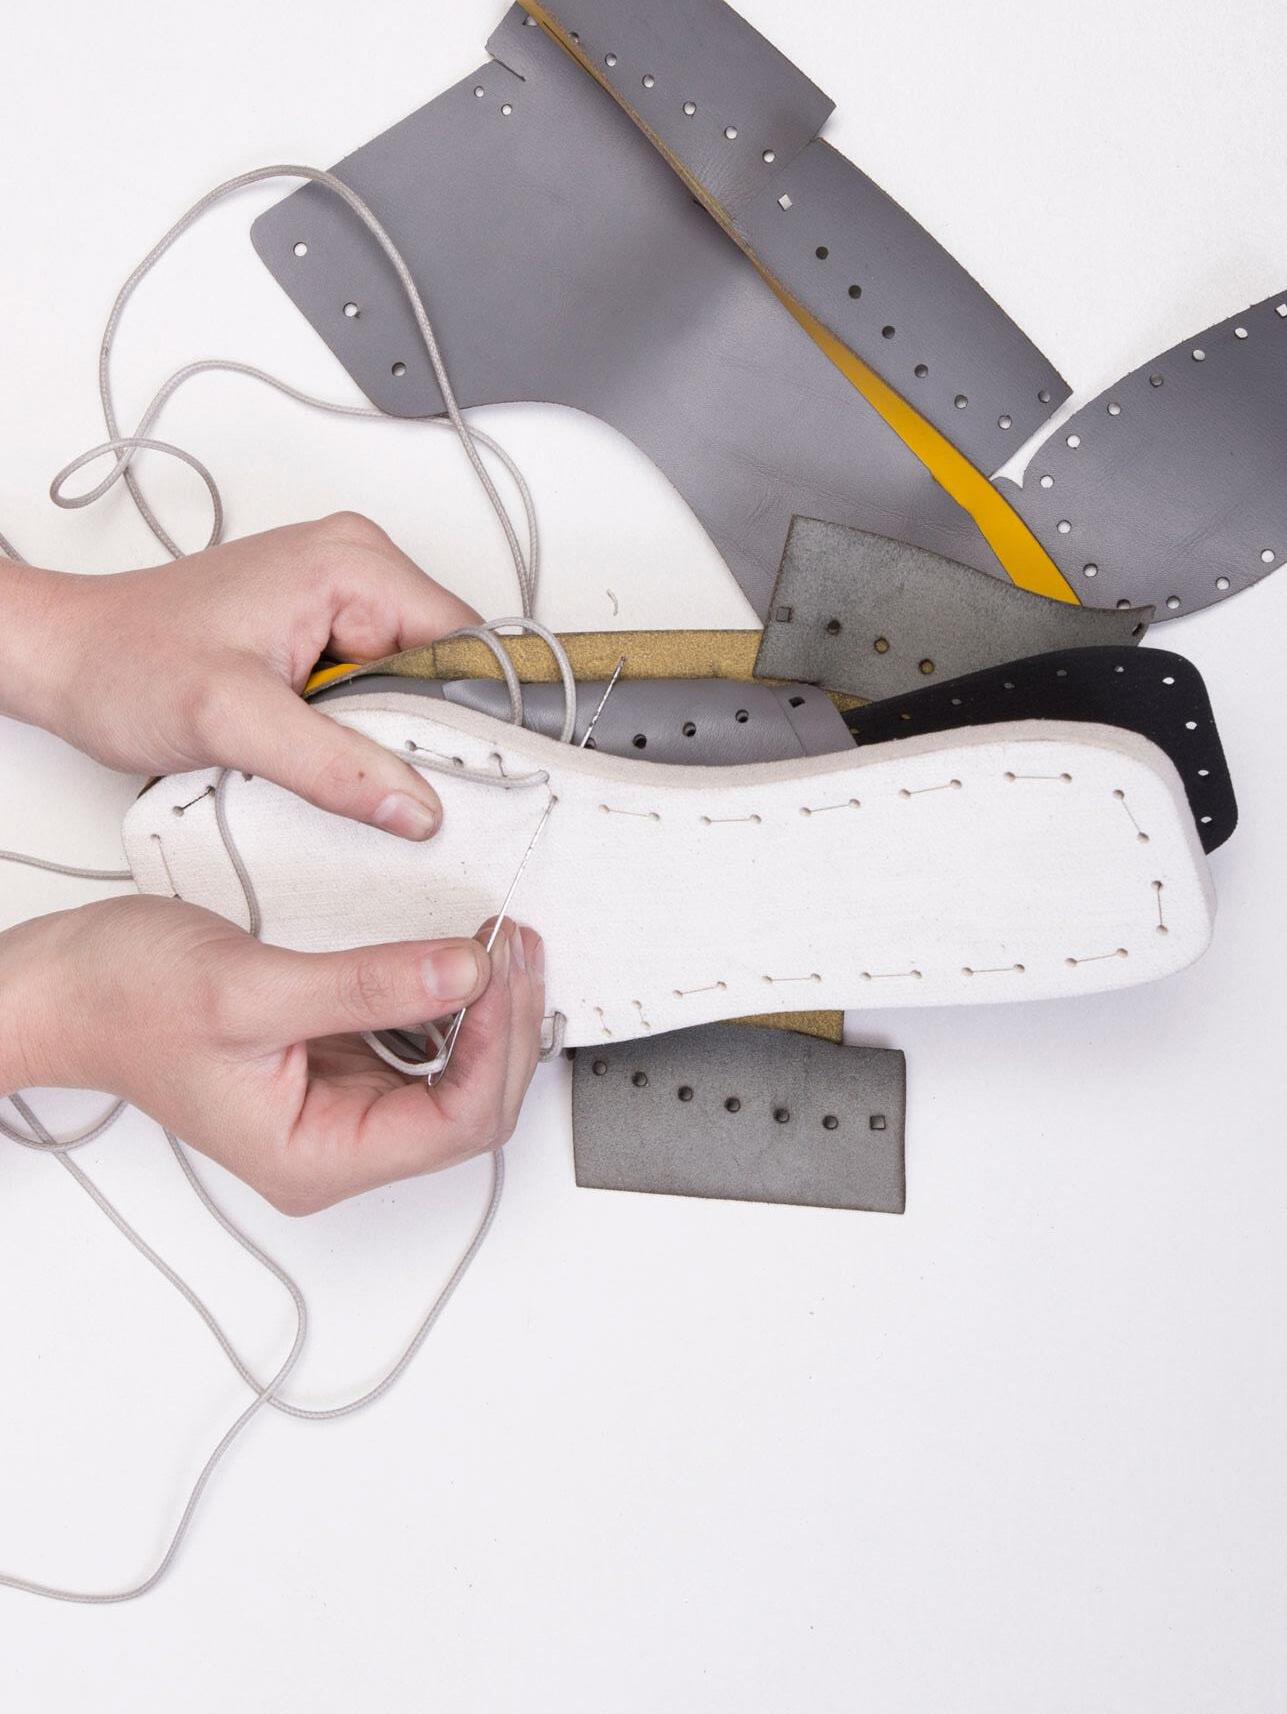
3 lace the second hole of the lacing slot
4 when the front and back lace have the same length pull the lace into the channel of the outsole to secure the measurement
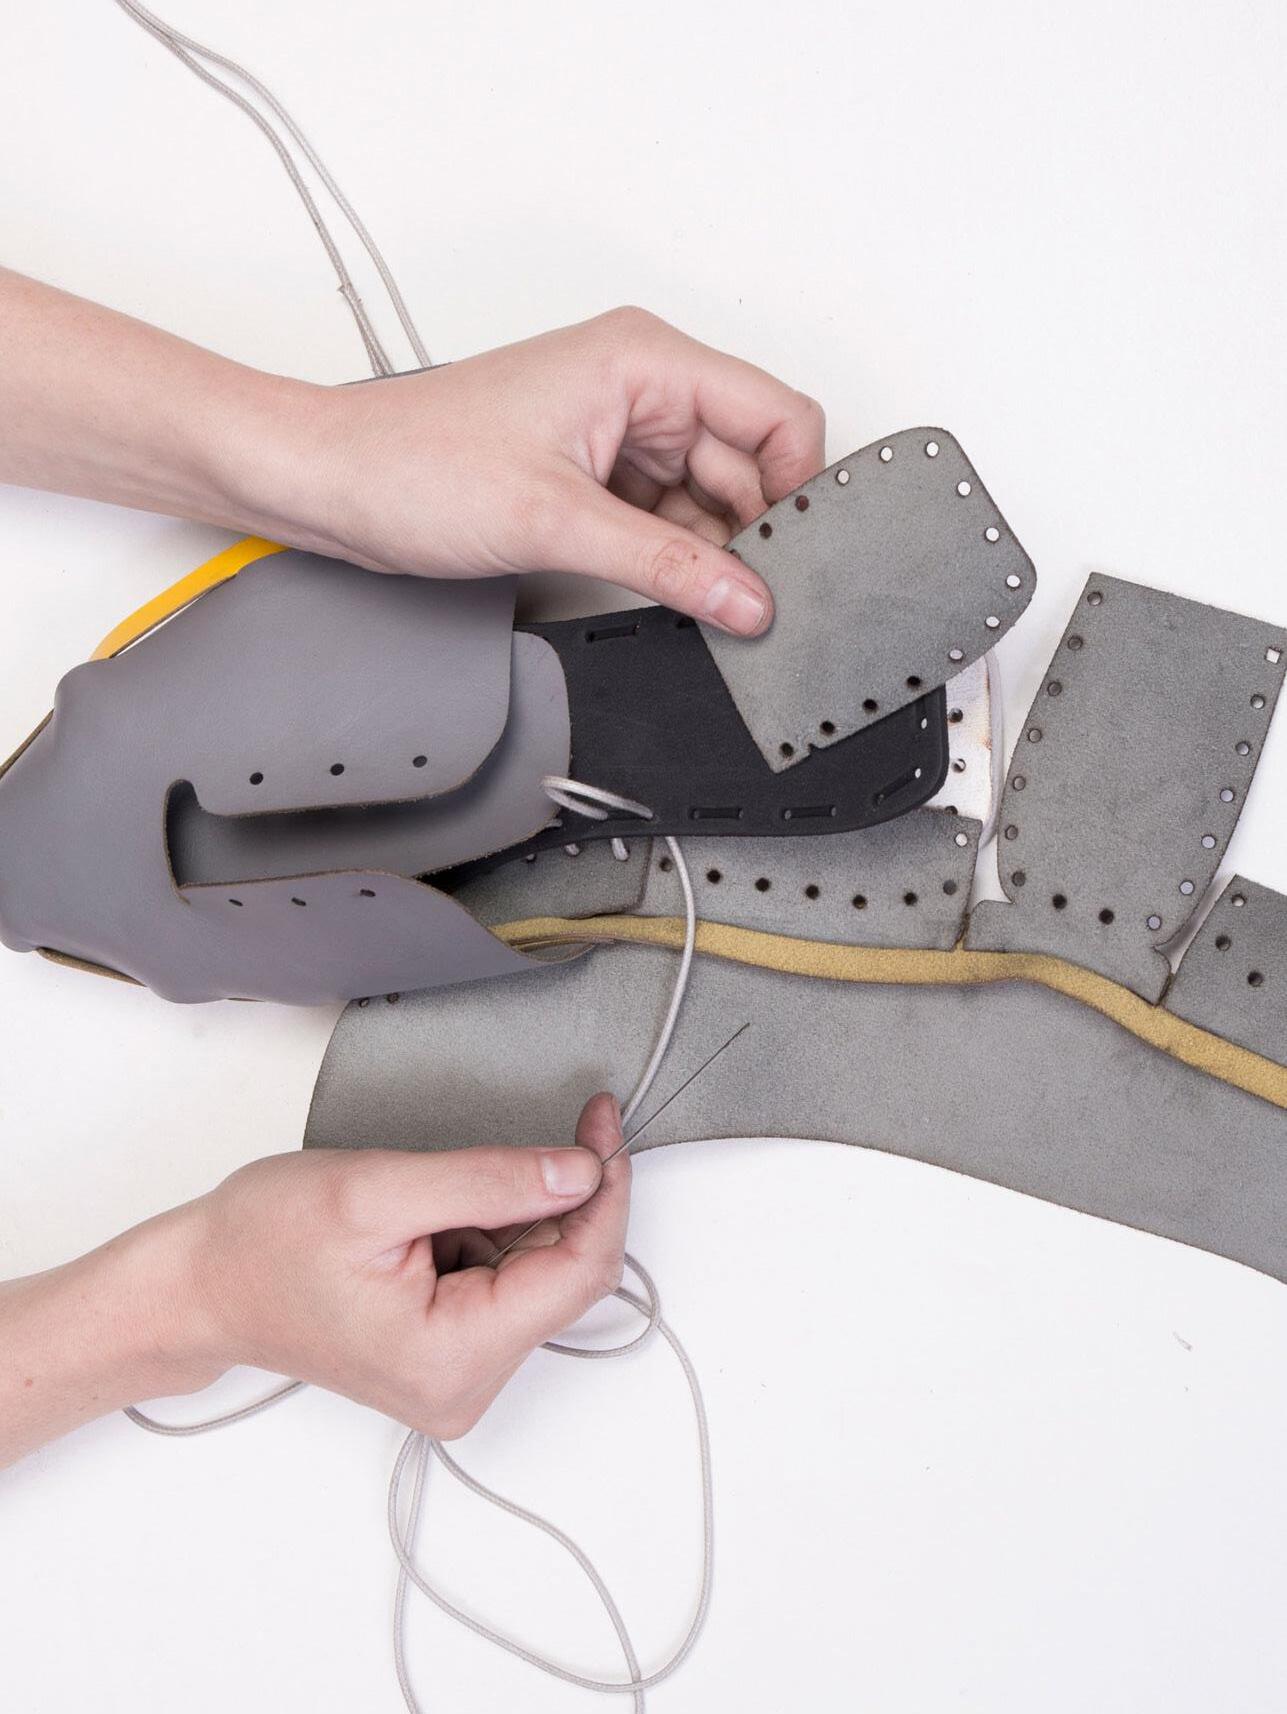
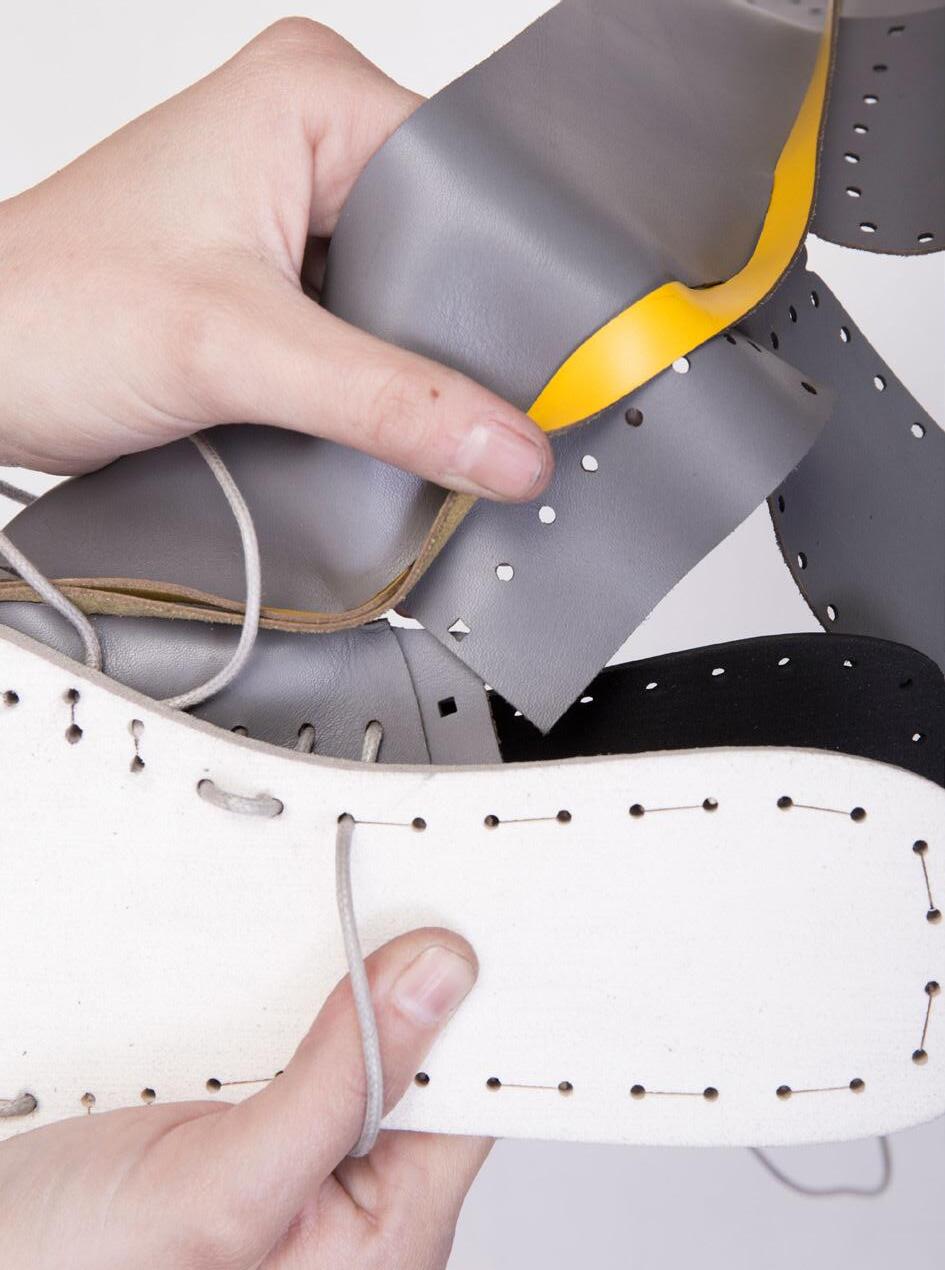
5 continue lacing the layers in the correct order, when reaching the square shaped holes, make sure you catch all the squares
6 after lacing the square hole add in the heel piece
Be careful when reaching the squares to catch all the layers Make sure you don’t forget to add in the heel piece
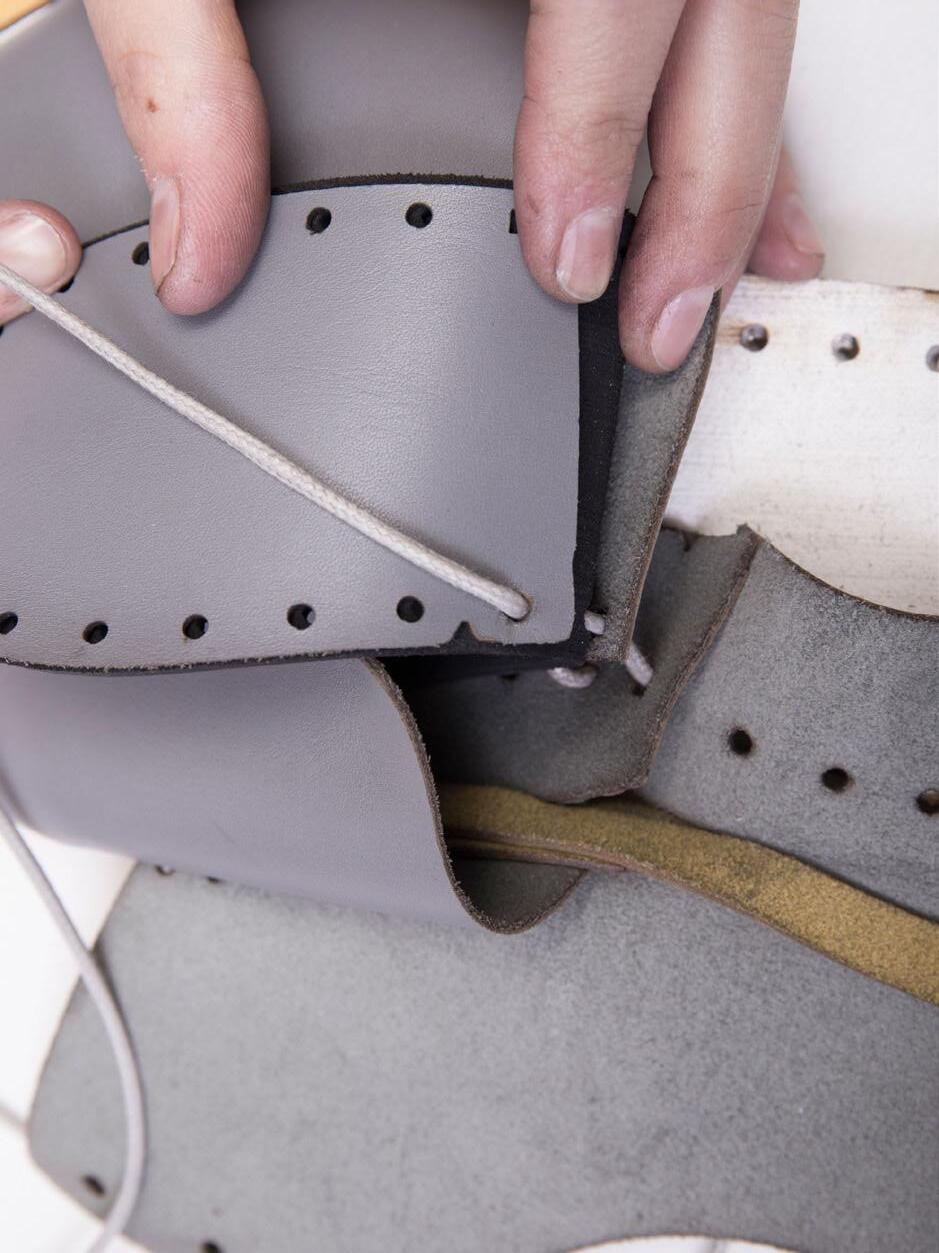
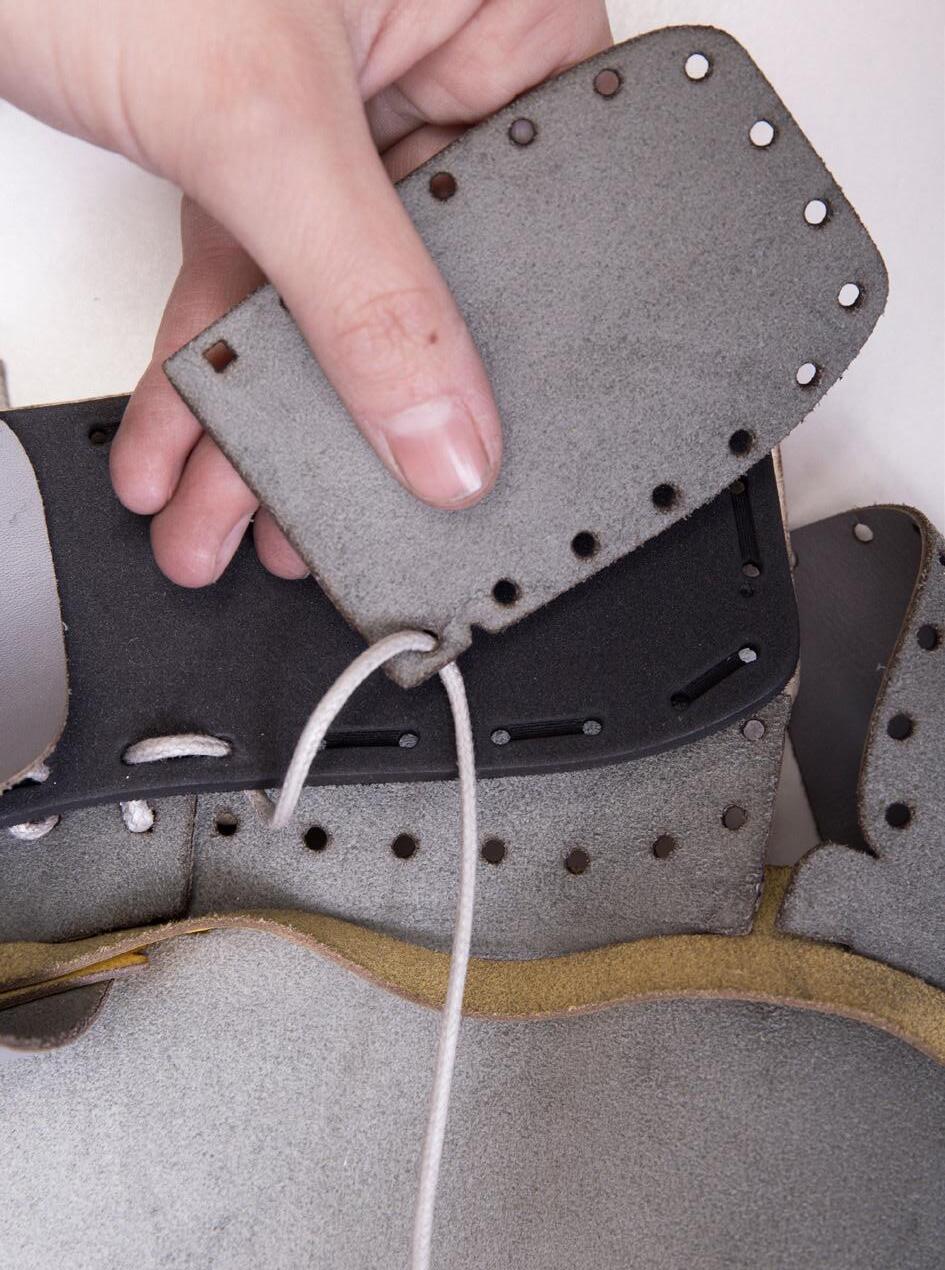
7 add in the heel piece
Check the orientation of the piece using the inside mark
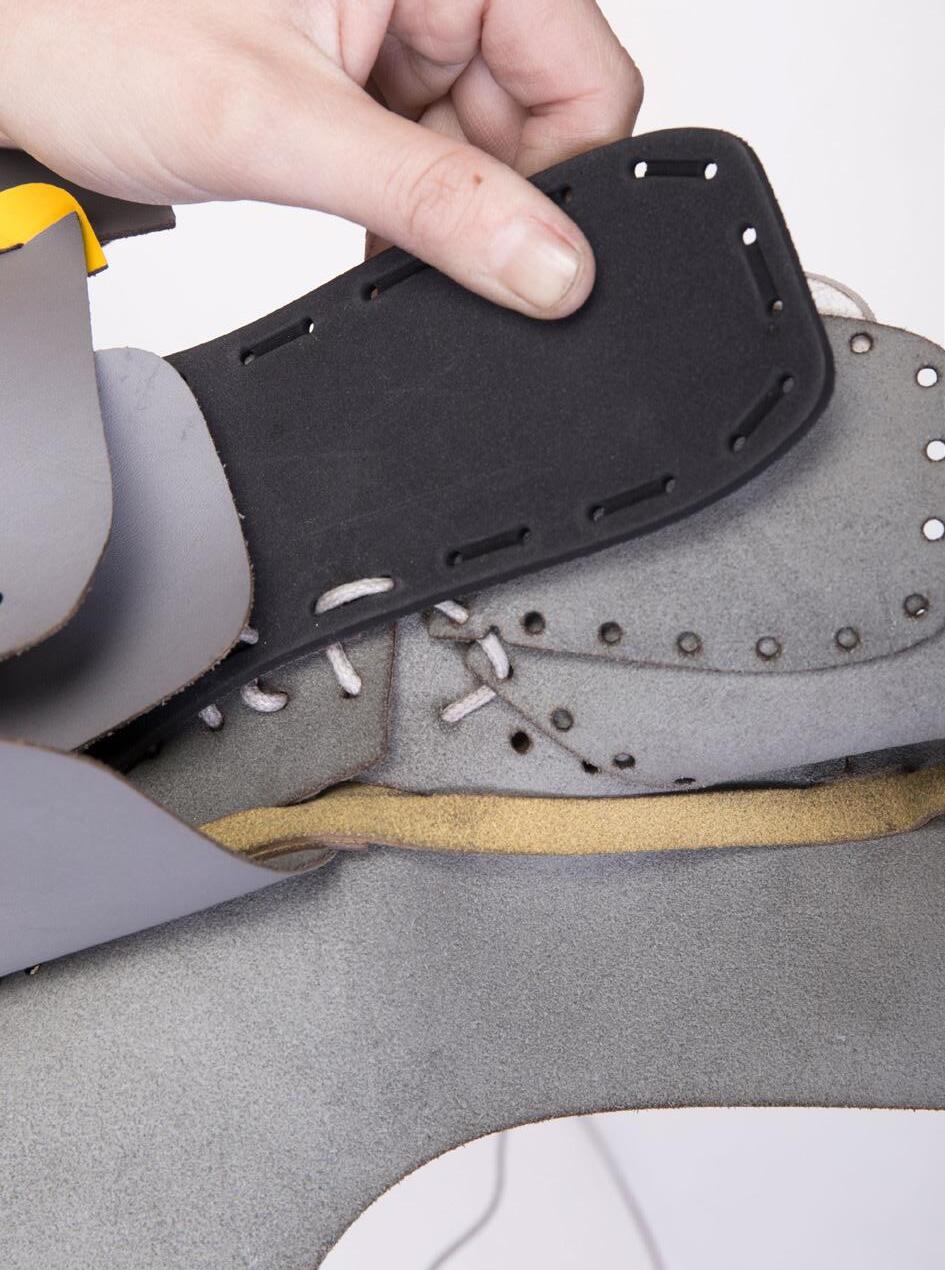
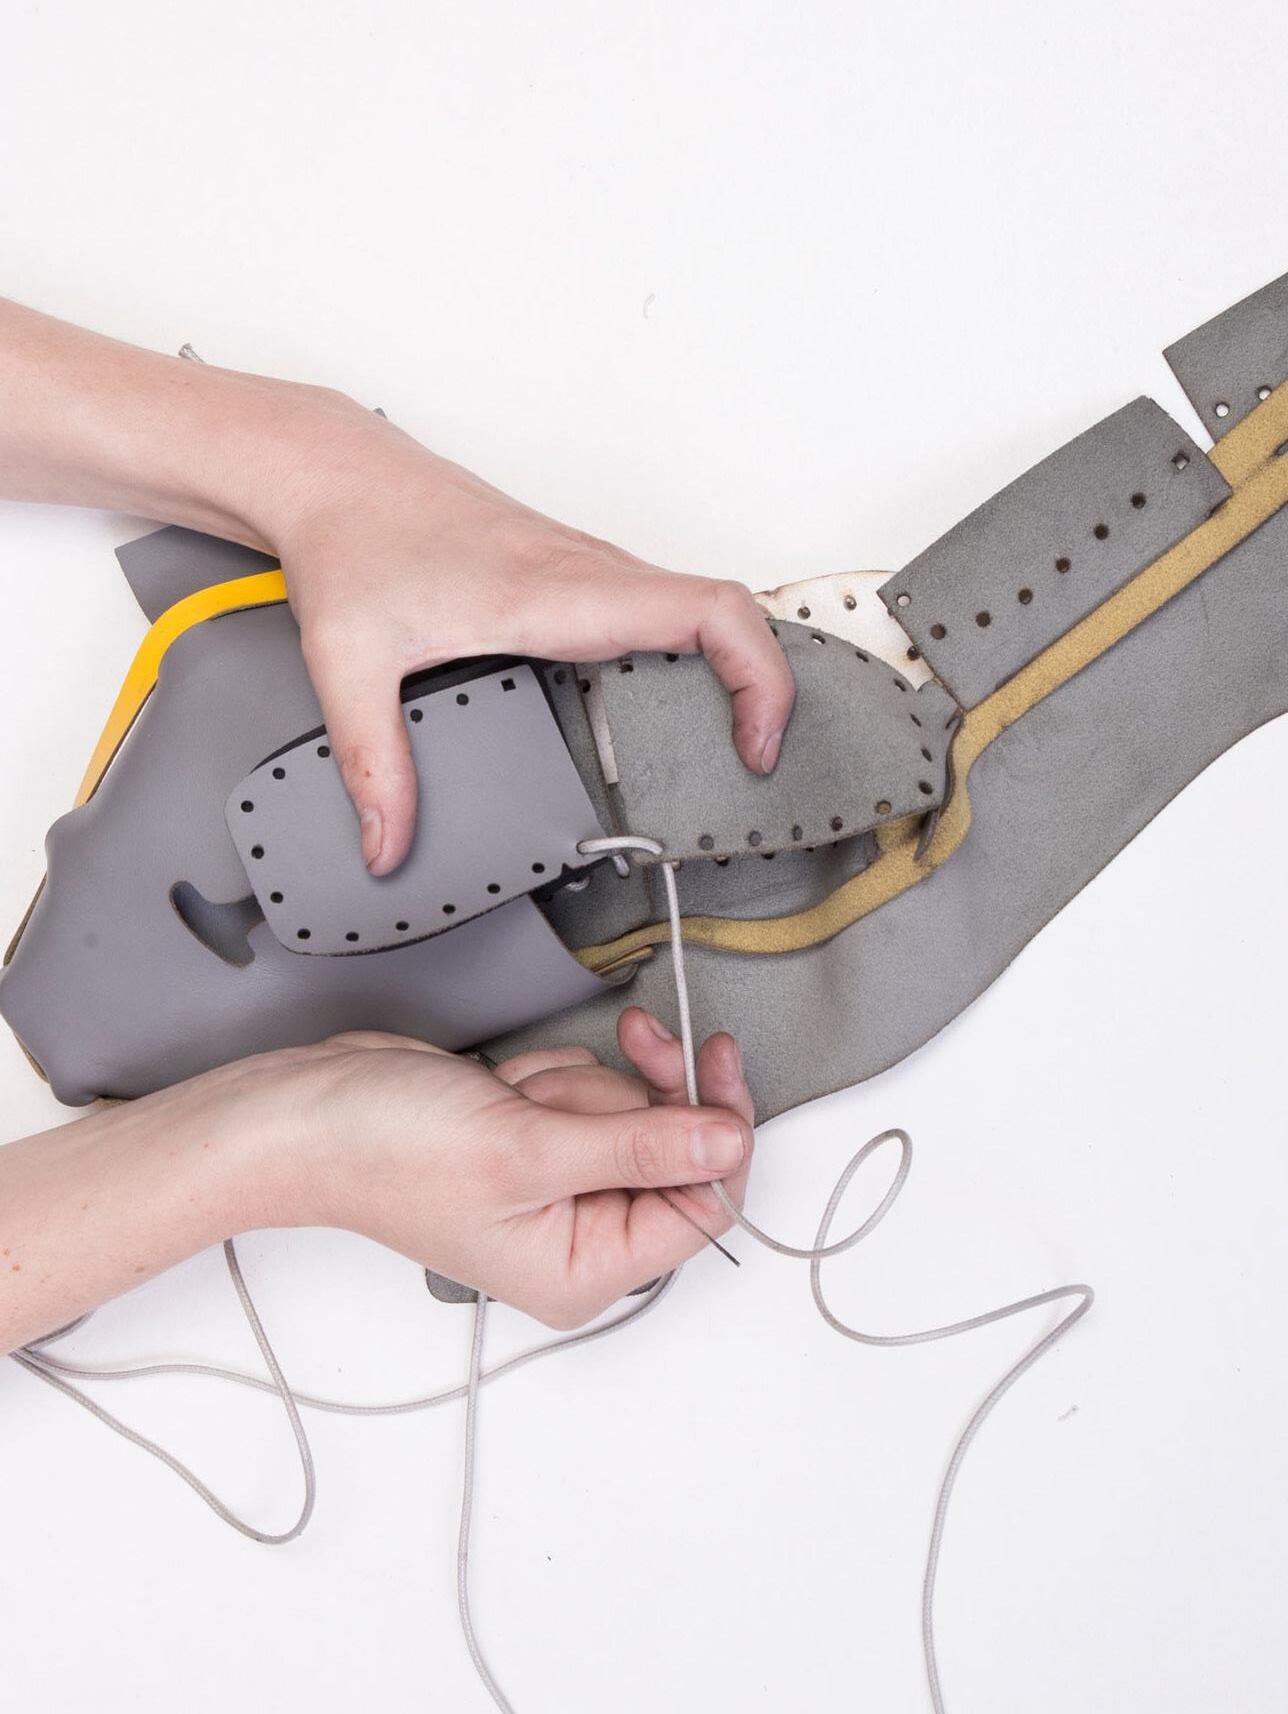
8/9 continue lacing all the layers in the correct order
Make sure you don’t forget to add in the heel piece Be careful to lace in the right orderSEE IMAGES
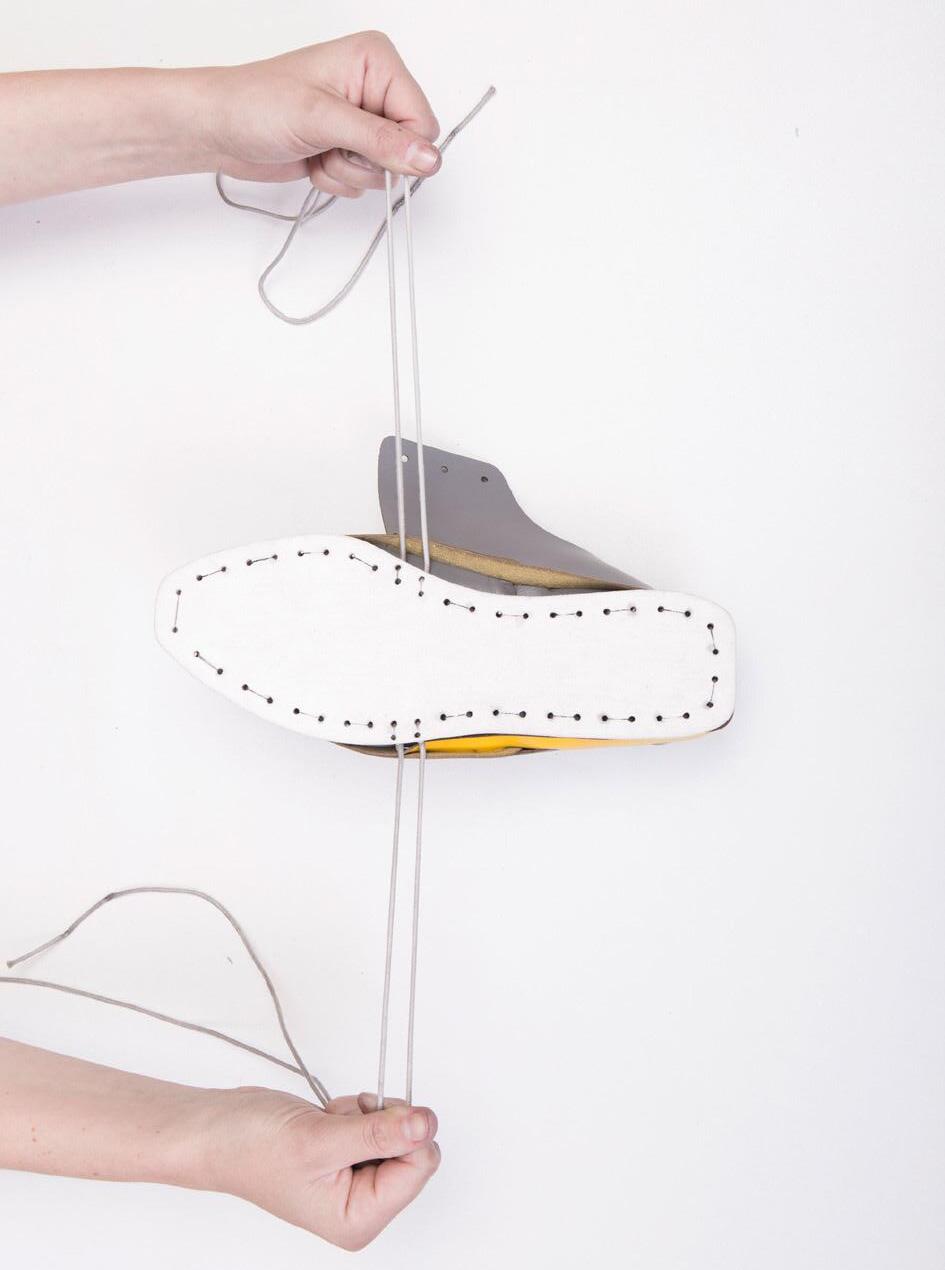
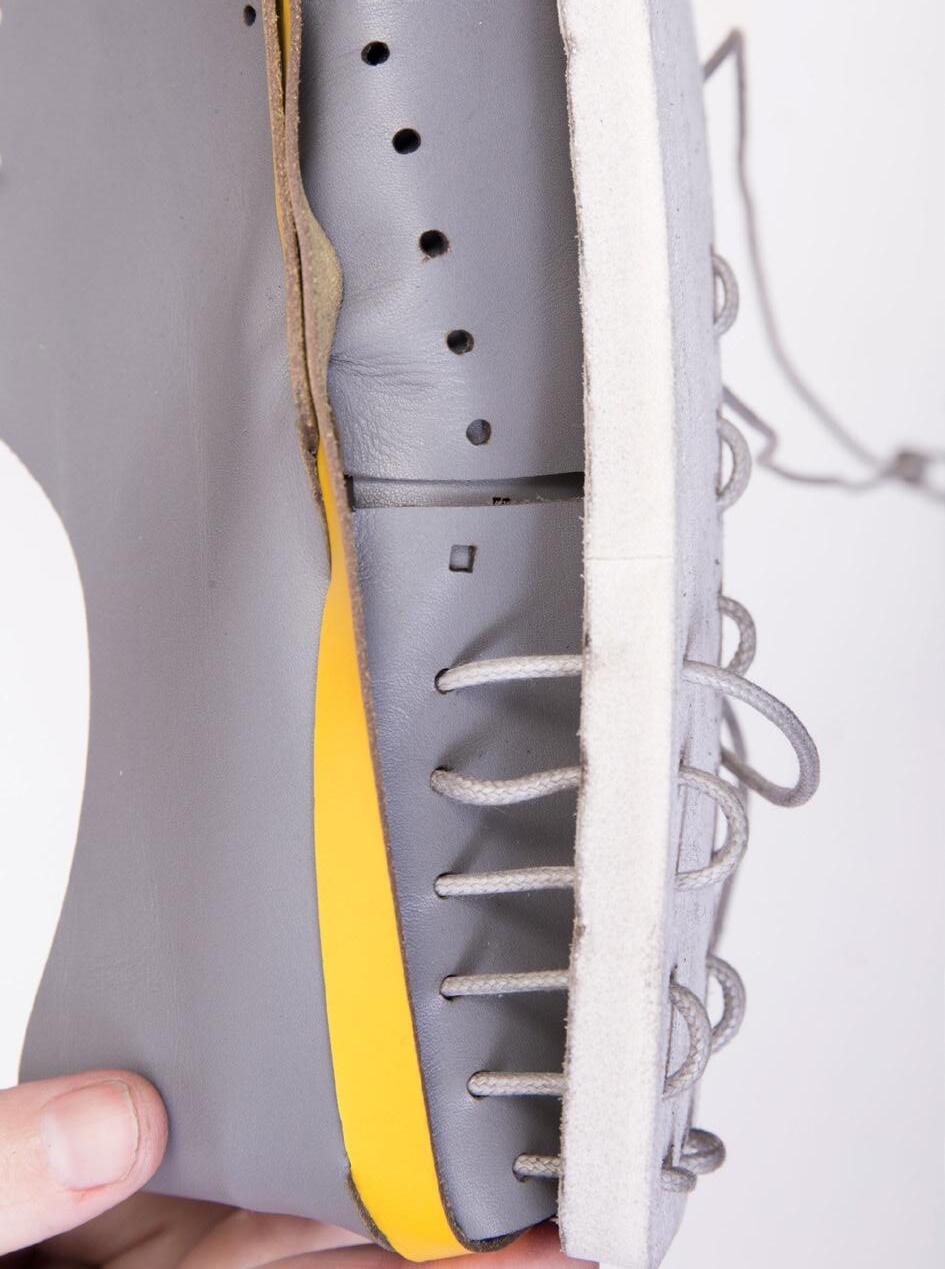
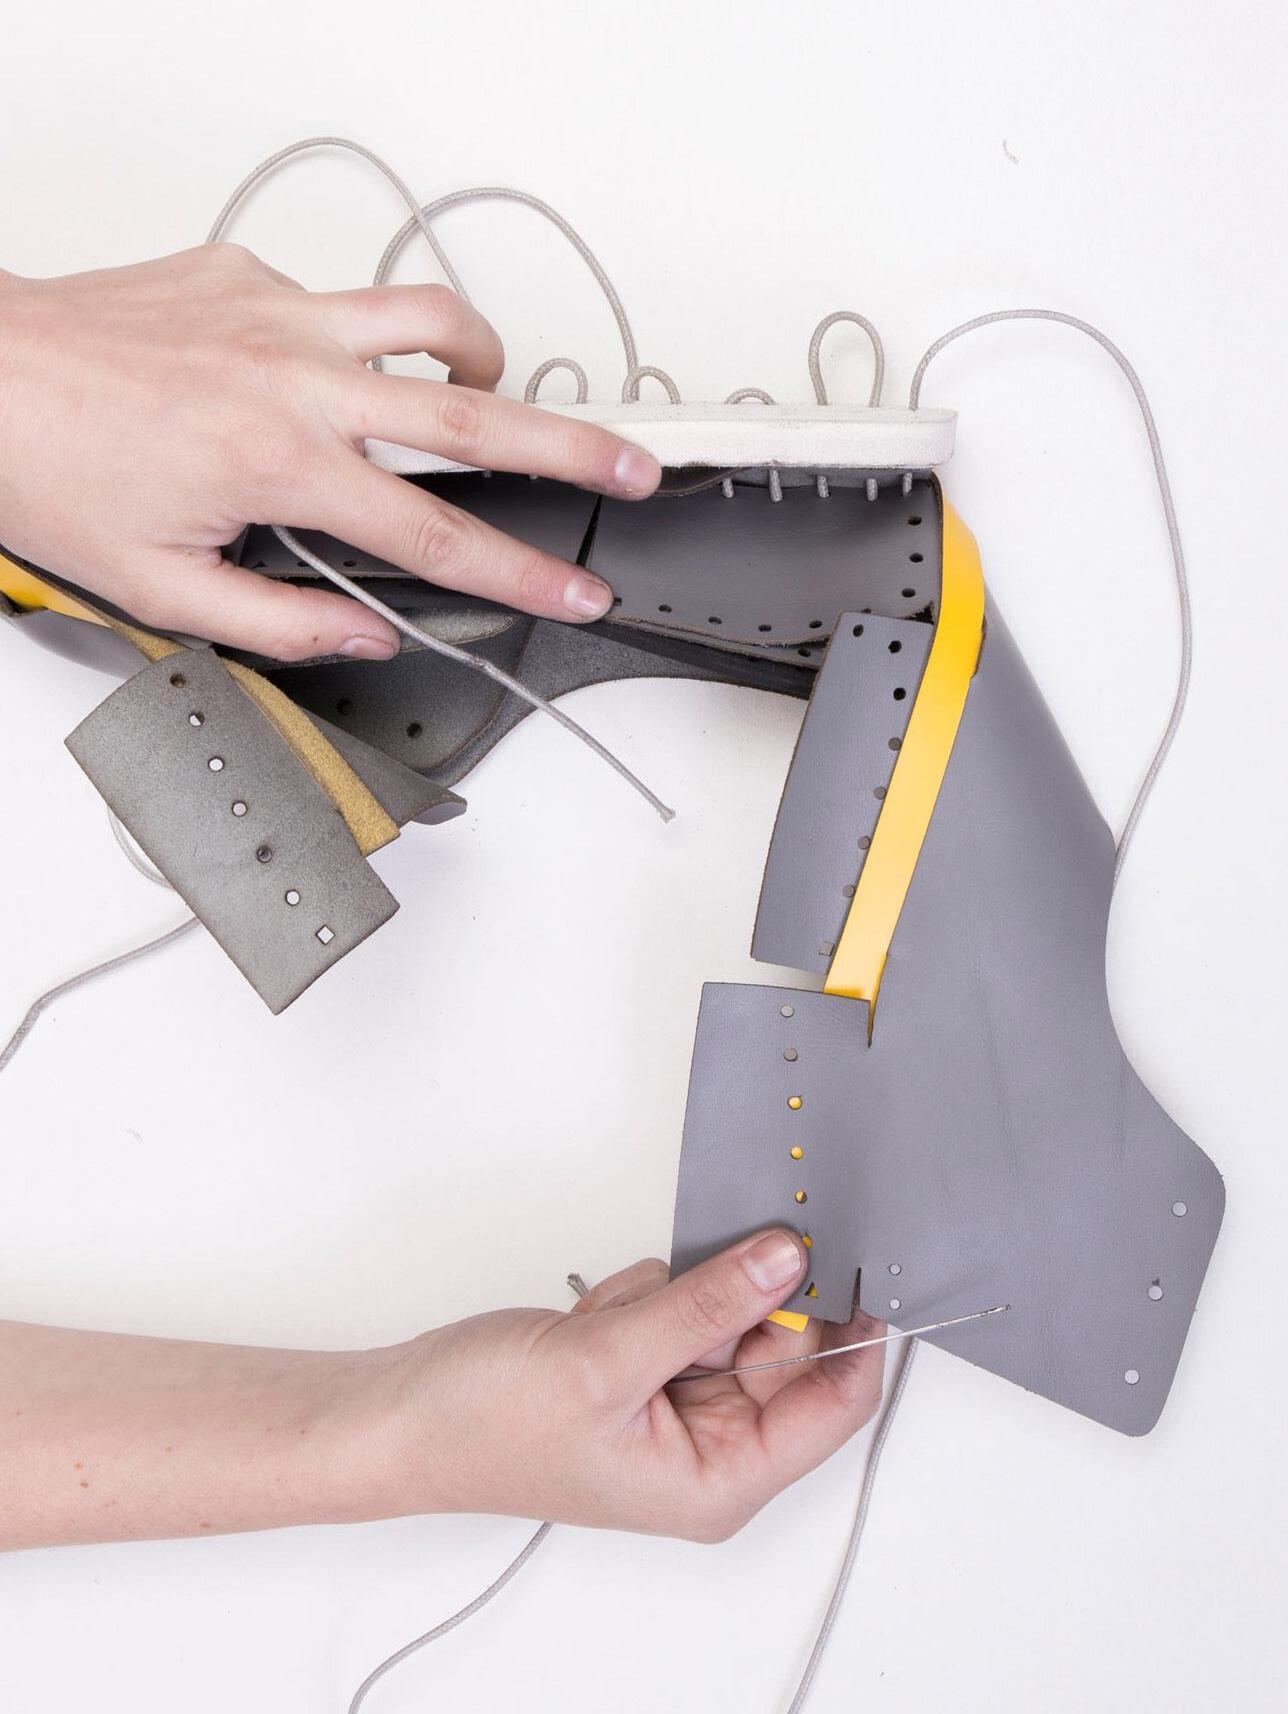
1 after reaching the centre back continue lacing all the layers in the correct order Step 7
A Components: No additional components
B Goal: Finish Connecting Upper, Insole and Outsole
/ if you need more lace tigthen starting from the inside lacing slot 2 lace until you reach the square
Be careful to lace in the right orderSEE IMAGES The more loose the lace the more oversight you have STOP before square
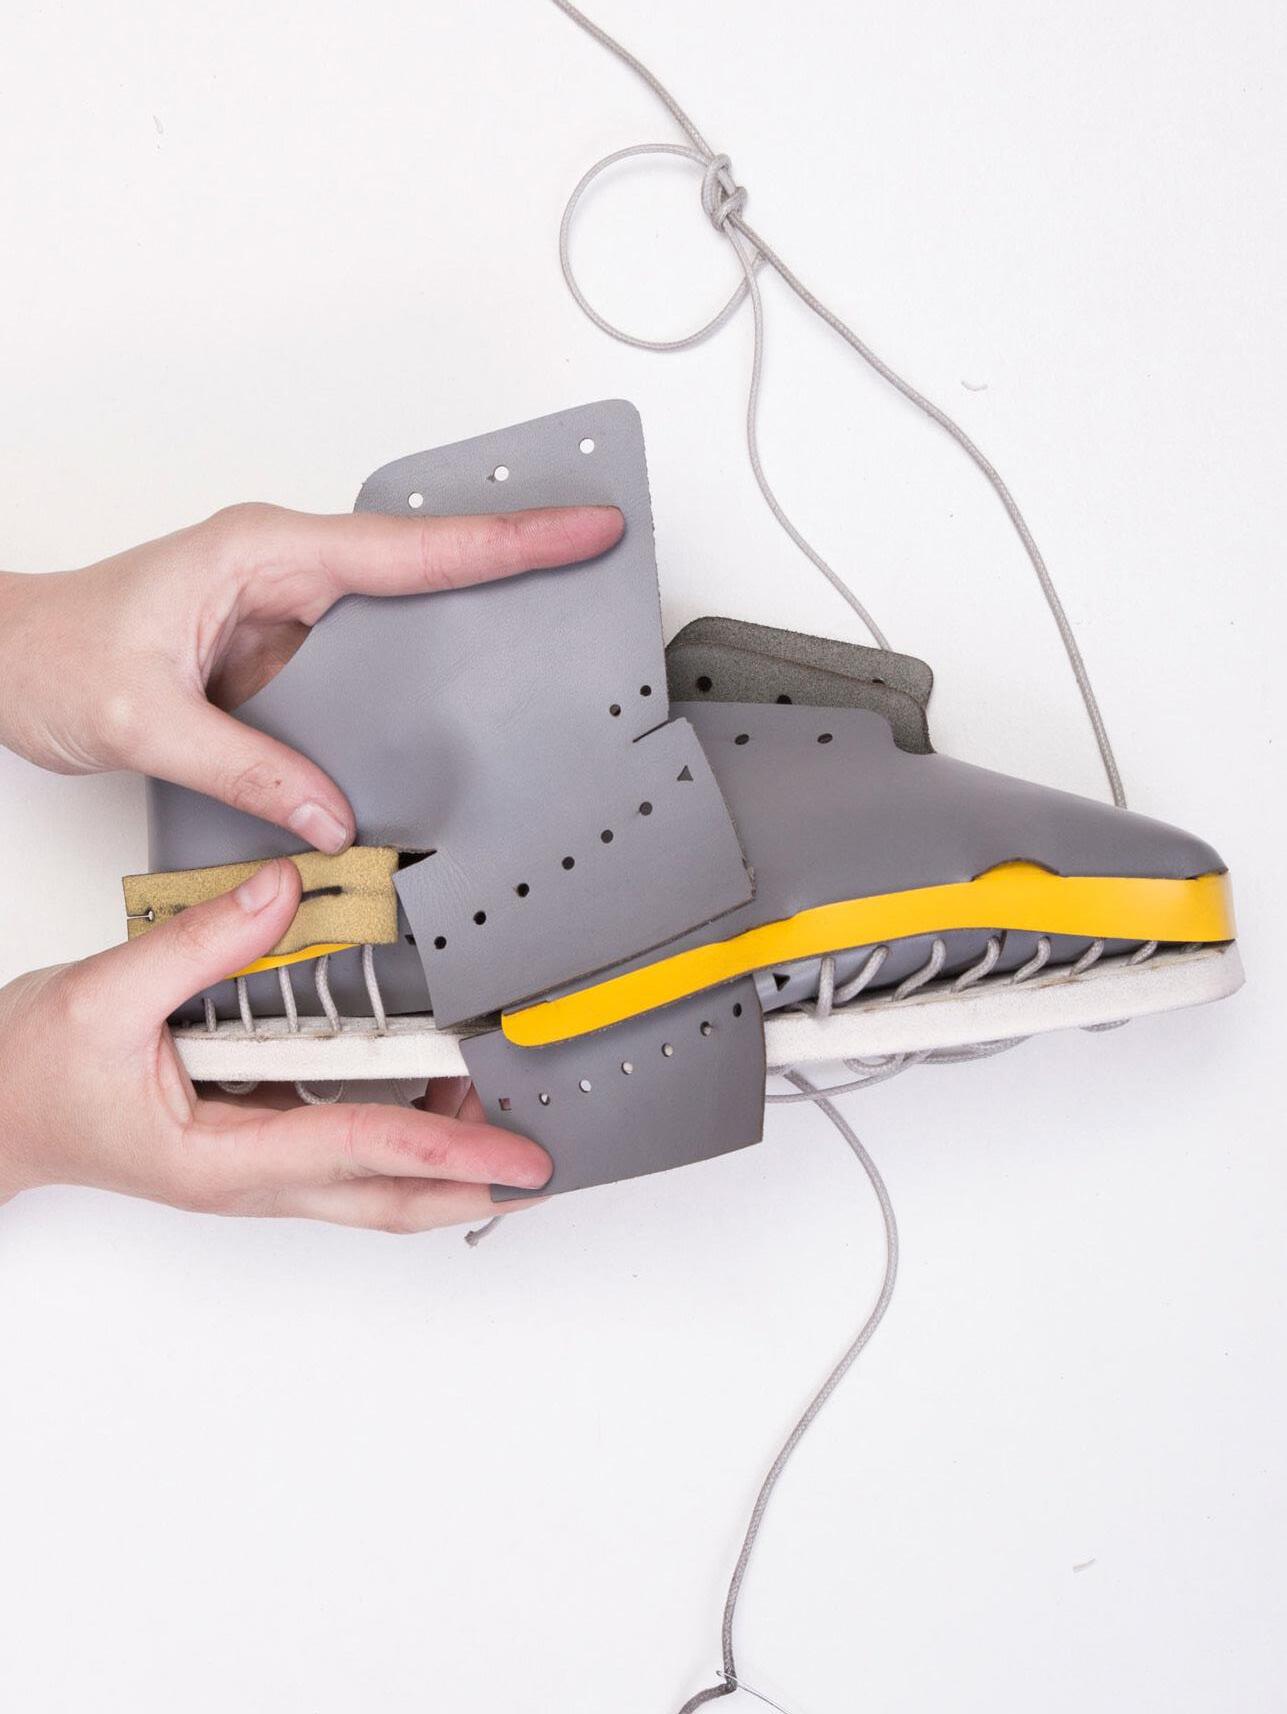
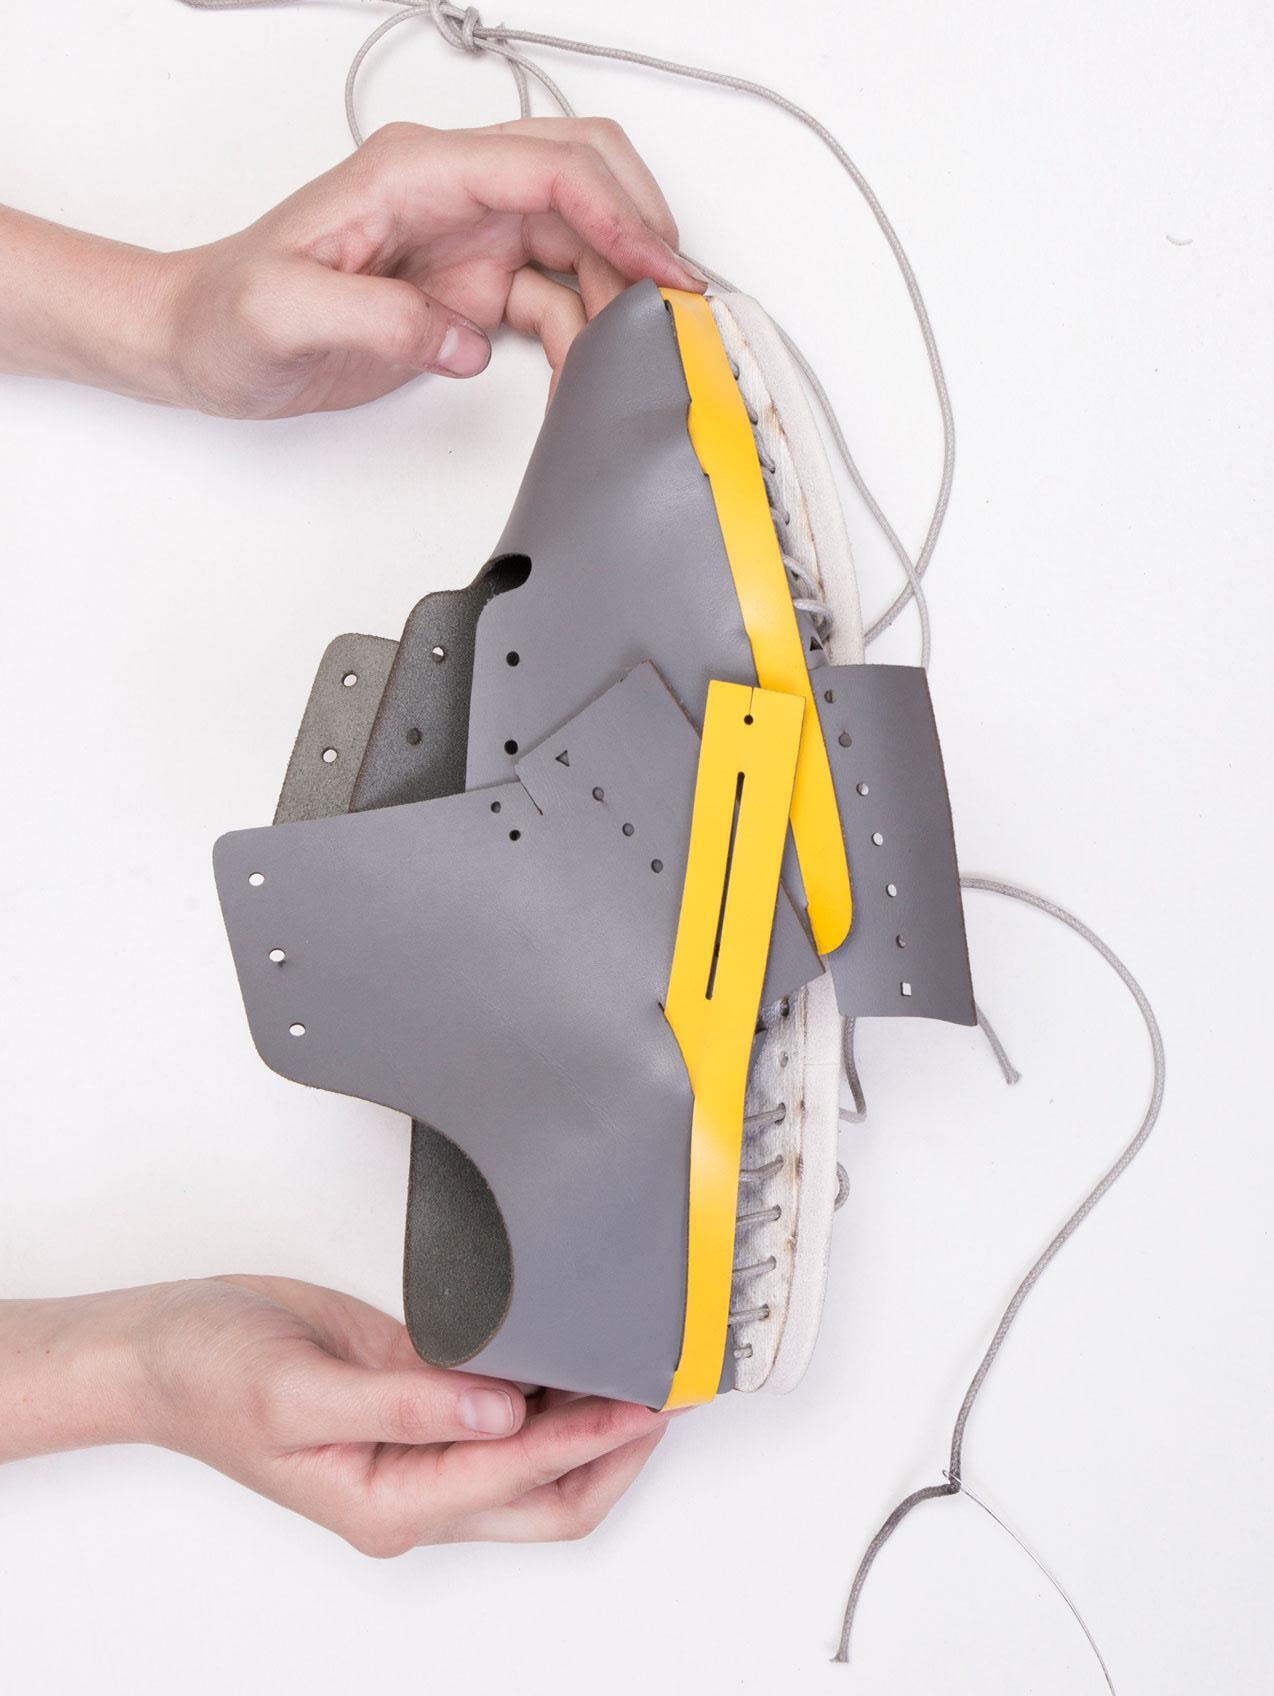
before you can lace the rest of the shoe you need to connect the front and the back of the upper Step 7
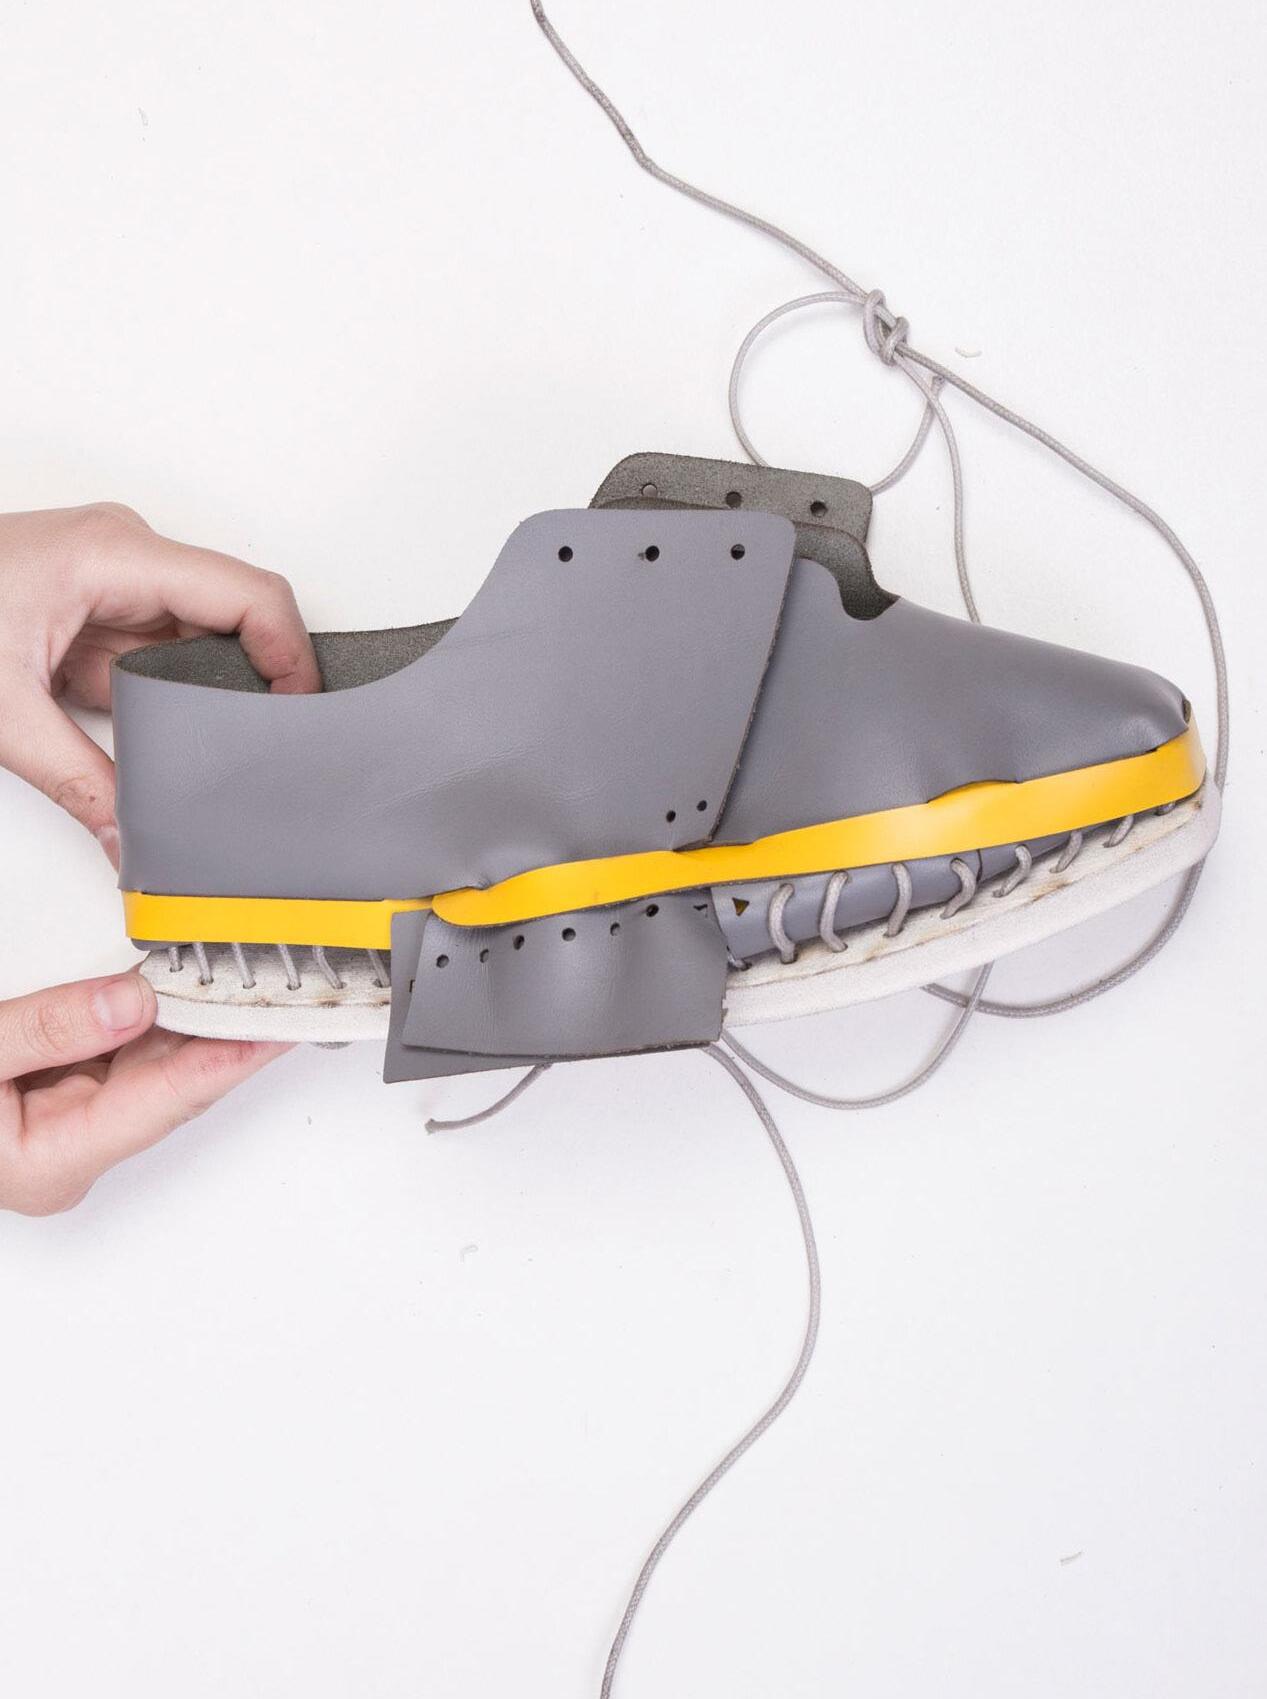
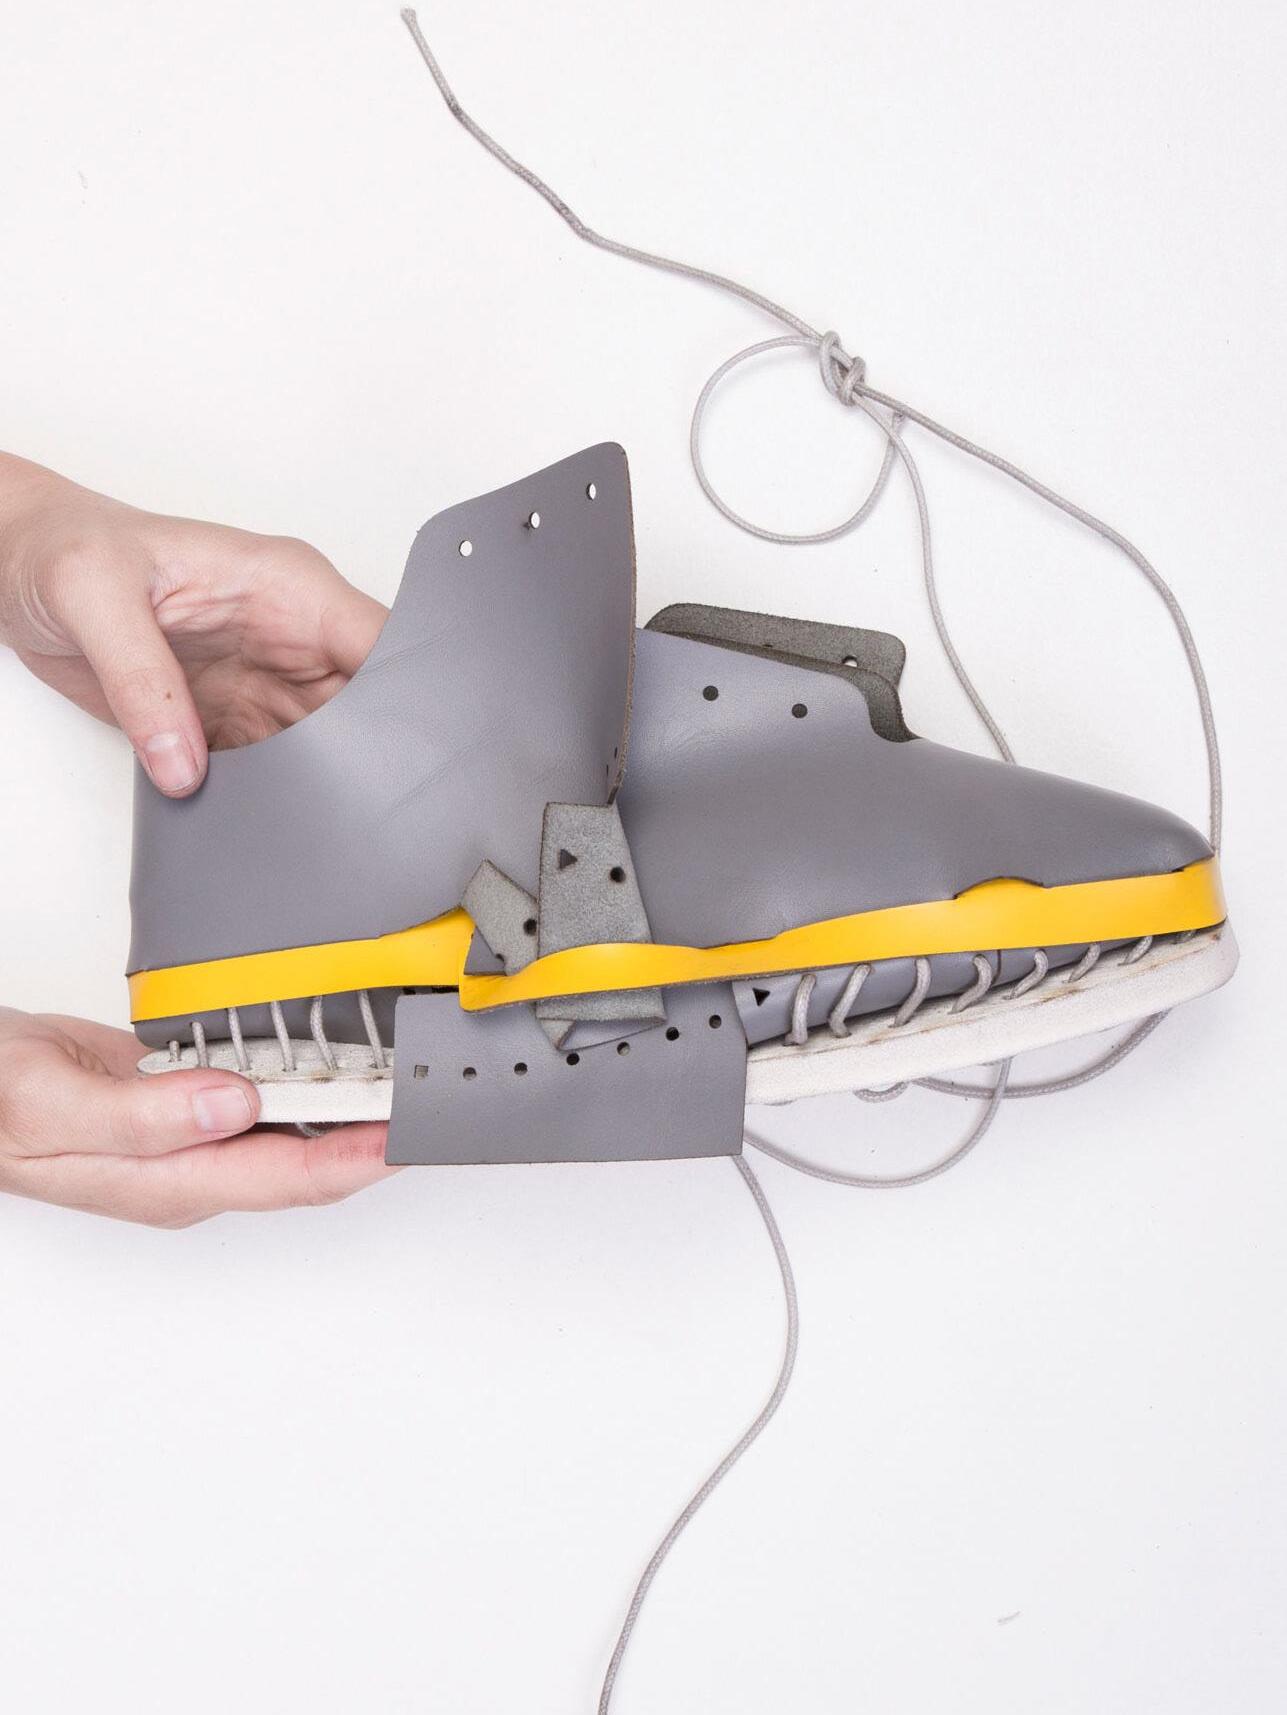
4 fold flap coming from counter 5 slide the flap into the front strap over the vamp /if you are unsure double check STEP 3 to see how the pieces have to lie
Make sure pieces sit flat in the strap When flap is placed in the front strap you can stretch the material in place a little
7
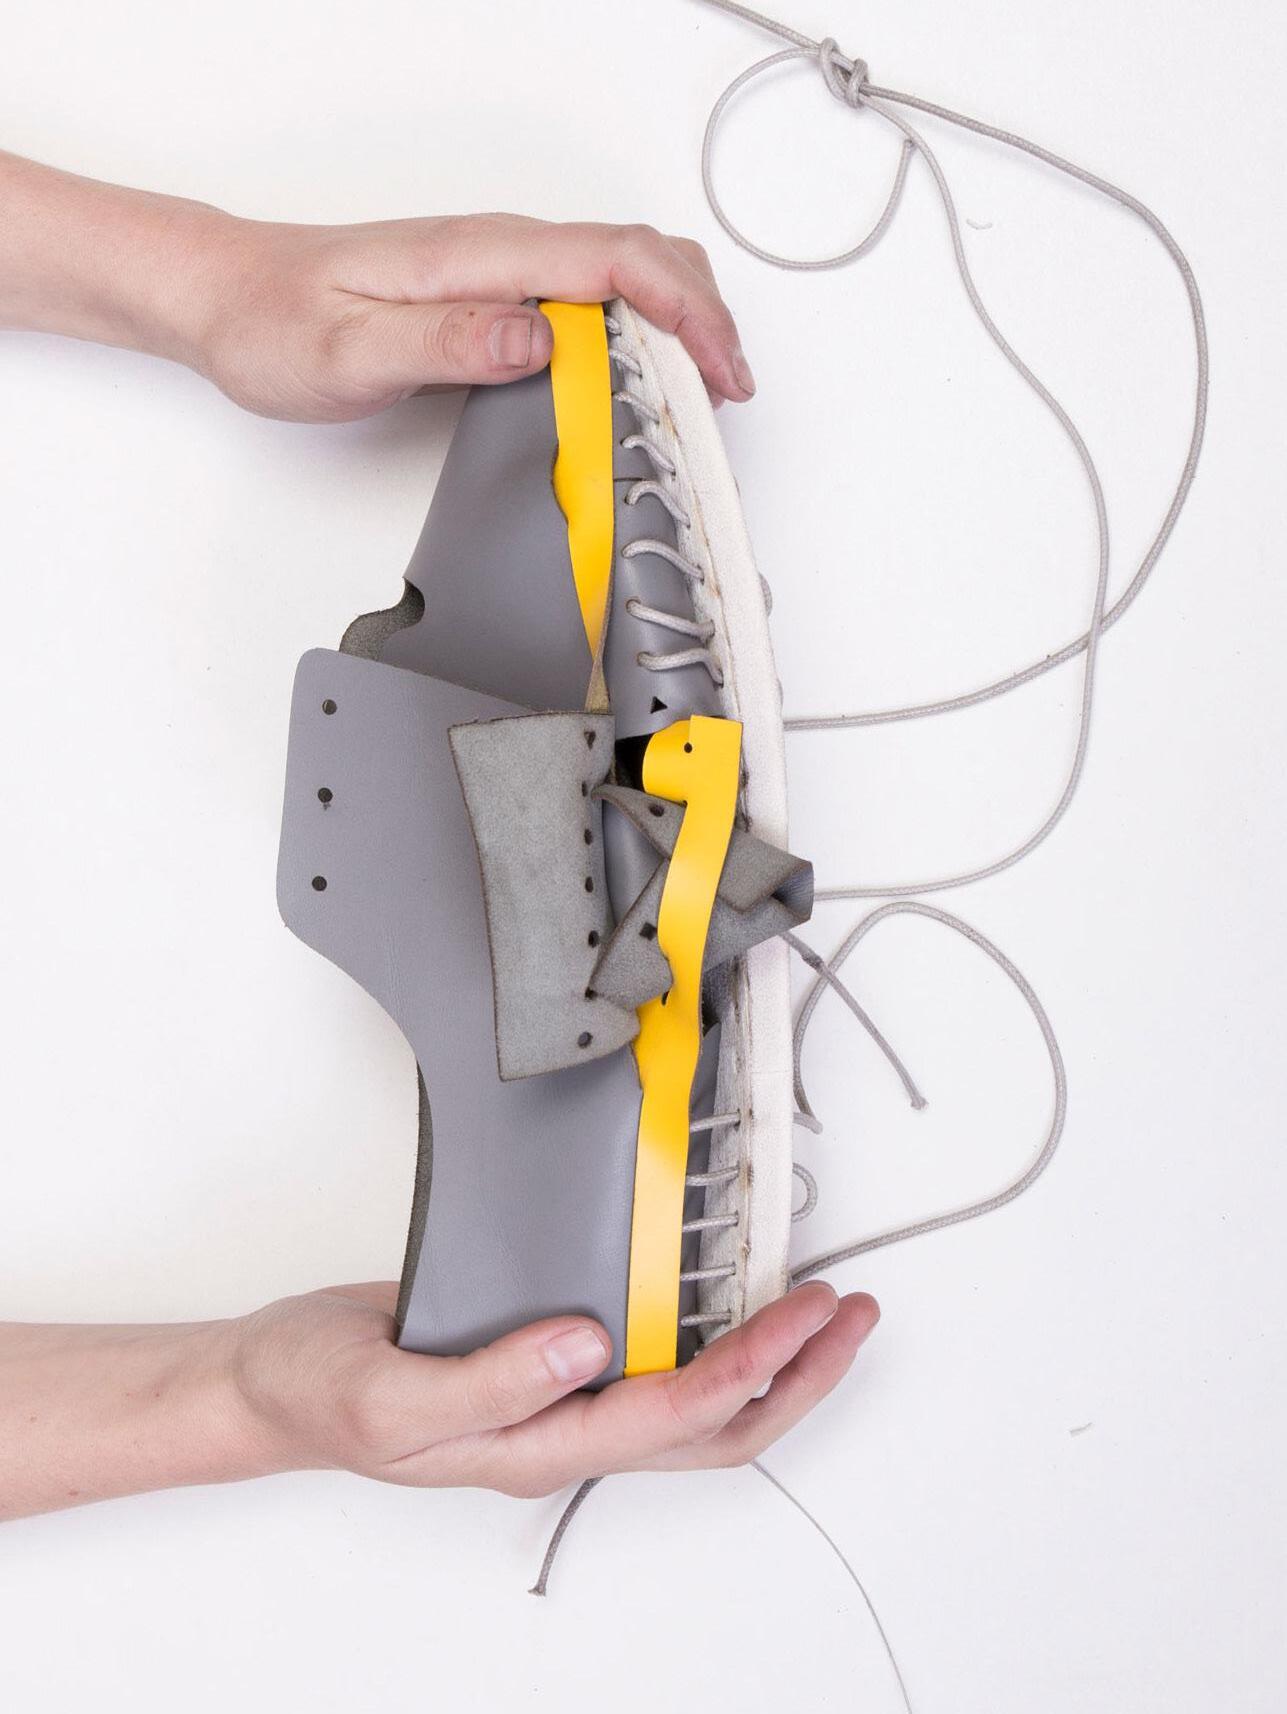
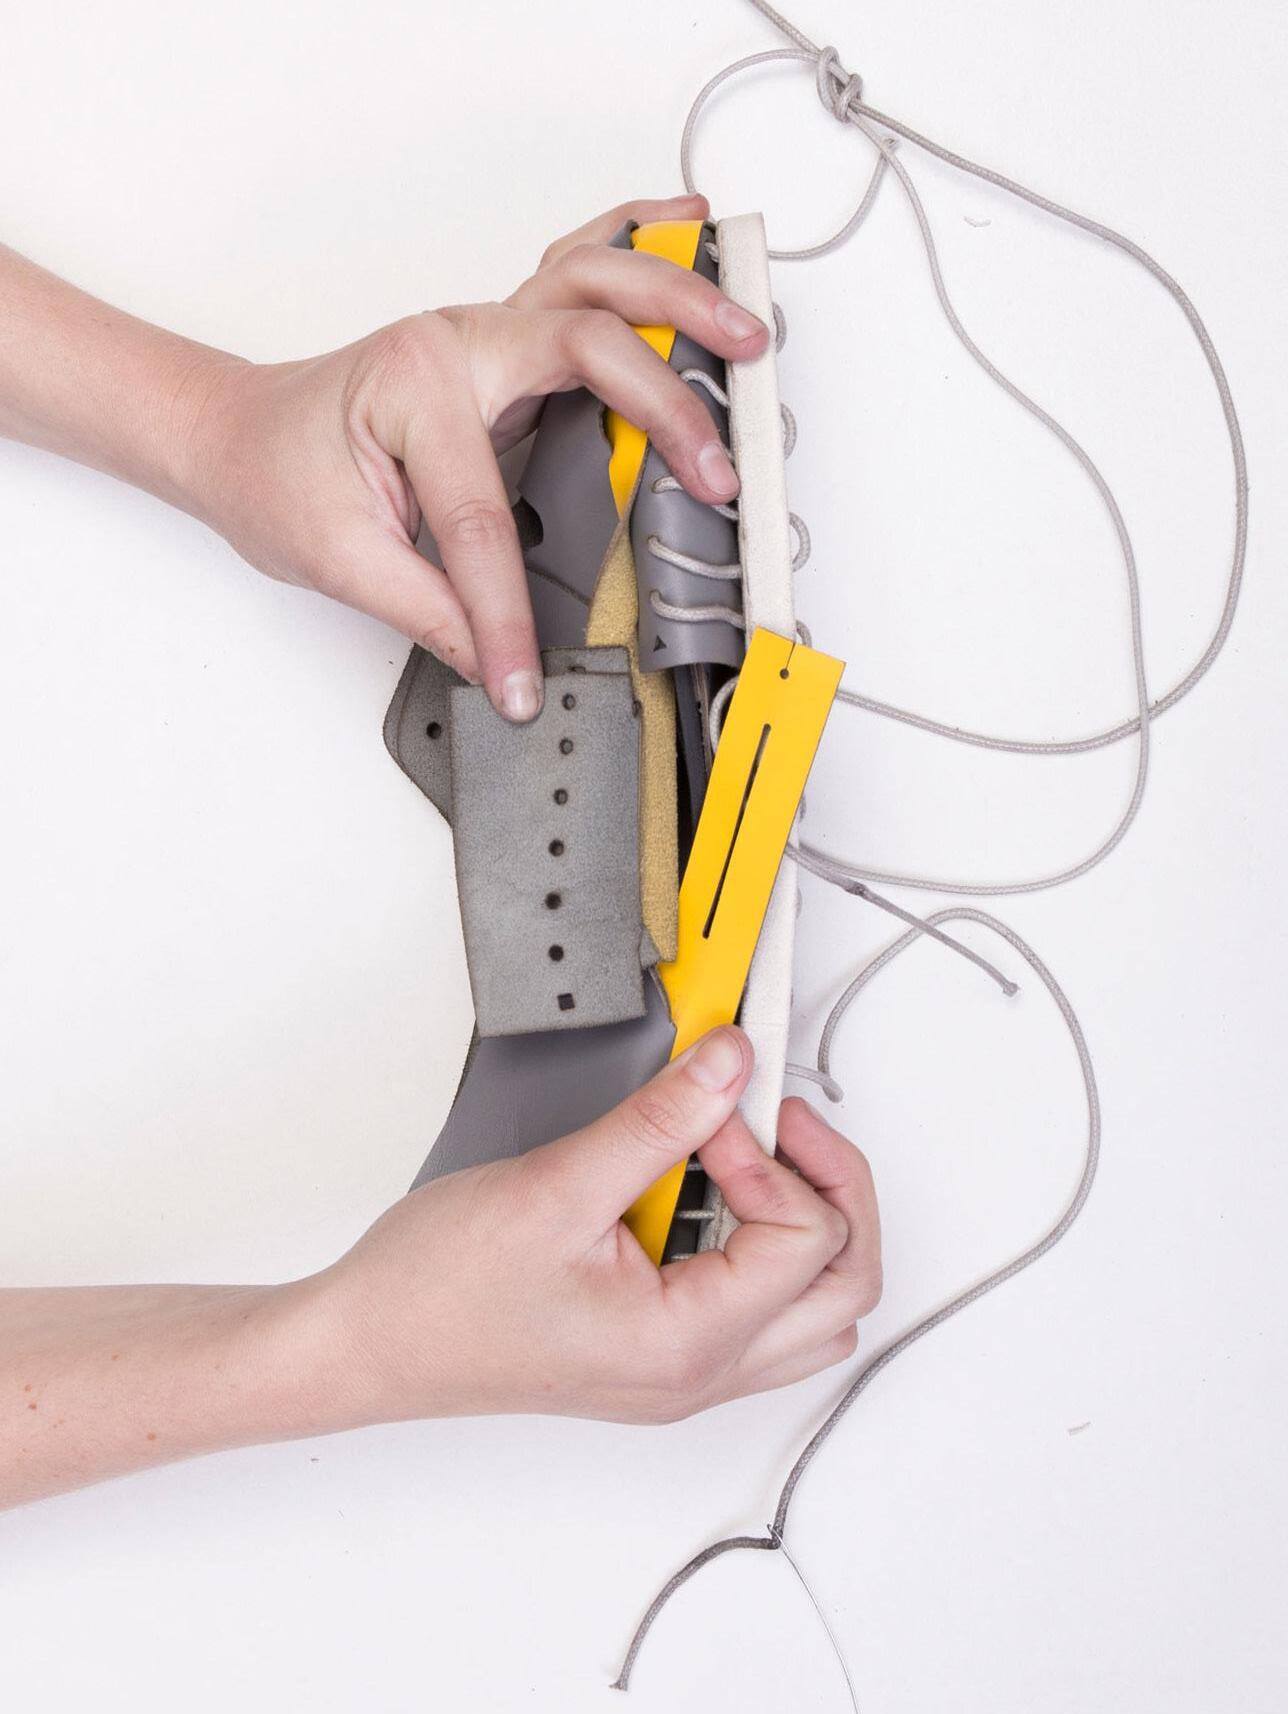
6 now both vamp and counter need to pass through the back strap as well
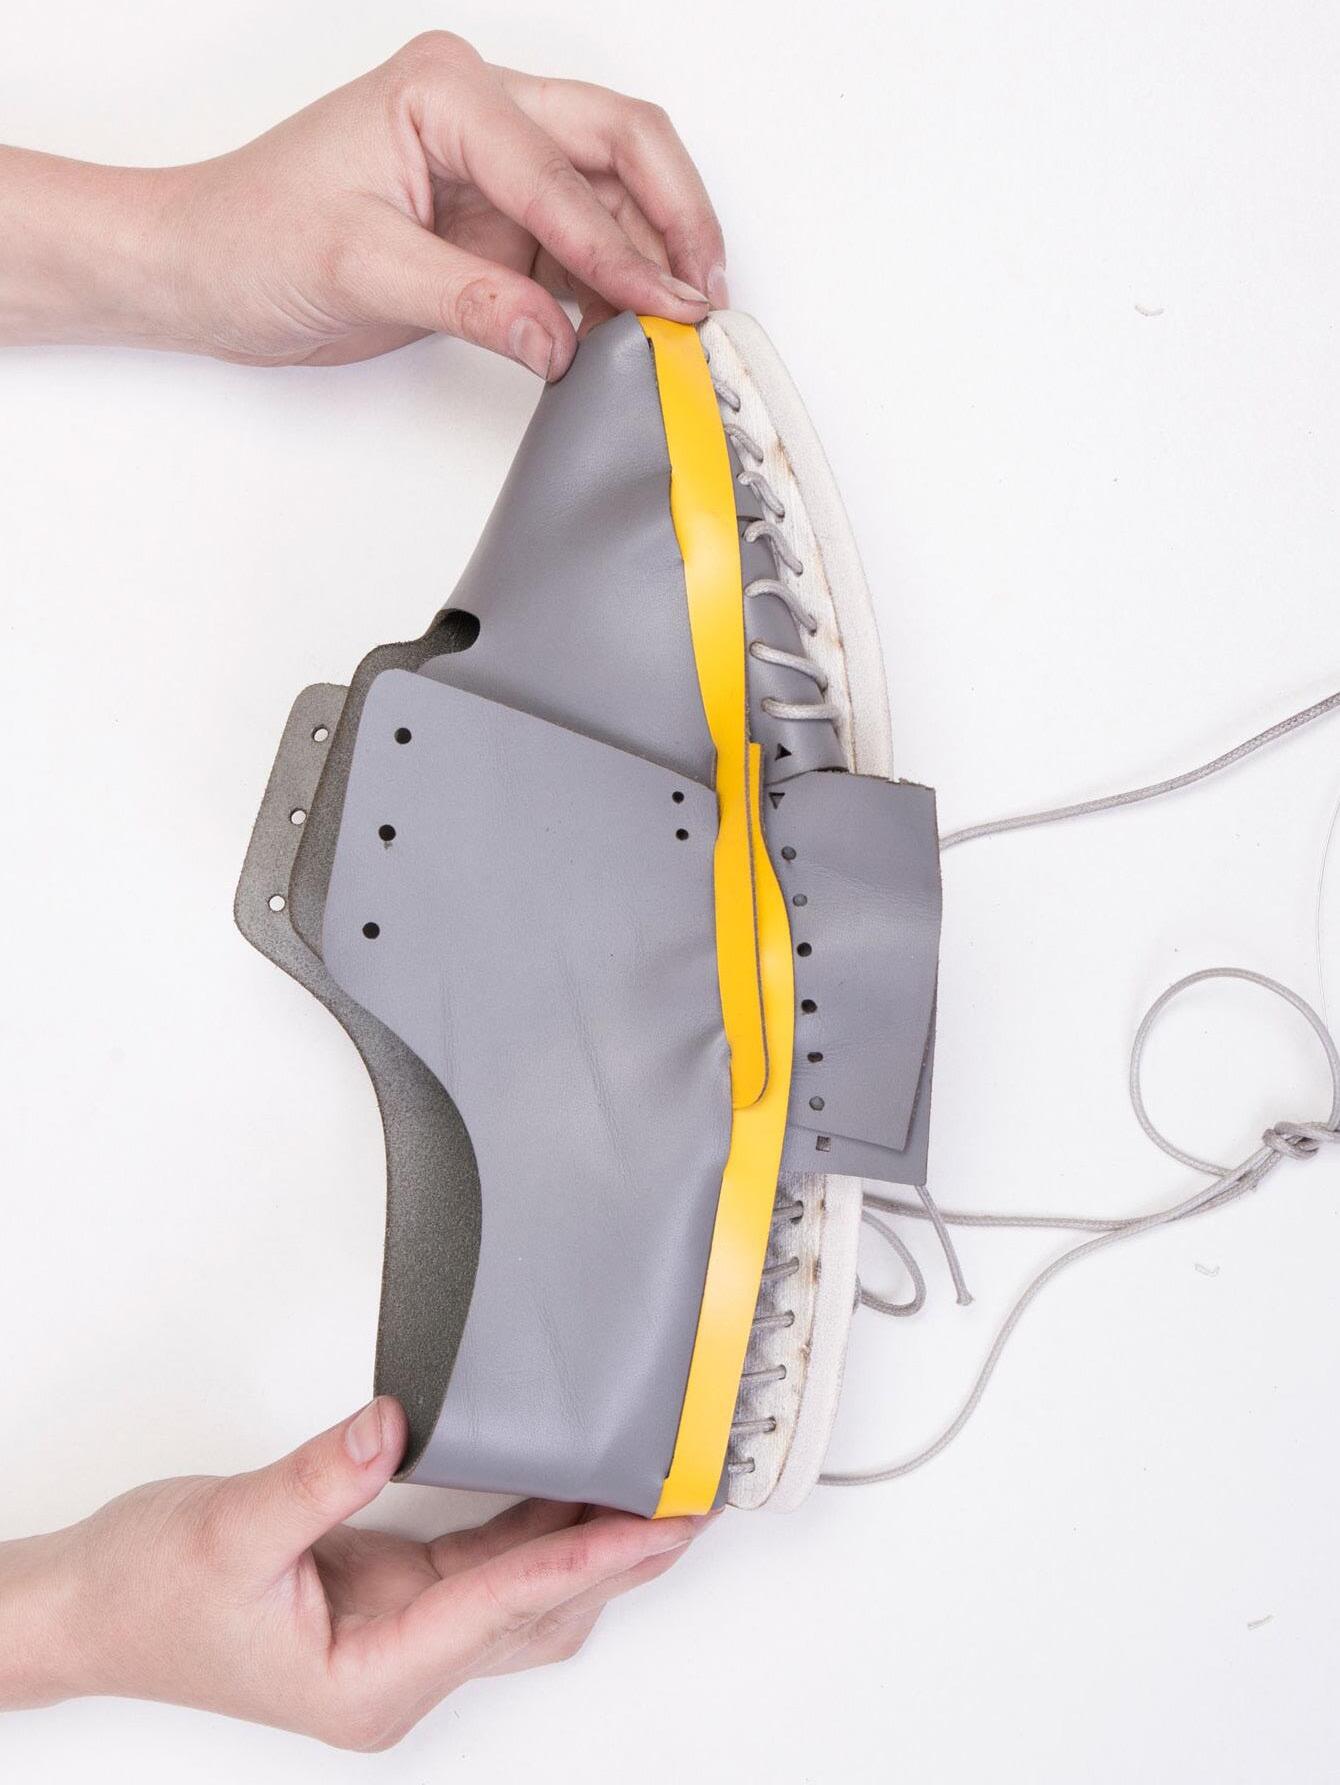
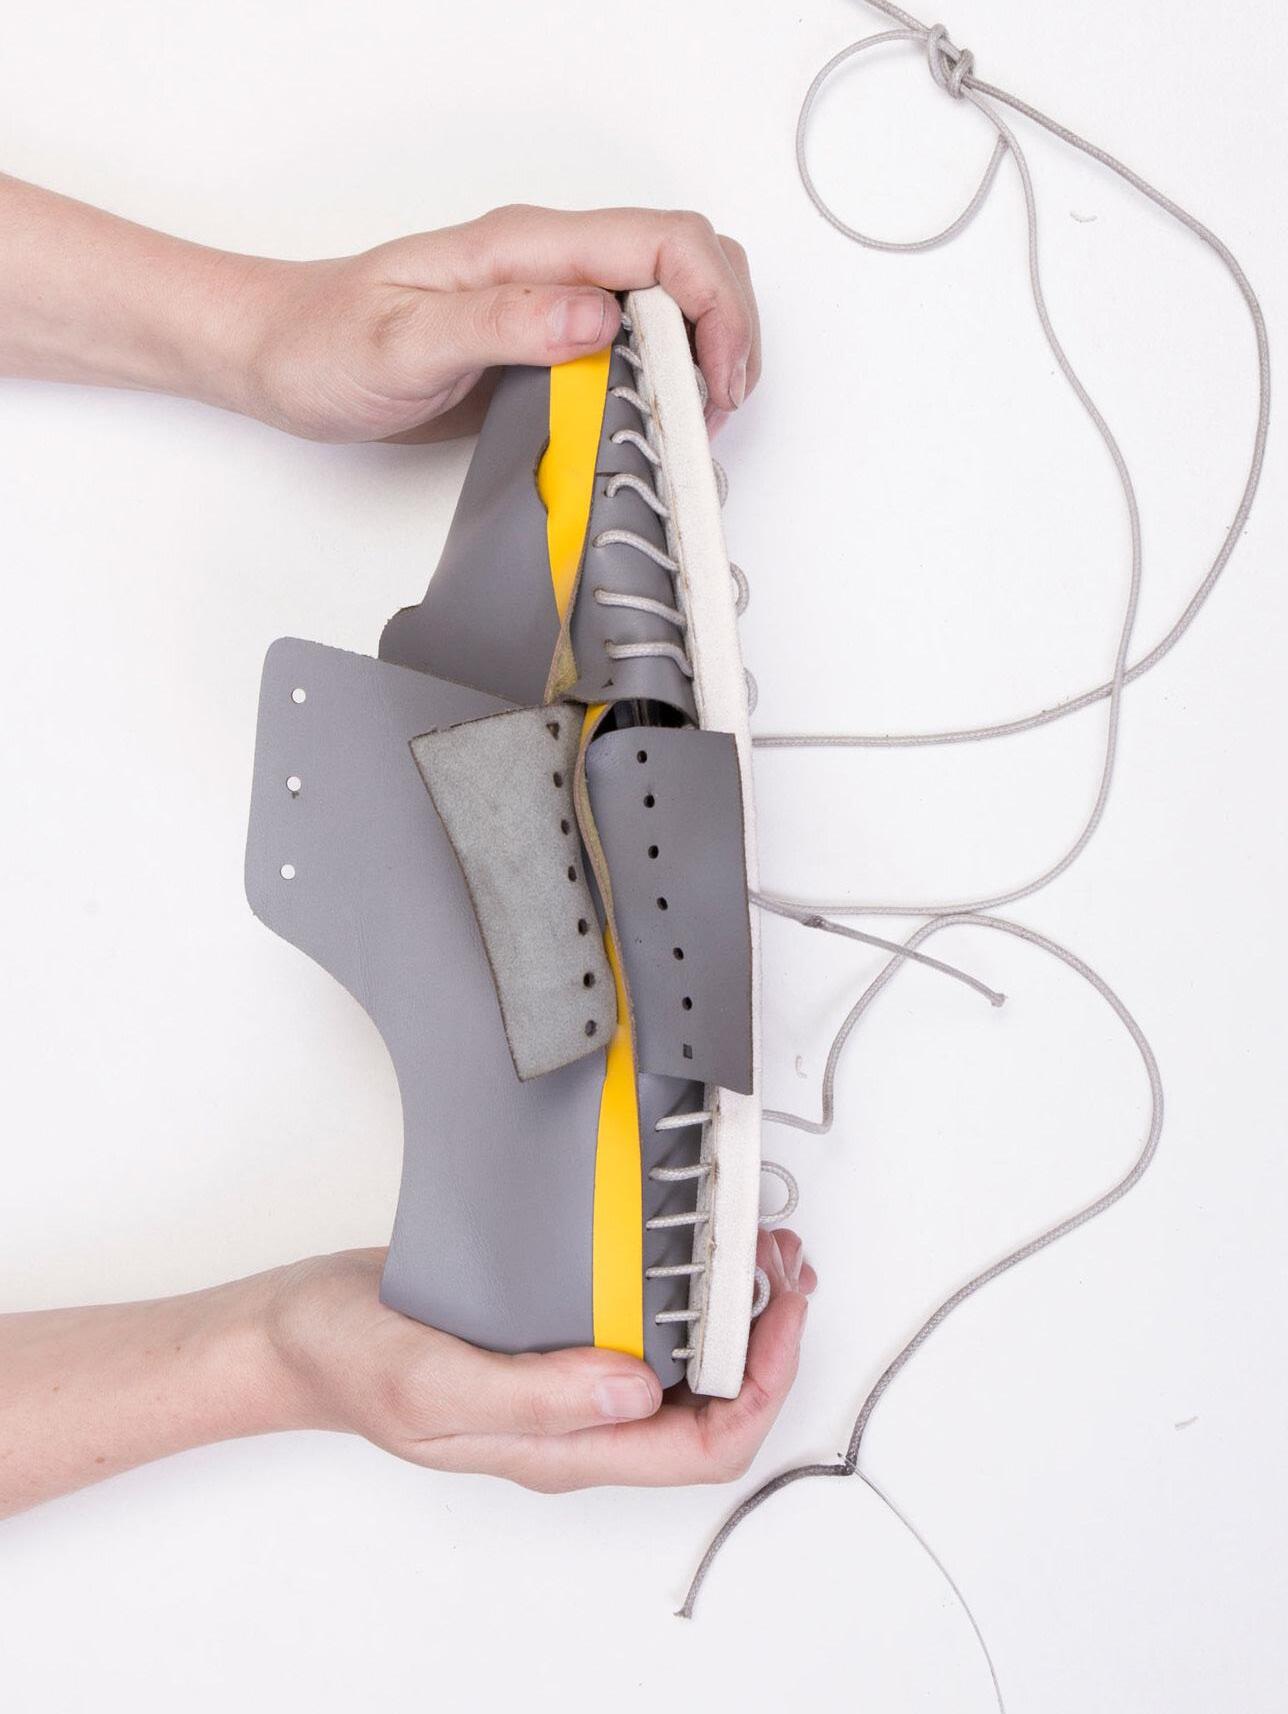
7 fold flap coming from vamp (lying underneath) 8 slide the flap into the back strap 9 repeat the step for the flap coming from the counter /if you are unsure double check STEP 3 to see how the pieces have to lie
Make sure pieces sit flat in the strap When flaps are in place you can stretch the material in place a little
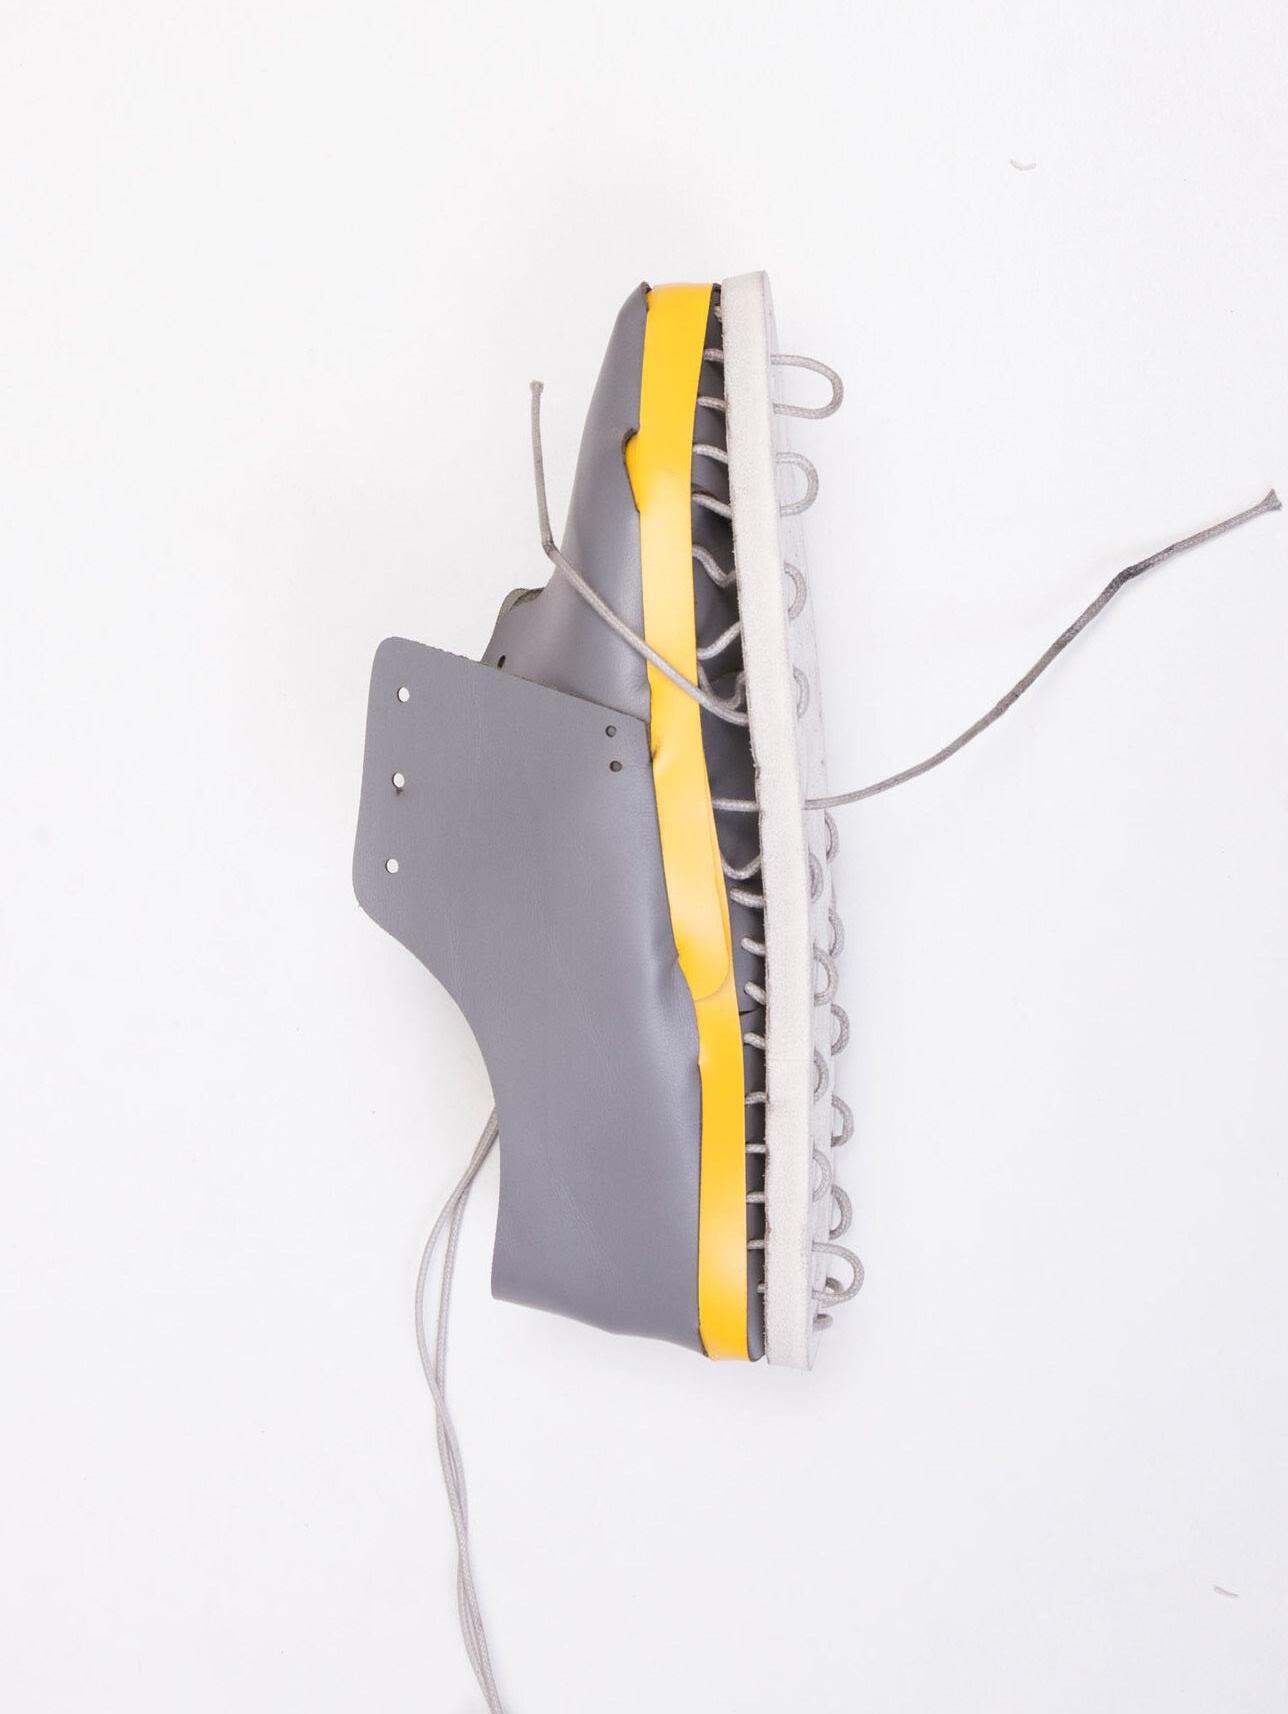
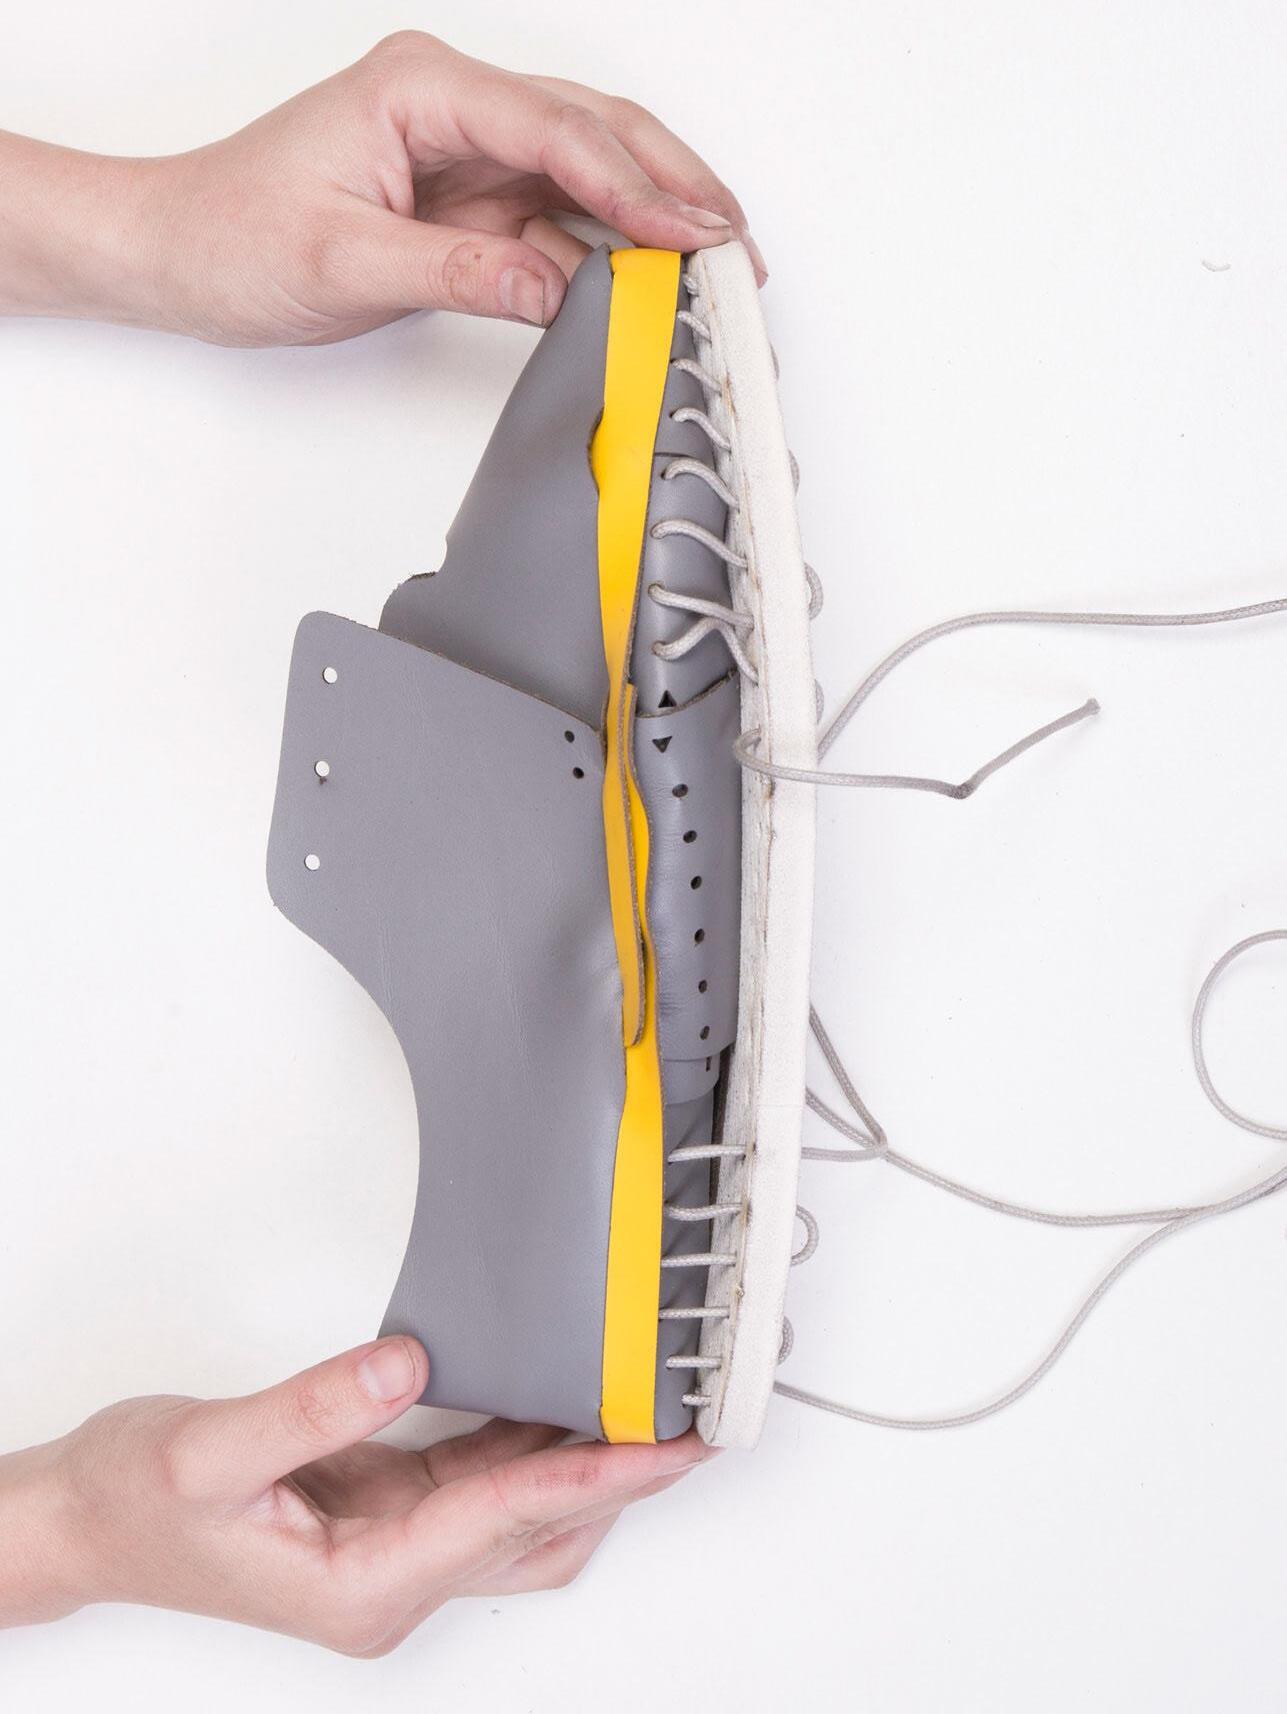
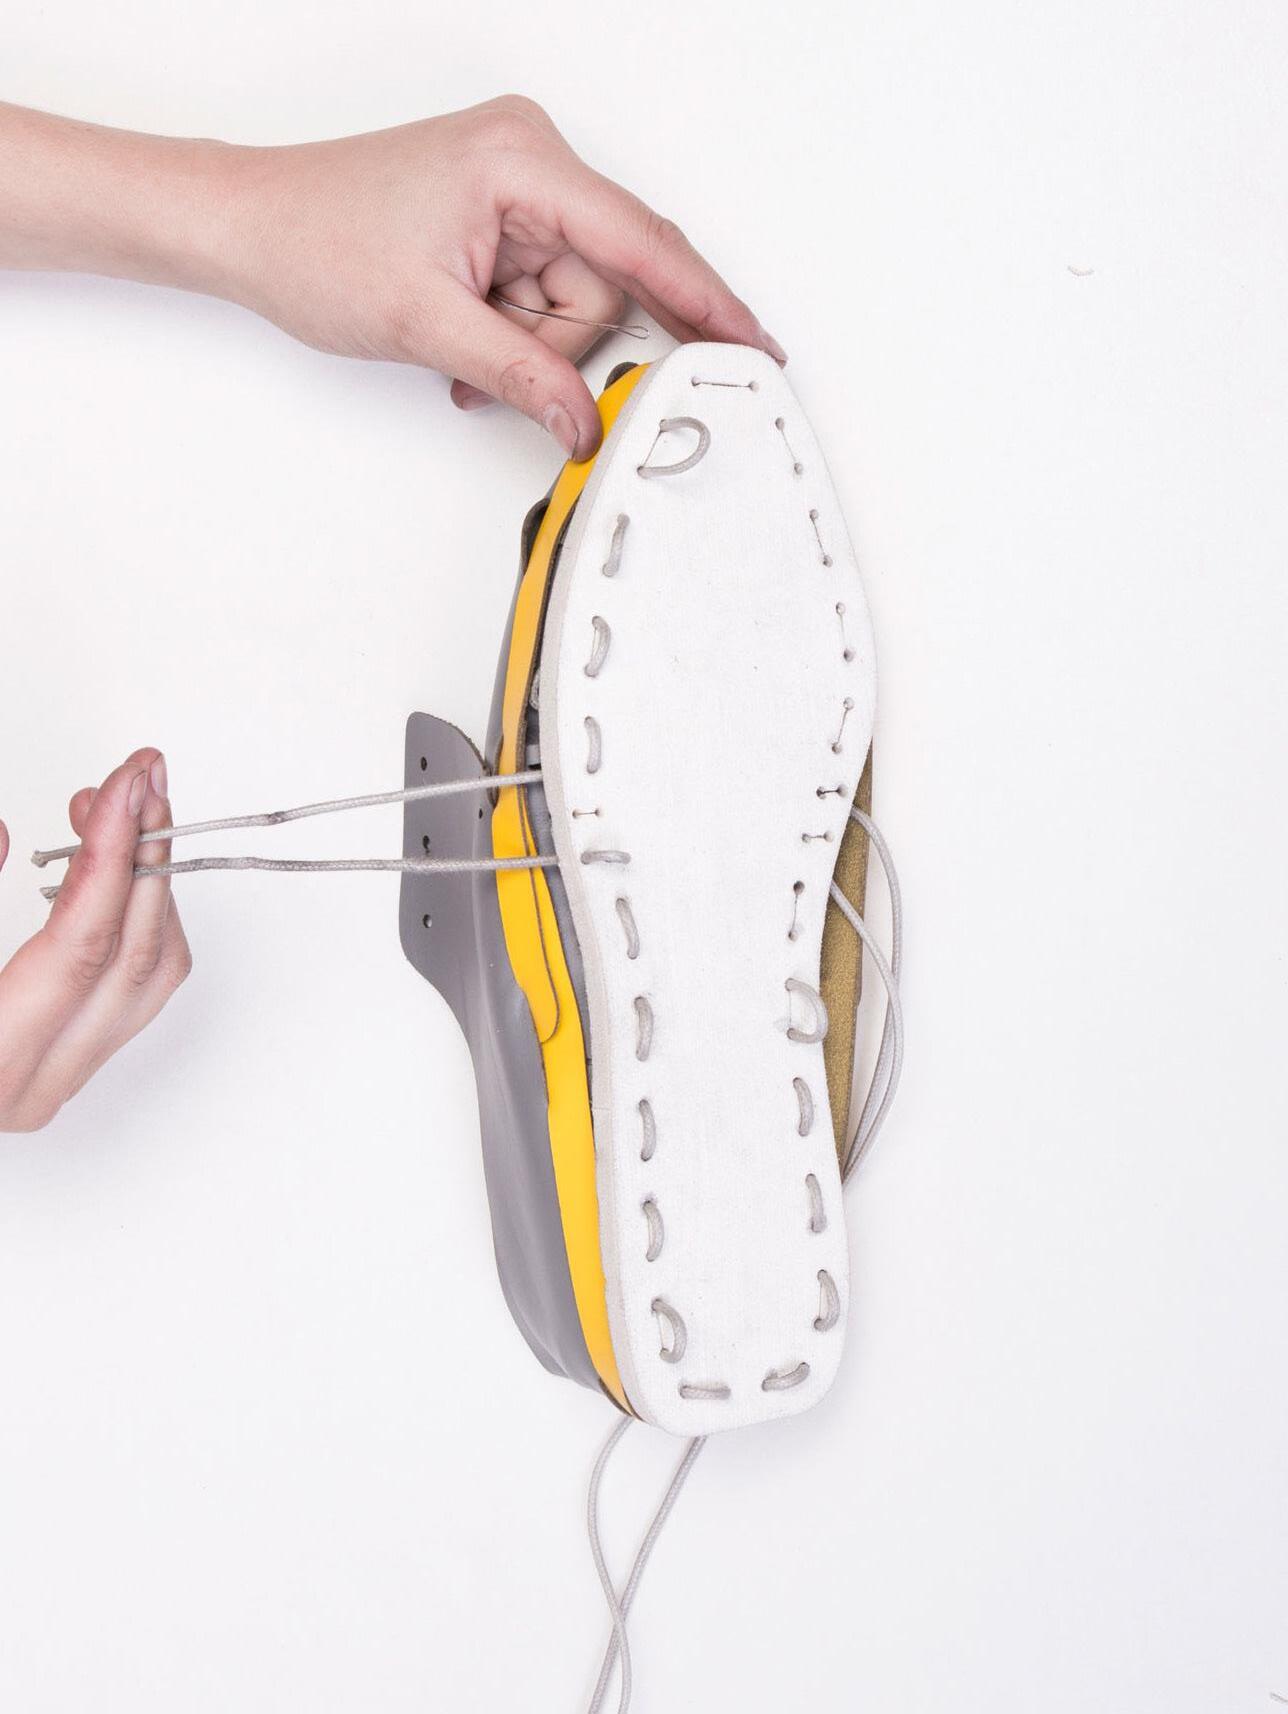
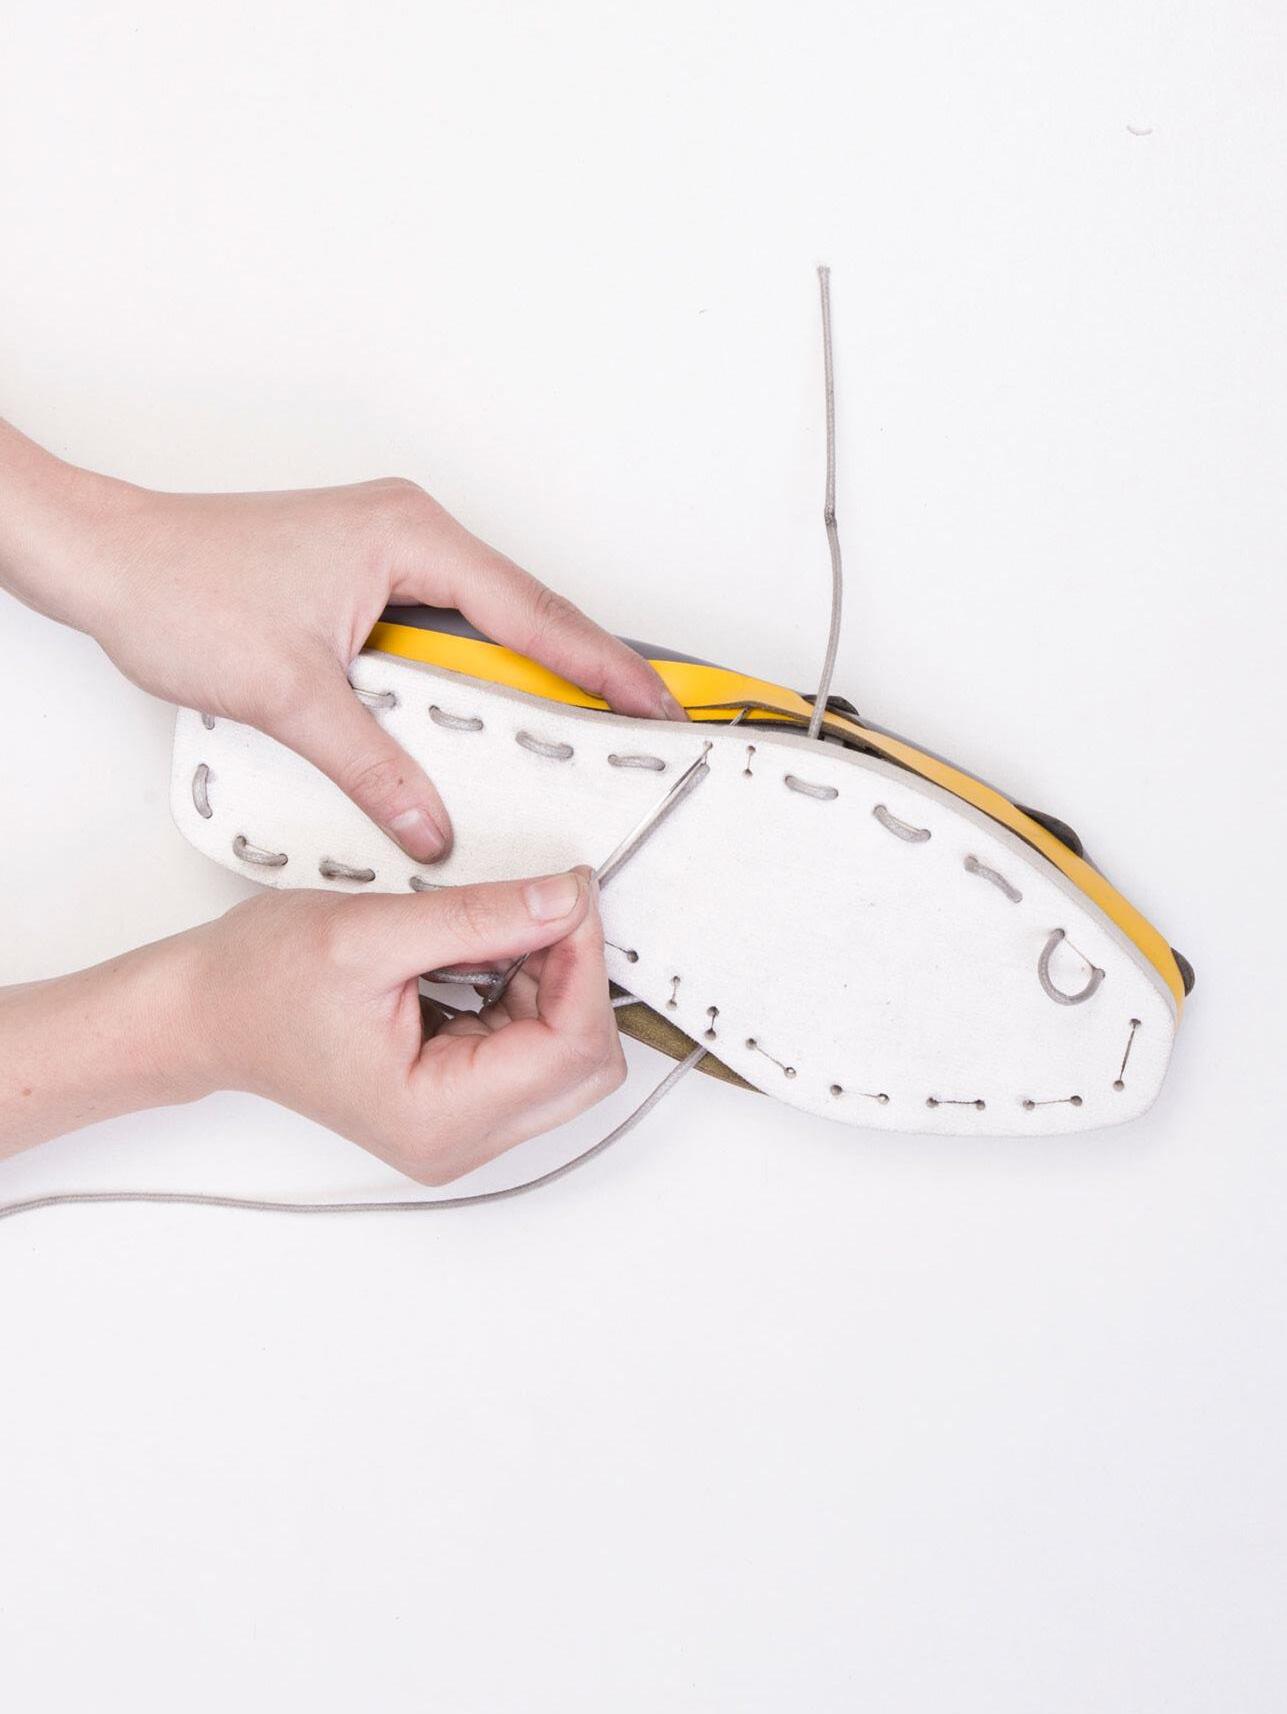
10 now you can continue lacing the shoe together
make sure you don’t miss to overlay all the triangle holes in the front and all the square holes in the back (4 layers)
12/13 lace lacing slot like you did in STEP 6
Don’t miss the triangular and square holes vor overlaying all the layers correctly Lace parts in correct order
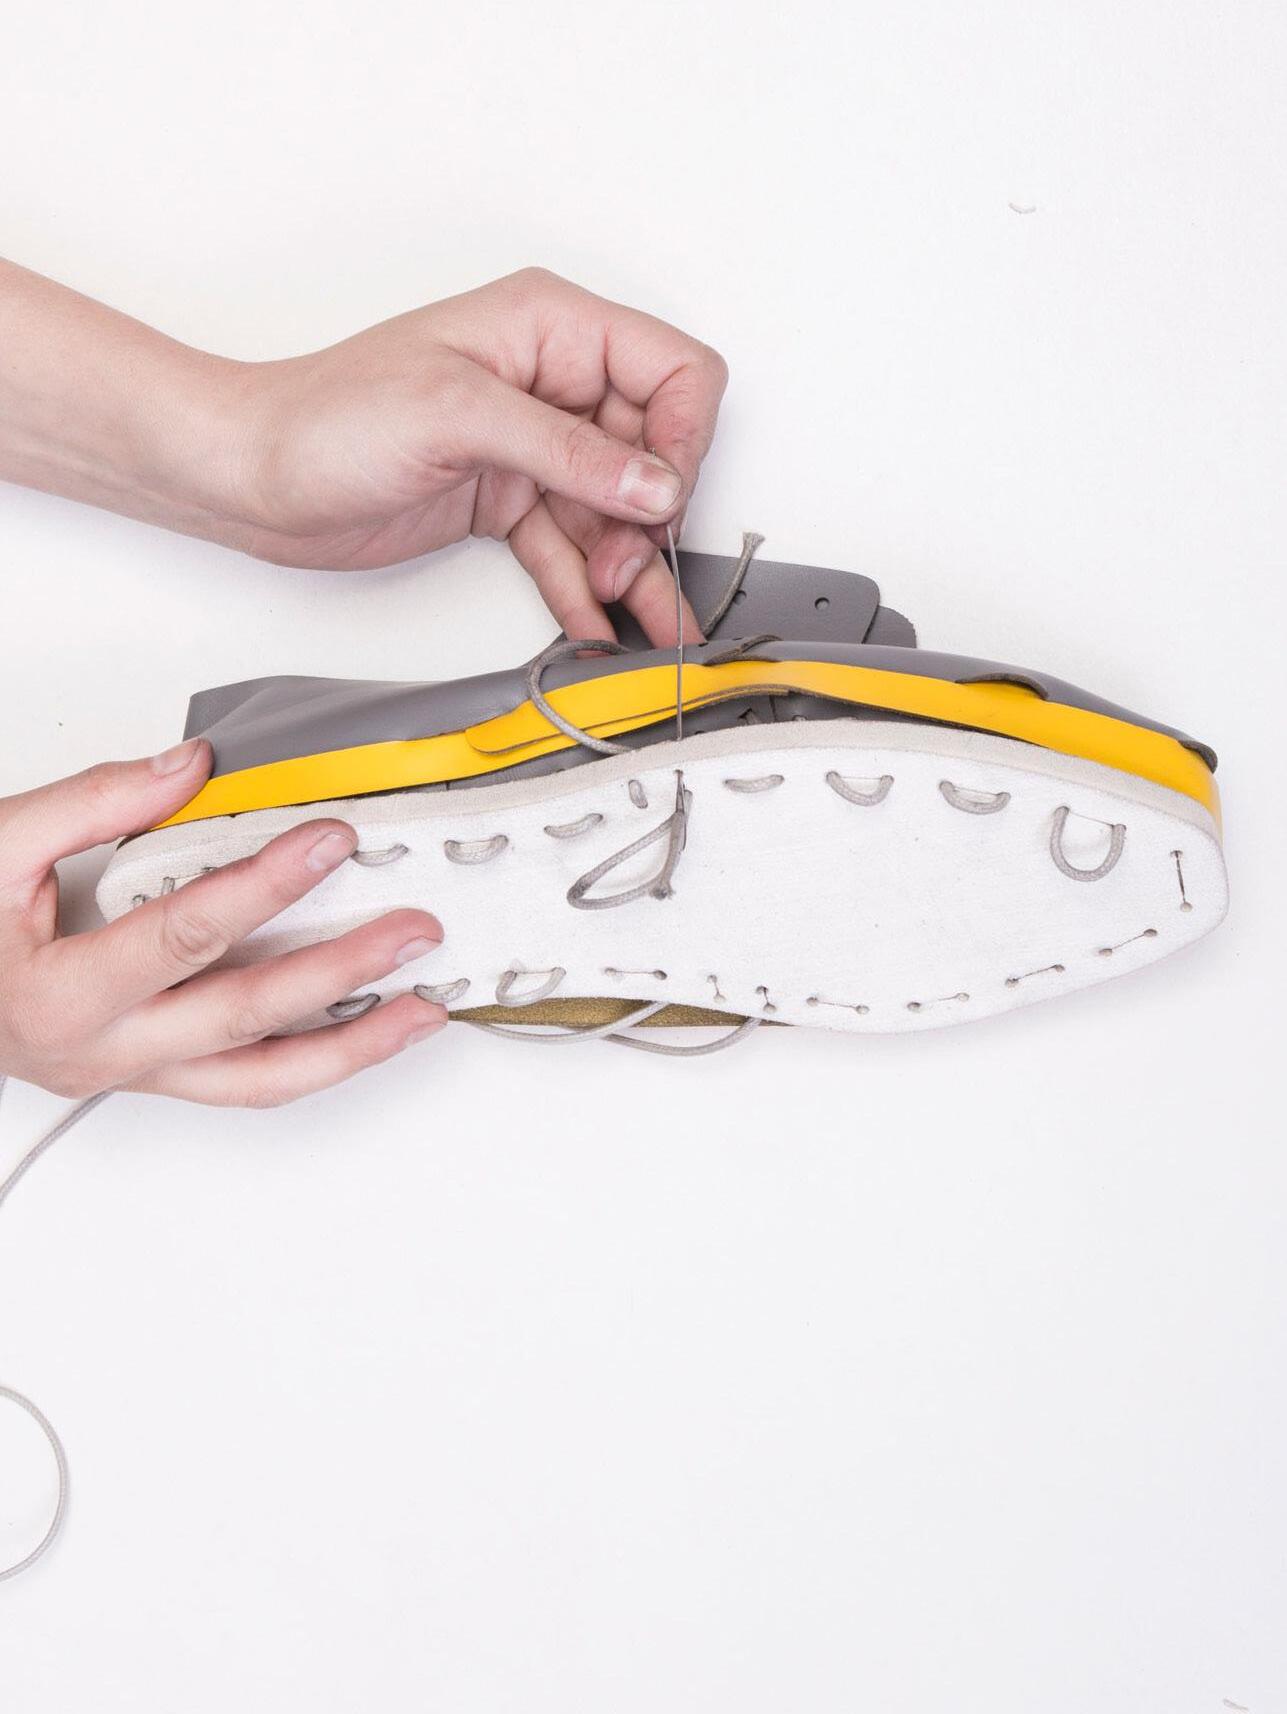
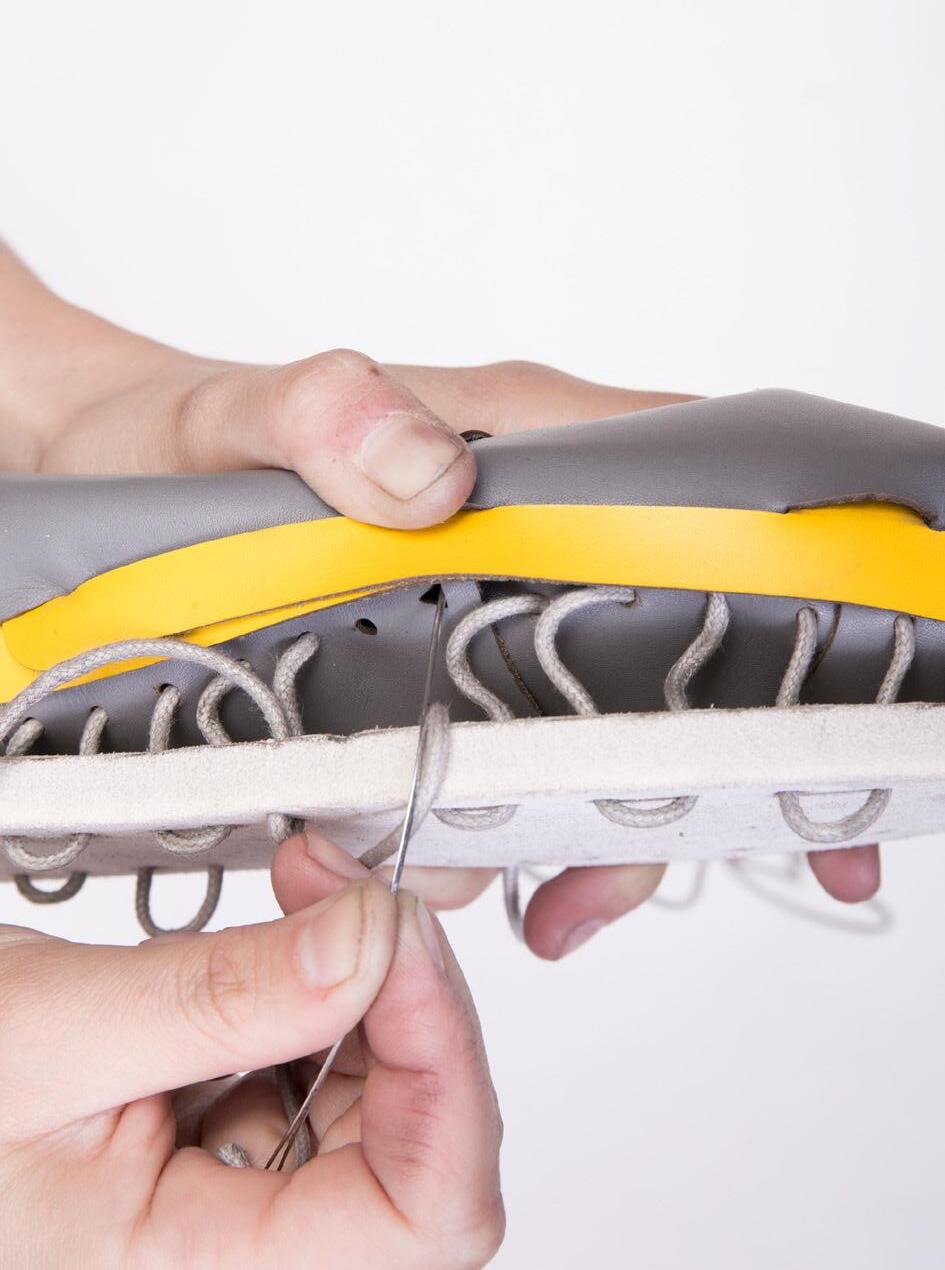
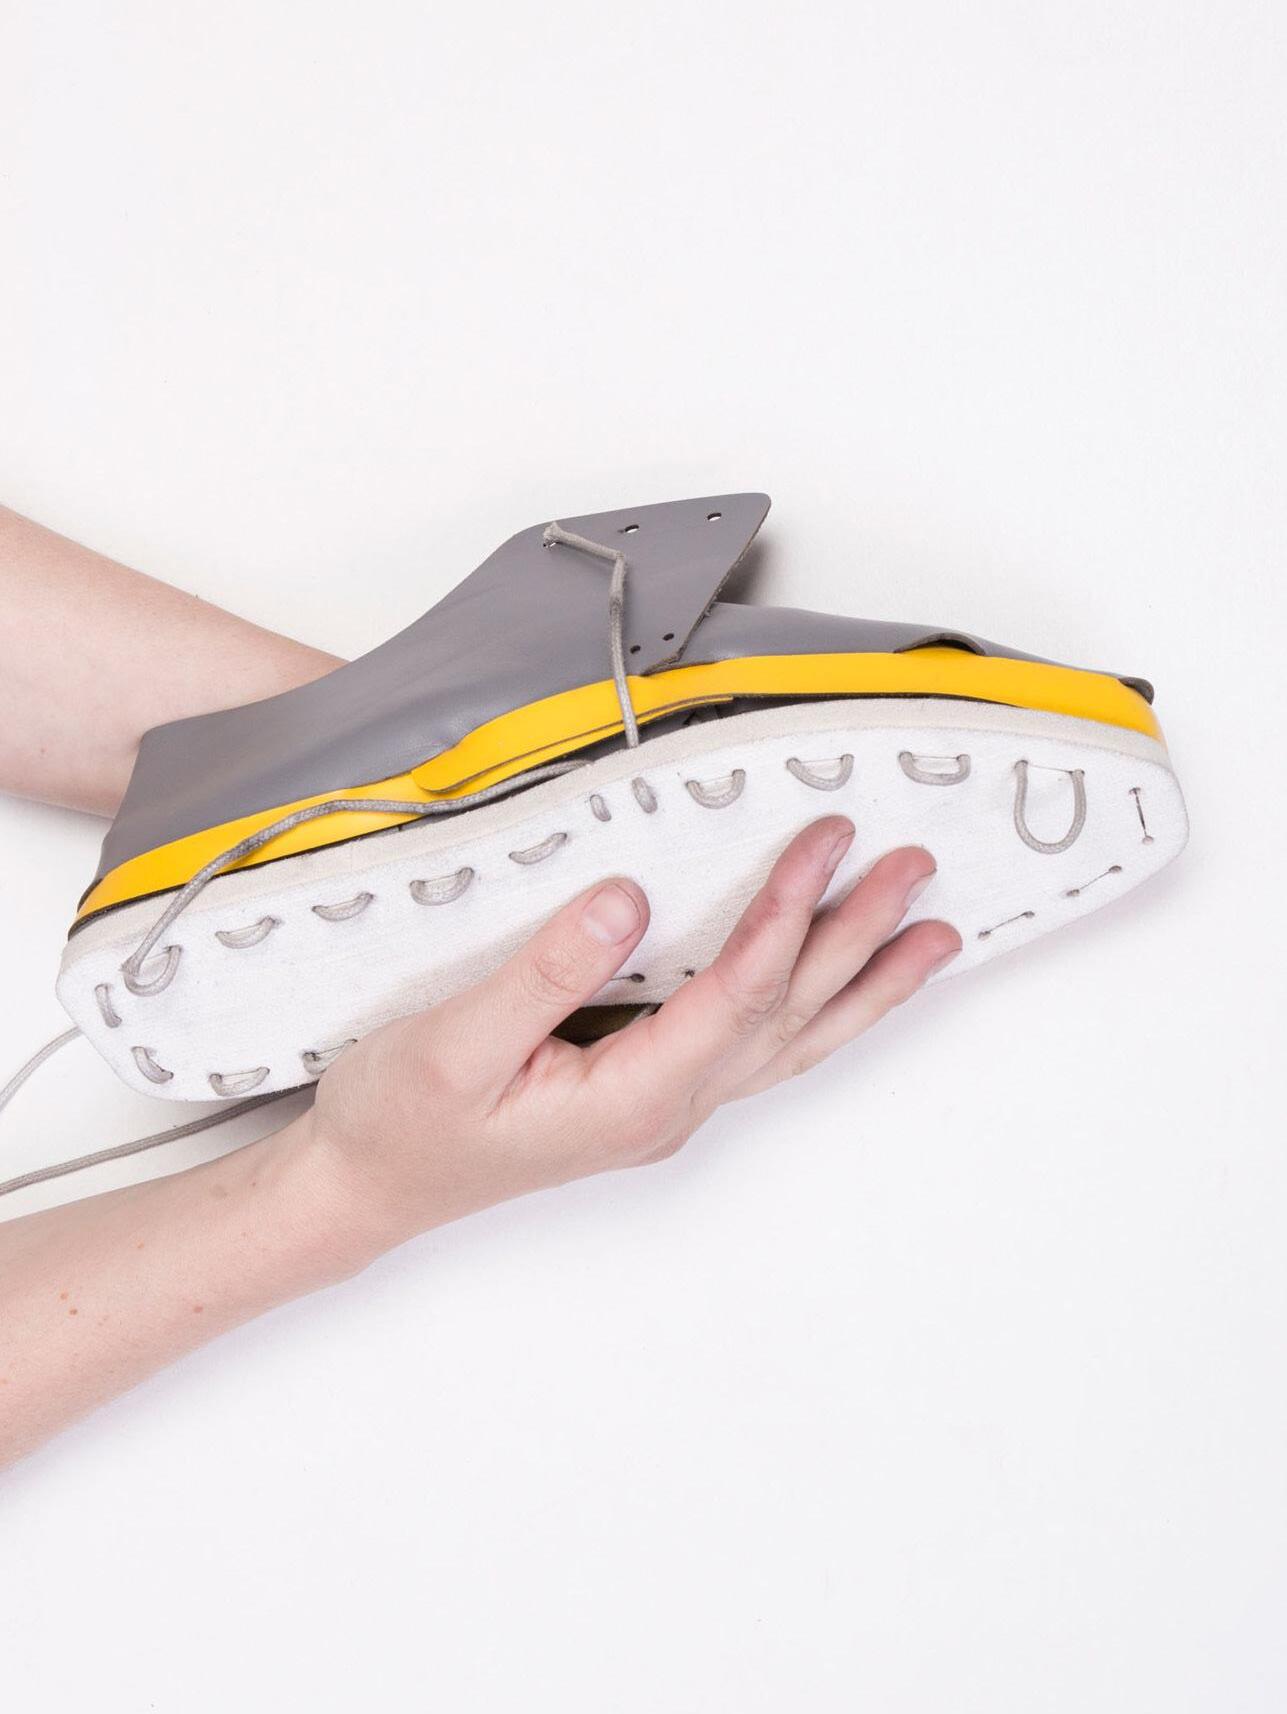
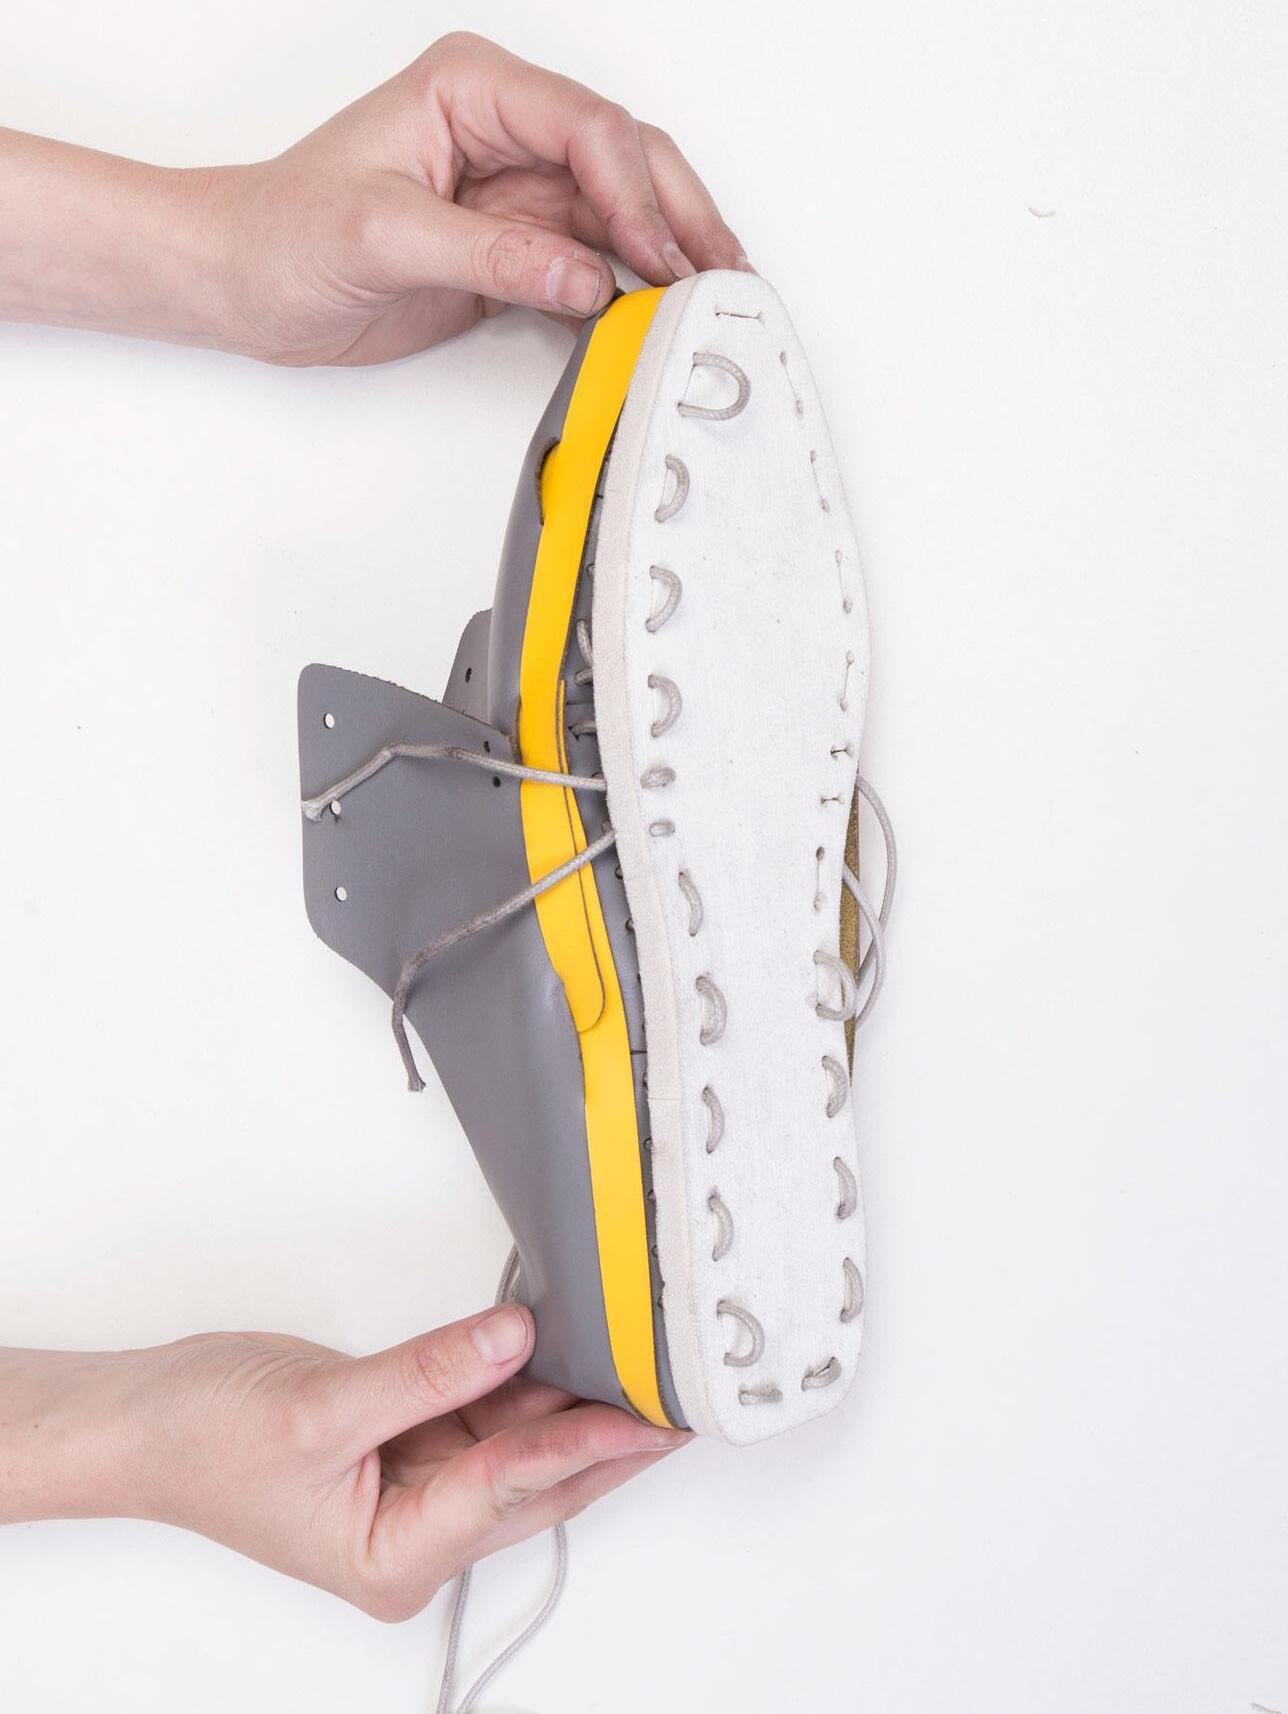
7 Don’t miss the triangular and square holes vor overlaying all the layers correctly Lace parts in correct order
14 make sure you don’t miss to overlay all the triangle holes in the front and all the square holes in the back (4 layers)
15 lace lacing slot like you did in STEP 6 17 tighten all the laces always working towards the lacing slots
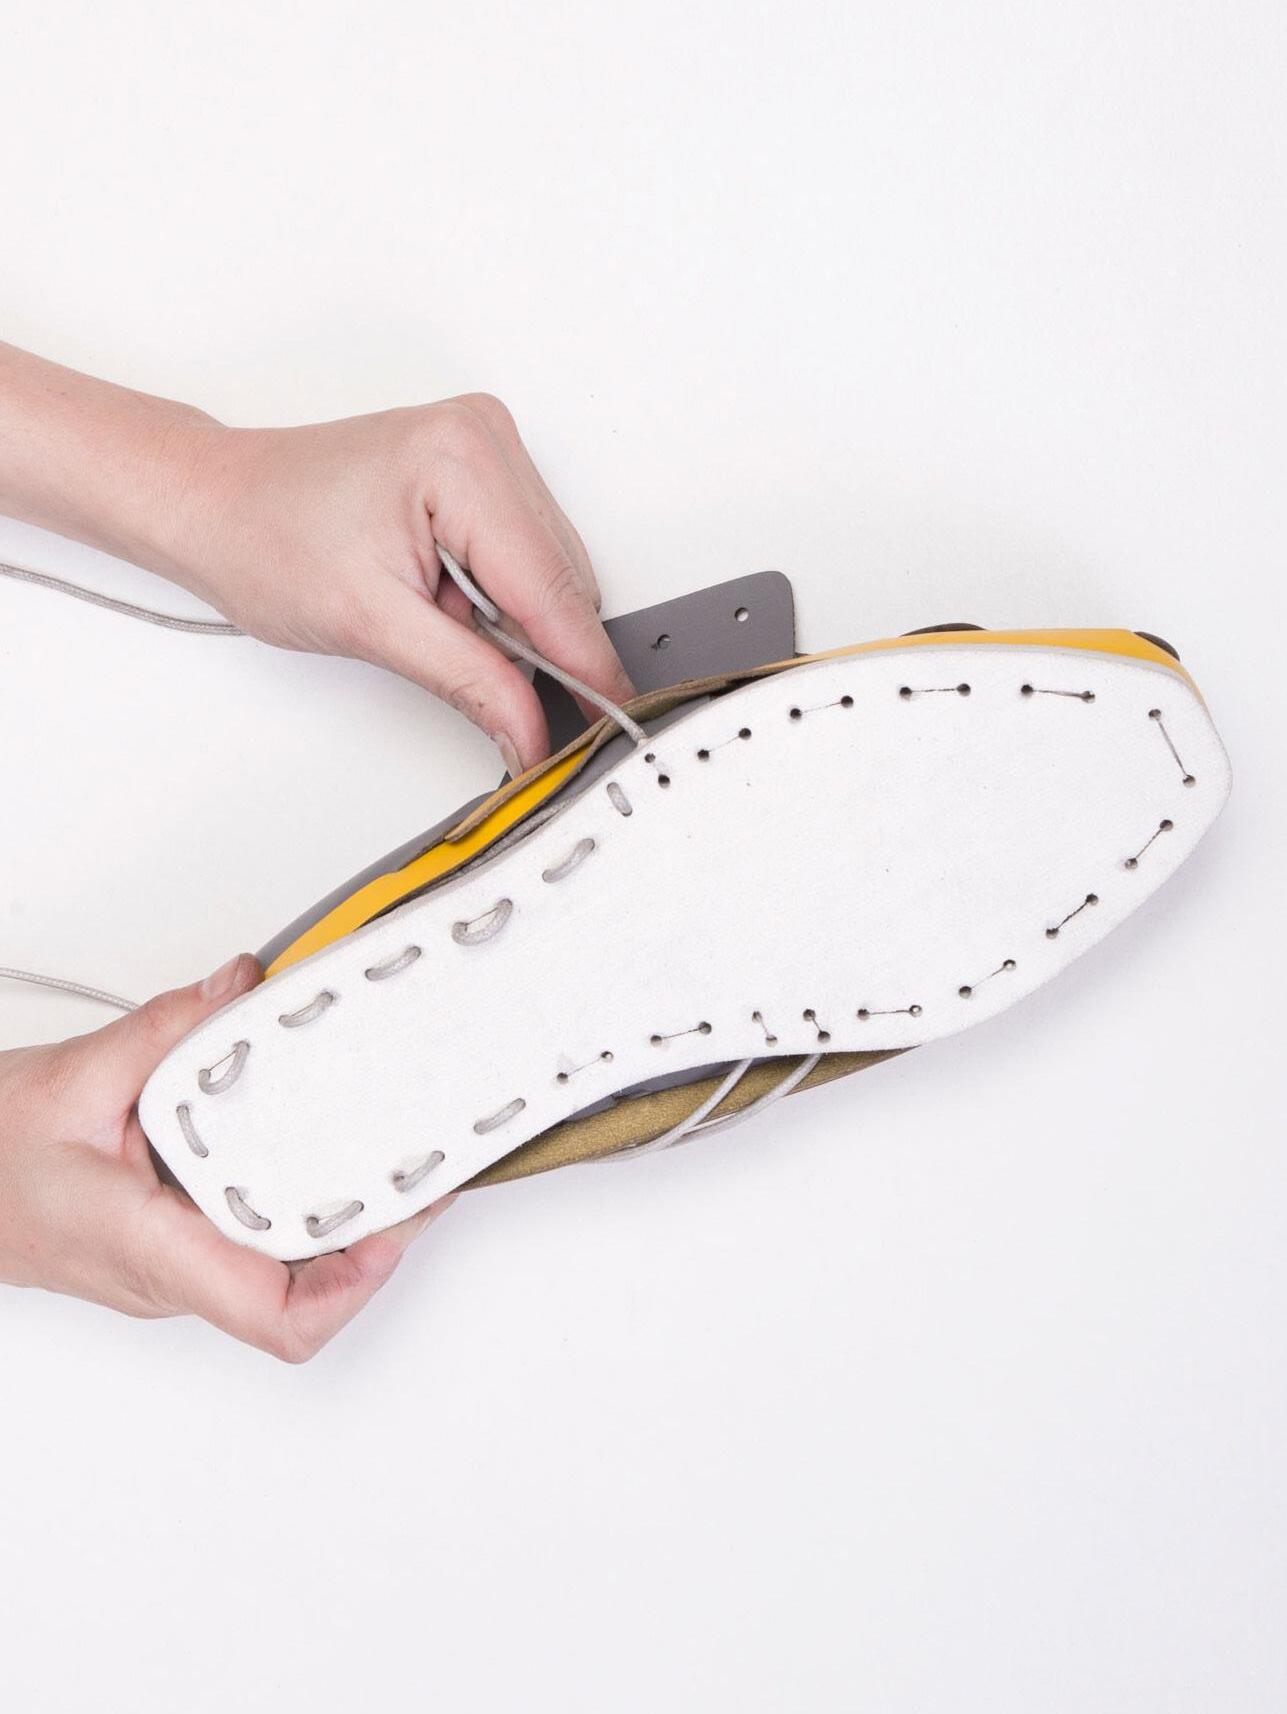
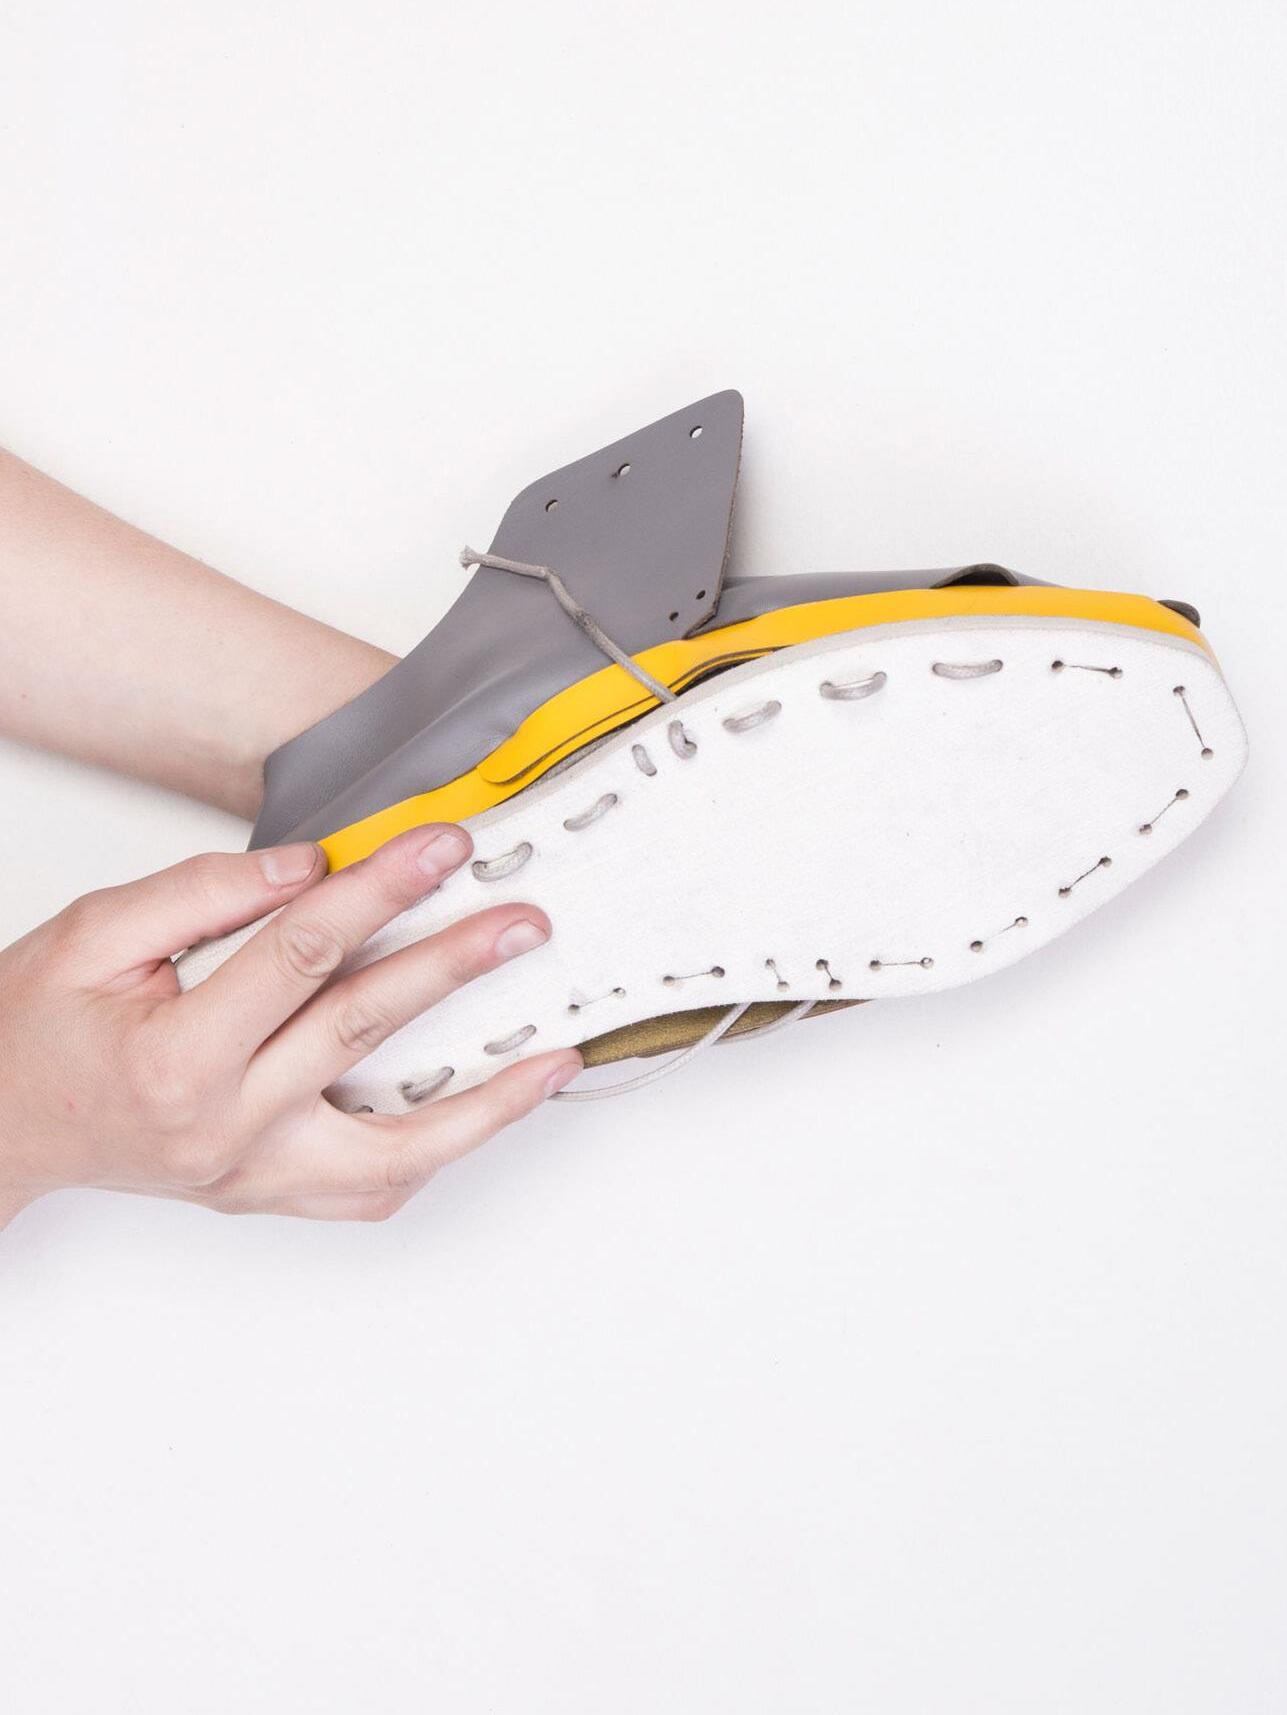
18 tighten all the laces always working towards the lacing slots Step 7
Make sure the back strap inside the shoe is not stuck inbetween the insole and the outsole 18 19
19 pull the laces moving from the outsole to the insole and back as you go along you should carefully pull the lace to sit tightly in the outsole as you can see in the images
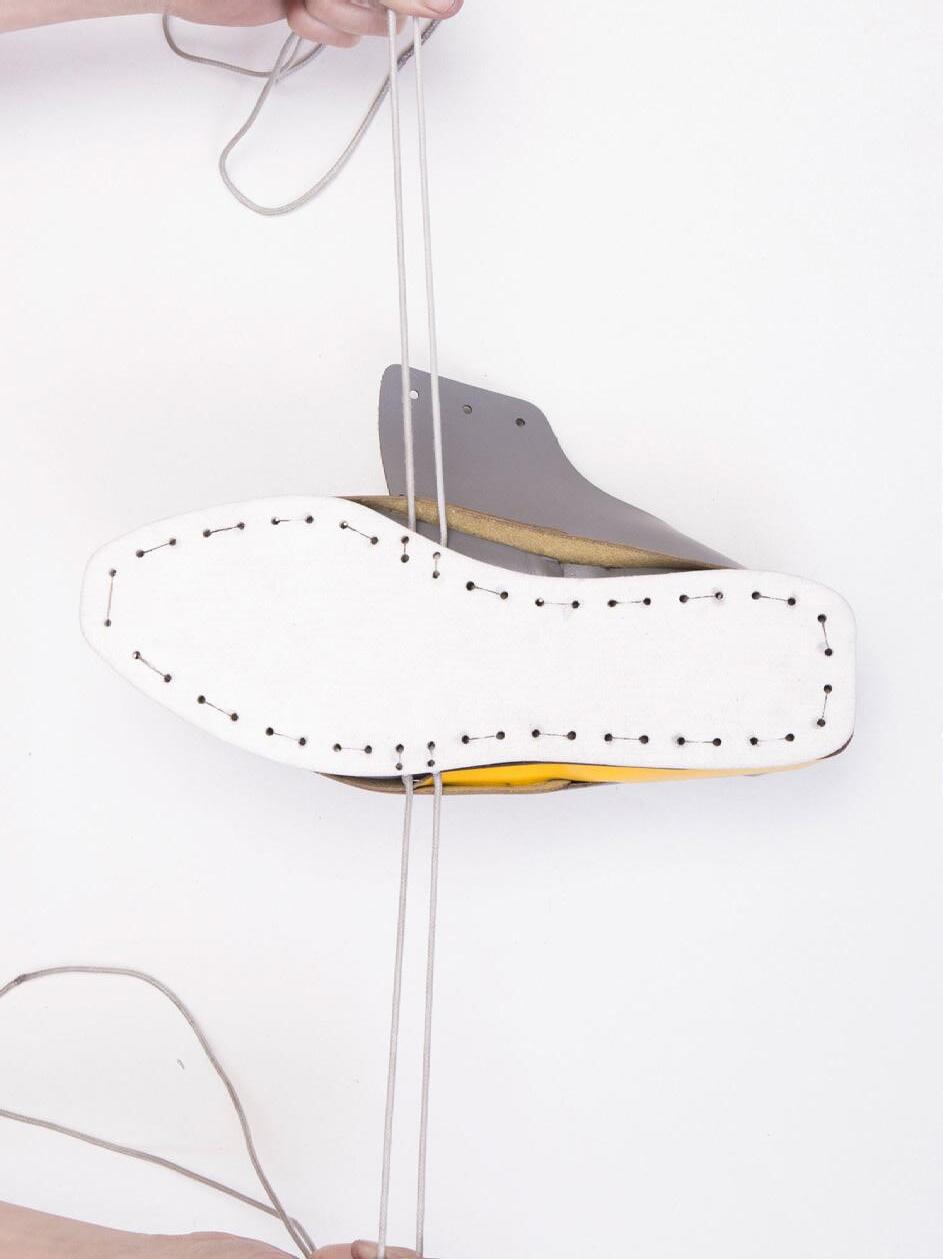
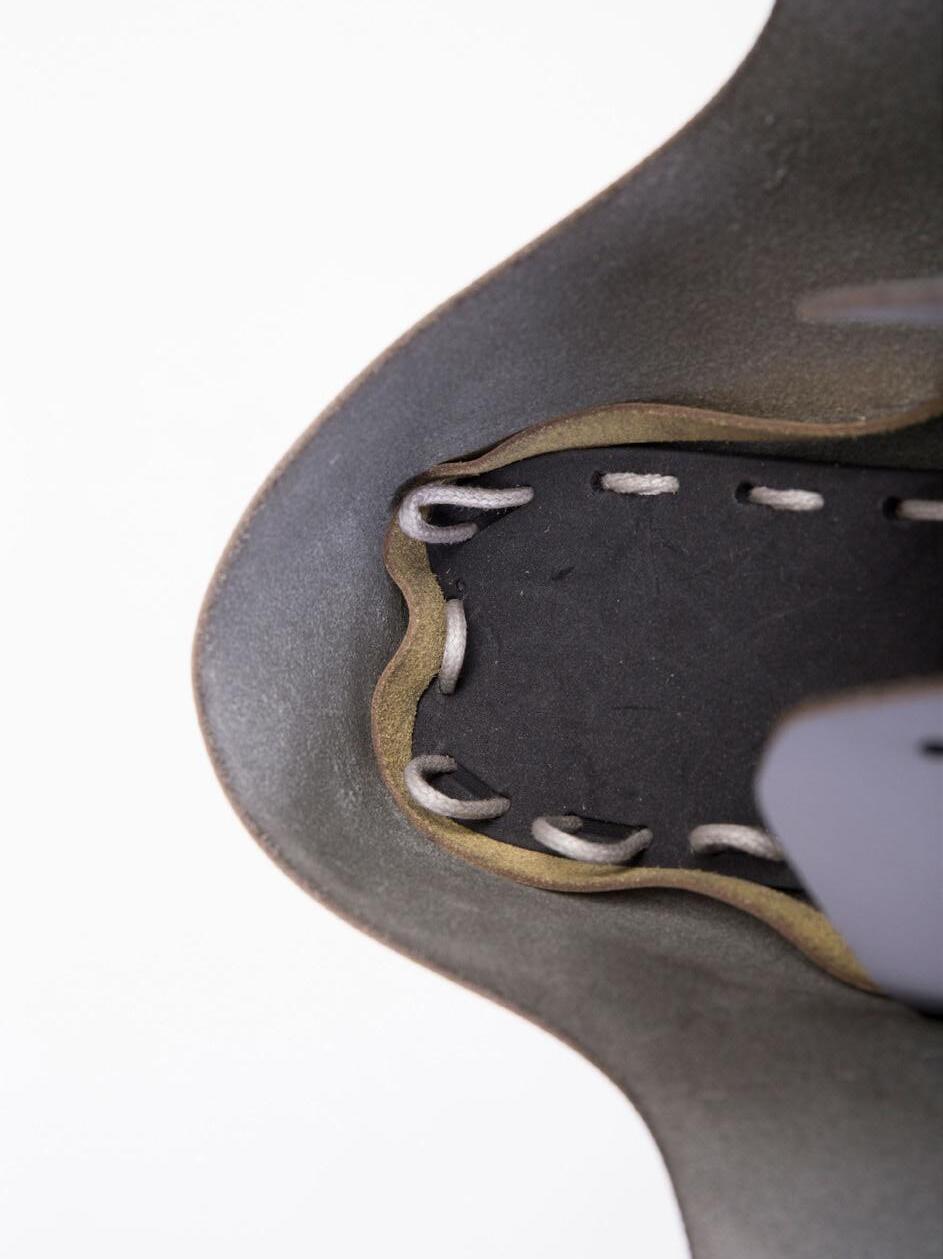
Make sure the lace sits nicely in the channels of the outsole so you wont walk on it later
18 tighten all the laces always working towards the lacing slots Step 7
Make sure the back strap inside the shoe is not stuck inbetween the insole and the outsole 18 19
19 pull the laces moving from the outsole to the insole and back as you go along you should carefully pull the lace to sit tightly in the outsole as you can see in the images
Make sure the lace sits nicely in the channels of the outsole so you wont walk on it later
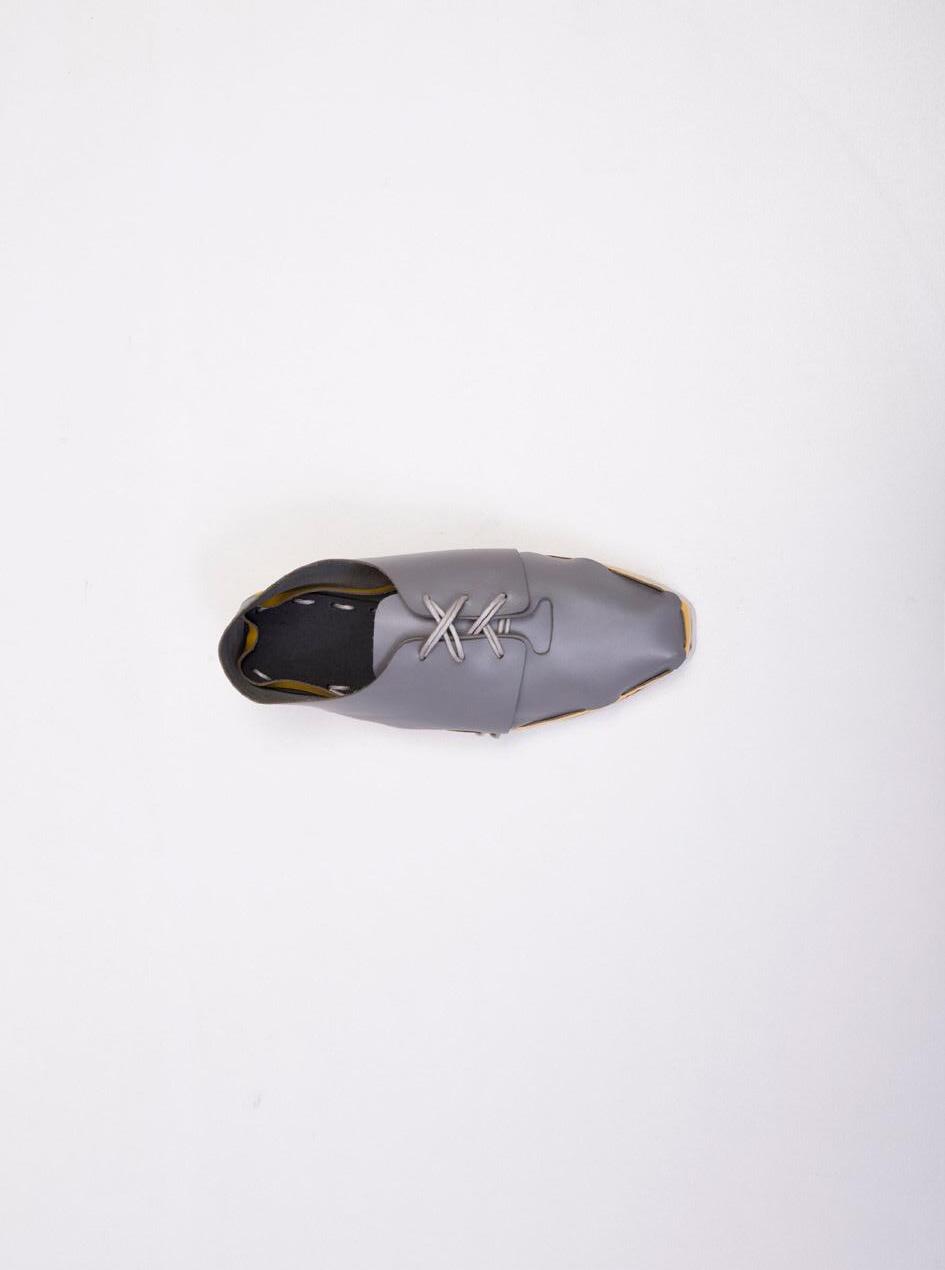
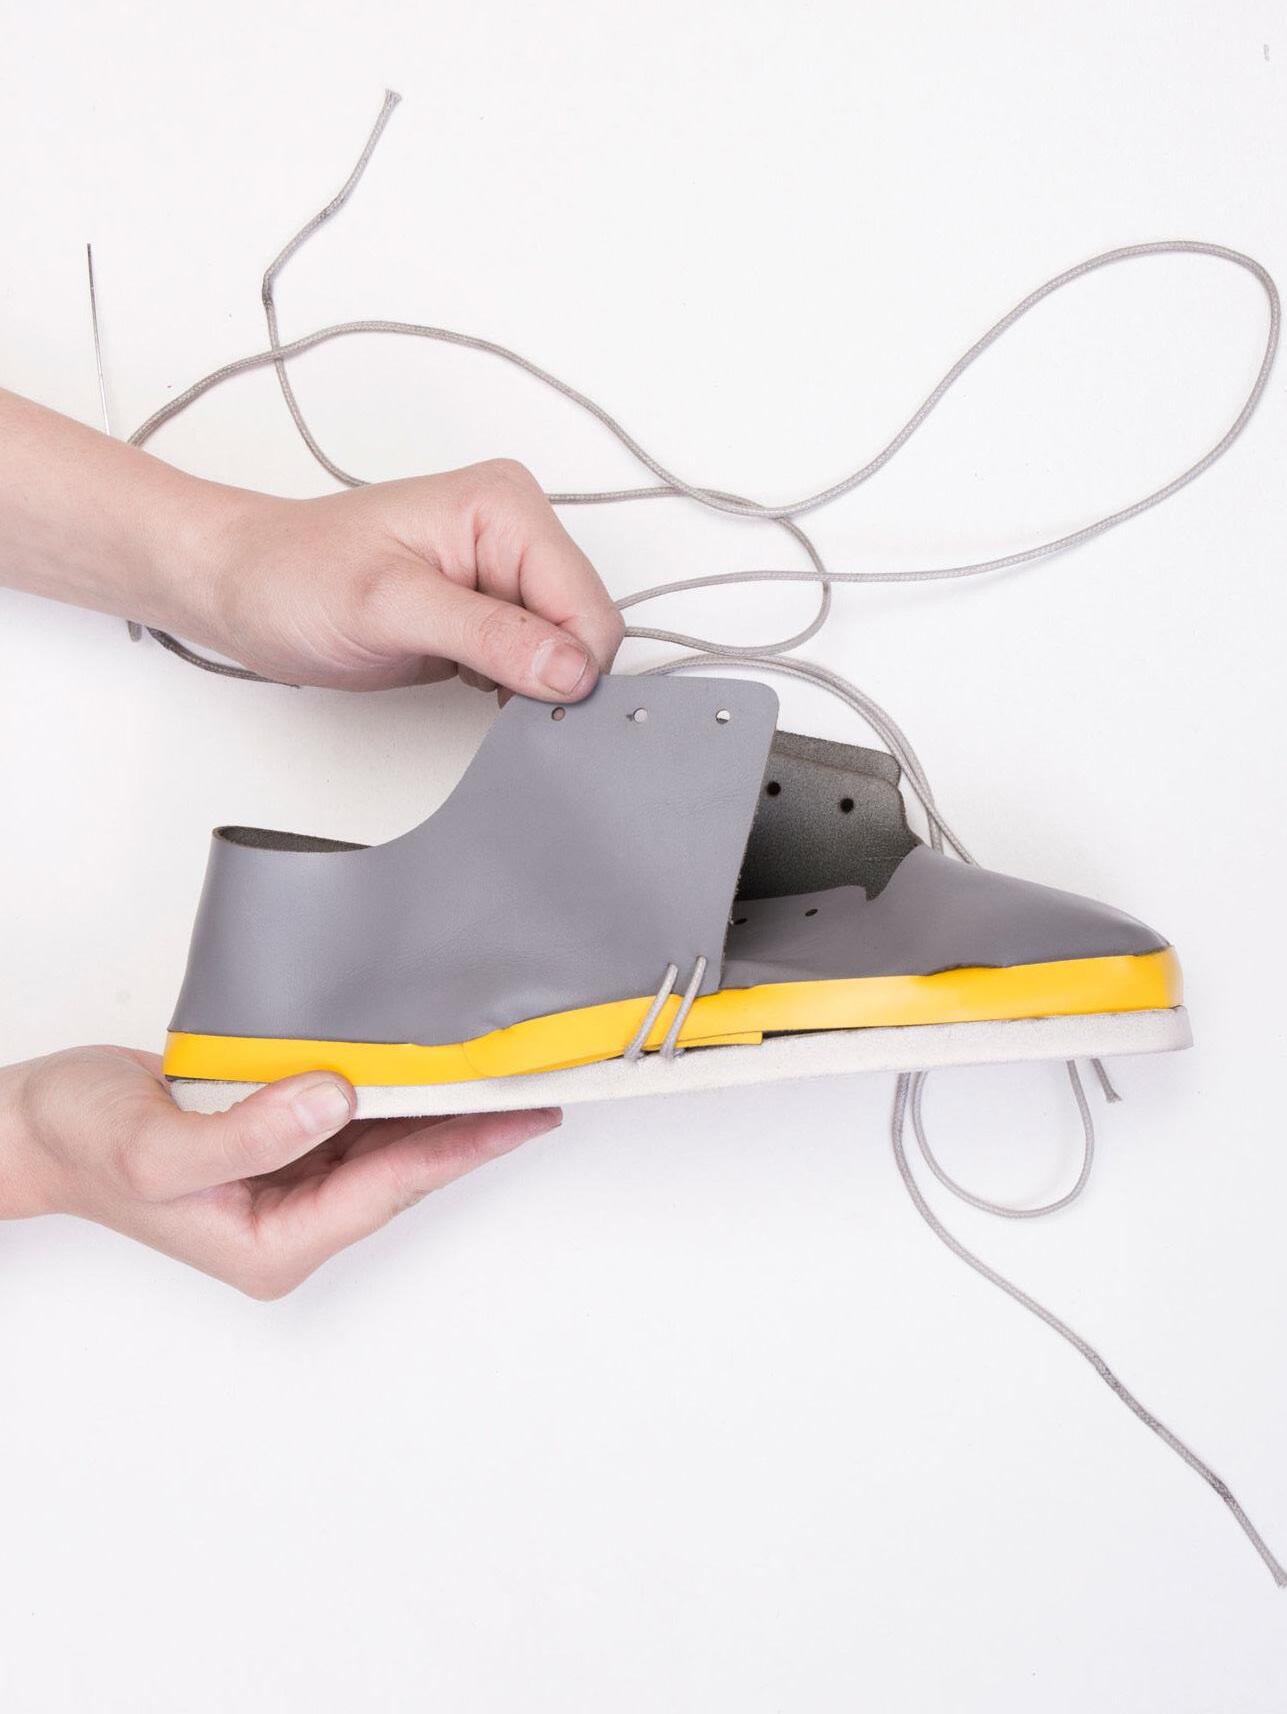
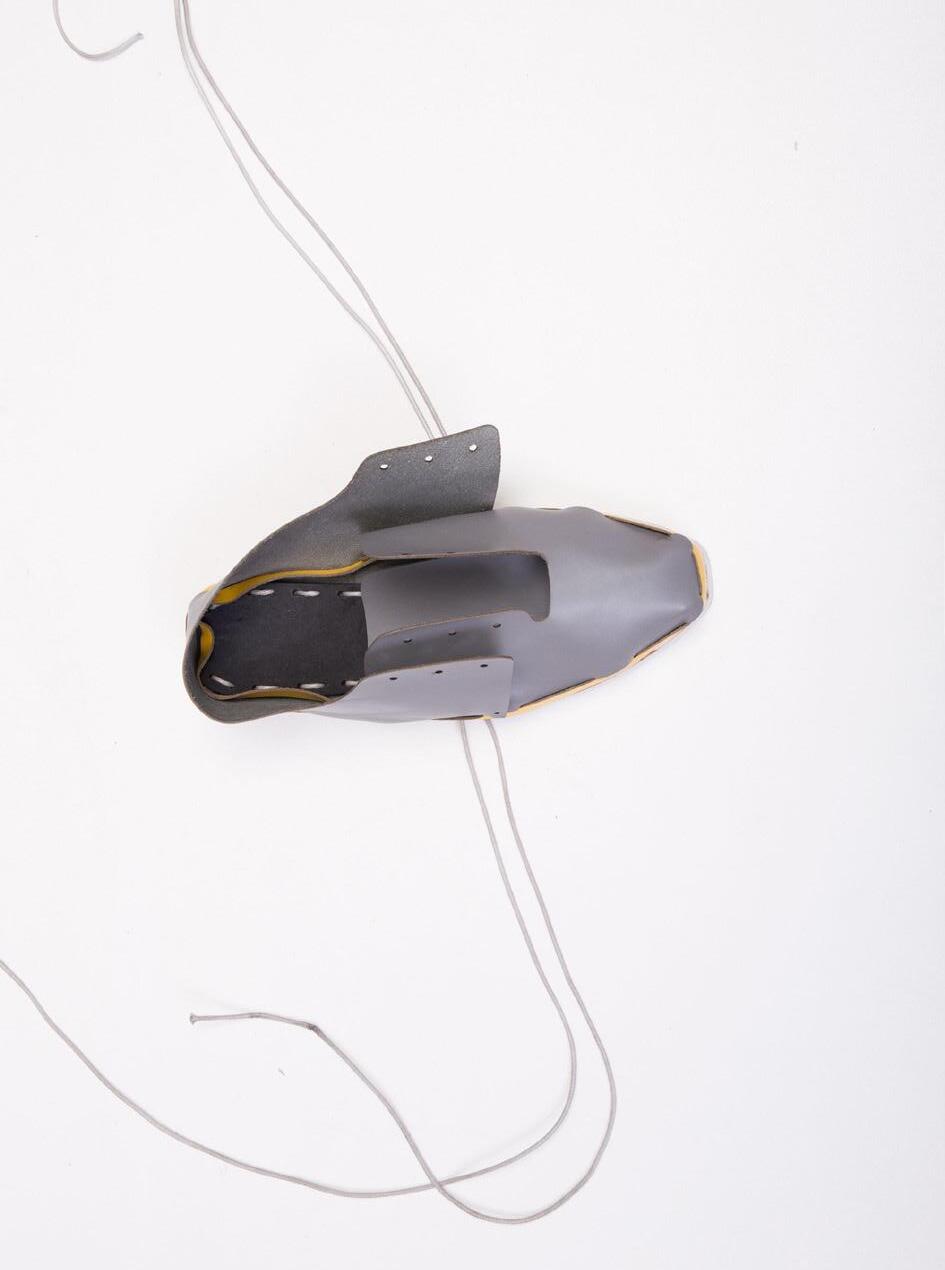
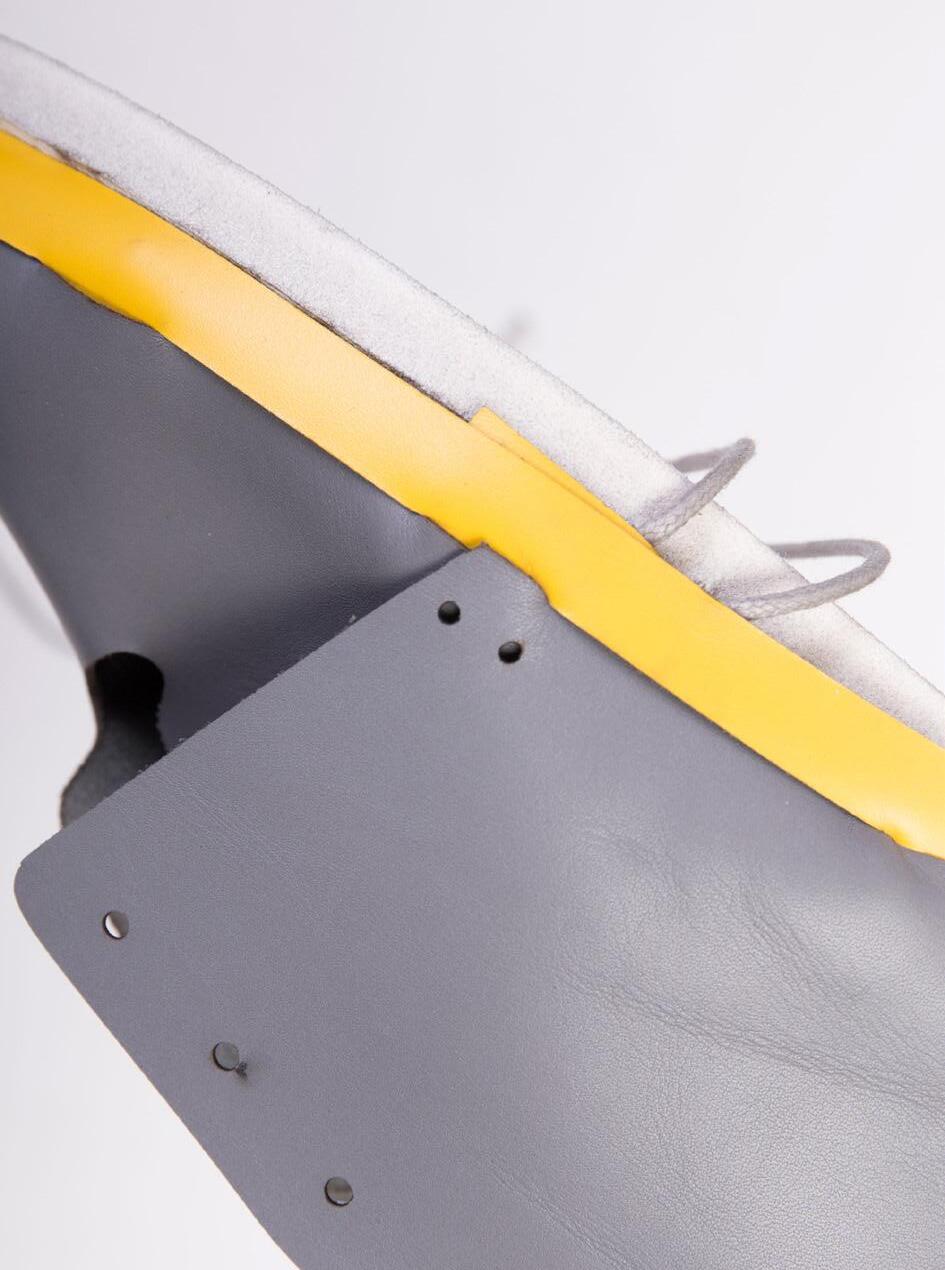
/ finish lacing up the shoe following the images
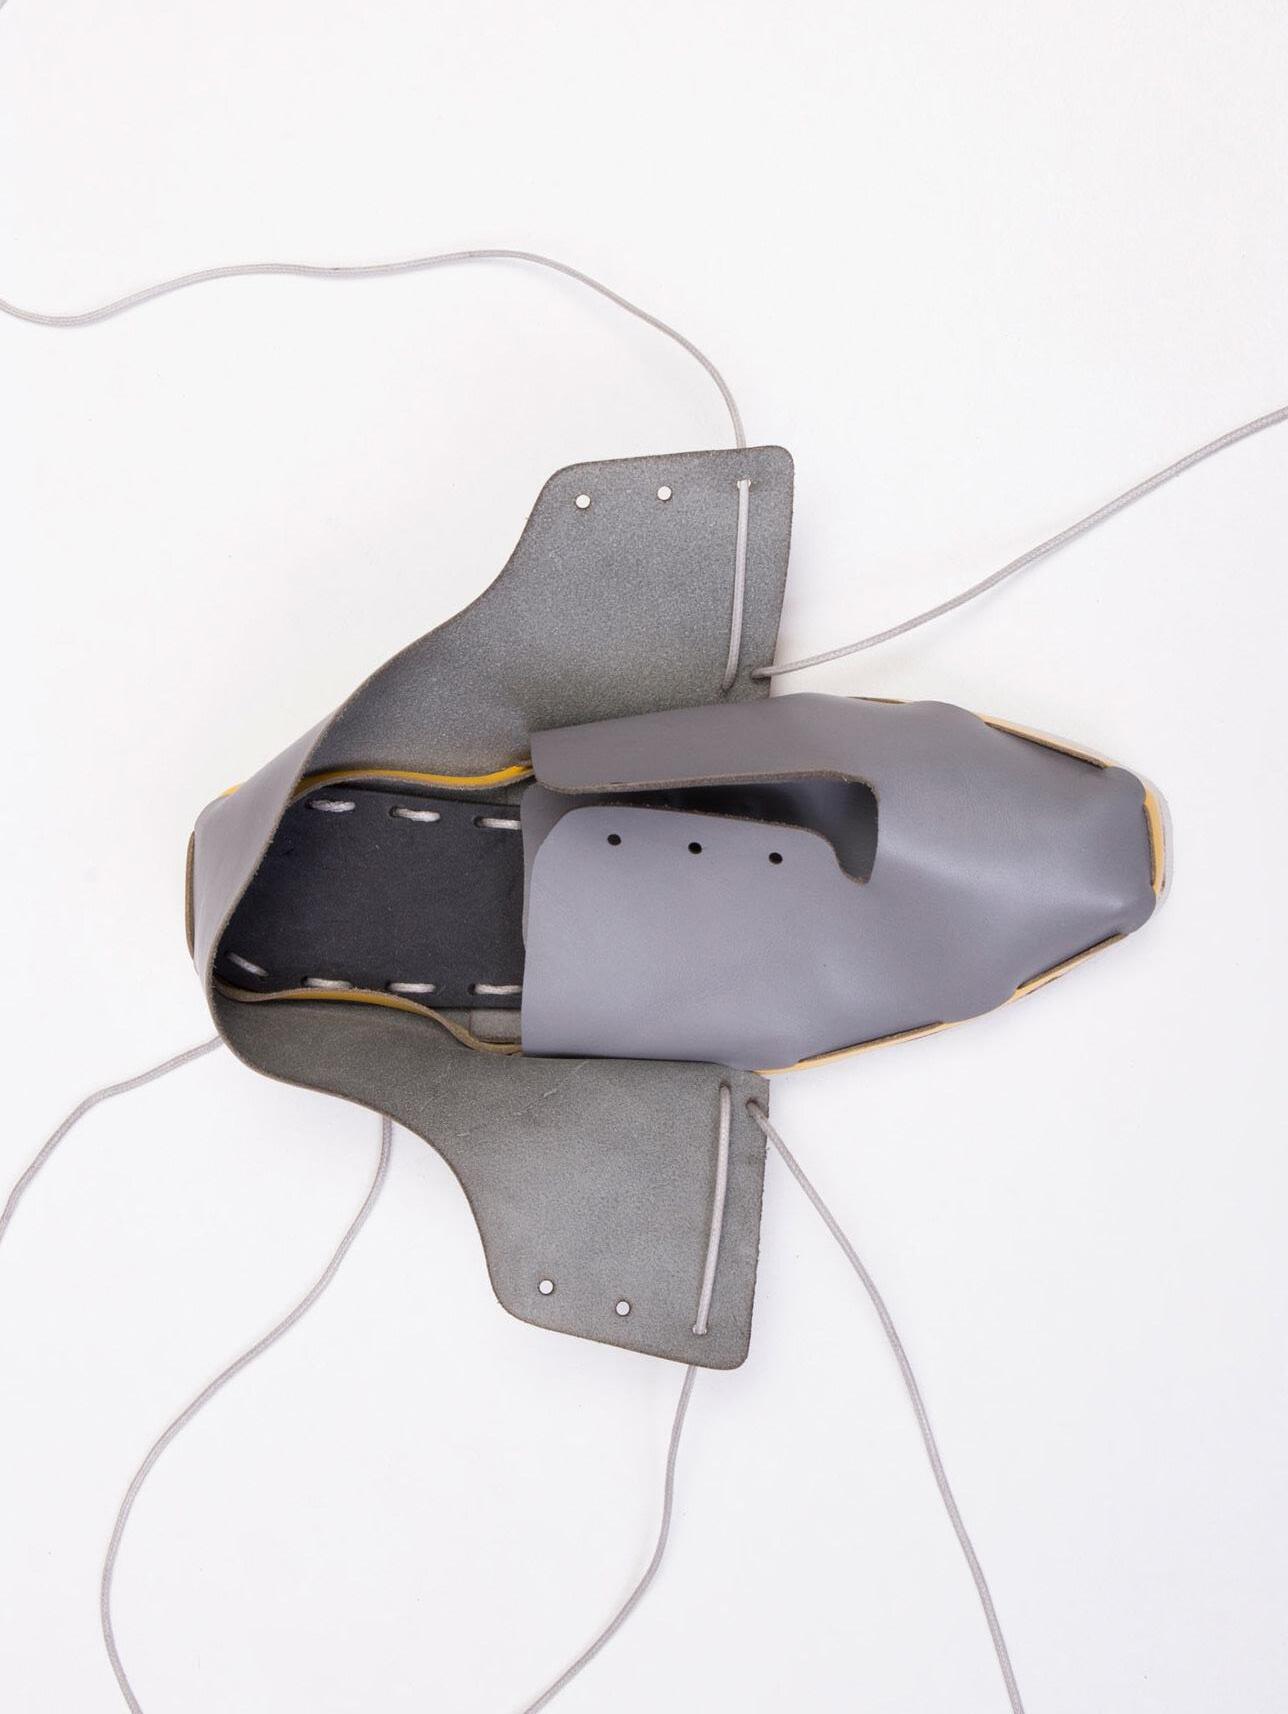
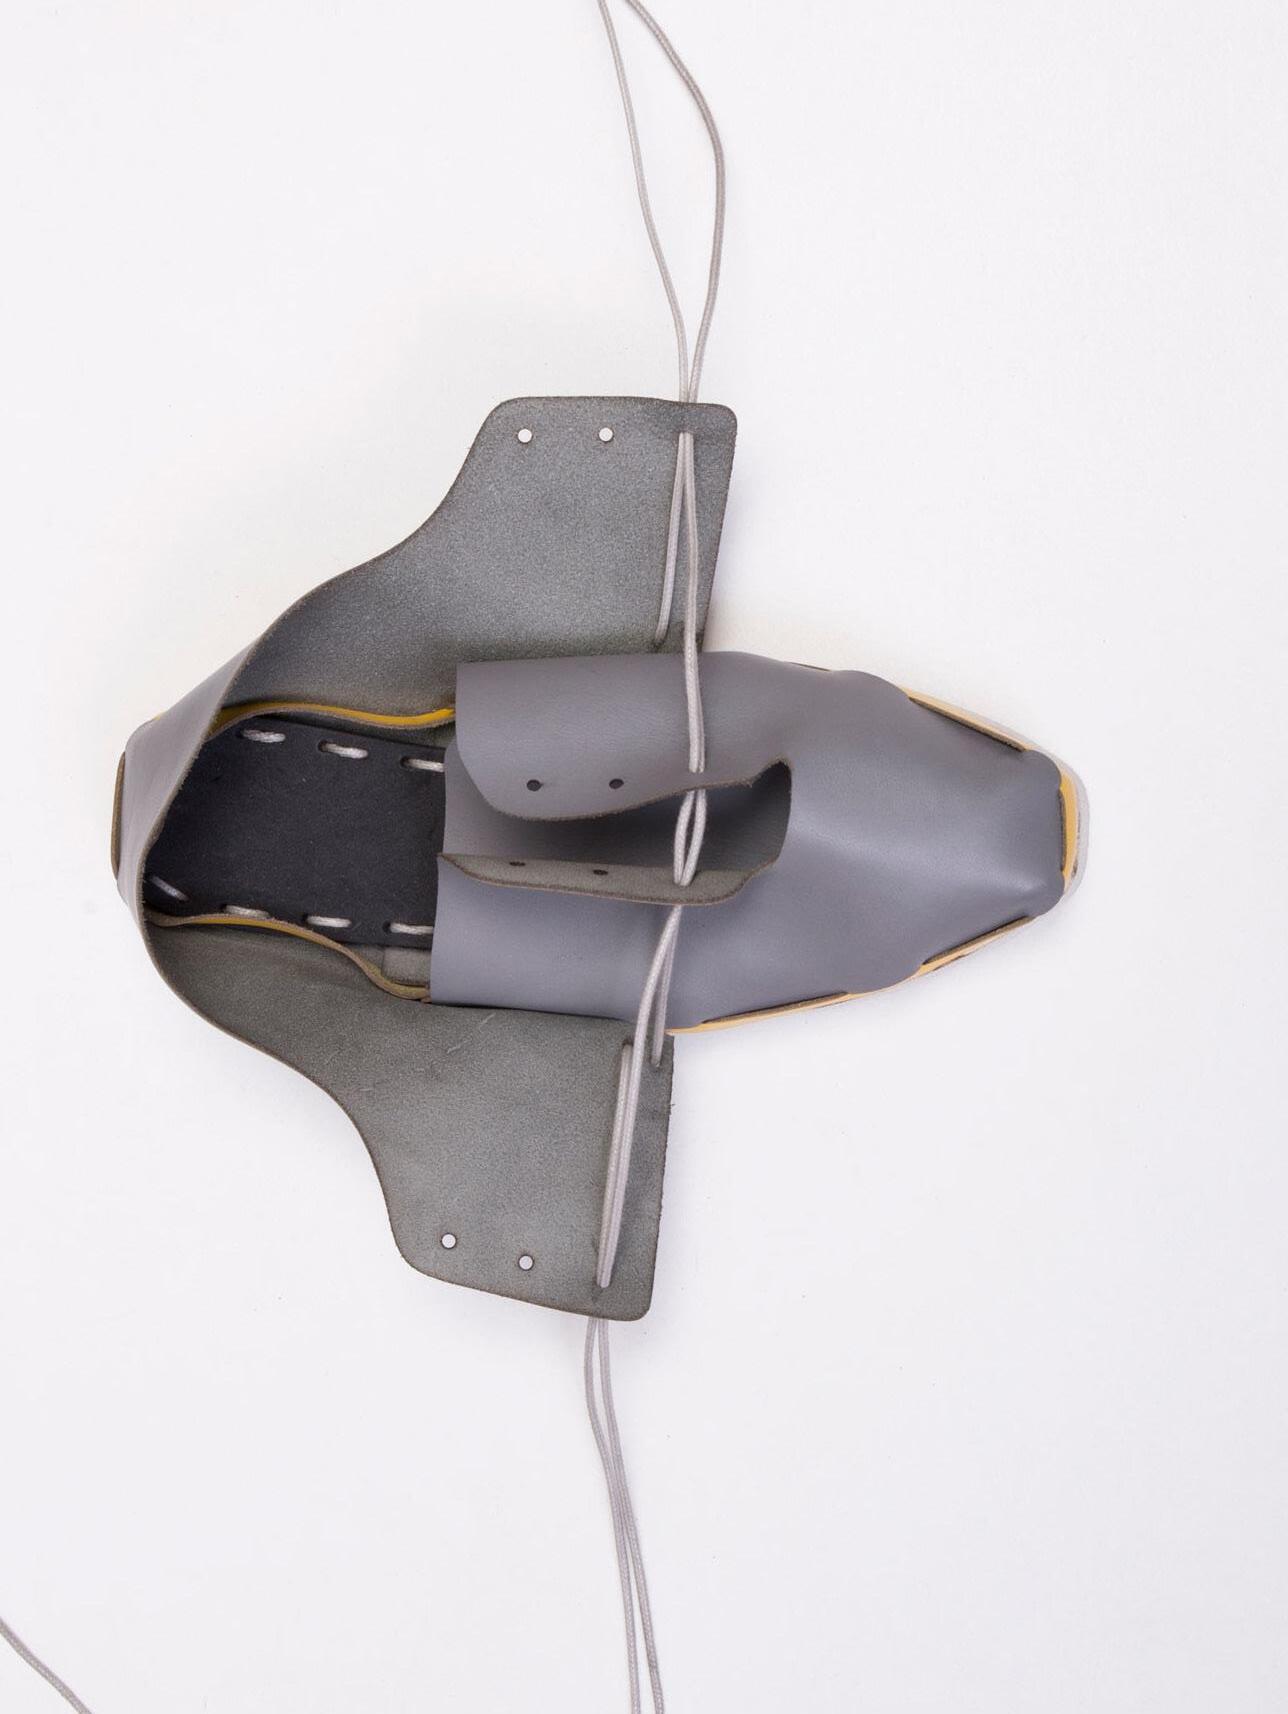
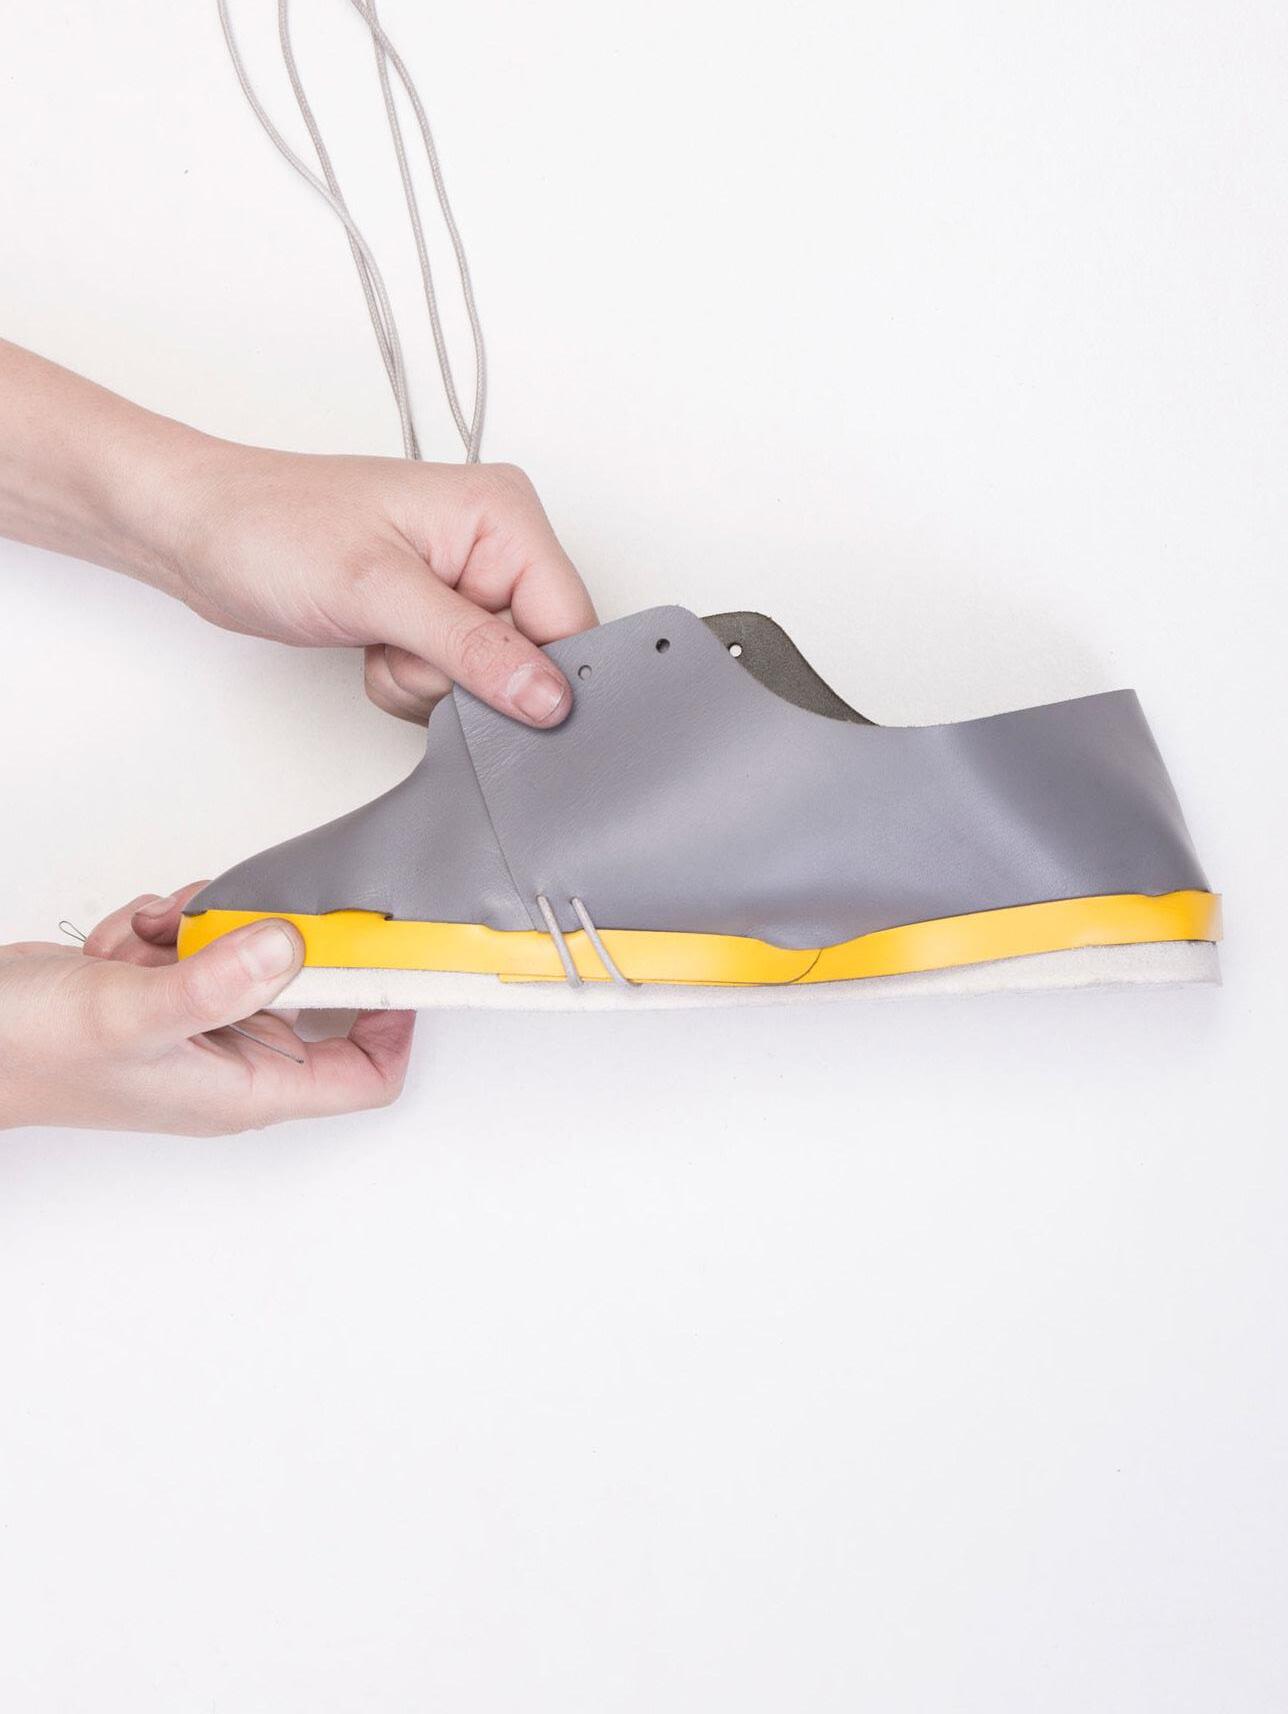
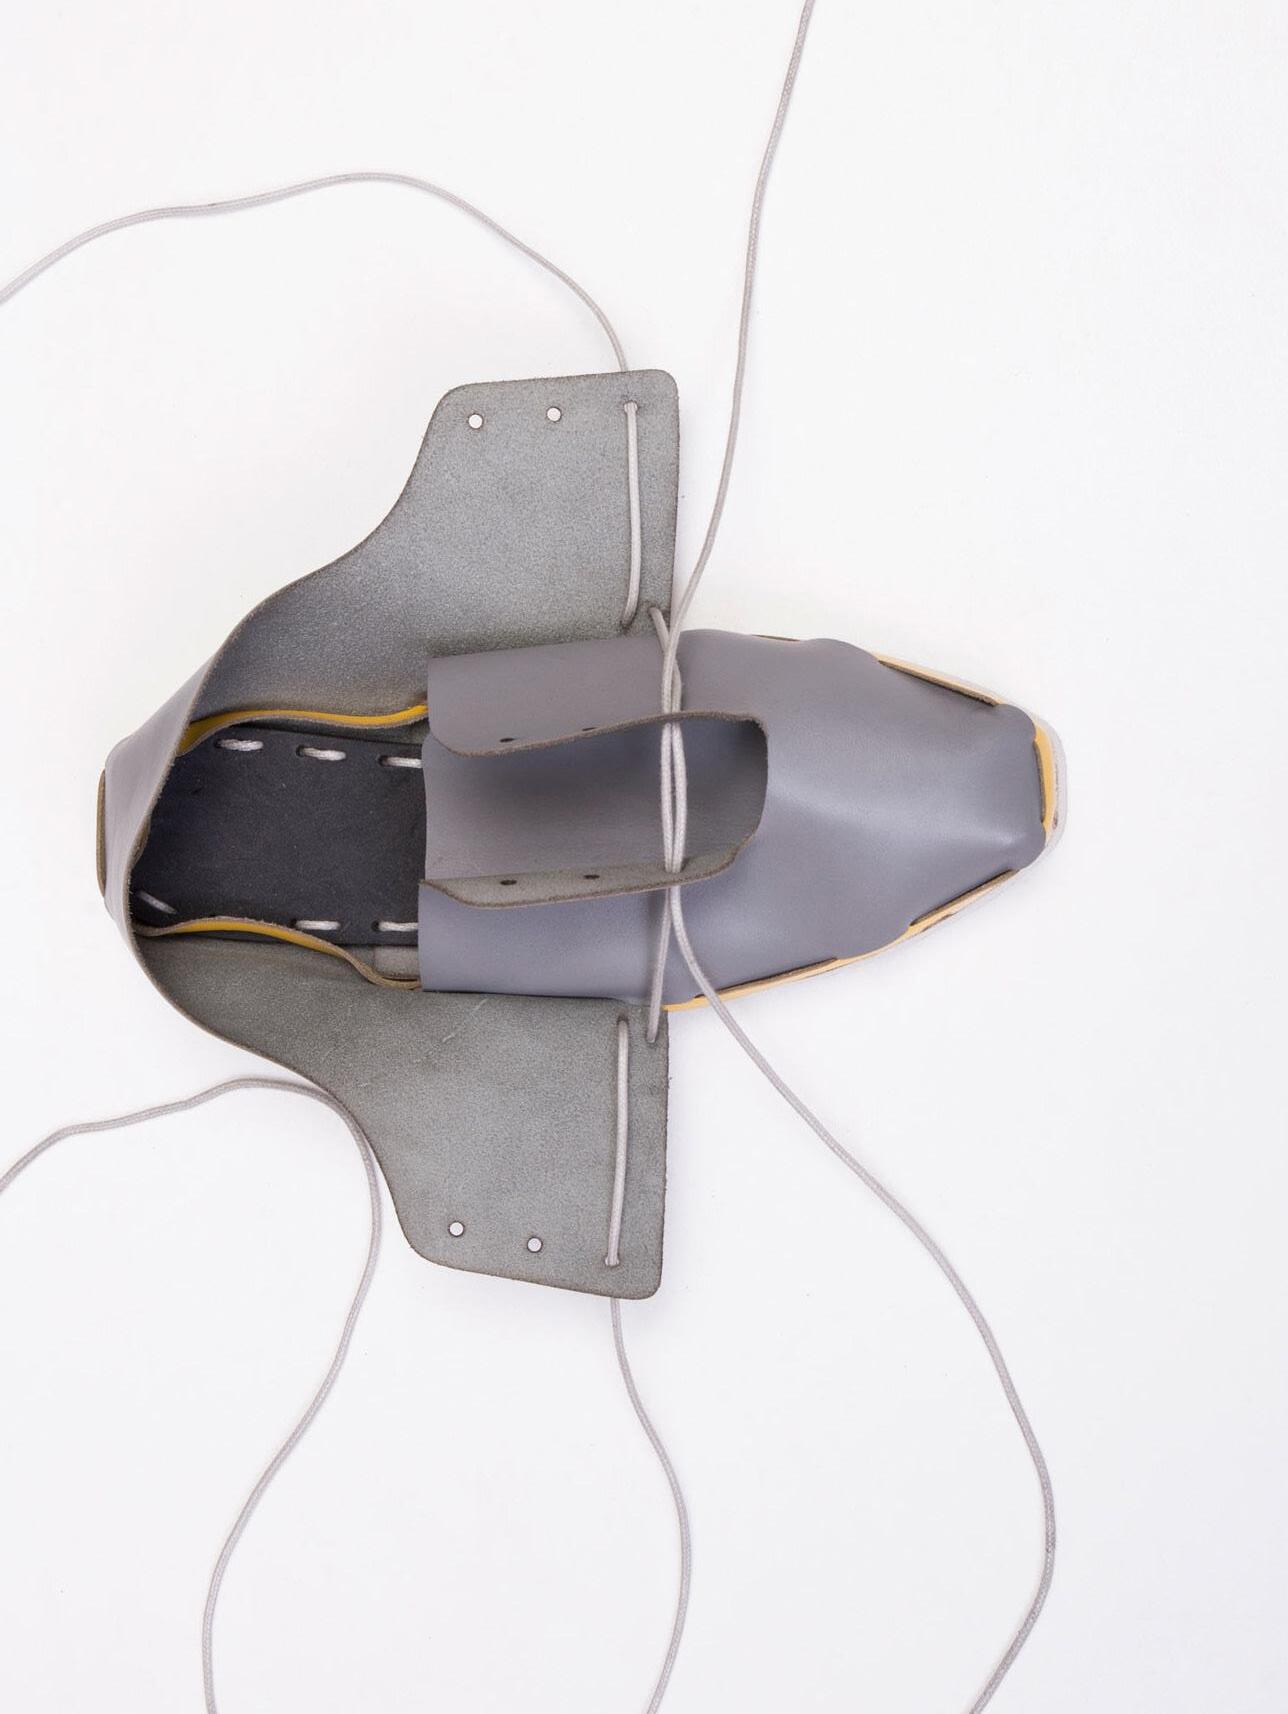
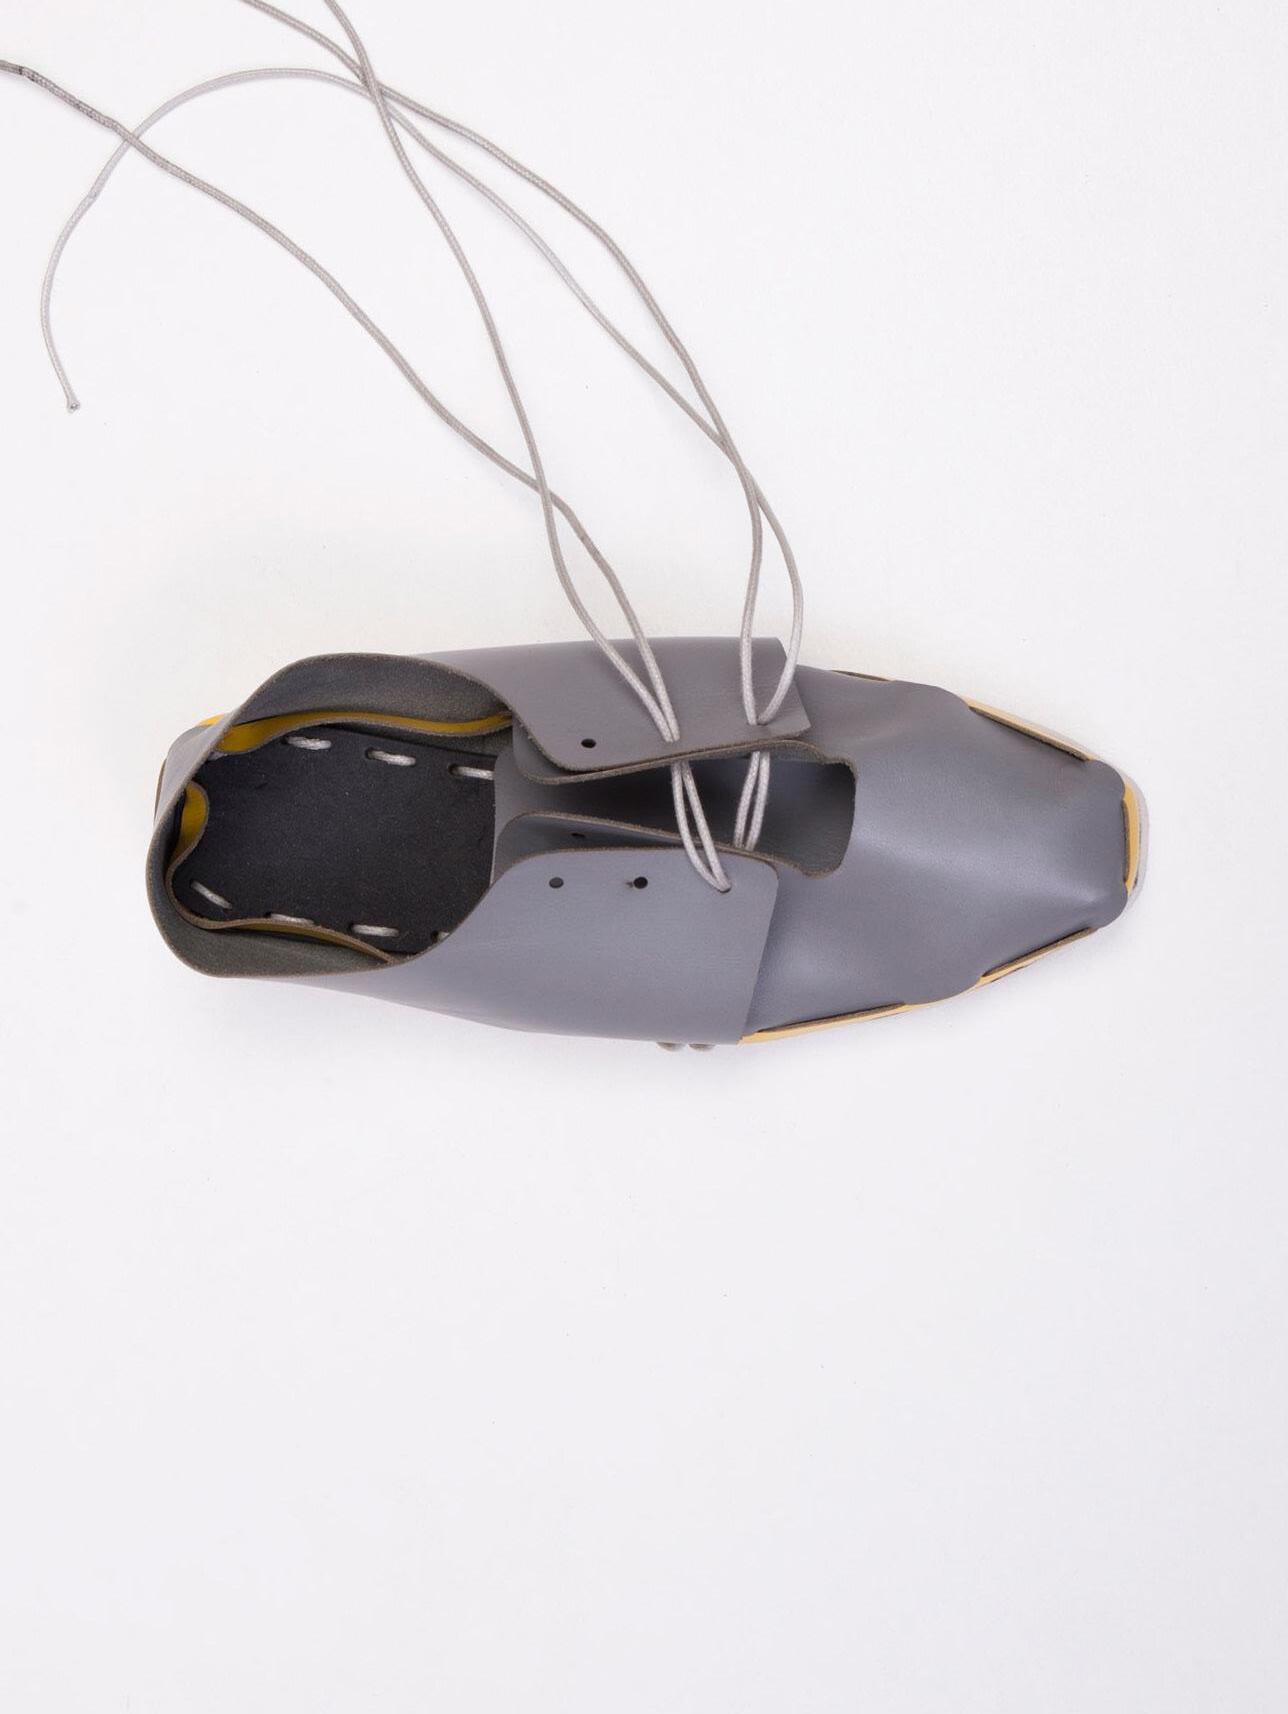
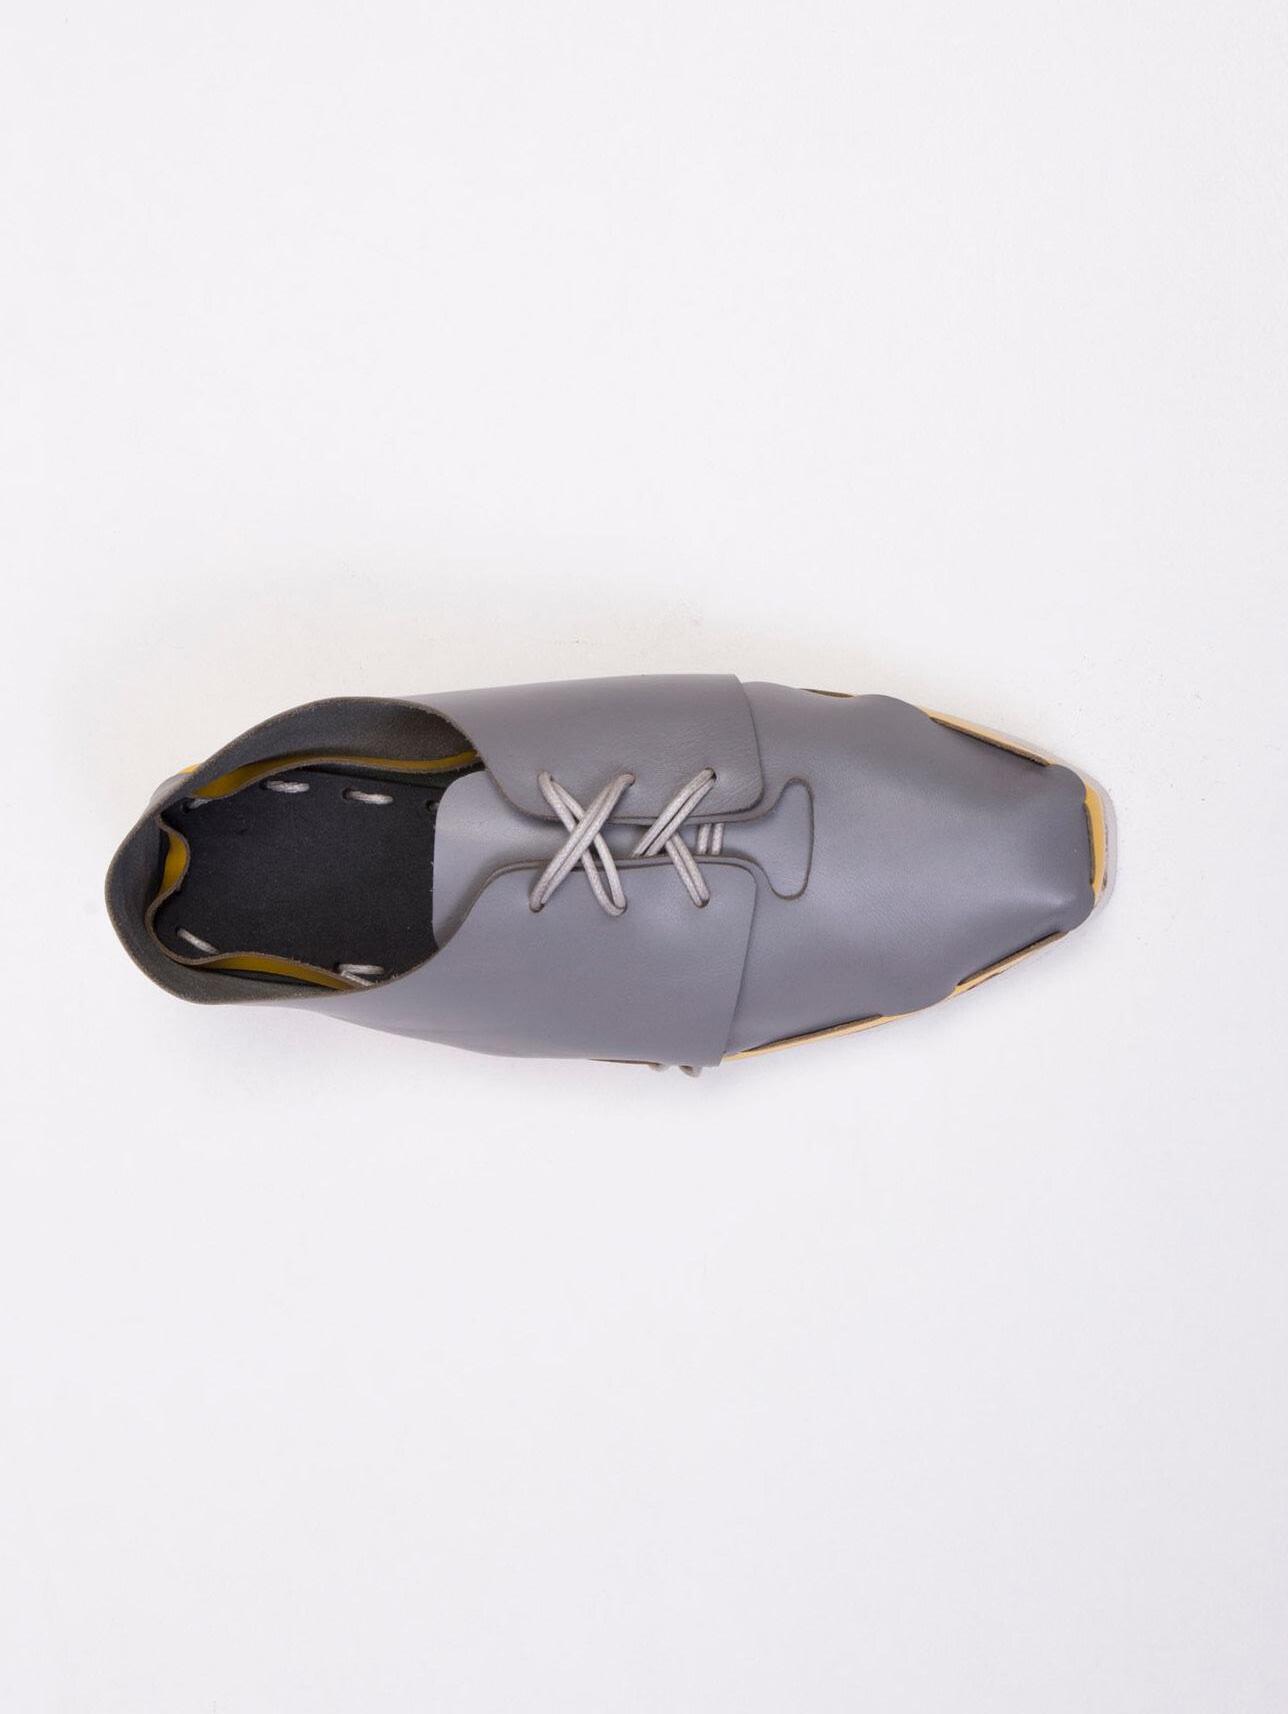
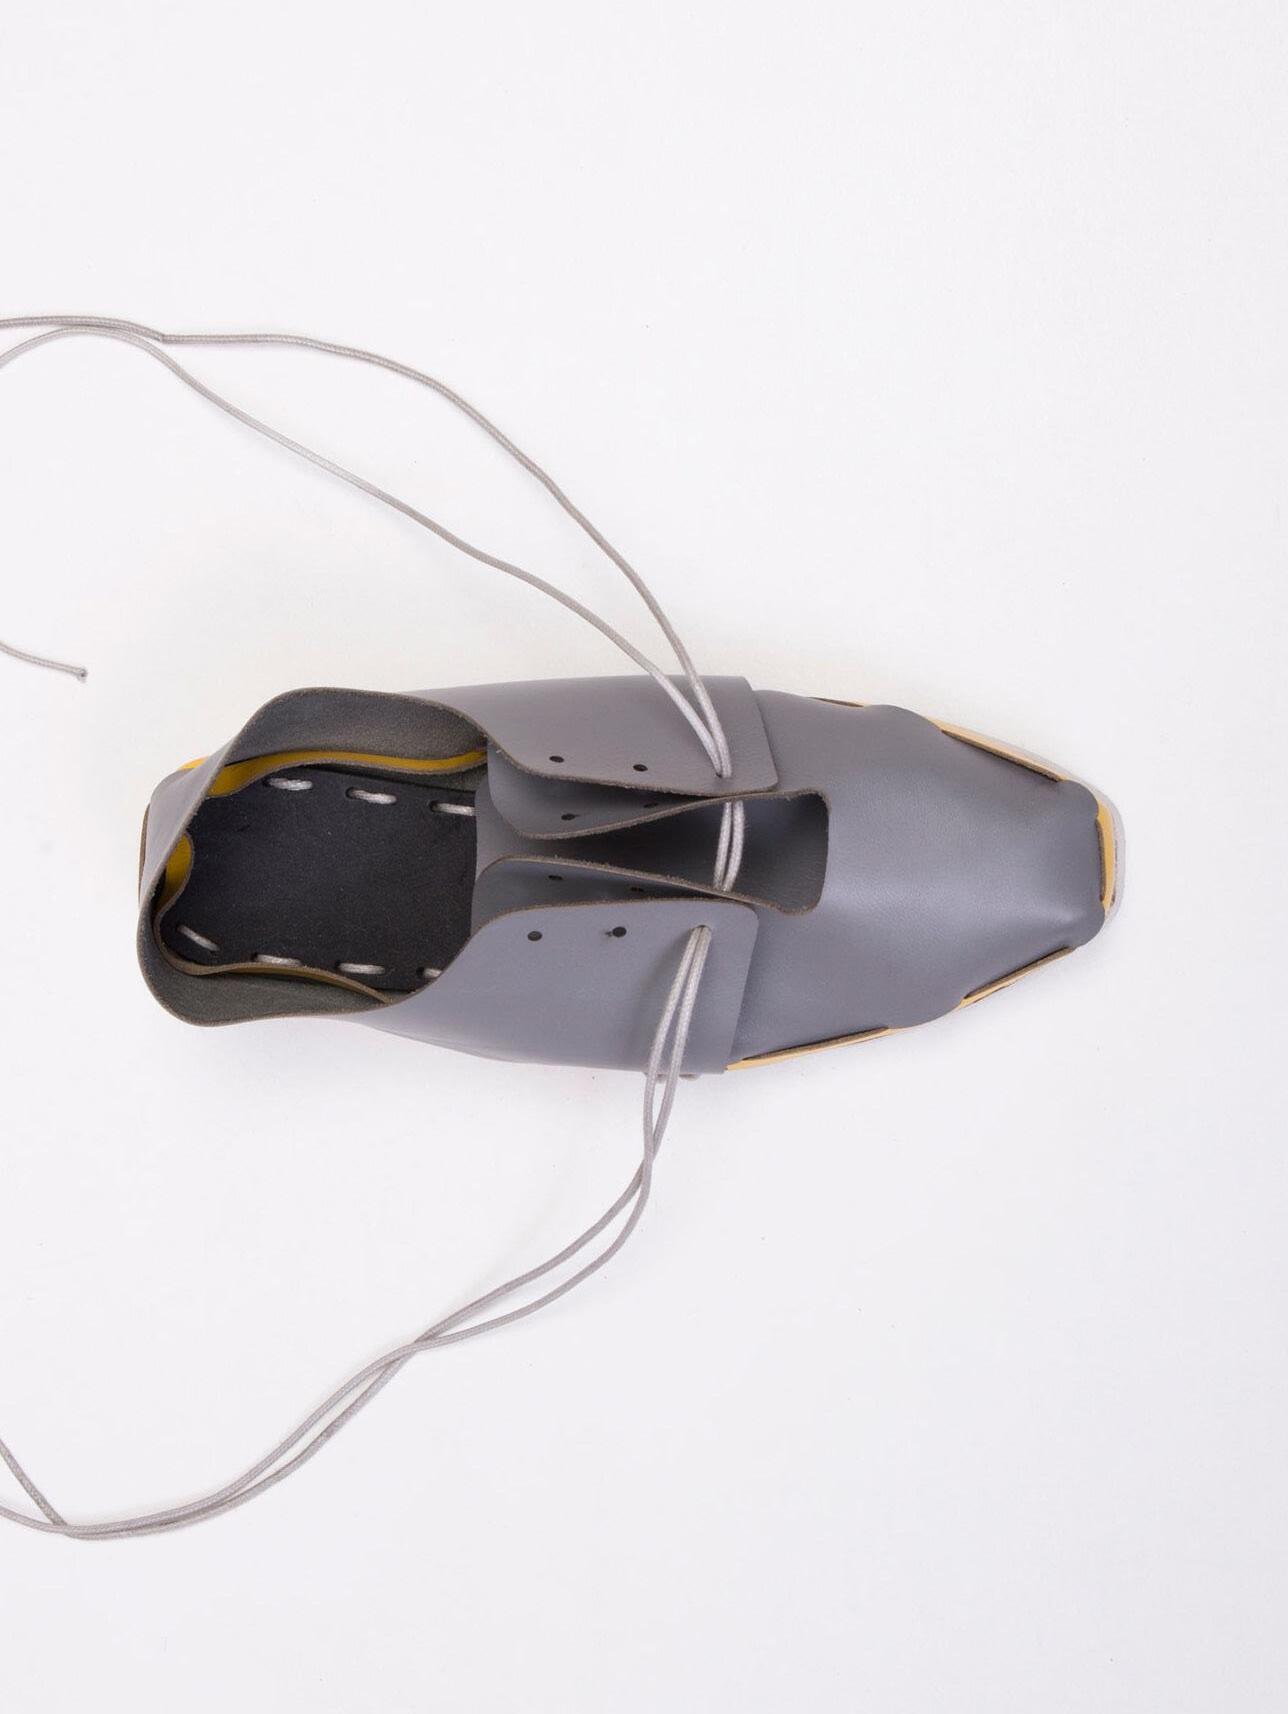
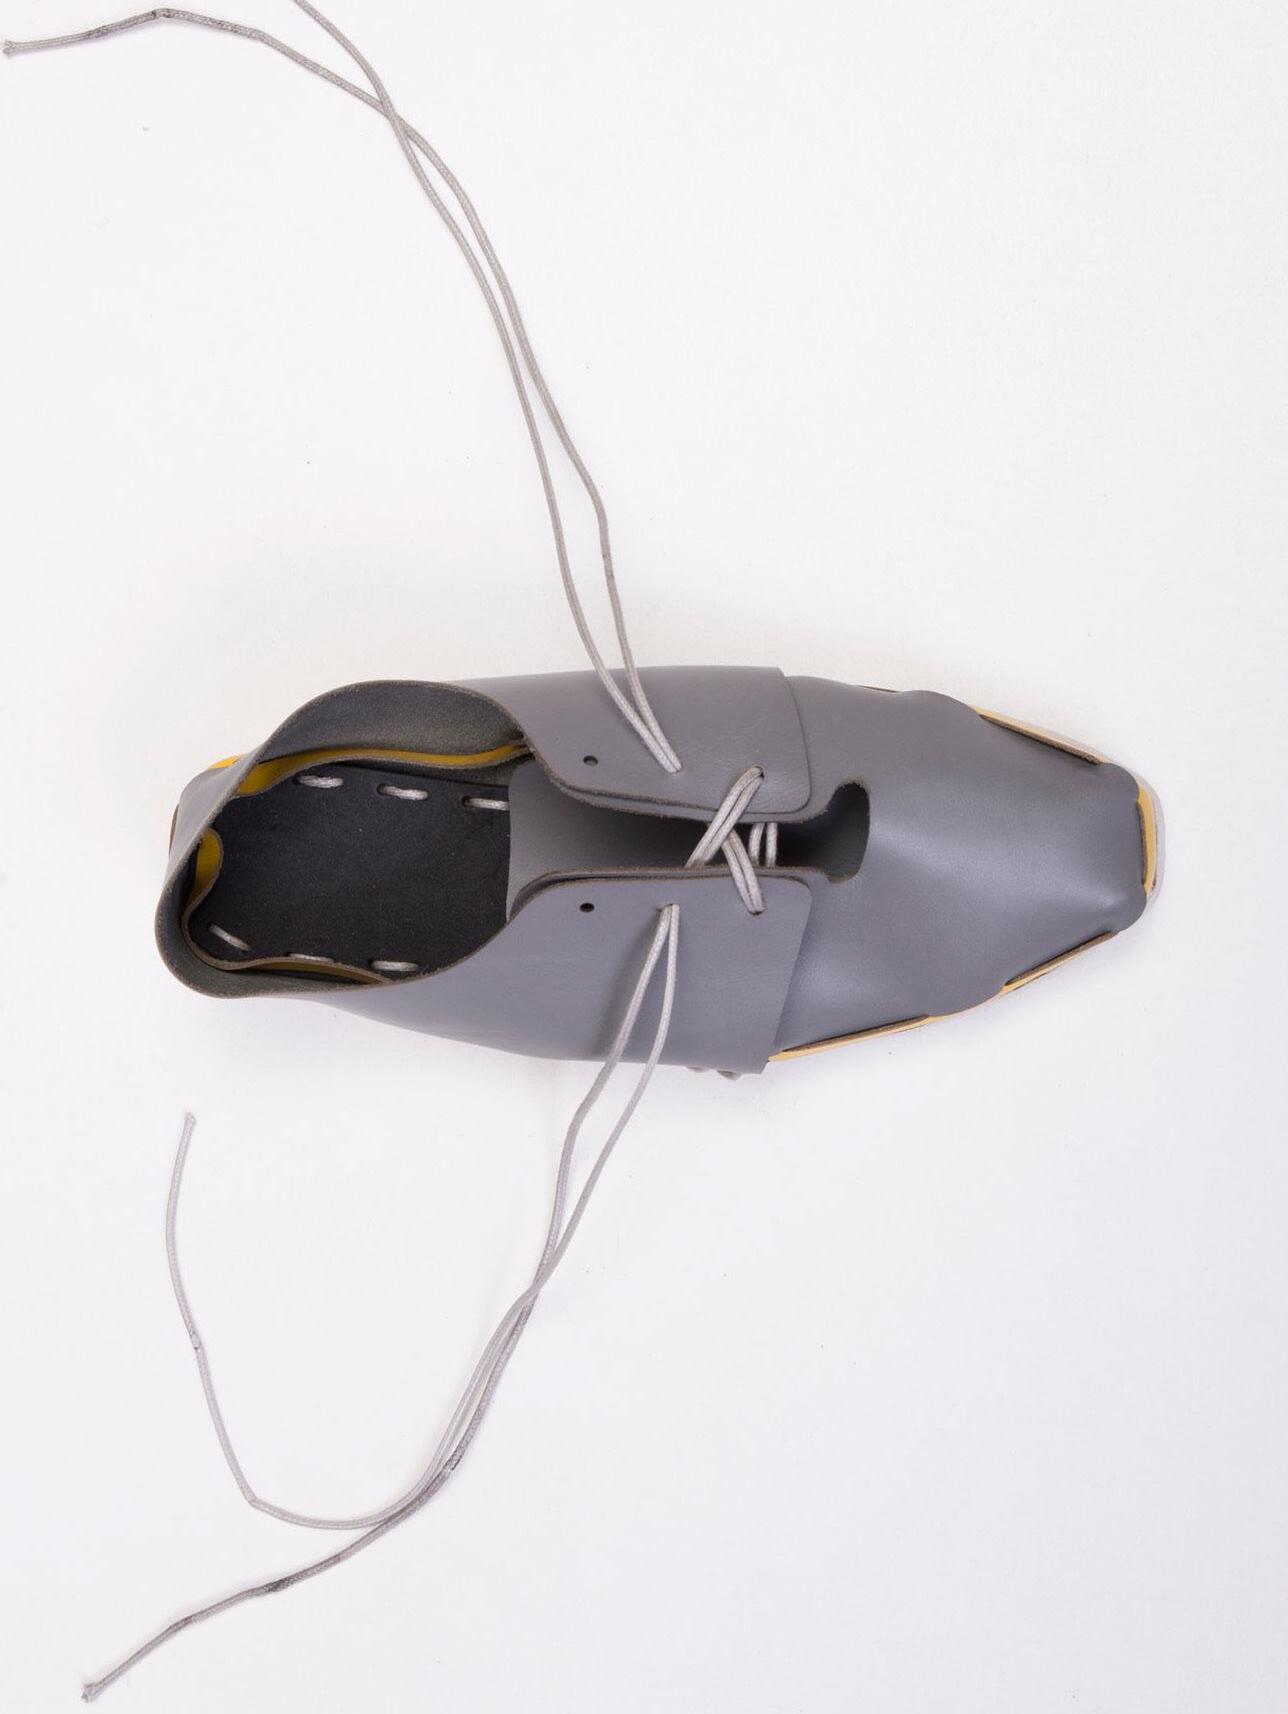
if you have questions please write to hello@anothershoe.net , or look at anothershoe.net Please share your shoe with us via istagram using #anothershoe or via mail writing to hello@anothershoe.net
AnOtherShoe is a project of Sophia Guggenberger and Eugenia Morpurgo.
AnOtherShoe is: open. All the technical drawings are shared under a Creative Commons License and clear instructions for production/assembly and repair are available. Through a platform, a network between consumers, maker and designers is created. Information about maker spaces and material sources are shared. Knowledge is openly shared though workshops simple. A simplified construction facilitates a simplified production process. The consumer is able to easily understand the making of his product. sustainable. The shoes are made locally and on demand, thereby not generating over production. They are repairable and the components can be disposed of separately. Instruction made by AnOtherShoe, photos by Federico Floriani.

Sizing Guide
print the following pages in A4 , do not scale the file, align your tallon with the line and see which AnOtherShoe size you are.
Reliquum 릴리쿰
릴리쿰은 생산적 일탈을 지향하는 DIY 활동 그룹 땡땡이공작과 제작자 정혜린의 Slow Fab이 함께 만들고 있는 제작 공간이다. ‘만들기’를 새로운
삶의 방법으로 취하여 환경과 일상을 복원하자는 취지에서 탄생했다. 각기
다른 재료를 다루는 제작자들이 모여 독립적인 창작/생산 활동과 판매, 전시, 워크숍 프로그램 등을 함께 열어가는 오픈 스페이스의 성격인데, 제작자들은 그 안에서 각자가 시도했던 실험사례를 공유하고 해답에 대한
실마리를 찾아간다. 릴리쿰은 작업장이자 제작자들의 살롱의 모습을
지향한다.
Sub Project 01
월간실패 2016년 2월호
Sub Project #02
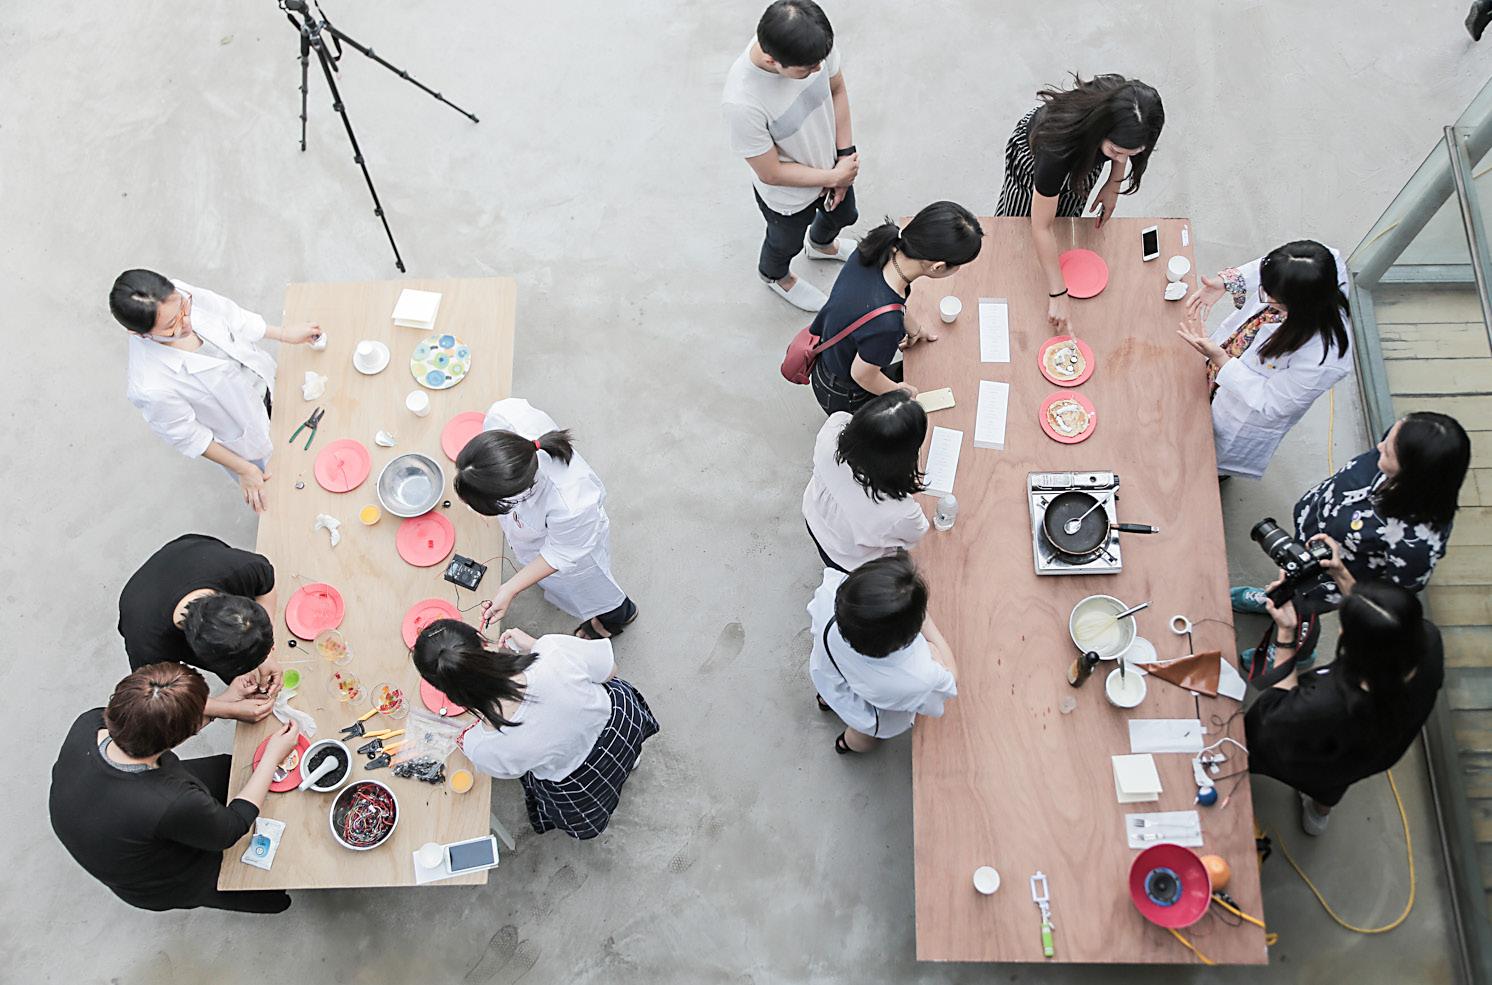
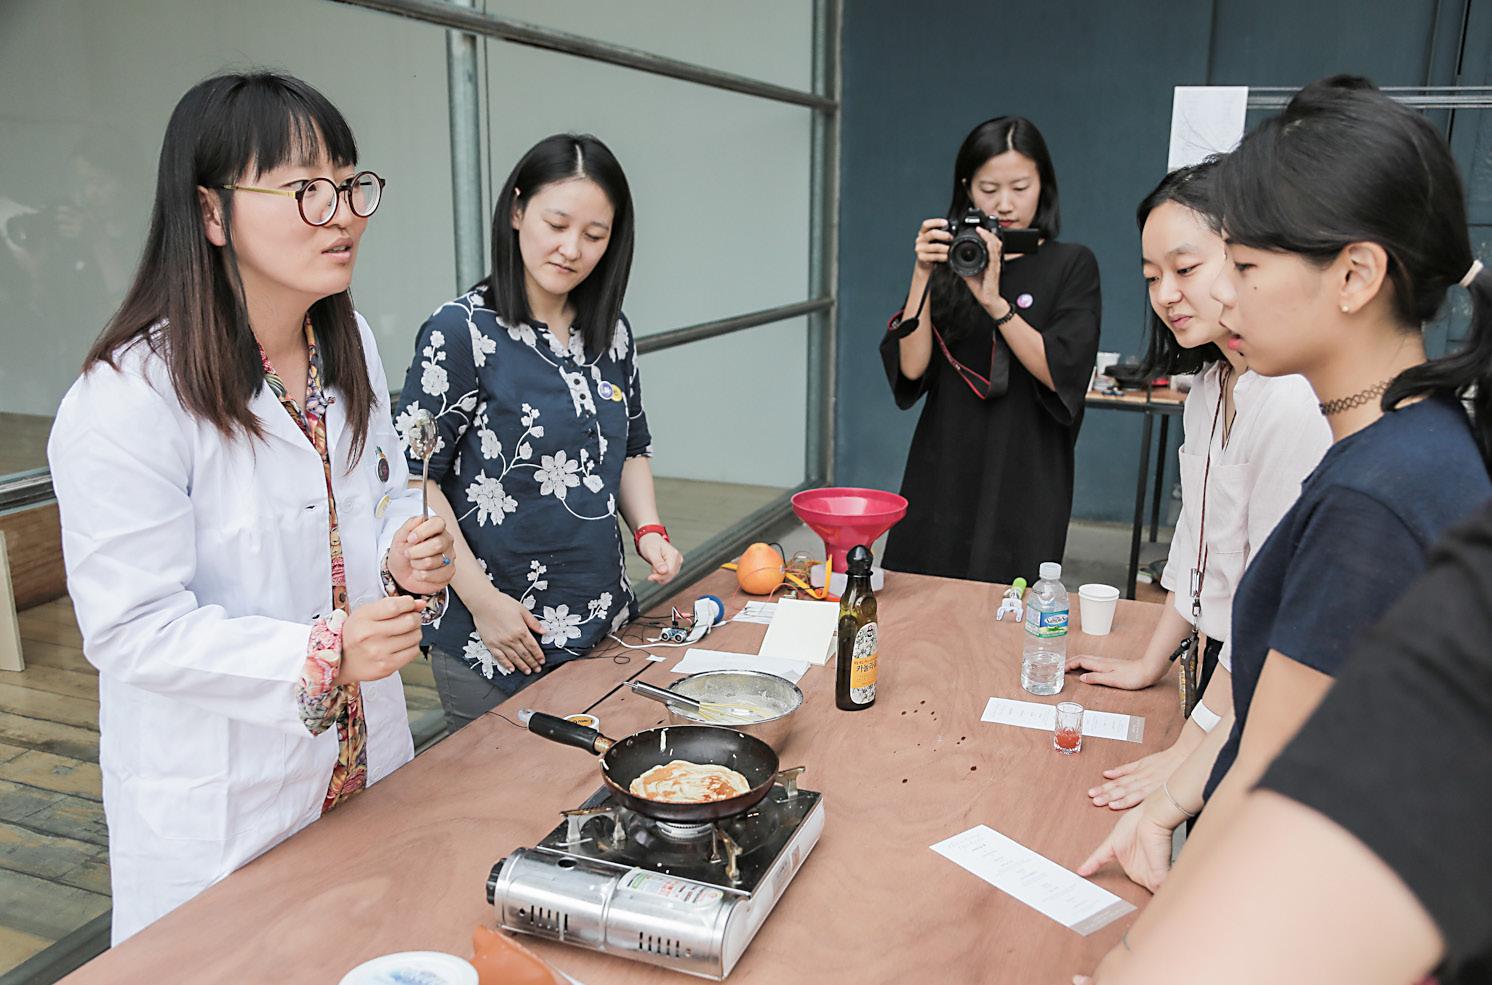
전자요리 오픈 키친
Electron Cookery’s Open Kitchen
월간실패 2016년 3월호
Sub Project #03
2016년 4월호
Sub Project 01
일치한다.
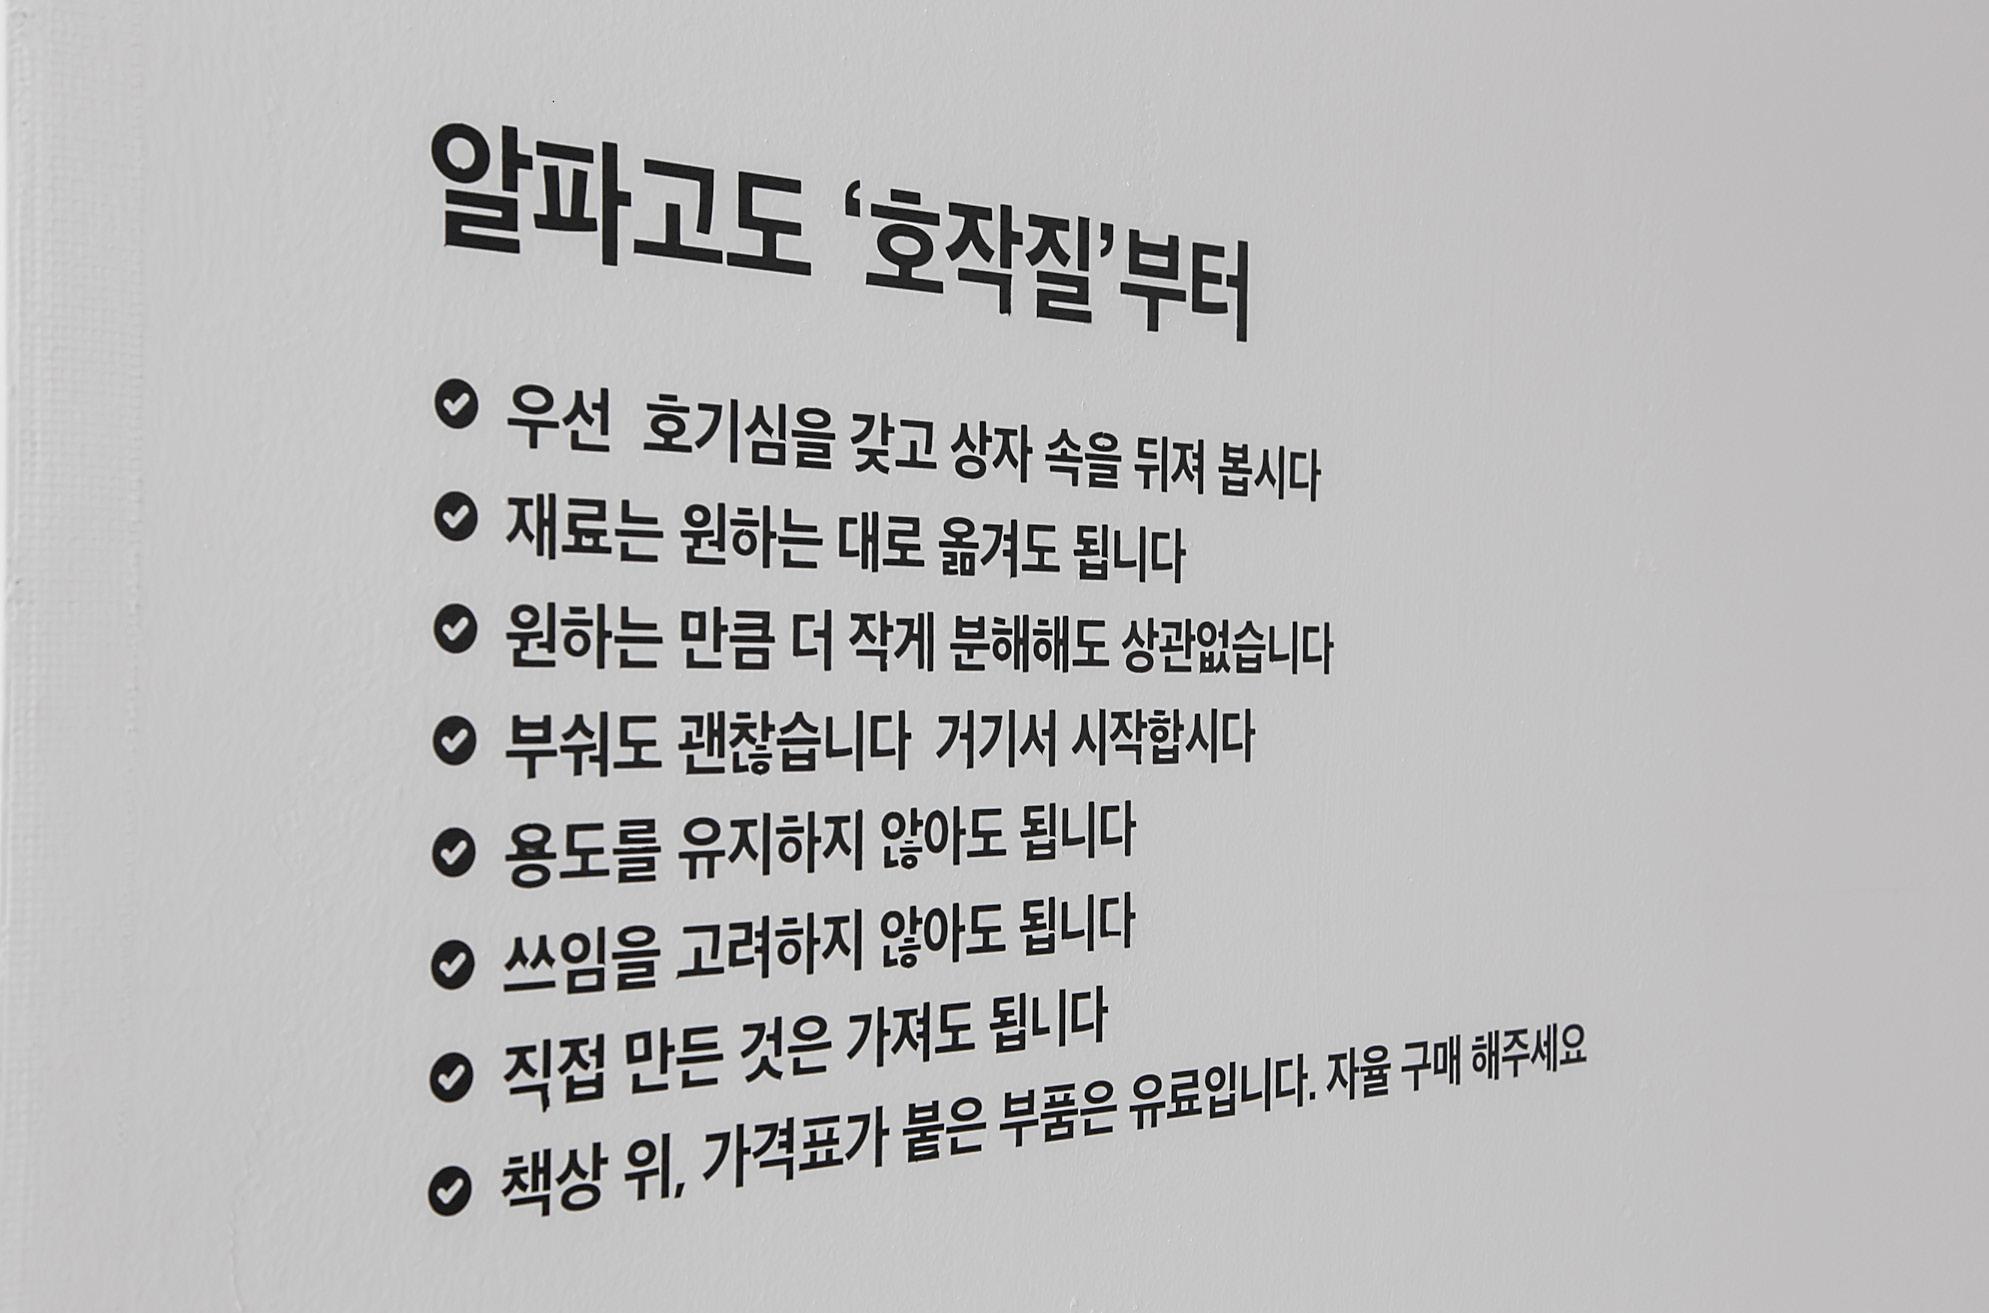
여기, 실패하기에 가장 적합한
, 부디 마음껏 망쳐보시라.
재료
바닥재료(무료) : 전선, 자투리 나무, 종이, 고장난 기계, PCB 바, 어디서 뜯어낸 소자와 잡다한 ‘폐품’
책상재료(유료) : 새것. 종류별로 분리되어 비치된 각종 전자부품들
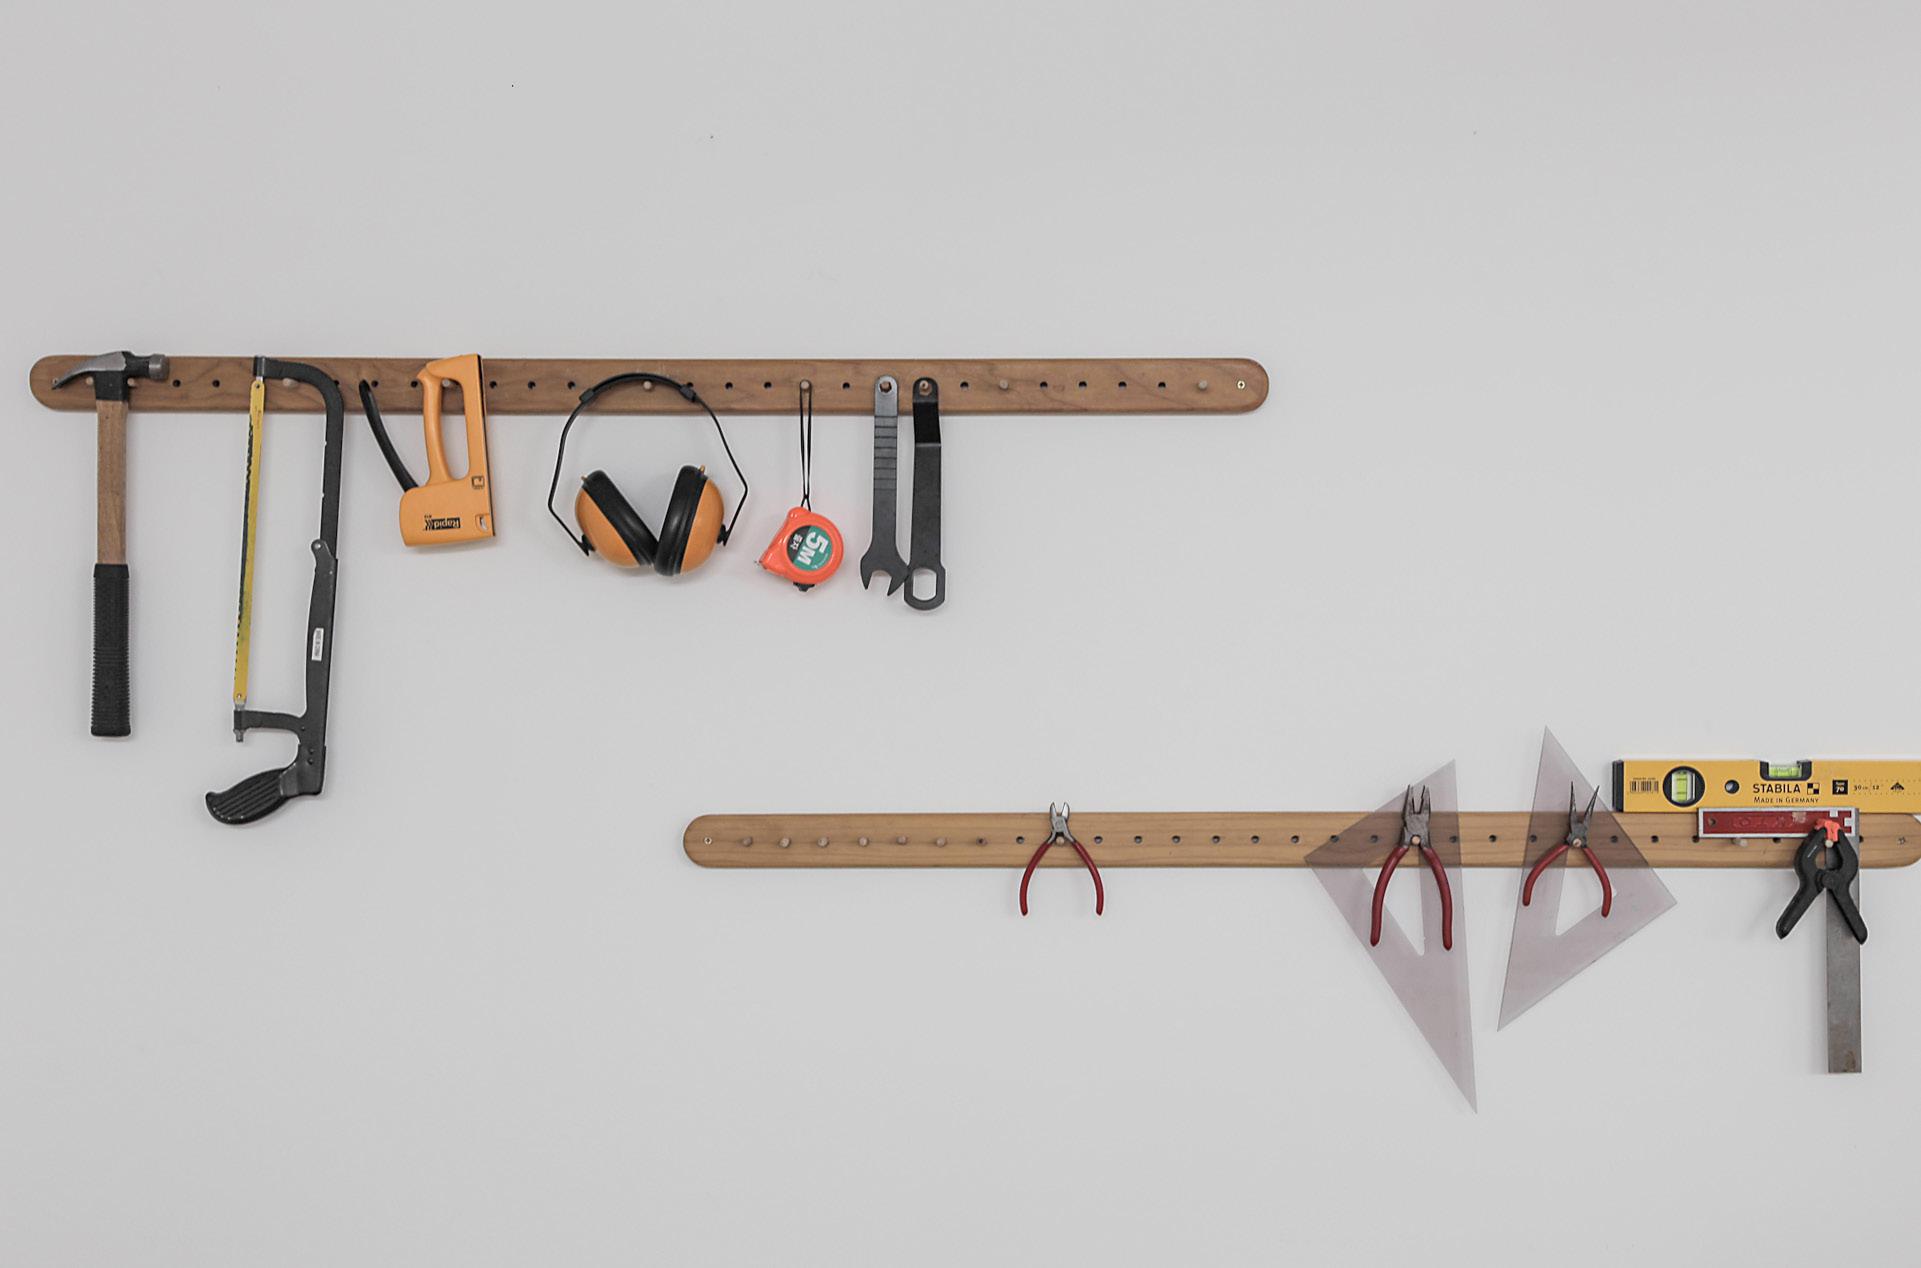
장비
손톱, 드릴, 드라이버, 인두기, 펜치, 스트리퍼,
롱노우즈, 병커터 / 나사, 못, 접착제
공유
이면지, 펜/연필, 종이를 벽에 붙이거나 걸 수 있는 장치
Sub Project #02
Electron Cookery’s Open Kitchen
월간실패 2016년 3월호
있는 ‘개인 과학’을 지향하는
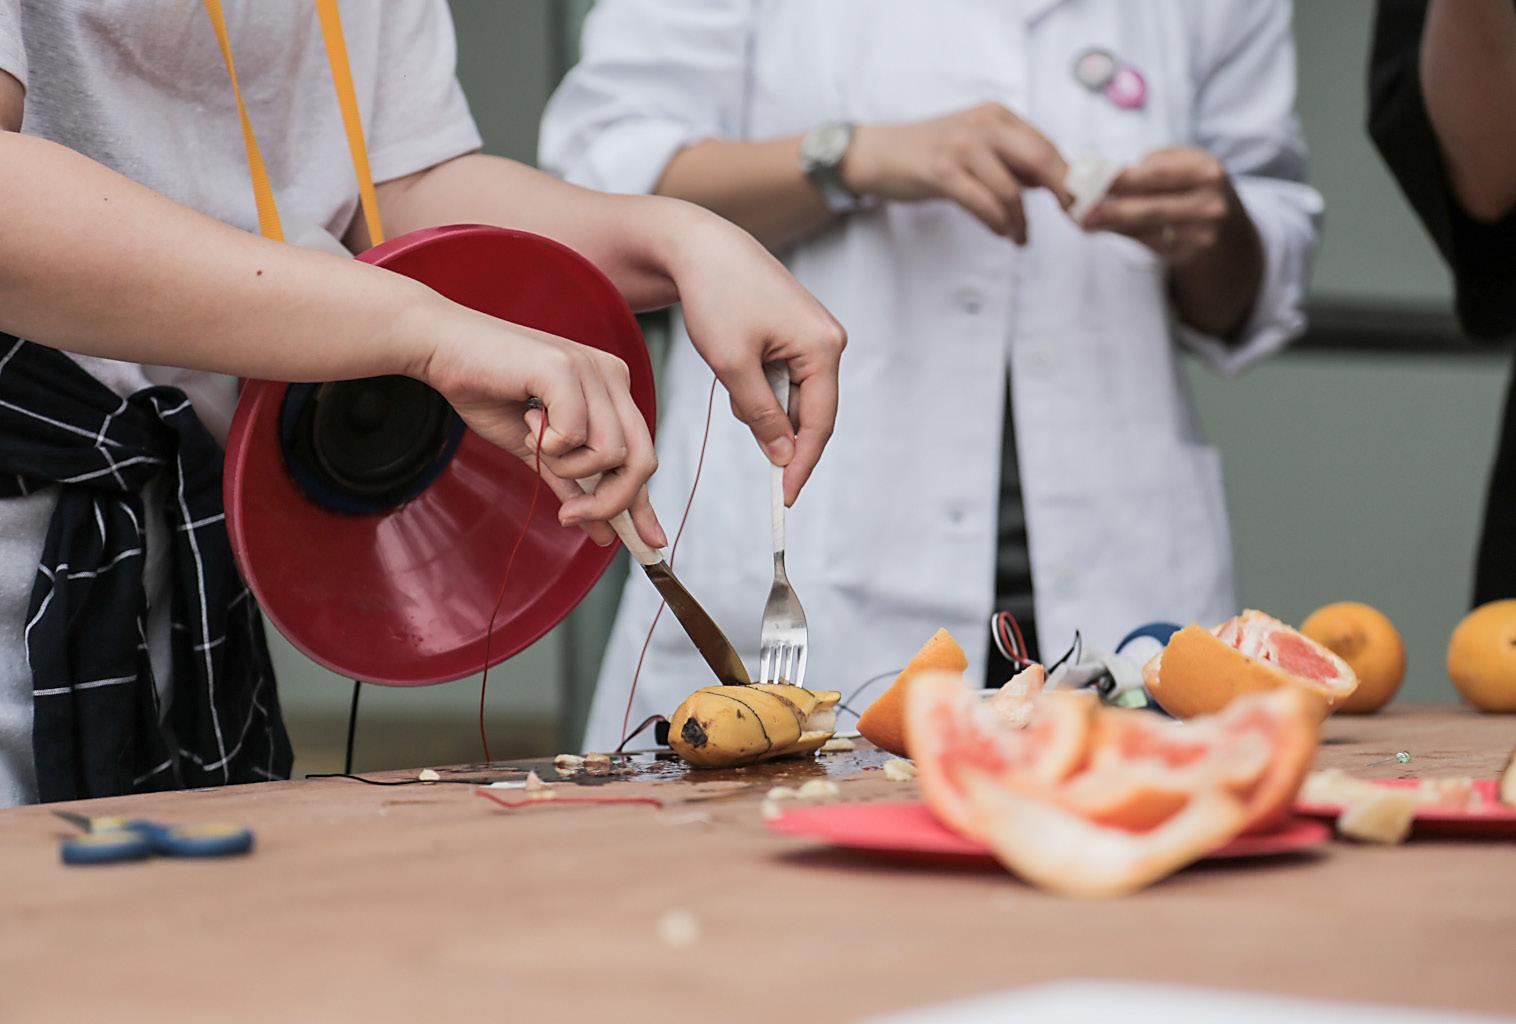
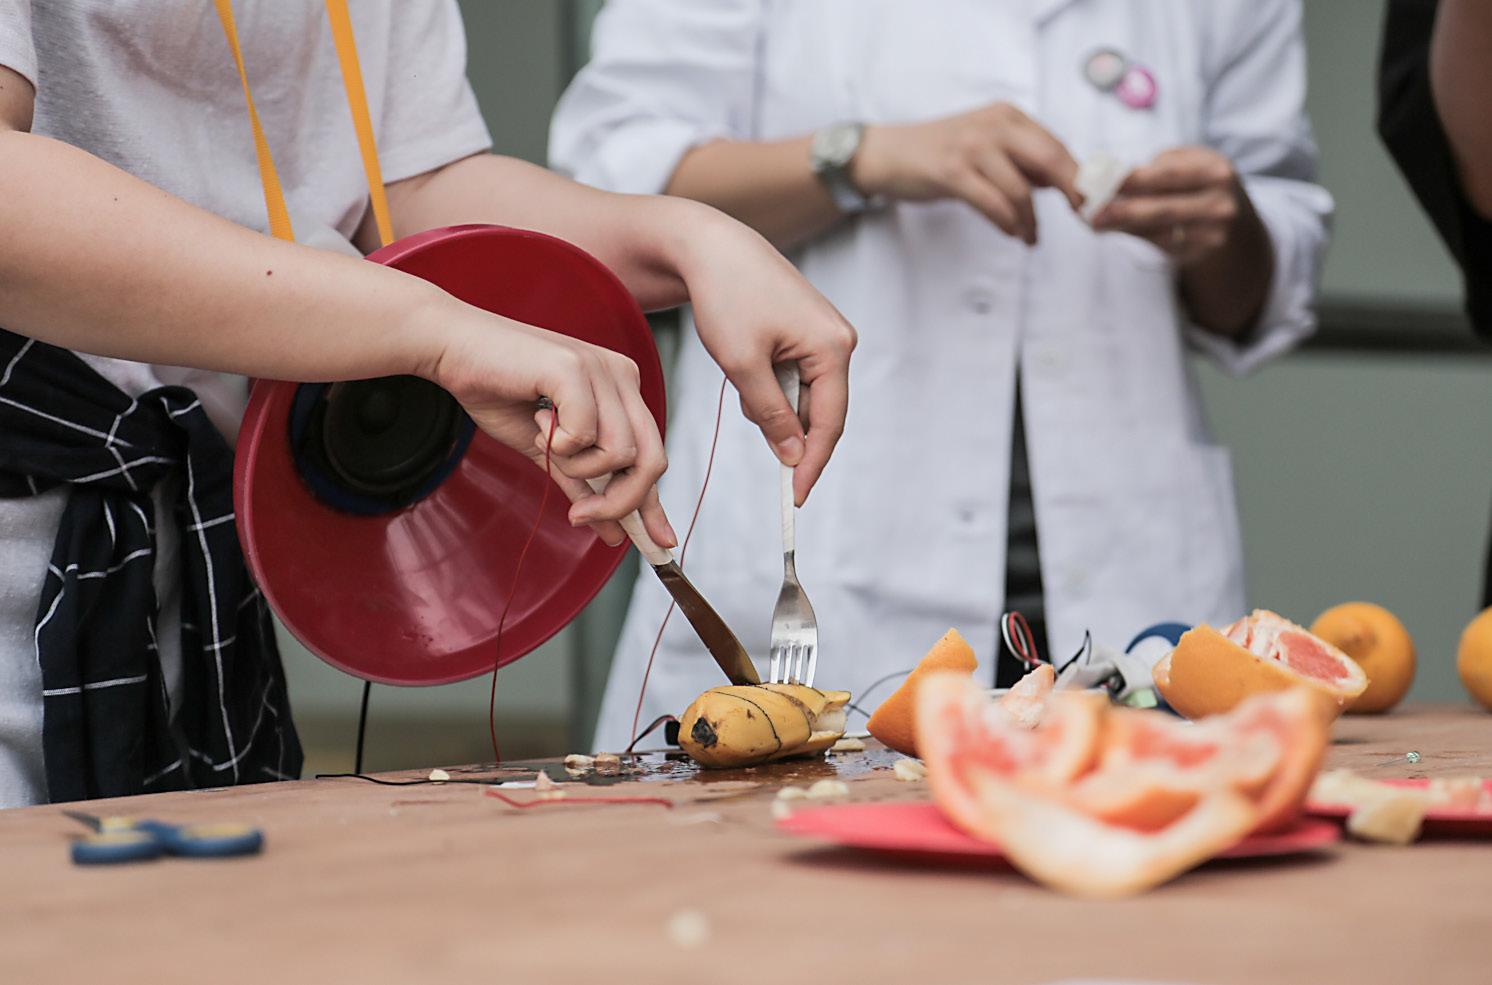
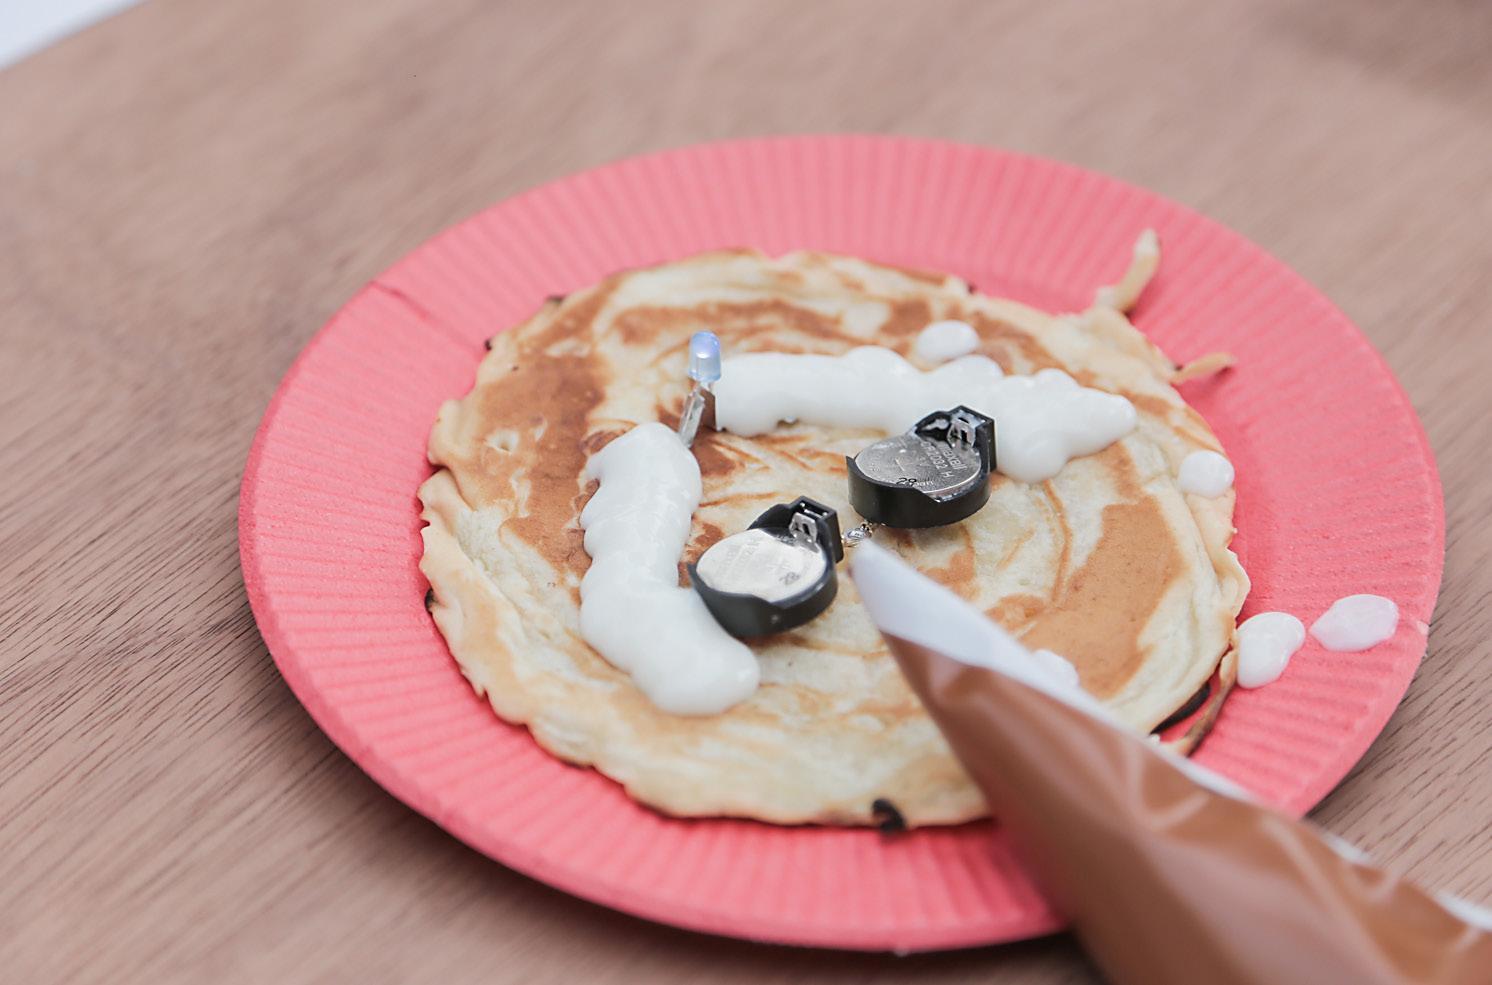
묻는 탐색이다. 오픈 키친은‘요리’라는 메타포를 통해 ‘과학’에 접근한다.‘요리’를 통해 나만의 ‘보드(회로기판)’를 직접 만드는 레시피를 연구한다. - 일상적이거나 예외적인 재료들을 활용하고, 굽거나 끓이거나 태우는 행위를 동반한다. - 연구 워크숍과 프리젠테이션 워크숍의 과정을 영상, 사진으로 기록하여 아카이브로 남기고 이를 재생산하는 것을 목적으로 한다.
Sub Project
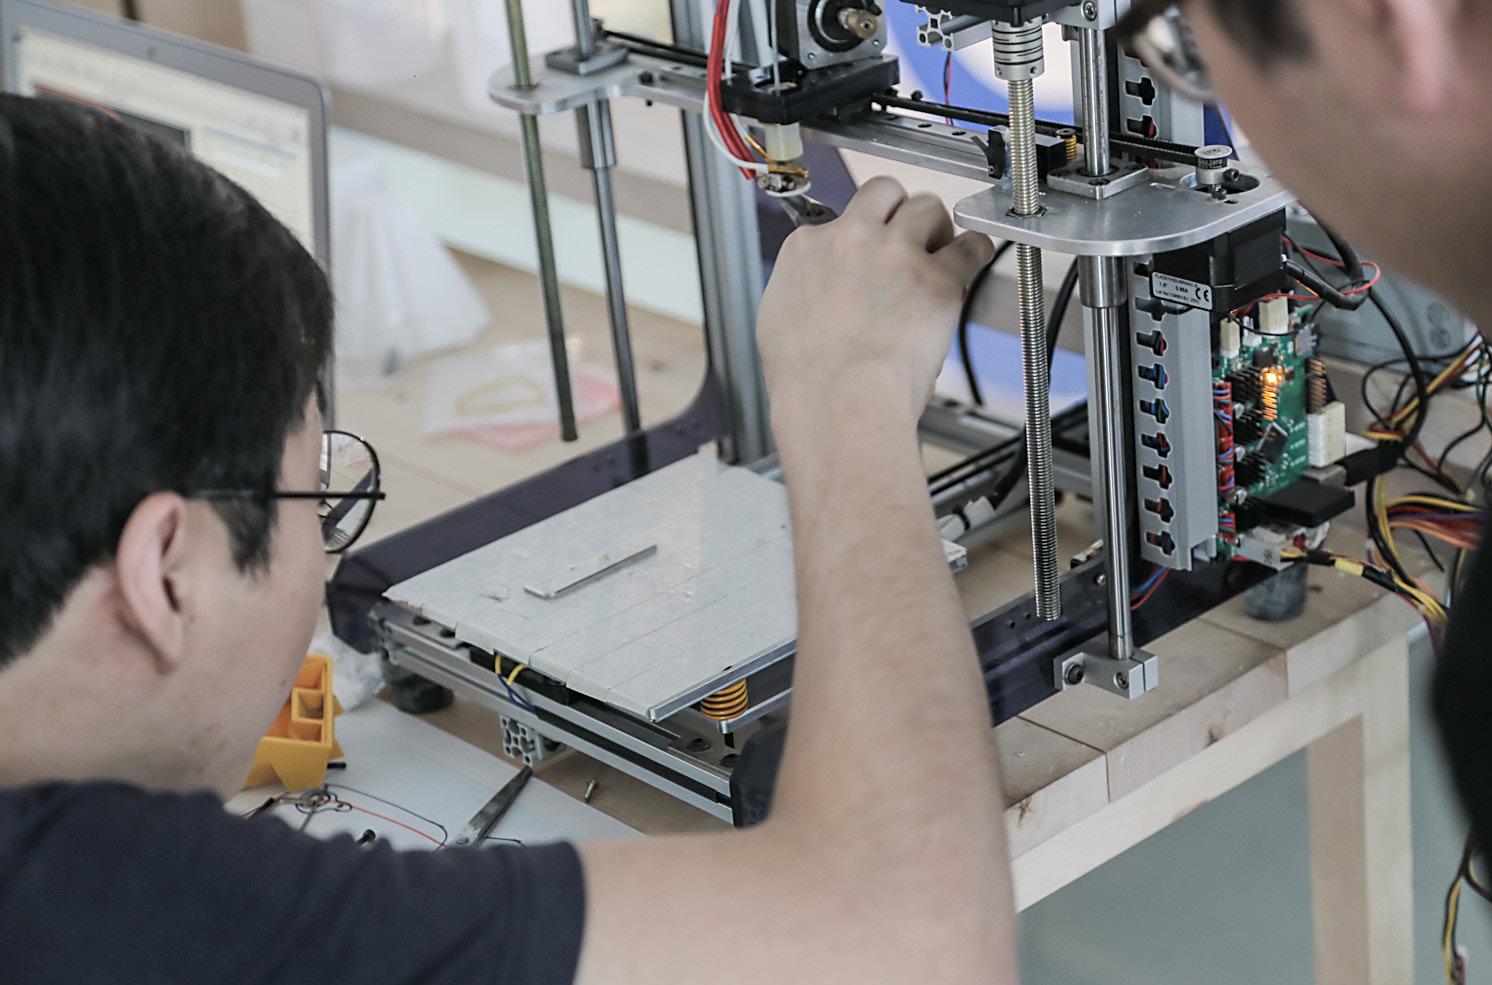
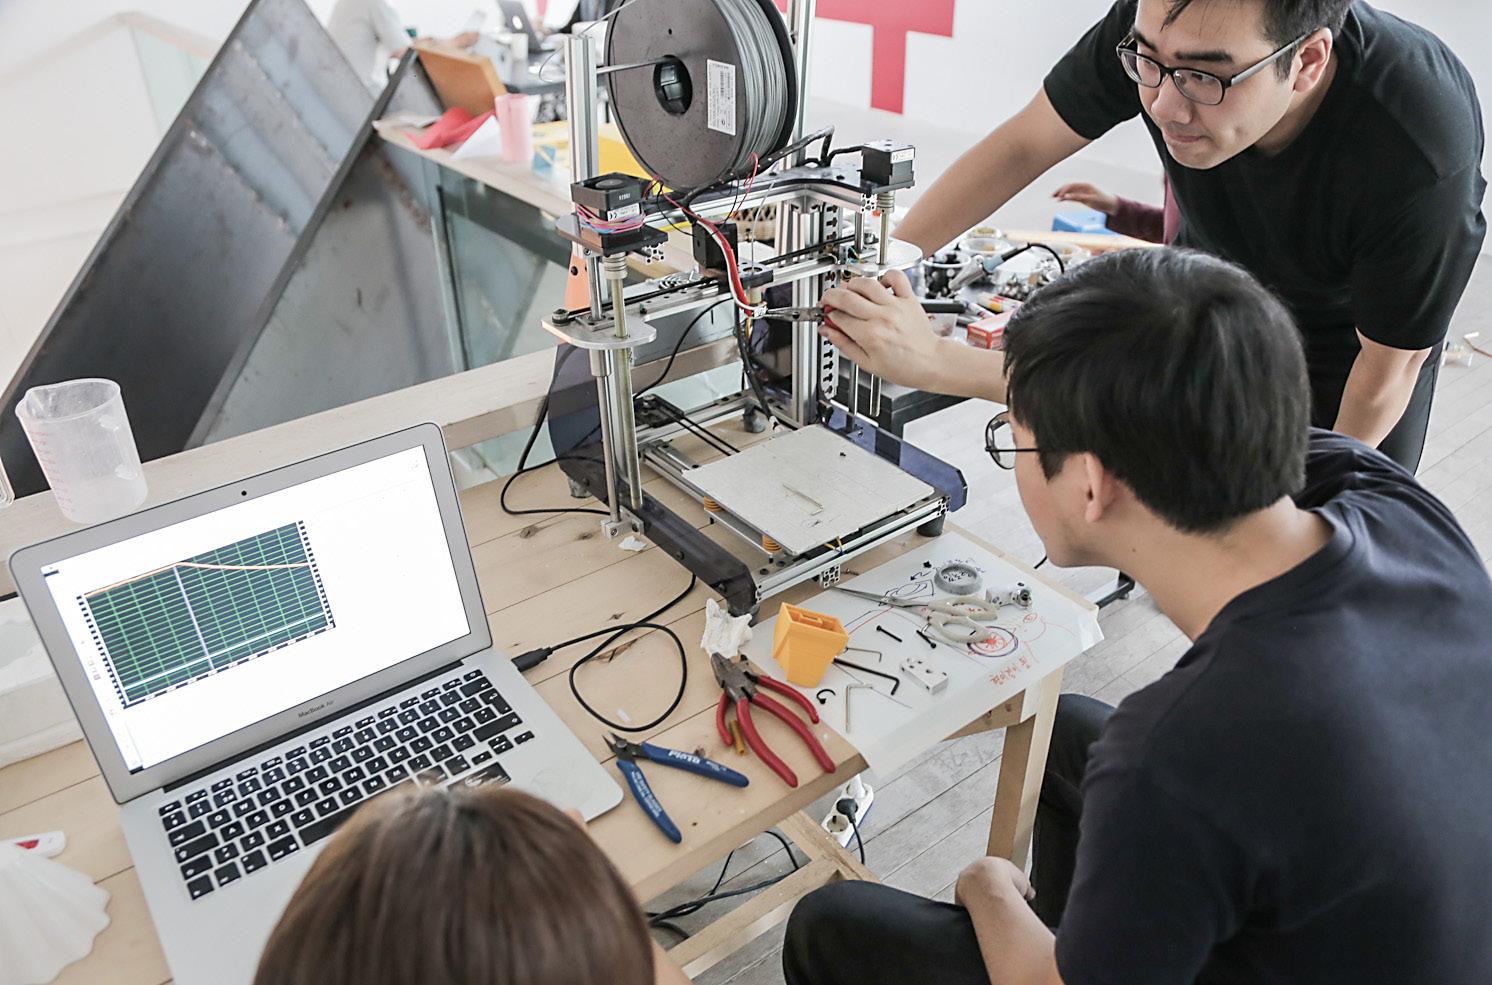
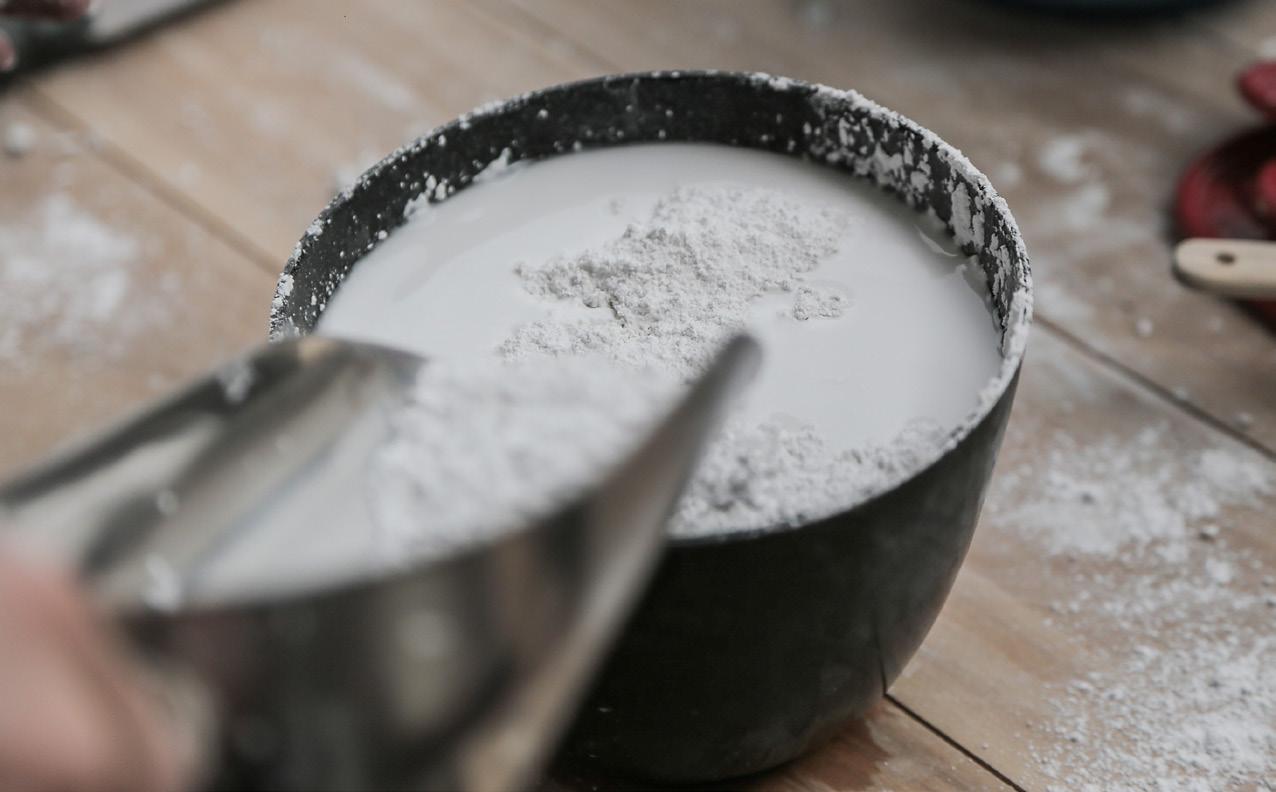
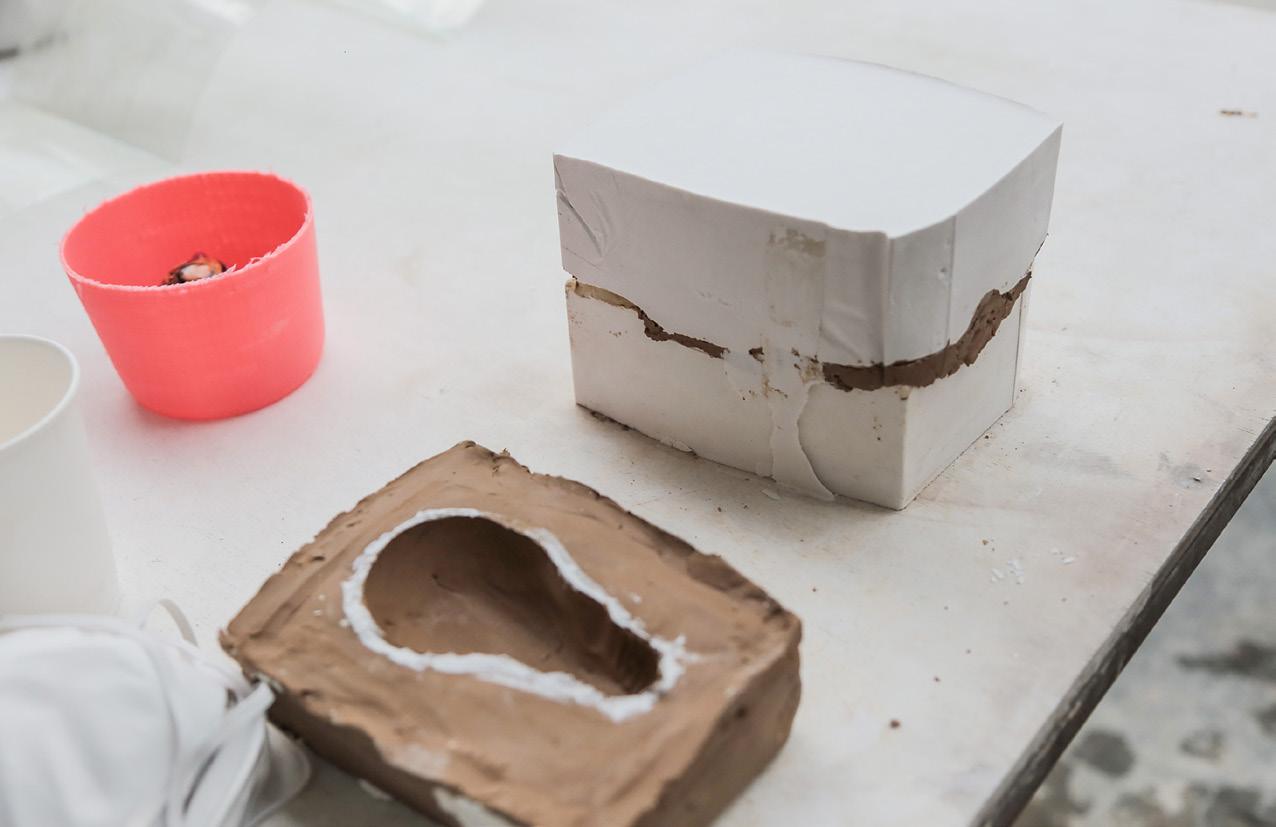
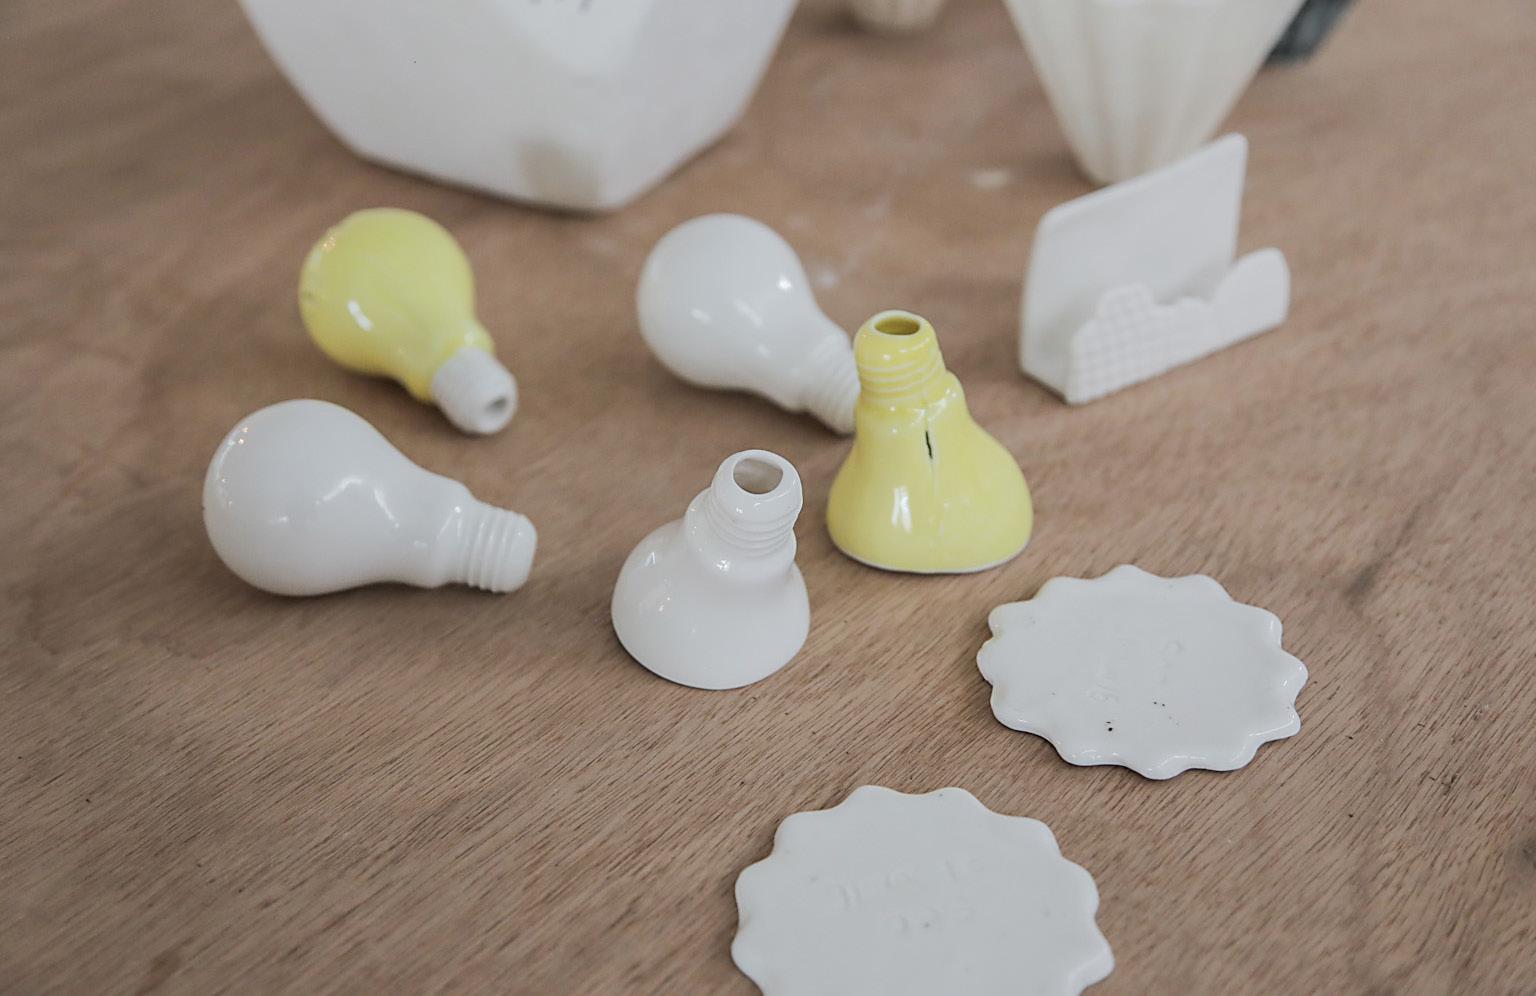
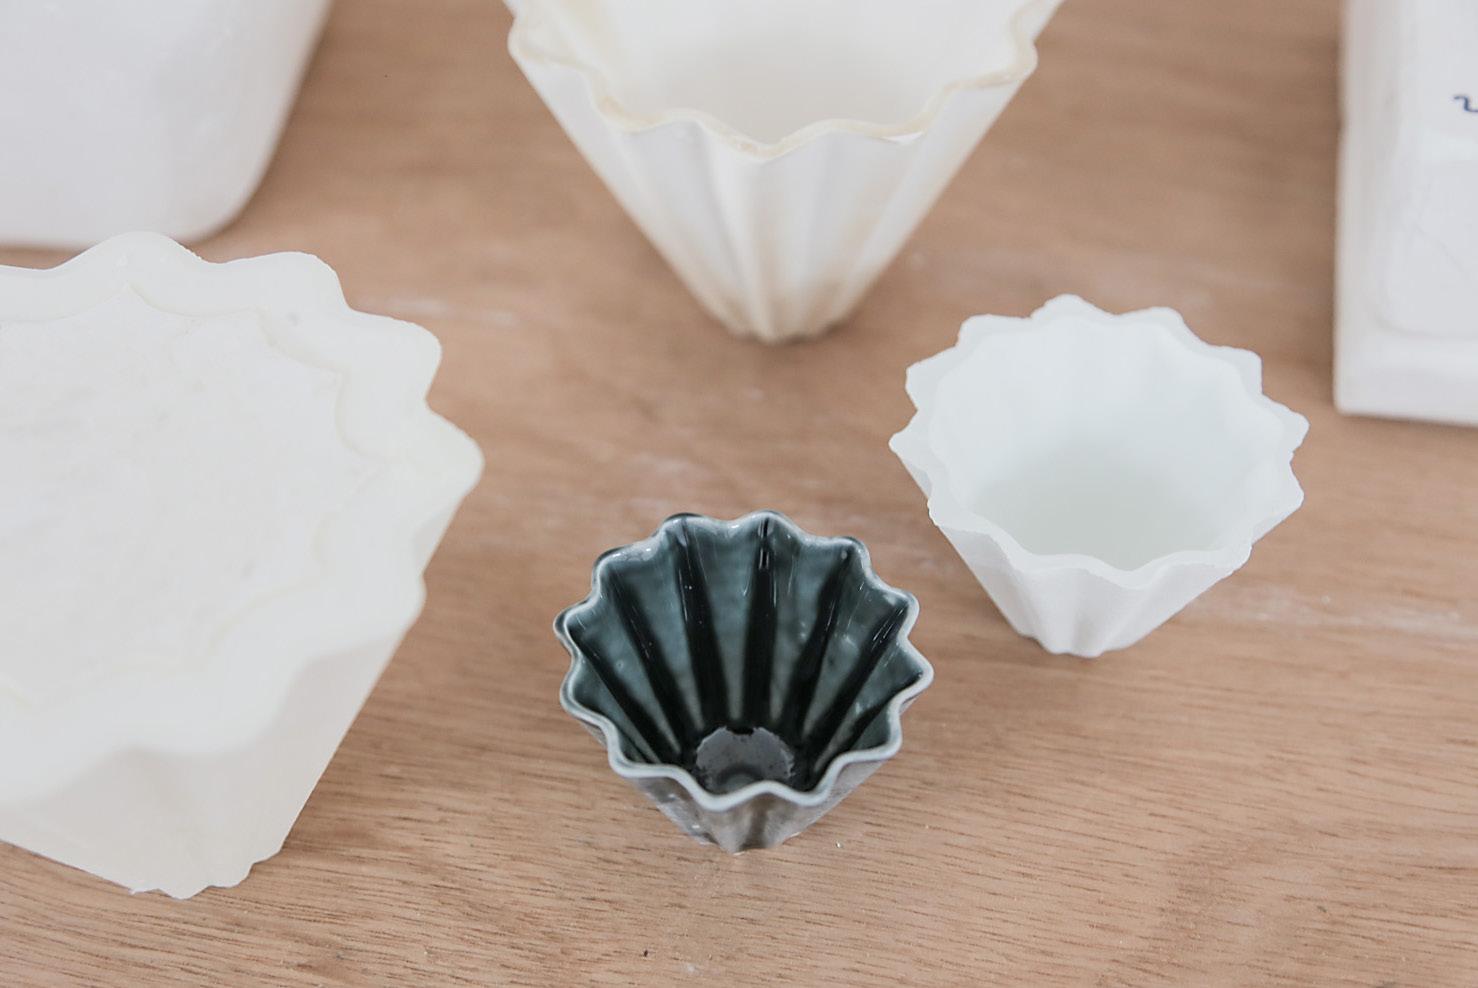
Do-one I'm 5
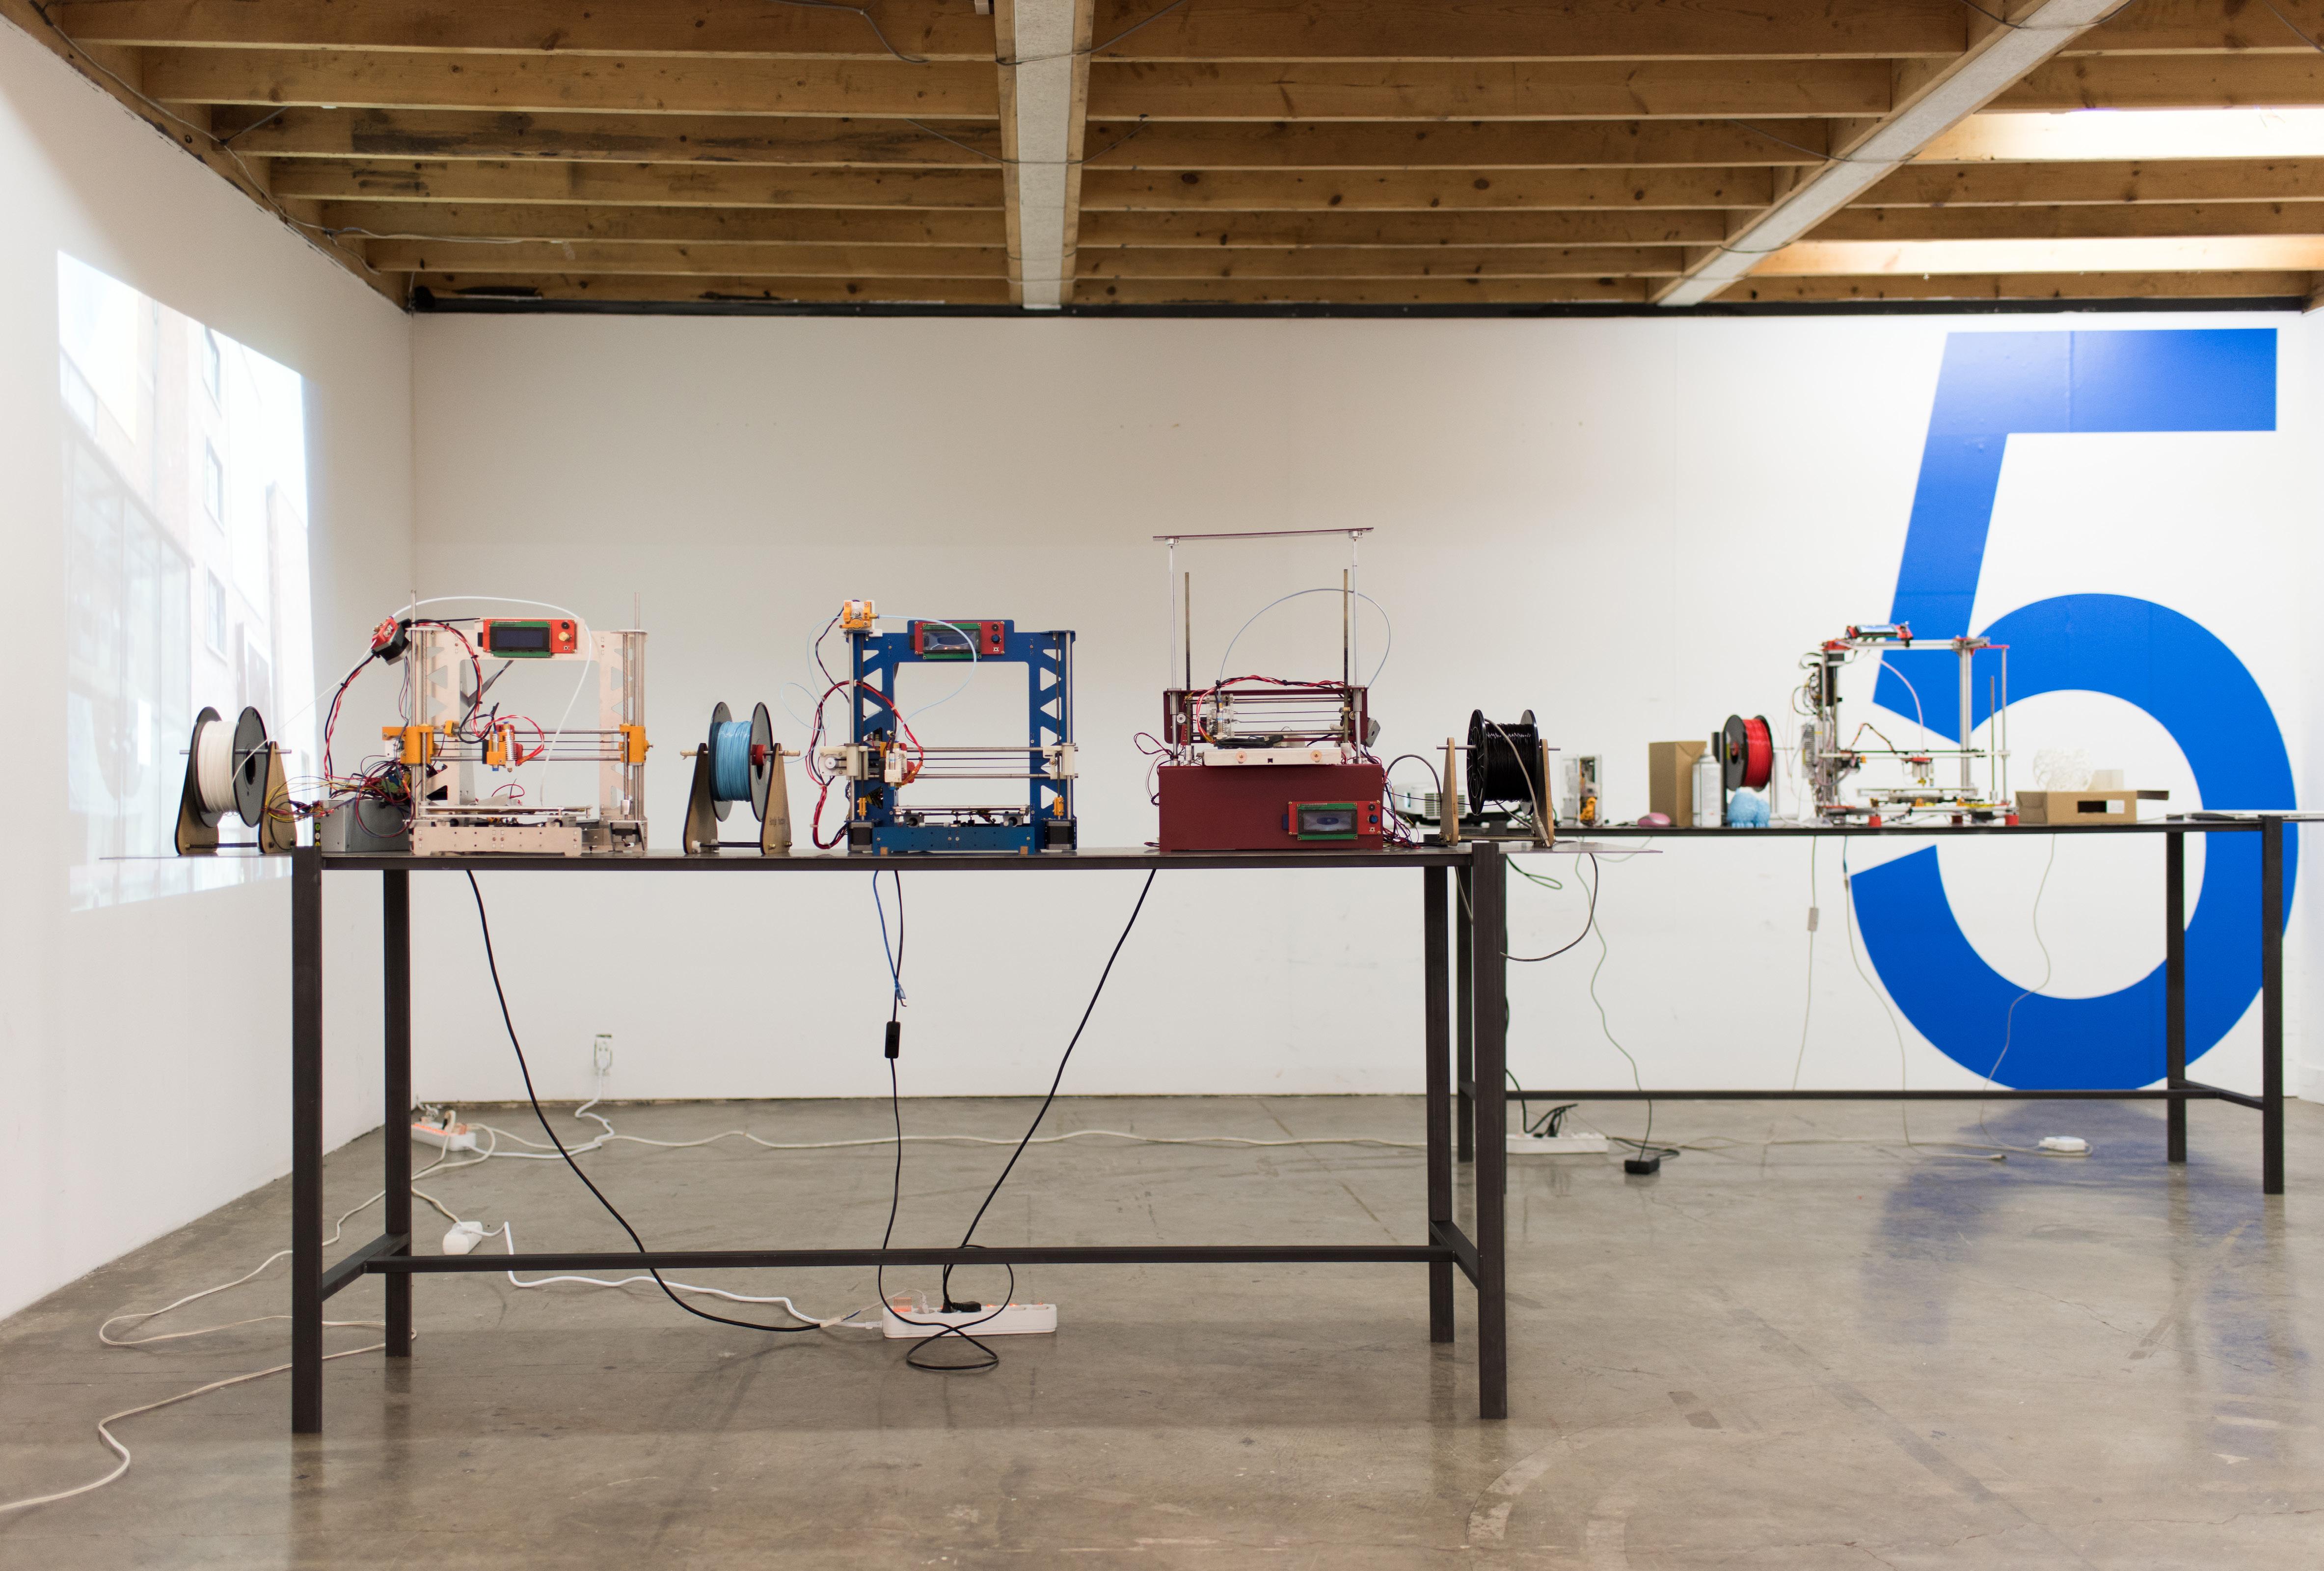
임도원
임도원은 1979. 9. 22 서울에서 태어났으며 서울대학교 미술대학
조소과 및 동대학원을 졸업하였다.
자신의 감성과 관객의 감성을 동기화시킬 수 있다고 믿고 그런 작품을
발명(?)하고자 실험적인 작업들을 진행하고 있다. 작품 제작에 필요하다고 생각해 대학원
디지털 조각을 강의하며 활발한 작업 활동을
FACTORY(
열고 있다. 2014년 5월 베이징 798예술지구에서 열린 개인전 “예측할 수 없는
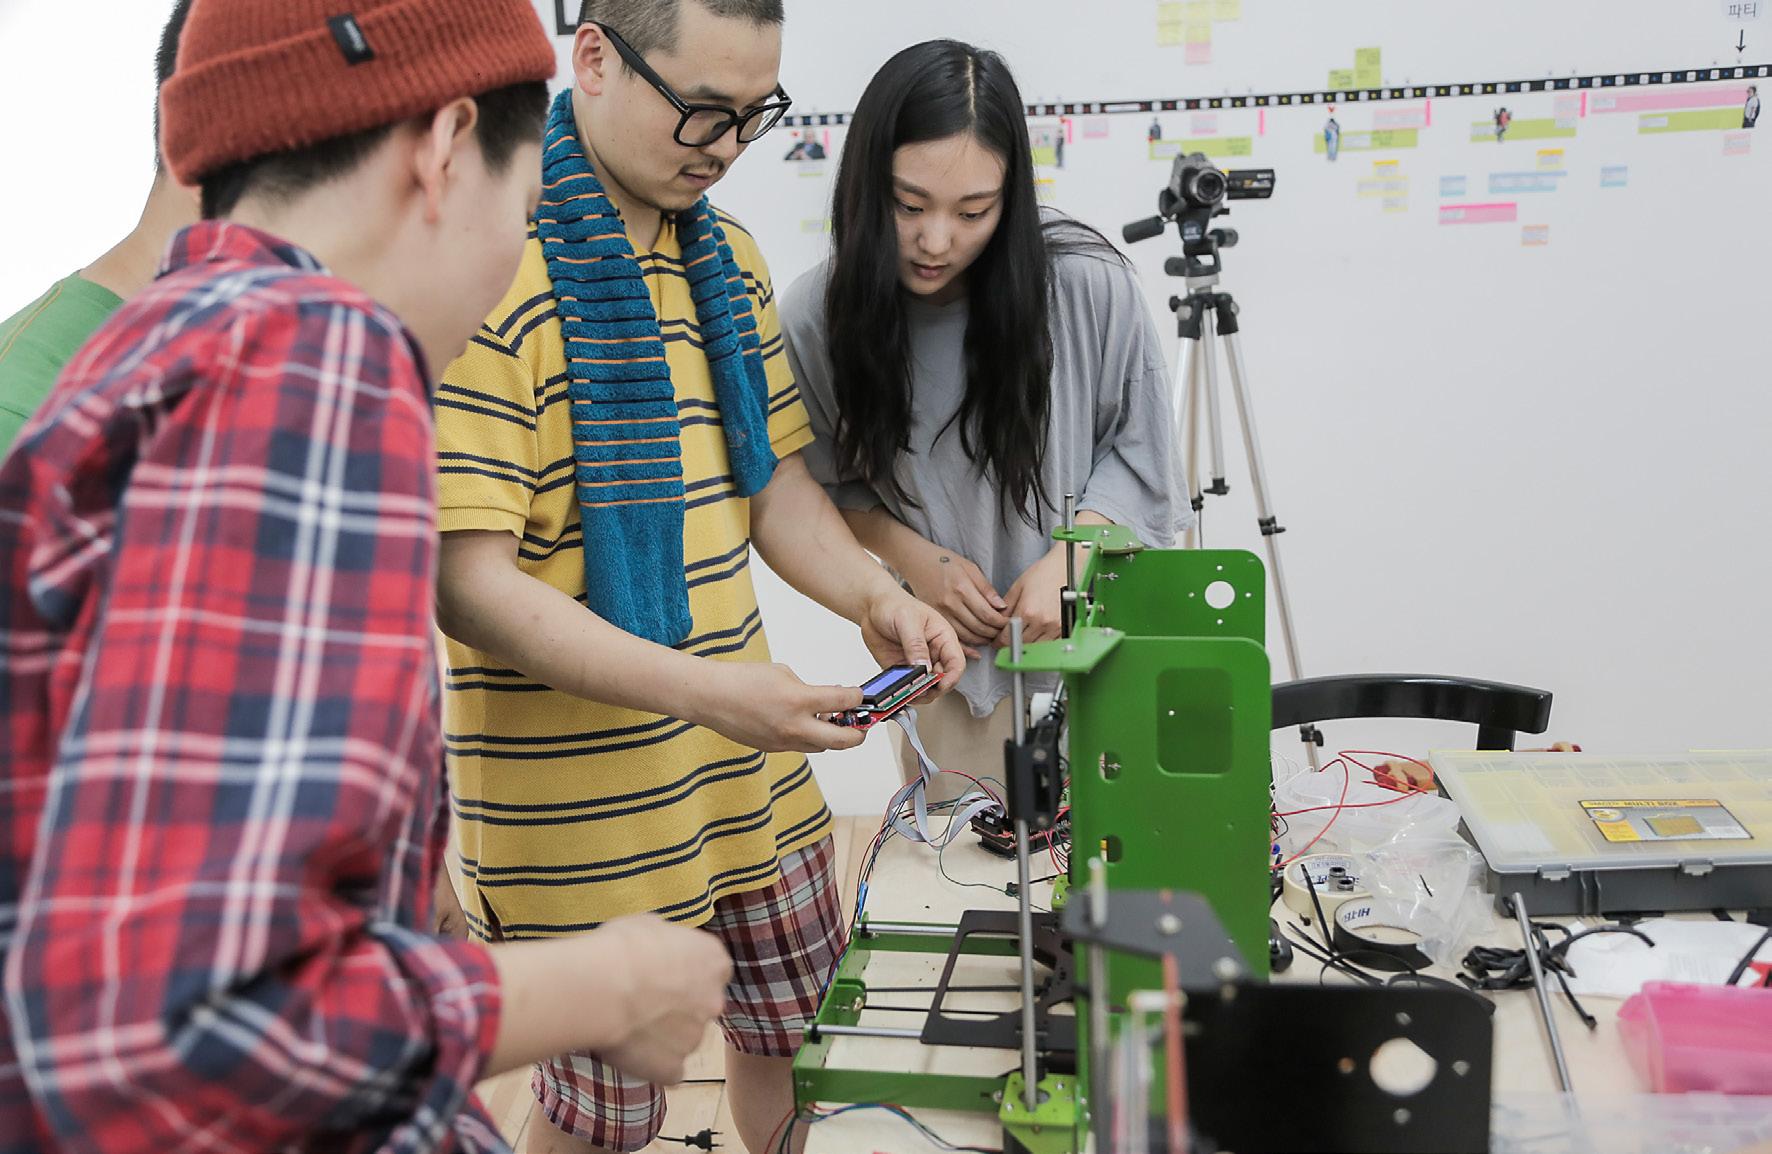
분기점”에서 스스로 설계한 3D 프린터로 제작한 작업을 선보였다. ‘BOTIST’라고 이름 붙인 이 3D 프린터는 제작 비용이 상당히 저렴하다. 또 제작과 개조가 수월해 다양한 실험 작업을 할 수 있을 것으로 보고 있다. ‘BOTIST’를 활용해 작가 혹은 디자이너들이 일반인에게 다양한 작업이나 창업 아이디어의 모태가 될 수 있는 작품을 만들 수 있을 것이라 보고 현재 몇몇 작가들과 ‘BOTIST’를 활용한 창작 프로젝트를 진행 중이다. 프로젝트와 ‘BOTIST’에 대한 내용은 작가의 개인 페이스북과, “HONJA FACTORY(혼자 팩토리)” 그룹 페이지를 통해 틈틈히 공개하고 공유하고 있다.
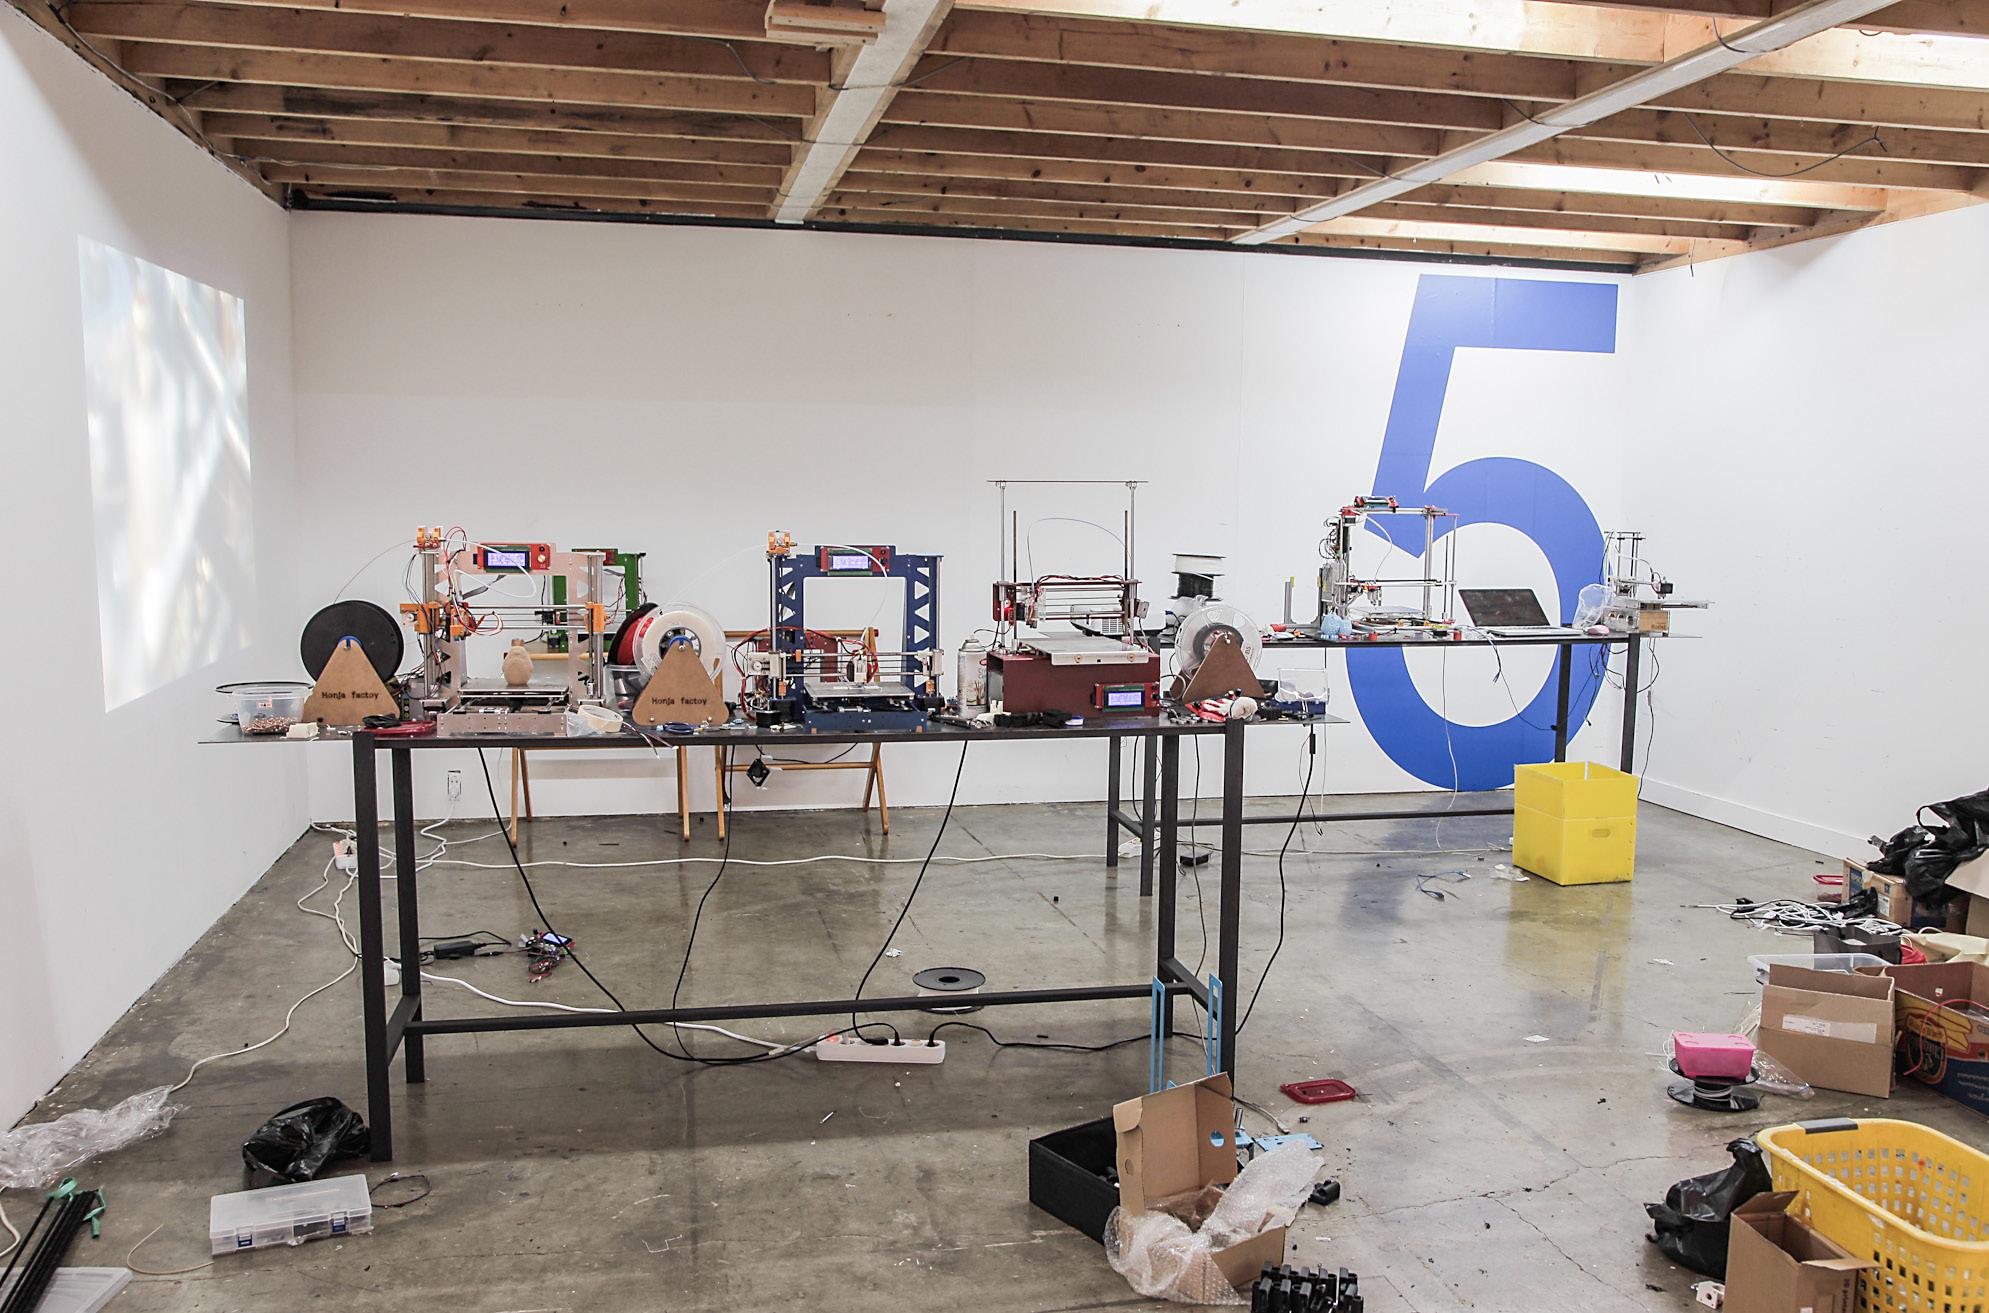
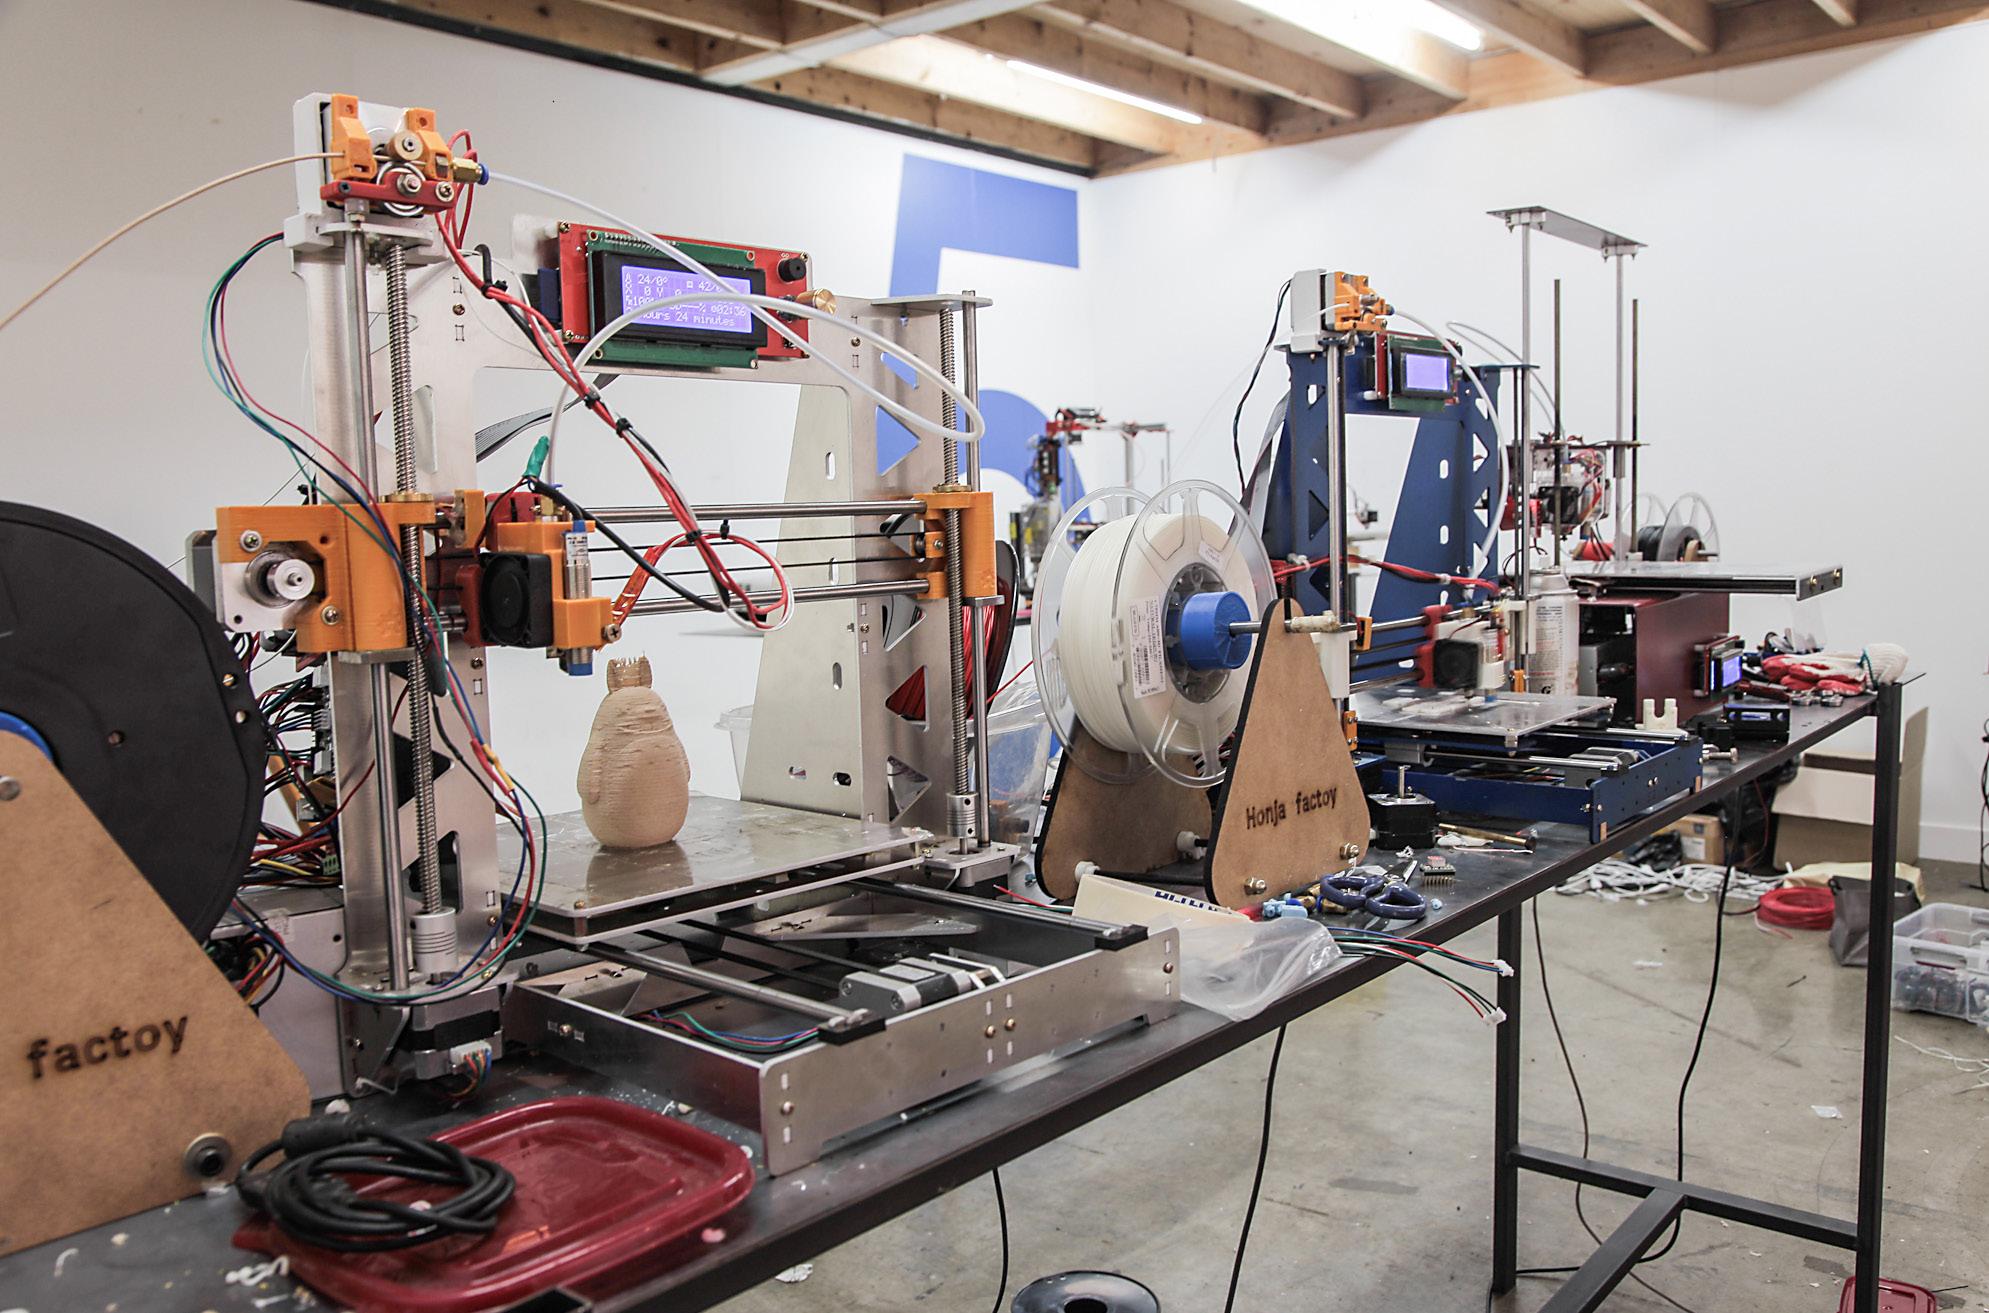
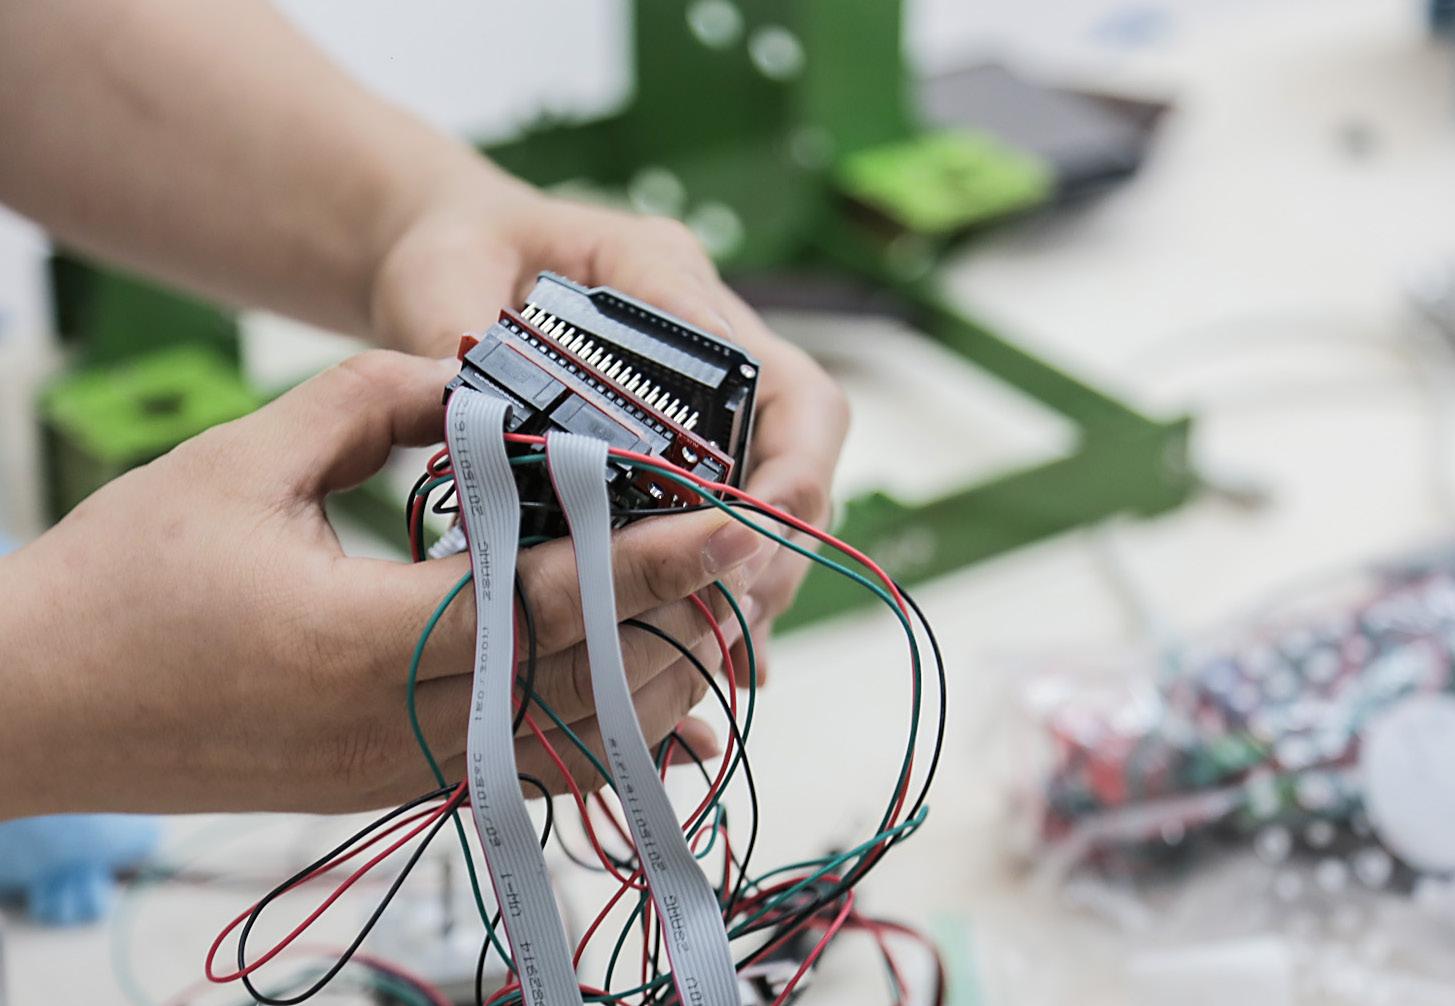
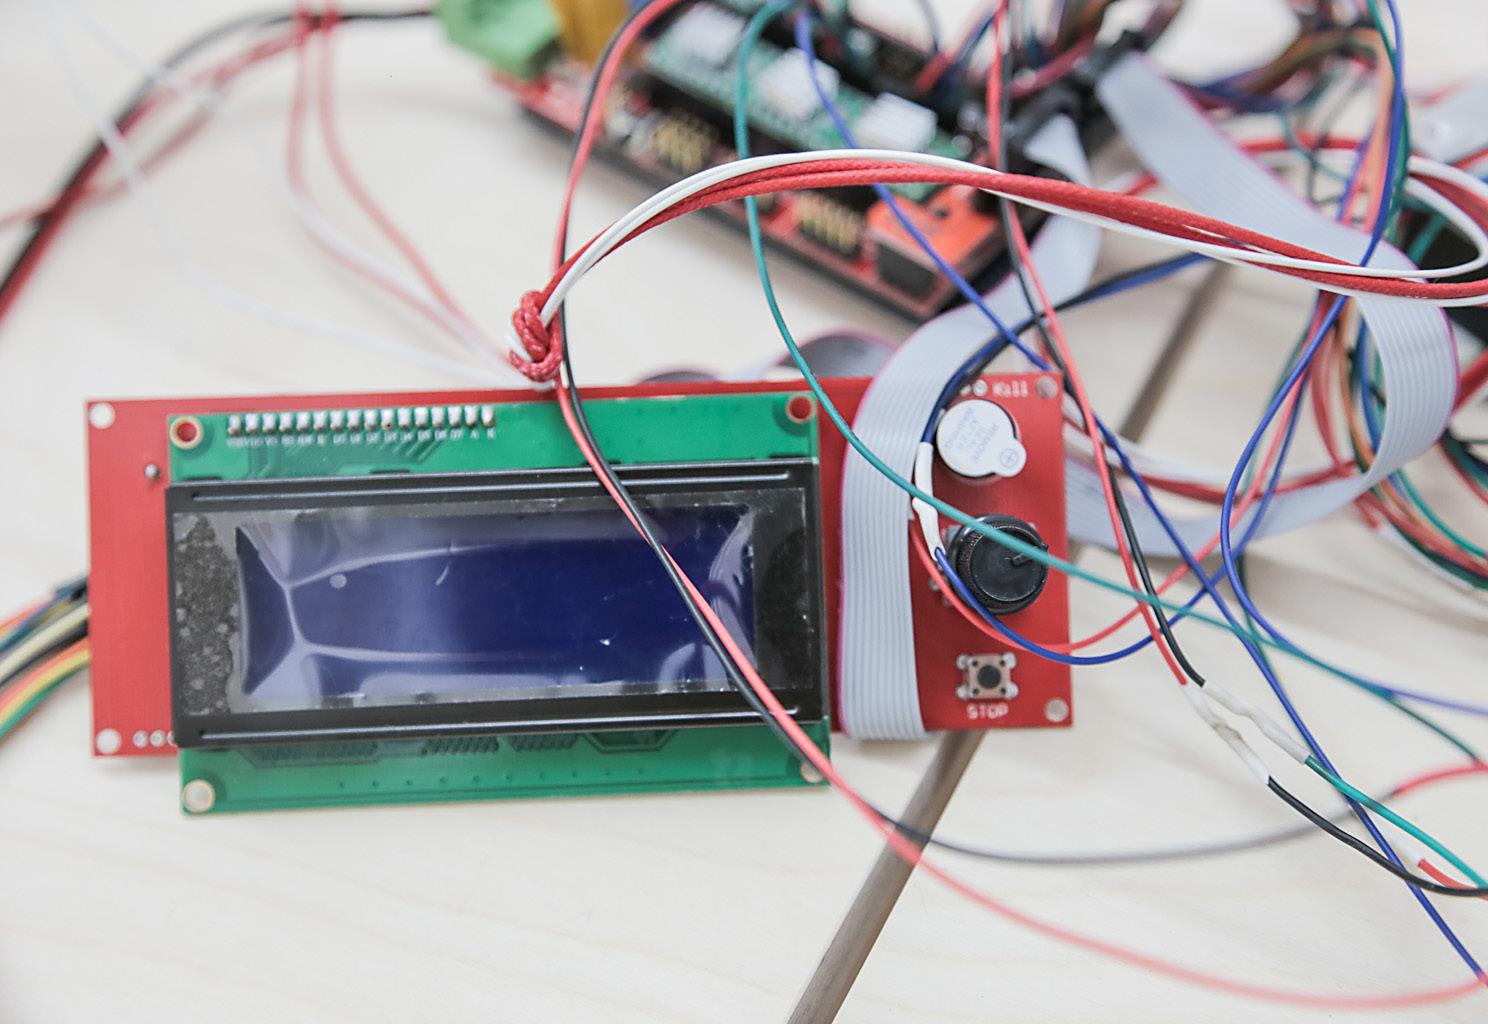
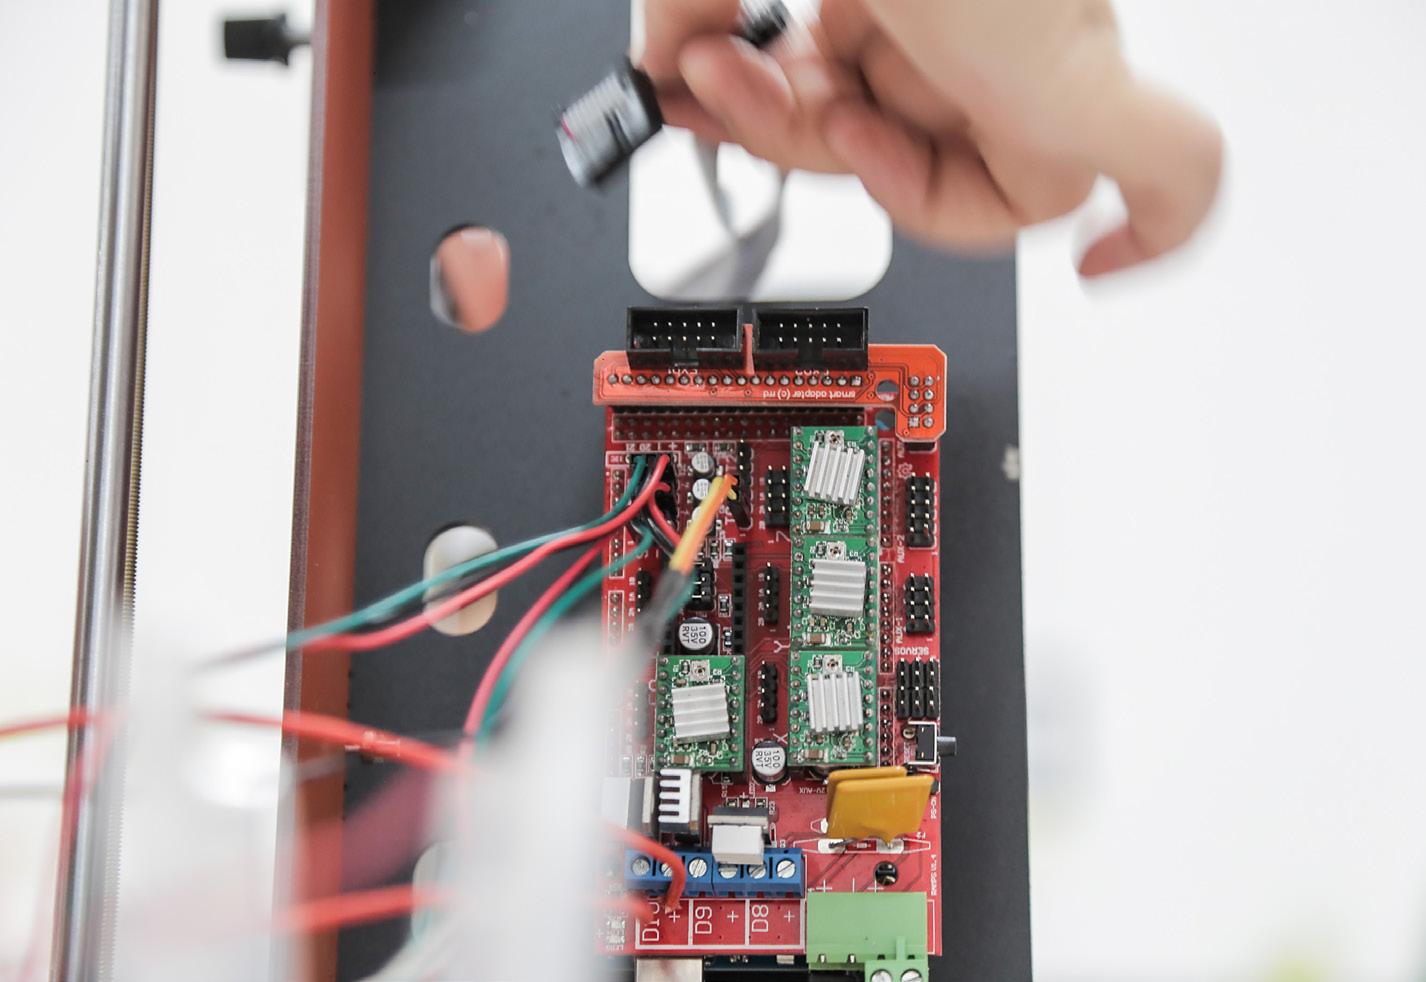
Do-one I'm Workshop
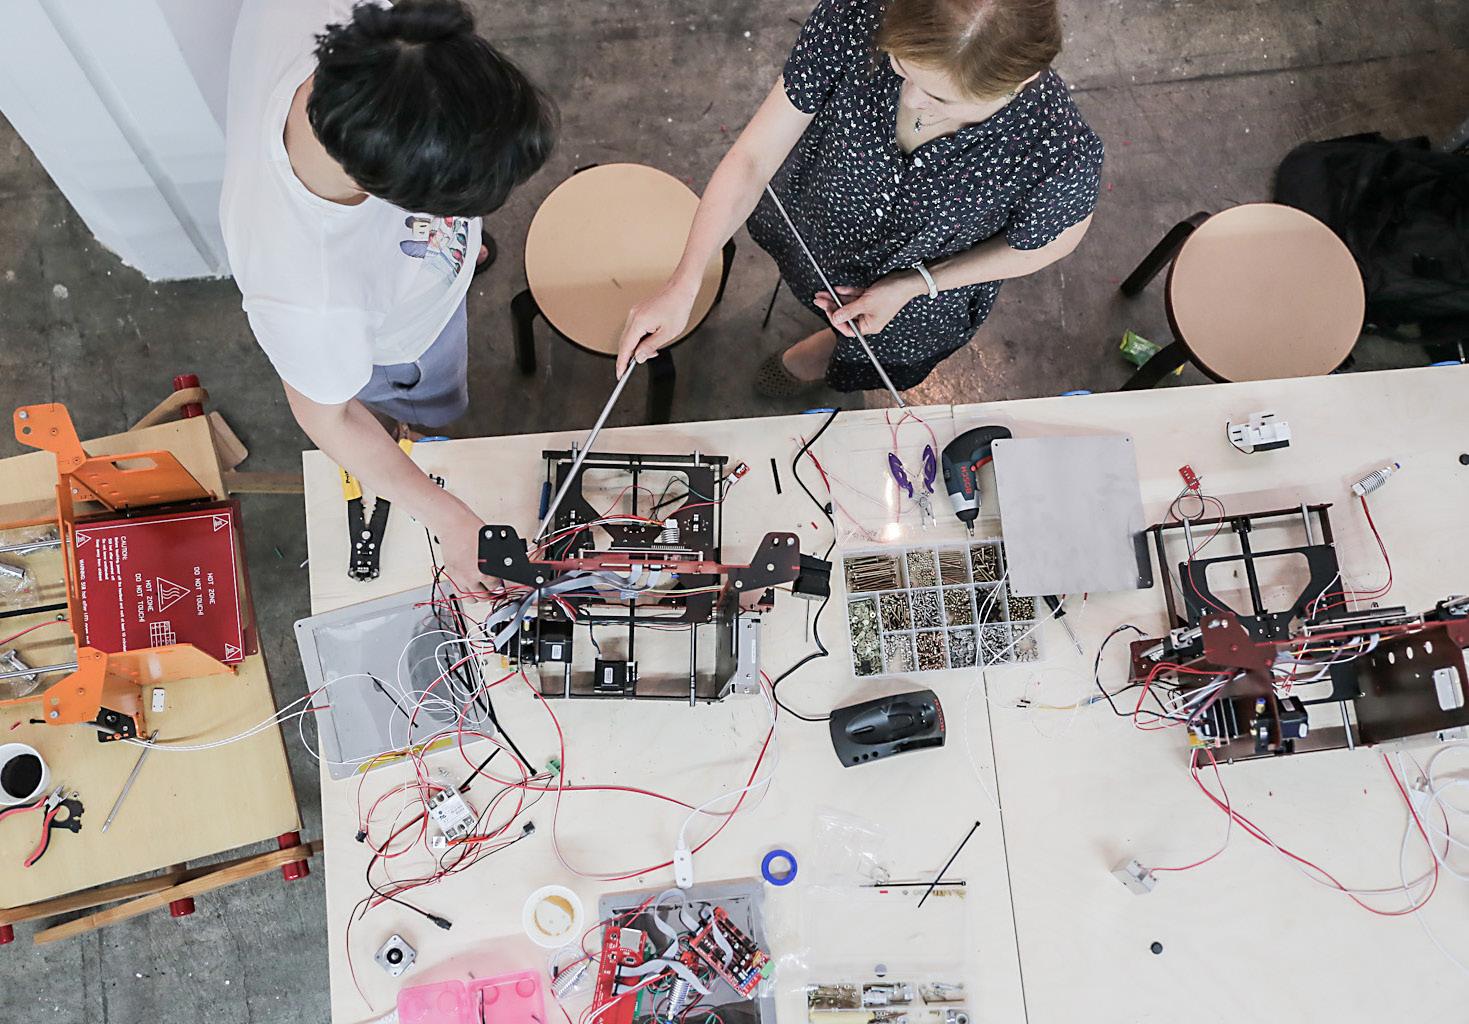
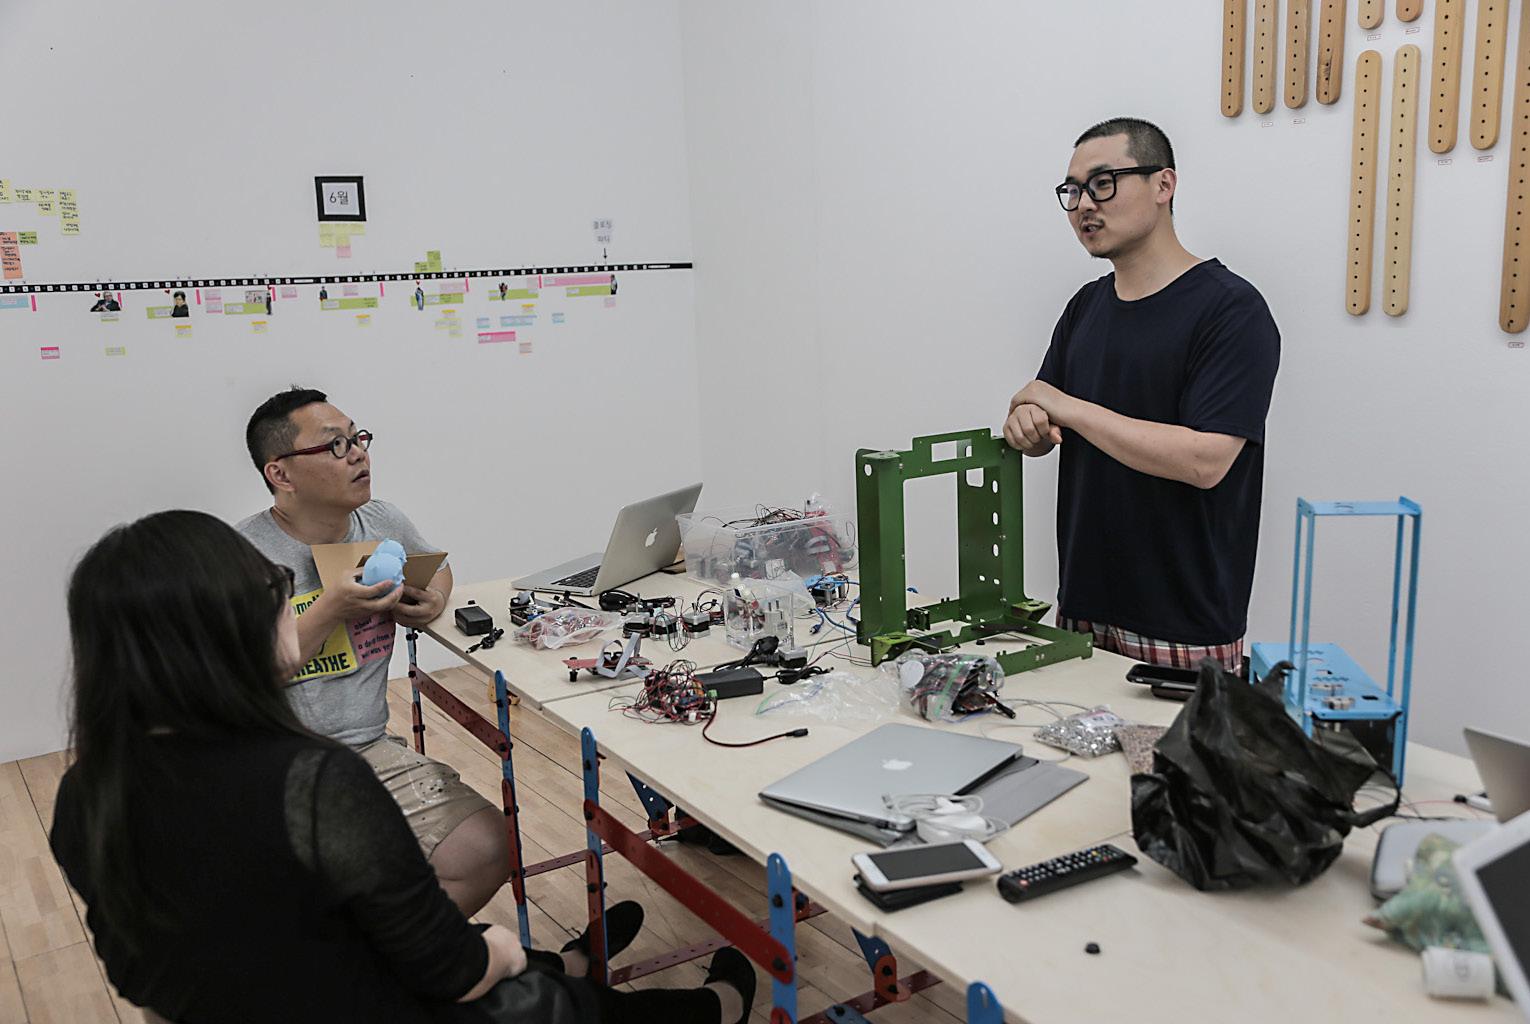
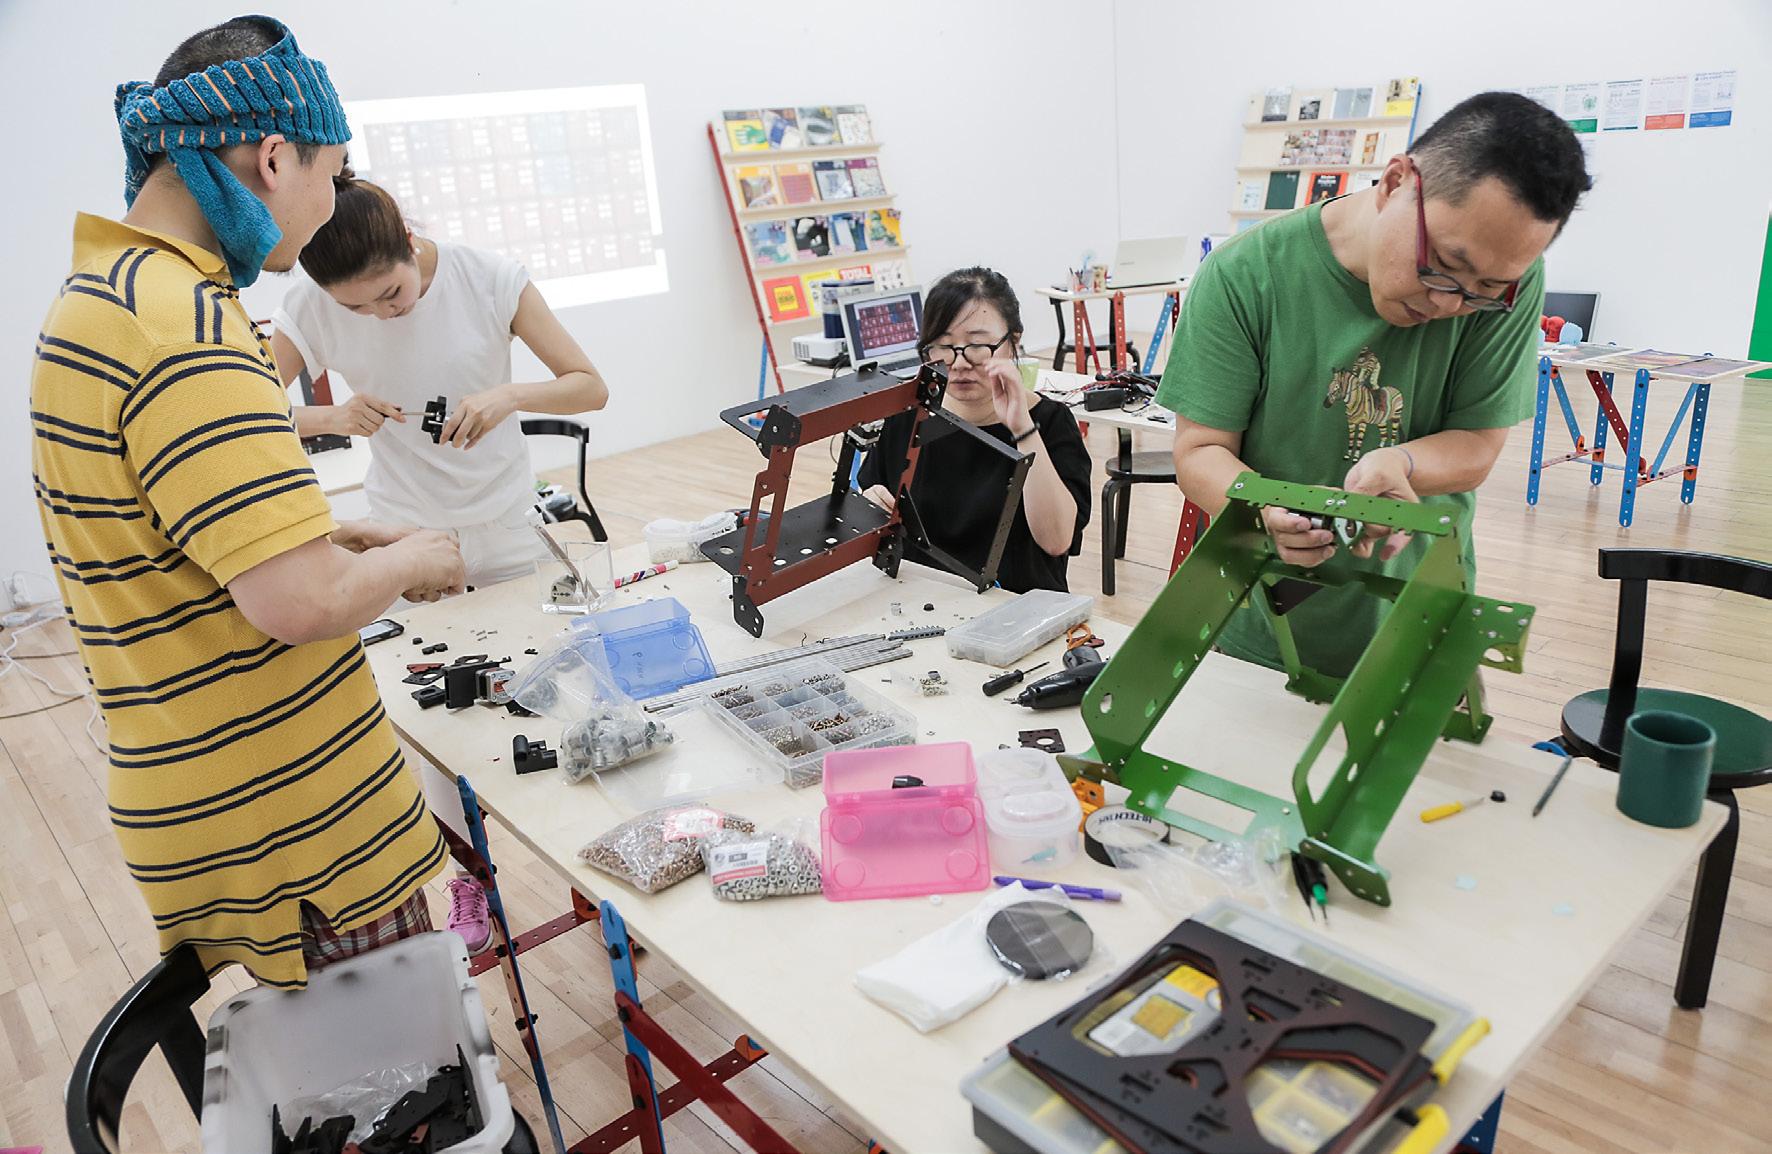
Joonghan Lee 6
Charlotte Therre (CH/FR)
프랑스/스위스)
기능적이고 시적인 방법 모두에서, 재료와 그 특성의 적용에 초점을 맞추고 있다. 제품이 기능적이고 합리적이어야 하는 만큼, 그녀의 의도는 항상 오브제의 스토리텔링과 특정 문맥의 관계를 뒷받침한다.
Joong Han Lee (KR) | 이중한
이중한은 1986년 서울에서 태어났다. 로스앤젤레스의
오티스디자인스쿨에서 인터렉티브 제품 디자인과 목공기계를 공부한 후, 네덜란드의 아인트호벤 디자인 아카데미에서 석사과정을
밟았다. 아티스트로서 노르웨이의 오슬로 국립 예술 아카데미의 레지던시에 거주하며, 또한 초청강사로서 강의를 진행하기도
했다. 2012년 코어77 디자인 어워드에서 그의 프로젝트인 '햅틱 인텔리겐치아Haptic Intelligentsia'로 상을 수상했으며, 2013년에는 IEEE 세계 햅틱 컨퍼런스에서 메인 아티스트로 선정되기도 했다. 2011년, 스튜디오 호문클루스를 설립했으며 이후 다양한 분야에서 디자이너, 리서처, 에듀케이터로 일하고 있다.