1 minute read
EXPERT FINISHSKIRTING BOARDS


They can be one of the most under appreciated features of your room
Advertisement
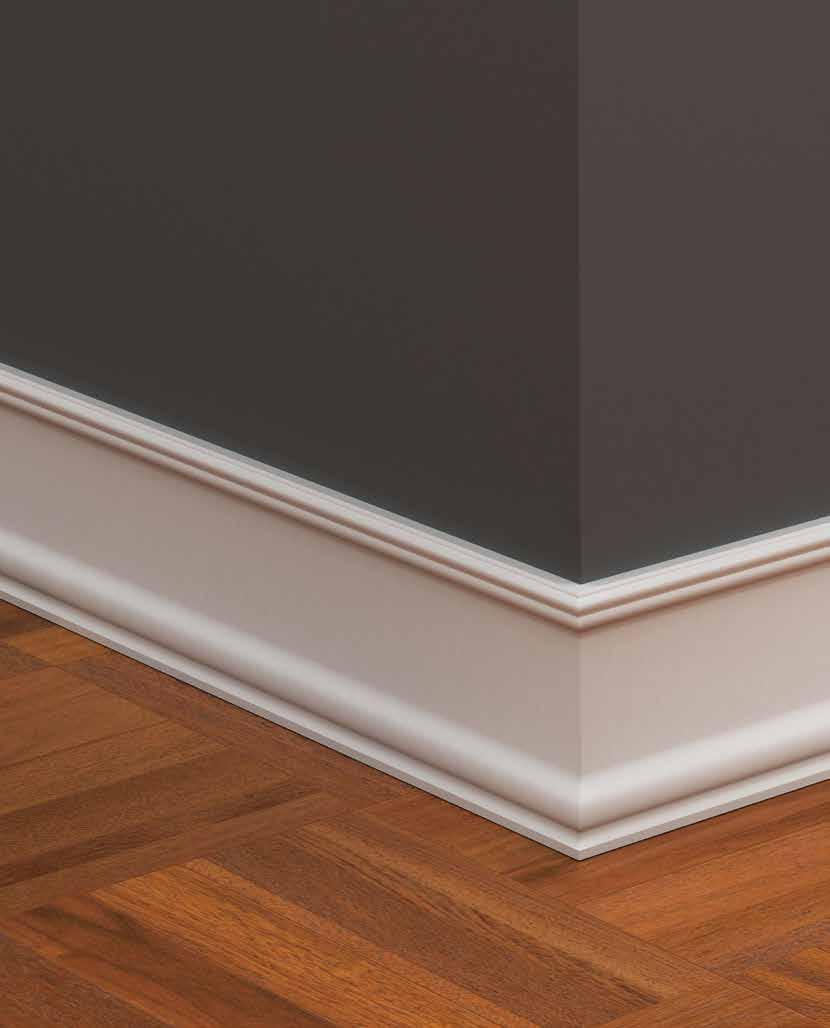
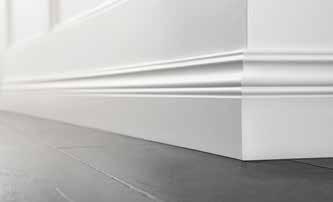
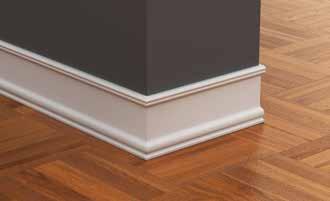
An expertly fitted skirting board can provide your most recent home renovation project with a professional finishing look. This can be a feature which many people leave to sort at the end of their work, so make sure you get this just right. Skirting boards are used to cover up the corner joint between the wall and the floor, providing a seamless and unobstructed look to your decor. Here is a step-by-step guide to fitting skirting boards in your room.
How to fit skirting boards in your home
1) The first step to a piece of DIY just like this is to be cautious. Use a pipe and cable detector to check the area of your wall where you intend to fix the skirting board for any internal pipes or cables. Once you feel satisfied you are not going to cause any damage, apply a grab adhesive to the back of your skirting board and press this firmly to the wall, wiping away any excess adhesive that emits.
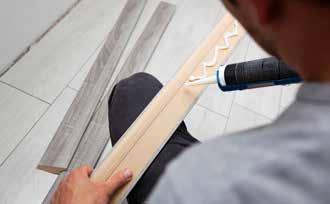
2) When fixing skirting to a masonry wall, you will now need to use a specific masonry drill bit to go through the skirting and into the wall. Insert a wall plug and a screw, tapping into place until you feel resistance from the screw. Then screw the head until it is below the surface of your fresh skirting.
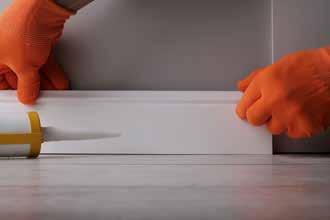
3) Use a cartridge gun to apply a flexible caulk to the top of your skirting, which will seal it off and fill any remaining small gaps between the wall and the skirting. Wipe away any excess caulk using a damp cloth, which will also smooth the surface.
4) To give your work an expert finishing look, go over any countersunk nails and screws by filling this in and sanding down, meaning your skirting is now finally ready to paint.