
10 minute read
3 Ways to Make the Most of Your Money


3 Ways to Make the Most Out of Your Money
Chloe Reid Editor-in-Chief
Advertisement
Everyone knows about the stereotype of the “broke college student”, and for a lot of us, it can be pretty relatable. Saving money while in college and knowing when and where to spend what you have can come as quite the challenge, especially when new jobs, friends, student loans, and other involvements get in the way. For wherever you might be financially at the moment, here are 3 of my best tips and tricks to help you make the most out of the money you have during your college experience. 1: Shop secondhand.
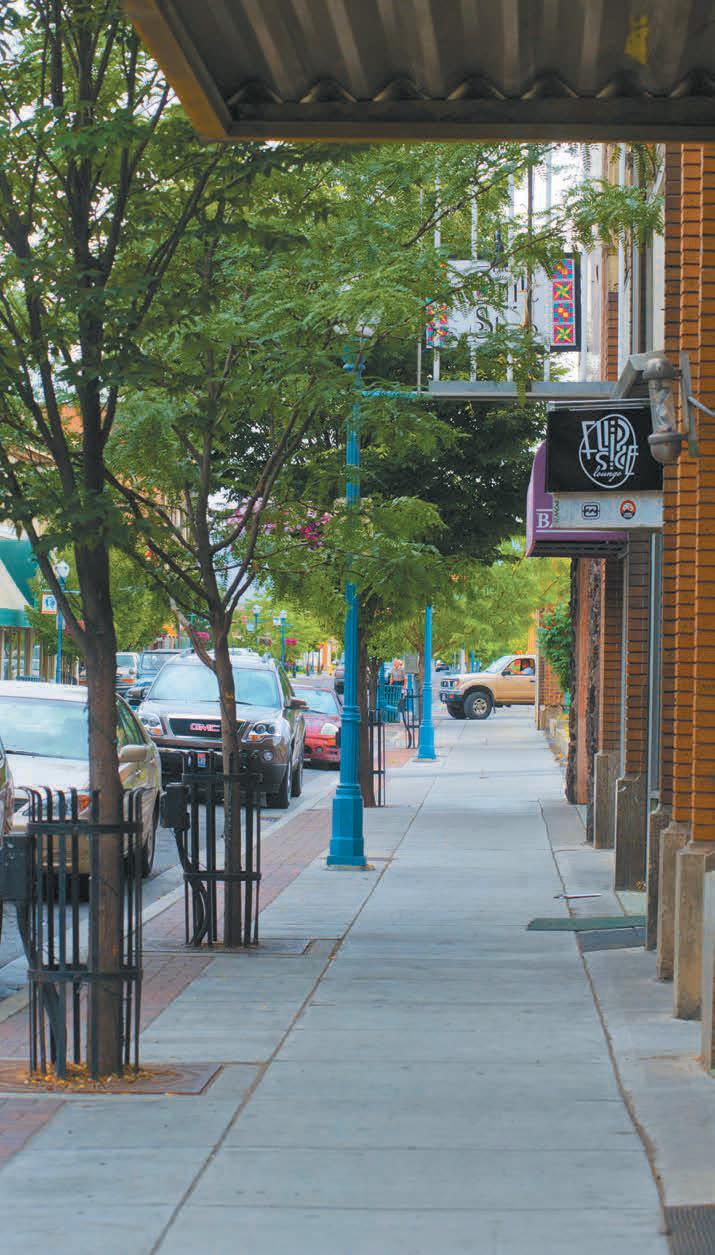
While it might seem easier to search for everything you want/need online and have it arrive at your door in just a few days, shopping second hand not only allows for more sustainable options in terms of clothing and decor, it is also much more cost effective. Many local thrift stores offer student discounts, such as Goodwill, so long as you have your student ID. It might take a bit longer to find specific items, but you also have the opportunity to find unique, one of a kind things that aren’t available via online shopping. When you have the chance of getting a shirt for $3 instead of $25, or snagging heels for graduation for $5 instead of $45 at the mall, these differences really add up overtime. You also don’t need to pay any shipping costs with this method, which is an added bonus. For those coming to Pocatello for the first time, here are some of the local thrift stores & their addresses:
Goodwill - 1570 Yellowstone Ave
Deseret Industries - 580 Roosevelt Ave
Idaho Youth Ranch - 720 Yellowstone Ave
St Vincent De Paul - 855 S. 2nd Ave 2: Start a budget for yourself
Whether you have a job on campus, off campus, or are relying on payments from your parents, it’s important to budget any amount of income you may be receiving to make the most of each deposit. One of the easiest ways I find to do this is to separate your
money into categories. Find out how much you spend on necessities, such as gas and groceries. Each time you get paid, whether it’s weekly, bi-weekly, or monthly, take that out of your paycheck automatically so you won’t be tempted to spend it. Also take out a set amount of money to put into a savings account. Whether it is $5, $10, or $25, setting aside some extra money to have on hand in the future when you need it will really help take a weight off of your shoulders. There are also many apps for this, if you need additional help in starting out.
Another way to make more money is by taking out a set amount of money in your bank account each paycheck to make money each time you get paid. Even subtracting $10 or $15 from your paycheck each time can help add up. Here’s a sample budget to get you on the right track:
Paycheck - $200 2x/mo
Gas - $30 2x/mo, Groceries - $60 2x/ mo $200 - $90 = $110
Savings - $10 2x/mo, Added bonus $5 2x/mo $110 - $15 = $95
In this case, you’d have $95 to spend until your next paycheck, and you’d already have all of your expenses out of the way so you don’t have to worry about affording the things you need. 3: Check for local coupons / sales:
Frequently, grocery stores will offer coupons, whether on their website or in pamphlets at the front of the store, as well as occasional sales on various things. While looking for specific sale items may seem inconvenient, taking advantage of the lowered prices can and will add up. As an example, something might typically be $8 at Fred Meyer but $7.50 at Walmart. The same item can go on sale at Fred Meyer for only $5, making it the cheapest option overall. Noticing these differences while out shopping for groceries and necessities can make a huge difference in the amount of money that you can save on your weekly trips.

Fresh Ink: Getting Your First Tattoo
Lesley Brey Copy Editor
If you ask ten different people why they got a tattoo, you are guaranteed to get ten different answers. Especially once you’ve had a chance to explore dozens upon dozens of styles, it’s pretty apparent that we’re enjoying a tattoo renaissance. It’s now easier than ever to get inked! For many, college is the time to start building your body art collection. If that applies to you, here is a step-by-step guide to getting the best out of your tattoo experience.
Brainstorm ideas It’s one thing to daydream about getting inked, and another to start seriously planning. And yes, you should plan out your tattoos. It can save you a lot of money down the road in either cover-up or removal cost. You’ll want to keep in mind things like size, placement and style. For example, a small, black ink tattoo above your ankle will feel very different than a full color piece over your ribs. A good rule of thumb is to get something small to start off with. This will give you a good impression of how well your body tolerates the pain and the healing. Some people are not able to get tattoos due to how easily they scar, but it’s often hard to tell if you’re one of those people until you’ve tried your luck. The other thing to be aware of is that most of the tattoo posts you see on Instagram are taken right after the piece is finished. In the real world, your tattoo will change a lot during the healing process; fine lines may become blurry and bright colors will dull.
Research Artists Getting a tattoo is just like commissioning a painter; make sure you’re setting yourself up for success by vetting your artist beforehand. Start by talking to people whose tattoos you admire; with any luck they may have gotten them locally. You can also look up which shops in your area have the best reviews. Many artists will have either a website or a social media presence where they showcase their favorite works. Additionally, they may have a little blurb where they describe their preferred styles. You’ll need to match the ink you want with an artist who has experience in that style lest you end up with something that looks pretty wonky. In Idaho, tattoo shops are required to have a permit from the health department, but the individual artists are not licensed. Look for shops that are clean and well lit. Artists should behave a bit like surgeons, washing their hands, wearing gloves, sterilizing both the chair and the client, and never reusing needles or ink. While it may be tempting to save money by going with the cheapest artist, keep in mind that a tattoo is an open wound and can easily get infected. When artists try to cut costs by cutting corners, it is the client that pays the price in the end. Schedule your appointment Once you’ve settled on an artist, the next step is reaching out. For those on social media, direct messaging is often the best option. Alternatively, you can call the shop and schedule a consultation. Either way, this is the part where you get to dig into the details. You’ll want to have reference photos ready. Be prepared to negotiate; the artist knows a lot more about tattoos than you do, and they are normally quick to nix an idea that’s impractical. That doesn’t mean that you won’t be able to get the ink you want, but instead that you’ll need to be flexible. Your artist will also want to discuss pricing. Most shops have a minimum fee but be ready for that price to jump quickly with size and color. There’s no way of knowing how much it will actually run you until it’s done, but your artist should be able to give you a reasonable estimate. When it comes to actually setting up the appointment, keep in mind how complicated or big your design is. It is not uncommon to come in multiple days in a row for a single piece. Be ready to spend hours, if not your whole day in the shop.


Prep your body The day before your appointment, please take a shower. Your artist is going to be up close and personal with you, including your odors. Drink plenty of water, get a good night’s sleep and eat a filling breakfast the morning of. The better condition you’re in, the better your tattoo will heal. Its okay to use any moisturizers you normally would; they’ll clean off the area for your tattoo in the shop. Wear comfortable clothes and bring a jacket, some shops like to keep it kind of chilly. Under no circumstance should you be showing up intoxicated. Beyond making it more difficult to get a clean looking piece, alcohol specifically is a blood thinner, meaning that it will absolutely screw up how well you heal. Many shops will turn you away at the door if they can smell alcohol on you, but if they don’t, keep in mind the previous warning about shops that cut corners.
Get your new ink Getting your tattoo will hurt, unfortunately. You can ask your artist ahead of time if they’re comfortable with you using numbing cream (and remember, some of those work better than others) but even that will wear off before you’re done in most cases. If the pain ever gets to be too much, there’s no shame in asking to take a break. It’s very important to pay attention to how your body feels during the process because it isn’t uncommon for people to go into shock. Keep an eye out for an elevated pulse, cold hands, dizziness and black on the edge of your vision. Think of it this way; you are actually creating a wound on your body, and ignoring the pain, which is your body’s way of telling you when something is hurting you. If you keep that up long enough, your body will resort to other tactics to get the point across. Worry not, however, because this type of shock is easily fixed by elevating the feet and eating something. Many artists will keep emergency rations at their station in case of exactly that happening. When you’re finally finished getting inked, make sure to tip your artist, especially if you liked their work. If you don’t have enough money for a tip, you don’t have enough money for a tattoo. Aftercare A clean tattoo is a happy tattoo. Just like with other injuries, you’ll want to keep it covered and sterile for the first few days. Some artists will send you on your way with a Saniderm bandage; a type of clear bandage which holds the ink and blood against your skin instead of absorbing it. These are normally left on for a few days, but your artist will give you more specific instructions. Wear loose clothing around your tattoo and keep it hydrated with an unscented lotion like Aquaphor. Your artist will also tell you how often to wash it, using a simple unscented soap. As your piece starts to heal, be prepared for scabbing and flaking. Keeping it moist goes pretty far in preventing itchiness but be ready for that as well. Finally, if your new tattoo becomes red, painful to touch, has a foul smell or starts to leak pus, go to an urgent care right away. Infections are dangerous and need to be taken care of as soon as they’re noticed. You should also reach out to your artist and let them know if that happens.


