3 minute read
3.1.5 Initial Configuration of the StoneFly SSO Appliance


3.1.5 Initial Configuration of the StoneFly SSO Appliance
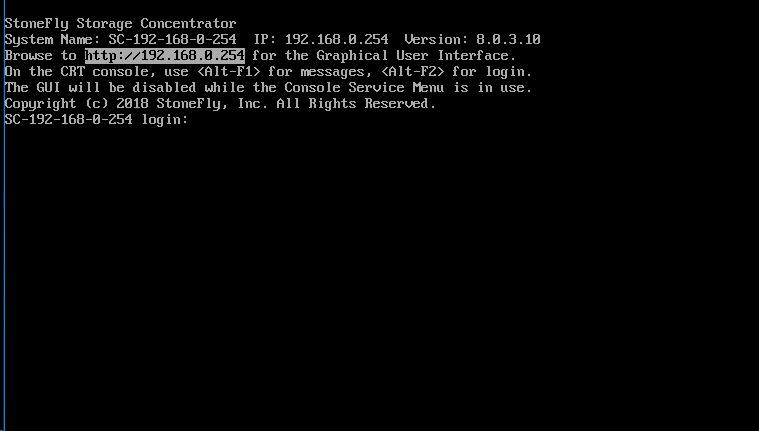
Launch a web browser, then navigate to https://<configured IP address>.
Advertisement
StoneFusion Login Screen
In the User ID field type: admin
In the Password field type: M@n4g1ng
Click Submit. The Home Page screen will appear.
Click System.
Click Admin.
Click Auto Save. The Auto Save screen will appear.
Select the method(s) of saving the database. A USB Flash drive must be inserted into the USB port prior to Enabling. Checkmark Enable Auto Save to Local Device and select USB Flash Disk from the dropdown menu. Click Submit. For Auto Save to Remote FTP Server create a directory for each Storage Concentrator. Fill in the IP Address, User Name, Password and directory. Select Passive or Non Passive and click Submit. Both methods can be used, but at least one should be configured to ensure recovery if needed.
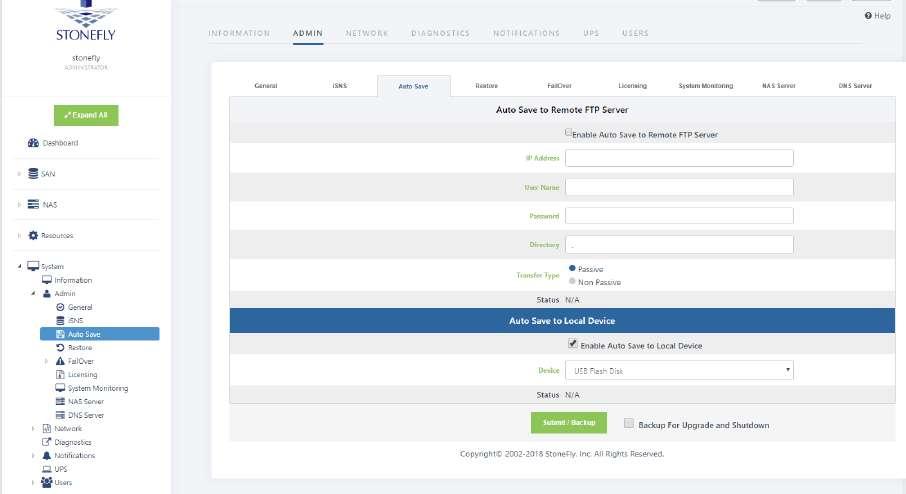
StoneFusion Auto Save Screen
Navigate to Admin > General. The system admin screen will appear.

StoneFusion Admin Screen
Enter a system name for the SSO appliance.
Enter the number of log records for the database in the Max number of logs field.
The default number of log records is 2000, which is sufficient for most installations.
Click Submit.
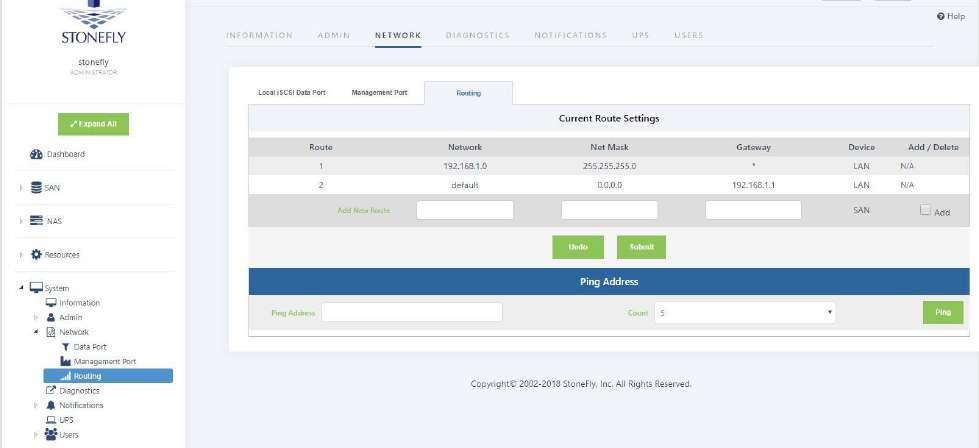
Navigate to Network > Data Port. The Local iSCSI Data Port Settings screen will appear with the current system (factory) settings. Most fields are blank.

StoneFusion Local iSCSI Data Port Settings Screen
Enter the IP Address for the Local iSCSI Data Port. Enter
the NetMask setting for the Local iSCSI Data Port. Click
Submit.
Click OK to continue when the confirmation dialog box appears. The SSO automatically configures the Network and Broadcast settings based on the IP address and Netmask settings.
Click on the Advanced: Network/Broadcast link to view or modify the Network and Broadcast settings. For more information, see “Chapter 2: Administrative Interface” in the Storage Concenter User’s Guide.
Review the status of all SAN Network Interfaces to select which ports will be used. It is not necessary to select all available ports. All ports selected must have cables attached to them to maintain the proper cluster configuration and operation. The Id button is used to flash the link light on a specific port. Select a port by clicking on the box in the Bond column. Changes are not enforced until the next reboot.
At the first power up, a default configuration is presented. Changing the default settings requires a reboot of the SSO appliance. Navigate to the System > Admin > General screen and click on Reboot. If no changes are desired continue to the next step to configure the Management Port.
Click on Management Port. The Management Port Settings screen will appear.
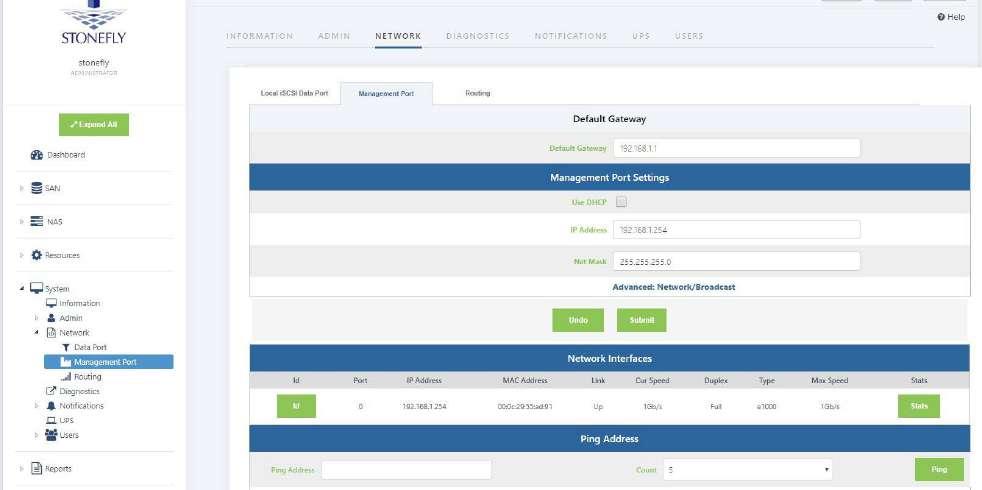
StoneFusion Management Port Settings Screen
Enter the Default Gateway setting.
Enter the IP Address for the Management port.
Enter the NetMask setting for the Management port. It is not necessary to select a Management Port as on the Local iSCSI Port screen. There is only one port assigned for this purpose.
The SSO automatically configures the Network and Broadcast settings based on the IP address and Netmask settings. Click on the Advanced: Network/Broadcast link to view or modify the Network and Broadcast settings. For more information refer to “Chapter 2: Administrative Interface” in the Storage Concentrator User’s Guide.
Changing the IP address of the Management port will cause your browser to lose its connection to the SSO appliance. To regain access to the SSO, change your browser’s URL to point to the new IP address.
Click Submit. The following popups will appear.
Depending on the speed of your browser connection, you may not see this screen. Your changes will still take effect, however, you will need to manually set your browser’s URL to point to the new IP address.

System Management Port Change Screen
1. Click on OK on each popup screen to continue. 2. Click on the new IP address to confirm the change to the Management Port setting.