
Website: www.bisonsystems.co.uk
Tel: 01342 337 160
Email: info@bisonsystems.co.uk
CONTENTS
INSTALLATION INSTRUCTIONS
(FOR COMPOSITE DECKING)
READ BEFORE YOU START
IMPORTANT:
Before installing any composite decking system, you should check with your local authority to confirm whether any planning requirements or building regulations apply. The diagrams and guidance in this document are provided for general illustration only and are not intended to replace the advice of a qualified professional.
All construction or use of wood-plastic composite (referred to as WPC) products must comply with relevant UK building regulations and any local planning rules. The installer or end user accepts all risks and responsibilities associated with the installation and use of this product. Please read all instructions carefully and follow the guidance provided during installation. Only the installation methods and accessories detailed in this guide are covered under the product warranty.
Failure to follow these instructions, or using any installation method not outlined in this guide, may void the warranty.
SAFETY
When dealing with any type of construction project, it is necessary to wear appropriate safety equipment to avoid any risk of injuries. When handling, cutting, and installing, the following safety equipment is recommended but not limited to: gloves, a respiratory protection, long sleeves, long trousers, and safety glasses.
ENVIRONMENT
A smooth flat is required to install the Bison decking planks correctly. If not installing straight away, the decking boards would need to be stored on a flat level surface (ideally on spaced bearers) see storage.
Like many other outdoor surfaces, composite decking can get hot due to sun exposure. On such days, care needs to be taken to make sure skin does not have extended contact with the surface of the deck, especially with young children and those with special needs. Please note also that the darker the colour, the hotter the deck will feel. DECKING TEMPERATURE
TOOLS REQUIRED
Having the right tools will make the installation quicker, easier, and ensure a better-quality finish. Before starting work, make sure you have:

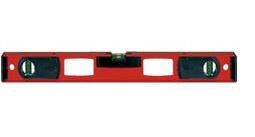
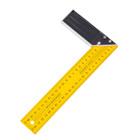


Skill saw (with suitable carbide-tipped WPC blade - 60+ teeth)
CONSTRUCTION
Bison WPC products are not intended for use as columns, support posts, beams, joist stringers or other primary load bearing members. While WPC products are great for retrofits, WPC products cannot be installed on top of existing deck boards.
VENTILATION




Mitre saw (with suitable carbide-tipped WPC blade - 60+ teeth)
You cannot install WPC decking directly on a flat surface. It must be placed on a suitable substructure so air can move freely underneath. This airflow helps stop the decking from absorbing too much water. Make sure there is at least a 25 mm continuous gap under the deck to allow proper ventilation and drainage, and to help the boards dry.
STORAGE

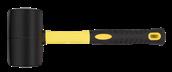
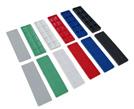

Jigsaw (with suitable carbide-tipped WPC blade)
Use appropriate personal protective equipment (such as gloves, safety glasses, and hearing protection) when operating power tools.
We recommend acclimating the boards for at least 48 hours before installation. This allows the material to adjust to the local conditions and helps minimise expansion or contraction after fitting.
If boards are being stored for an extended period before installation, they need to be kept in a dry, well ventilated space, ideally indoors or undercover. Avoid exposure to direct sunlight or rain whilst stored in bulk. Boards should be kept off the ground by placing them on evenly spaced joists or bearers, set on a flat, stable surface. Uneven or unsupported storage can cause the boards to bow or deform. Joist/bearer spacing for storage should not exceed 500mm. Do not store the boards directly on the ground.
During installation, cover any boards not in use to protect them from dirt, debris, and potential surface scratching. Always lift and carry the boards - do not drag or slide them.
PLANNING
Before you begin, take time to plan the layout of your decking to achieve the best possible finish, design and avoid wastage. When installing any composite decking, especially multi-tone boards, it’s advisable to unpack and mix the boards before installation. This helps create a balanced, natural variation in colour across the deck.
Most UK planning and building regulations relate to structures that are fixed to a property or the ground. While many garden decks do not require permission, some raised or attached decks may fall under local planning rules. If in doubt, check with your local authority before starting work.
We also recommend preparing a simple site plan for your decking area. Marking out the layout, joist positions, and board direction in advance will help minimize errors and ensure a smoother installation.
PRODUCTS NEAR LOW-E WINDOWS
Energy-efficient glazing (Low-E glass) can reflect and concentrate sunlight, which may create localised areas of high heat on nearby surfaces. In certain conditions, this reflected heat can raise the surface temperature of composite decking beyond normal levels, potentially causing discolouration, warping, or accelerated weathering.
Although such occurrences are uncommon in the UK, the risk depends on the position of the glazing, time of year, and angle of the sun.
If your decking is installed close to Low-E windows or doors and you are concerned about reflected heat, contact the window manufacturer for advice on suitable mitigation measures.
INSTALLING HOT TUBS, PLANTERS, AND IN-BUILT SEATING AREAS
When incorporating heavy features into your deck design, plan the subframe to ensure it can safely support the additional loads.
HOT TUBS
A filled hot tub must be supported by its own independent, load-bearing foundation such as a concrete slab.
Do not place a hot tub directly on composite decking boards. Leave access points for servicing, drainage, and electrical components.
PLANTERS
Large or water-filled planters can add significant weight and retain moisture.
Provide additional subframe support beneath planter locations.
Ensure adequate drainage to avoid standing water around the base.
BUILT-IN SEATING
Any fixed seating, pergolas, or similar structures must be supported by the substructure, not by the decking boards themselves.
Add extra joists or blocking at load-bearing points.
Avoid fixing structural loads directly into composite boards.
INSTALLING FIREPLACES AND/OR FIRE PITS WITH DECKING
Fire pits and outdoor fireplaces can generate significant heat, so care must be taken when incorporating them into a composite decking area. Composite boards should not be exposed directly to high temperatures or open flames, as this can lead to discolouration, warping, or surface damage. In most cases, fire features should not be placed directly on top of the decking and will require a suitable non-combustible base or an independently supported platform.
If you plan to use a fire pit or outdoor fireplace near your deck, ensure adequate heat protection is installed and that the unit is positioned safely away from combustible materials. Always follow the fire feature manufacturer’s installation and safety instructions, and confirm that any heat-shielding or protective barriers used are compatible with composite decking.
INSTALLING A PERGOLA ON DECKING
If installing a pergola on a composite deck, you must access the underside of the structure to fix posts securely to the subframe.
Pergola posts should be mounted to the structural frame using suitable metal post-base brackets. Fixings must pass through the decking and anchor into the joists or beams for strength - never rely on the decking boards alone.
Carefully plan the post locations so they align with joists.
GROUND TREATMENT
A stable, well-drained base is essential for the longevity of the decking and frame. Choose ground treatment methods that match the soil type and conditions on site. Below are common approaches suitable for UK installations:
1. Concrete Foundation
Dig appropriately spaced footings below frost depth and pour concrete to create solid supports for timber or metal framing. Install the decking frame once the concrete has cured.
2. Ground Screws
Install ground screws at set intervals and fix the frame directly to them. This method is suitable for many soil types and avoids the need for excavation.
3. Surface Hardening and Levelling
Excavate soft ground, compact the soil, apply a stabilising layer, then cover with gravel or concrete slabs. Lay the joists on this prepared base before installing the decking boards.
Avoid any methods that could damage waterproof layers on balconies, terraces, or roofs. If installing decking on a roof or raised structure, consult building control or a qualified professional regarding load limits and drainage requirements.
EXPANSION AND CONTRACTION
Composite decking will naturally expand and contract with changes in temperature. These movements are most noticeable during installation in hot or cold conditions.
When cutting boards on a hot day, allow the cut pieces to cool before fixing to reduce visible contraction after installation.
Follow the recommended spacing guidelines between boards and at perimeter edges to allow for seasonal movement.
Fit boards as soon as possible after cutting for consistent results.
ADJUSTABLE PEDESTAL SYSTEM
Adjustable pedestals are a practical solution for installing decking on uneven ground or creating a raised, level surface. They allow accurate height adjustment of the whole decking structure while maintaining good airflow and drainage beneath.
DECKING BOARD AND INSTALLATION ACCESSORIES
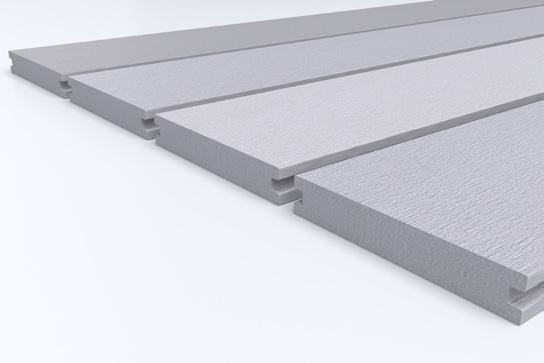
DECKING BOARD - GROOVED EDGE
Dimensions (Length/Width/Depth): Profile:
3600mm x 135mm x 23mm Scalloped
DECKING STARTER BOARD
Dimensions (Width/Depth): Profile:
138mm x 23mm
FASCIA BOARD
Dimensions (Width/Depth): Profile:
140mm x 12mm
ACCESSORIES
Hidden Deck Fasteners
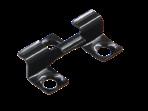
Stainless Steel Decking Clips
Supplied with screws Bag of 100no
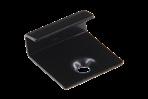
Start Clip for Grooved Board 25mm x 10mm
Supplied with screws Bag of 50no
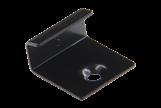
Start Clip for Starter Board 25mm x 12mm
Supplied with screws Bag of 50no
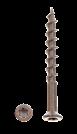
Stainless steel colour screws 35mm x 4mm
Available in Ash Grey or Oak colour Bag of 100no
DECKING SUPPORT STRUCTURE
A well-built substructure is essential for the stability, longevity, and overall performance of a composite decking system. The subframe must provide adequate strength, ventilation, and drainage to ensure the boards remain in good condition over time.
SLEEPER DECK SYSTEM
A sleeper system is used when installing decking over a solid, existing surface such as concrete, paving, or a flat roof. It raises the decking to allow airflow and drainage beneath. Key considerations:
1. Use suitable, durable structural supports—typically UC4-treated timber or metal joists.
2. The sleeper system must be securely fixed and must not “float” on the surface.
3. Sleepers must be level across their entire length; uneven support will cause the decking to feel uneven or lead to long-term movement.
4. Decking boards must be fully supported along their length. Sleeper joists should run perpendicular to the direction of the decking boards.
5. Ensure water is able to drain freely beneath the deck and that ventilation openings are not obstructed.
6. For commercial or roof installations, consult local building regulations or a qualified professional.
FRAMING
The framing forms the main structure supporting the decking boards. In the UK, the most common materials are:
JOISTS
Joists act as the primary support for the decking boards. The following types can be used, provided adequate ventilation and drainage are maintained:
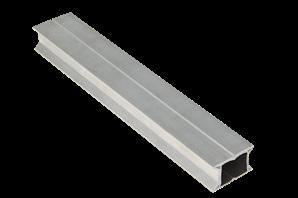
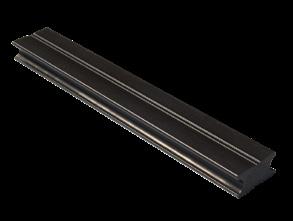
plastic joists (used only in low-load or specialist applications)
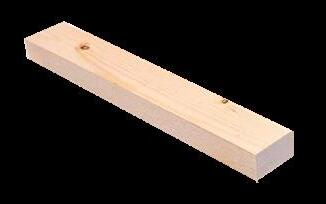
timber joists (most common in UK domestic installations)
Note: Adjustable pedestals can be used with metal or timber joists but should not be used with plastic joists. Recycled plastic joists are not suitable for load-bearing applications on pedestal systems.
timber joists (recommended for ground-contact applications)
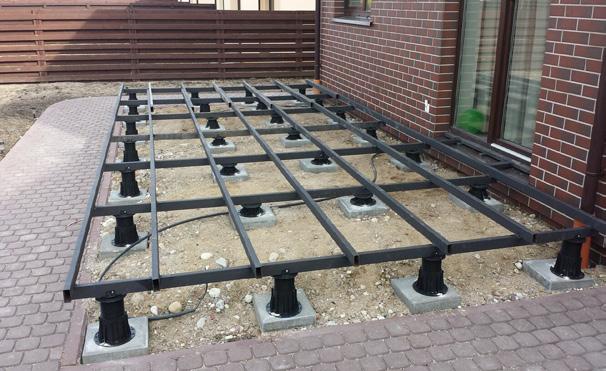
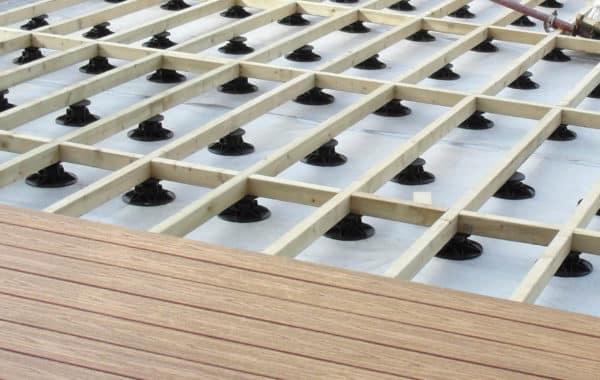
Use materials that are suitable for outdoor use and resistant to moisture. When using timber, applying a joist protection tape (to the tops of joists and ledger boards) can help reduce moisture absorption and extend the frame’s lifespan.
The frame must be level, correctly aligned, and free from dips or undulations. Joist spacing should follow the details on Page 24, appendix A as spacing requirements vary by deck design.
SLEEPER DECK SYSTEM INSTALLATION
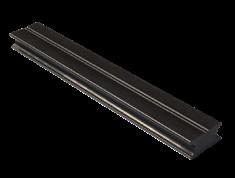
WITH WPC JOIST
IMPORTANT:
The WPC joist should be installed on a flat, sturdy ground with good ventilation and drainage. Before installing the joist, confirm that the maximum rainfall in the installation area does not exceed the height of the joist. It is recommended to use concrete to harden the ground and have a drainage slope of 1-2%.
Please make a reasonable plan for the decking project before starting installing the joist, which is very important to the safety and beauty of the project.
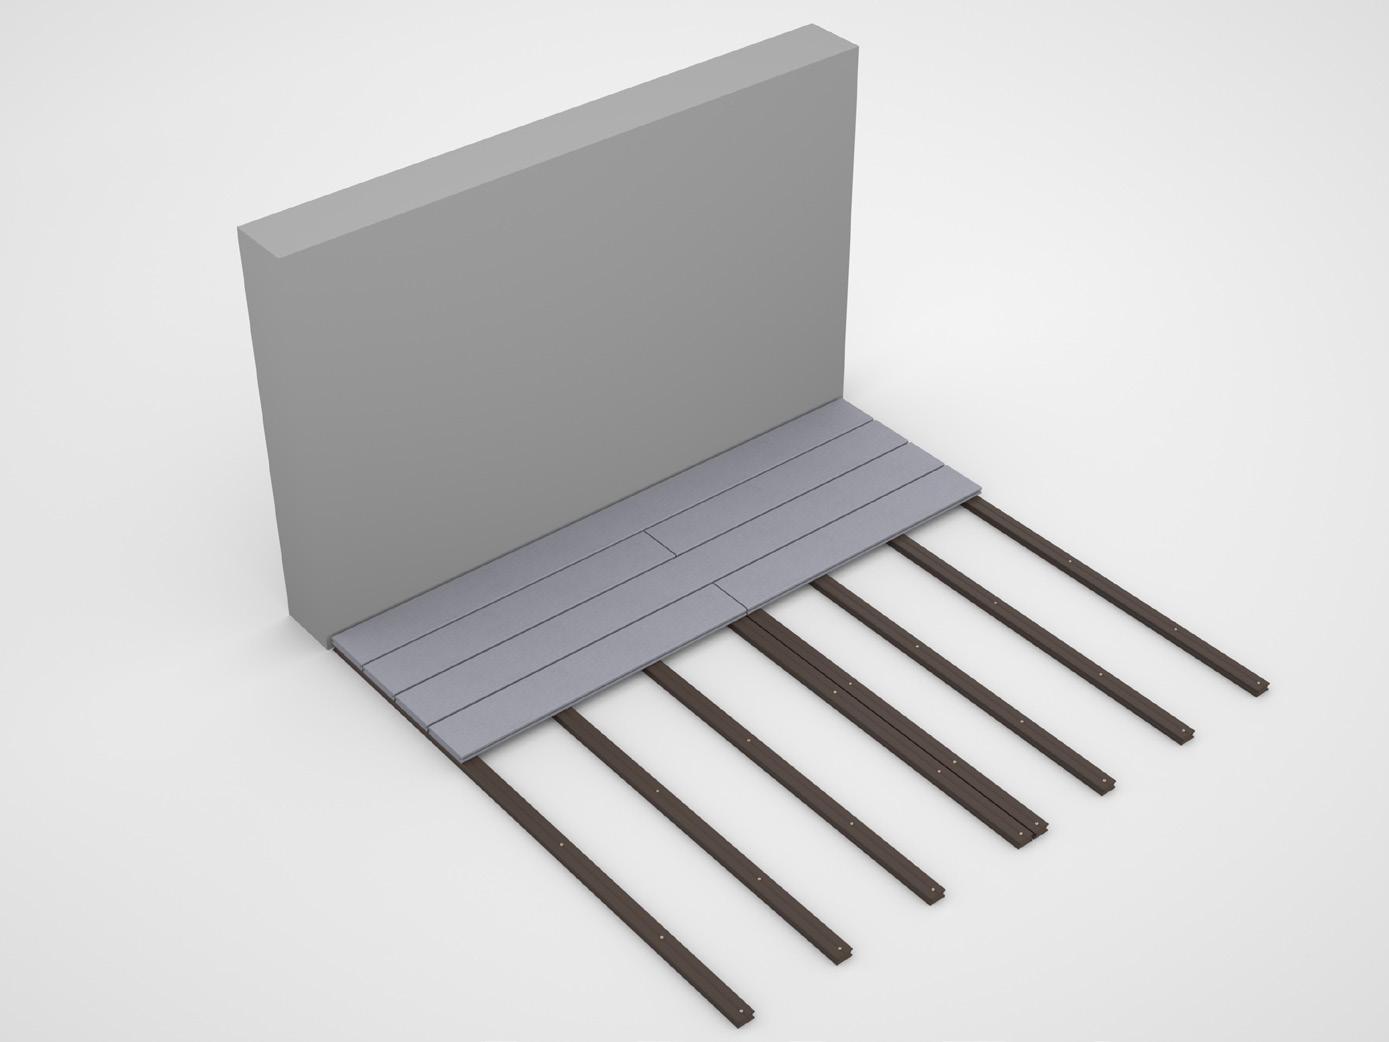
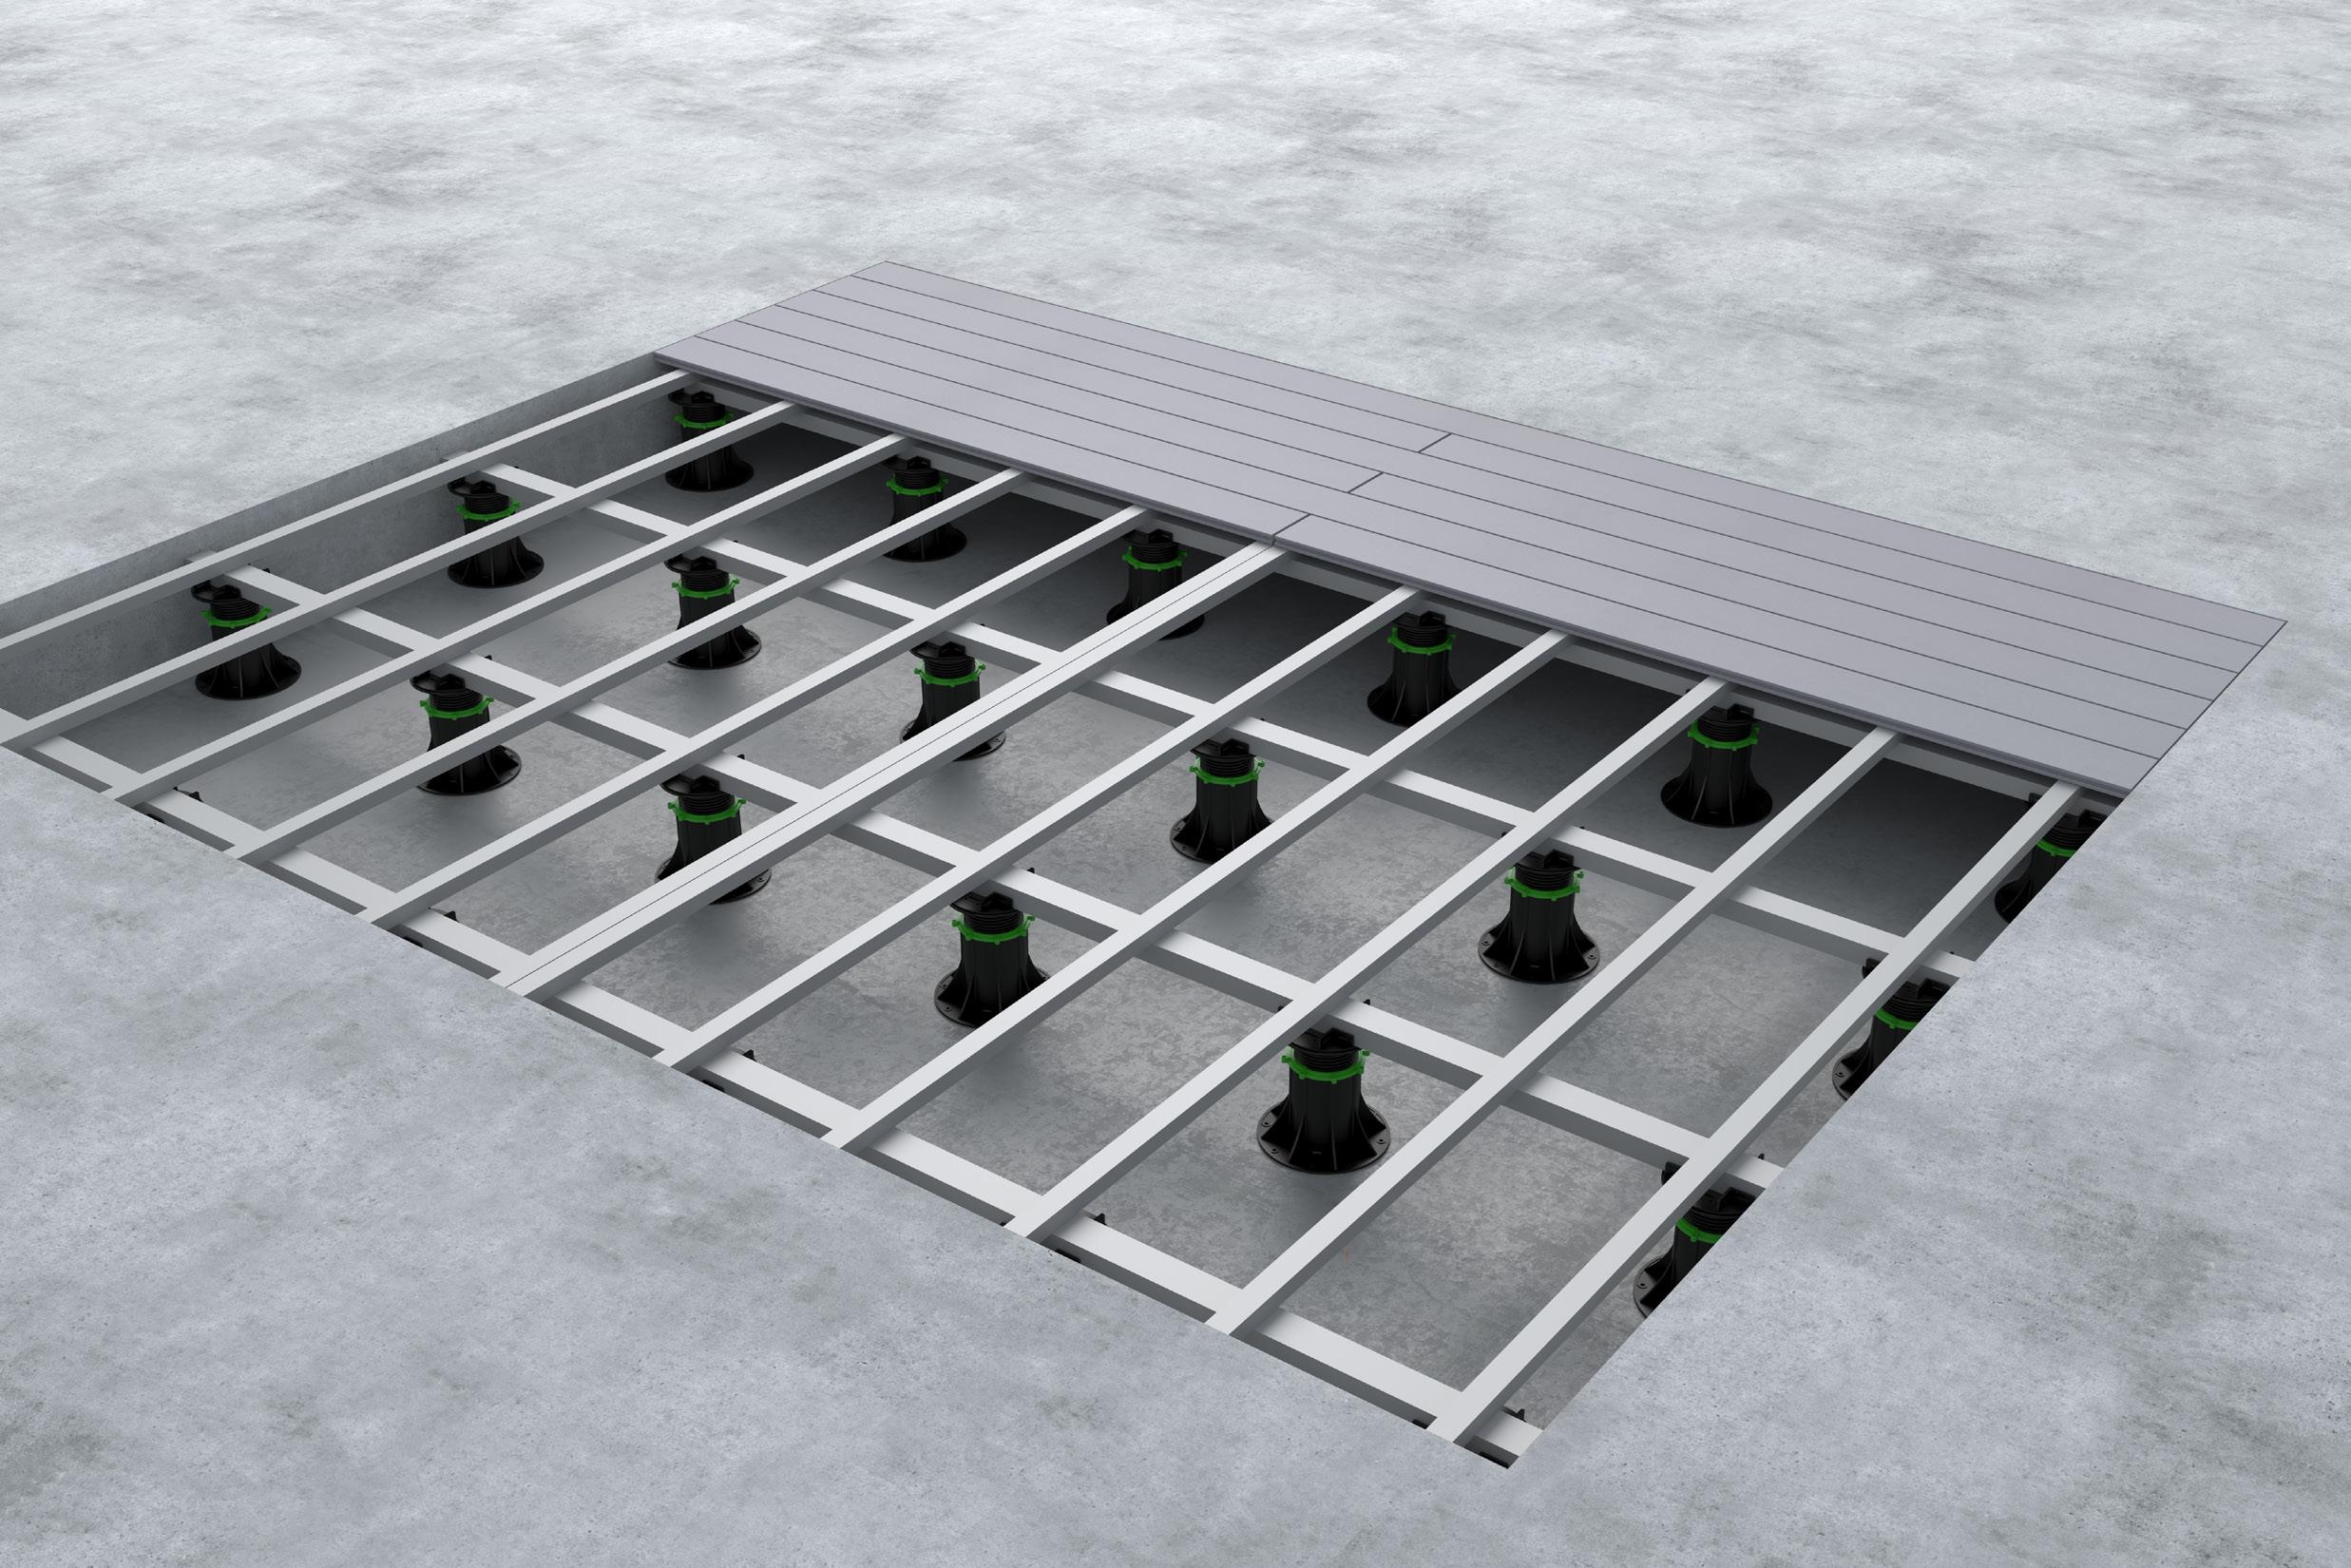
1. Nomally, the joist should be laid as vertical to the decking as possible, the joist spacing should be determined depending on specific situations. If the joist and the decking cannot be vertical, please select the corresponding joist gap according to the angle between the joist and the decking (Refer to Appendix A on page 24 for details).
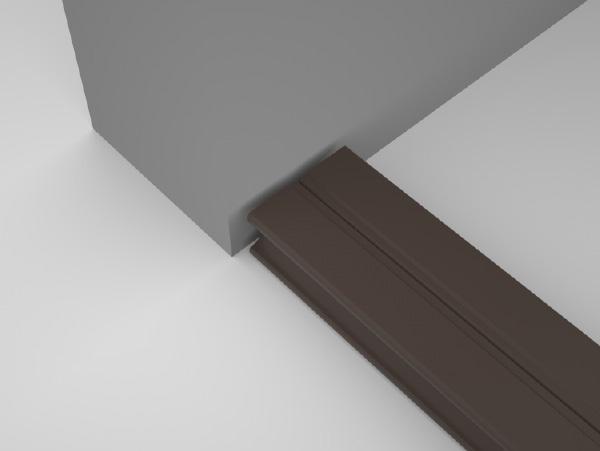
2. Leave a 6-13mm gap between the end of the joist and any solid wall or obstacle.
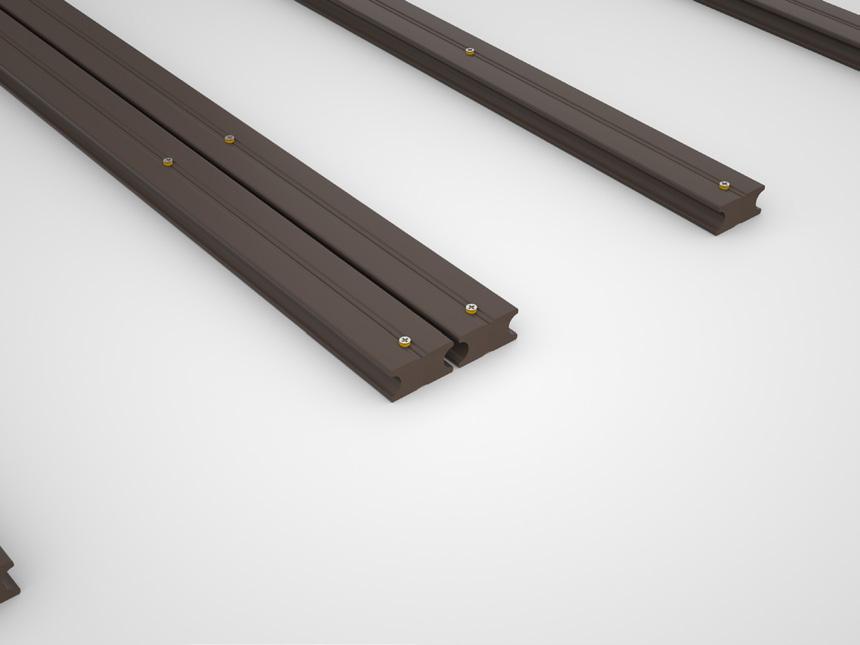
3. At the butt seam of the decking, a sister joist must be used with a minimum of 10–20mm between the sister joists for water to go down betweenthe joists. Excessive build of water over long periods of time at the ends could result in swelling. The end of each board must sit on its own joist to ensure that the board will not slide off the joist, wise the warranty will be invalid.
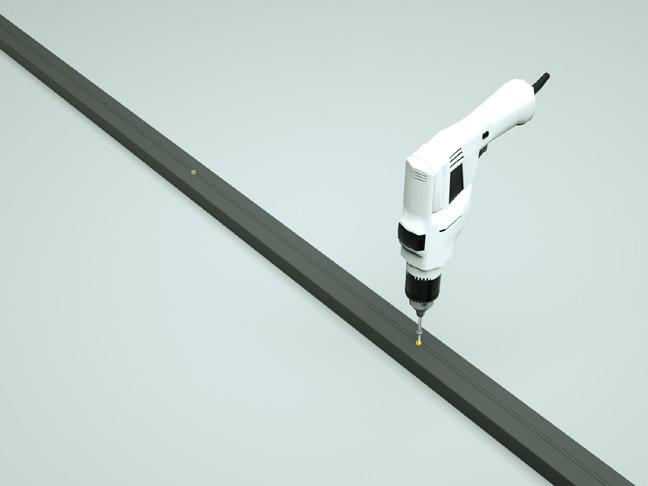
4. Fix the joist with expansion screws. Ensure that the expansion screw is installed at the center of the joist. The distance between expansion screws should not exceed 500mm.
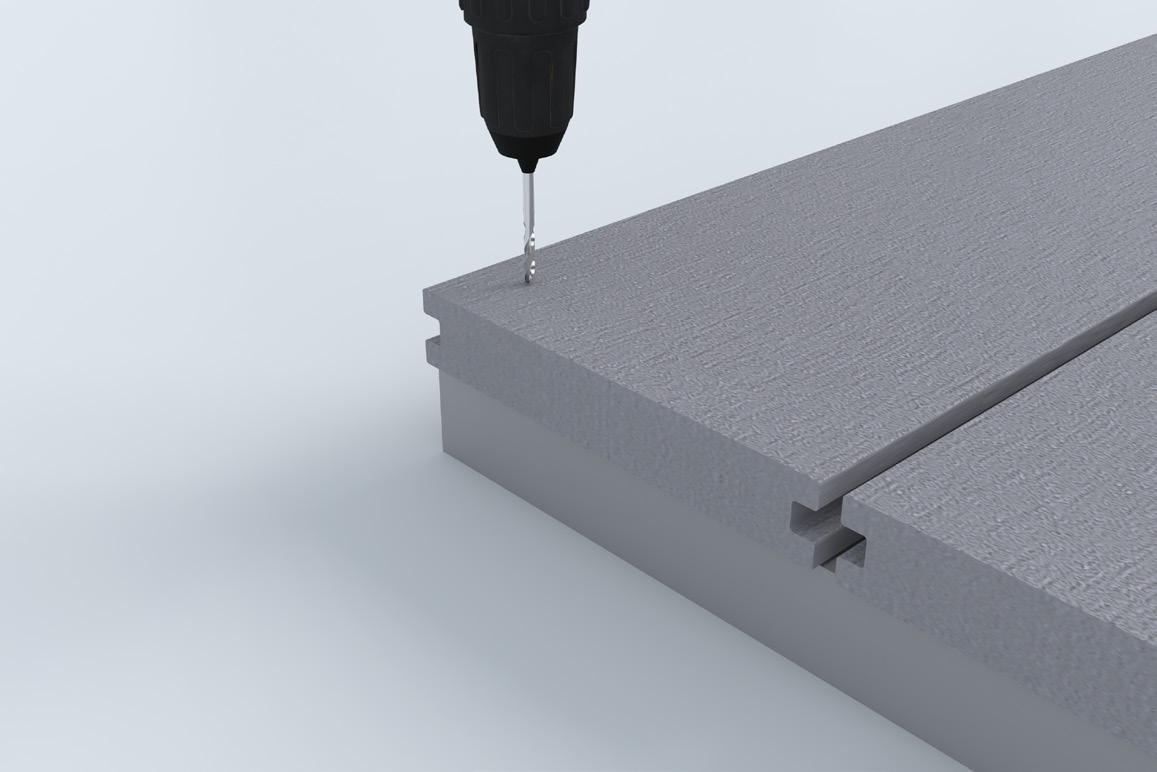
When fixing accessories on the WPC joist with a screw, always pre-drill a pilot hole before securing the screw to avoid damage to the joist.
IMPORTANT NOTES BEFORE INSTALLING DECKING
1. To ensure an appealing mix of colour tones, mix and match all boards prior to installation.
2. Decking Clips must be used at every joist, double joists are needed at the end-to-end joint between
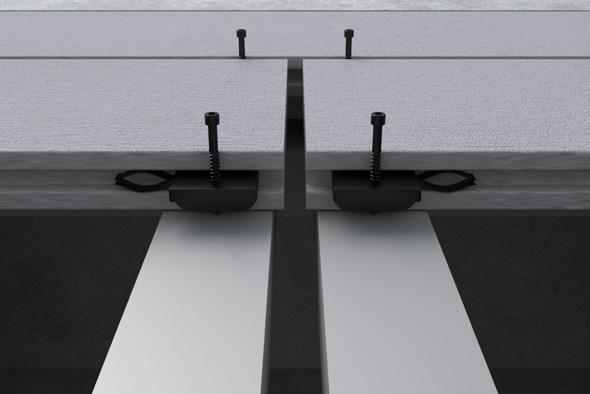
NOTE: Use a drill (with adjustable clutch and torque) and adjust these settings if necessary to ensure screw is seated correctly in clip. Do not counter sink the screw head into the clip. Screw head should be flush with the top of the clip.
GAPPING AND OVERHANG
You must gap decking both end-to-end and width-to-width, Gapping is necessary for drainage and the slight thermal expansion and contraction of decking boards. Gapping also allows for shrinkage of the wood joist system.
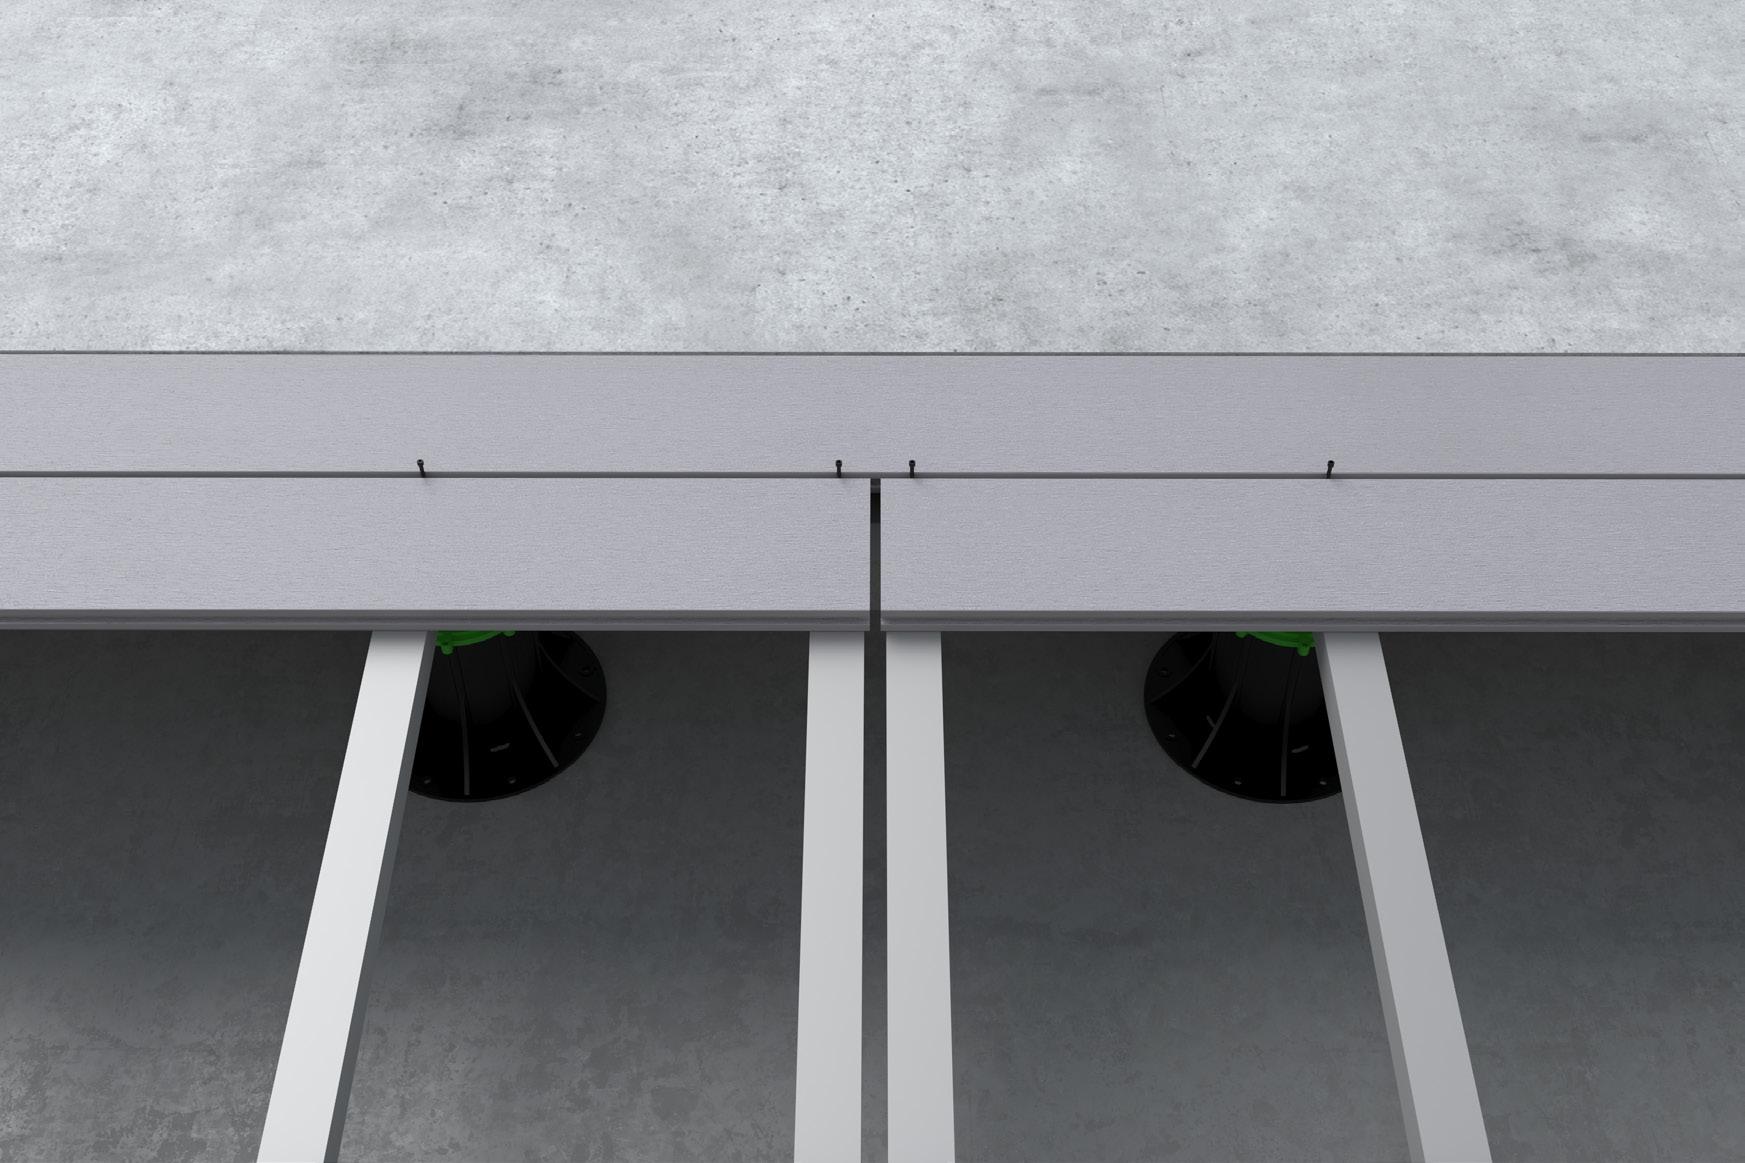
Always follow BISON-recommended gapping guidelines.
Please select the correct reserved decking gap when end-width or end-end according to the length of the decking and the temperature during installation (Refer to Appendix B on page 25 for details).
Gap decking from solid object (i.e. wall) should be 6–13 mm.
Maximum allowable perpendicular overhang for decking is 50 mm.
All decks require air circulation to keep them dry and looking good. To improve air flow, leave openings under the decking or increase gapping to 10 mm.
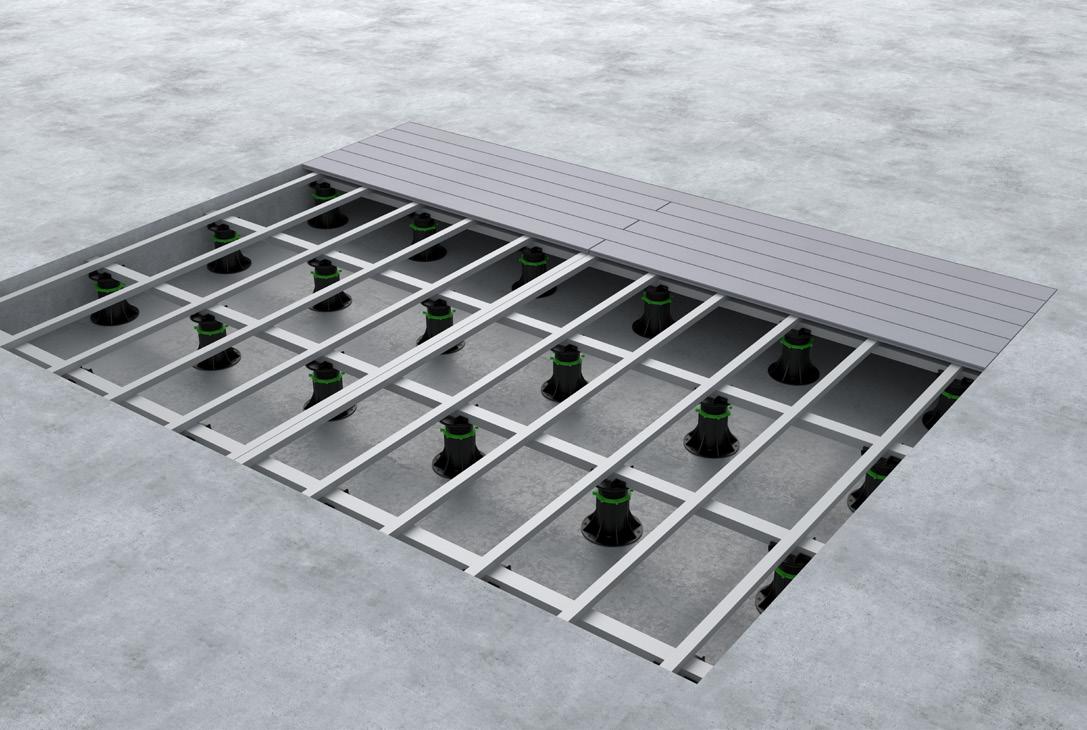
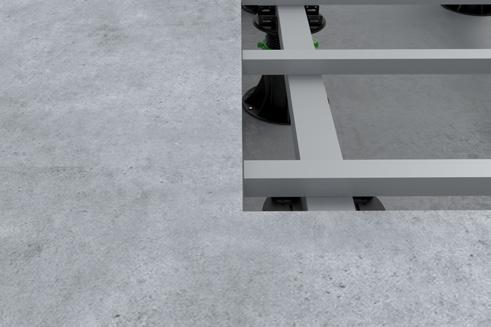
Refer to Appendix A (on Page 24 )
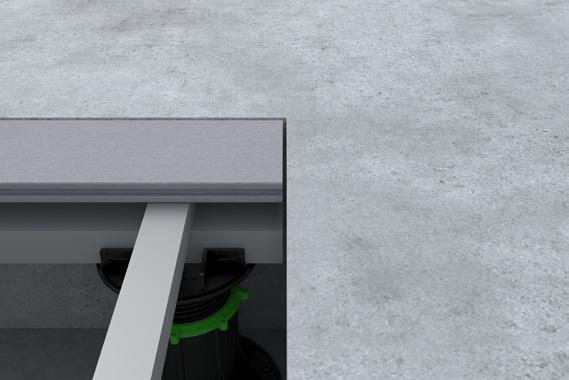
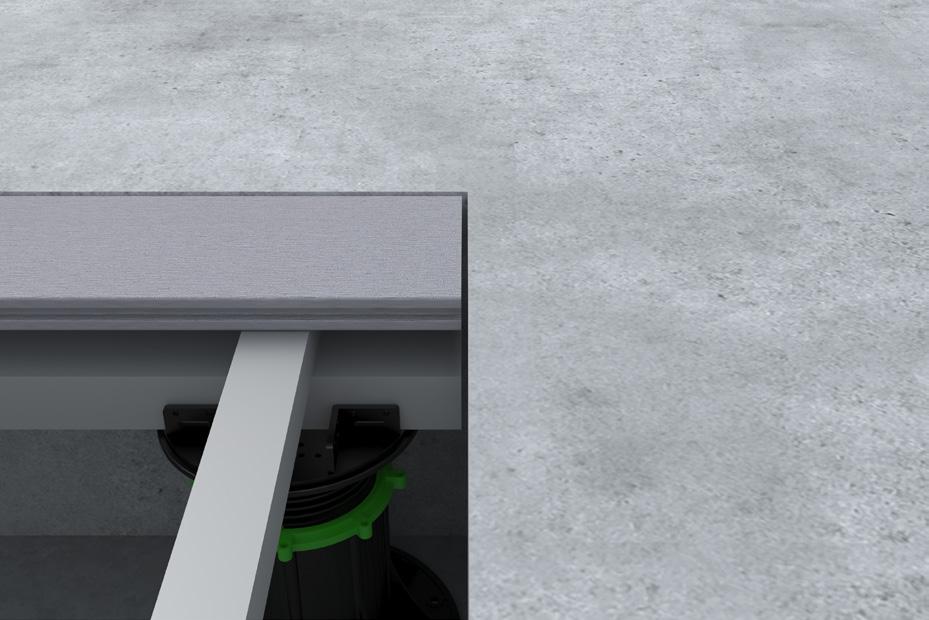
START CLIP INSTALLATION
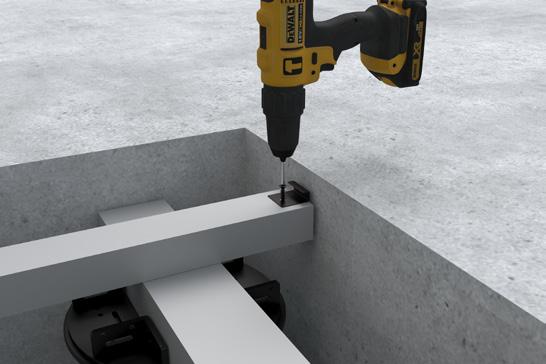
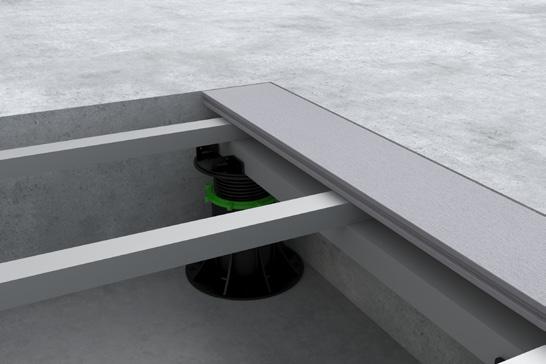
1. Use a screw to fix the start clip on the middle of the joist. Ensure that each start clip is installed in a straight line.
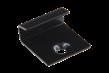
Start Clips
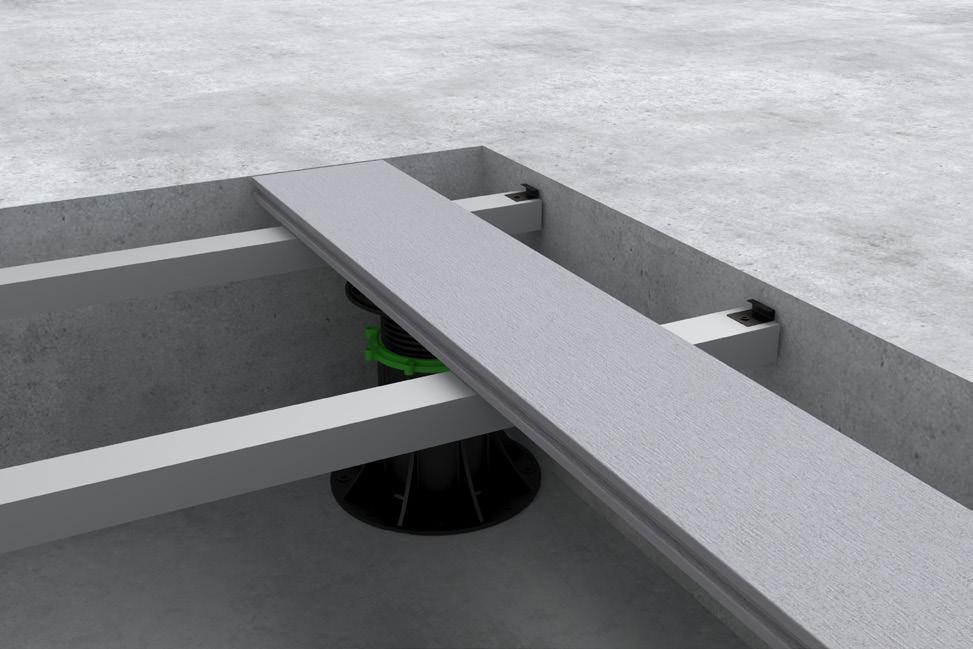
2. Slide the decking board into the start clip. Important: The first board Must be straight and well secured.
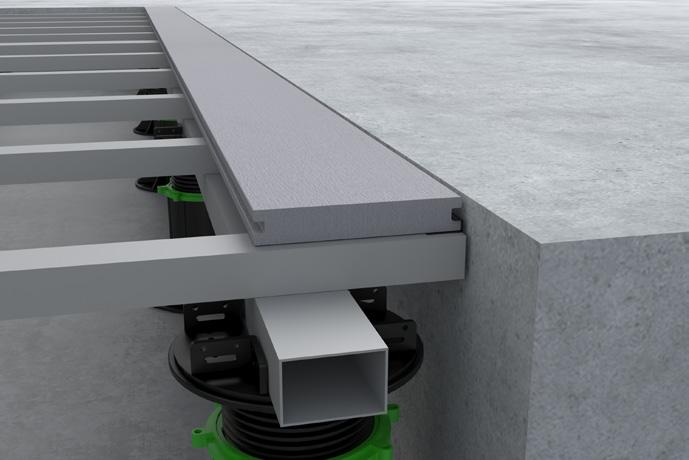
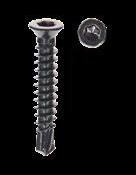
NOTE: Ensure that the screw is installed vertically in the middle of the joist, offset may affect the fixing stability.
STARTER BOARD INSTALLATION WITH STARTER BOARD
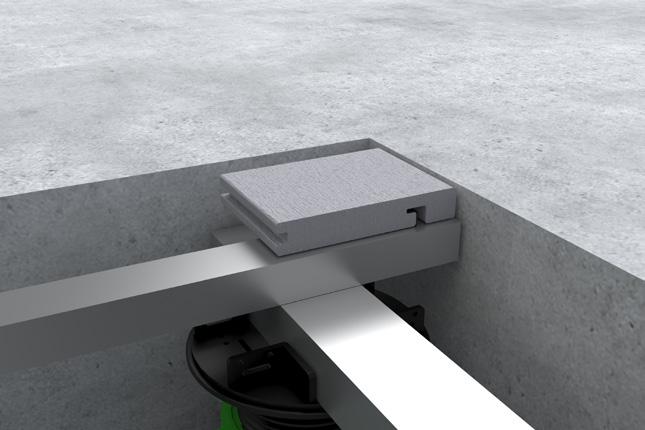
1. Use a short board to determine the position of the start clip and mark. Then, use a screw to fix the start clip to the joist at the marked position.
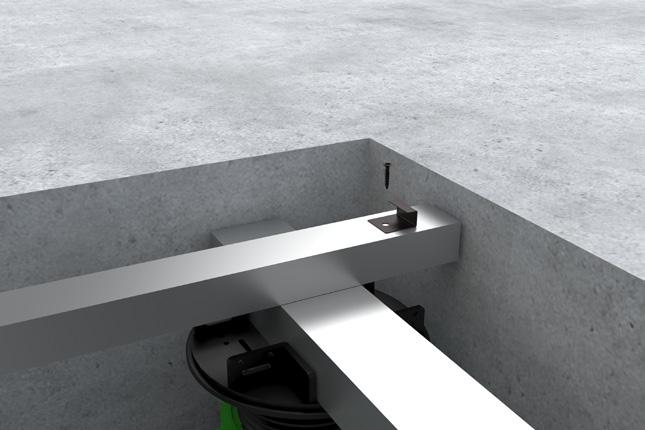
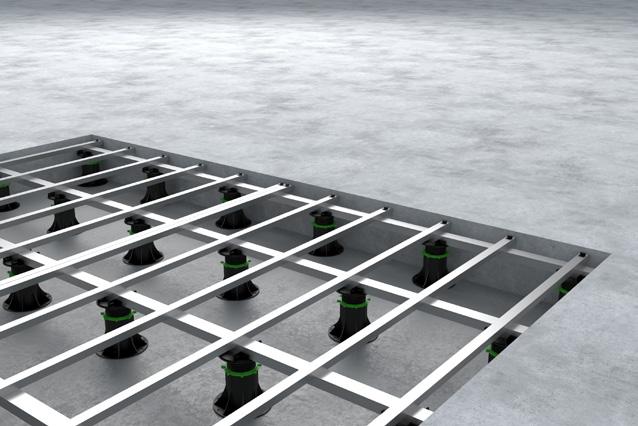
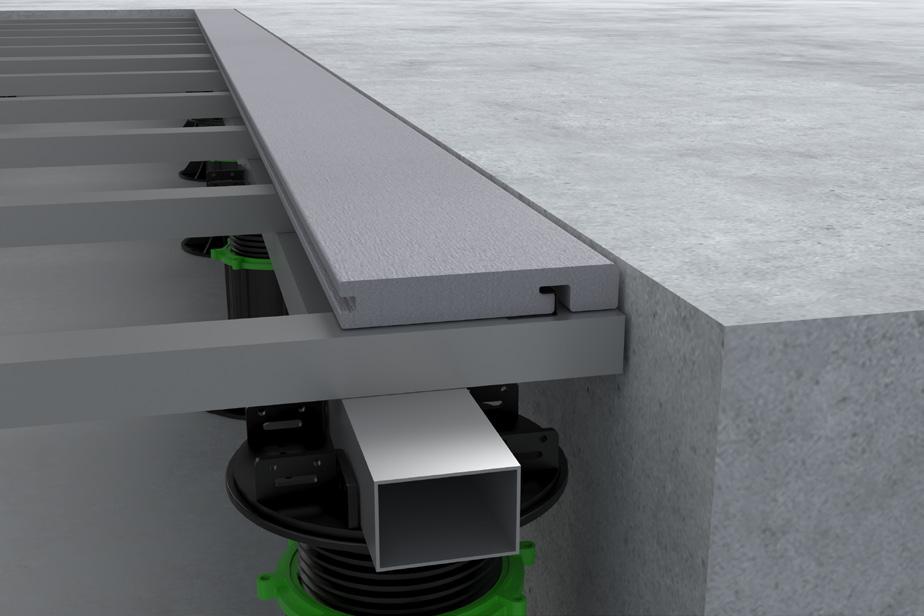
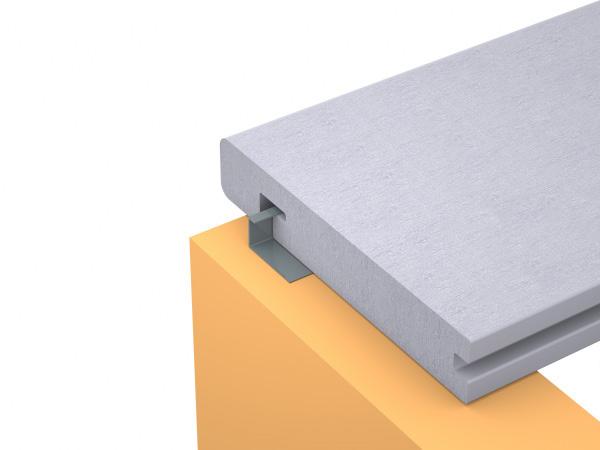
2. Place the starter board over all start clips, lay down, make the starter clip all inside of the underside of the starter board. Then, push forward to the end.
NOTE: When the starter board overhangs the joist, ensure that the overhang of the starter board does not to exceed 16 mm.
DECKING
BOARD
WITH DECKING CLIP
INSTALLATION
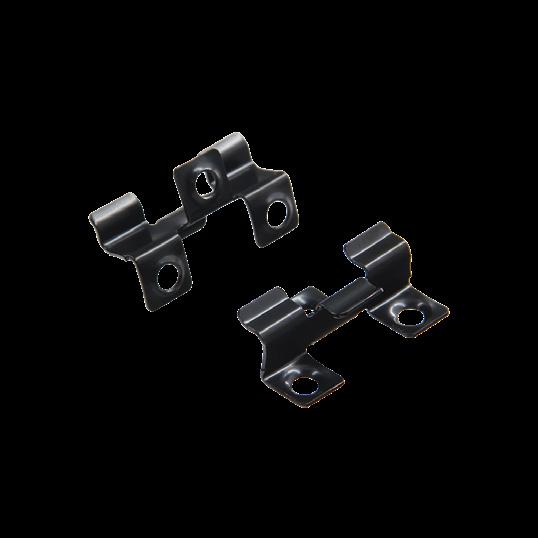
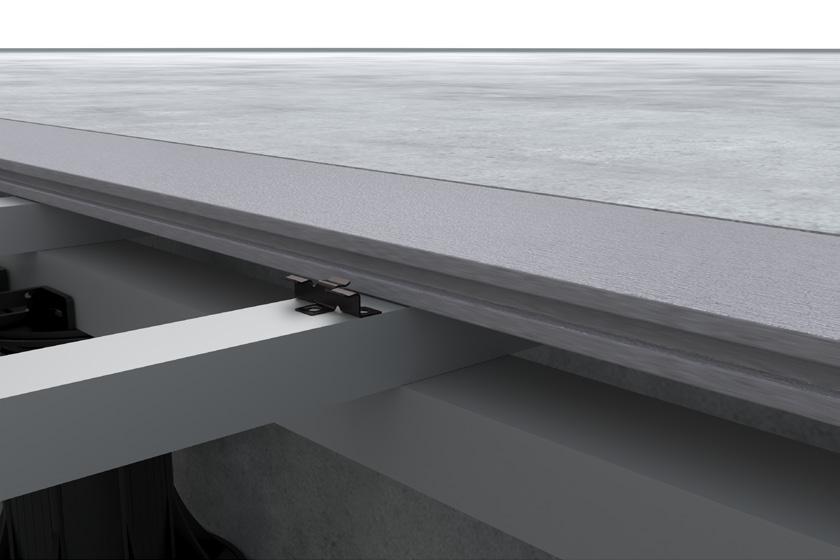
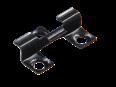
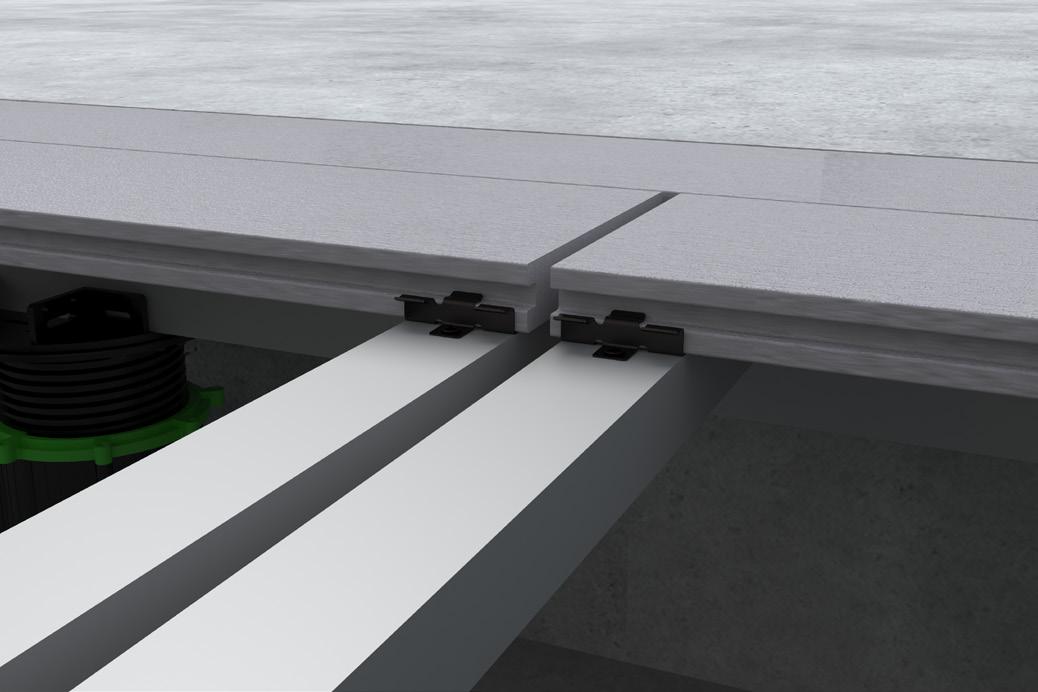
1. Insert each Decking Clip into the groove of the decking board one by one, ensuring each clip is centered on its corresponding joist.
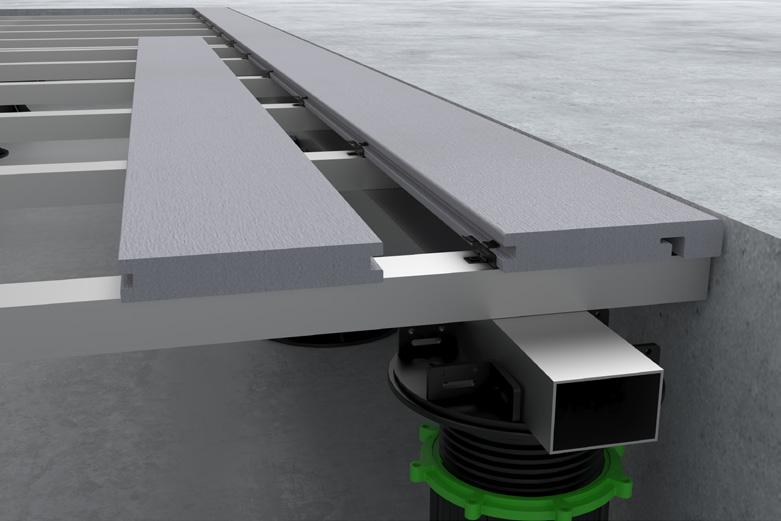
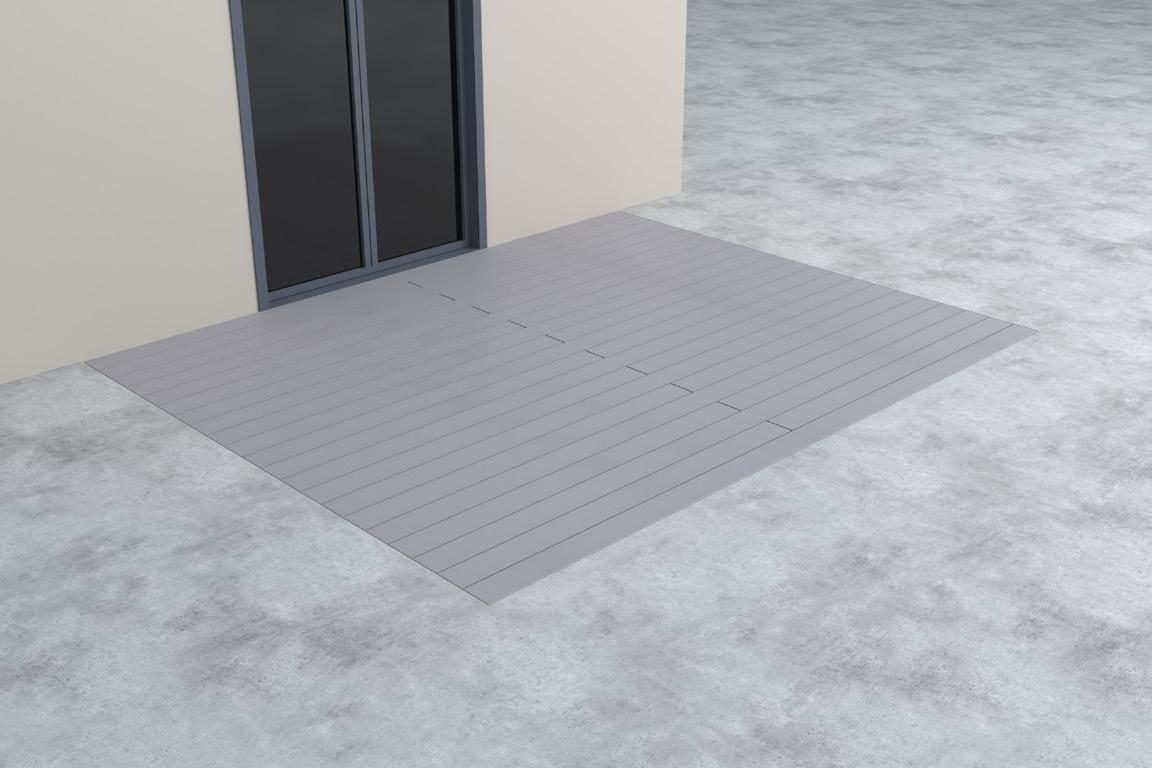
3. At end-to-end board joints, a clip must be used on each board. you must not span two boards with a single clip or the fastener could fail and the warranty will be invalid.
DECKING EDGE FINISHING AND INSTALLATION
FASCIA BOARD INSTALLATION
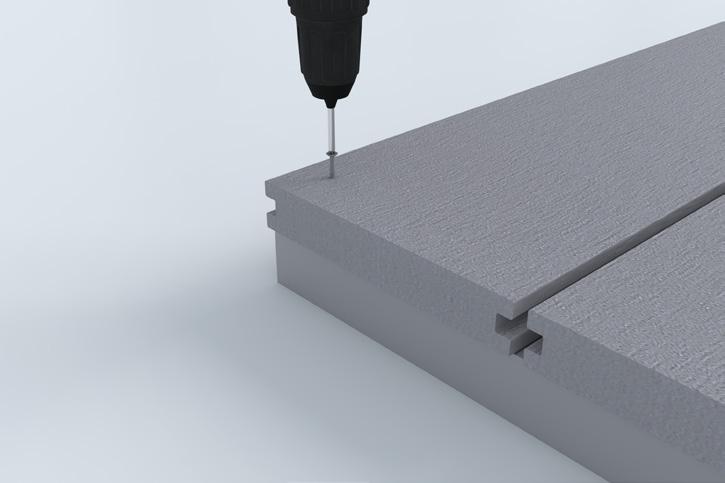
Final decking boards can be fixed using colour head screws, these must be a minimum of 25mm from the edge of the board.
Always pre-drill a pilot hole before fixing the screw to avoid damage to WPC products.
25mm
25mm
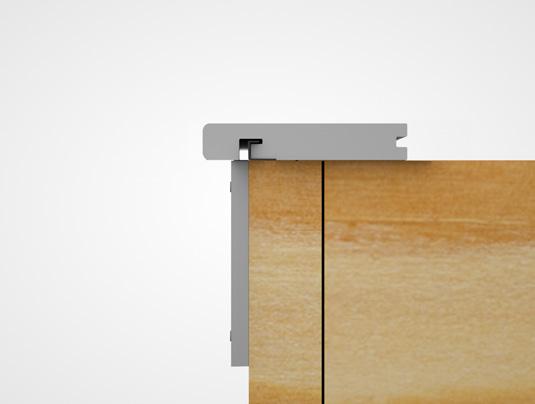
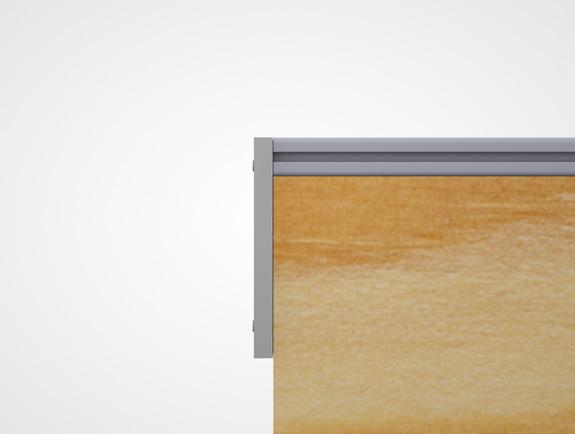
1. Pre-drill the fascia board and fix using colour head screws.
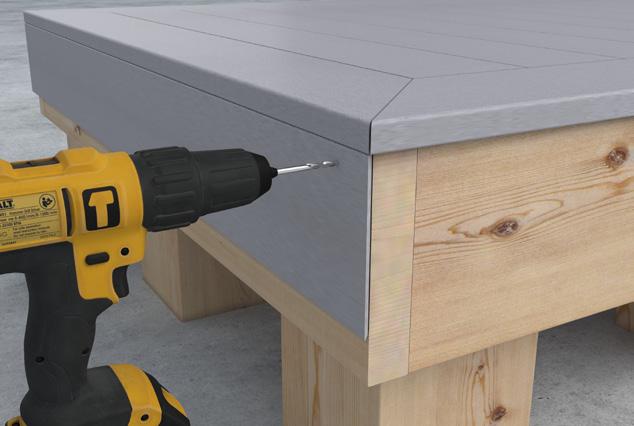
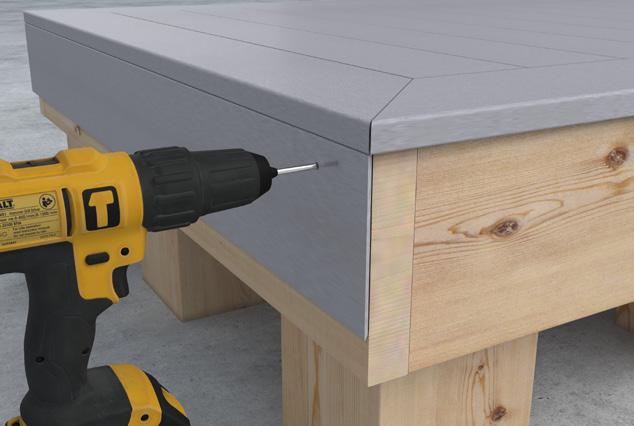
2. Fascia boards need to be installed at a maximum of 400mm centres to prevent warping, all fascia board end fixings need to be 25mm from the edge.
400mm
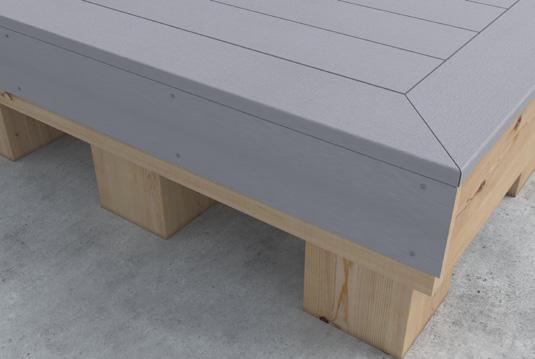
140 mm wide fascia boards require two screws for fastening, placed 25 mm away from the ends.
25mm
NOTE: Never install the fascia by drilling into the decking always install the fascia into the joist and always pre-drill the fascia board.
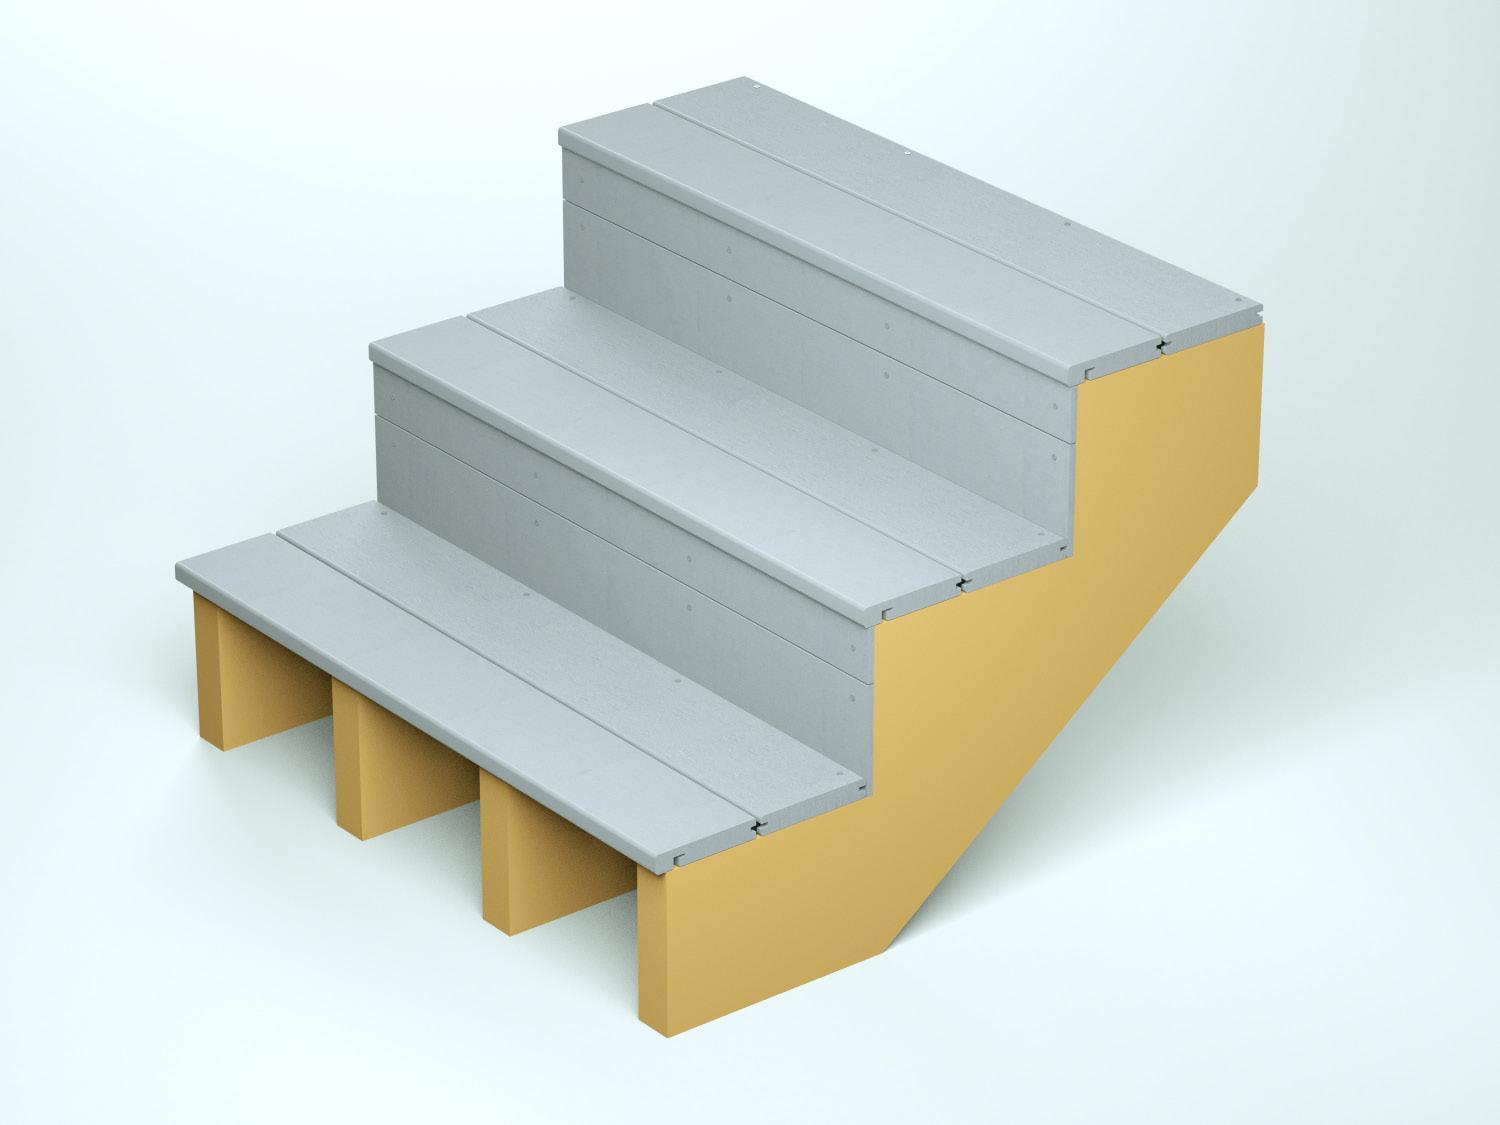
STAIR TREAD INSTALLATION
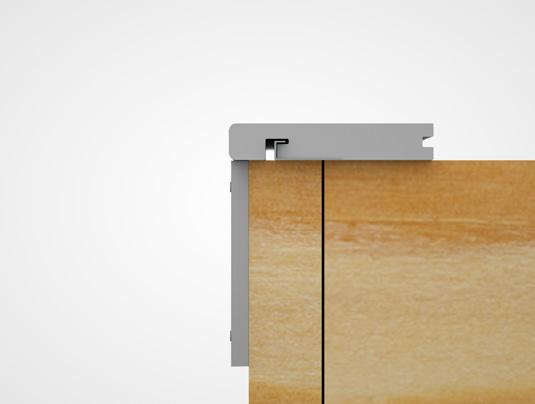
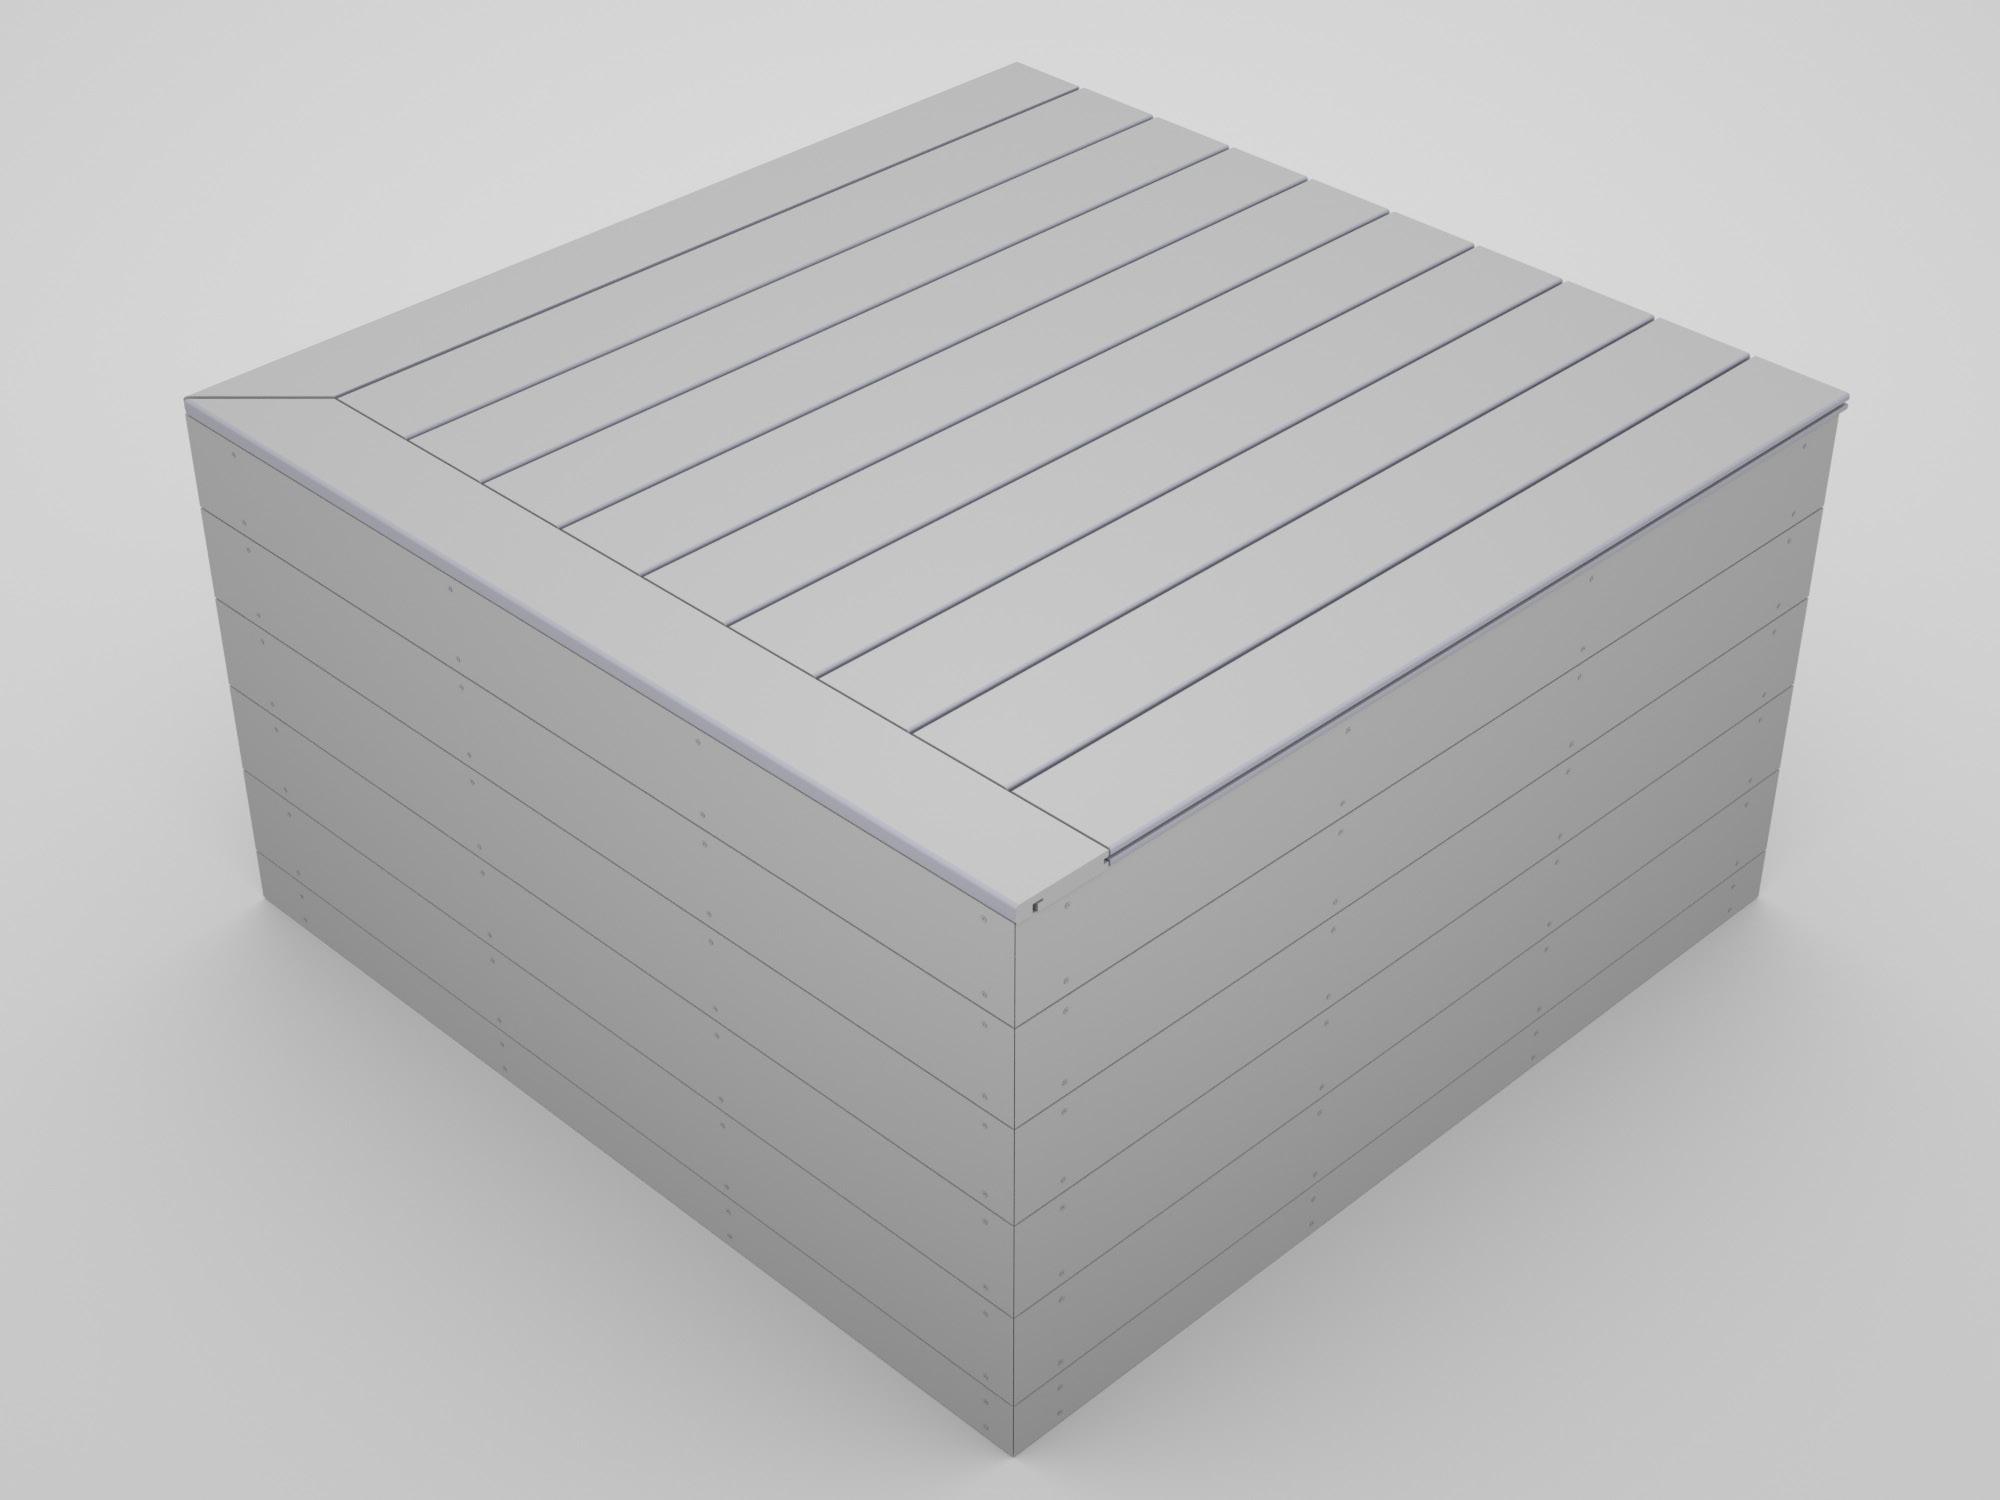
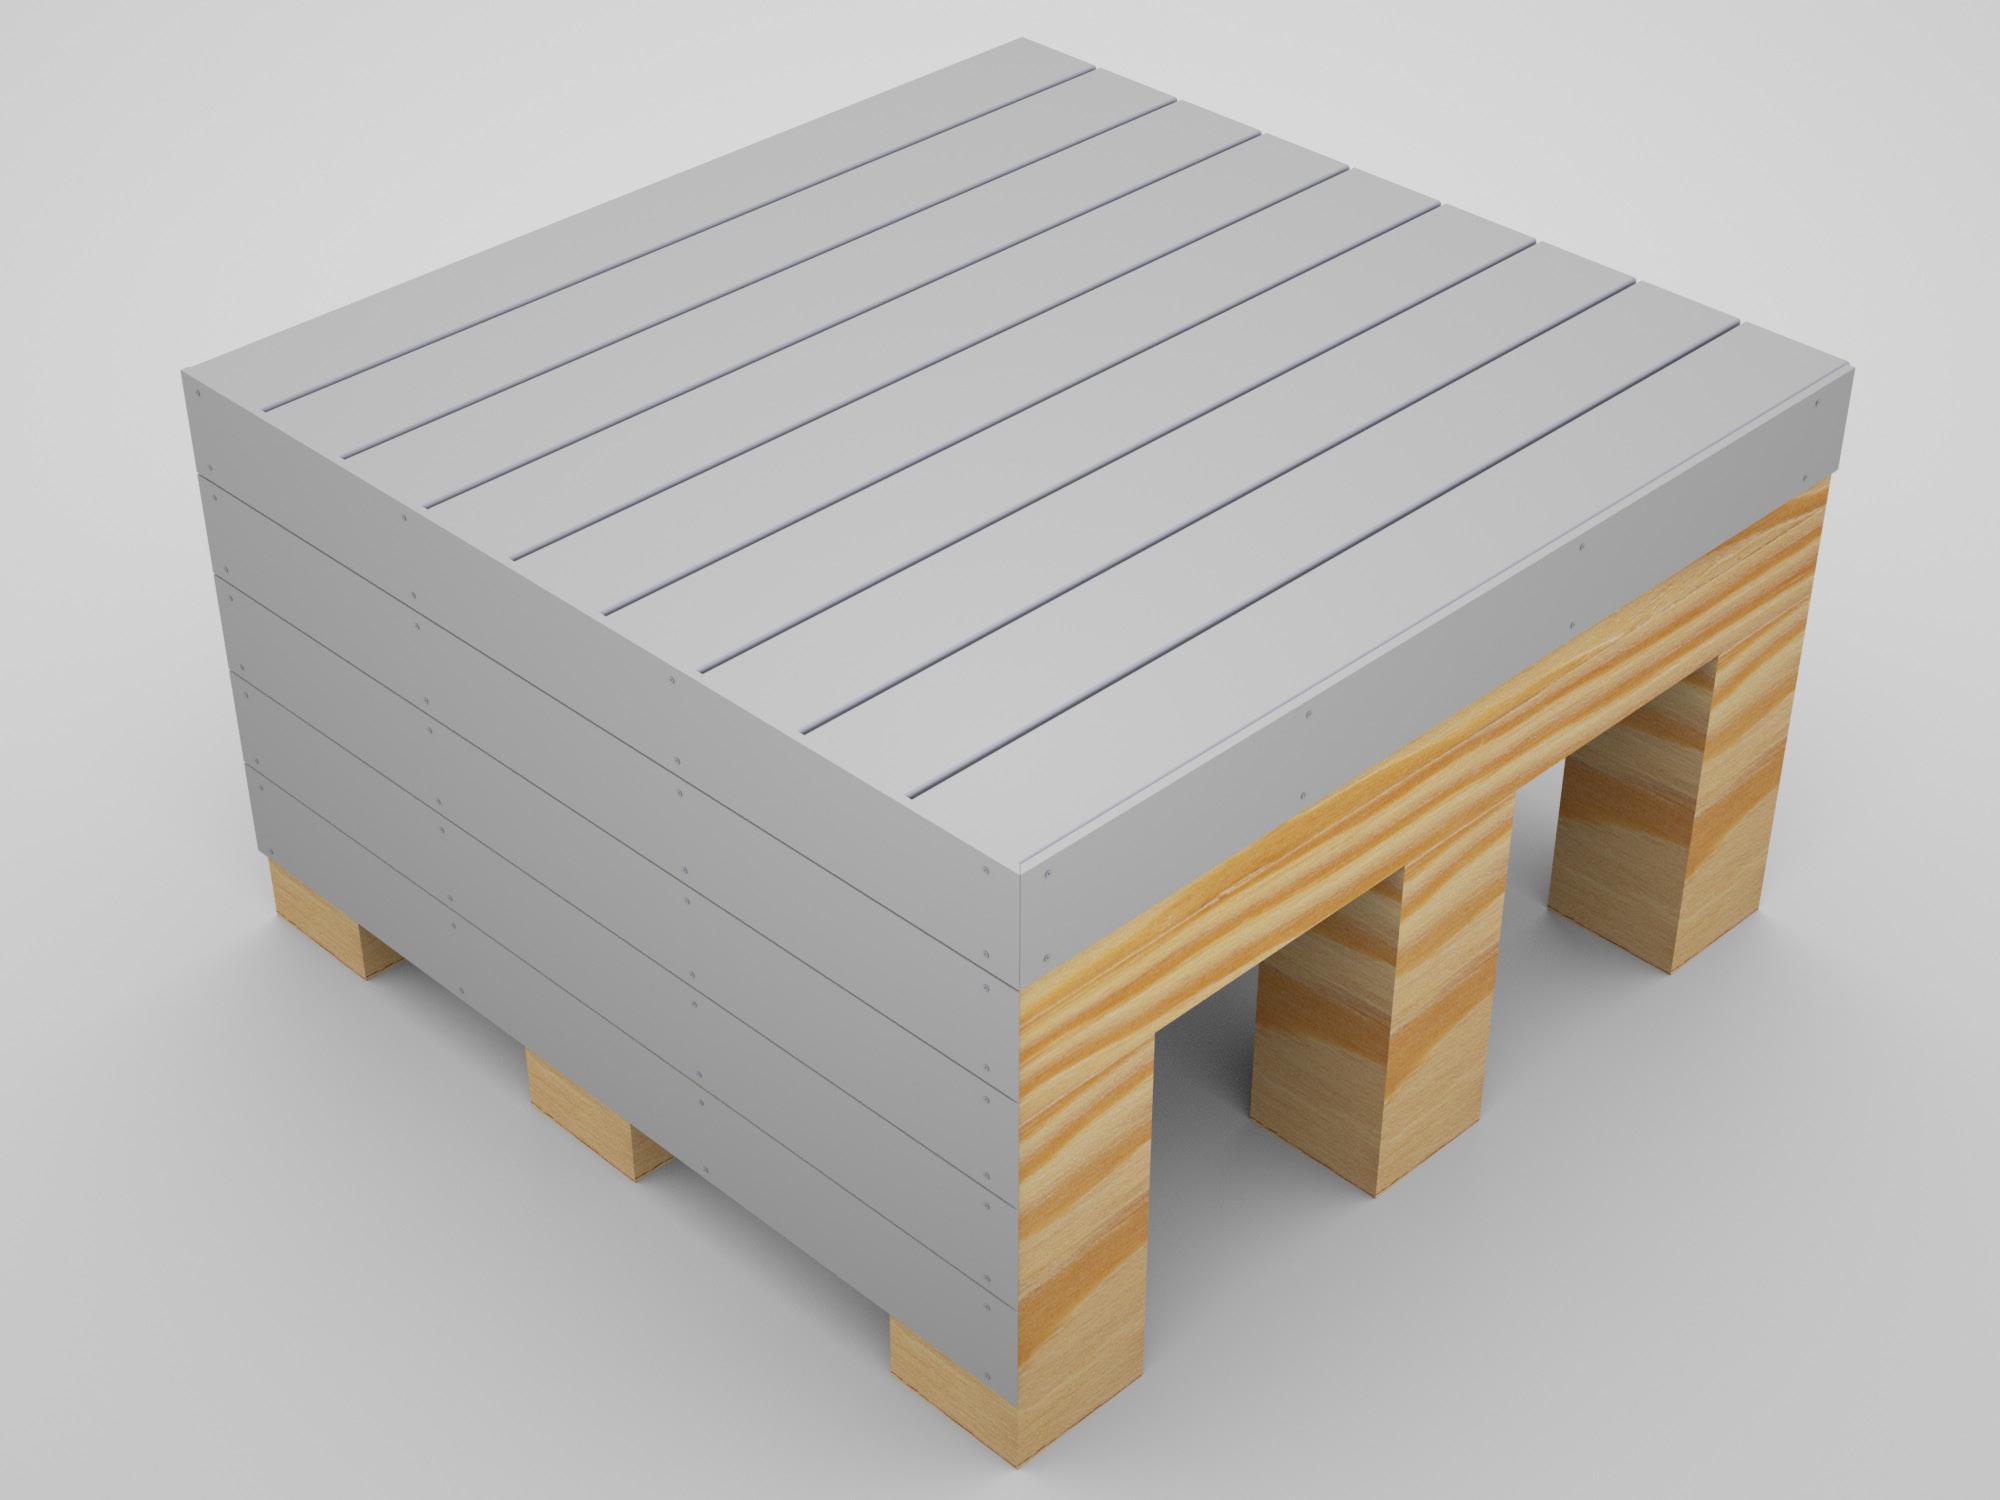
Install fascia under decking edges/ends. This will optimize the aesthetics of the installation.
When constructing stairs using composite decking boards, the design must comply with UK Building Regulations (Approved Document K). Always check with your local authority or building professional to ensure your installation meets the specific requirements for your project.
Before installing the treads, ensure the stringers are correctly spaced and securely fixed, as this determines the stability and load-bearing capacity of the stairs.
UK Regulatory Requirements (Domestic Stairs)
Tread depth (going): minimum 220 mm
(Many outdoor steps use a deeper tread for comfort — 250–300 mm is common and acceptable.)
Riser height: maximum 220 mm
Consistency: The difference between the tallest and shortest riser must not exceed 15 mm.
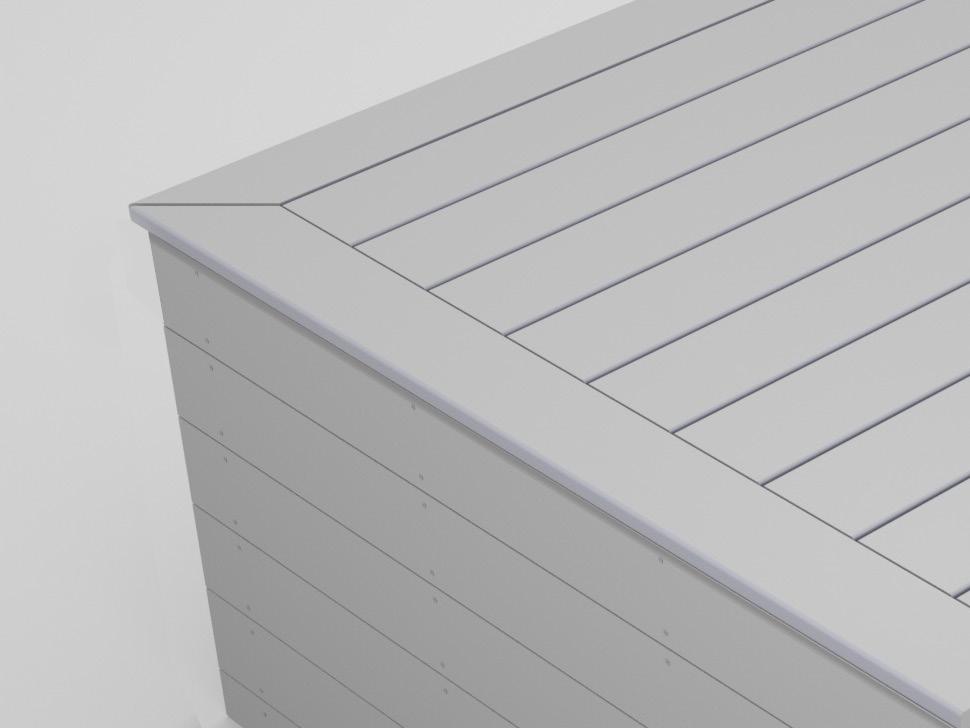
Board gapping: A consistent expansion gap must be maintained between decking boards; typically no less than 3 mm.
Composite stairs must be built so that the treads are fully supported across their width and depth. The stringer spacing should follow the below recommendations—additional stringers may be required compared to timber treads.
APPENDIX A
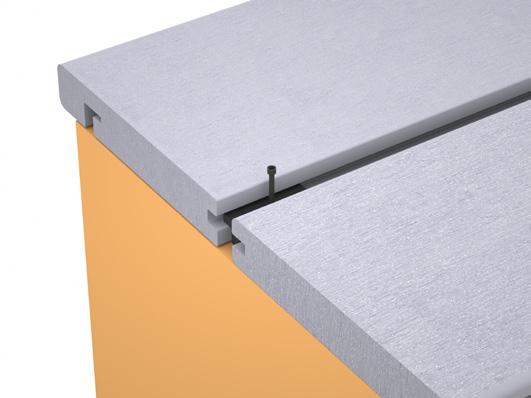
tread (Refer to decking clip installation on page 15 for detailed steps).
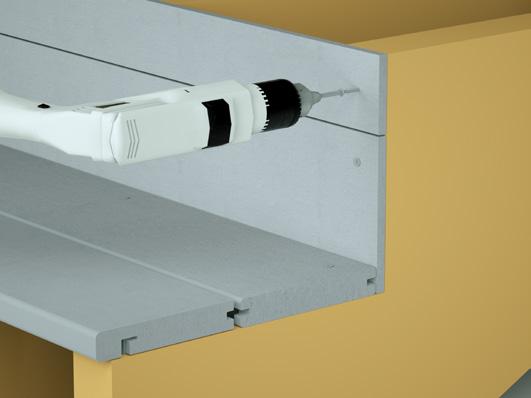
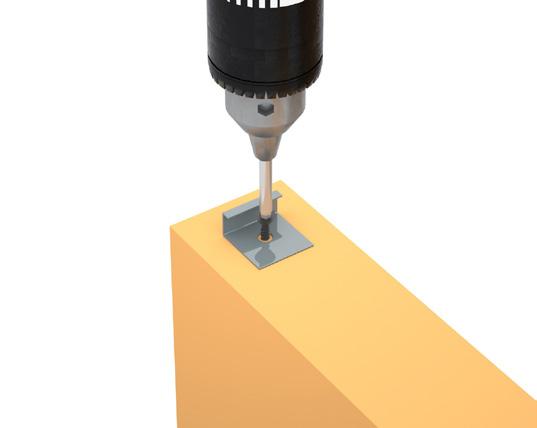
1. Fix the starter board on the stringer (Refer to starter board installation— Starter Board on page 16 for Ensure that the overhang of the starter board is not to exceed 16 mm.
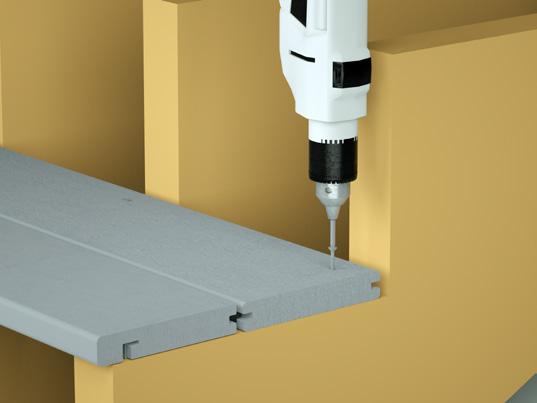
3. Pre-drill pilot holes and fix the other side of the stair tread with colour screws. (ensure fixings are 25mm from edges)
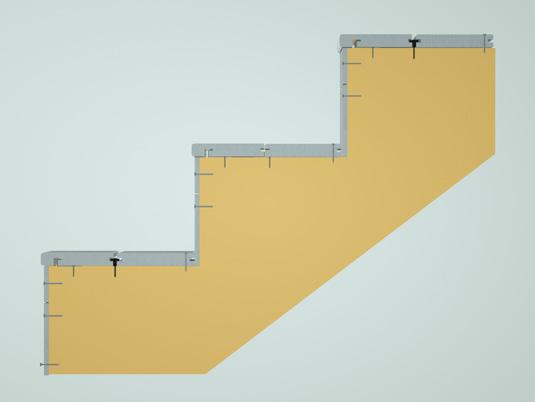
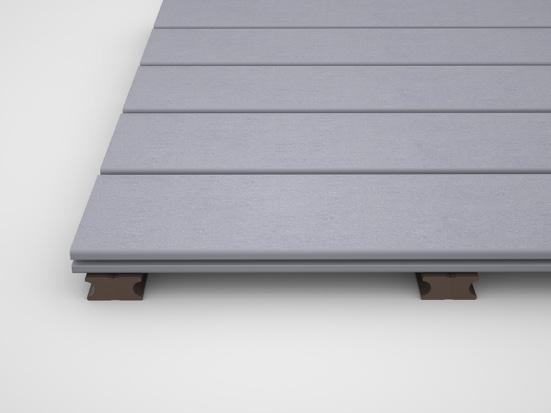
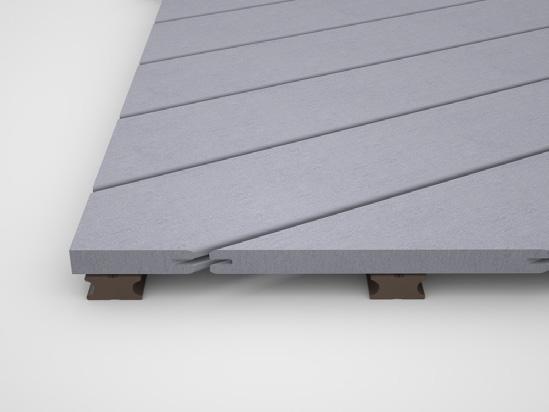
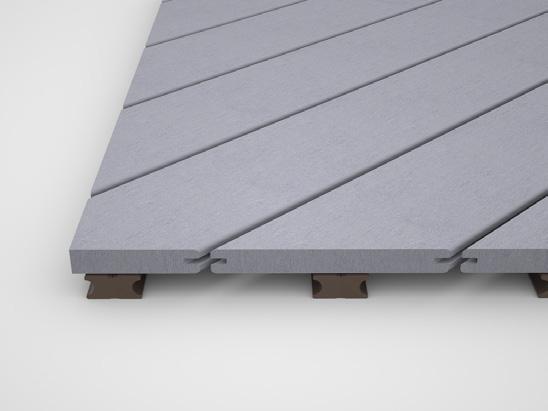
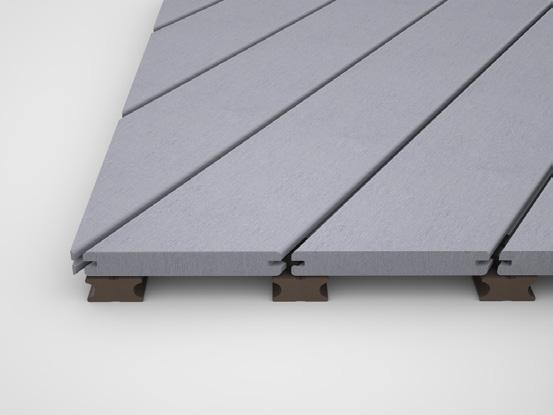
The finished effect of the staircase is shown in the diagram below.
APPENDIX B
DECKING RESERVED GAP REFERENCE (TEMPERATURE-LENGTH)
CARE AND CLEANING GUIDE
All exterior building materials require cleaning. Generally, soap and water is all that is required to clean Bison decking products. Some cleaning agents or chemicals such as solvents, acids or plasticisers can damage the surface of decking. Examples may include insect repellents, sunscreen products, or degreasing cleaning agents.
*ΔT refers to the temperature difference between the installation temperature and the local maximum temperature
Dirt and Debris
Using a Pressure Washer (General Cleaning Issues)
The affected area should be sprayed off with a hose to remove surface debris. Use warm soapy water and a soft bristle brush to remove dirt and debris from the embossing pattern.
with
A pressure washer with no greater than 3100 psi that has a fan attachment/adjustment and soap dispenser may be used to remove dirt or mud. Spray deck with soap, then follow by gently scrubbing each deck board with a soft bristle brush. Spray/rinse each individual deck board using a fan tip no closer than 203 mm from the decking surface. Rinse thoroughly. If dirty water from cleaning is left to dry, a film will remain on the decking surface.
When working with cement, concrete, mortar, or stucco, protect the decking as much as possible in order to not get dust particles on the decking surface. These particles, once they get hot or wet, can cause a reaction on the decking surface and are very difficult to remove. If particles get on the decking surface, recommends using concrete dissolver
Oil, Grease, and Food
Use caution when using rubber-backed mats i.e., welcome mats, etc. as these may contain substances that can sometimes discolour or lighten the decking surface.
Most coloured chalks are permanent and may discolour the surface. Use only Irwin Strait-Line Dust-Off Marking Chalk (purple), DeWalt® Blue Chalk, or DeWalt ® Orange High Visibility Chalk.
All food spills should be removed as soon as possible. The surface must be cleaned within seven days to maintain the stain warranty. To remove, spray off with a hose and use warm, soapy water and a soft bristle brush (do not use a wire brush) to remove spills from the embossing pattern.
If debris such as pollen and dirt is allowed to remain on the deck surface, mould can feed on the biofilm. Using a hose and warm, soapy water with a soft bristle brush (do not use a wirebrush) is recommended to remove the food source and mould.
There are methods to heat decking to a high enough temperature to achieve a desired curved radius. Please contact us for additional details.
Hard water is water with high amounts of mineral deposits like lime, silica and calcium. When the water dries, deposits are left behind, leaving unsightly spots on surfaces. This is not a defect of our products but an issue with the water itself. Generally these deposits can be cleaned with white vinegar on decking surfaces. Rinsing is required, so care should be taken to not use hard water for this purpose. If hard water must be used, dry with a cloth or use a blower to dry surfaces. In some cases a deck brightener product may also be used to help clean hard water stains.