5 minute read
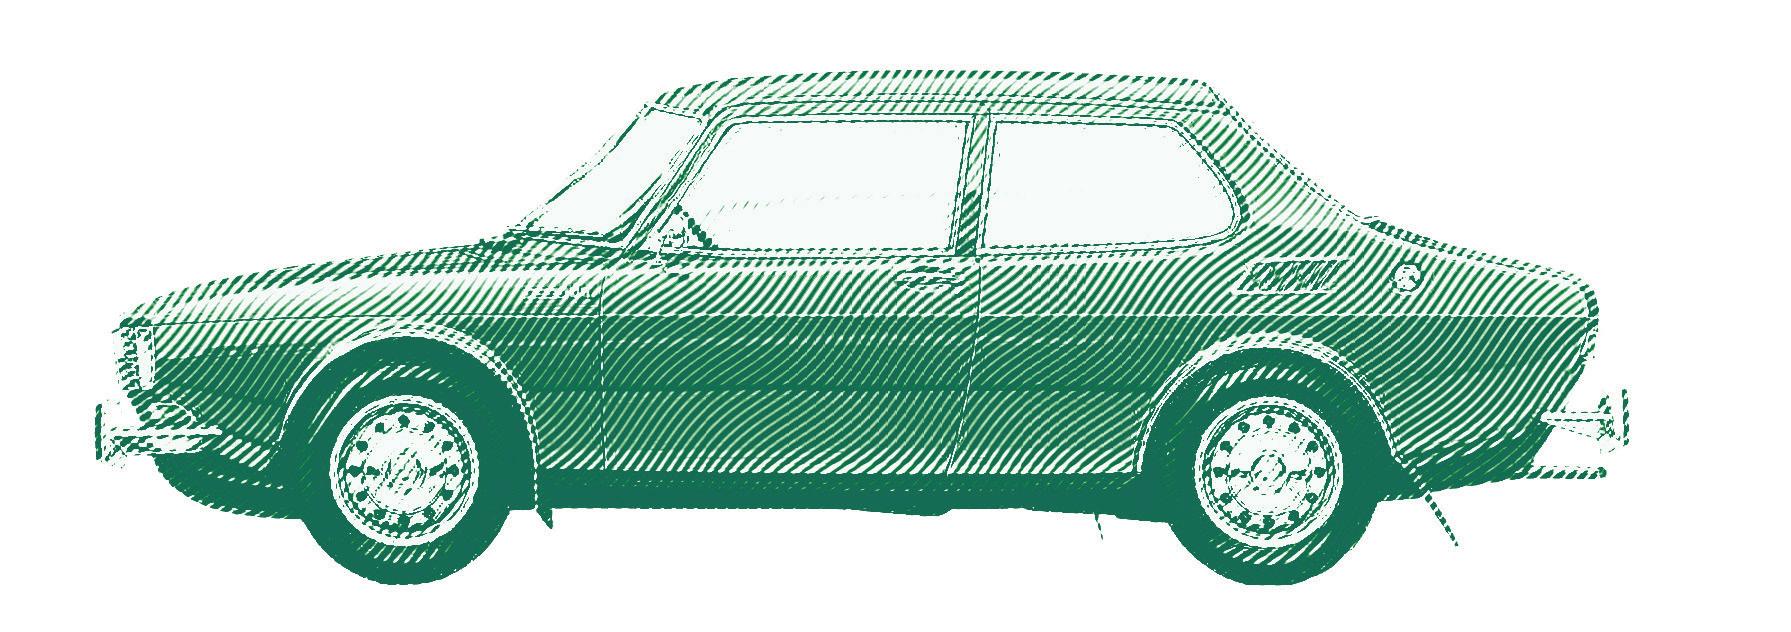
Saab 99

from Summer 2022

99 PROBLEMS
This contribution contains repeated themes, perhaps you the reader will notice?
Advertisement
Down to our last Saab, that is austerity! It has been good to use the 99 Turbo more, but trips to DIY stores for sand and cement were not previously contemplated.
We drove to North Norfolk for a summer break, but as we were five minutes’ walk from the beach, we did not use the car very much, instead it gathered admiring looks from those who passed by.
Although being a Historic Vehicle it is now exempt from the annual MOT (and VED) I decided that an impartial but expert inspection might be a good idea, after all, it is now my legal responsibility to ensure that the car is roadworthy, and it is all too easy to let things slip. I took the car to Howe Engineering near Buntingford; it is exactly twenty years since my first visit to have the water pump replaced, and I have been a regular and very satisfied customer ever since. The car passed without any advisories, but on the journey home my smugness was dispelled. You know that sinking feeling? The truth is that I have been meaning to replace the canvass/rubber underseat hammock for some time. I bought a pair of spring mat kits from Saabits back in 2017.
Replacing the hammock with a spring mat is a job that I have described in an illustrated article some time ago, and it is astonishing that the original seat base lasted forty-two years. I decided to make a video of the operation, which you can find on YouTube if you have fourteen minutes to kill: “Saab 99 Seat Repair”. You are very unlikely to need to do this job as I would not be surprised if my 99 Turbo had the last intact old-style seat base?
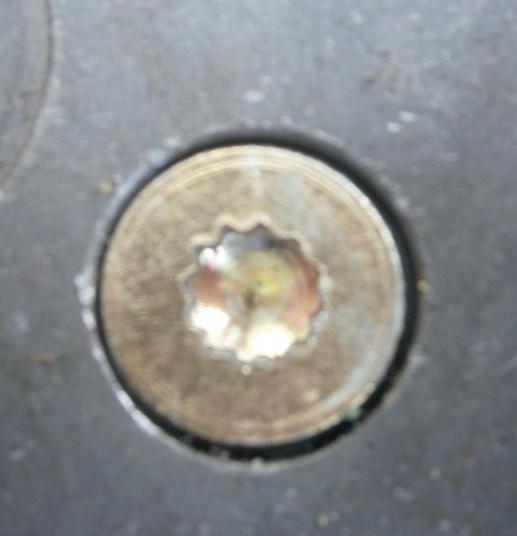
The job went well, except that I find my upper body strength declining, and where previously I managed without extra assistance (or assistants!) this time I had to apply more leverage. One part of the operation did catch me by surprise: having previously repaired seats from ’81 on GL models, the seat in my 1980 Turbo used a fixing for the attachment of the backrest which I had not previously encountered. There were a couple of socket head screws, but not hexagonal or Torx, but a 12-point splined socket, something for which I had no tool. I did manage to find something similar at a local motor factor which did the job; I wonder if I will ever need to use it again? If I do, the chances are that I will not remember where I put it!
Although only the driver’s side had collapsed, I did replace the mat under the passenger seat, as a stitch in time saves nine. I also carried out an “annual” service: changing oil and filter, changing air filter and replacing the spark plugs, nothing too complicated?
Having had spark plug leads disintegrate on previous occasions, I was very careful to hold the boot and not the lead, but would they let go? *?!*. Once again proof that I have lost upper body strength? It never used to be this hard! A quick look on YouTube and, yes, I was not the only one to have struggled to remove plug leads, only I did not happen to have the elaborate pliers that were used to separate

the leads from their plugs. What I did do was to leave them overnight, and try the next morning. Without any extra tools I managed to remove the plugs after a little struggle. The truth is that I probably had not changed the plugs for a while, as the car has enjoyed a very modest annual mileage: in twenty years of ownership the car has covered around forty thousand miles; nicely run-in? I believe that plug lead problems are exacerbated by neglect. By the way, the plugs were fine, and a healthy colour, but I changed them anyway.
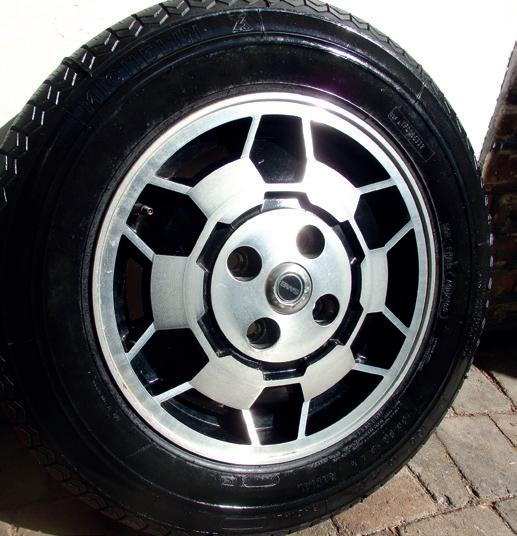
Although all the tyres had plenty of tread, I decided to check how old they were, using the four-digit code embossed on the sidewall. Hmmm, the fronts were manufactured in 2013, so nine years old already, and the rears? 2005. That was not good, we know how old rubber is not to be relied upon. And the spare? Well, there were a couple of issues to be addressed: firstly, the tyre size was different as was the wheel size. The car came with an EMS-style alloy wheel for the spare, why? The simple answer is that the Inca wheels and the EMS football wheels used the same type of wheel nut, with the flat flange; these are probably quite scarce now? The EMS rim is only five inches wide compared to the Inca’s five and a half. And the tyre on the spare rim? I had never paid much attention to it, but with a 165 SR 15 there was a glaring problem: an SR rated tyre on a 99 Turbo! As for the date, it predated the four-digit code, possibly from 1980?
I had a spare Inca wheel which I decided to press into service. This spare was not in bad shape, but I bought a rattle can of wheel silver paint and another of clear coat to smarten it up.
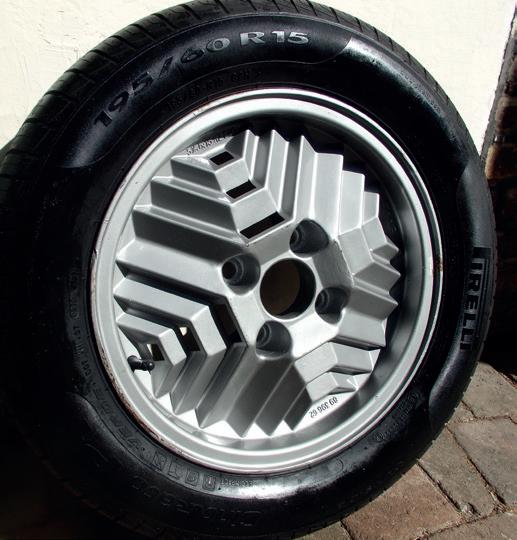
What tyres to fit? The owners’ manual suggests that 175/70 HR 15 were fitted from new, but a quick surf on the internet suggested that this size might be hard/expensive to find, likewise 185/65 HR 15. I decided to stick with 195/60 HR 15, which is now a very common size, and reasonably priced. I remember paying over £50 pounds for a Pirelli P6 tyre back in 1986. I found a tyre specialist nearby who did a good job, taking extra care with my pride and joy. Driving away on my brand-new Pirelli P1s, I was surprised how much sharper the steering felt, or was that auto-suggestion? Once home I decided to check the tyre pressures, as they had not asked me, and I doubted that their guide would include a car from 1980. One of the front tyres was inflated to 38 psi, the others being around 36 psi. They should have asked, but no harm done.
With the pressures adjusted, the steering still felt improved, and I can now drive the car with more peace of mind. If anyone would like an as-new unused EMS rim, please let me know.
I was not able to gather with other enthusiasts at the “Saab Fest” as the dates clashed with our pre-booked holiday, so I eagerly await an opportunity to commune with you in a field somewhere, as Mr. Dallimore used to write: “protect your windscreen, wear a seatbelt!” Alan