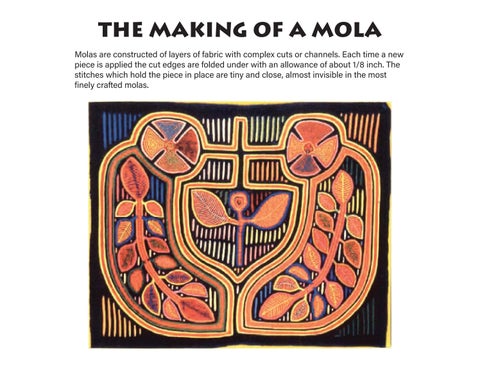
THE MAKING OF A MOLA Molas are constructed of layers of fabric with complex cuts or channels. Each time a new piece is applied the cut edges are folded under with an allowance of about 1/8 inch. The stitches which hold the piece in place are tiny and close, almost invisible in the most finely crafted molas.
Step 1. The foundation level for this mola is yellow. The colored patches, which are basted into posiition, wiII be revealed in the final stages of construction.
Step 2. The top layer of black is placed over the yellow layer. Channels are cut and stitched under on both sides to form an outline. These cuts are wide enough to later accomodate a narrow inlay of red. Only the yellow shows at this point, but the colored patches will eventually be visible through vertical slits.
Step 3. A green and an orange outline are added. Then the leaves and flowers are appliqued to the black layer in a variety of colors.
Step 4. As in all traditional molas, each applique is topped with a smaller applique of red so that the colored shape underneath appears as a narrow line. The channel also has its own red outline in the form of an inlay strip cut to fit. A skillful mola maker can cut all of the red details from one layer of red.
Step 5. Vertical slits are cut and stitched down, revealing the colored patches of Step 1.
Step 6. The remaining vertical slits are completed, providing most of the fill-in detail for the overall design. Fine chain-stitch embroidery creates detailing for the leaves and flowers.