Whittling

Whittling
Keep your knife sharp.
To undertake any type of cutting, but particularly whittling and wood carving your knife needs to be sharp.
Whenever you feel the wood getting harder to cut, Stop and sharpen my knife.
Take it slow.
No need to rush! Whittling is supposed to be relaxing and meditative. When you get in a hurry with your cuts, that’s when accidents happen. Make every cut slow and controlled.
Obeying the first rule of whittling will not only ensure better cuts, it will also ensure that you keep all your fingers. Instead of cutting, dull blades have a tendency to glance off the wood and head right towards your hand. While the blade might not be sharp enough to cut wood, it’s usually still sharp enough to cut human flesh.
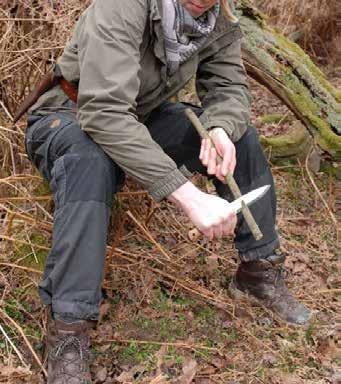
Sit down on a small log or bench were you can rest your hands on your knees as you carve. This is a comfortable and safe whittling position.
Wear gloves when you first start. Until you get comfortable with the different knife strokes, Another option that works just as well is duct tape. Before you start whittling, simply wrap your knife-holding thumb with duct tape. Four or five layers should do the trick.
Hold the knife in your right hand and the wood in your left (if you’re left-handed, reverse this).
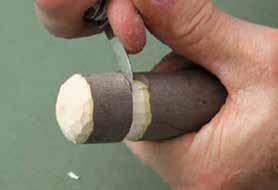
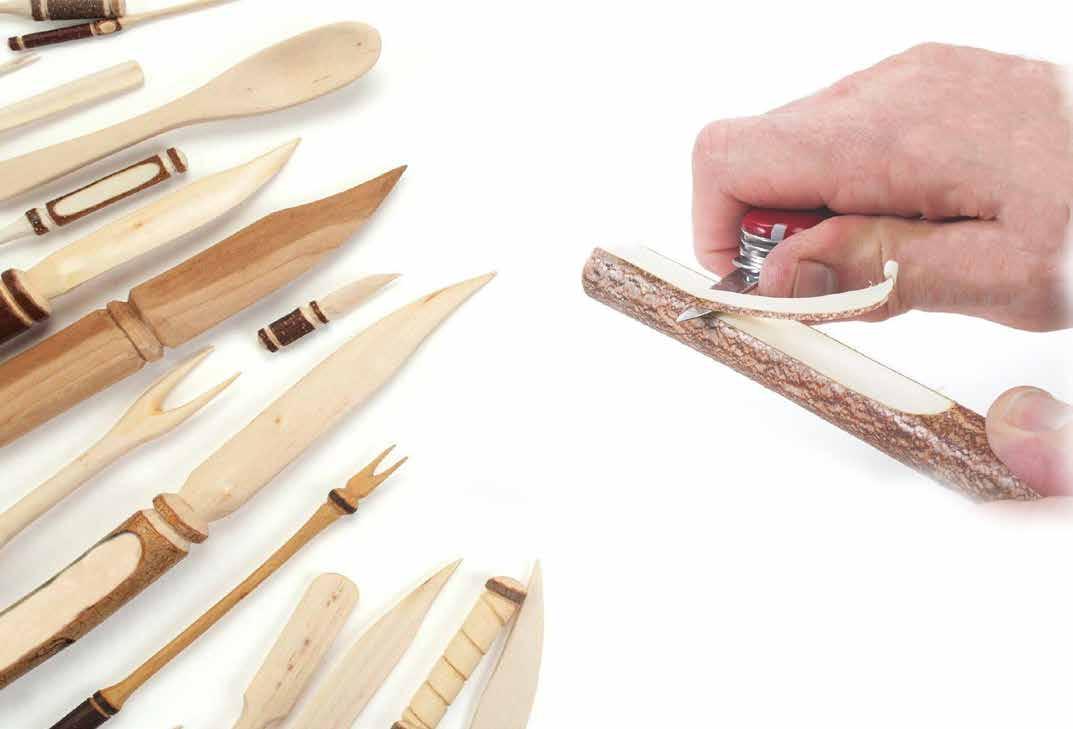
Begin gradually shaving away the wood. Take your time. Do not try to cut too deeply.
The fundamental rule when it comes to whittling is to be aware not only of where the blade is, but where the blade could go.
Wood Grain
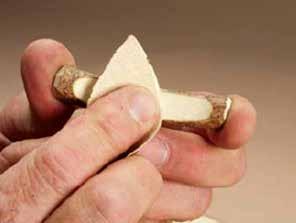
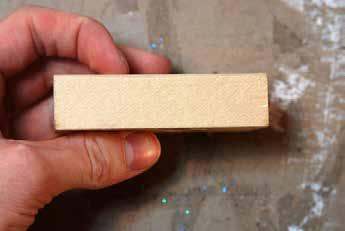
You can discover the direction of the grain on a piece of wood simply by looking at it. Cuts made with the grain will peel away smoothly; cuts made against the grain will give resistance and eventually split.
Generally, you want most of your cuts to go with the wood’s grain. Cuts against the grain cause your wood to tear, split, and chip.
Sometimes it’s easy to tell the direction of the grain on a piece of wood simply by looking at it. Cuts made with the grain will peel away smoothly; cuts made against the grain will give resistance and eventually split.
Generally, you want most of your cuts to go with the wood’s grain. Cuts against the grain cause your wood to tear, split and chip, Plus, the resistance the wood gives when you cut against the grain makes whittling much more difficult.
Never push hard on the blade. If it gets stuck (because you carved too deep into the wood or the grain orientation changed), stop and backtrack. If you try to force the blade, it could slip and cut your finger.
There’s no need to go fast... Speed doesn’t help you carve better. Take your time, at least until you feel comfortable carving.
Straightaway rough cut
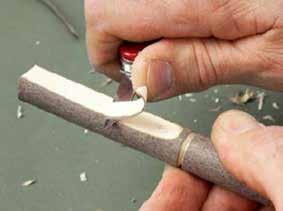
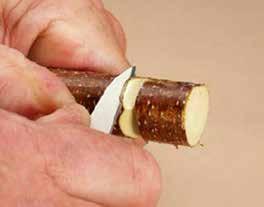
Use this cut to get a basic outline for your project. Make long sweeping cuts with the grain that go away from your body. Don’t be tempted to cut too deeply, just gradually remove the wood you don’t want.
The push stroke (thumb push)
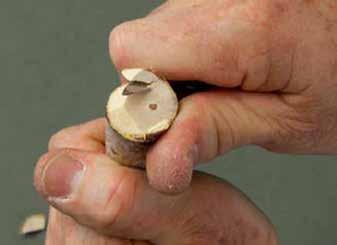
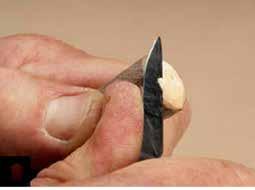
This stroke is used when you want to start shaping your project. You have a high level of control over the knife, which you push away from you. The thumb of your non-cutting hand provides the power to push on the back of the knife or thumb of your cutting hand. The cutting hand then steers the knife to create small and smooth cuts.
The pull stroke (paring cut)
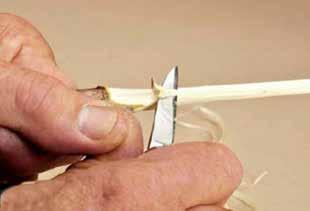
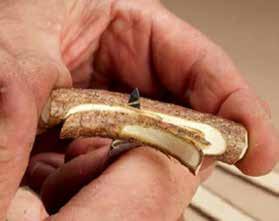
Used in a similar way to the push stroke – for control and detail. Draw the knife towards you, with the grain, with the thumb of your cutting hand acting as a clamp at the end of the wood. With some pull strokes the thumb will stop the knife so this is a good time to wear a thumb guard.
A good way to practice these strokes is to start your first whittling project by carving a small figure using a bar of soap.