8 minute read
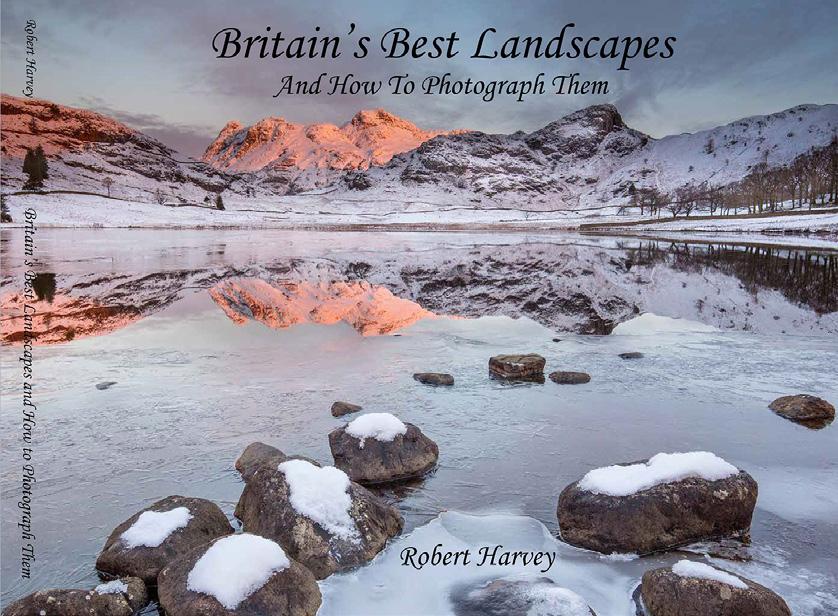
Let There Be Light by Robert Harvey


Let There Be Light By Robert Harvey BA ARPS EFIAP CEnv CSci MCIWEM
Light is an amazing medium to work with. Essential to all photography, its quality is critical to successful landscape images. There are many different types of light and they suit different subjects. When planning a shoot, it pays to think about what light will work best.
Front Lighting
Front lighting refers to light coming from behind the photographer, illuminating the subject faceon. This usually works best around the golden hour early and late in the day, when the sun is low in the sky, giving the most attractive light on the landscape. This image were taken around 30 minutes before sunset. It shows the warm tones and well-saturated colours associated with golden hour lighting. On Cherhill Down, the dry grass of summer and downland contours create texture in the scene.
Front lighting is usually even across the subject and contrast is easily handled. This, however, leads to the principal disadvantage, which is that the light may appear rather flat. Front lighting gives little modelling or sense of depth to the landscape. It can make the subject appear almost as if it were two-dimensional, particularly if there is a plain blue sky devoid of clouds. A further disadvantage is that the photographer’s shadow may be in the foreground of the picture. When this happens I usually duck down, or set a 10-second timer and run out of the way.

Cherhill Down, Wiltshire. Canon 5Diii, 24-70mm f/4 at 35mm. ISO 100, 1/25s at f/16. Tripod. July.
Side Lighting
Side lighting can be effective in emphasising contours, shapes and textures, especially when raking across the landscape early and late in the day. Patterns of light and shadow add interest to a photograph. Well-used, this can be one of the most successful kinds of illumination in landscape photography.
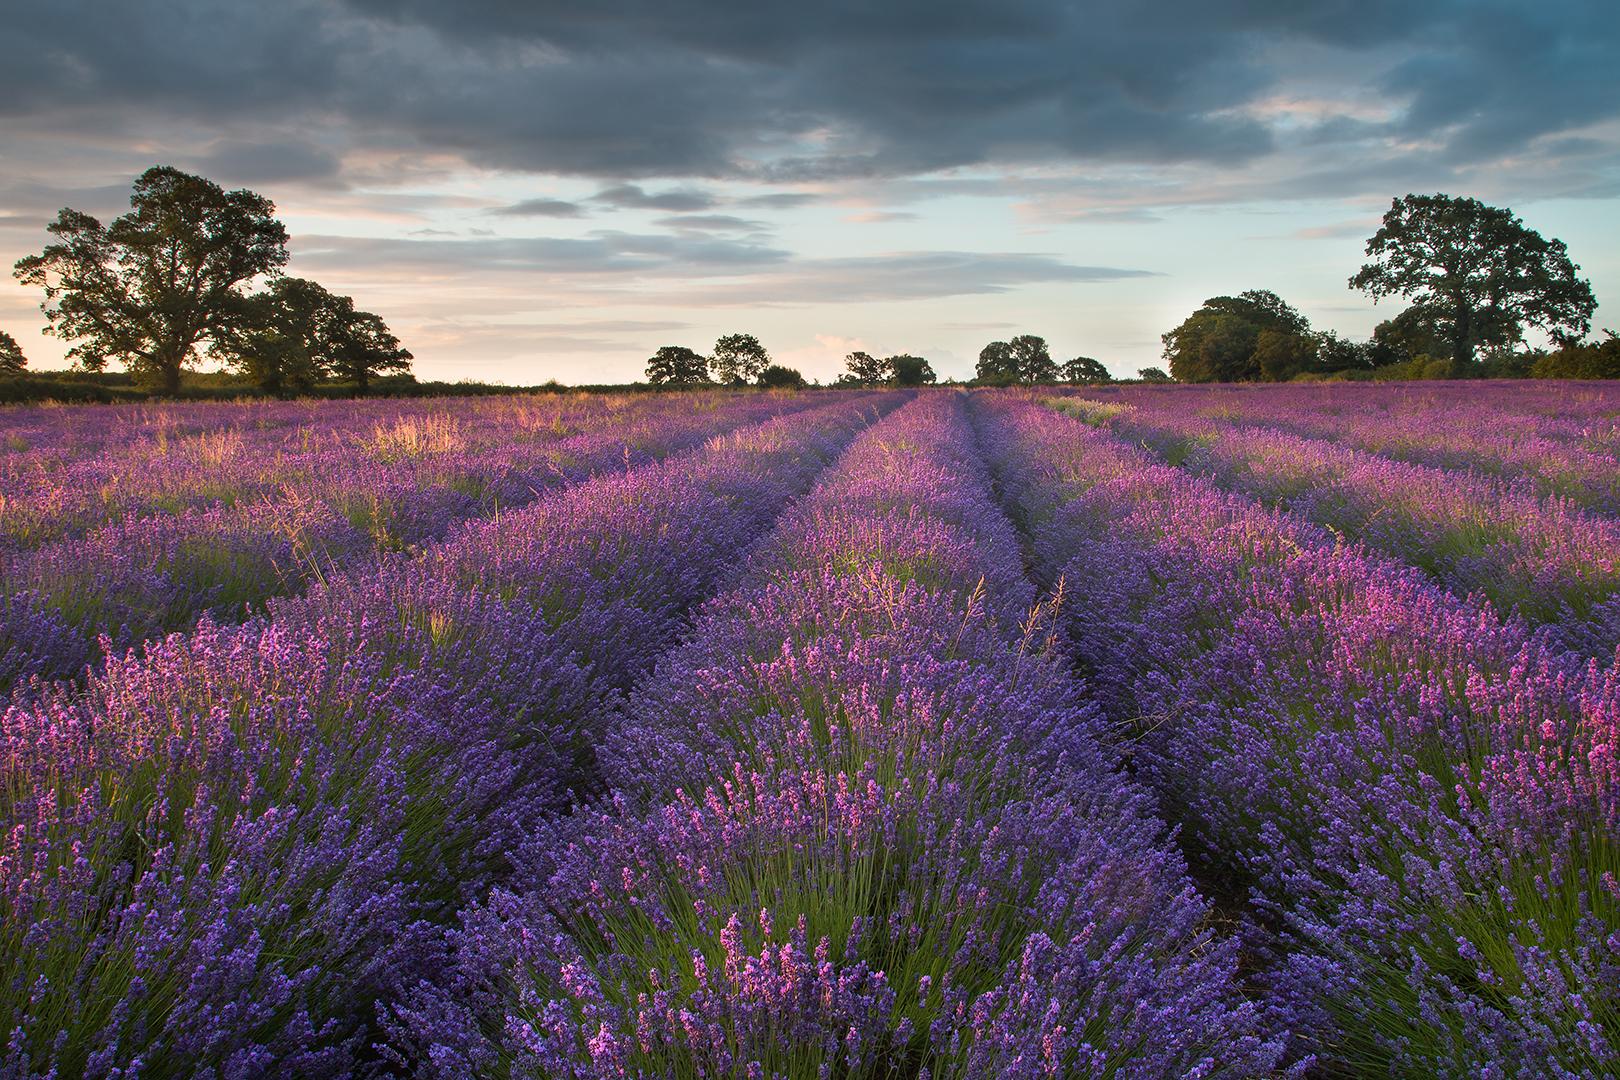
Somerset Lavender at sunrise. Canon 70D, 24-105mm f/4 at 24mm. ISO 100, 0.5s at f/22. Tripod. June.
Rows of flowering lavender are rounded in form. The rows shown on the right are oriented towards the south-east. Sunrise in June, when the lavender is in flower, is in the north-east, roughly at right-angles to the lines of lavender. This creates side-lighting, which gives great modelling to the rows. There is a strong sense of depth and three-dimensionality to this picture, which is lacking when the lavender field is front-lit.
Back Lighting
Back lighting occurs when the sun is in front of the photographer. This can be more interesting than front lighting and sometimes dramatic. It works particularly well when there is a little mist to soften the light, translucent foliage through which the light can shine or a colourful sky beyond the subject. Shooting into the light means photographing the shaded side of the subject. Contrast is likely to be high and exposure needs to be carefully controlled. When shooting towards the sun (or any bright light source), it is advisable to use a lens hood and to remove all filters in order to reduce the likelihood of flare on the image.
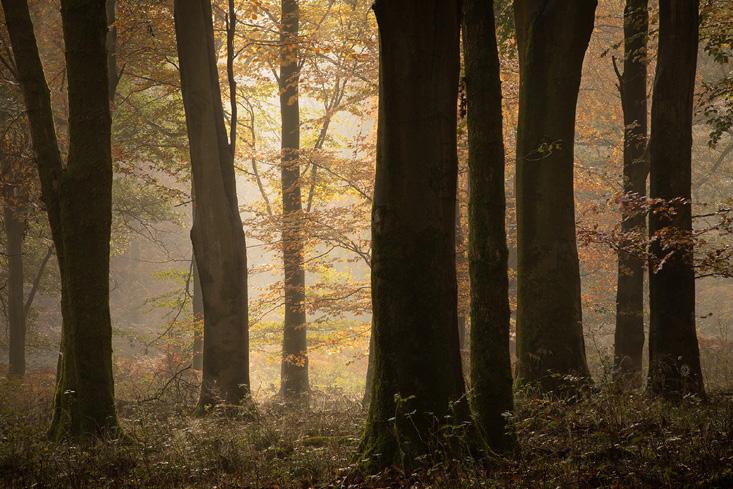
Backlit trees in Savernake Forest, Wiltshire. Canon 5Div, 70-300mm f/4.5-5.6 at 244mm. ISO 100, 0.5s at f/22. Focus stacked. Tripod. Nov.
Back lighting offers the opportunity to use aerial perspective, also known as recession, in an image. Objects that are further away are frequently softened by the atmosphere, making them appear to have less contrast than those nearby. This is particularly the case if there is mist in the air (for example in woodland) or haze (as may be the case in mountains). The result is that the picture conveys their relative distance, giving a sense of depth to the image.
Sunflowers face east when mature, which enables them to warm more quickly in the morning. At sunset, the sun is behind them so their faces are backlit. Because they are yellow, they still appear bright in the image as a result of light reflected from their surroundings. The strength of this image comes from its dramatic sky, with the rim of the sun forming a focal point behind the sunflowers.
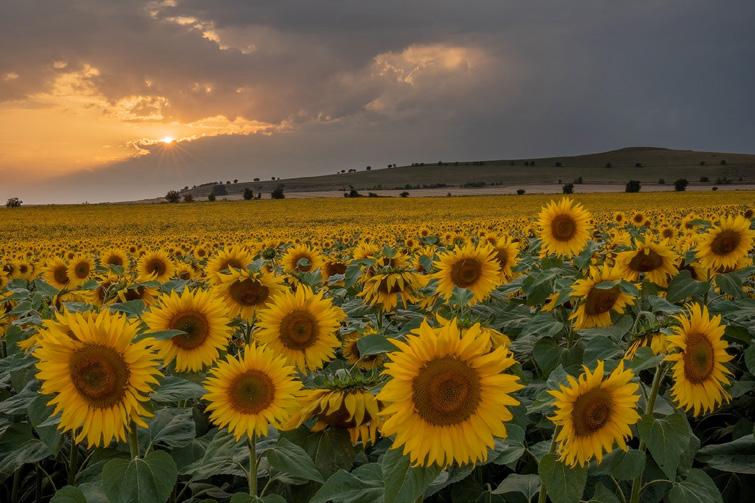
Backlit sunflowers at sunset, Alton Barnes, Wiltshire. Canon 5Div, 24-70mm f/4 at 45mm. ISO 200, 1/60s at f/22. Tripod. Aug.
Overcast Lighting
Most people like to be outdoors when the sun is shining. For beginners in photography, it would be possible to overlook the benefits of overcast lighting.
Direct sunlight does not suit some subjects, even when the sun is low in the sky. An example is highly reflective surfaces, for which sunshine is too bright. This seashell sculpture faces east and my first attempt to photograph it, under a clear sky just after sunrise, was a failure. Constructed from stainless steel, the sculpture reflects plenty of light from an overcast sky to bring the image to life. This photograph was taken on an overcast afternoon. I included the town of Aldeburgh in the background to give context and a sense of place.
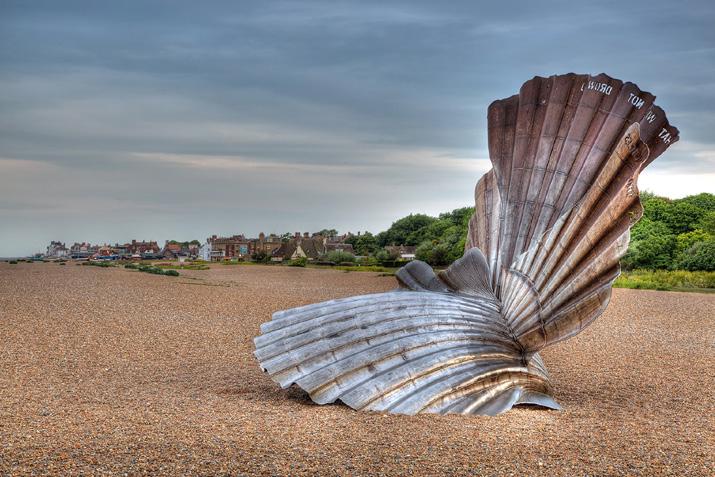
Seashell sculpture, Aldeburgh, Suffolk. Canon 5Diii, 24-105mm f/4 at 60mm. ISO 100, 0.3s at f/16. Tripod. May.
Woodland is usually best photographed on a bright overcast day. This avoids contrasty patches of light and shadow as a result of direct sunlight filtering through the tree canopy. The avenue of beech trees shown here looks great in early May when the leaves are fresh and vibrant green. A thin layer of cloud has attenuated the sun sufficiently to show them at their best.
Bright colours can appear more saturated on an overcast day. This is particularly true of warm hues such as orange and yellow, typical of woodlands in autumn. Mountains can be well-suited by overcast light under a dark, menacing sky, as can derelict buildings or indeed any composition suggesting a sense of foreboding.
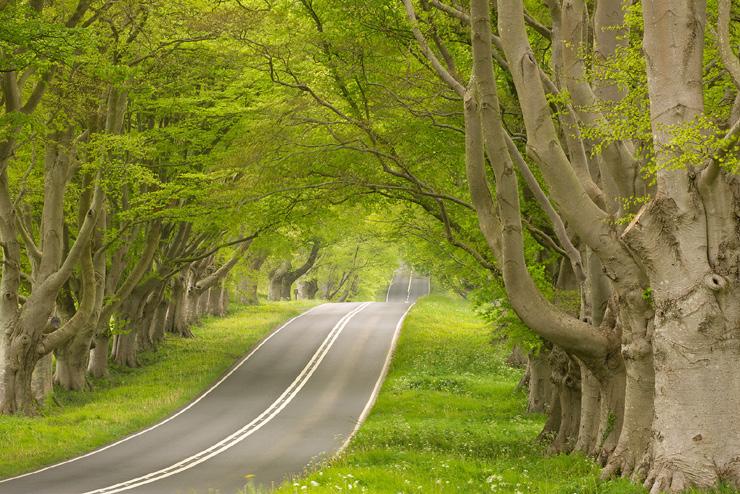
Beech avenue, Kingston Lacey, Dorset. Canon 5Diii, 70-300mm f/4-5.6 at 170mm. ISO 100, 1.6s at f/32. Tripod. May.
Spot Lighting
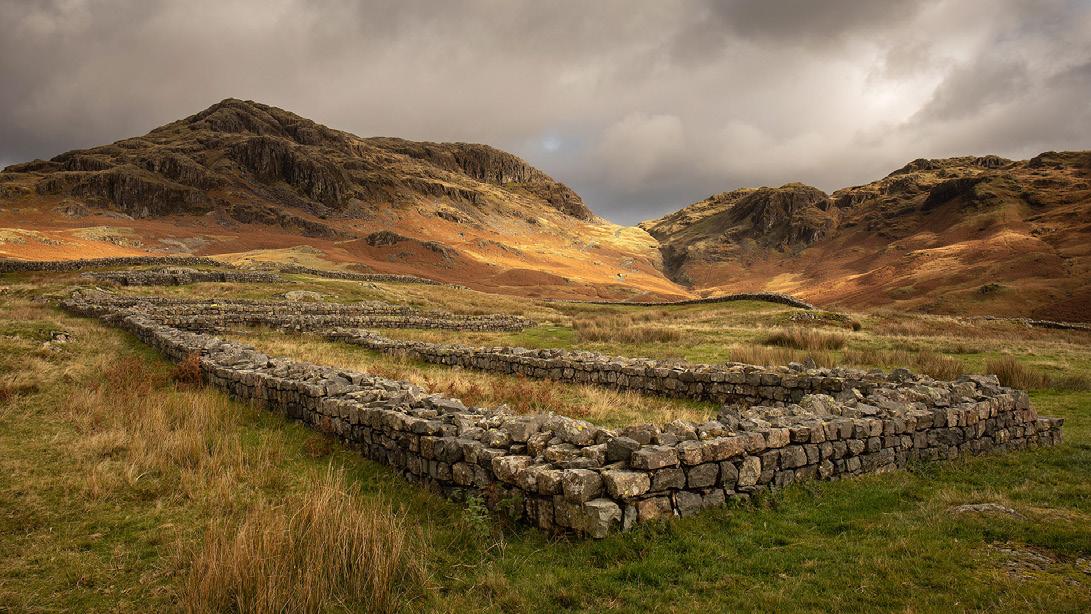
Hardknott Pass viewed from Hardknott Roman Fort. Canon 5Div, 24-70mm f/4 at 26mm. ISO 100, 1/25s at f/16. Tripod. Oct.
Spot lighting occurs when clouds or other landscape features cause sunlight to highlight a subject, while leaving other parts of the composition in shadow. This can be a powerful aid to composition, which is highly desired by photographers. However, clouds cannot be arranged nor accurately predicted so it is a matter of going out in suitable weather conditions and waiting. An overcast, blustery day with small breaks in the cloud can give particularly good results – if the light falls where you want it.
This picture shows Hardknott Roman Fort in the foreground and Hardnott Pass beyond, which has the reputation of being the steepest road in England. The day was mostly overcast but a brisk wind was moving the clouds rapidly across the landscape, allowing occasional beams of sunlight through. This kind of weather is not unusual in the Lake District. I waited until such a sunbeam fell onto the Pass, emphasising it as the focal point of the picture.
Reflected Light
Nearly everything we photograph is by reflected light, since only a few photographic subjects (such as the sun, stars, light bulbs, lightning and bioluminescence) emit their own light. When photographers refer to reflected light, they mean light that has been reflected at least once before it reaches the subject, that is to say two or more times in total.
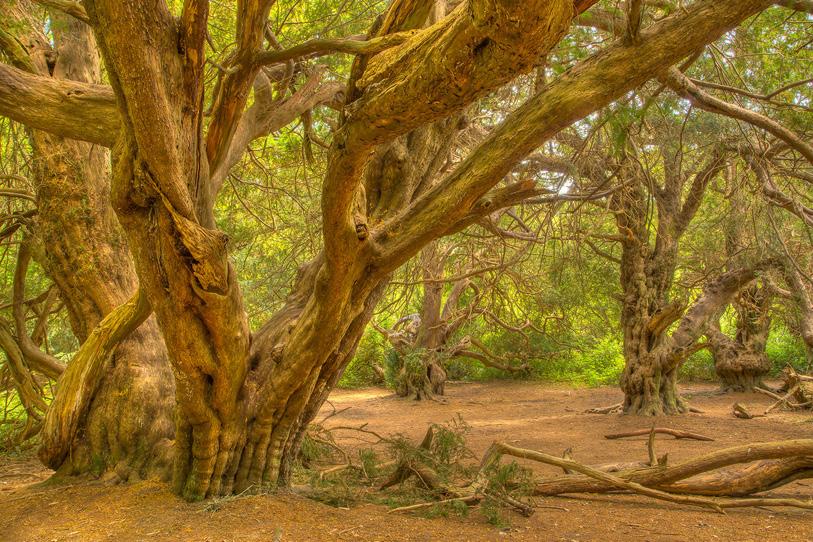
Yew grove, Kingley Vale, West Sussex. Canon 5Diii, 24-105mm f/4 at 28mm. ISO 100, 2.5s at f/22. Tripod. July.
Advantages of reflected light include avoiding unwanted contrast between sunlight and shade. Most significantly, the shift in wavelengths caused by reflection may give wonderful qualities to the light, resulting in subtle tones that the camera records even when our eyes do not. Reflected light can be particularly welcome on a bright day when direct light is harsh and contrasty, making it unsuitable for many landscape subjects. I photographed this ancient yew wood on a sunny summer afternoon. The dense shade cast by yew trees cuts out virtually all direct sunlight. Instead I was working by light reflected within the wood, which imparts rich tones to the tree trunks.
The sky before sunrise and after sunset is another source of reflected light. When clouds become colourful during civil twilight, they reflect light of that colour onto the landscape.
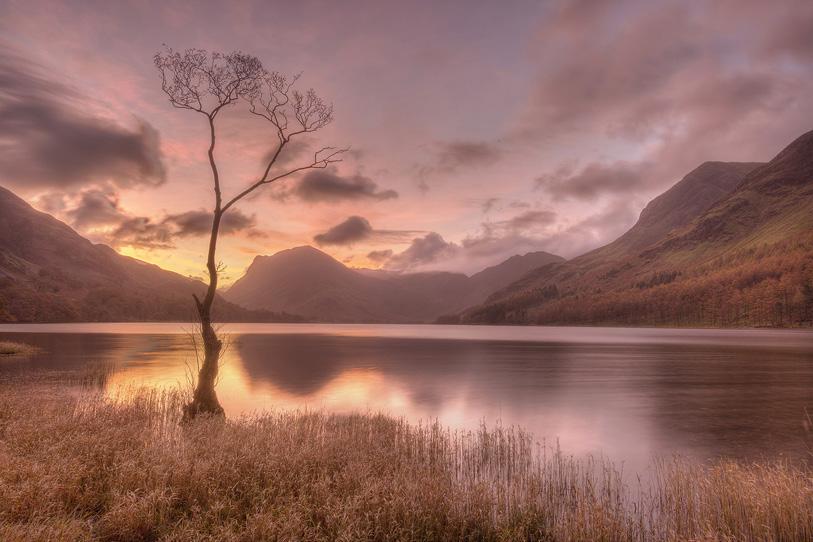
Buttermere before sunrise. Canon 5Diii, 16-35mm f/4 at 23mm. ISO 100, 8s at f/20. Tripod. Oct.
Crossover Lighting
Many photographers capture images at sunset, then pack up and go home. Sometimes, however, the best light comes well after the sun has disappeared. When photographing the built environment, artificial lighting can bring the subject to life. Cross-over lighting refers to a balance between artificial light and reflected light from the sky during twilight. This creates an atmosphere and makes the main subject stand out, lifts it from the background and directs the viewer’s attention.
Whitby Abbey Steps makes a pleasant composition at sunset in summer; however the buildings are muted in colour and matt in tone. An hour after the sun has gone, however, there is a balance between ambient light from the sky and artificial town light on the steps. Similarly, a building such as a church or pub is much more interesting when artificial lights both within and outside give a warm, welcoming glow.
When photographing by cross-over lighting, care is needed to control the exposure of highlights. If the sources of artificial light are included, it is easy to overexpose them and lose detail. To reduce the likelihood of flare, all filters should be removed. Cross-over lighting is usually best around 30 to 40 minutes after sunset from autumn to early spring and an hour or more after sunset in summer. It coincides with the end of civil twilight and the onset of nautical twilight, as the brightest stars start to become visible. Often the effect continues to improve for longer than you might expect, so keep taking pictures until the sky becomes too dark to register.
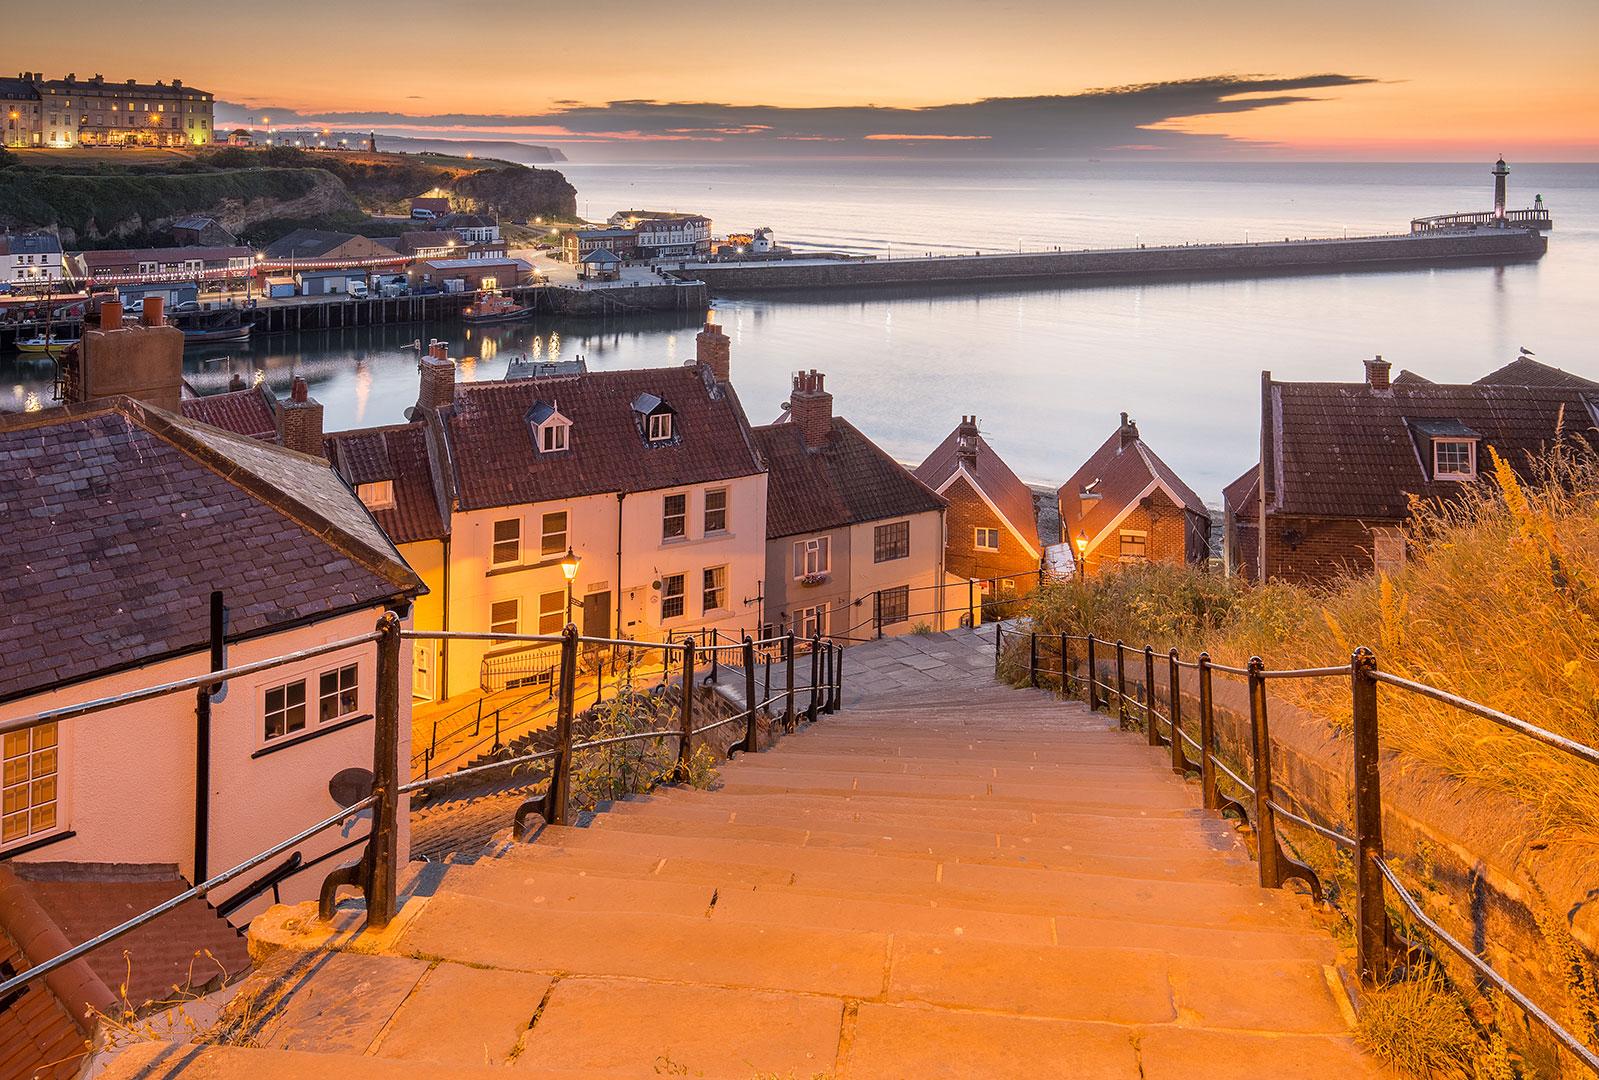
Whitby Abbey Steps, North Yorkshire. Canon 5Diii, 16-35mm f/4 at 26mm. ISO 200, 0.8s at f/16. Tripod. July.
About the Author
Robert Harvey BA ARPS EFIAP CEnv CSci CIWEM is a professional photographer based in Wiltshire. He is inspired by remote locations such as coasts, mountains and deserts, where untamed land is sculpted by natural elements. His photographic schedules are often dictated by sunrise, sunset, moon, tides and weather. Robert leads photography tours throughout Britain, as well as overseas. He regularly lectures to specialist photographic audiences around the country and teaches at Lacock Photography. This article is an edited extract from his latest book Britain’s Best Landscapes and How to Photograph Them, which is available with free postage from www.naturalworldphotography.net.