1 minute read
A1: Still Life

from My first document

After opening Photoshop, I changed to Photography mode in and zoomed in. I selected a clock near the middle of the page with the regular “lasso” tool to begin. After making an adjustment layer I turned the saturation up and made it a pinkish hue. I repeated this process with the other clocks but I made them different colors to give the photo more contrast. I also used the object selection and found that when some of my adjustment layers needed editing because they included objects that I didn’t want.
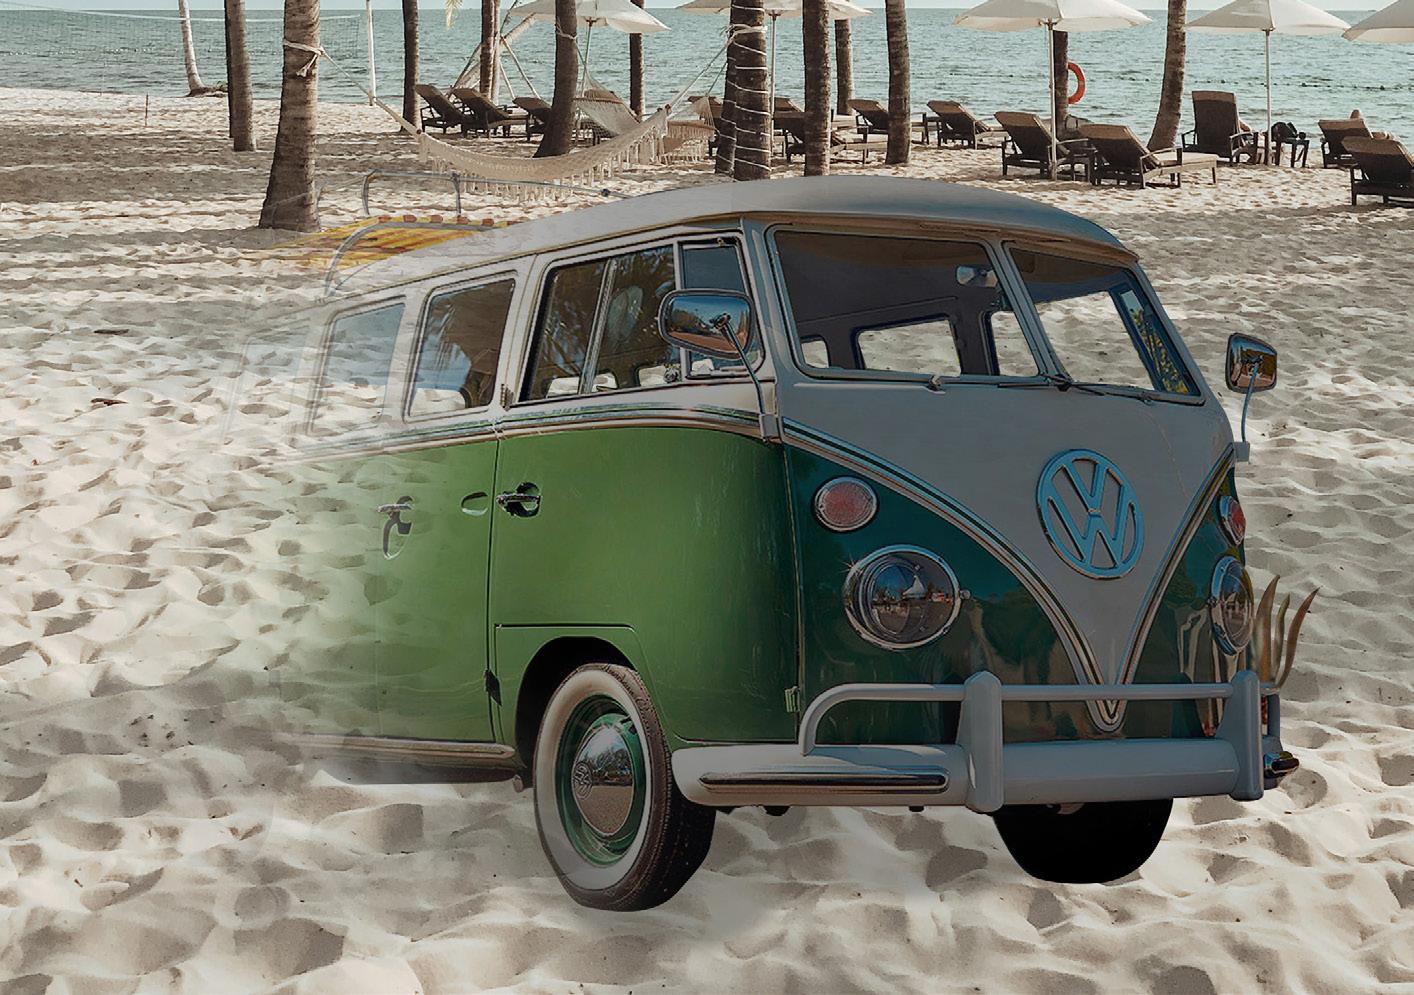
A3: Vector Masking
Advertisement
I opened the photo in Photoshop and entered the paths window. I then attached the paths to layers and used the pen tool to create a path in and around the car and to define the details. Then I removed the background and added a new photo to the back. I used an adjustment layer to make the van fit the color palette of the photo better and added a shadow. I also blurred out part of the van using the brush tool later in the process.