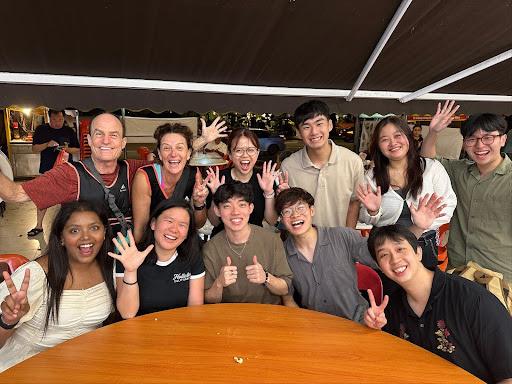
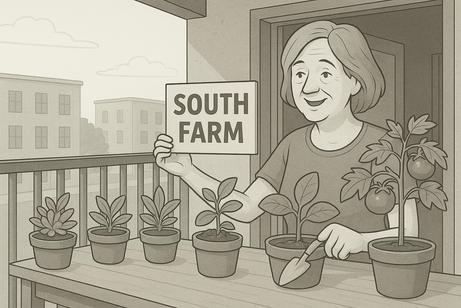
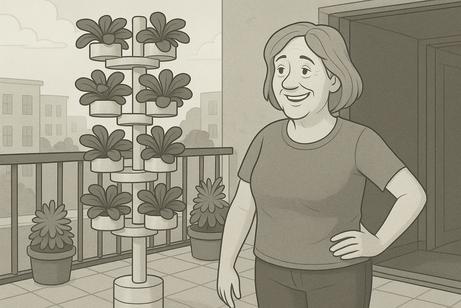
In our initial face-to-face meeting with Ron and Jen we had a meaningful and insightful discussion that offered a deeper understanding of their personal lifestyles and values Ron identified himself as someone who travels frequently, reflecting a dynamic and mobile lifestyle Jen spoke with enthusiasm about the edible plants she enjoys cultivating, and both expressed a strong commitment to community spirit They shared their intention to distribute the produce from their garden to their neighbors, emphasizing their belief in generosity and communal sharing
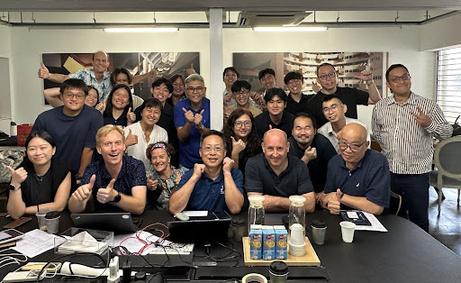
In our second meeting, Ron invited us to join a design charrette for his Home Reef project, involving key stakeholders We witnessed the intensity of multidisciplinary discussions, where differing priorities sometimes led to conflicting viewpoints The session also provided valuable insights and allowed us to connect with the environmental and architectural teams They shared useful resources, including a SketchUp 3D model layout plans and water consumption estimates Overall, it was a highly informative and engaging experience
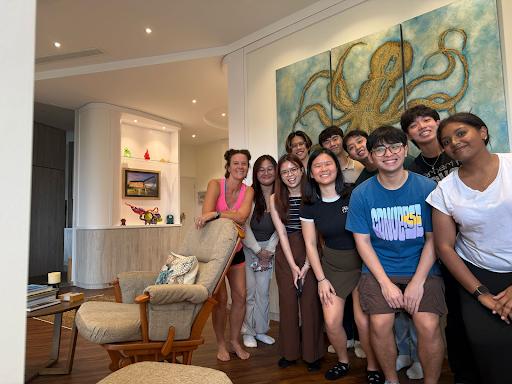
During our third meeting, we were graciously invited to Ron & Jen’s current residence The discussion helped us narrow our scope and identify more specific design directions aligned with the clients’ needs and context The in-person visit provided valuable insight, allowing us to present our early concepts, receive direct feedback, & observe their existing living environment This offered a deeper understanding of their spatial constraints lifestyle, and preferences, ultimately informing subsequent design requirements and contributing to the refinement of our final problem statement
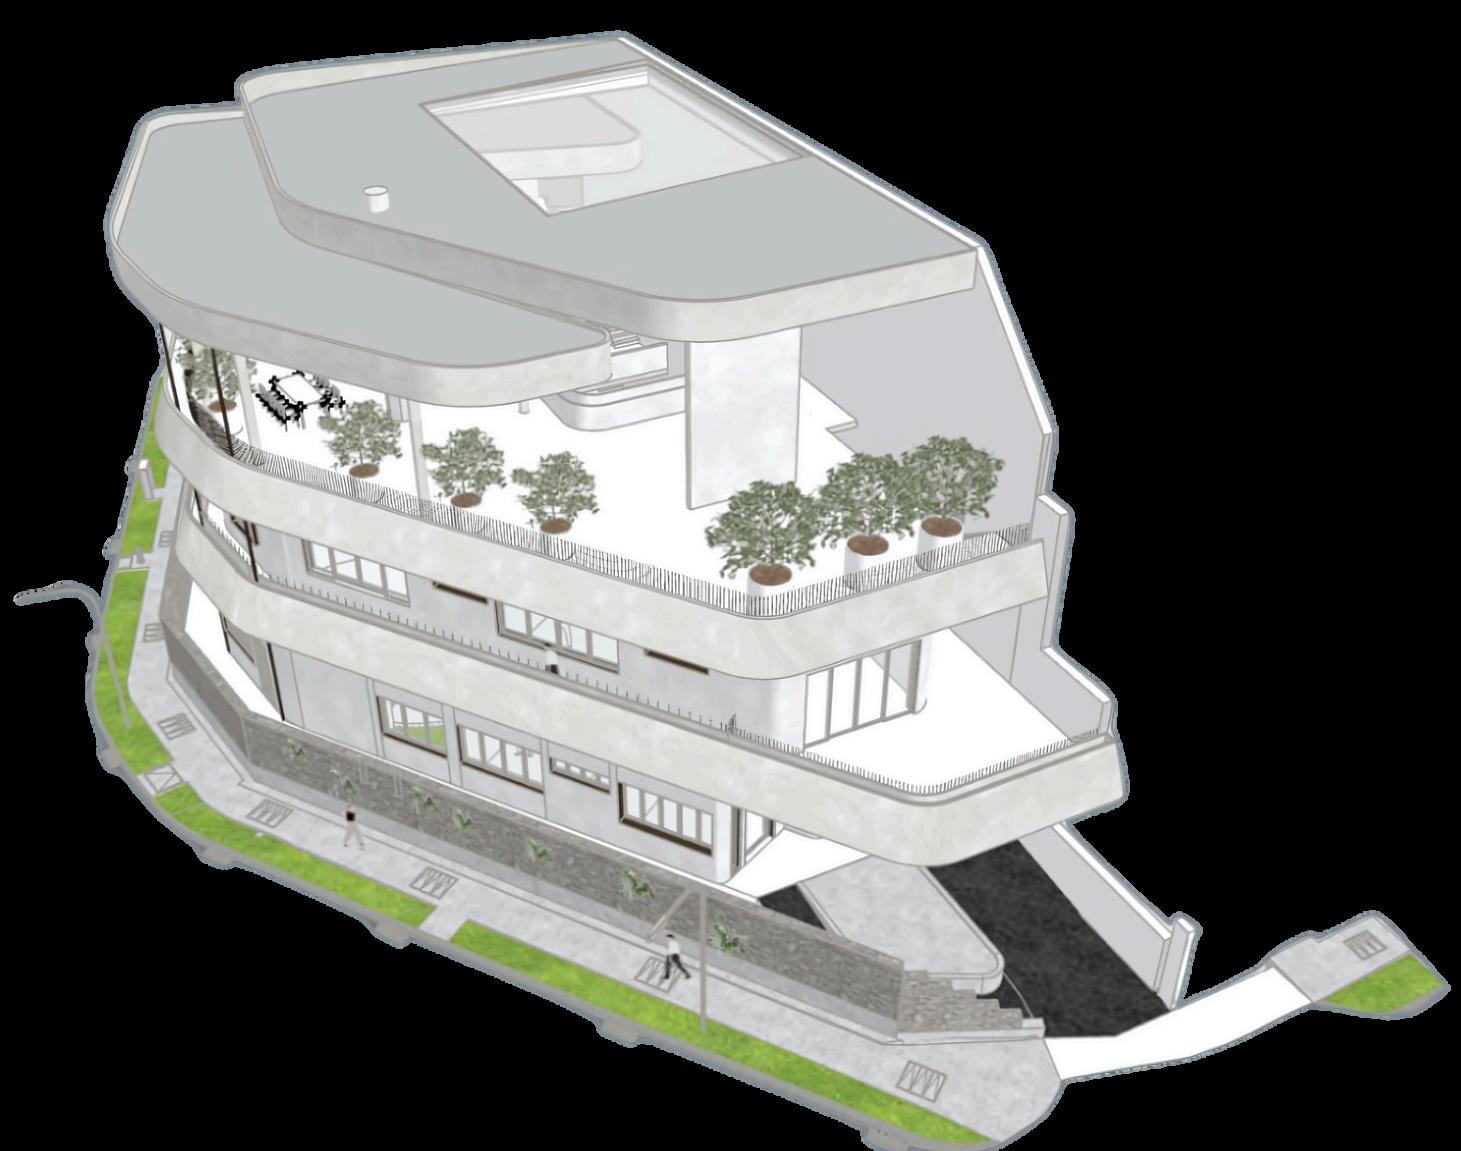
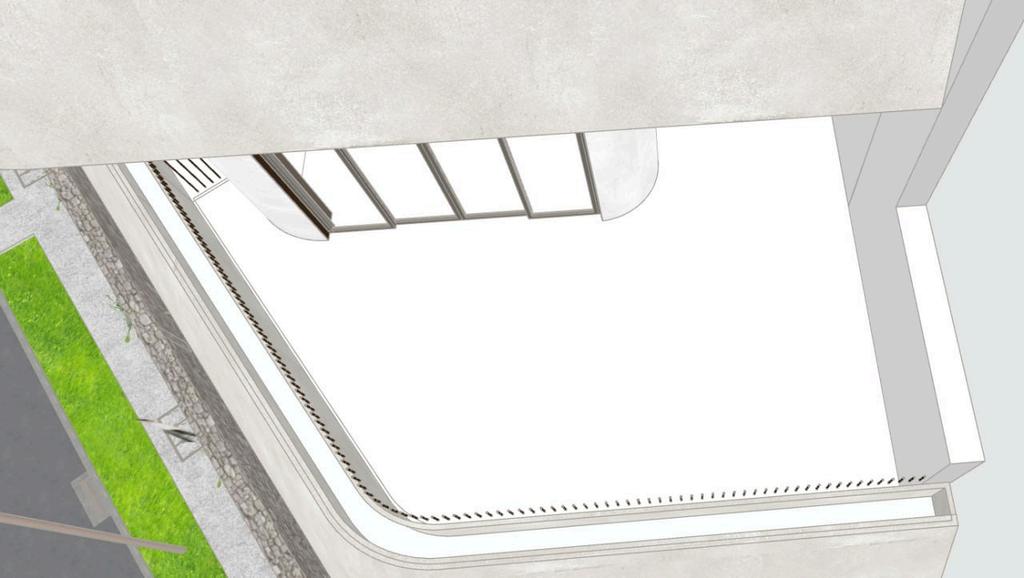
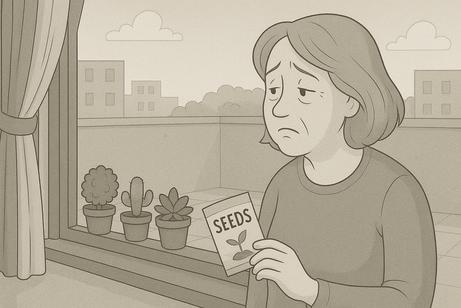
As urban homes become more compact and outdoor space more limited, innovative gardening solutions are transforming how fresh food is grown at home. Hydroponics, a soil-free, water-efficient method-offers an ideal solution for compact areas like their balcony, especially when combined with rainwater irrigation to further reduce environmental impact.
Despite these advancements, many hydroponic systems still fall short when it comes to accessibility, automation, and user-friendliness-features that are essential for homeowners seeking a truly convenient and sustainable gardening experience.
This gap inspired our team to explore how the latest innovations in automation, & rainwater integration, could be harnessed to create a compact, efficient, and lowmaintenance hydroponic solution-one that not only meets the unique needs of Ron and Jen’s home, but also makes home gardening more enjoyable and accessible for everyone
design an integrated planting system that is user-friendly and low-maintenance?
Their busy and mobile lifestyle makes it difficult to track crop growth and accurately determine when produce is ready to harvest, leading to missed harvest windows, spoilage, or suboptimal yields.
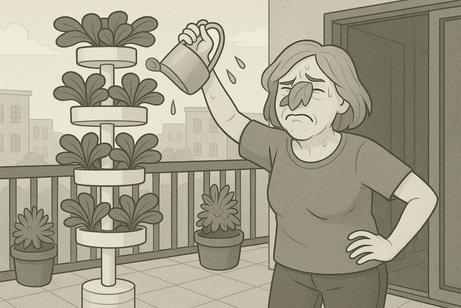
For older users, gardening systems should prioritize physical accessibility by minimizing strain from bending, stretching, or reaching. A user-friendly design ensures that plant care remains comfortable and intuitive, regardless of age or mobility.
Many urban farming systems need frequent upkeep, which doesn’t suit Ron and Jen’s busy, travel-filled lifestyle. They want a low-maintenance solution so their garden thrives with minimal effort.
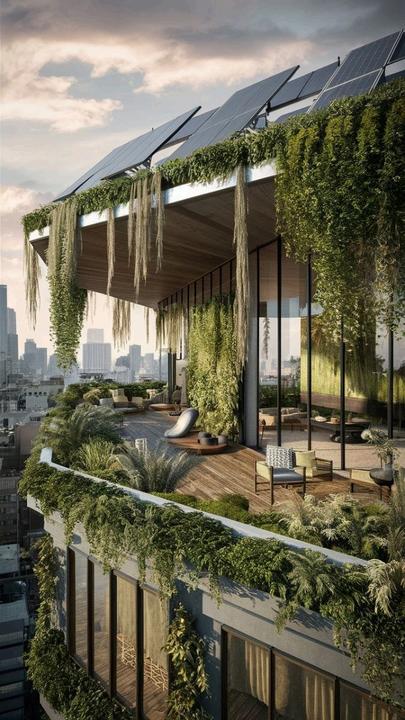
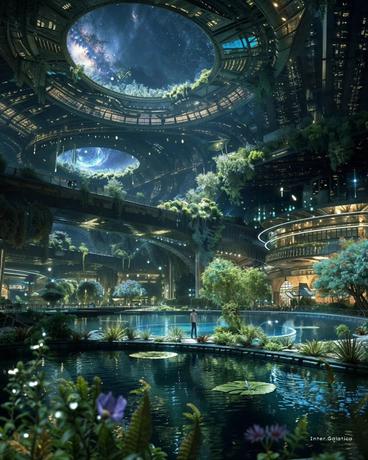
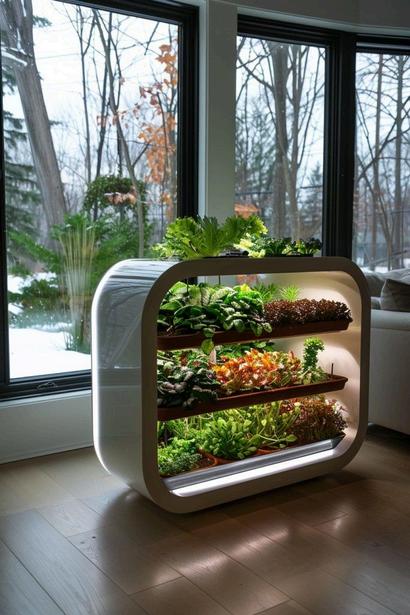
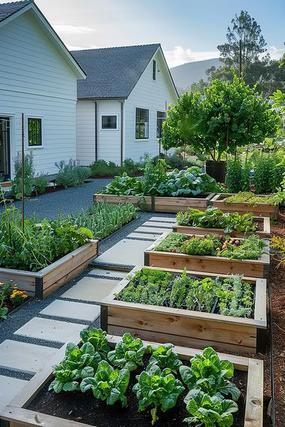
EEFFORTLESS FFORTLESS

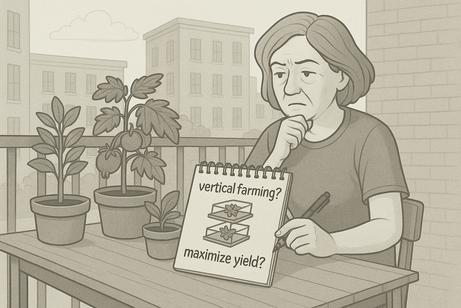
Maximize yield in constrained spaces 1
Minimize maintenance requirements 2 Improve accessibility 3 Enhance user confidence 4 Design with aesthetics and integration 5
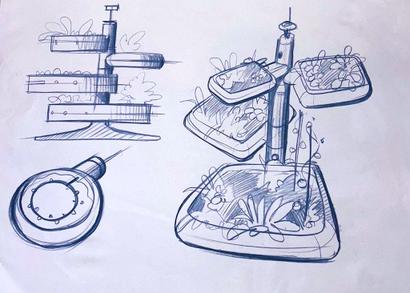
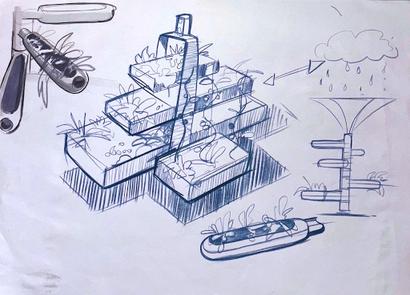
At the start of our ideation process, we held a collaborative sketching session to explore potential concepts and design directions. Through these initial iterations, we identified several key requirements that would serve as essential guidelines for the development of our product.
After conducting research, we identified several plants that fit our criteria of being high-yield and space-efficient However, we later realised that we had overlooked certain important factors, such as climate suitability and natural growth habits
For instance, while bell peppers are productive, they are climbers and require additional vertical space and structural support After thorough analysis, we suggested 6 different edibles for the planting system
When selecting plants for Jen’s home-based edible hydroponics farm, we prioritised compact, easyto-grow options that could be used in daily cooking. Given the limited planter size, we focused on high-yield, space-efficient edible plants that could maximise productivity within a short growth cycle. This ensures that Jen can get the most out of each planting round.
After conducting research, we identified several plants that fit our criteria of being high-yield and space-efficient as shown in the plant quadrant above.
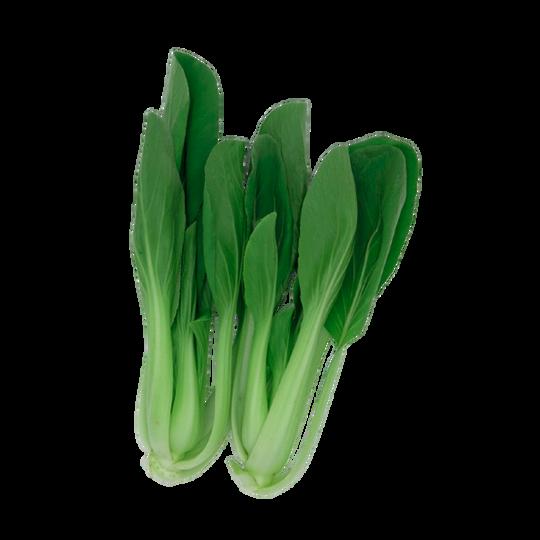
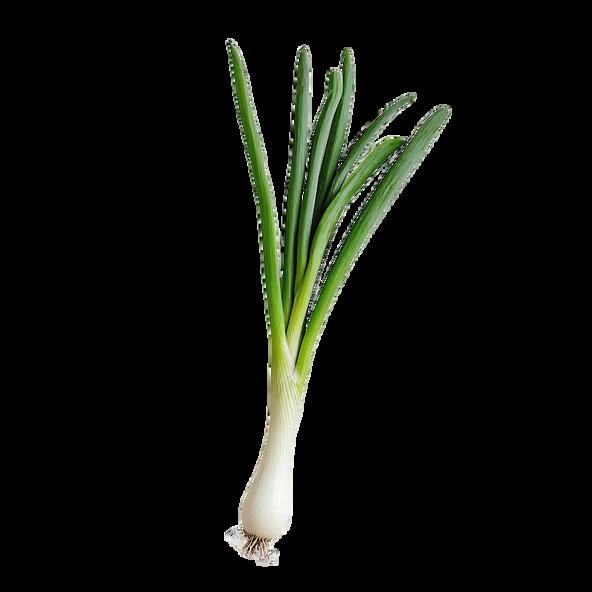

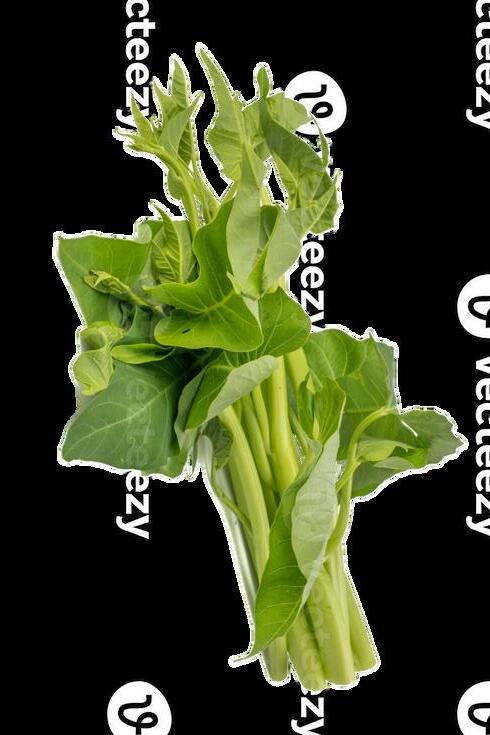
However, we later realized that we had overlooked certain important factors, such as climate suitability and natural growth habits. For instance, while bell peppers are productive, they are climbers and require additional vertical space and structural support. Similarly, root vegetables like carrots need deeper growing media to develop properly, which may not be feasible within our planter’s depth constraints.
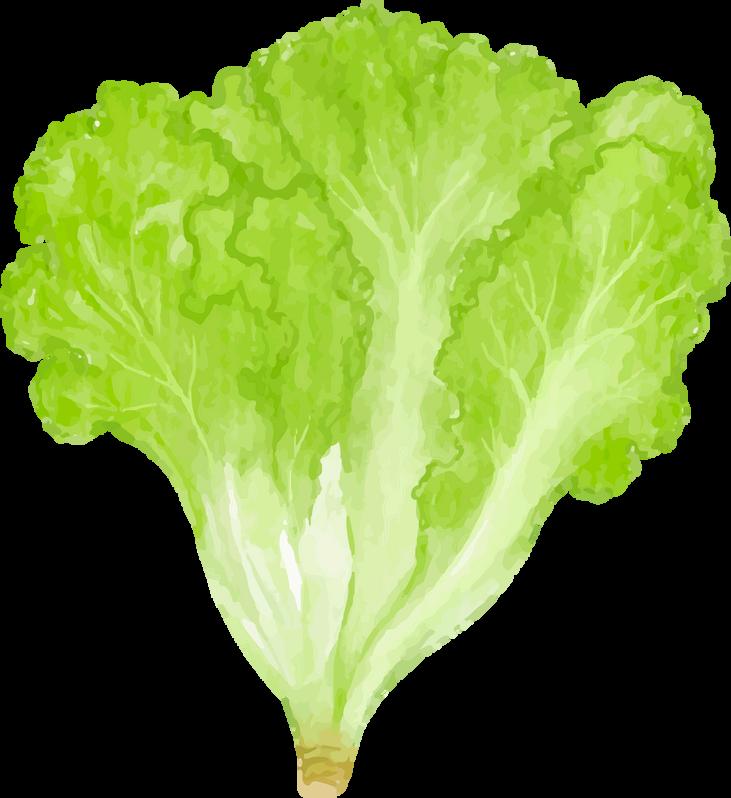

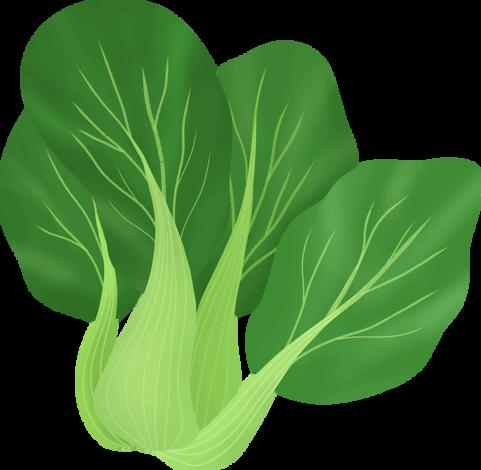
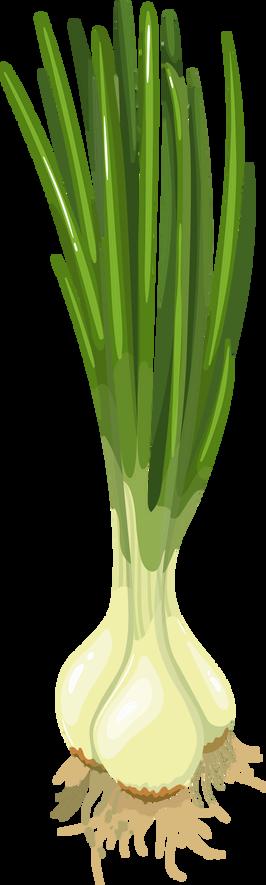
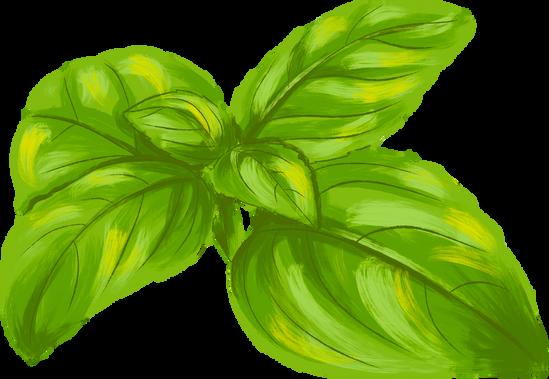
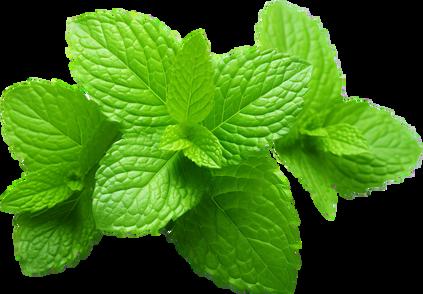
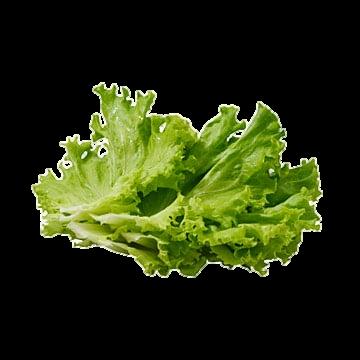
Based on these considerations, we shortlisted six vegetables from the plant quadrant: Mint, Thai basil, Bok Choy, Kang Kong, Spring Onions, and Lettuce These selections are well-suited for our system as they are space efficient and have short growth cycles, requiring a maximum of only 30 days for a single harvest. This allows for efficient and consistent production in a home-based hydroponic system.
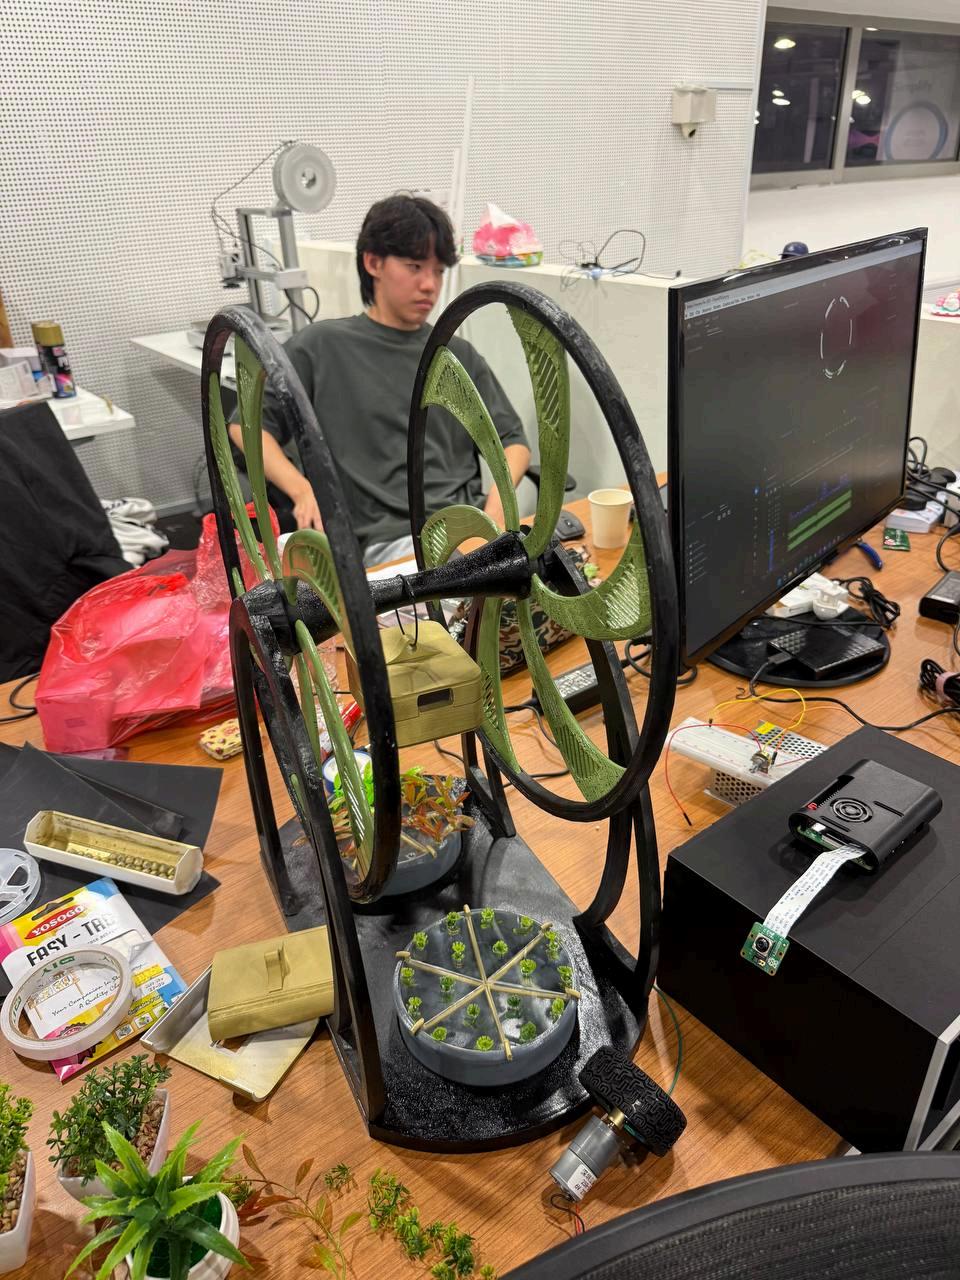
Over the course of our project, our planter design evolved through three main iterations The first iteration featured a flat, soil-based plot measuring 2m by 1m, offering a plantable area of 1 8m² It included smart features like camera vision for remote monitoring and a mobile-controlled shed for weather protection However, it had a bulky footprint, relied on heavy soil, and lacked scalability
In th des access, and a step towards modular planting. We picked up on tha p our design iterations.
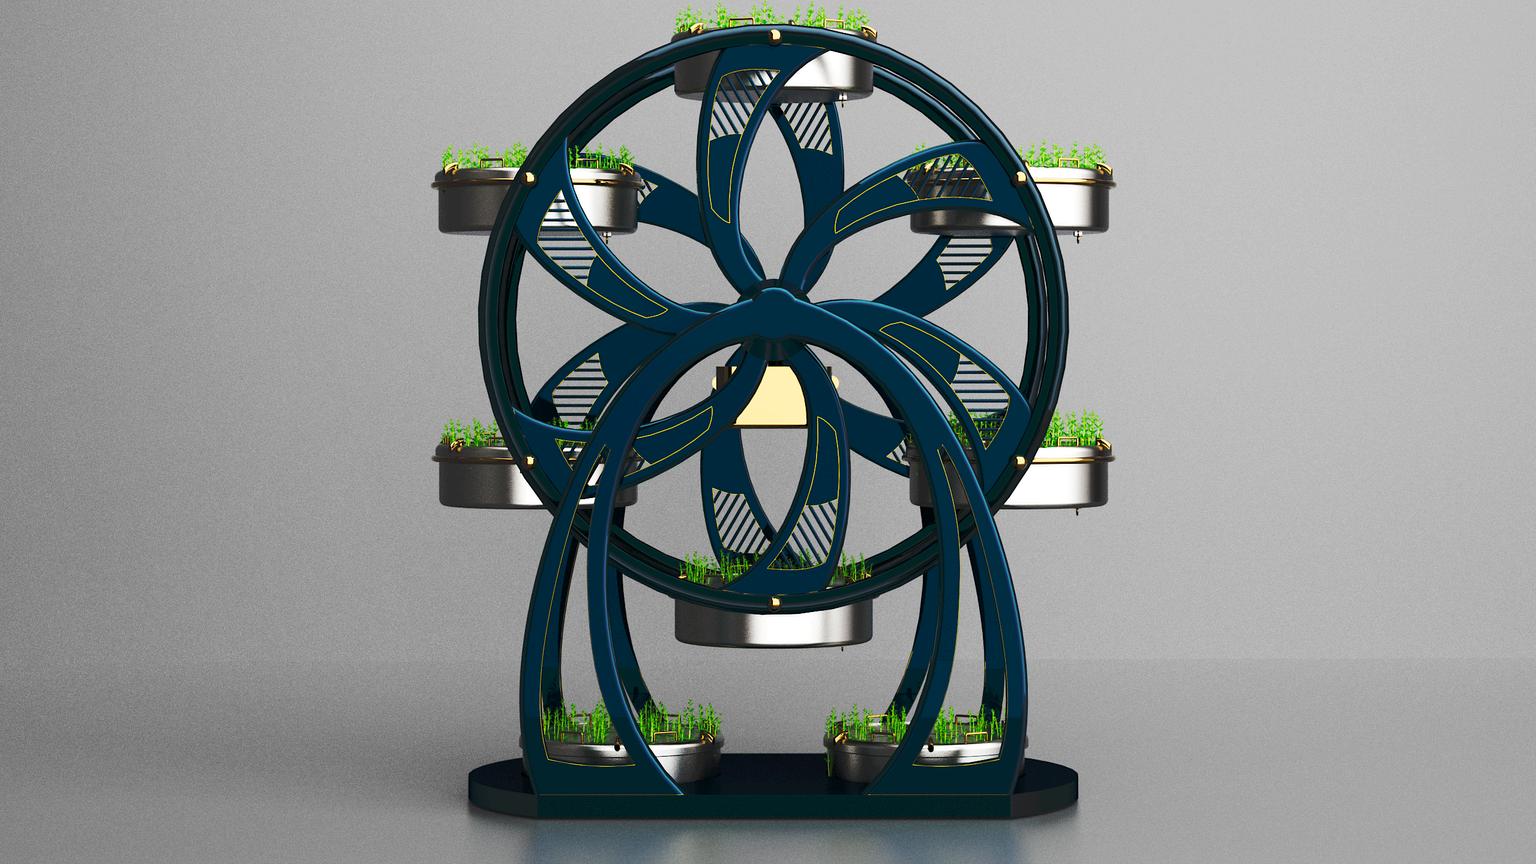
The third iteration marked a key shift from soil to a hydroponic system, prompted by concerns over excessive weight and difficulty in rotating a soil-based structure. This transition reduced the load, improved cleanliness and efficiency, and aligned with our goal of a low-maintenance, high-yield solution The design retained its rotating ferris wheel form for ergonomic access and adopted a sleeker, futuristic aesthetic, while also increasing plantable area. However, it introduced new challenges in water drainage and managing the overall weight during harvest.
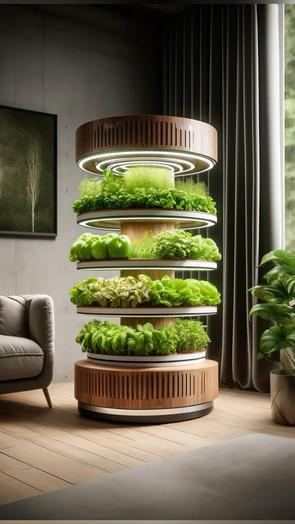
Building on the requirements we identified, we recognised that the most effective way to maximise plant yield within our limited space was to adopt a vertical hydroponics system. However, to ensure the system remained user-friendly, accessibility had to be a key consideration.
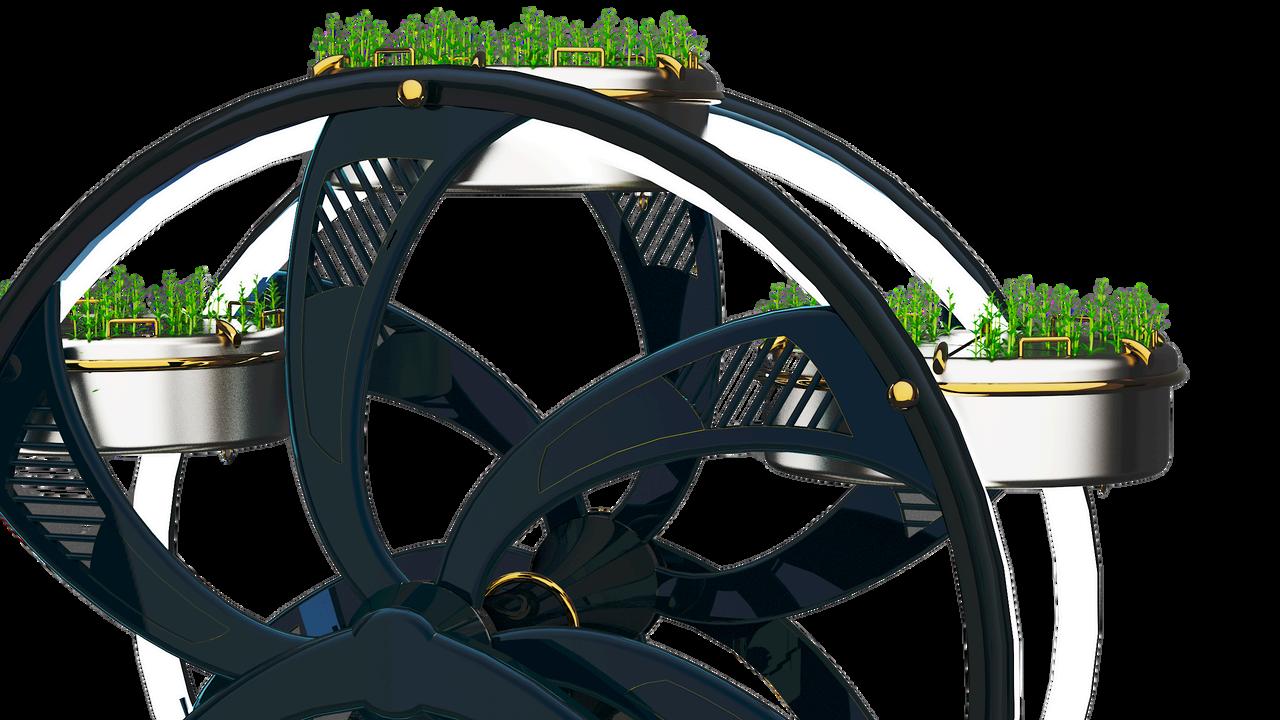
This led us to draw inspiration from the structure of a Ferris wheel which leverages a rotating form that not only optimises vertical space but also allows for easy access to each planter, balancing both productivity and usability.
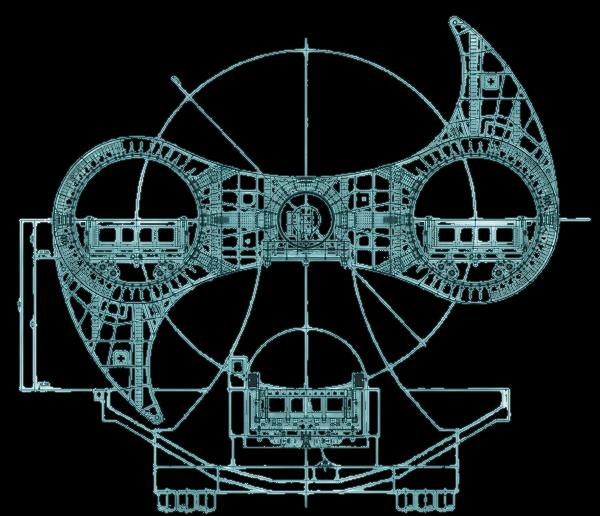
The design of the rotating structure’s spokes was influenced by a range of references, one of which was the Falkirk Wheel, a rotating boat lift in Scotland admired for its symmetry and structural clarity.
While it is not the sole source of inspiration, its distinctive spoke pattern informed aspects of our design by demonstrating how visual elegance can complement mechanical stability. This, along with other design references, guided us in creating a spoke layout that balances both form and function within the ferris wheel-inspired frame.
Another source of inspiration for the spoke design came from car rims, particularly those with bold, symmetrical patterns that emphasize both strength and visual appeal.
The structural layout of performance rims, designed to handle dynamic loads while maintaining a sleek profile, influenced our approach to balancing aesthetics with stability. This influence contributed to a more refined and modern look for the rotating frame, while reinforcing the mechanical integrity required to support multiple planters in motion.
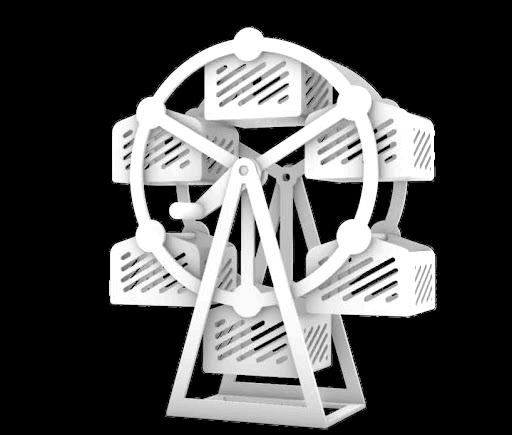
Our iteration process began with inspiration from existing ferris wheel structures, which we adapted to align with our functional requirements. While this approach provided a solid starting point, it initially lacked originality and did not fully reflect our intended design identity or vision for the final product.
The second iteration introduced changes to the overall aesthetic, focusing primarily on fulfilling our key design goal of maximizing yield. This led to a medieval-inspired structure that effectively prioritized planting density. However, while the design met functional needs, it fell short in terms of accessibility and lacked the modern, futuristic aesthetic required to complement the context of the new Coral Reef residence.
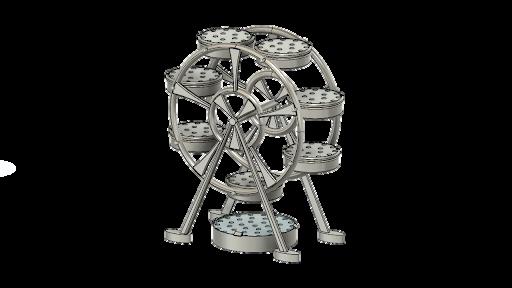
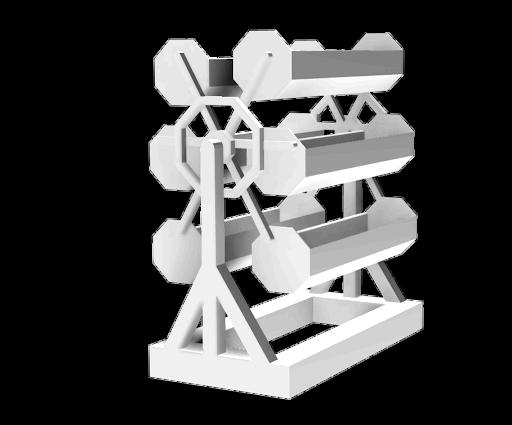
To enhance the overall aesthetics, rounded edges were incorporated into the ferris wheel design, contributing to a softer and more modern visual profile. However, several functional challenges persisted. The bottom planter remained structurally incompatible, the drainage and access systems required further refinement, and the harvesting process continued to present difficulties for users
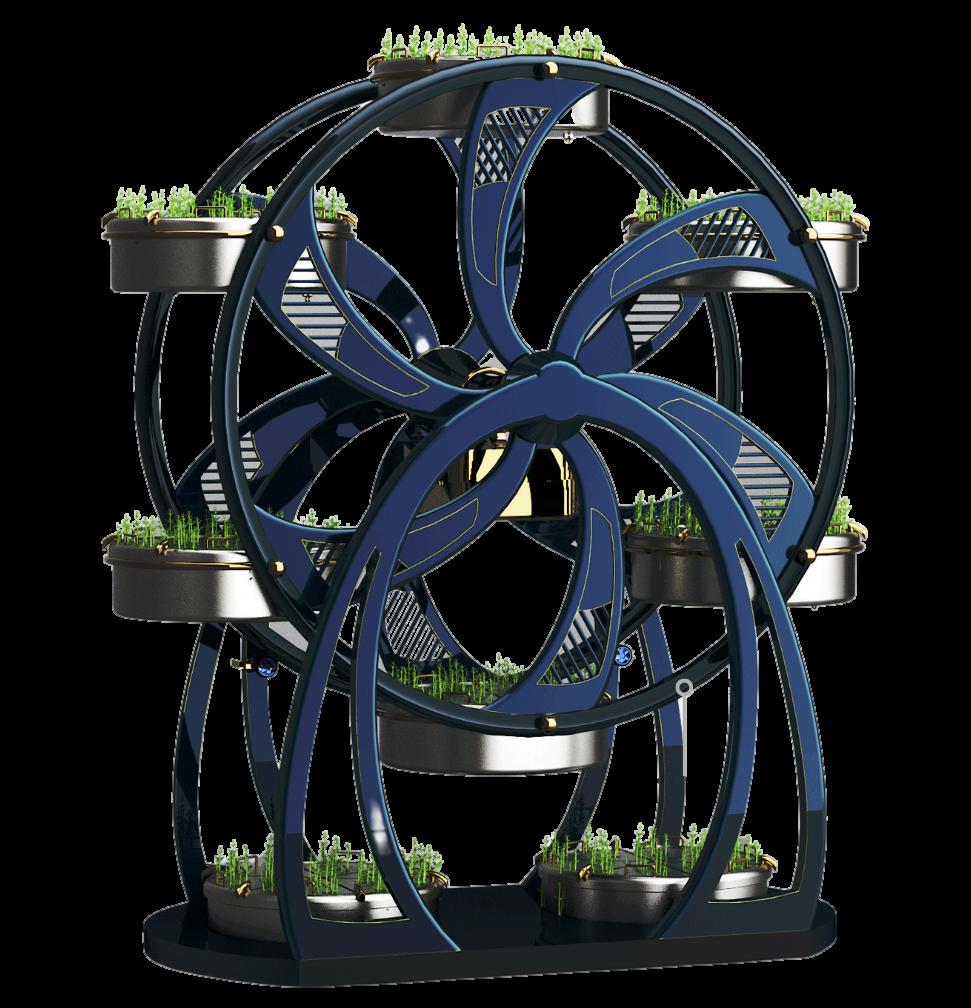
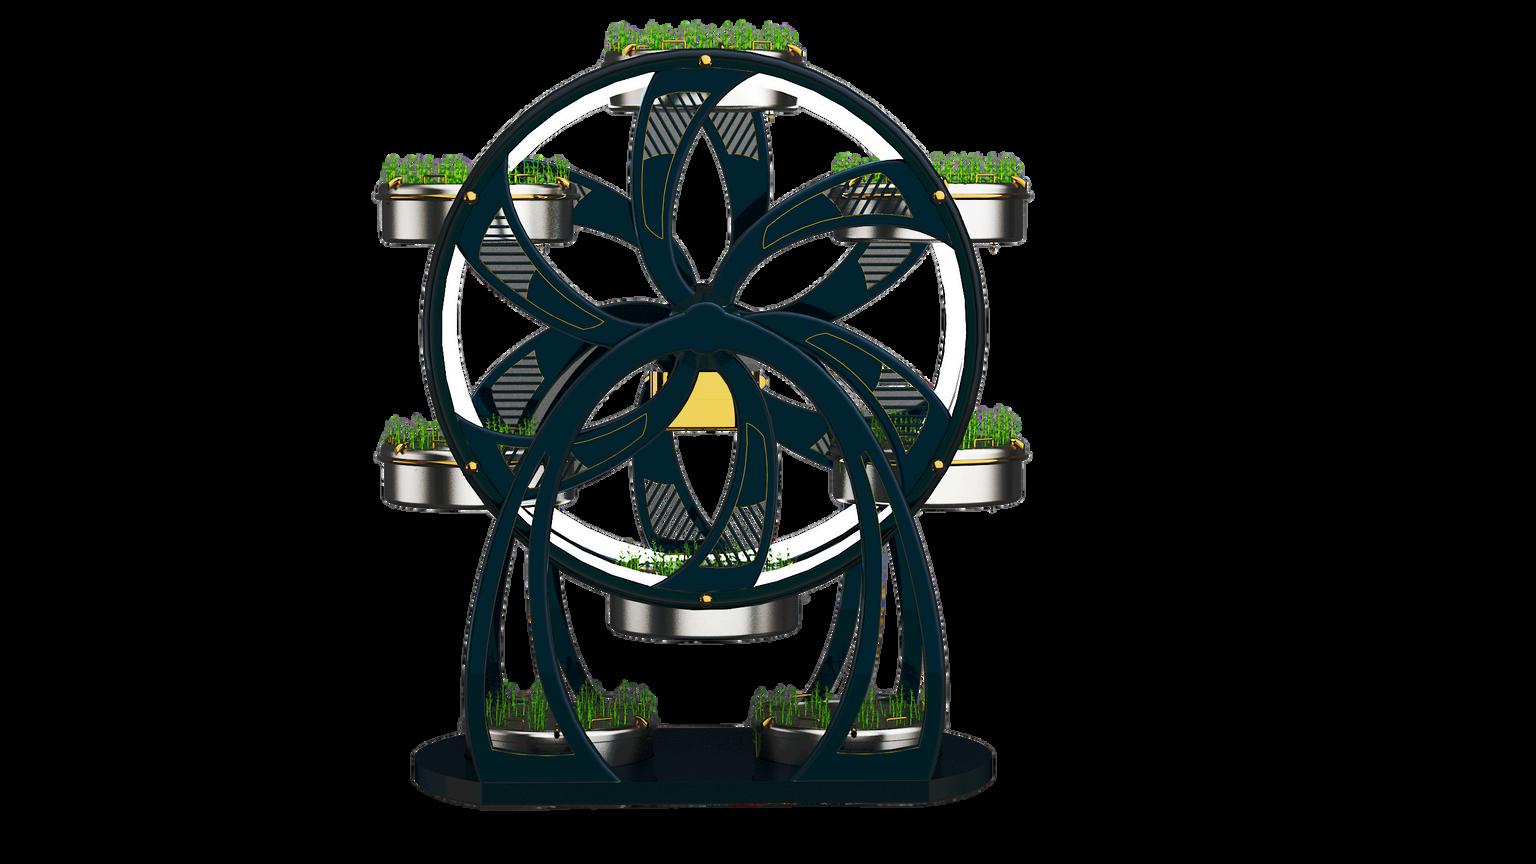
Inspired by the natural elegance of a flower, the structure was designed to blend seamlessly with modern home interiors. Its sleek, symmetrical form and rounded edges present a striking contrast to earlier medieval-style iterations, offering a clean, contemporary aesthetic that fits beautifully in both urban homes and public spaces.
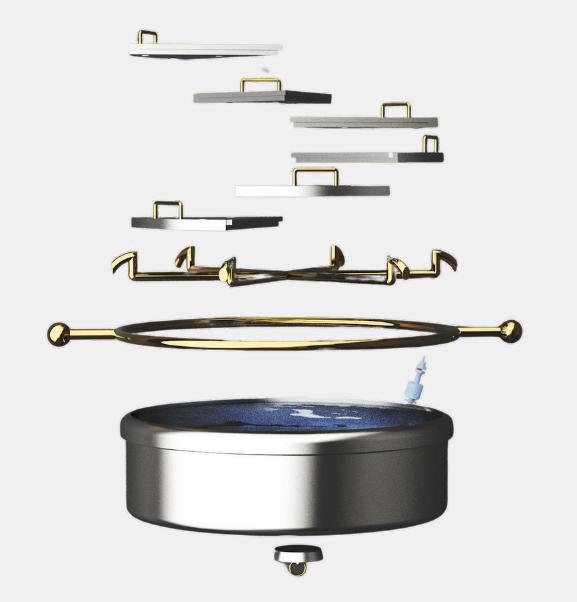
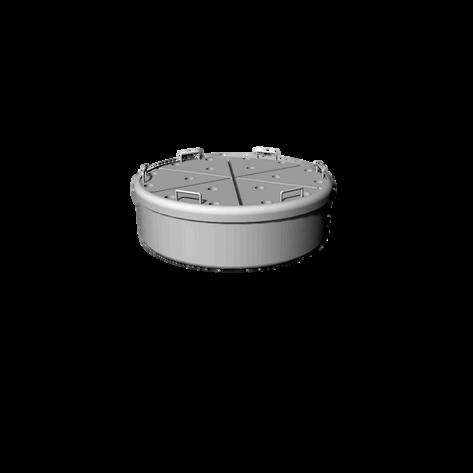
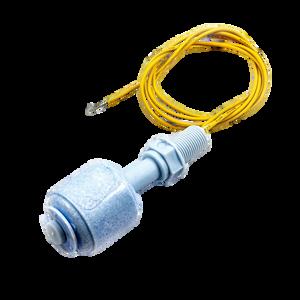
The accessible planter setup was designed to enhance usability and maintenance efficiency. It features a modular structure beginning with a 'pizza'-shaped planter cover, divided for easy access. Hooks are attached to facilitate quick removal of individual segments. Planter rims provide structural support and integrate seamlessly with the wheel’s rim. A built-in water sensor monitors water levels, ensuring optimal volume of water for plant growth, while an outlet at the bottom of the planter container enables efficient water drainage. This setup allows for convenient planting, monitoring, and harvesting within a compact and accessible design.
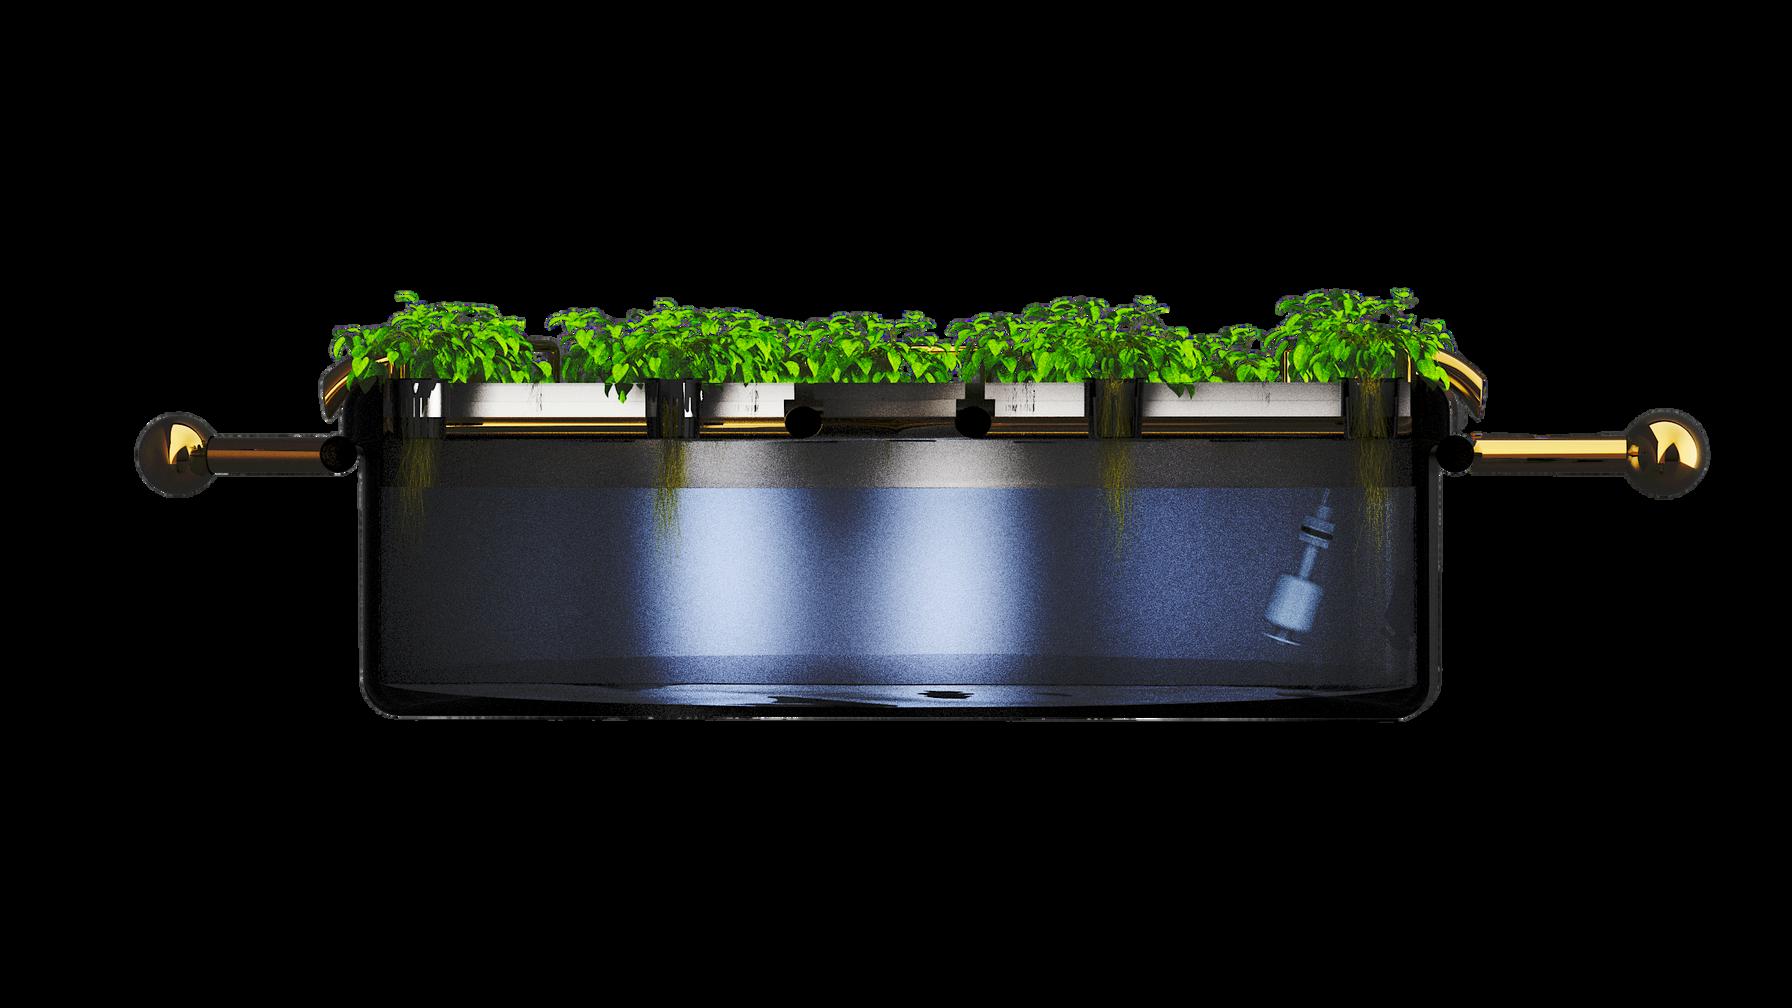
The dimensions of each planter were carefully determined based on multiple factors. Plant height influenced the required depth for healthy root growth, while plant width informed the spacing between planters to accommodate horizontal expansion. As we pivoted from conventional soil-based methods to hydroponics, we conducted research into suitable techniques for edible crops and ultimately adopted the Kratky method, a passive, low-maintenance system that eliminates the need for pumps or electricity. This decision directly influenced the water volume allocated per planter, ensuring that each unit holds enough nutrient solution to sustain plant growth all the way through to harvest
Diameter - 63cm
Depth - 20cm
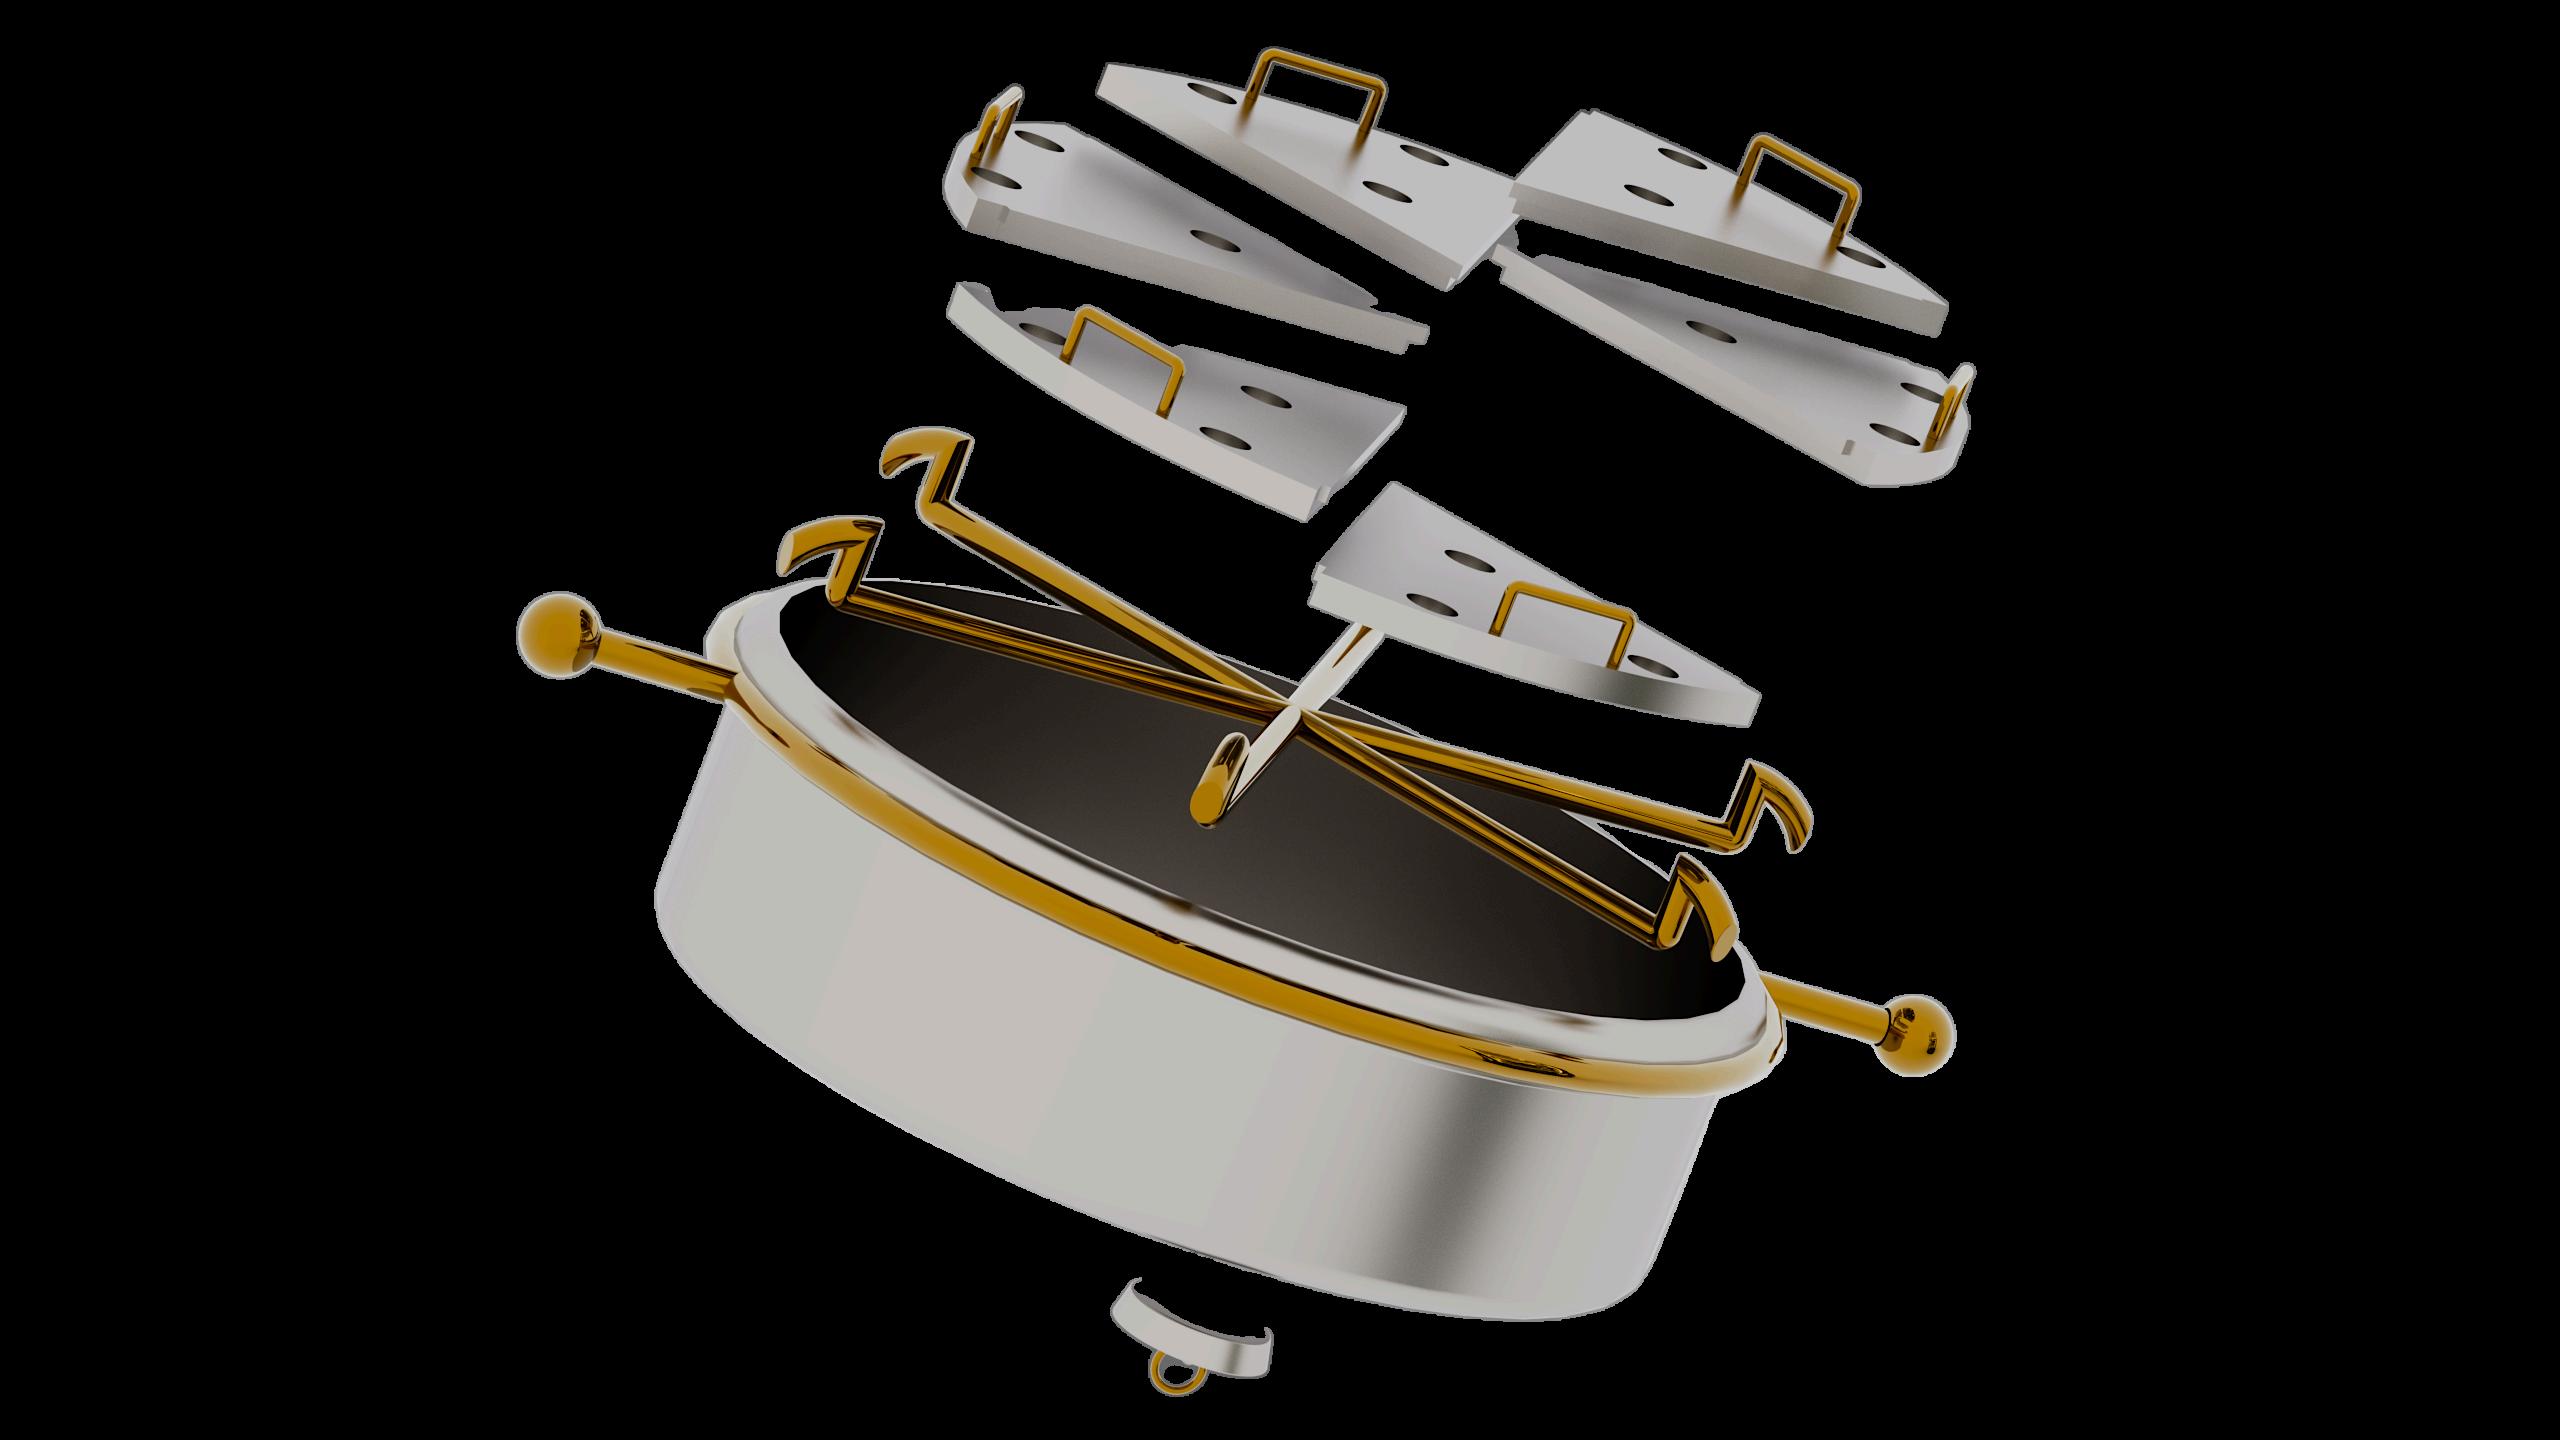
Each planter features a golden rim designed to support both the structure and user interaction. The rim secures six “pizza”-shaped planter slices, each housing three plants, allowing for a total of 18 plants per planter. It also serves as a rotating interface, enabling users to turn the rim for easy access to all sections without reaching over. Additionally, the rim acts as a mounting point between the planters and the main frame, providing both stability and functionality
Diameter of Rims - 67cm
Diameter of Cover - 65cm
Length of Handle - 7.2cm
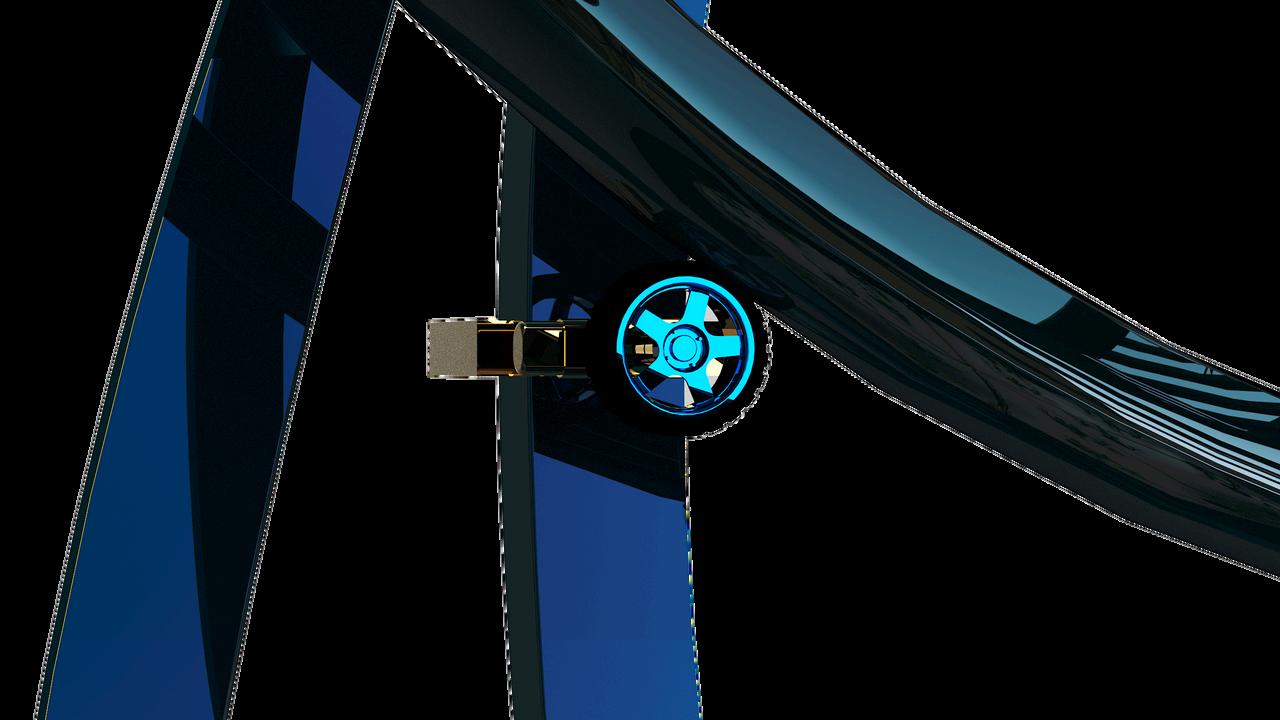
Overall Frame - 250cm by 100cm Rotation of wheel - 180 degrees
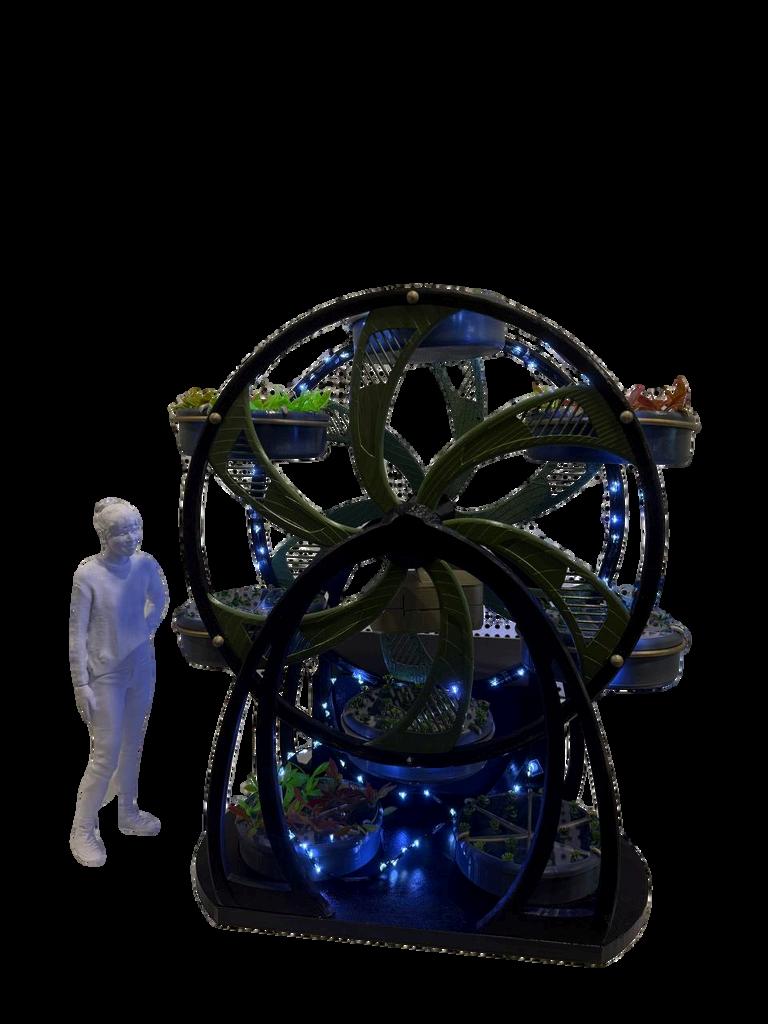
The design of the spokes and overall wheel structure was developed with careful consideration of the spatial constraints defined by our clients. The height and proportions were optimised to fit within the allocated footprint while accommodating the dimensions of each planter and the expected growth height of the plants This ensured that the system would be both space-efficient and functionally accessible The wheel is designed to rotate 180 degrees, with an automated mechanism programmed to activate twice daily to balance sunlight distribution across all planters. Additionally, manual rotation is enabled to provide users with convenient access during harvesting and maintenance
To support healthy plant growth, we installed grow lights along the wheel frame of our product. Research shows plants need 12–16 hours of light daily, so natural sunlight alone is not sufficient and hence, supplemental lighting ensures consistent, optimal growth.
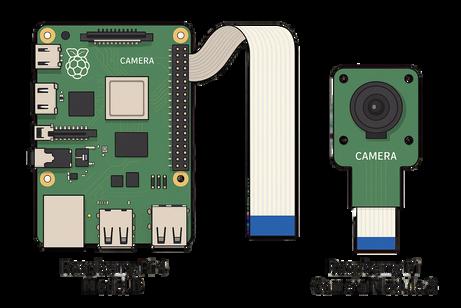


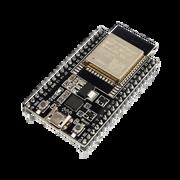

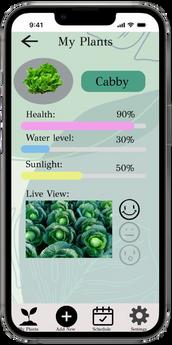
We integrated computer vision and water level sensing to provide users with real-time insights into their plants' health and system status. A camera connected to a Raspberry Pi 4 captures plant images, enabling computer vision algorithms to assess plant growth status indicating if it is still growing or ready for harvest.
Simultaneously, an ESP-32 microcontroller collects data from a water level sensor to monitor the water reservoir. All this information is transmitted to the EcoNova app, a mobile application, where users can conveniently view plant growth status and water level empowering them to manage their hydroponic system remotely and efficiently.
Future advancements in IoT and automation are expected to transform hydroponic systems into fully connected ecosystems requiring minimal human intervention. These developments may include comprehensive sensor networks to monitor plant health and system performance, remote control via smartphone applications, and automated nutrient delivery systems that adjust in real time based on plant uptake. Additionally, smart sensors capable of accurately measuring pH, temperature, humidity, and nutrient levels will enable greater precision, while self-diagnosing mechanisms could detect and resolve mechanical issues autonomously, paving the way for truly intelligent, automated EcoNova hydroponic farming.
To enhance overall system functionality, an automated water inlet and outlet mechanism can be integrated This feature would enable water to be pumped in as needed to maintain optimal hydration levels and drained automatically at the end of each planting cycle. Such automation would simplify system maintenance, support plant health, and streamline preparation for the next batch of crops.
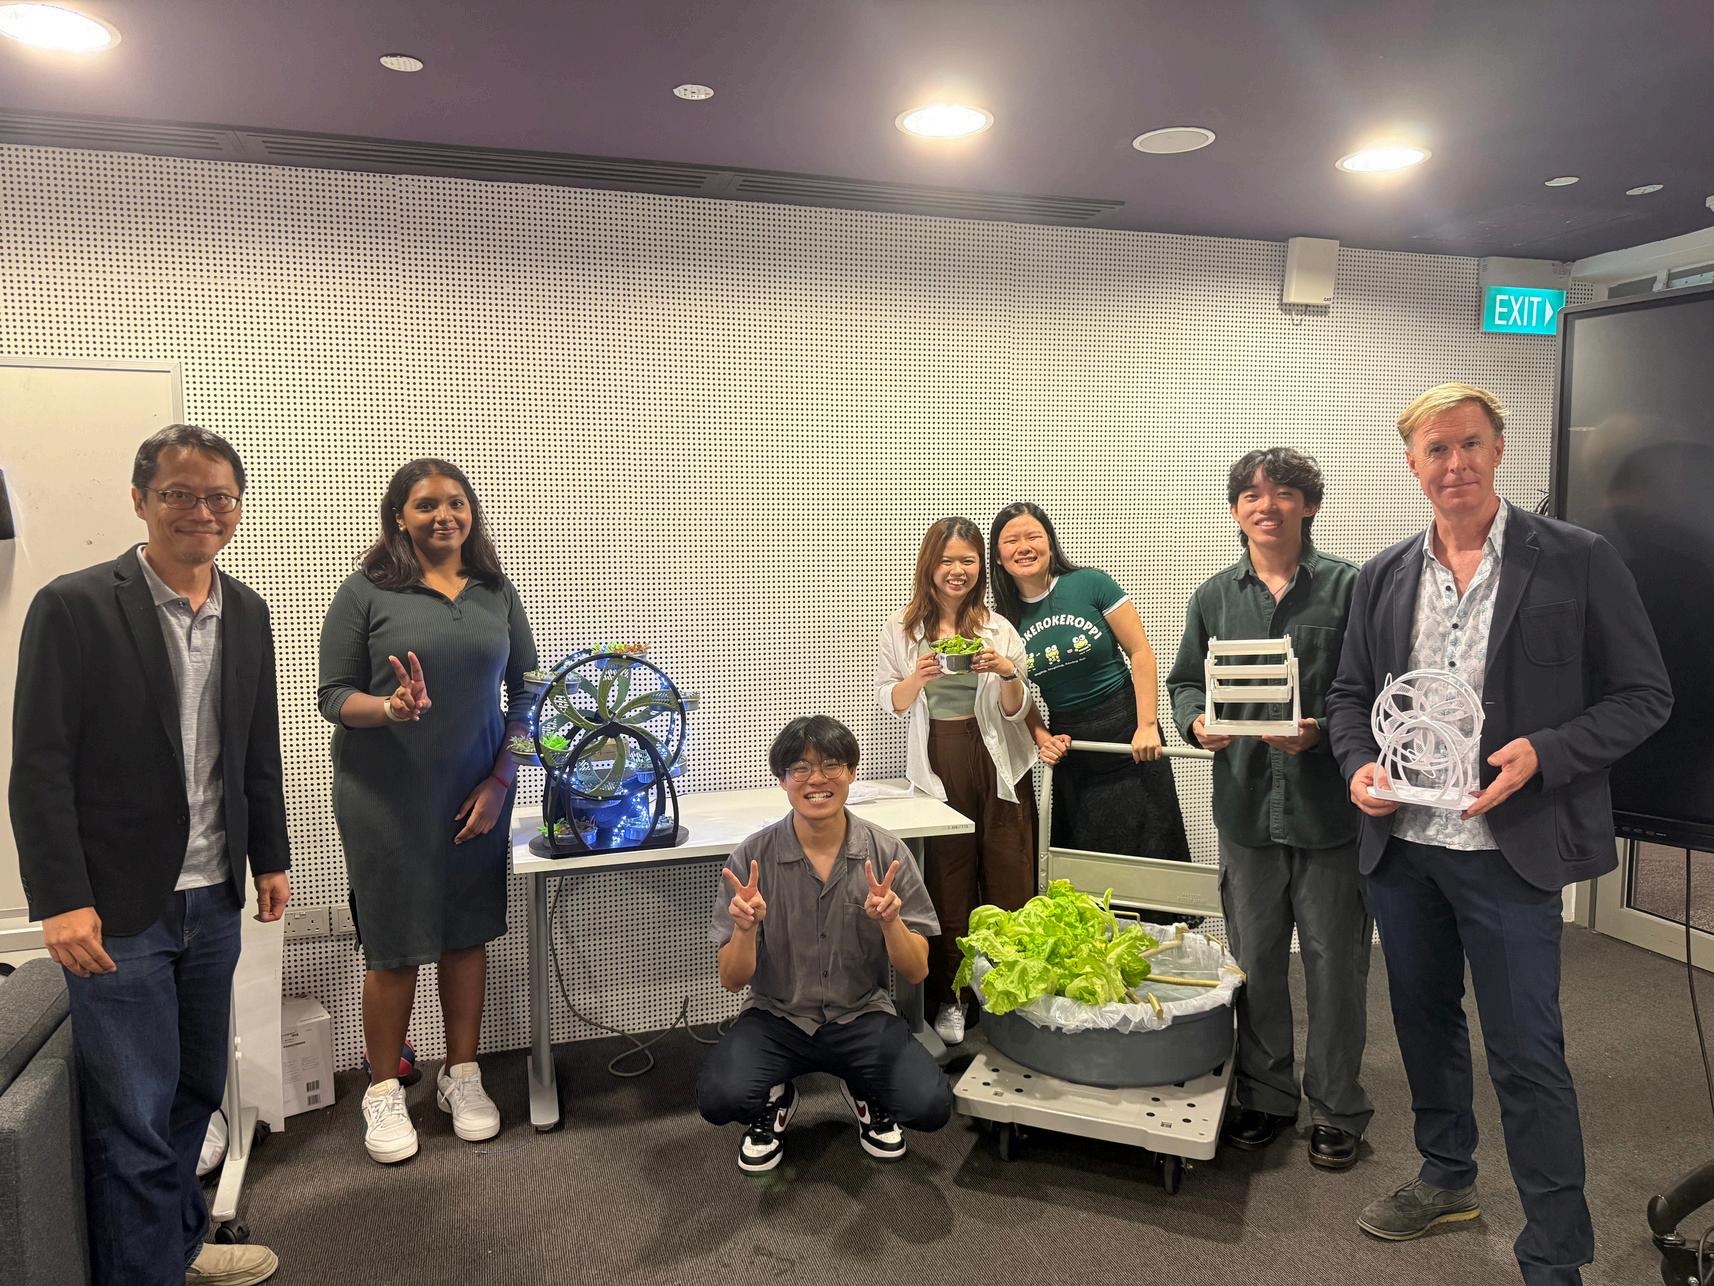
As we moved from the development to the delivery phase, we opted to produce two prototypes: a 1:5 scaled model of the full system and a 1:1 scale prototype of an individual planter. Due to the system’s large size and budget constraints, a fullscale prototype was not feasible. This approach allowed us to showcase both the overall concept and key functional elements within our limitations
The height of an actual scale of our prototype would be 2.5m and realistically holds up to 400 kg of water on all 6 planters on the ferris wheel (disregarding the 2 at the bottom of the prototype) Realistically, 3D printing the true scale model will not only exceed our budget of $1000 by a large margin, but will not be able to handle such high weight.
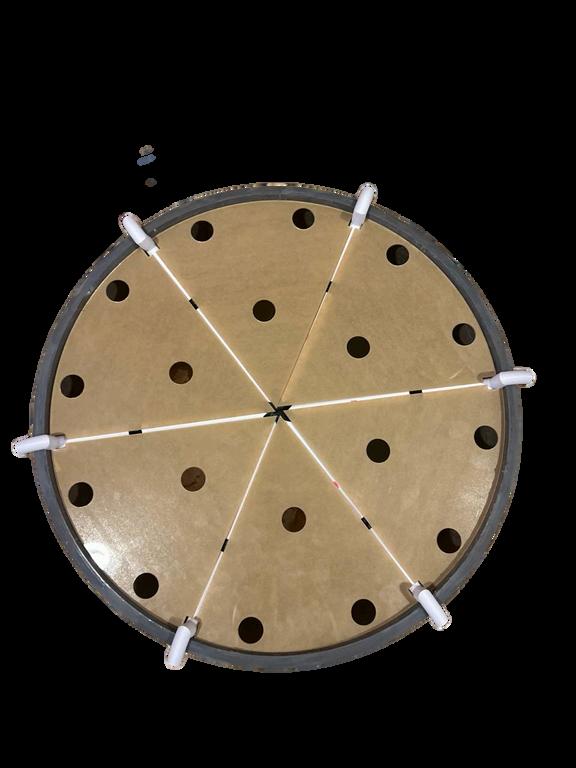
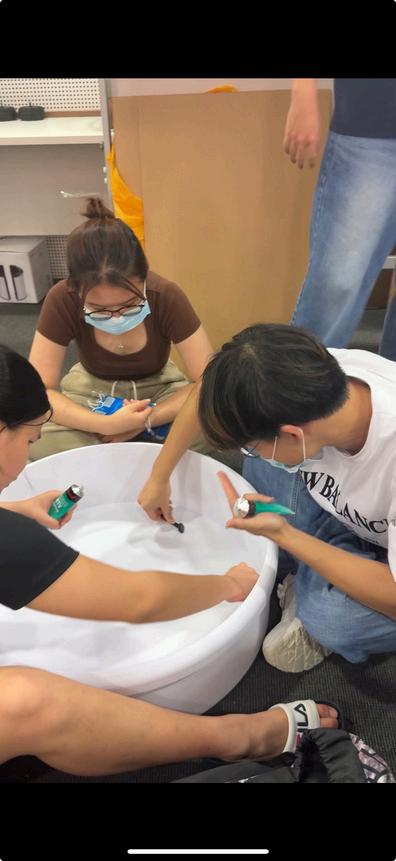
Our waterproofing process encountered several challenges, primarily due to the use of PLA for 3D printing the planter. While PLA was chosen for its affordability, its porous nature presents a significant drawback due to the presence of microscopic gaps through which liquids or air can pass Despite this limitation, we ultimately succeeded in addressing the issue.
Our waterproofing procedure began with applying a layer of silicone gel to the inner surface of the planter where it would be exposed to water This was followed by spray-painting the planter in a metallic grey colour and allowing it to dry thoroughly Next, we applied an additional waterproofing layer using a silicone spray
However, during testing, we discovered that water continued to seep through the pores of the planter, indicating that even multiple silicone layers were insufficient for full waterproofing To resolve this, we resorted to lining the interior with a thin layer of plastic, a simple yet effective solution that successfully prevented any leaks.
Rims were 3D printed in 12 different parts as its actual dimension exceeds the size of our maximum dimension available on our personnel 3D printer. We then join them together and strengthen the connections through 3 different processes:
To assemble the individual 3D-printed parts of the rim, we began by applying super glue to all connecting joints This initial bonding step was essential for positioning and holding the parts together during the subsequent reinforcement processes. However, given the functional requirements of the rim, specifically its need to support both the planter covers and the plants themselves, with a combined weight of approximately 2kg we recognized that super glue alone would be insufficient to provide the necessary structural integrity
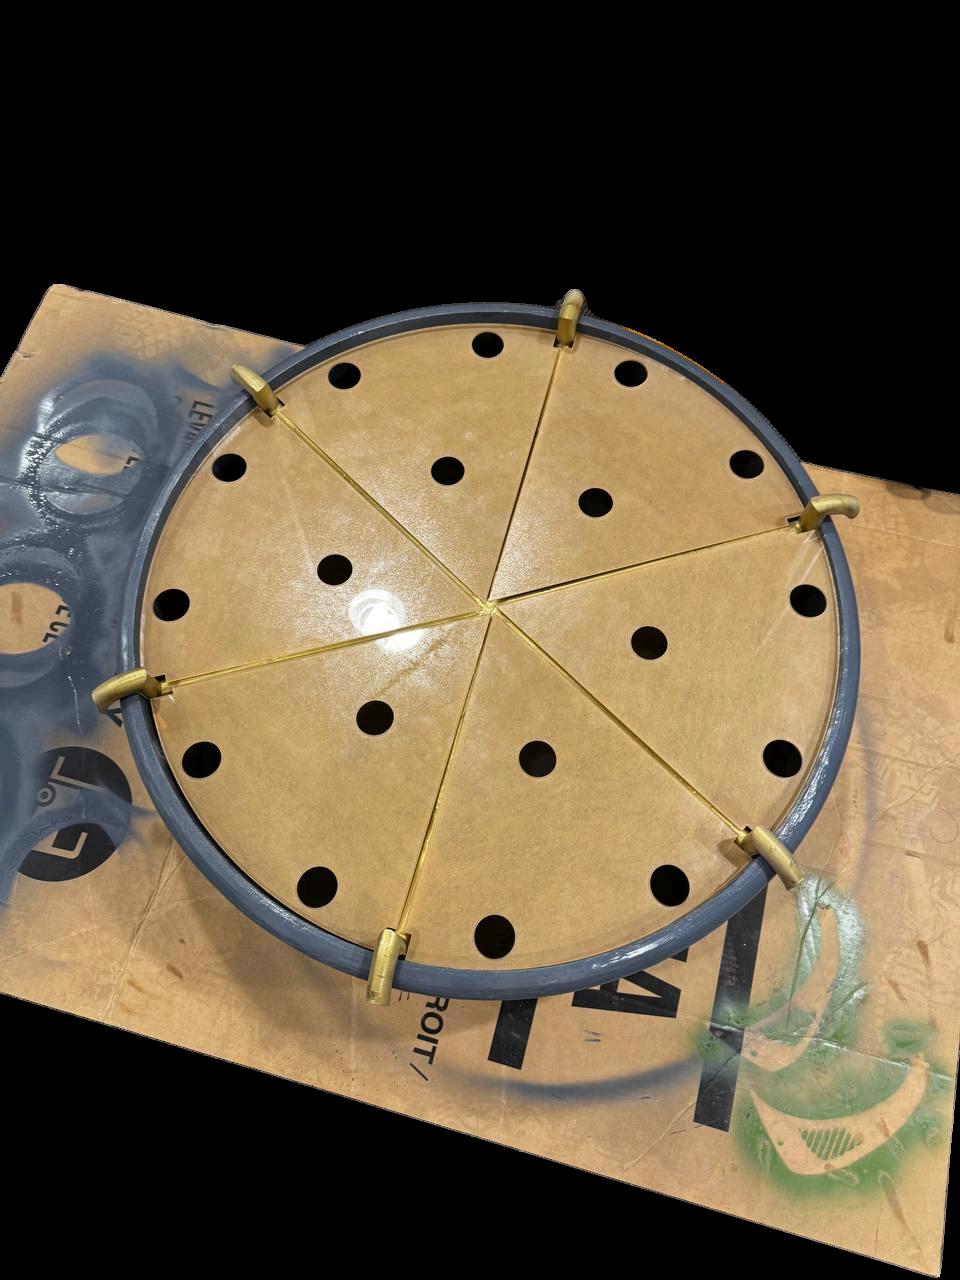
To enhance the strength of the joints, we proceeded to solder the connection points. This step significantly increased the mechanical stability of the rim, ensuring it could reliably bear the intended load without failing at the seams
Finally, for an added layer of security and to seal any remaining gaps, we wrapped electrical tape around each joint and applied heat using a heat gun. This caused the tape to shrink and adhere tightly around the connection points, providing both reinforcement and a level of flexibility to the structure.
These were made of acrylic, where we bought acrylic sheets that were laser cut to precise measurements
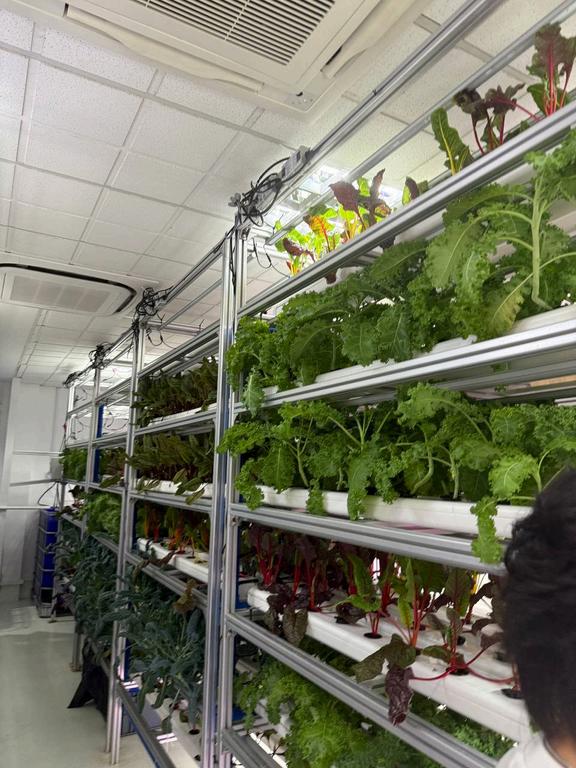
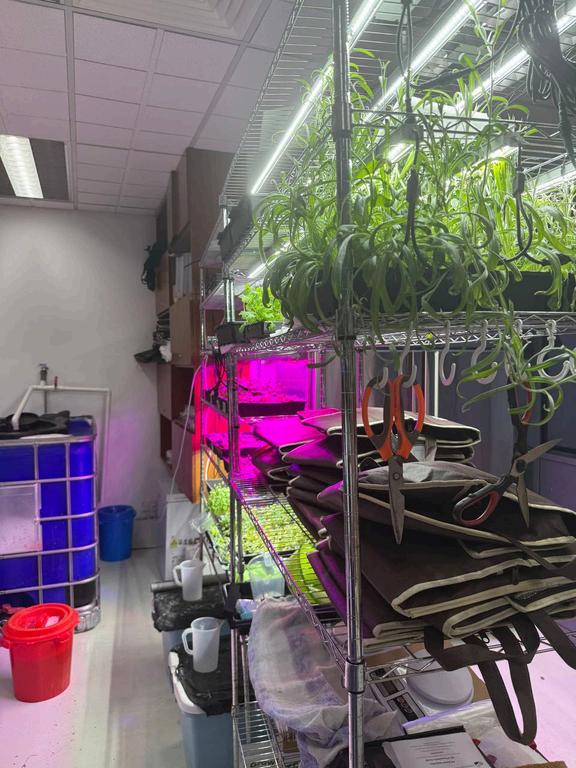
As part of our design phase, we conducted a site visit to UrbanGreenDot, a local business specializing in indoor hydroponics systems. The visit provided valuable insights into existing hydroponic techniques and system configurations. We identified several approaches that could be adapted to enhance our own solution, particularly in making it more suitable for a rotating hydroponics system.
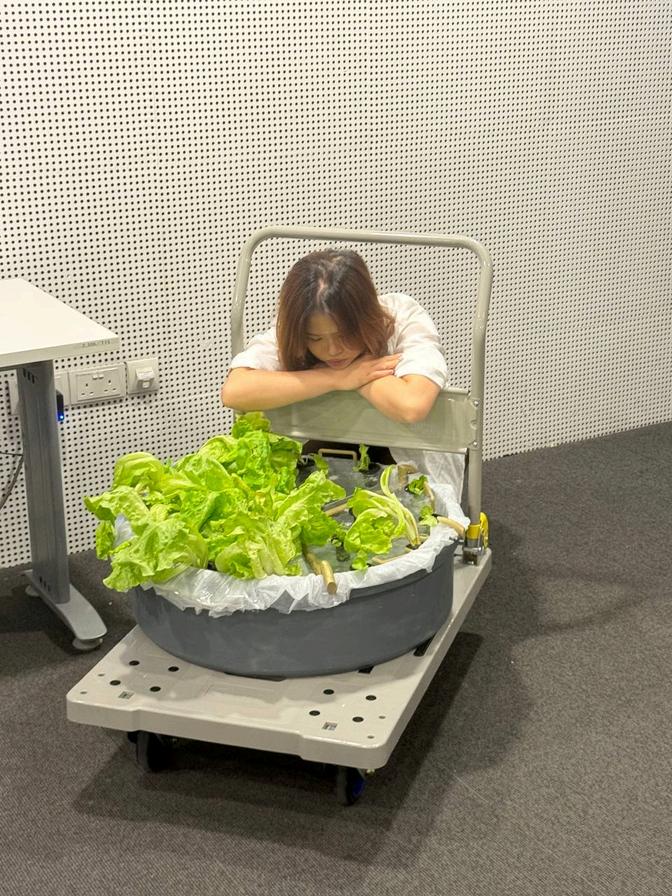
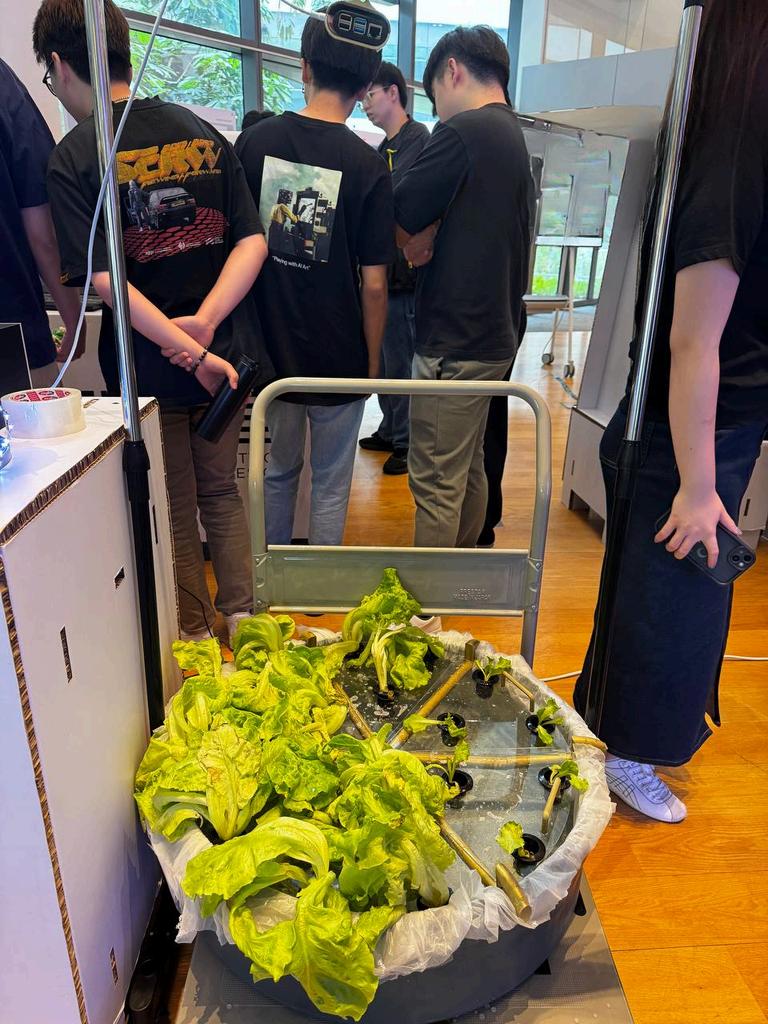
The lettuces used in our prototype were kindly provided by UrbanGreenDot, who supplied us with plants at both the seedling and harvest stages to support the demonstration of our computer vision feature. They also provided the necessary net pots and hydroponic nutrients, allowing us to simulate realistic growing conditions within our prototype.
This component is integrated into the product to serve as an alert system, notifying users whenever the water level in a planter falls below the required threshold.
This component was 3D printed to securely house the Raspberry Pi 4 and the connected Raspberry Pi Camera Module 3. It was mounted onto a stand and used to demonstrate the computer vision system’s ability to detect and differentiate between plants at various growth stages
This model was 3D printed with precise tolerances, allowing each component to interlock securely without the need for external adhesives. The circular wheel frame is designed to be detached from the spokes and can be easily slotted into the main frame, enabling straightforward assembly of the overall system.
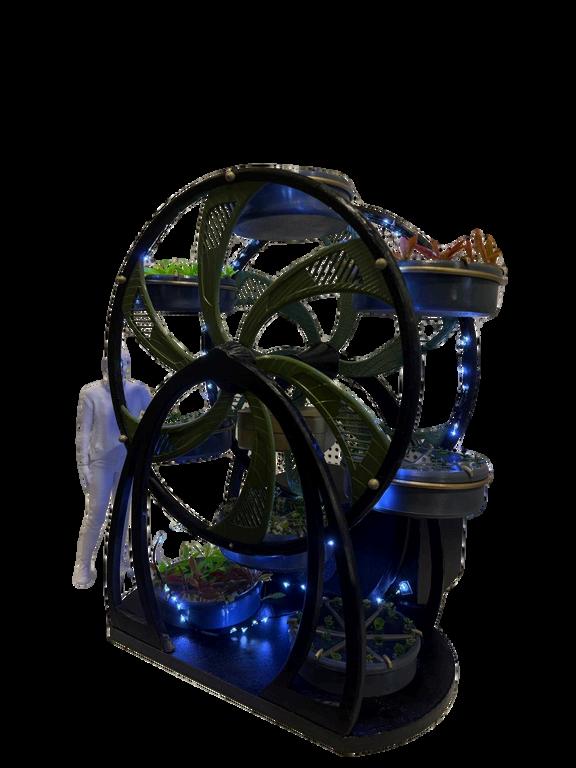
Houses the overall 12V power supply, DC motor, its respective cables as well as the fairy lights. The housing itself is split into 3 section, out of which only 2 are used. The middle section is used to house the power supply for the motorised wheel and its respective cables. The left section is used to house the excess lengths of the fairy lights. Furthermore, a hole has been deliberately drilled into the housing on the same side as the motor mount This opening serves as a dedicated outlet for the fairy lights to pass through. Once threaded through the hole, the lights can be neatly routed and secured along the inner facing edges of the Ferris wheel, enhancing its visual appeal while keeping the wiring organized and unobtrusive
3D printed and the caps will hold the planter holder in place The thickness of the planter holder was modified to be much thinner than the hole cut from the wheel of the ferris wheel so that it allows space for the planter holder to turn smoothly as the wheel itself moves. In addition, the length of the planter holder and caps are carefully tapered such that it does not collide with the stand of EcoNova, which could potentially restrict the movement of the wheel and hence the accessibility of the planters.
The fairy lights are wrapped along the inner frame of the Ferris wheel structure, serving a dual purpose Visually, they enhance the aesthetic appeal of the system, adding a decorative and engaging element. Functionally, they are used to simulate grow lights, which are an integral part of our product concept , ensuring that the plants receive adequate lighting to support healthy growth in an indoor or low-light environment.
For implementation, the motor housing is strategically positioned directly behind the Ferris wheel structure. In this configuration, the smaller drive wheelmounted onto the shaft of the DC motor is aligned to make direct contact with the larger Ferris wheel. This contact enables a friction-driven transmission system, where the rotation of the smaller motorised wheel transfers motion to the Ferris wheel When the DC motor is powered on, it drives the smaller wheel to spin Through the contact between the two wheels, this rotational motion is transferred to the Ferris wheel, causing it to rotate accordingly. This setup allows for a simple yet effective means of driving the Ferris wheel without the need for gears or belts, relying solely on friction between the two wheel surfaces
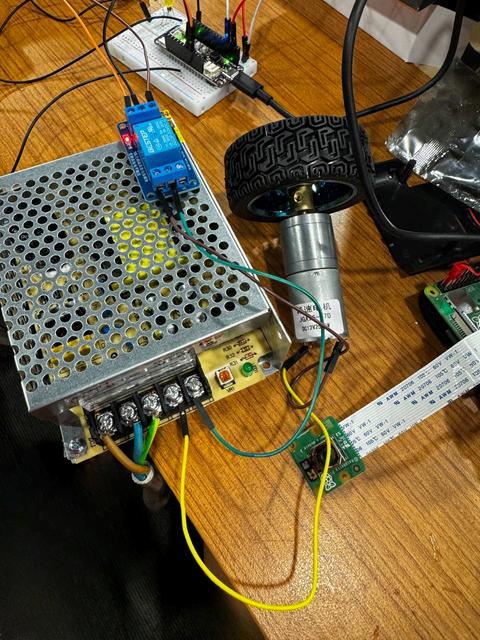
The setup includes a 25 RPM DC motor connected to a smaller wheel, powered by a 12V power supply and regulated using a variable resistor to control its speed. The motor is wired to the power supply and variable resistor through soldered connections.
Serial lights are also powered by the same 12V source. An ESP32 microcontroller is connected to a water sensor and an LED light via a breadboard, enabling it to monitor water levels and trigger the LED alert when water is low. Separately, a Raspberry Pi 4 connected to a Raspberry Pi Camera Module 3 is powered through a laptop, handling image processing or monitoring tasks independently from the motor and sensor system.
EcoNova utilises computer vision as part of the project to detect whether the edible plants being grown in the different planters are at the “growing” or “ready to harvest” stage by analysing camera input received by the raspberry pi camera module 3, in real-time on the Raspberry Pi 4 The implementation combines machines learning, image processing and lightweight model deployment on an embedded system.
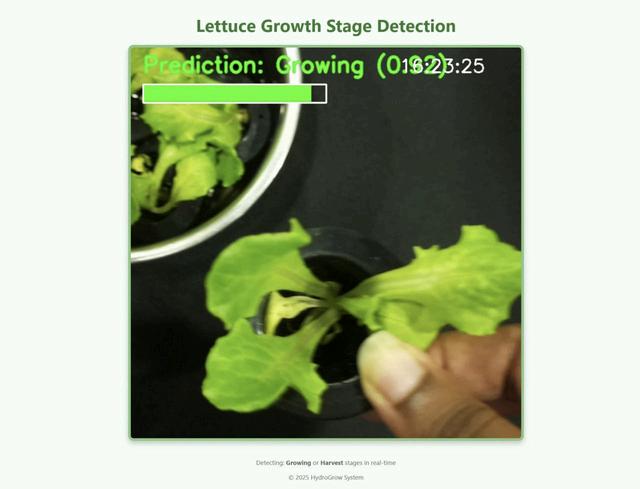
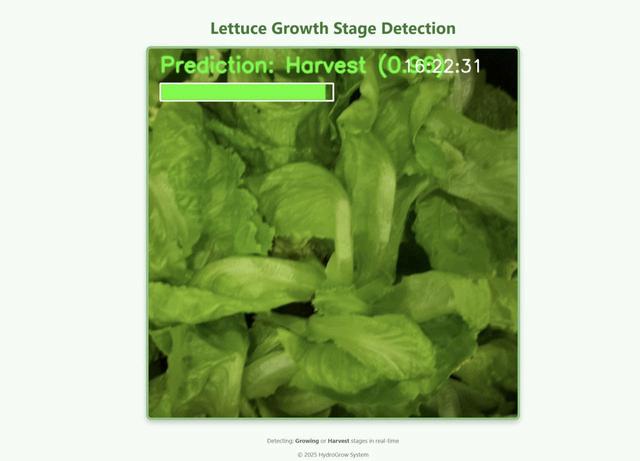
Dataset source: Images of lettuce at various growth stages were forked from existing Roboflow datasets.
Classes: Two labels were defined: “growth” and “harvest”
Annotation: Object detection was used and thus each image was annotated by a bounding box drawn around the lettuces. The dataset was then exported in a format suitable for training which was in YOLOv5 in this scenario.
After training, the model needed to be converted into a format the Raspberry Pi could handle The model was then exported to a TensorFlow Lite file (.tflite) which is optimised for embedded and edge devices Tools from PyTorch exported to TFLite using export .py.
The trained model was deployed to the Raspberry Pi for real-time analysis using Python Key libraries included tflite runtime for loading and running the TensorFlow Lite model, OpenCV for capturing and preprocessing images, and libcamera-still for command-line image capture from the Pi Camera
To make sure the system was viewable remotely, a simple-flask based web server was created to showcase the live preview of the camera feed casted from the raspberry pi camera. The user interface was to show a real-time class which displays the class labels and the confidence scores constantly being reflected as it detected different plants
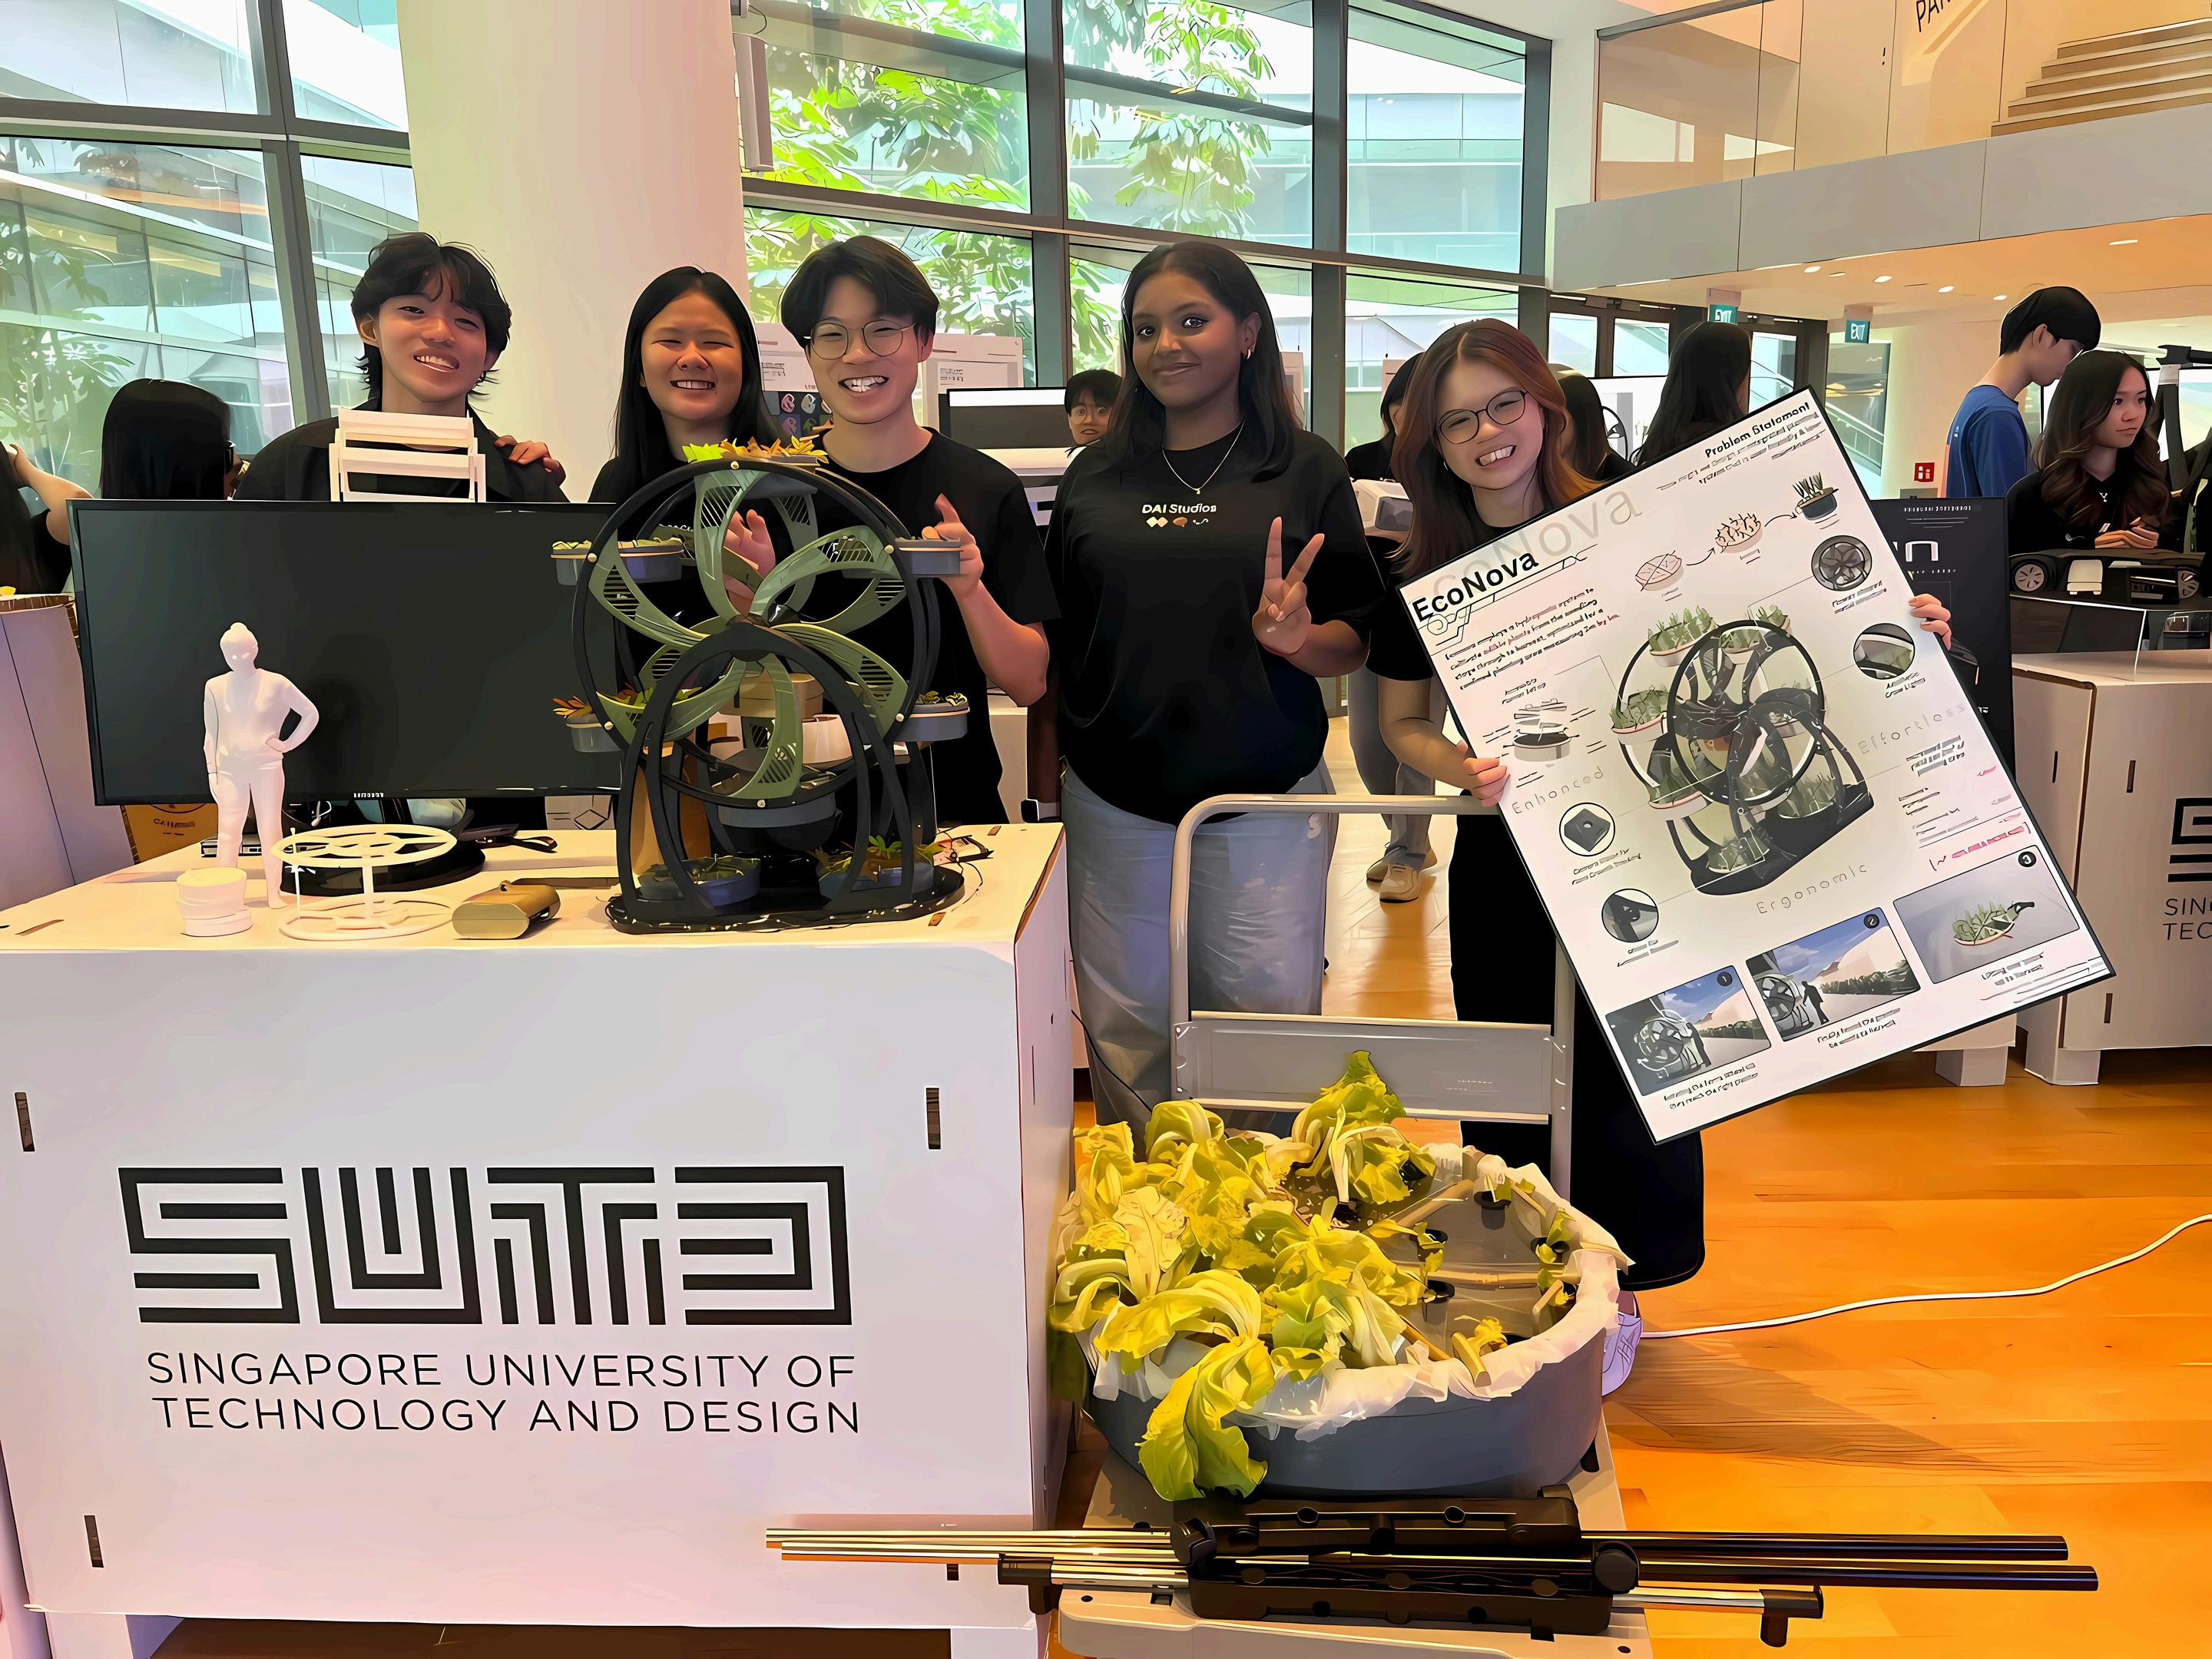
Creating a product for Ron and Jen Kaufman has been a fulfilling and insightful journey. While we encountered challenges along the way, each phase of the project brought valuable lessons and skills. Our experience can be distilled into three core takeaways:
One of the earliest lessons we learned was the importance of clear communication with clients. Through requirement gathering and ongoing dialogue, we learned how to align our scope with the client's vision and expectations Establishing common ground early helped us avoid misalignment later and strengthened our collaboration with Ron and Jen.
Our ideation process evolved significantly we discovered that jumping into initial ideas early helped us identify pain points and improve iteratively. Throughout this process, we also developed a wide range of technical skills, from 3D printing and CAD modeling to hands-on fabrication and coding
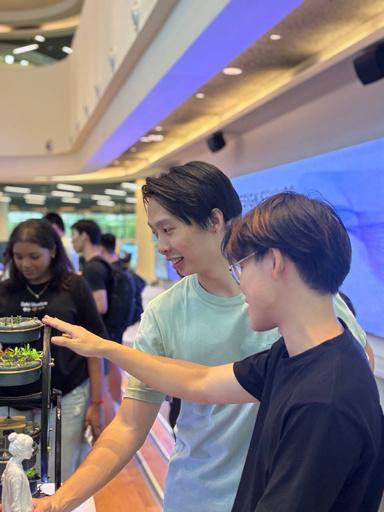
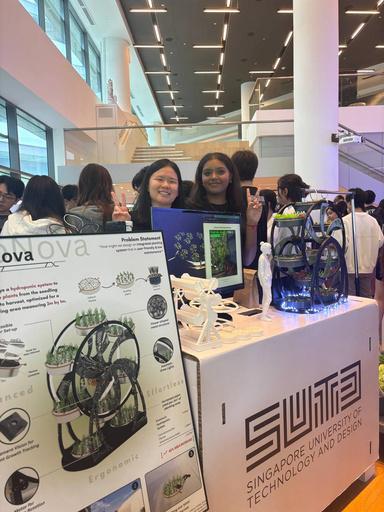
Beyond building the product, we learned how to communicate its purpose and value. Through presentations, poster design, and booth setup, we explored how to effectively convey our narrative and resonate with our audience. It wasn't just about what we built it was about why it mattered.
References:
Kratky, B A (2009) Three non-circulating hydroponic methods for growing lettuce In Proceedings of the International Symposium on Soilless Culture and Hydroponics (Acta Horticulturae, No. 843, pp. 65–72). International Society for Horticultural Science.
Appendix:
EcoNova - PDS shared drive (contains all the materials including presentation deck and videos)
We would like to extend our heartfelt appreciation to Professor Michael Reeves, Wei Lek, and Hunn Wai for their unwavering support, insightful guidance, and continuous encouragement throughout the course of this project. Their deep expertise and thoughtful feedback played a pivotal role in shaping our thinking, challenging our assumptions, and pushing us to explore new possibilities beyond our initial ideas.
Professor Michael Reeves' clear direction and constructive critique helped us stay grounded and focused, while Wei Lek’s attention to detail and practical insights were invaluable in refining our technical execution. Hunn Wai’s creativity and emphasis on design thinking inspired us to approach our work with both curiosity and purpose.
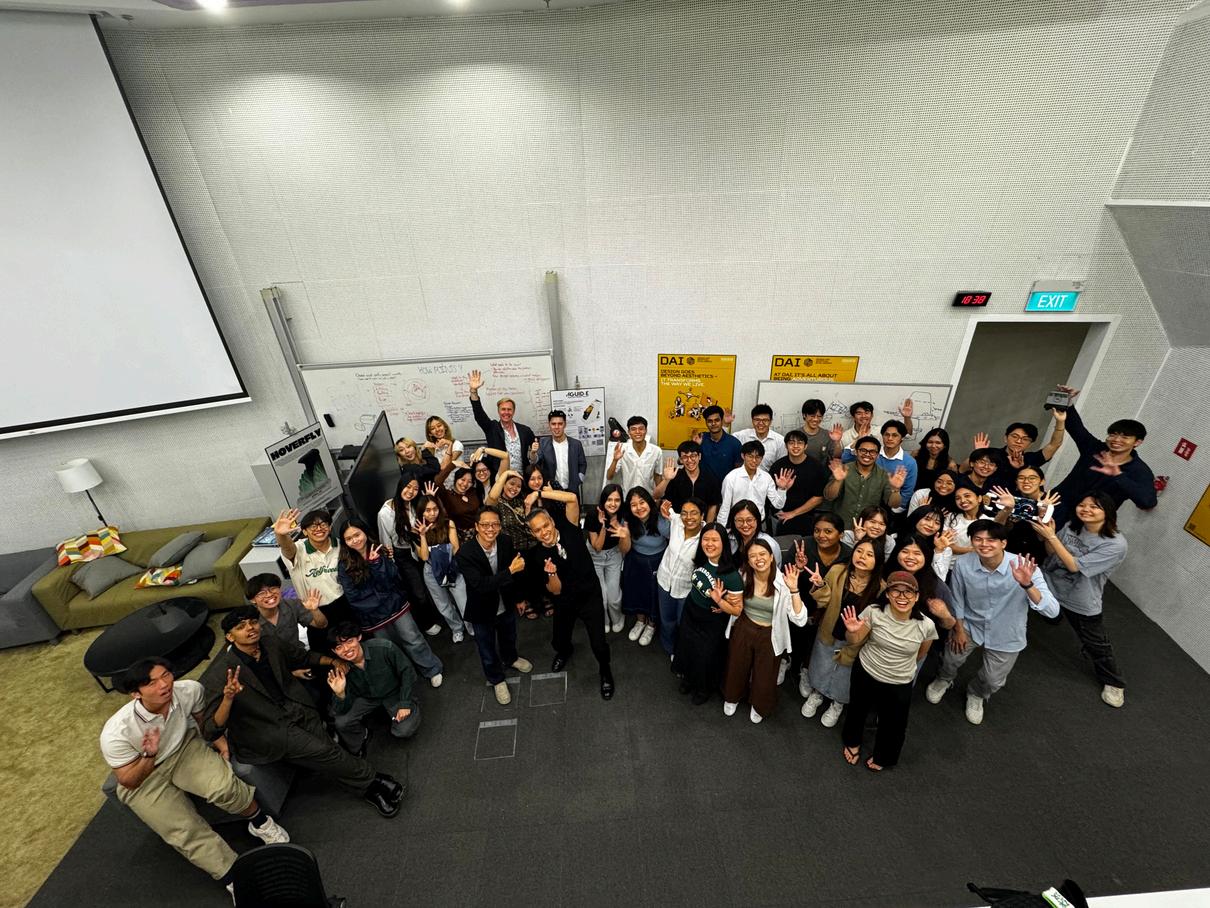
We are deeply grateful for the time, effort, and passion they dedicated to mentoring us. Their commitment not only enriched our learning experience but also motivated us to strive for excellence. This project would not have been possible without their collective guidance and belief in our potential.