4 minute read
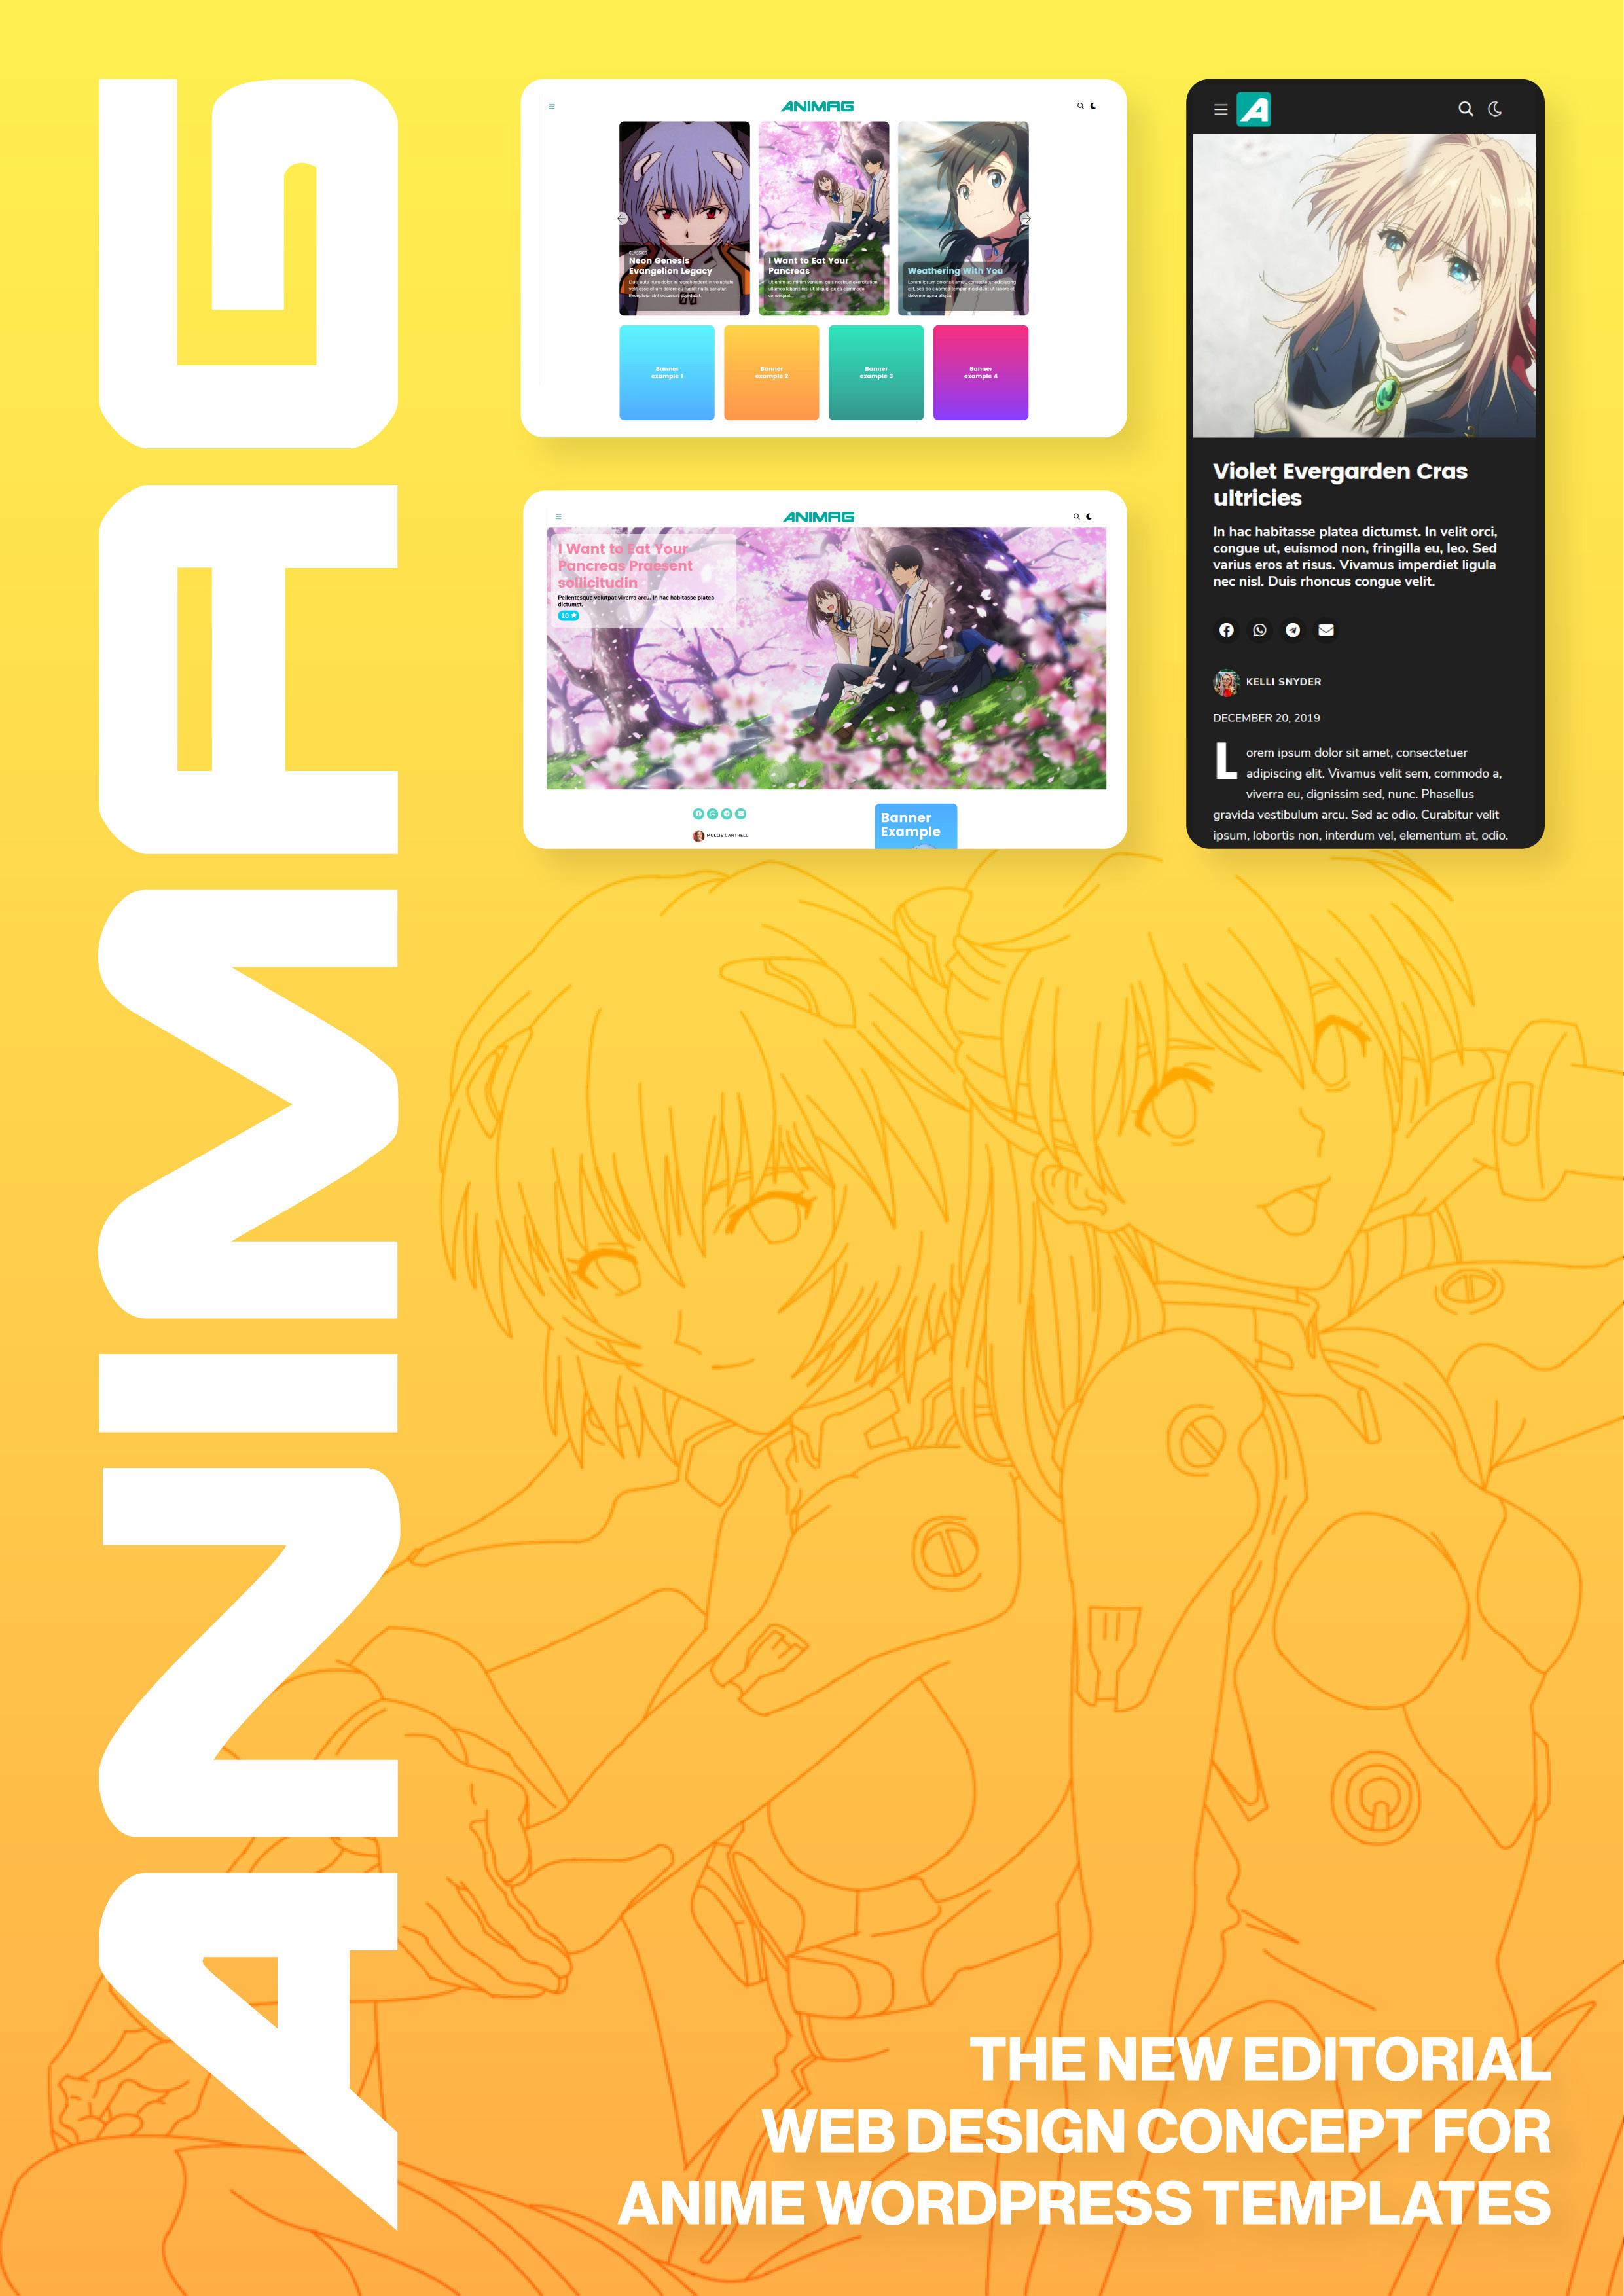
Home Slider

Social icons background: bg color of the circle of the share icons in posts.
.10
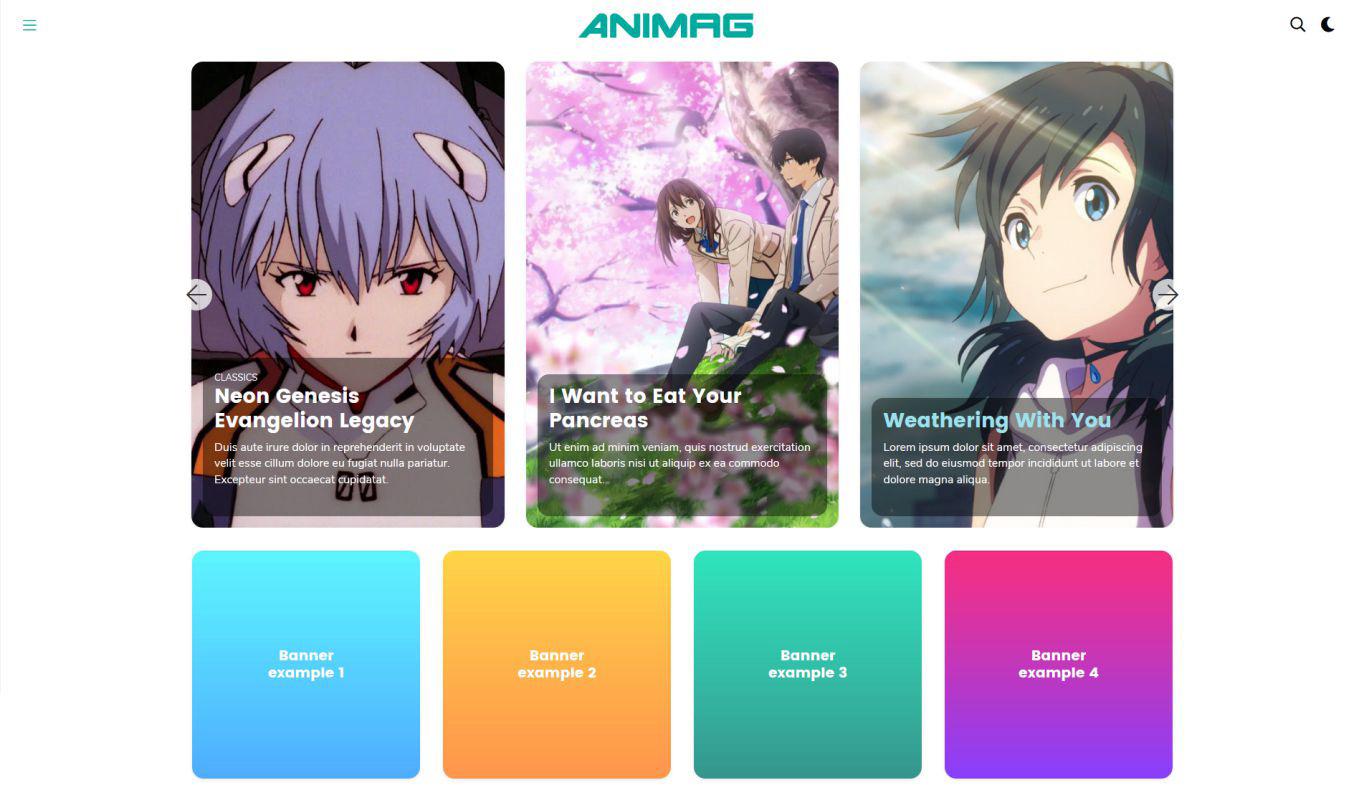
You can enable a slider for the homepage and add the slides what you want in columns, uploading image, setting the titles, color and linking them to anywhere. In the
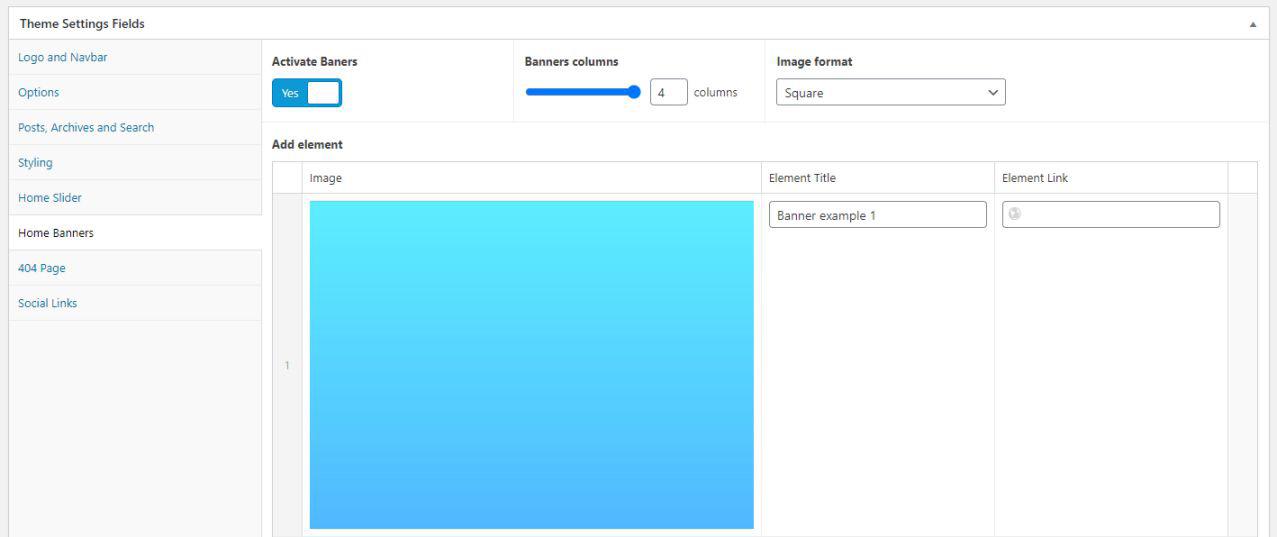
// Home Banners
The proccess is similar to slider section; simply add images and fill the fields, and choose the suitable format of images between rectangle or square. The result displays as section in homepage, below the main slider.
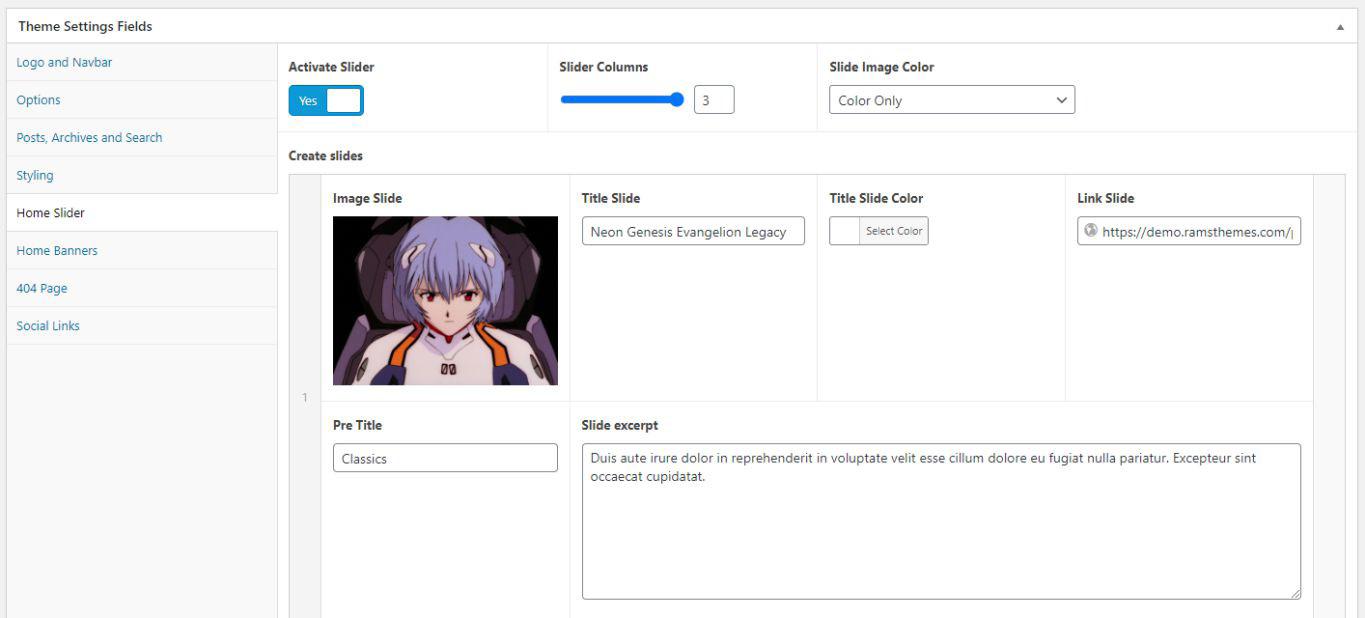
same way of post images, the slider images can be displayed in three modes: Black and White Only, Black and
.11
White to Color on hover, or Color only.
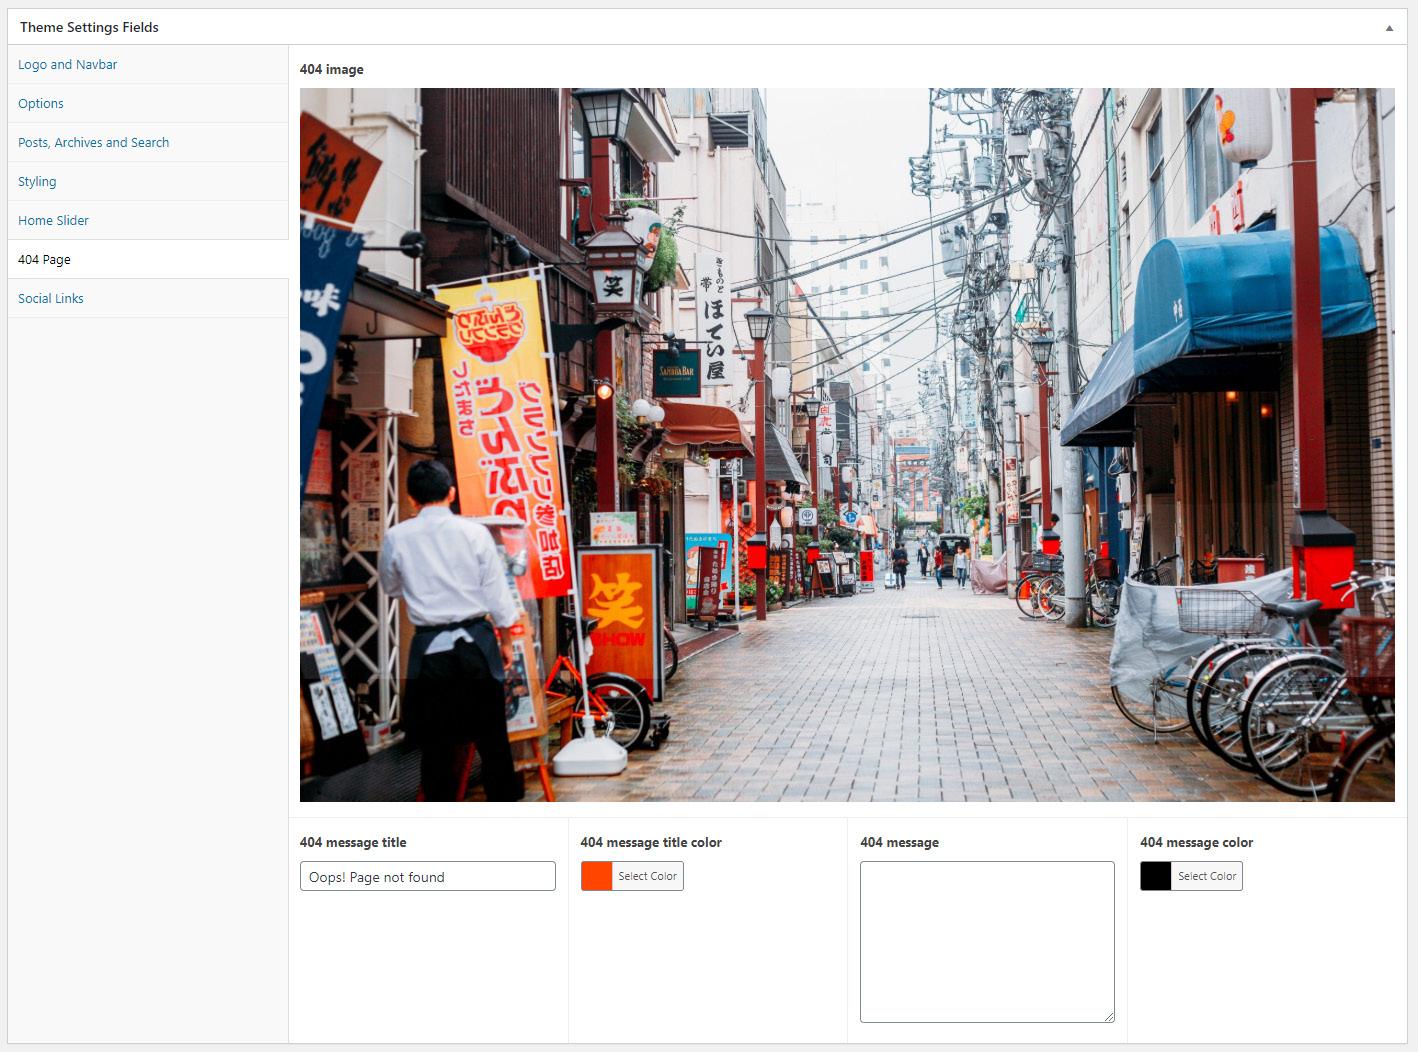
// 404 Page
.12
You can customize the classic Error page. Simply add an image as background (1920×1080 recommended), add a title and a custom message to define an original variant of this page.
// Social media links
.13
You can simply fill the fields with the complete url’s of your fav and active social media profiles. Use to display in an HTML Widget in the footer section or another location with the shortcode
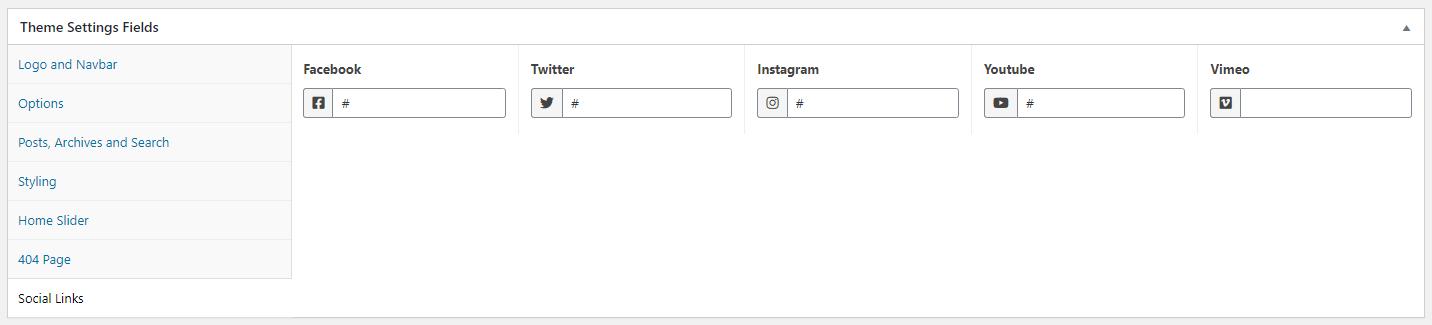
[social]
// Posts
.14
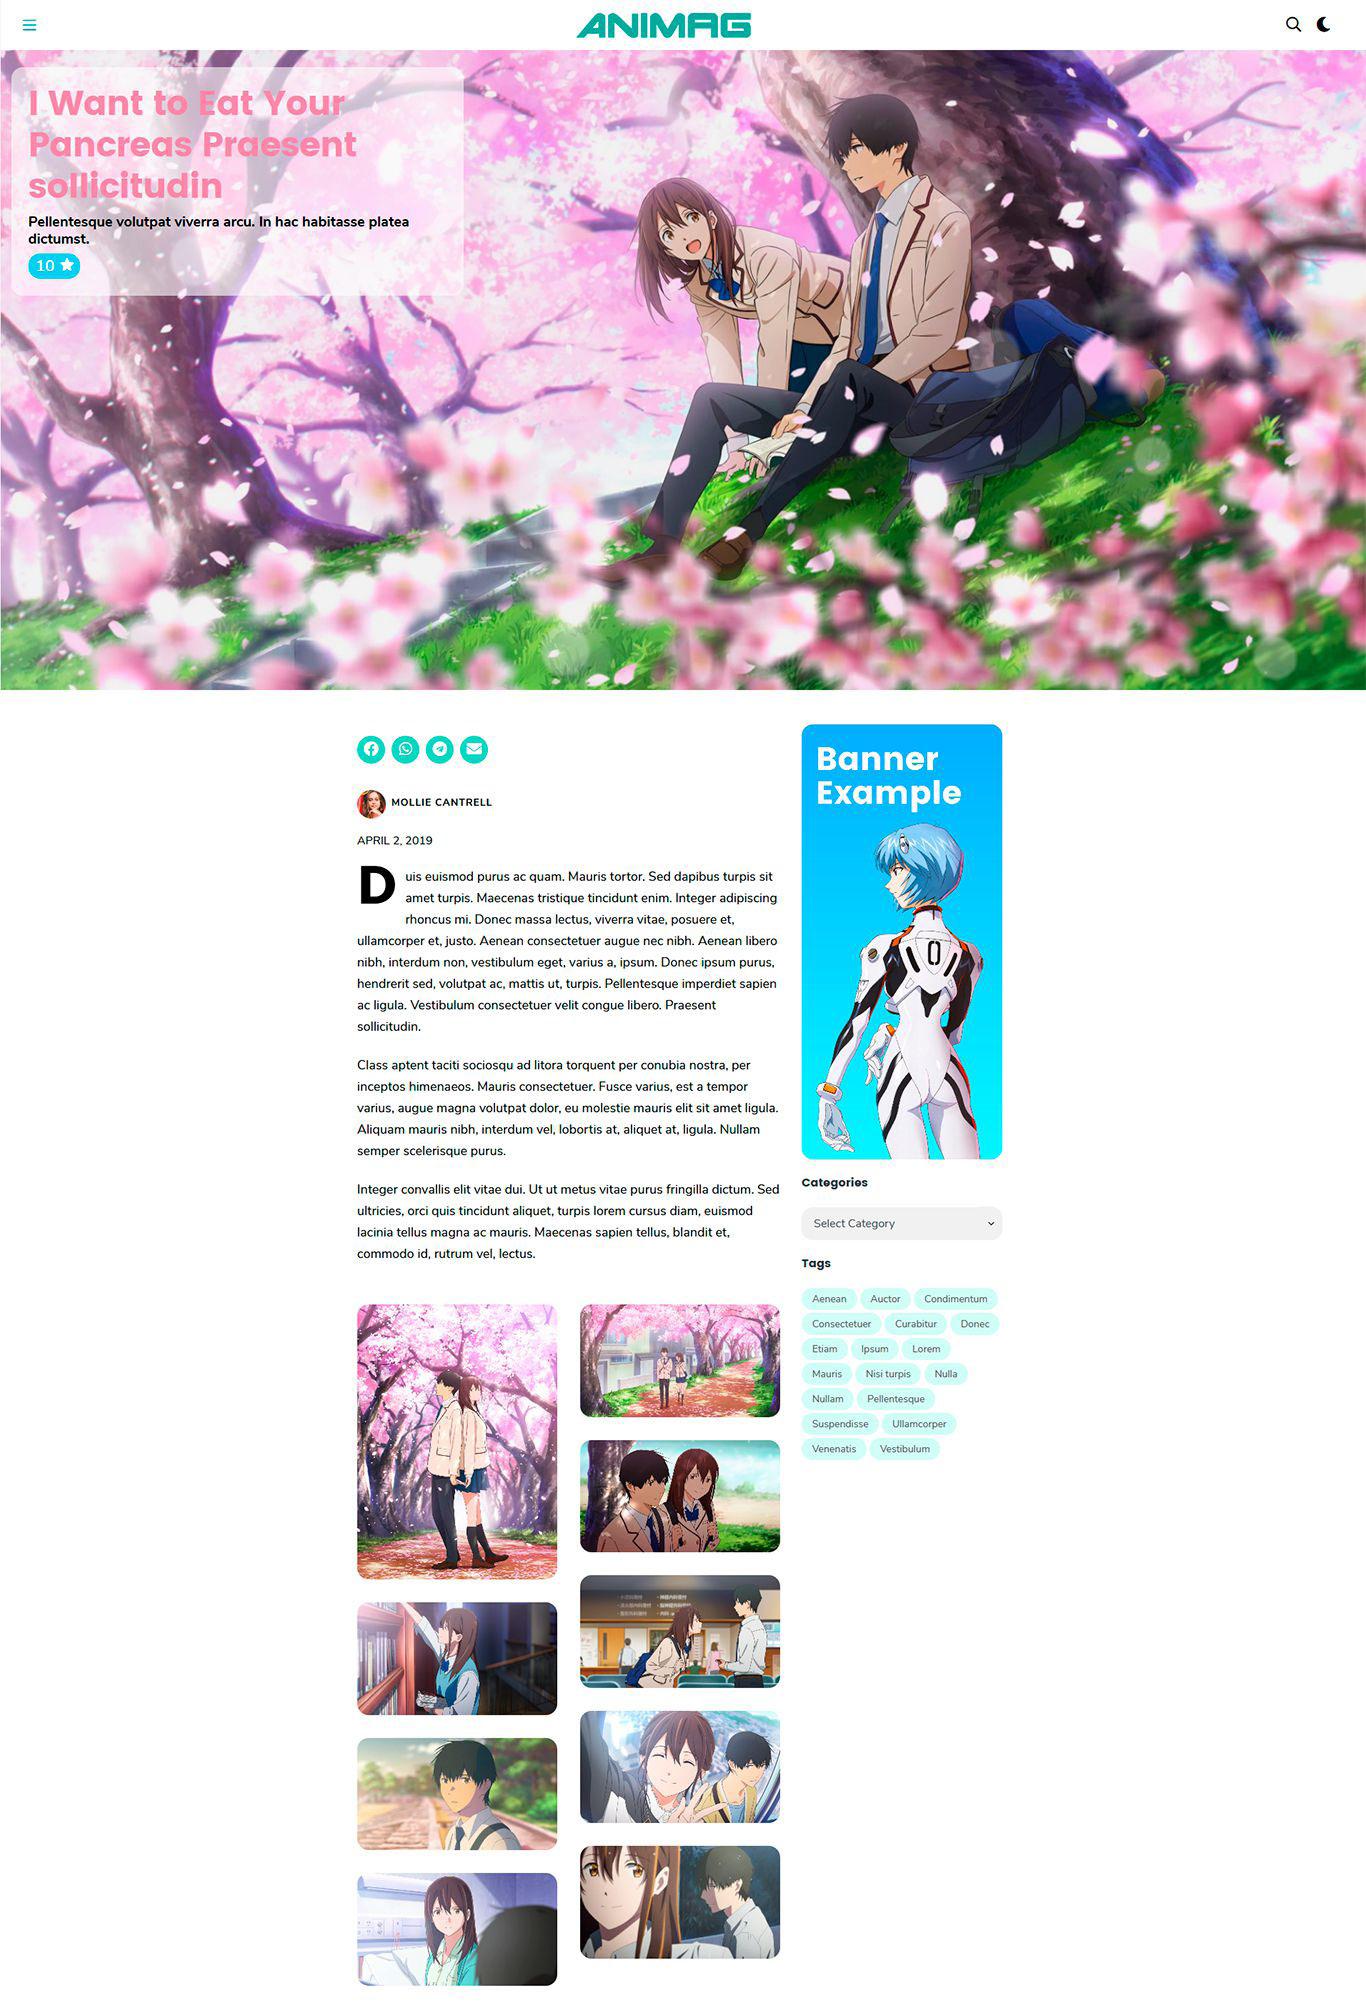
As addition of the common proccess of building a post, you can select the color and size of the titles, and colors for the excerpt background and text. The result is individual for every post.

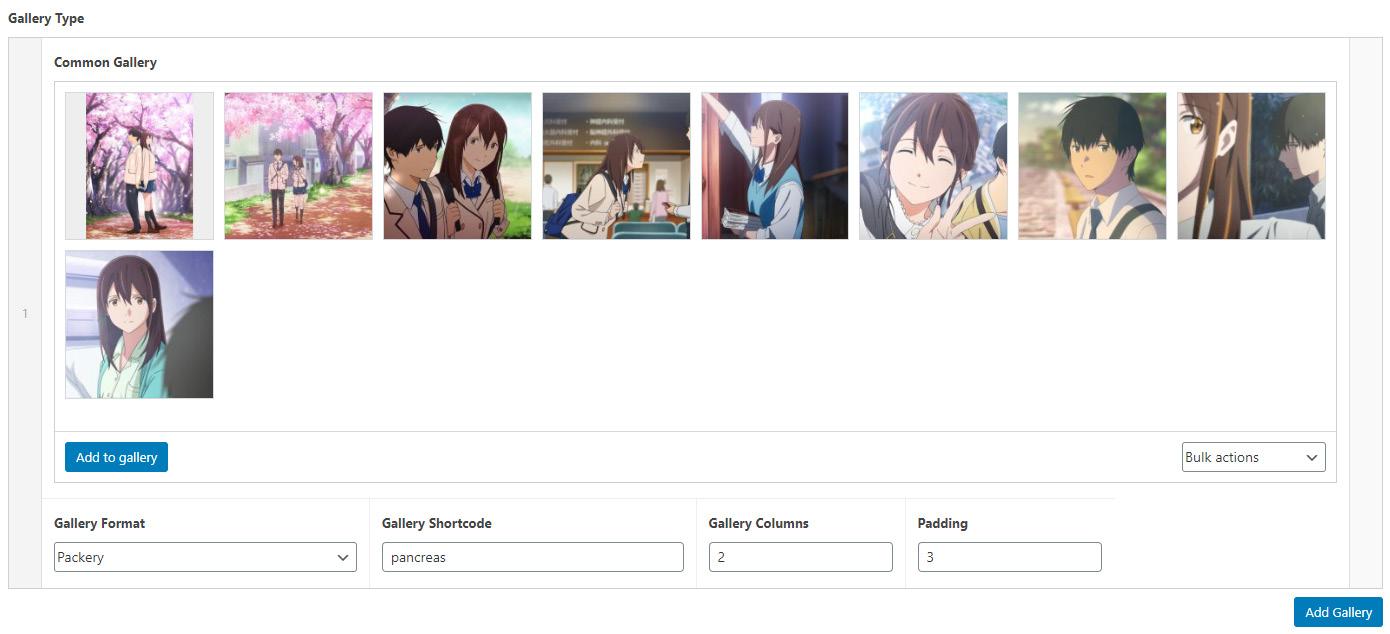
// Gallery Shortcode
.15
In posts or reviews, you can add the number of galler- ies you like selecting three types. The common Gallery scheme (traditional image squares in columns), the Packery scheme (similar to Masonry fit style) and Flickity, which converts the gallery in a Slider with full fluid images or centered pictures. You can use all types in the same post, because every gallery is generated by the shortcode RAMSGALLERY and an ID. Example: select and upload the imgs you like and, in the Gallery Shortcode field, you can put whatever you want, i.e testgallery. Then, the shortcode that you’ll put on the content is And then, do that with every gallery you want.
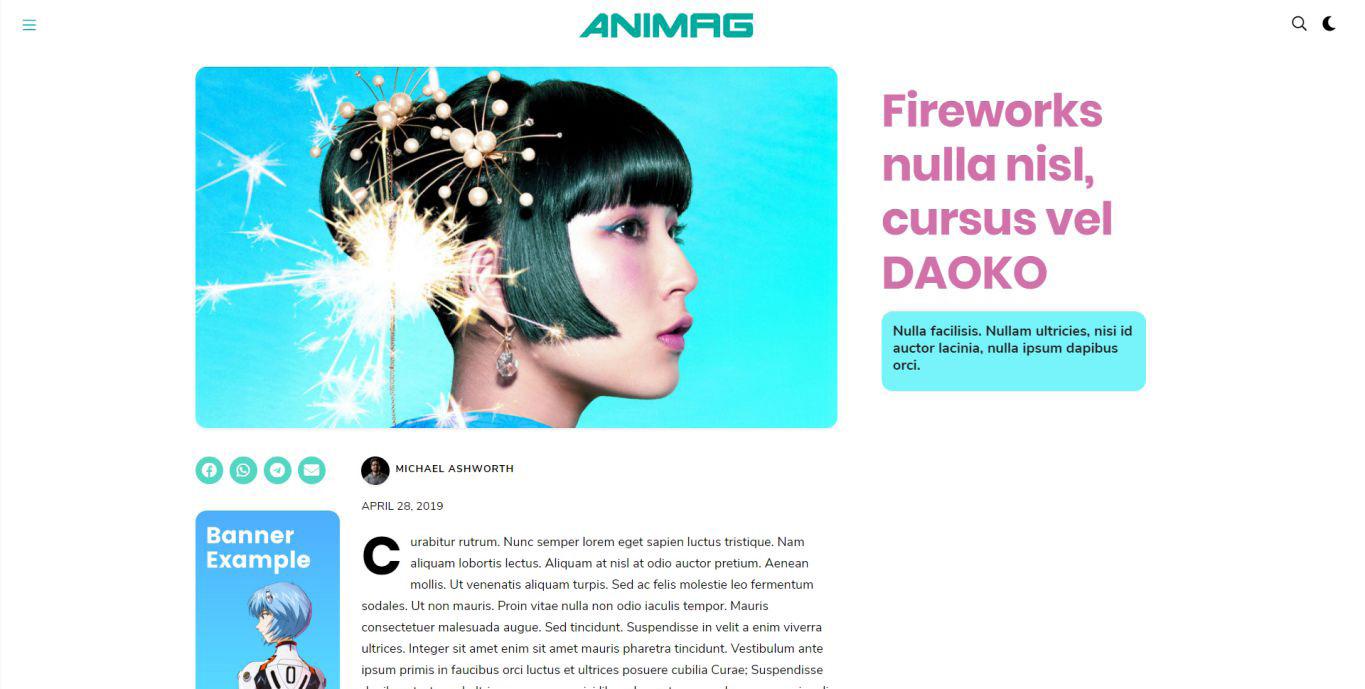
Example in demo choosing Packery type and Columns:
[ramsgallery id=”pancreas”]
and the result
//Add Authors
.16
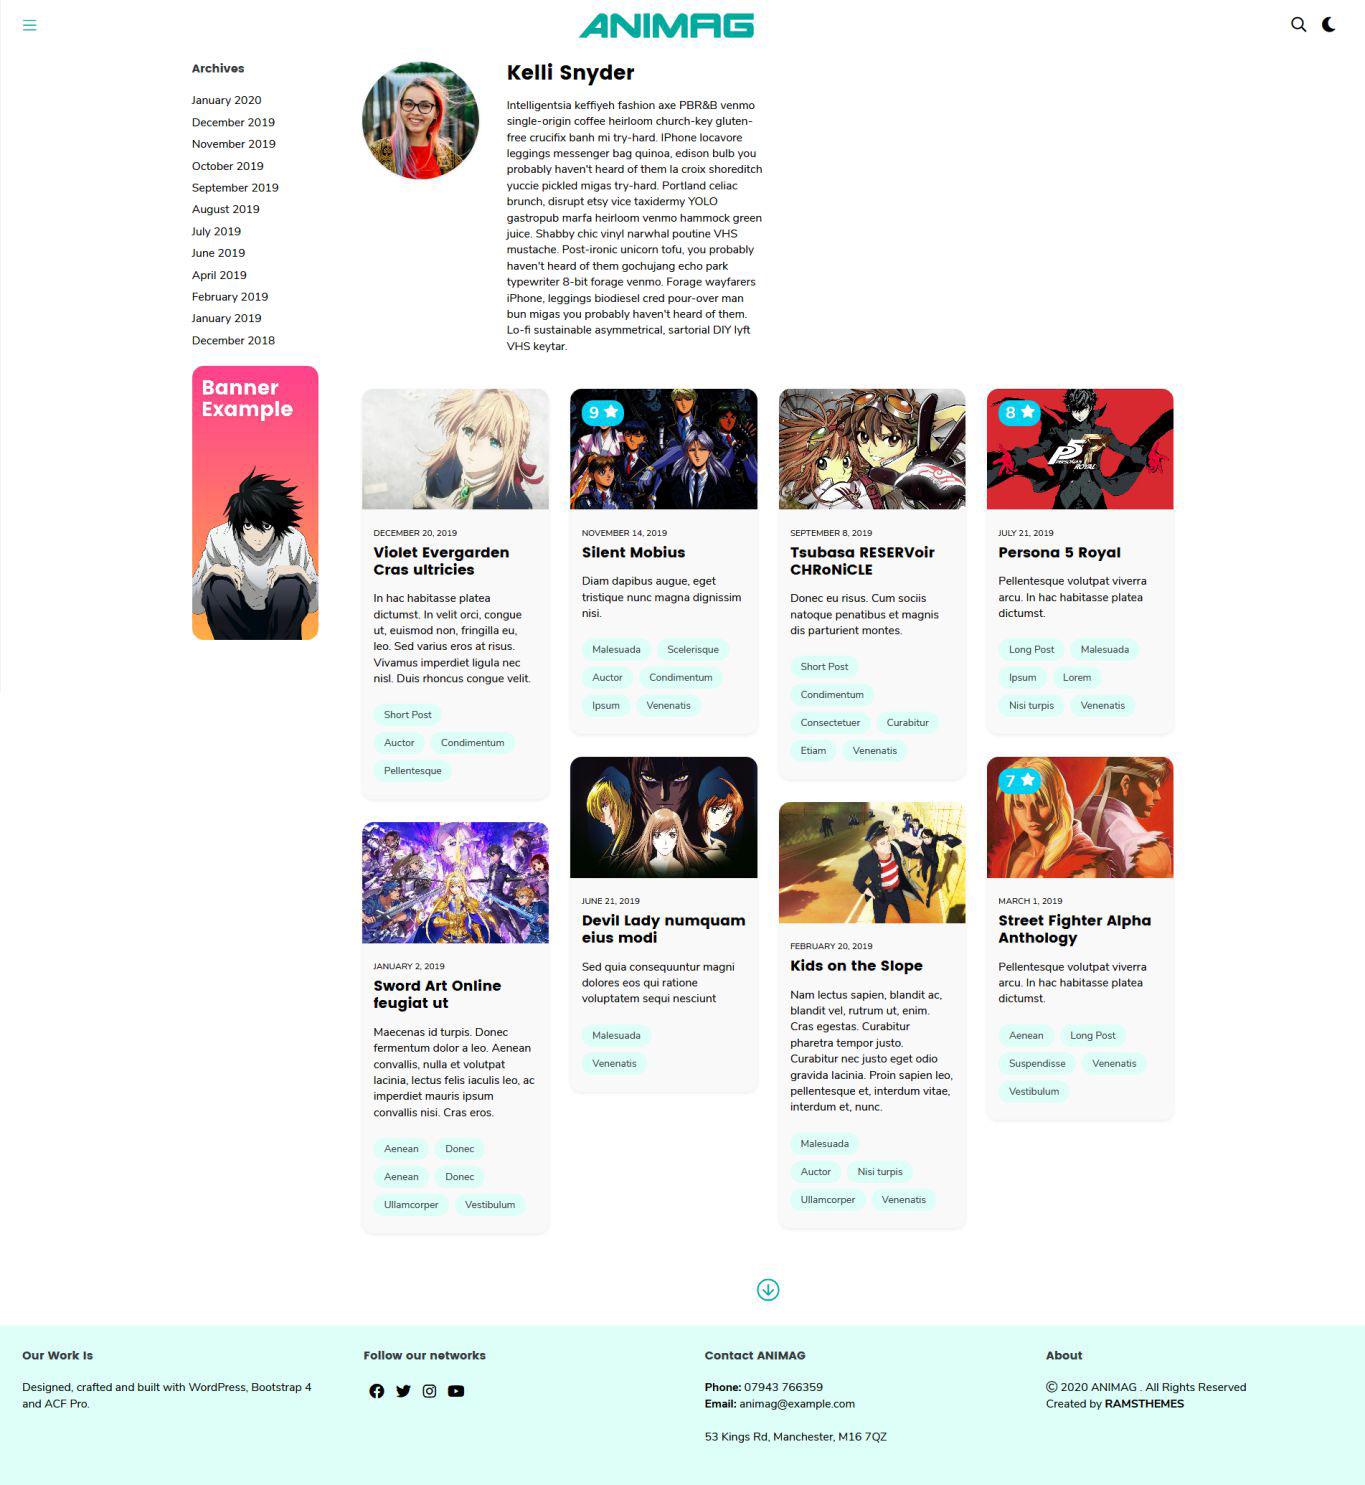
If you have a little staff of writers, everyone can have their own account as an author or editor, adding it in the Users – Your profile section. There, enter the necessary data (first name, last name, a mini biography and a personal image). Each post assigned to it or written by them will be located on its own author page.
//Reviews
.17
The process is the same as that used to create a traditional post (see the basic WordPress documentation), simply fill in the title fields, excerpt, the author of the post, add images, galleries or videos from YouTube, use a featured image and the data with which the news will be linked, such as categories and tags. In the reviews post type, the possibility of placing a score from 1 to 10 is added.

//Page Templates
.18
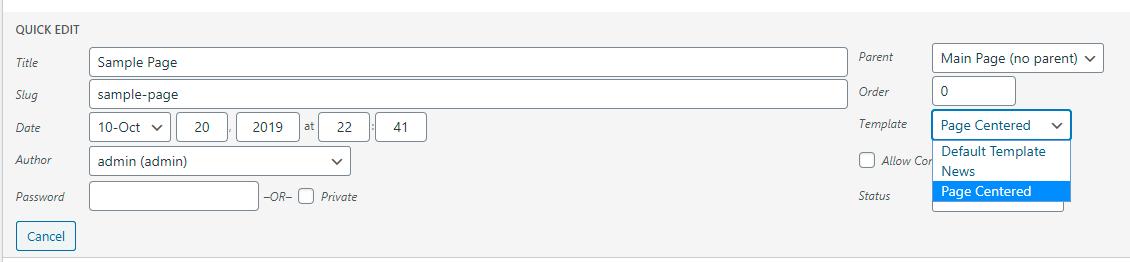
A pre-defined set of page templates are ready to use. Simply create a page with any title and select the best fit:
News: display a list of all the added posts (without Re views) in a paged archive view.
Page Centered: display a full-width featured image and centered column content.
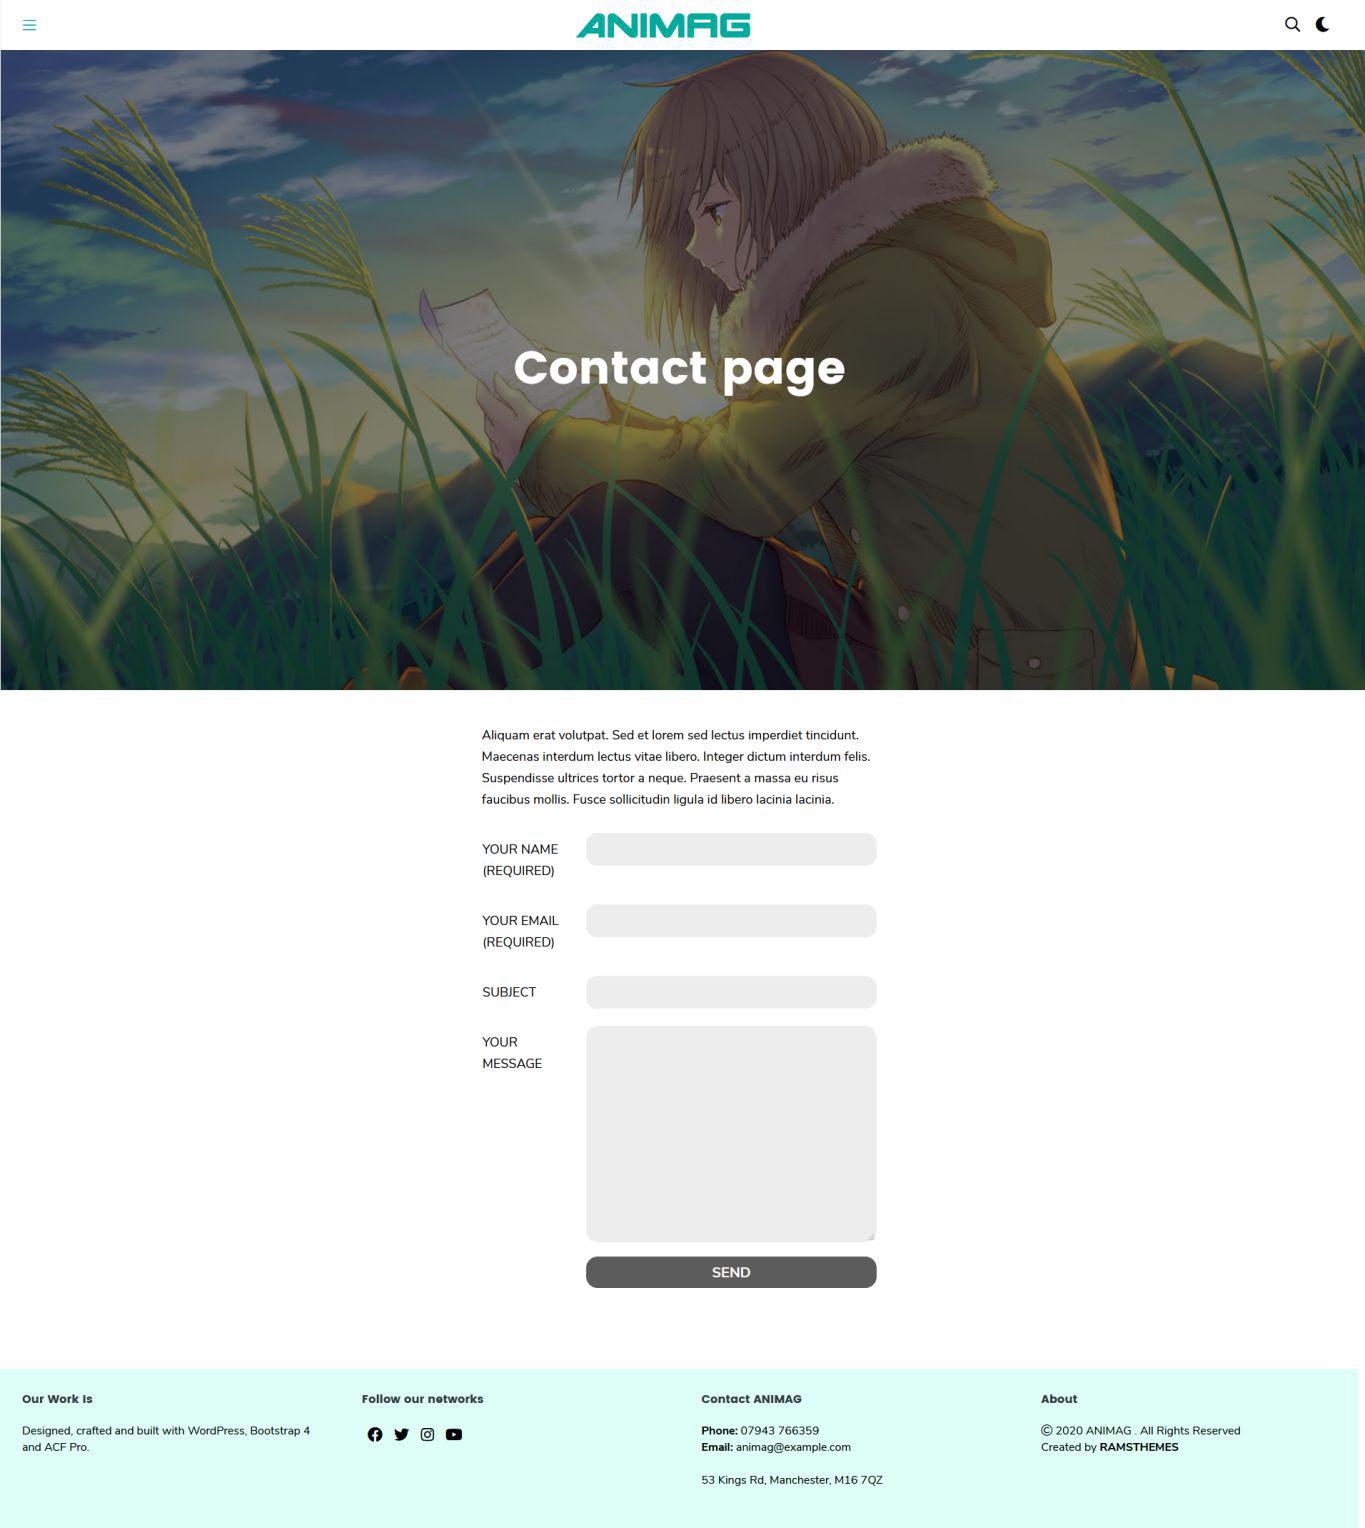
//Contact Page
.19
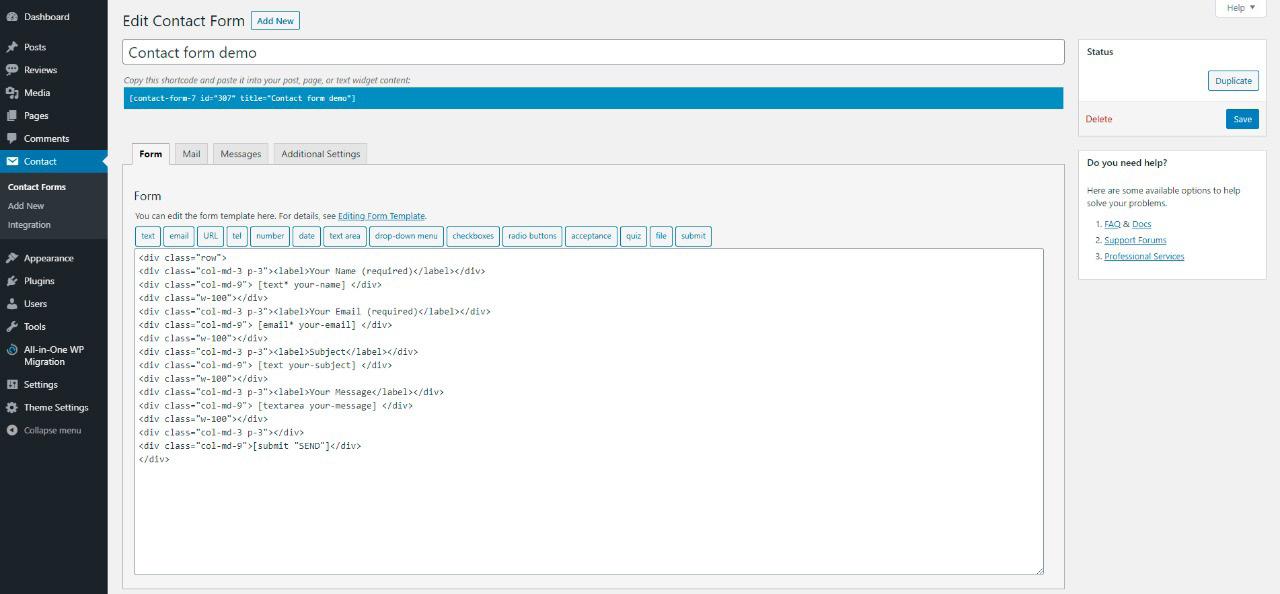
First, activate the Contact Form 7 plugin and add a new form.
To display the form exactly as in the demo, copy and paste the styled code:
<div class=”row”> <div class=”col-md-3 p-3”><label>Your Name (required)</label></div> <div class=”col-md-9”> [text* your-name] </div> <div class=”w-100”></div> <div class=”col-md-3 p-3”><label>Your Email (required)</label></div> <div class=”col-md-9”> [email* your-email] </div> <div class=”w-100”></div> <div class=”col-md-3 p-3”><label>Subject</label></div> <div class=”col-md-9”> [text your-subject] </div> <div class=”w-100”></div> <div class=”col-md-3 p-3”><label>Your Message</label></div> <div class=”col-md-9”> [textarea your-message] </div> <div class=”w-100”></div> <div class=”col-md-3 p-3”></div> <div class=”col-md-9”>[submit “SEND”]</div> </div>
Next, configure the settings (mail direction, fields received in the body mail), save changes and you can use the generated shortcode in any page. In the example, shortcode is highlighted in blue at top of page.
[contact-form-7 id=”307” title=”Contact form demo”]
* See the full configuration of Contact Form 7 in the
plugin author site.
// Sources and Credits
.20
* ACF Pro, © 2019 Elliot Condon, GNU GPL v2 or later. * Bootstrap, © 2011-2018 The Bootstrap Authors, © 2011-2018 Twitter, Inc., MIT. * PACE, © 2013-2018 HubSpot. * Infinite Scroll, © 2019 metafizzy, GNU GPL v3. * Packery, © 2019 metafizzy, GNU GPL v3. * Flickity, © 2019 metafizzy, GNU GPL v3. * Font Awesome, © Fonticons, Inc. * Bootstrap Ekko Lightbox, © 2019 ashleydw, MIT. * Bootstrap Comment Walker, 2017 Aymene Bourafai, GNU GPL v2. * Bootstrap Gallery, 2016 Edward McIntyre – @twittem, Brandon Hubbard, GNU GPL v2. * Simplebar, © 2019 Adrien Denat, MIT. * TGM Plugin Activation, 2016 Thomas Griffin, @GaryJones, @jrfnl, GNU GPL v2.
Images of users on the demo page are free-downloaded from Unsplash.