4 minute read
Using margins to modify the space between your text

Using margins to modify the space between your text
In this exercise, you will work with the CSS margin property in order to change the amount of space between your various text elements. Understanding how the margin property works and how to control it is key to understanding CSS, and in fact is the fi rst step toward CSS layout. In order to better understand all the eff ects of using margins for text, you will fi rst add the margin property to your body style.
Advertisement
1 In the body style, add the following line (highlighted in red):
body { font-family:"Trebuchet MS", Tahoma, Arial, sans-serif; font-size:100%;
margin:0 20%;
}
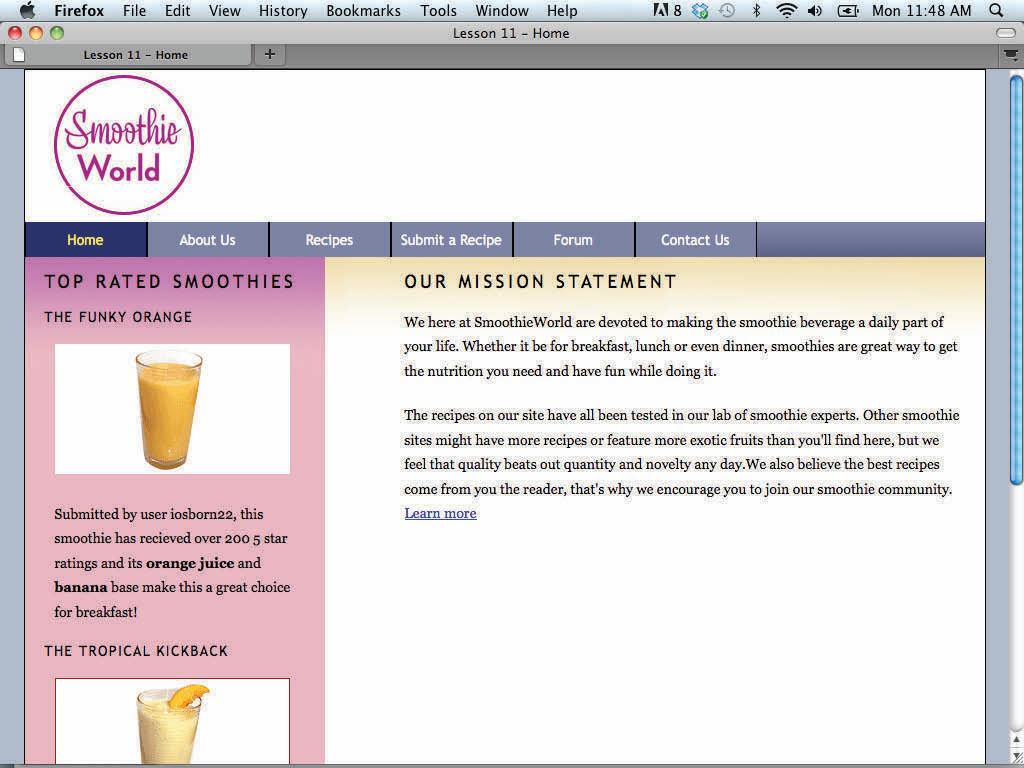
This margin property sets the margins of the page in shortcut form. The 0 value is for the top and bottom margins. The 20% value is for the left and right margins. 2 Save your page and preview it in your browser. You can see that your text is centered in your browser window. Change the width of your browser window and you see the text refl ow.
The result of changing the left and right margins of the body to 20%.
Return to your text editor.
You will now work further with margins in order to begin controlling the space between your elements. First, you will add temporary borders to your text elements in order to better understand how margins work.
3 In the style for your paragraph element, add the following line (highlighted in red):
p { font-family:Georgia, "Times New Roman", Times, serif; font-size:0.875em;
border:thin red solid;
This is the CSS border property, which allows you to add borders around your elements. You will eventually use borders as decoration in your layout, but here they are being used to help you understand how elements such as headings and paragraphs interact with each other. You will now add this same code to your h1 and h2 elements.
4 Select the border:thin red solid; code from your paragraph rule and press Ctrl + C (PC) or Command + C (Mac) to copy the code. 5 Click inside the h1 style and press Ctrl + V (PC) or Command + V (Mac) to paste the code. Repeat this step for the h2 style. 6 Save your fi le and preview it in your browser. With the red borders applied, you can now see the space between the elements more clearly.
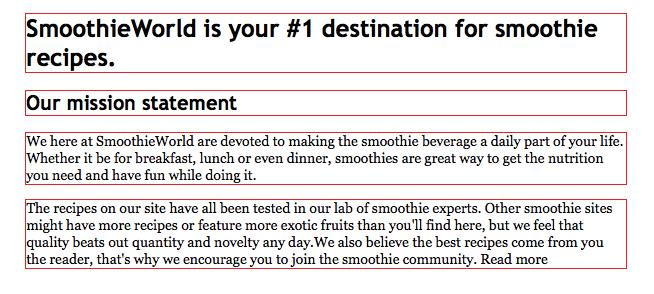
Applying borders to your elements helps you see the default margins more clearly.
This space between your paragraphs and headings is a result of the default margins as defi ned by your web browser. You have learned about browser defaults before in the font-size exercise, and this is very similar. HTML elements have default styles associated with them that include properties such pixel size, margins, bold styling, italic styling, and many others. You need to set specifi c rules to override the default styles for these properties. In this case, you will adjust the space between the heading 2 and the fi rst paragraph.
7 Return to your text editor and add the following line to your h2 element (highlighted in red):
h2 { font-size:1.25em; border:thin red solid;
margin-bottom:0em;
}
The margin-bottom property aff ects the margin spacing on the bottom of the h2 element only. However, this is not enough to aff ect the spacing between your heading and the paragraph. You also need to set the top margin of the paragraph.
8 Add the following code to your p element:
margin-top:0em;
9 Save your fi le and preview it in the browser.
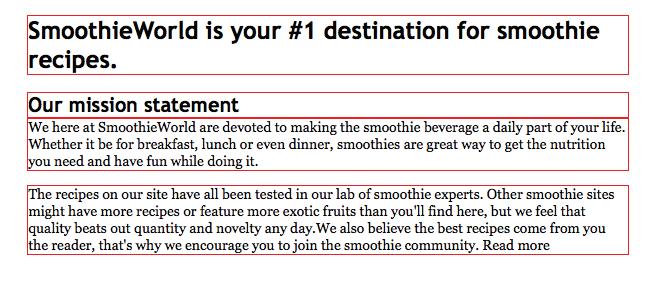
With the bottom margin of the heading and the top margin of the paragraph set to 0, the space between them has collapsed.
You can now see that the space between your heading 2 and the fi rst paragraph has collapsed. To increase space between elements, you can increase margin values. For example, you will now increase the space between your paragraphs.
10 Add the following code to your paragraph (p) element:
margin-bottom:1.5em;
Remember that 1 em in this style sheet is equal to 16 pixels, so setting a value of 1.5 ems is the same as adding 24 pixels.
11 Save your fi le and preview it in the browser.
You can now see the space between your paragraphs increase. At this point, the borders around the elements have served their purpose; however, you don’t want to lose them completely so you will comment them out. Commenting is a process that deactivates a style without removing the code. 12 Add the following code (highlighted in red) to the border rule in your paragraph element:
/*border:thin red solid;*/
The forward slash and the asterisk at the beginning and end of the code will disable this rule. However, the original code is always available in case you want to enable these borders again.