



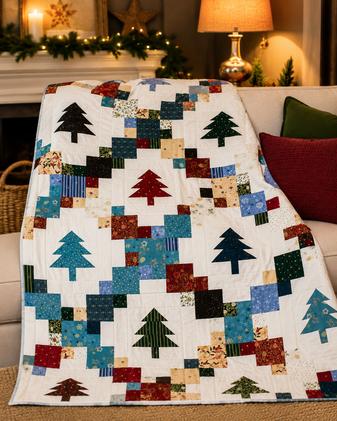
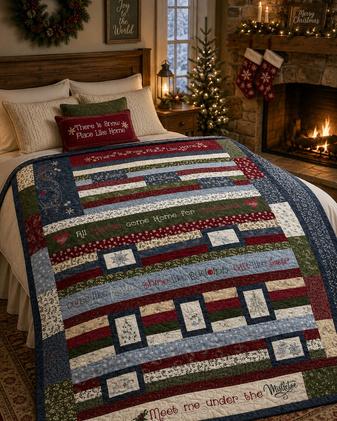

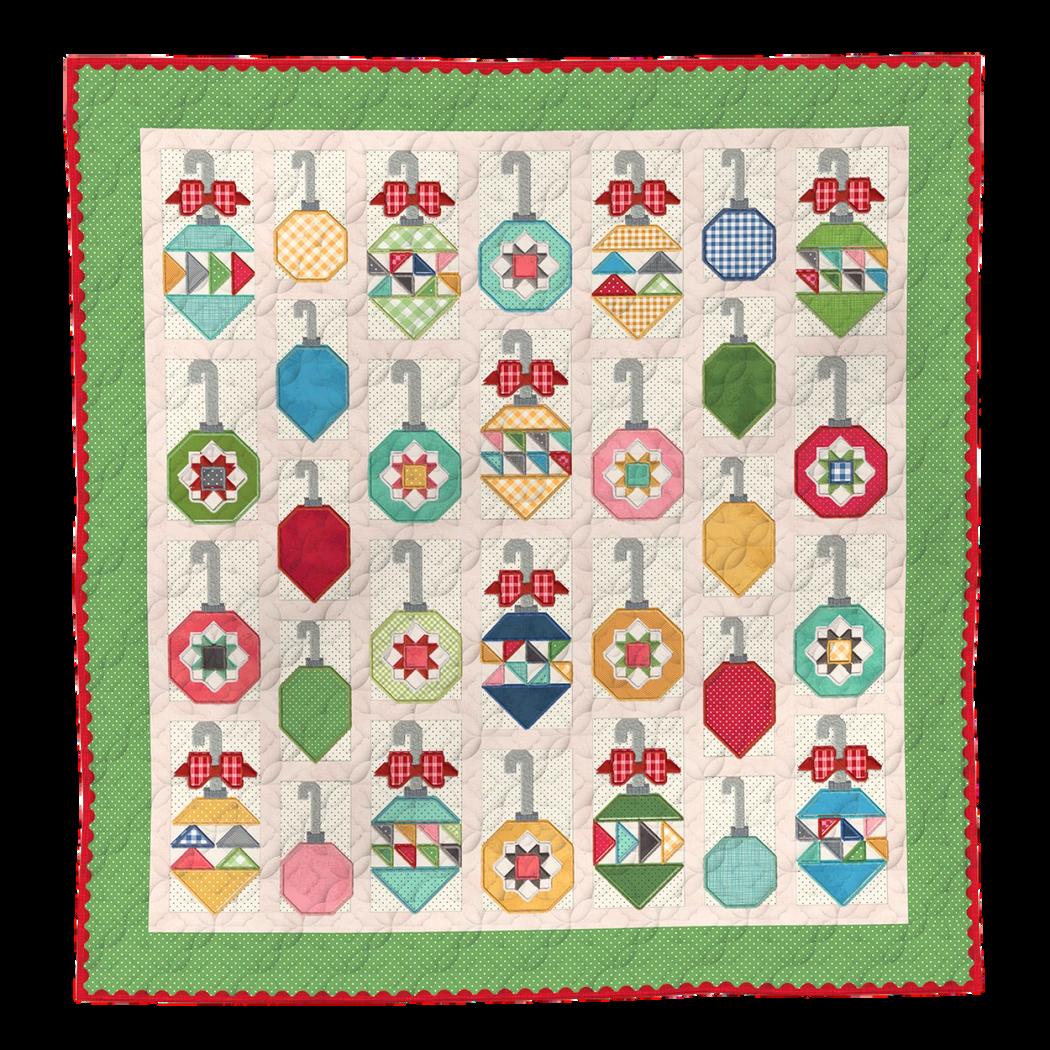
Lori Holt’s amazing Holiday Quilt - embroidery edition! Get your Christma quilt finished before December in this jolly, monthly group workshop.

tHoliday

Dates: 8/19/2026 8/26/2026 9/16/2026 10/28/2026 11/18/2026

$320 includes Pattern & Fabric
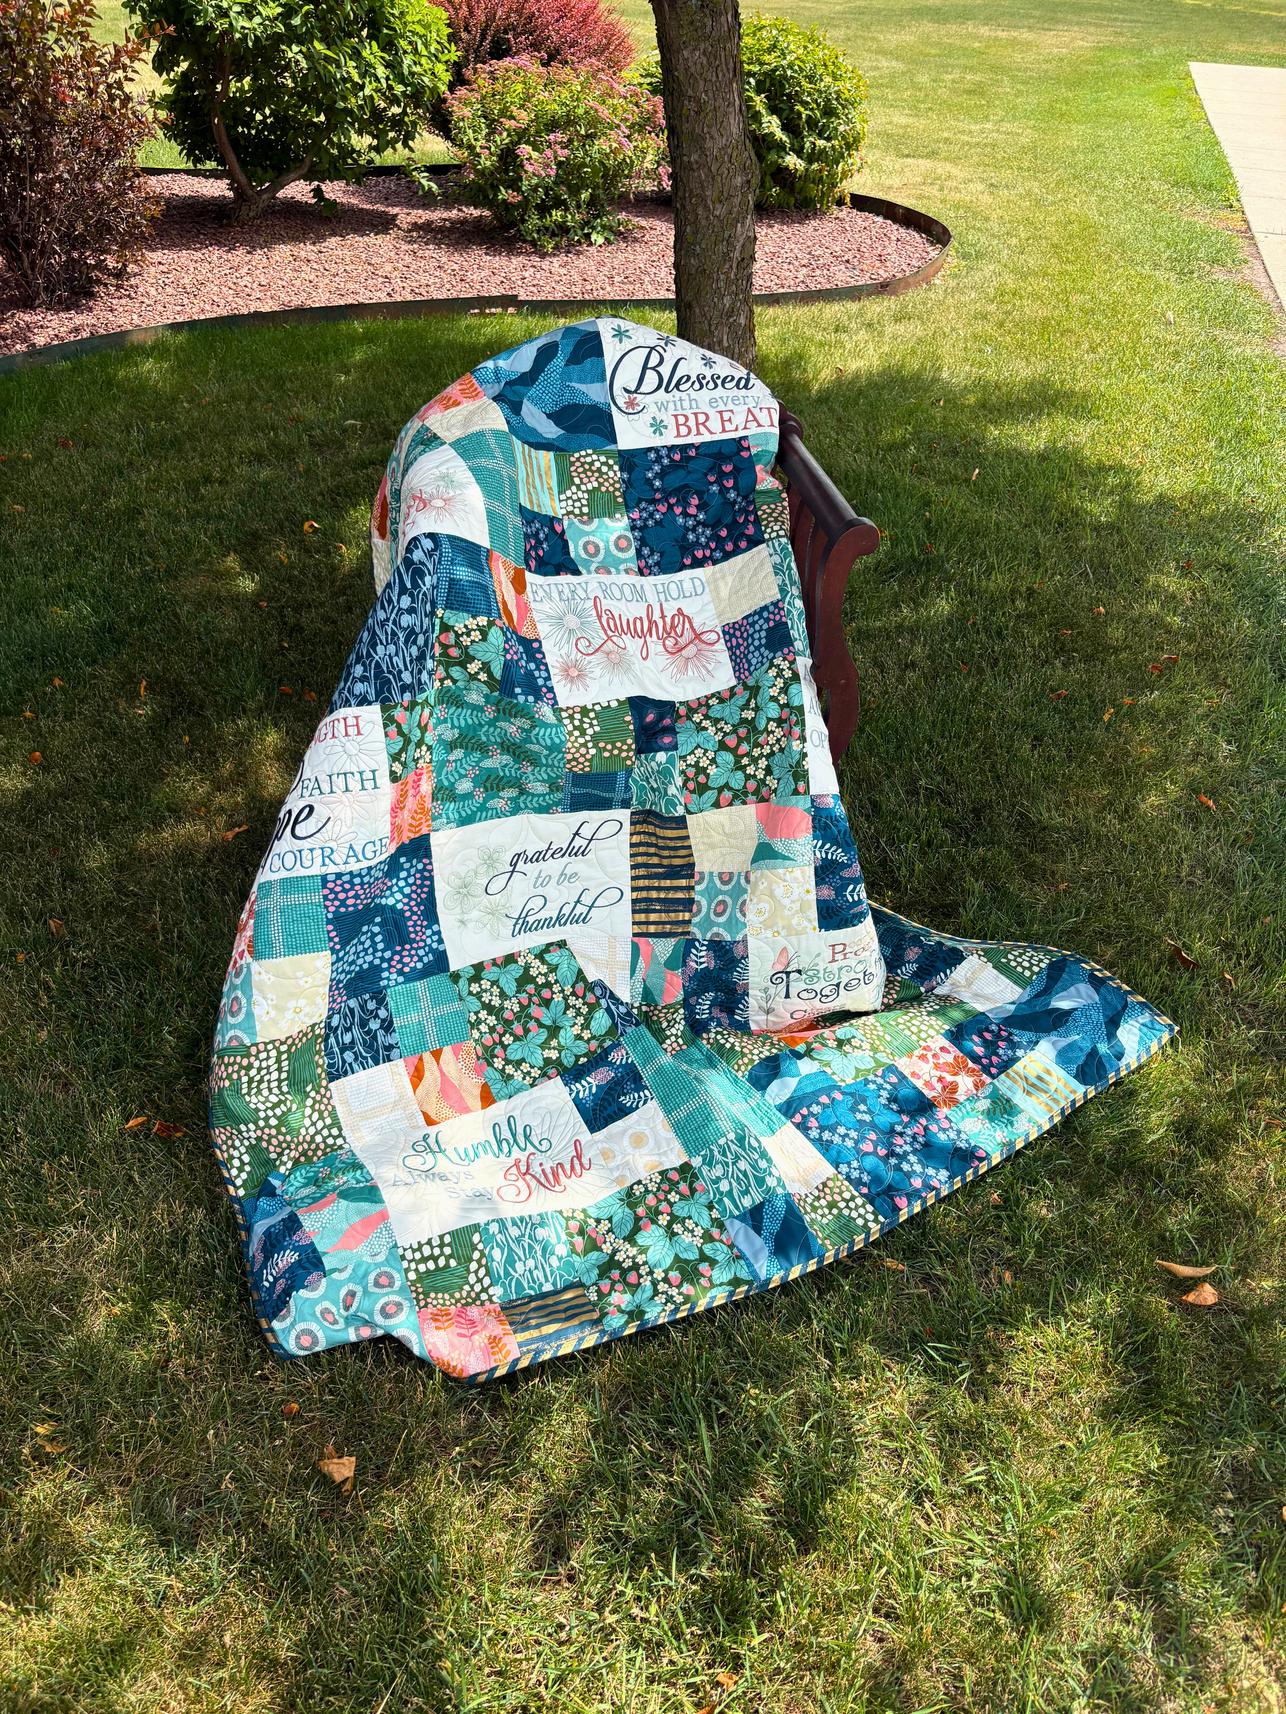
Featured Fabric: Sweet Dreams Kit available!
Techniques Used: Panel incorporation, Strip Sets, Borders Low stock!
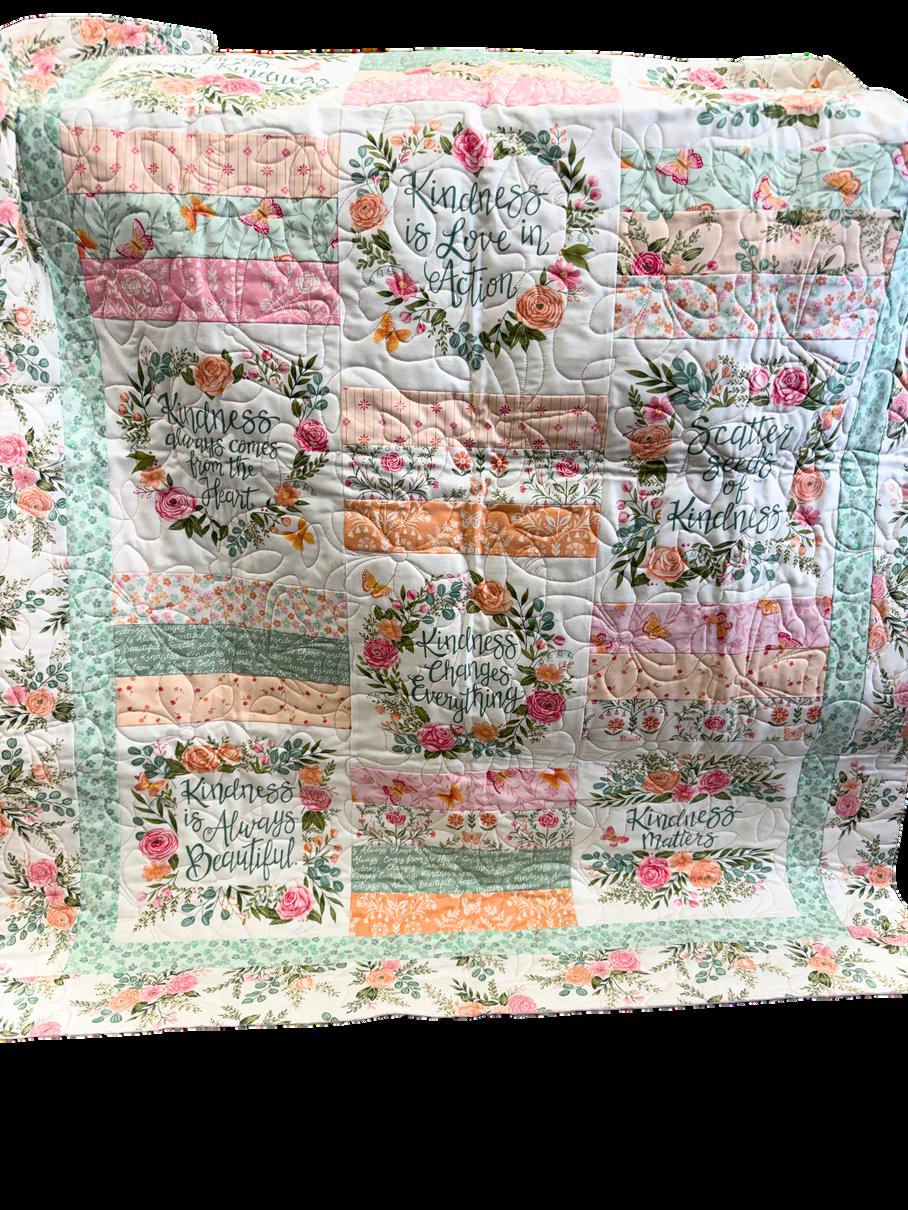
Link to purchase Kindness by Moda
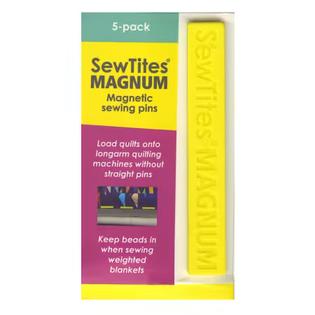
Magnetic pins for sewing super thick materials SewTites
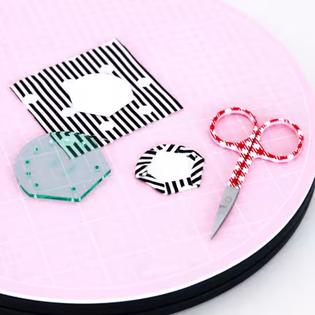
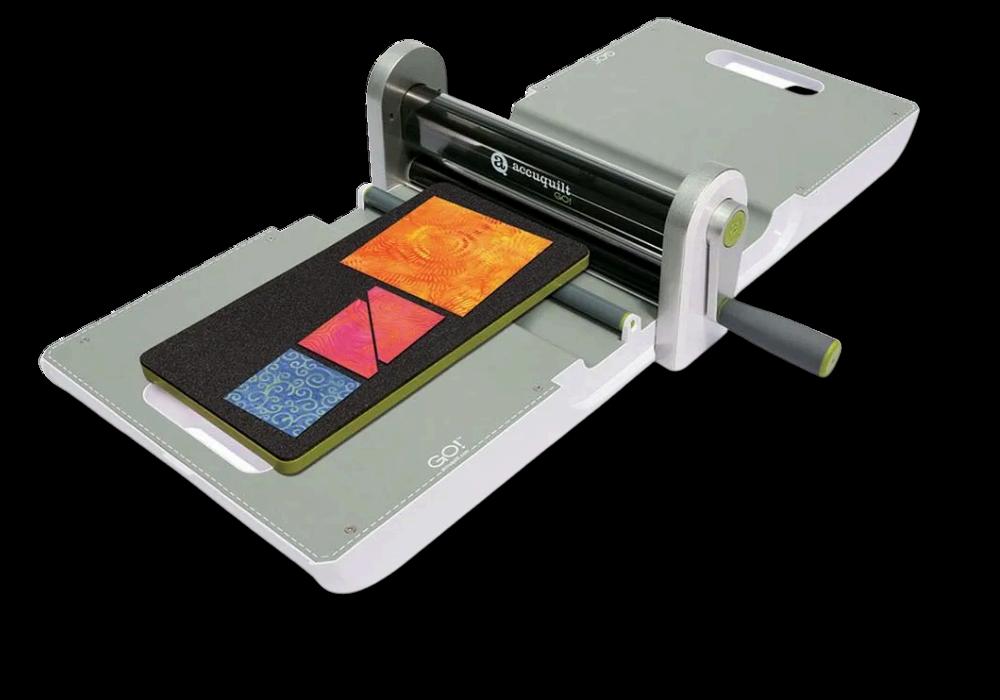
Rotating Cutting Mat
Makes EPP, half square triangles, trimmming blocks a breeze
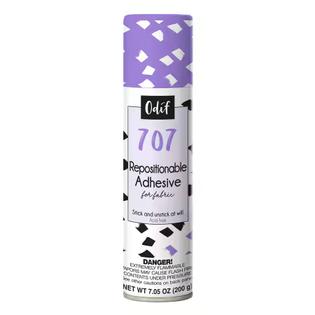
Enables stencils and templates reapplied numerous times Odif 707
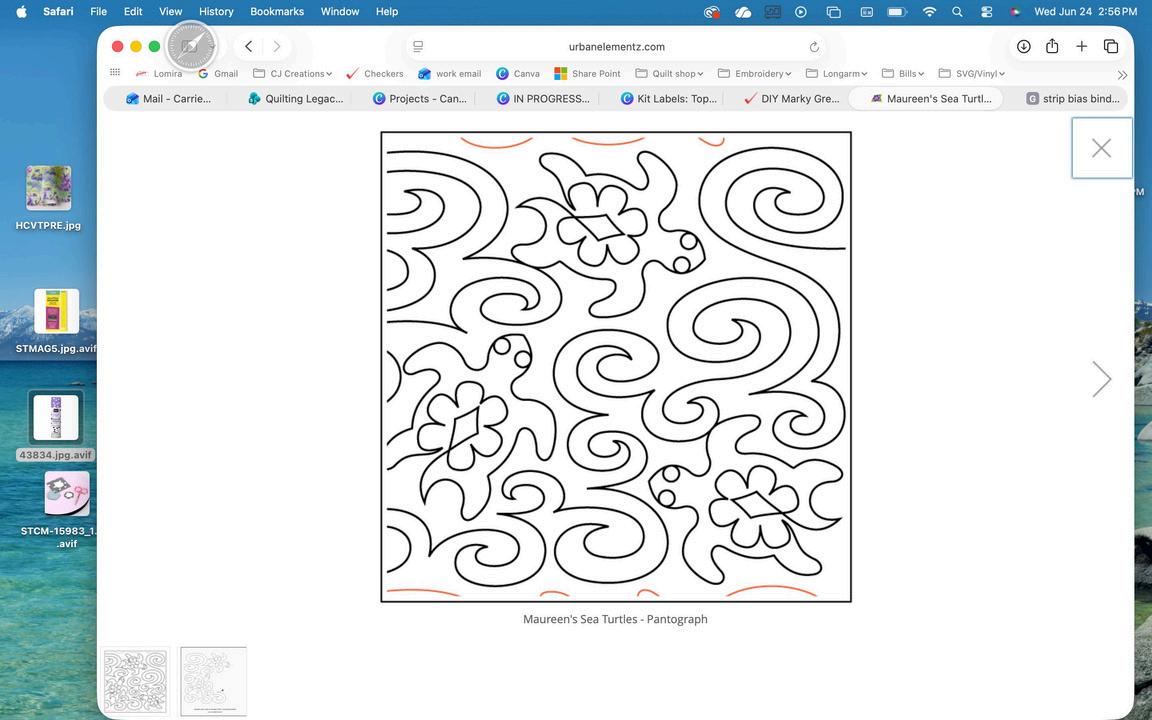
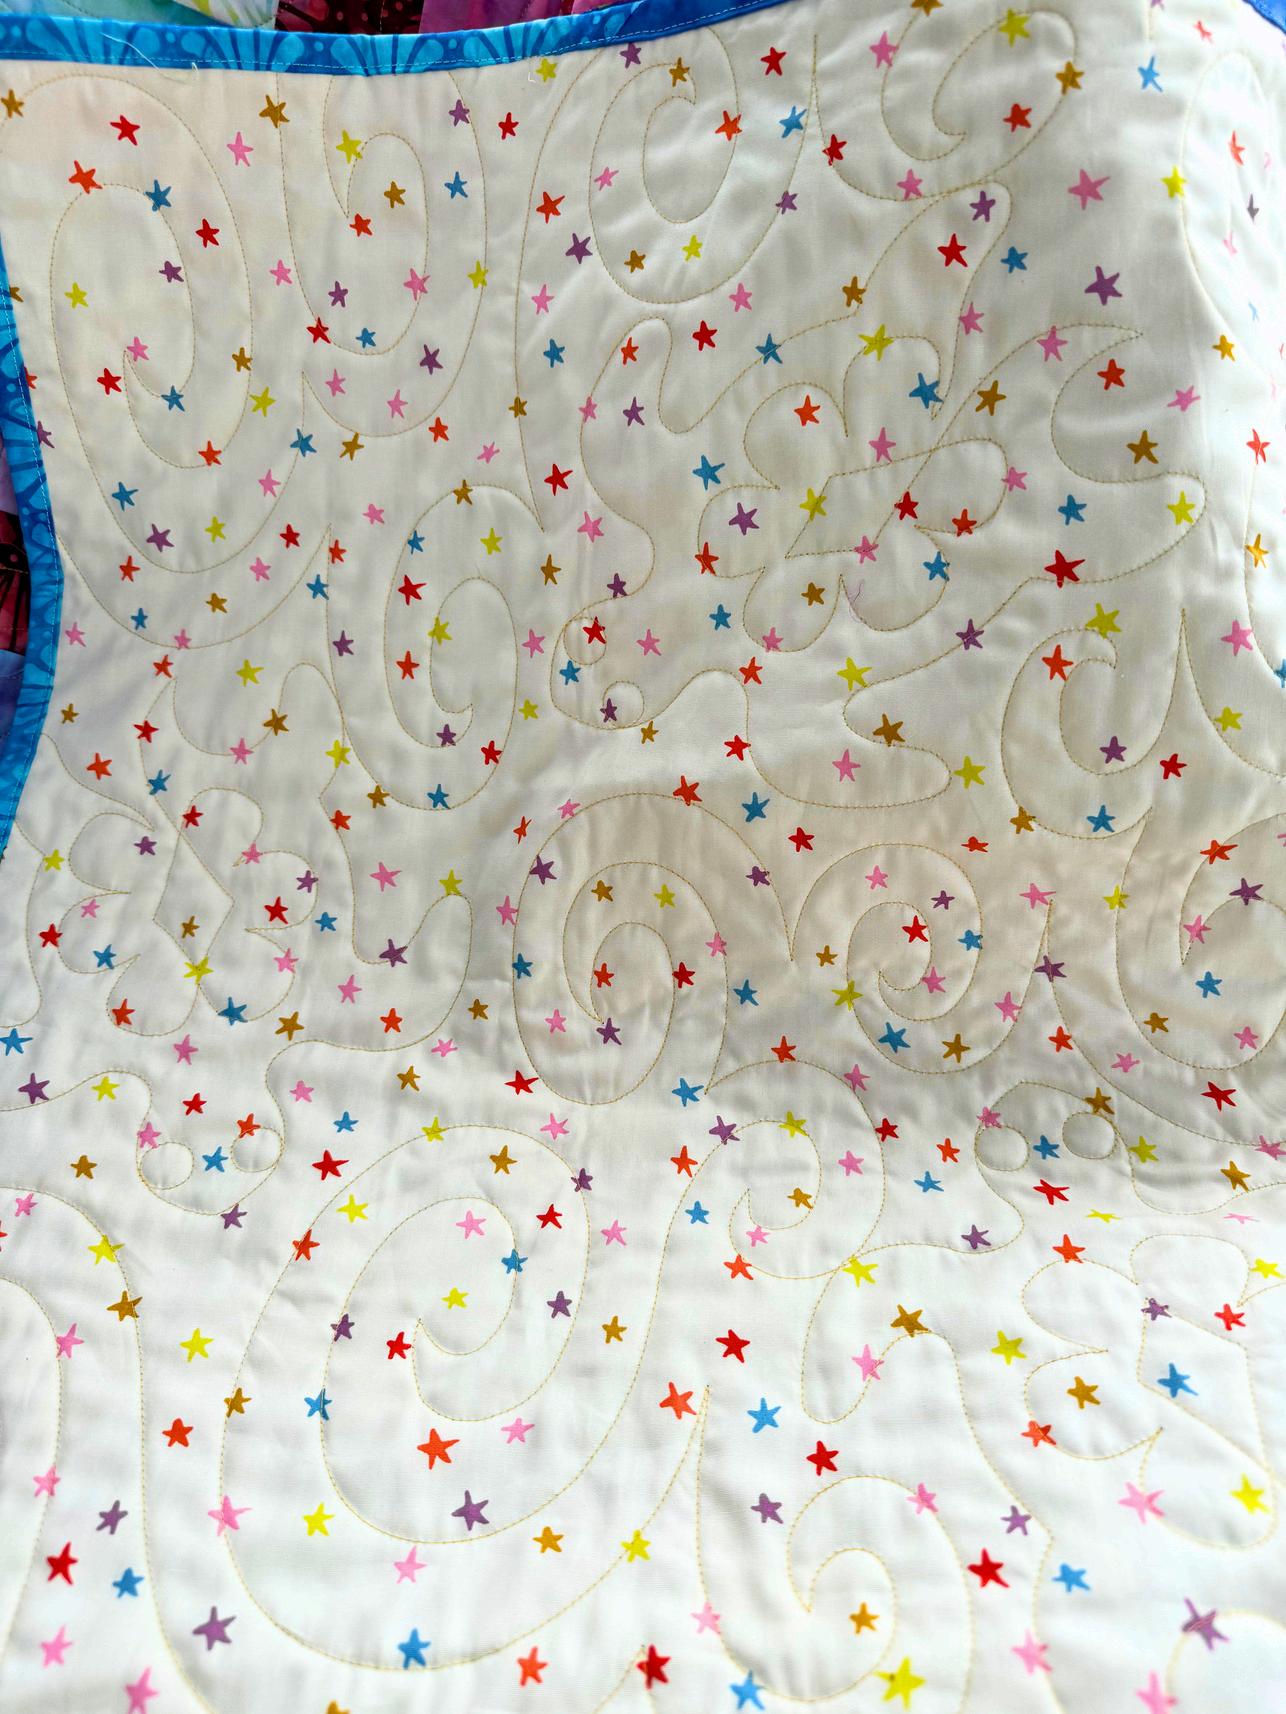
STEP 2 Fill out the longarming form with one of our knowledgable staff! We can help you select your pantograph, thread color, and batting preference.
STEP 3 We’ll let you know when your quilt is ready for pickup, then you can come pay your invoice and bring home your lovingly crafted quilt.
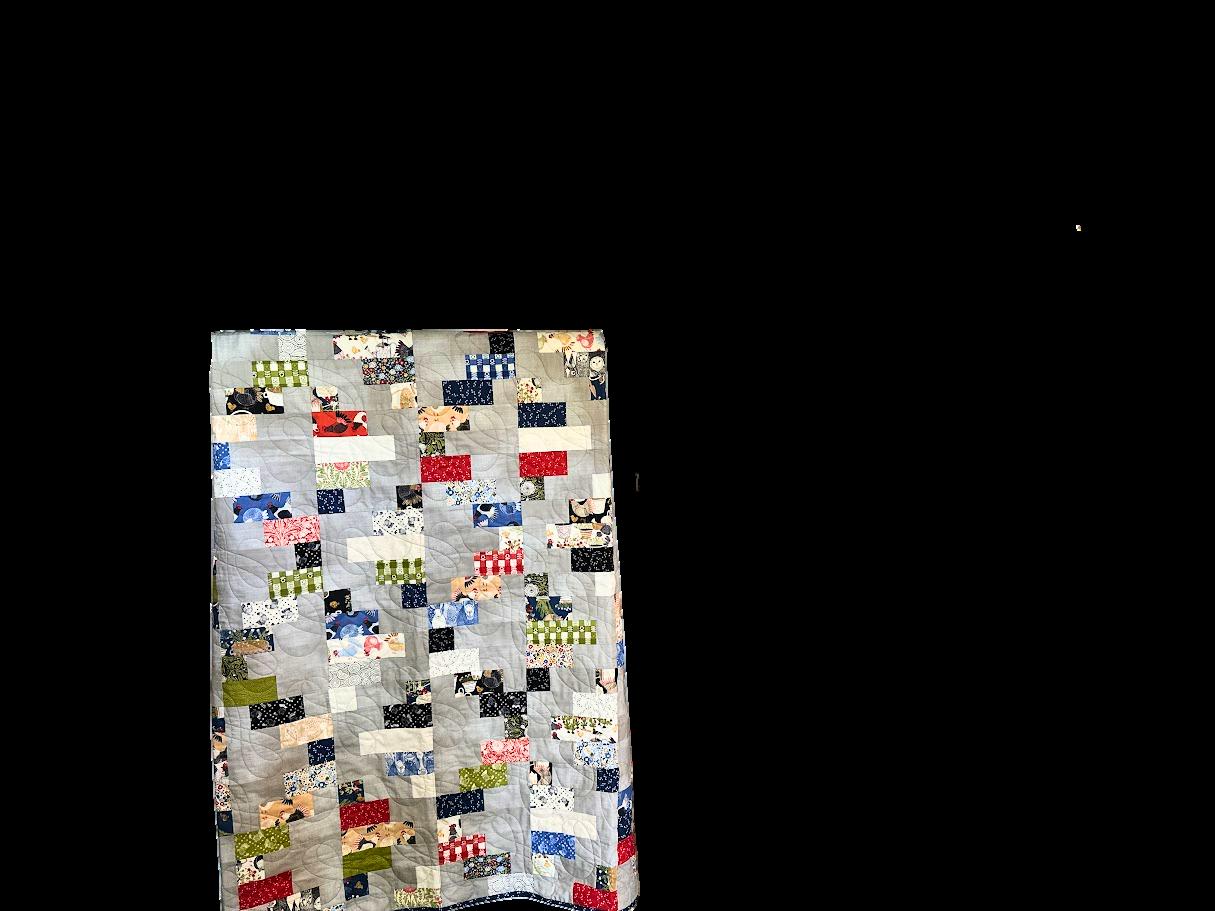

The rumors you’ve heard are true - Stripology is a gamechanger! If you’re ready to zip through the cutting process, come learn how to get the most out of your ruler.
Date: July 10, 10AM - 3PM
Cost: $45
Instructor: Kate Williams
You’ll need:
Stripology XL Ruler
Mixology 3 book
Stripology ruler stickers
2.5" Strips from stash - or a jelly roll!
3 ¼ yd Background fabric
Class Fee: $45
$160

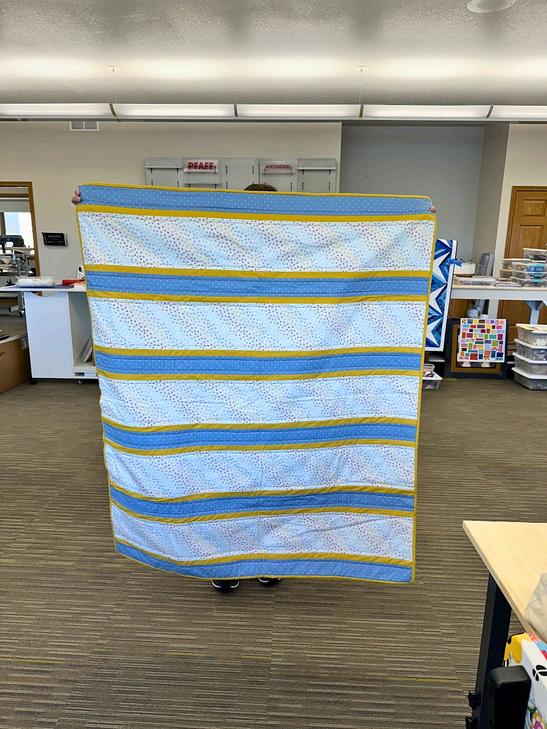
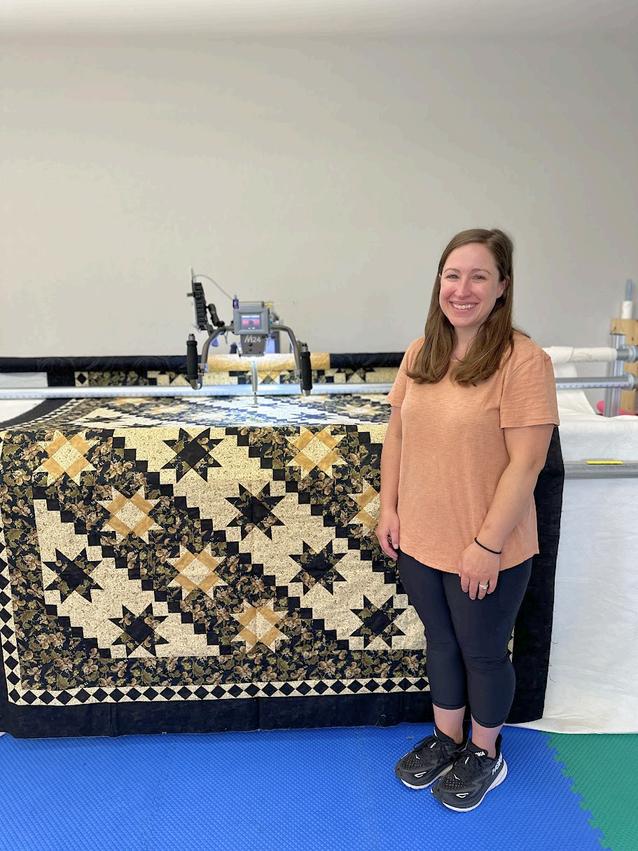
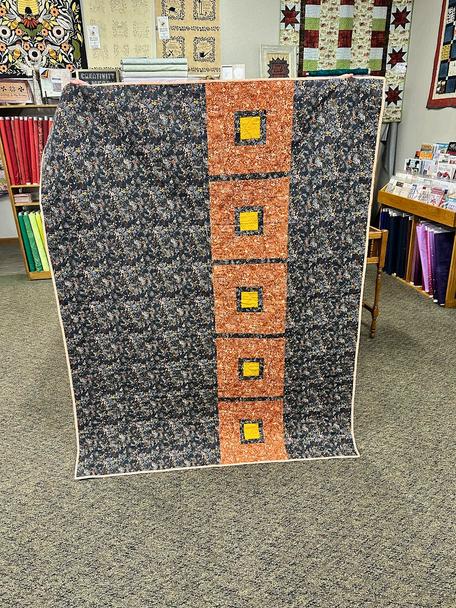
At Quilting Legacies, we cherish the opportunity to connect with our guests and witness their development in crafting. Meghan is a shining example of this journey!
She embarked on her quilting adventure with the heartfelt goal of honoring her grandmother. After completing two sessions of Beginner Quilting with Deb, she successfully made two delightful quilts from start to finish.
Meghan was overjoyed to take home a brand new sewing machine to hone her newfound skills!
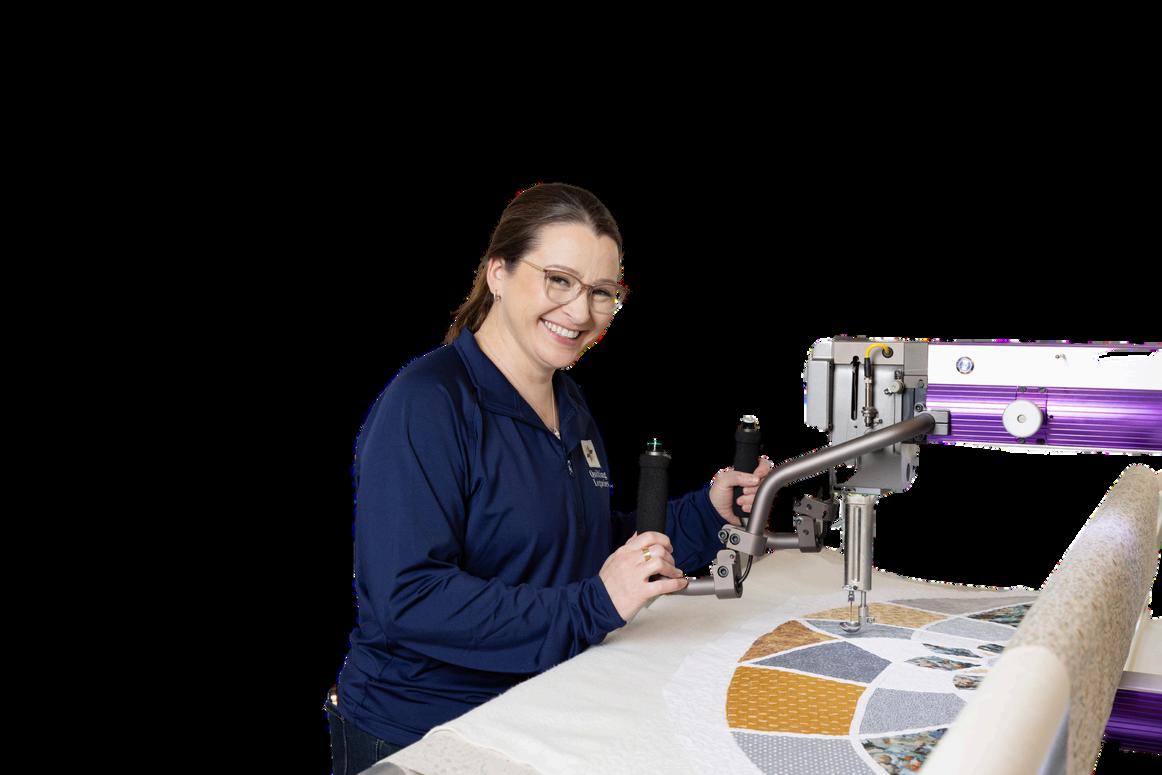
Recently, you can spot her renting our INNOVA Longarm machine as she works on finishing her grandmother’s quilt tops. The featured photo showcases her quilting the second of twelve quilts!
Thank you for being part of our quilting community, Meghan. We are thrilled to support you on your creative journey!
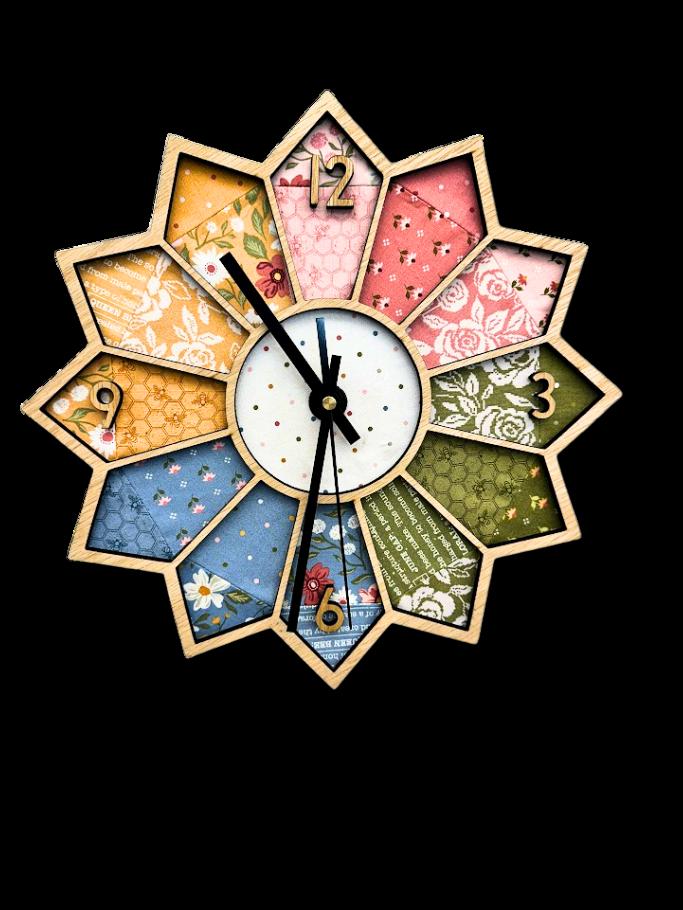
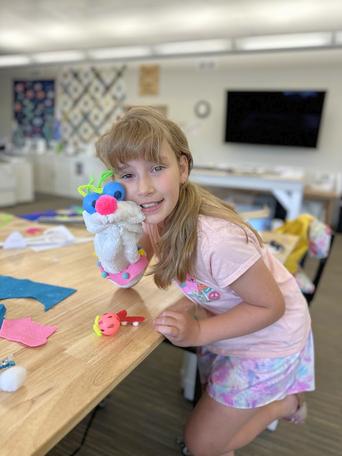
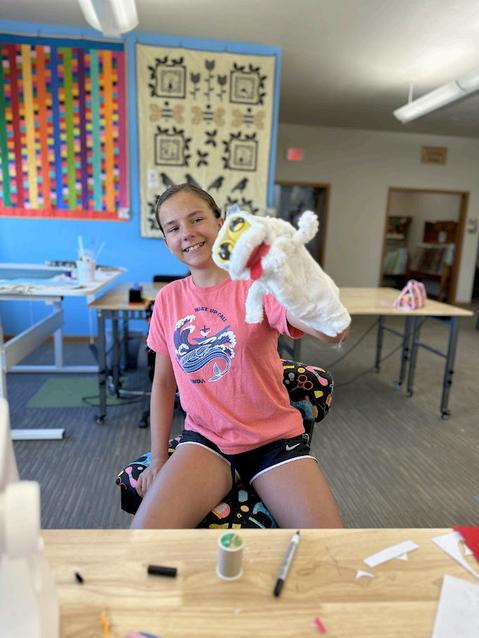
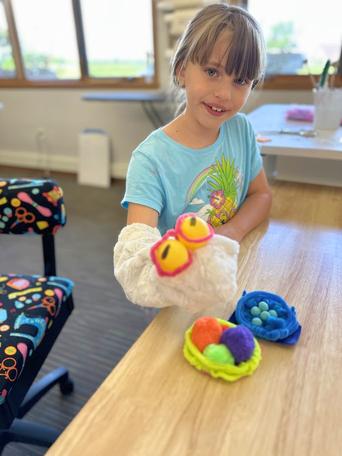
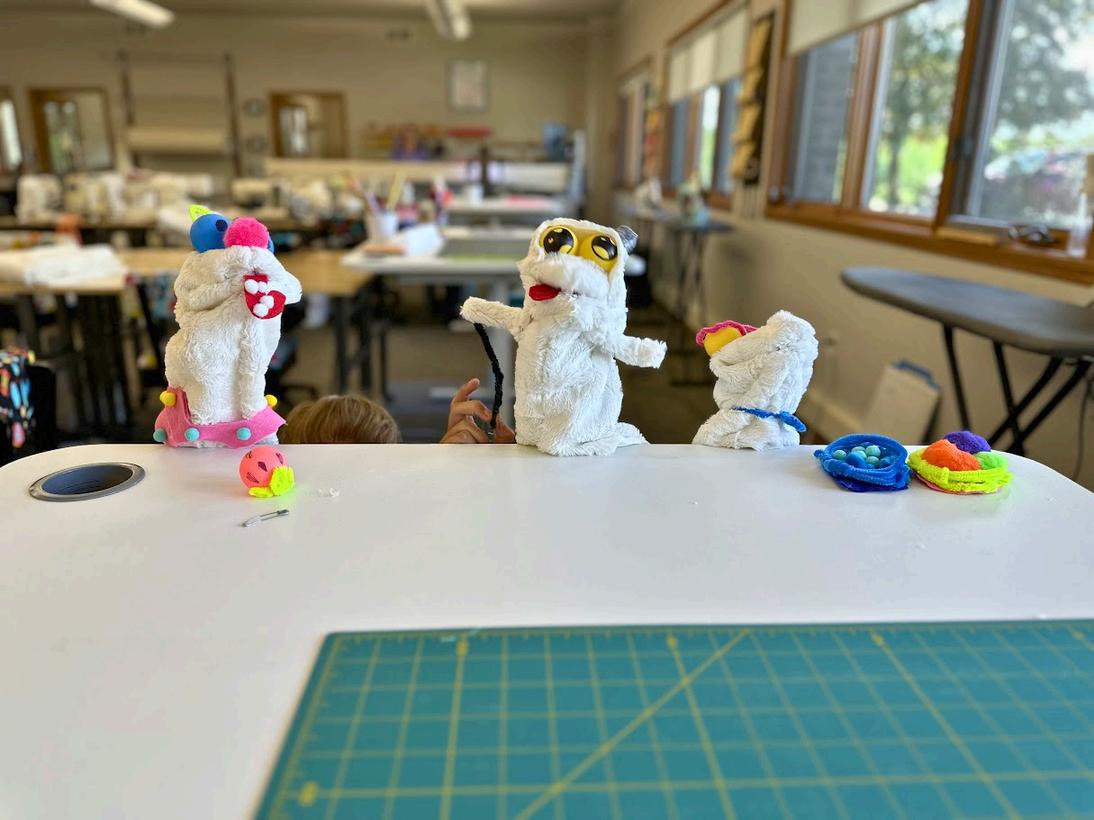





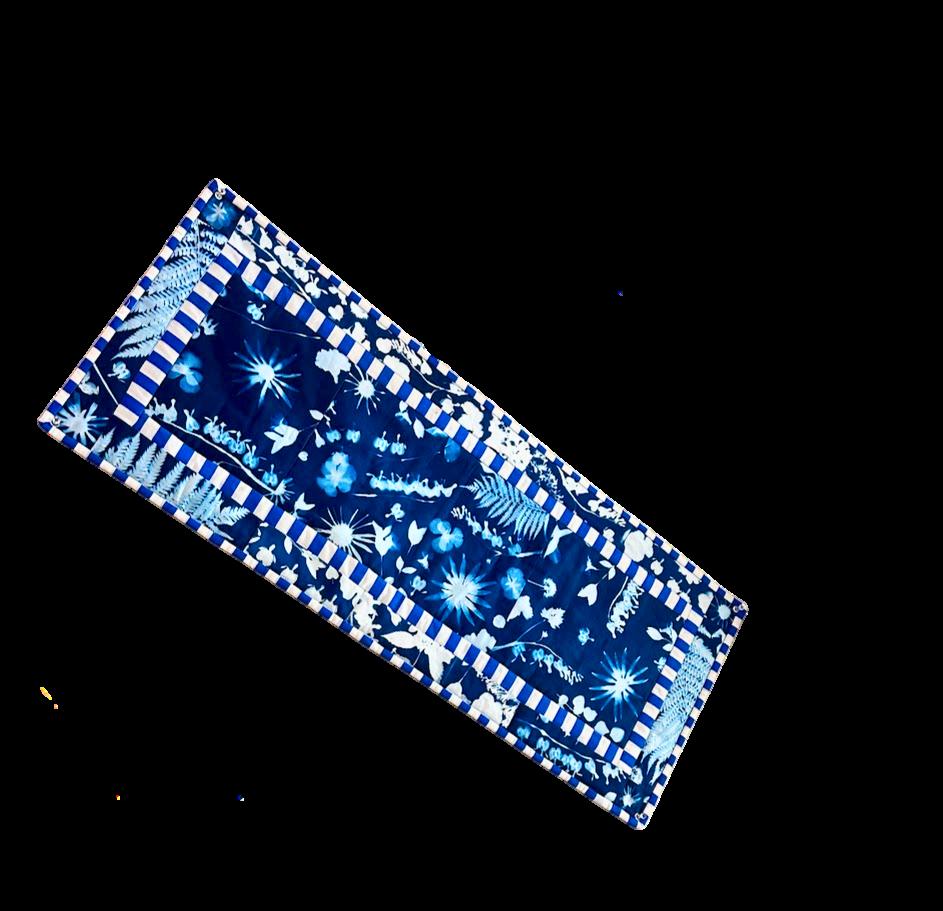

There’s more to this table runner than meets the eye! You’ll dye your fabric using various objects of your choosing - flowers, leaves, cool rocks, sewing notions, anything with a shape you’d like to capture. Once we lay out the objects, the sun will do the rest!
Join us for a part two event where we’ll sew our Three ½ Yard Table Runner using our gorgeous prints. We’re including all the fabric and dye to complete the top of the table runner
Date: July 23, 1PM - 3PM
July 24, 10AM - 2PM
Cost: $85
Instructor: Stephanie Liesering
On day 1, you’ll need: Items with sharp silhouettes
On day 2, you’ll need: Your sewing machine, power cord, foot control, thread, and bobbins


Wednesday,July15
10am-4pm
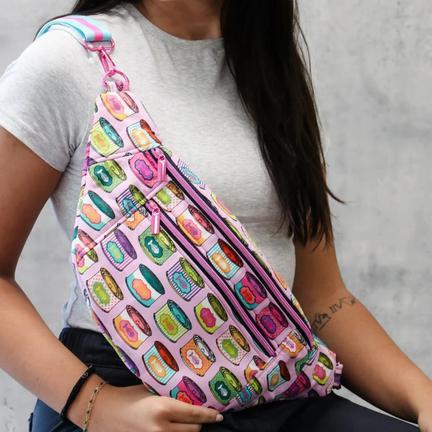
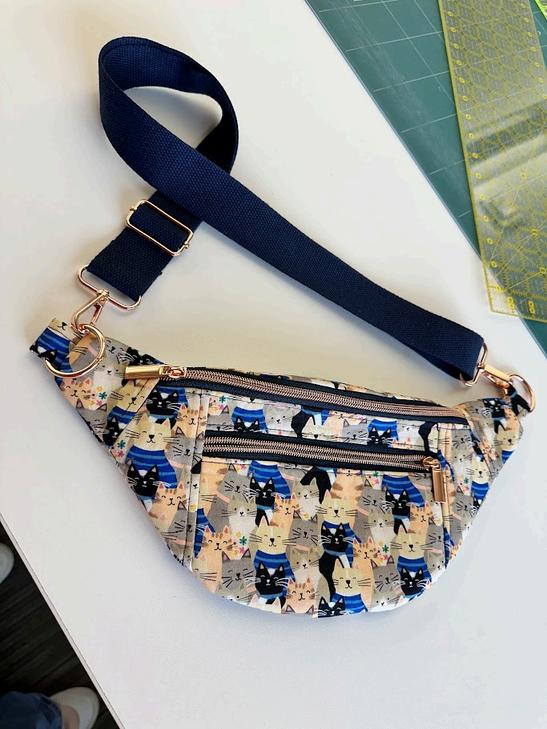
Join Lori Loehr in July to create your Sallie Tomato Ferris belt bag! It’s guaranteed to be a make you’ll be proud of - and being able to feature your favorite Quilting Legacies fabrics ensures you’ll be the most stylish at all your summer and fall events.
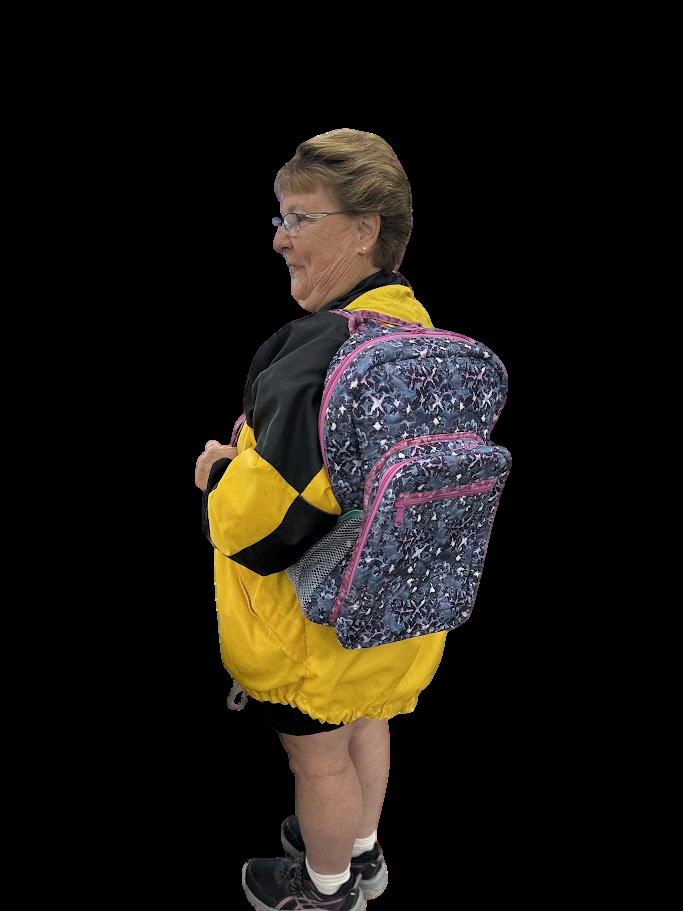
This bag was this year ’ s most ambitious make so far! Our Bagmakers’ Club worked hard over 5 sessions in workshop AND with homework! The hard work definitely paid off - these backpacks can haul a ton. There are zippers, tons of pockets, mesh, foam inserts, the COOLEST padded straps, a handle on top. Watch out, Vera Bradley! Featured above is Barb Freund with her project - great work Barb!
The best thing I heard at club this time was from Vicki - she carries a very cool bag on a daily basis and someone asked her if she made it. Her answer was, “No, I didn’t make this bag but now I think I could!” Love the confidence because yes, you absolutely could!
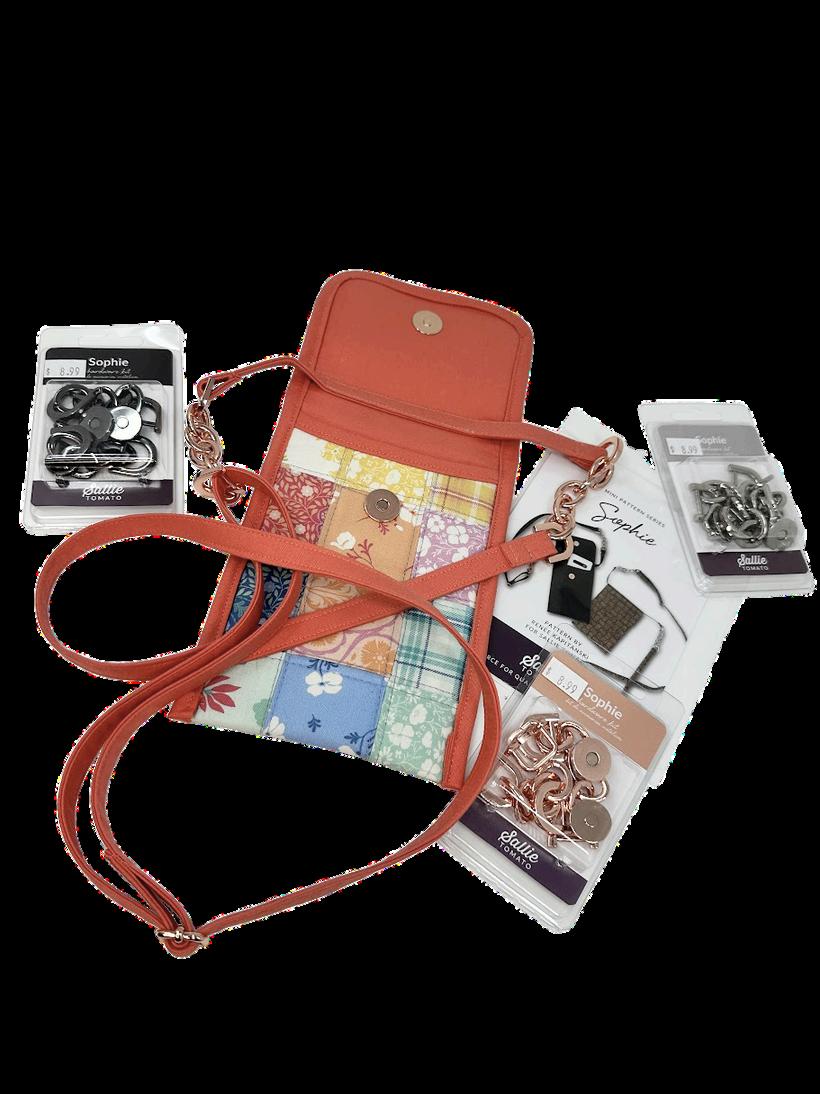
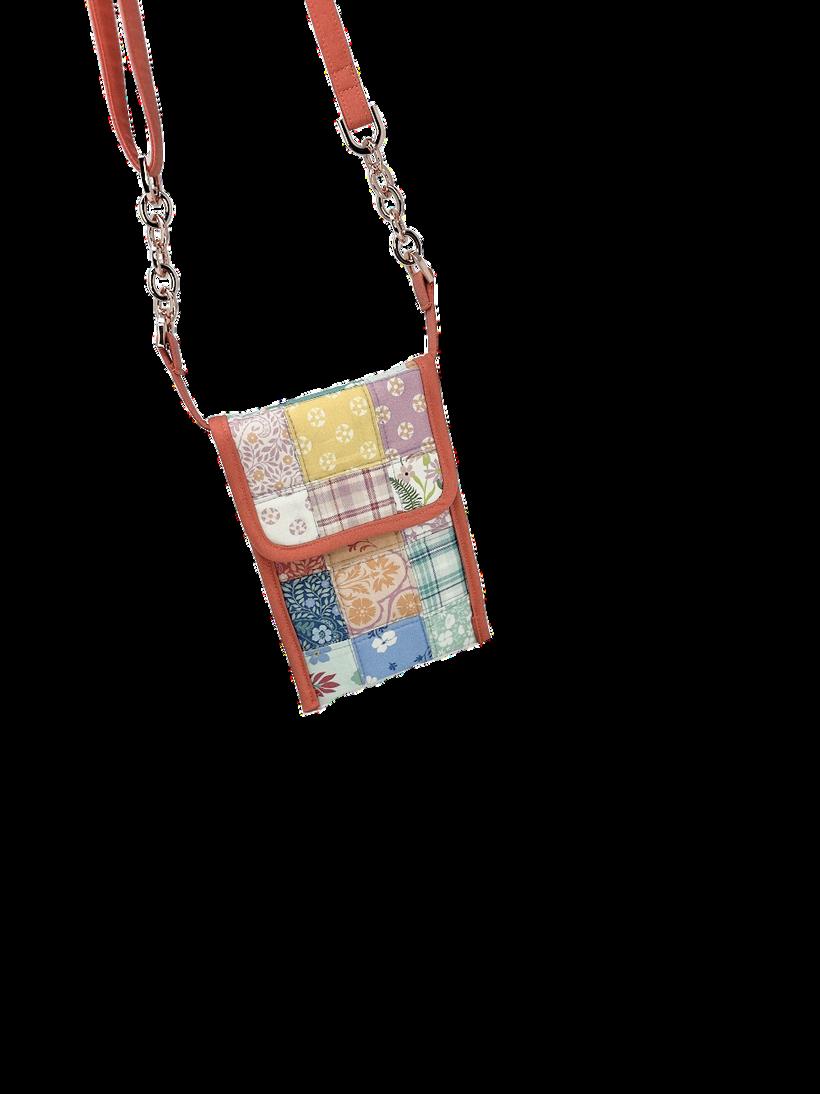
Using a mini charm pack, create a patchwork “quilt top” for your bag. 3 x 10 charms should do the trick. Baste your quilt top with batting and quilt as desired.
Trim quilted panel and backing to shape using the curved templates within the pattern. We chose to insert a magnetic snap, stabilized with some fusible interfacing like SF101 or Decovil Light on the appropriate spots of the quilt top and the backing fabric.
Place the quilted panel and the backing fabric wrong sides together, lining up the curves. Baste the edges using a 1/8" Seam Allowance. Apply bias cut binding to the curved end.
Using the magnetic snaps, “close up ” the bag by folding where you want the top and bottom to be. Apply binding from the bottom left corner to the bottom right corner, stitching the sides closed as you go. Fold bottom raw edges of binding in before stitching the binding down for the final time.
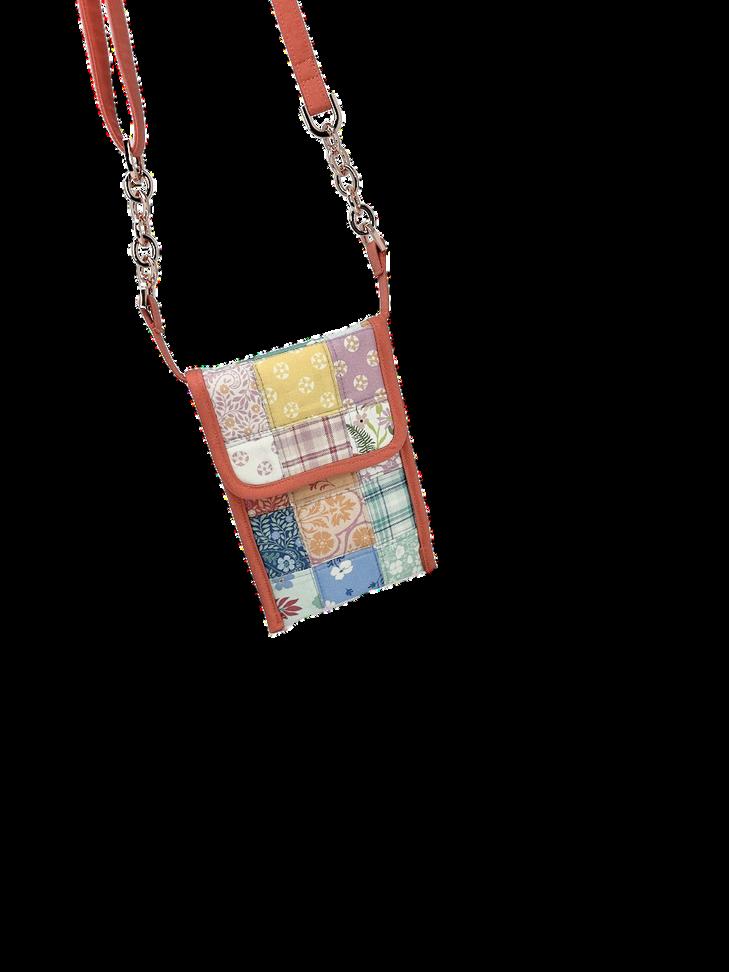
Our strap was made with double fold binding, interfaced with one layer of SF101. Be sure to turn under raw ends and install hardware as indicated in the pattern.


Do you have to scroll through a myriad of different threads to find the ones you use most often because your thread doesn’t show up in the MyThreadRanges list?
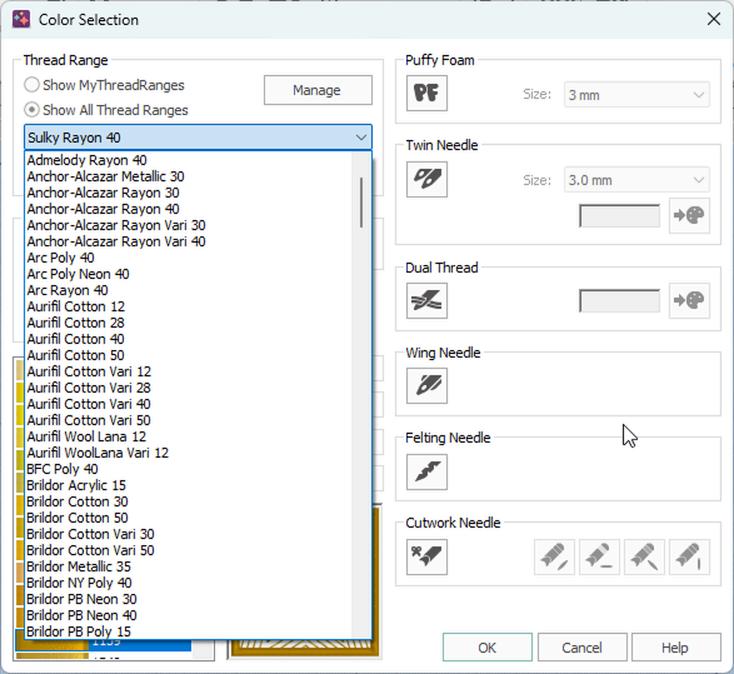
To eliminate this hassle, let’s configure your Creativate Thread Range with your commonly used threads.

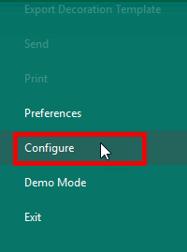
1 In the green File panel select Configure.

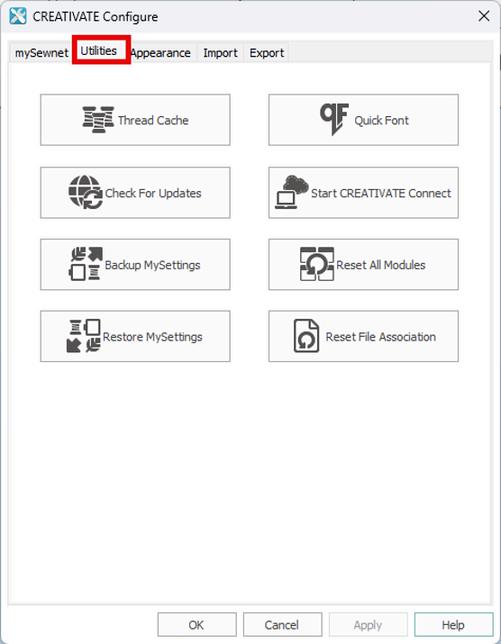
2 When the CREATIVATE Configure dialog displays select the Utilities tab, then click on Thread Cache.
3 When the CREATIVATE Thread Cache dialog displays select the Manufacturer from the drop-down list. In this case we ’ re selecting Robison-Anton.
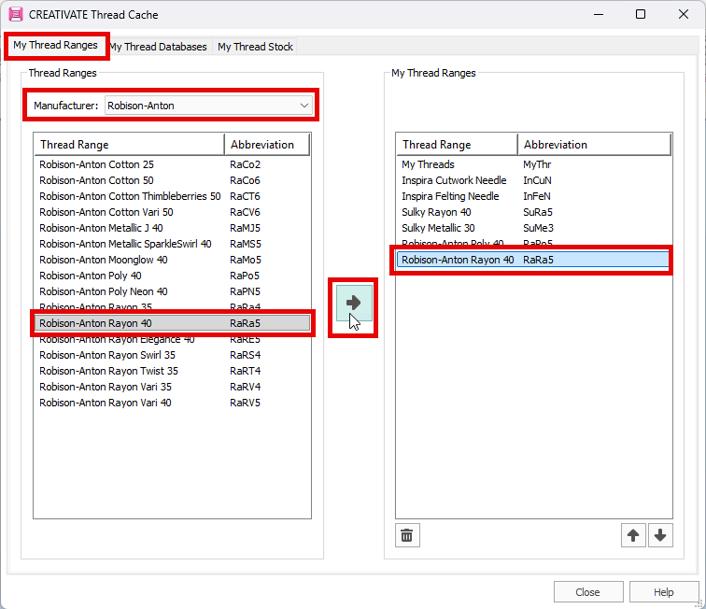
4 Click the center arrow to add to your MyThreadRanges list.
Your paragraph text
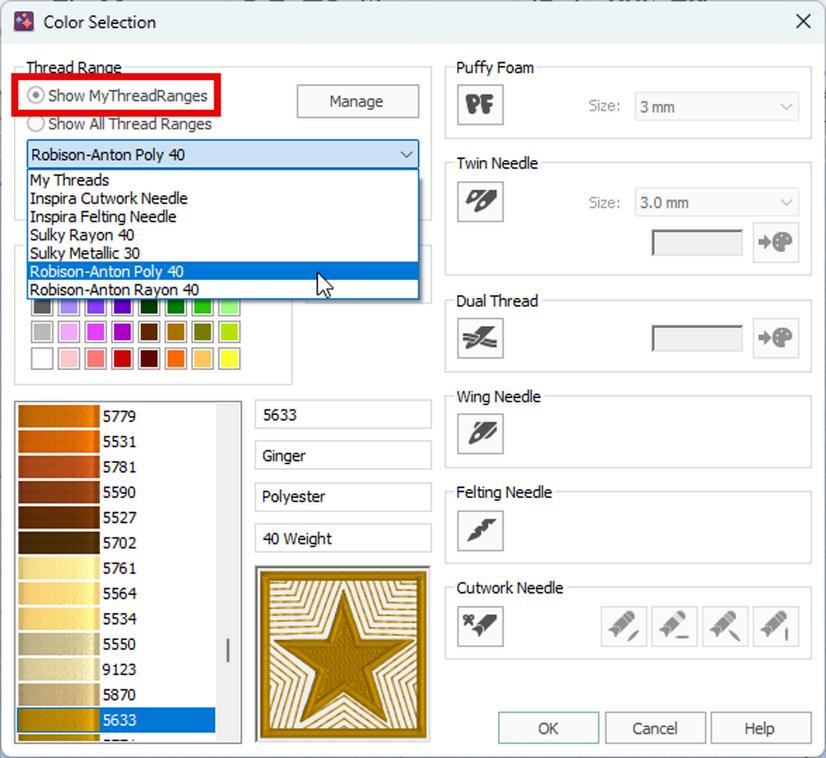
5 After you ’ ve configured MyThreadRanges, you will be able to set the “Show MyThreadRanges” option the next time you need to select your thread color. The selection drop-down will only show the threads you have configured, making your screen less cluttered.

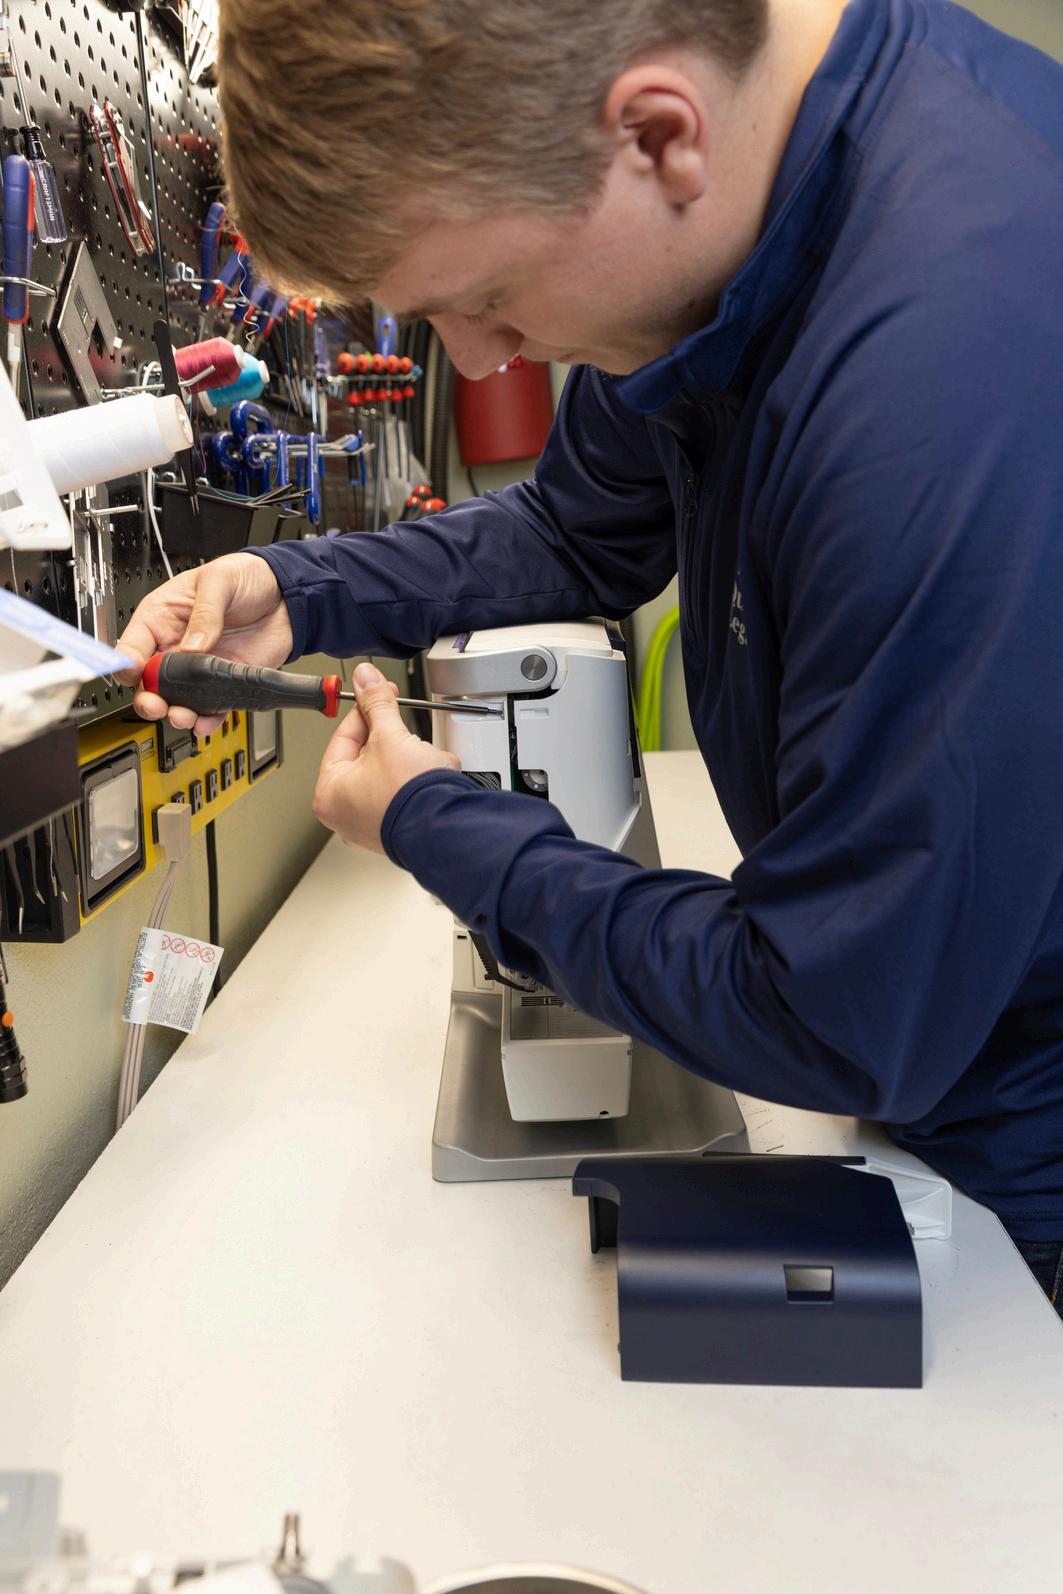
MACHINE SERVICE
At Quilting Legacies, we love it when guests personalize their machines by adding stickers and tools to the outside of their machines. Some may add lights, hooks, or other functional accessories as well. While staying stylish, we want to make sure you place things with intention.
Proudly Servicing: PFAFF, HUSQVARNA VIKING, Singer, NECCHI & INNOVA
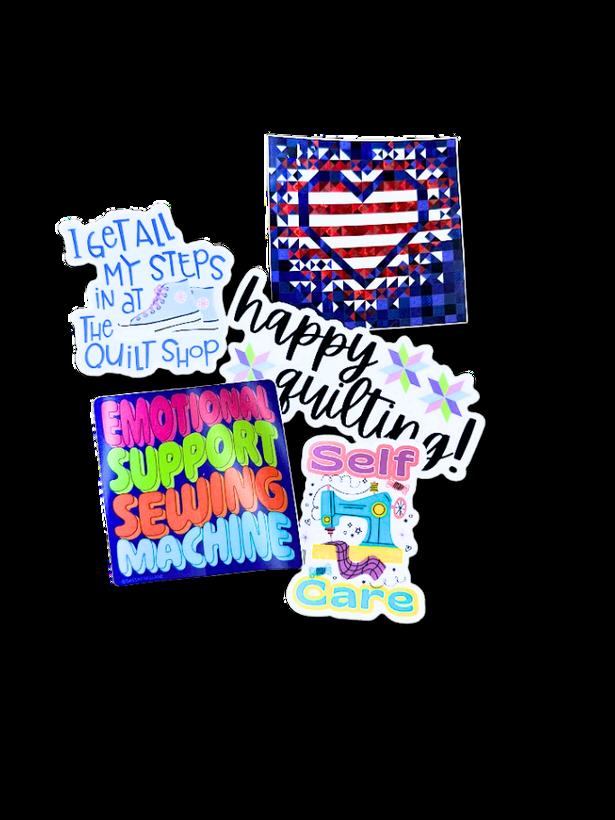
When you bring your machine to us for a “ spa day,” we have to take off the covers to get to the internal components. If your decorations overlap the seams or screws we need to access, then we may have to remove them, or damage them slightly so that we can remove the covers.
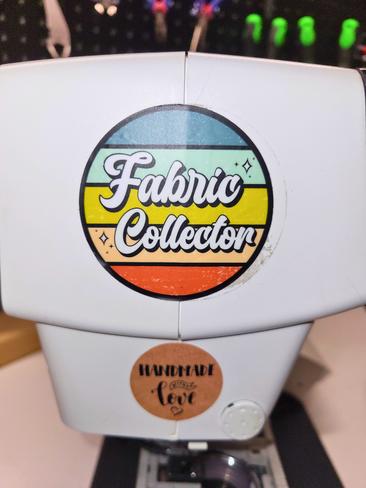
In this example, decals are overlapping the seam between two covers. In the case of this machine, we had to cut the decals with a utility knife where the covered the seam between the two covers.
Have fun decorating and just keep important components free for the sake of your stickers!