
6 minute read
Art School Deborah Pepin shares her substrate techniques


Art School
Making Your Own Substrate by Deborah Pepin
I have been a working artist for the last ten years and fell in love with the pastel medium five years ago with the help of an artist friend. The papers we use greatly influence our pastel paintings. I use commercial papers and boards, like UArt, which I love, but since I paint everyday, it can become somewhat expensive. I am primarily a landscape painter, so texture is important, and making my own pastel boards gives me the texture I love and boards that are durable that I can use and abuse. I also found that since 2020, papers are harder to obtain. They are often back-ordered with no definitive delivery dates. I invested some time making my own boards, purchased lots of products, and did quite a bit of experimenting. It boiled down to a few, easy-to-source products, and not a whole lot of time involved. The most time will be spent on measuring and cutting your substrate and drying time. I use two substrates: Masonite and Gator Board. While Masonite is inexpensive and. easy to get, it can be heavy if you are plein air painting, doing demos or teaching classes. You are carrying your boards around, and they can get cumbersome and heavy. Gator Board can be a bit expensive, but you can cut the sizes you prefer yourself, and it is super durable and lightweight, so it is easy to work with and cart around.
I am lucky enough that I have other art friends that use Gator Board as well, so we put an order together so that we can share in the shipping costs. I do not want to discourage anyone from using any of the commercial papers, but I simply cannot afford to purchase the UArt boards to paint every day. Here is a breakdown:
Masonite. 4’ x 8’ sheet is around $8.00 (my Lowe’s will cut for free) so if I have them cut into 16 x 20 sheets, it is around $1.33 each.
Gator Board. Comes in 32” x 40” size sheets (I order from ULine and get 10 sheets at a time). With shipping costs they are $27.36 per sheet. I can get 4- 16” x 20” boards out of a sheet which is $7.92 per board. Your most expensive part is your substrate. A 16” x 20” UArt board is $20.00.
1

Step 1: Preparing the Boards

When I start with Gator Board, I use Liquitex Clear Gesso, and for a 32 oz. Bottle it is $23.99. I use Liquitex brand because it has a nice grit to it, you can thin it with water if you want, it goes a long way, and it dries clear. Get a good coat on your Gator Board and let dry completely. I cut my boards first, to the desired sizes before I put the gesso on (this is a personal preference), but you can certainly put that first coat of clear gesso the whole sheet before cutting into the sizes you want. This is the Gator Board with a small pile of gesso, getting ready to brush out. When you are brushing on, do your brush strokes one way then the other way. As it dries and you keep brushing you will get a more consistent pattern. If you are using Masonite, it is best to put white gesso on the board because it is a dark brown. You can also use a colored gesso, but I only use white. This makes a great starting point, and you will see why I do that later in the process. Be sure and let dry completely before the next step.
Step 2: Underpainting the Board. When the board is dry, the fun begins. I tone most of my boards, and I do it with my soft pastels. This eliminates having multiple colors of gesso or acrylic paint to tint your gesso. It is one more step and takes more time. You can use any color of pastel you want, or any brand. I have been using the Richeson Underpainting Pastel Blocks Darks because they have a wide surface.
2


3Step 3: Scumble color. The next process is to use the underpainting pastels to scumble (scumbling means to apply a thin layer of color over a painting) in the color you want across the dried first layer of gesso on your board. It is important to use a very light touch.
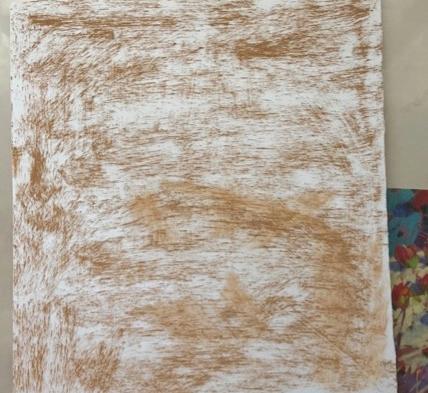

Scumbled texture
Scumbled with 2nd gesso coat Then you will take another pass of clear gesso and go over this the scumbled surface. Smear it around, using your brush strokes to go back and forth. The board above on the right is what it should look like once its dry. I like the inconsistencies of the background. Some would prefer not to have this, but for me this just adds more texture and surprises in your underpainting. I never know exactly what the board will look like after it has dried, but I still love the effect of the toned board.
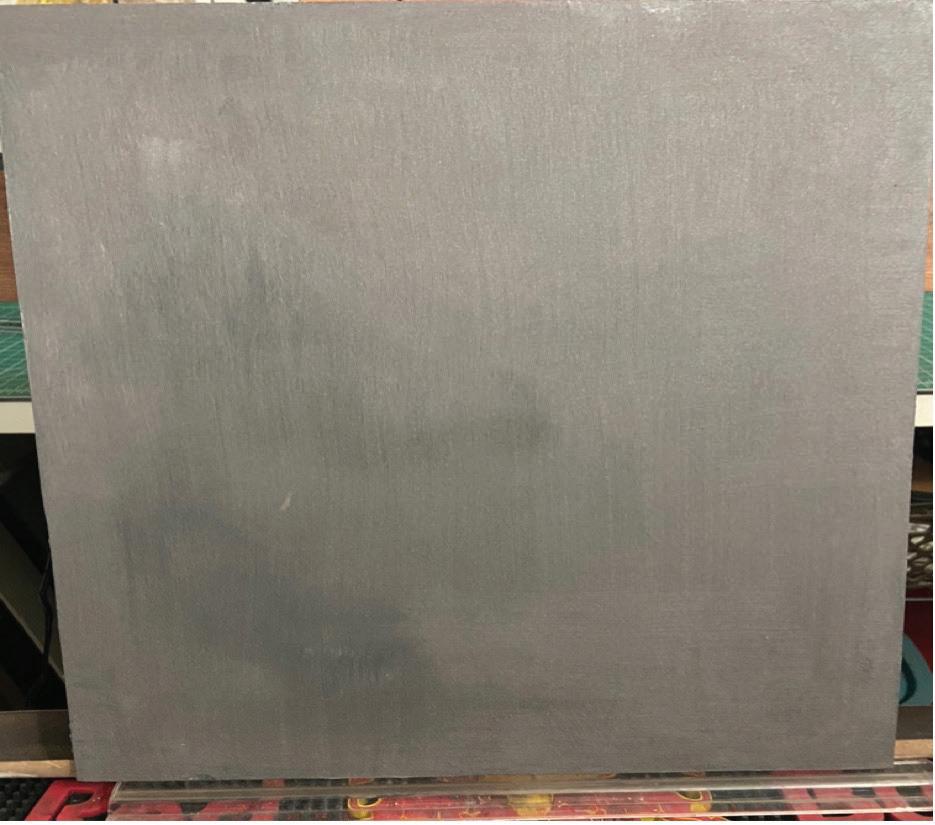
Here is a picture of another board with a medium warm gray on it. I let that dry and went over that with a warm gray with sparkles in it, and another coat of clear gesso. Although you cannot really tell in the picture it has a very nice sparkle to it and would make a wonderful nocturne painting.
Scumbled color
Scumbled color w/gesso Warm gray
4

Step 4: Fixing mistakes. One of the things I enjoy most about making my own boards is that if you don’t like the pastel that you’re working on, or it just not working out, you can take it to the sink and wash it off. It never goes right back down to the original color but talk about happy accidents! Some of the underpainting colors that you get are fabulous. Sometimes if I don’t like the staining on the washed off boards I will put a color on and use the clear gesso again. There is no waste with these. When I wash my boards off, I use a nail scrub brush, so I abuse the boards. I have not had a problem with them yet. Here are some of the colors left on this board to the left:
5
Board color 1 Board color 2 Board color 3 Board color 4 Board color 5 Board color 6
Step 5: Textural Use. You can see the textural difference different boards can bring for different paintings. I love the difference it brings to my pastel work. It is always creative to try something different. Just a side note: you can always make your boards smoother by thinning your clear gesso with a little water. It would require more applications or multiple layers, just be sure and dry completely in between. The only issue that I have found is that if you use alcohol or Gamsol for an underpainting, be sure to not scrub as the products can break down the gesso, and it can sometimes peel off. Most of my home-made boards are toned so I don’t use an underpainting. You can eliminate this issue by using water for your underpainting. Once they are finished, and dry, I will put them in sleeves, and they are ready for the next painting. Sleeves can be purchased at www.clearbags.com.
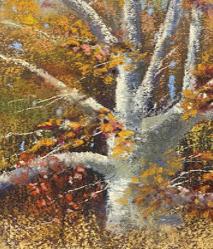
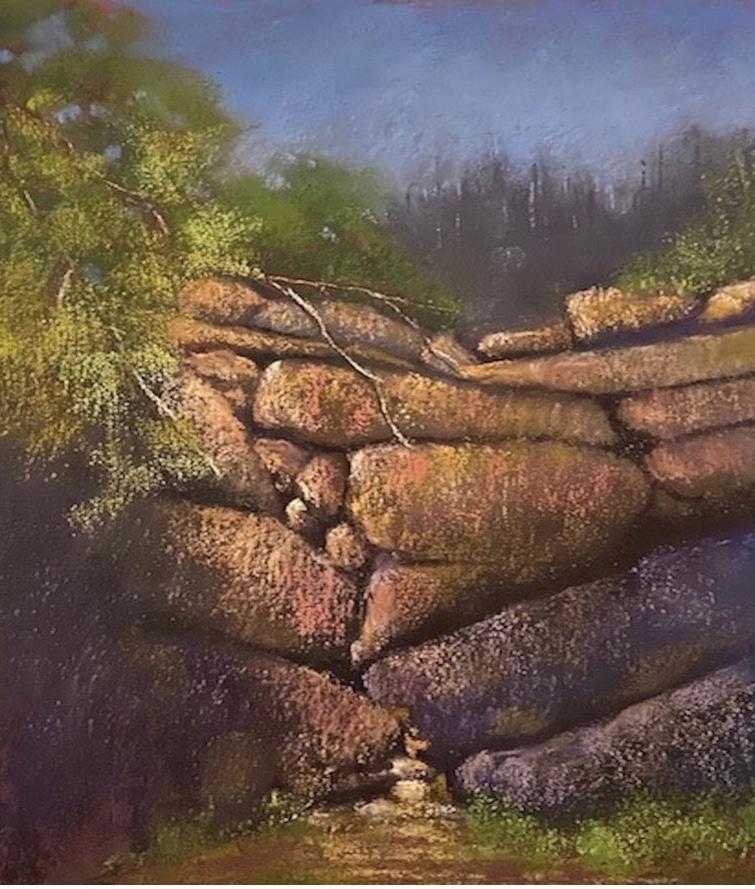
Seasons Ending 9x12 The Altar 9x12 Morning Whispers 16x20


