
A
ddi
ng Lights in Model
Builder
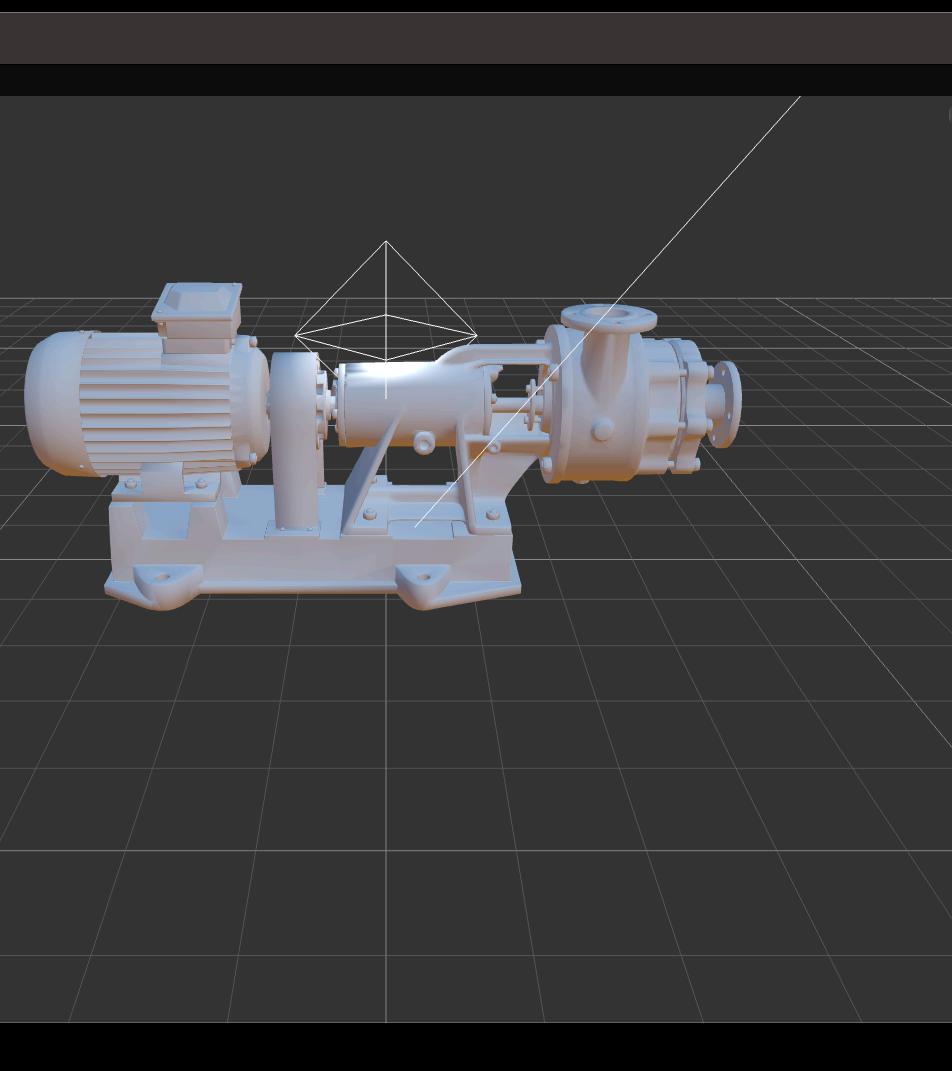
Enhance the presentation of your 3D
model, ensuring that it stands out in
any project or presentation.

Importing Files
First, open Model Builder and load your 3D model. Ensure that your model
is well-scaled and positioned at the
scene's origin (0, 0, 0) for optimal
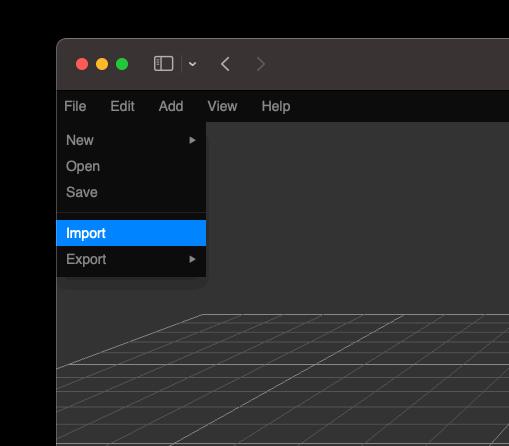
lighting results. Navigate to File > Import, and
select your 3D model file (e.g., .obj , .fbx , .gltf ).
Once loaded, adjust the model's orientation so that it is correctly
aligned within the scene.
Start with Ambient Lighting
Ambient light ensures that no part of your 3D model is left in complete darkness. It adds a
base level of brightness across the entire scene but doesnʼt cast any shadows.
Add Ambient Light: Navigate to Add > Light > Directional.
In the properties panel, set the Intensity to 1.0 (or higher for a stronger effect). For
Color, use a neutral or slightly warm white to simulate daylight.
Adjust the intensity in the properties panel to around 0.3 - 0.5 to provide subtle
lighting. While ambient light is essential, it alone wonʼt highlight the fine details of your 3D model,
so weʼll add more dynamic lighting next.
Use Directional Light for
Broad Illumination
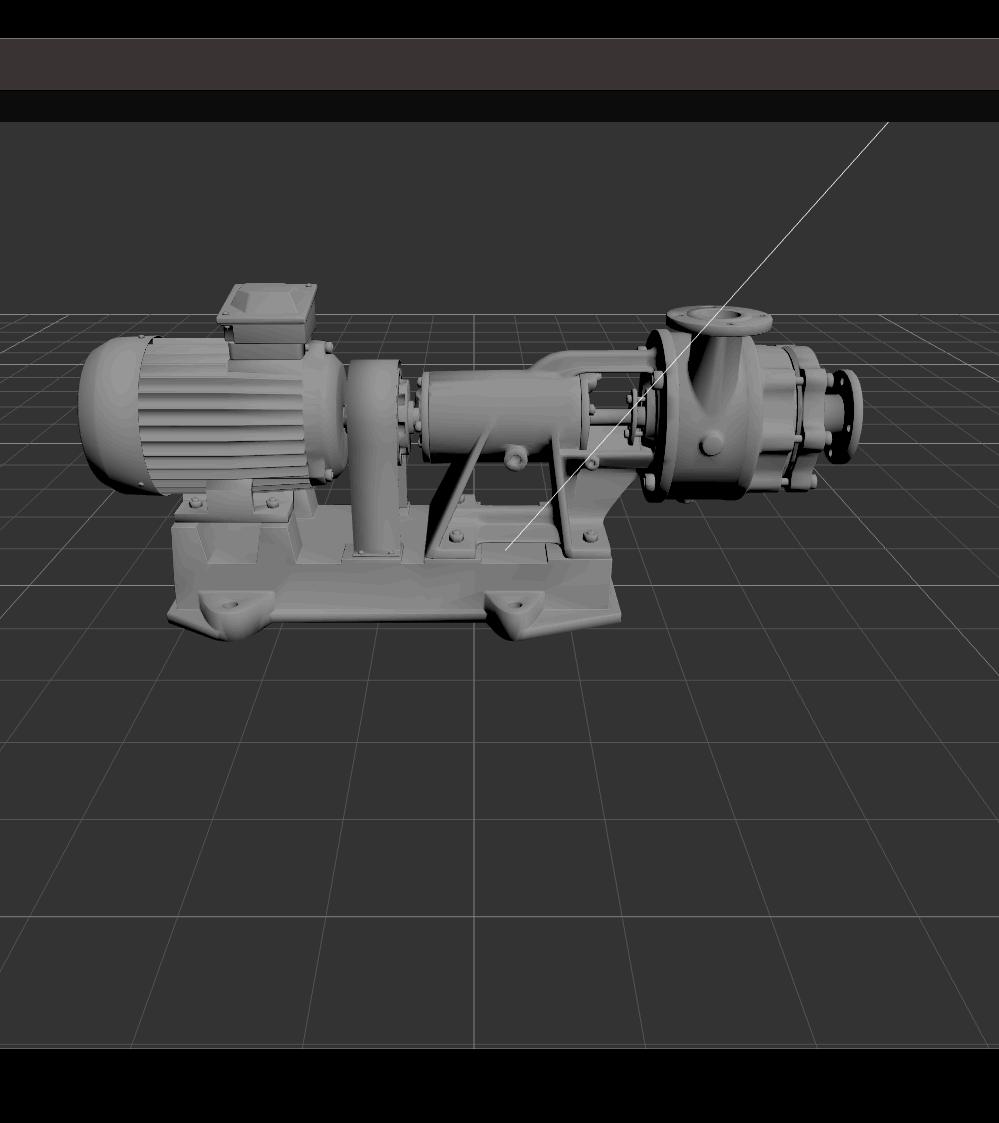
Use a Directional Light to simulate
sunlight or a strong overhead light
source. This type of lighting is ideal for
casting shadows and giving depth to your model.
Adding Directional Lights
Add Directional Light: Navigate to Add > Light > Directional.
Position the light: In Model Builder, position the directional light so that it mimics a
top-left or top-right light source. This positioning is ideal for revealing details and
casting natural-looking shadows.
Adjust the Intensity and Color: In the properties panel, set the Intensity to 1.0 (or
higher for a stronger effect). For Color, use a neutral or slightly warm white to simulate daylight.
To ensure the light casts shadows:
Enable Shadows in the light's properties panel and adjust the shadow parameters,
such as Shadow Bias.
Use Hemisphere Light for
Natural Outdoor Lighting
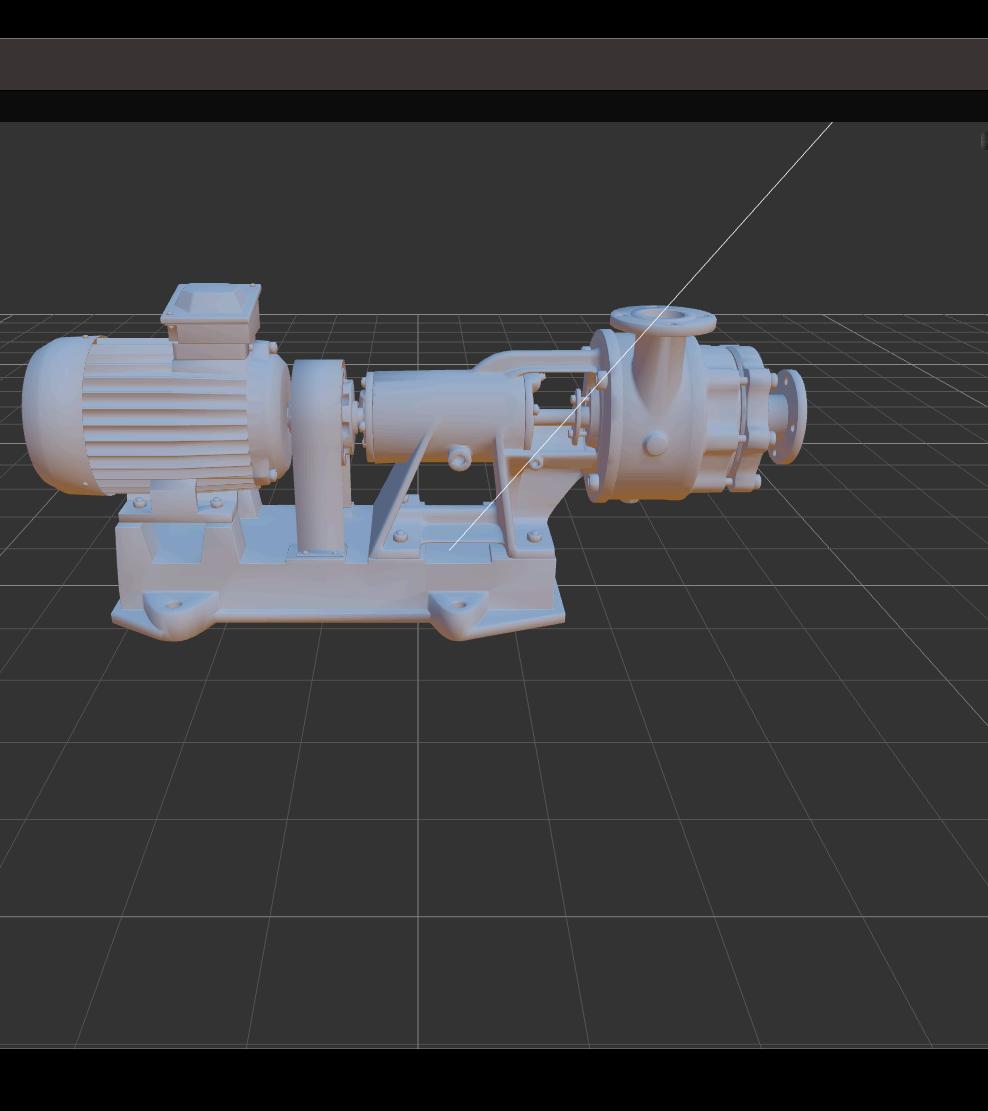
The Hemisphere Light is perfect for
simulating outdoor environments,
providing a natural, even light that
doesnʼt rely on a single point of origin.
It illuminates your pump model from
both the sky and ground, creating a
soft, balanced light that enhances
realism without casting harsh
shadows.
Adding Hemisphere Lights
Add Hemisphere Light: Navigate to Add > Light > Hemisphere.
Adjust sky and ground colors: The Color represents the sky (above the model), while
the Ground Color (below the model) represents the reflected light from the ground.
For instance, use a soft blue for the sky color and a warm beige or gray for the ground
to mimic daylight conditions.
Set intensity: In the properties panel, adjust the intensity to 0.7 – 1.0 to create a
balanced light effect. This will ensure that the pump model is lit evenly from above and
below without the stark contrasts caused by directional lights.
No shadows: Unlike directional or spotlights, the hemisphere light doesnʼt cast
shadows, making it ideal for environments where you want soft, even lighting without
the sharp edges of shadowed areas.
Add Spot Lights to Highlight Key Features
Next, add Spot Lights to focus on specific parts of the 3D model, such as the motor,
valves, or any complex geometry. Spotlights help draw the viewerʼs eye to these important
areas and add visual interest.
Add Spot Lights: Navigate to Add > Light > Spot.
Position and Aim: Move the spotlight above or in front of the 3D model and rotate it to
aim at specific components. You can add multiple spotlights to highlight different
parts. Adjust the cone angle: Spotlights have a cone angle that defines the spread of the
light. For precise lighting, reduce the cone angle to focus on smaller areas, or increase
it for broader illumination.
Play with intensity and distance to control how far the light reaches and how brightly
it illuminates the area.
Use Point Lights for
Balanced Illumination
If your 3D model has intricate parts
inside or around the back, you can use
Point Lights to illuminate these
regions. Point lights simulate light
coming from a specific point, much like
a bulb, and are effective for adding fill
light in areas that might otherwise be
in shadow.
Adding Point Lights
Add Point Lights: Navigate to Add > Light > Point
Position the point lights near the areas that need additional lighting, such as internal
components or recessed parts of the 3D model.
Fine-tune the distance and decay to control how quickly the light fades as it moves
away from the source.
Fine-tuning Light and Shadow Settings
After adding your lights, itʼs essential to refine their settings to achieve the desired effect.
Shadow Softness: Soft shadows generally look more realistic, especially for larger
light sources like directional or area lights. You can adjust the shadow softness by
modifying the shadow map size and increasing the shadow blur radius. Multiple Lights: Experiment with combining different types of lights. For instance,
using both a directional light and a point light can add depth and balance to the scene.
Light Colors: Subtle changes in the light color can alter the mood of the scene. For
example, a cooler light (slightly blue) can give a more industrial or technical look, while
warmer tones (slightly orange or yellow) can give an inviting feel.
Final Adjustments and Rendering
After youʼve set up your lights, do a quick review of your 3D model to ensure that:
All important details are adequately illuminated.
Shadows are not too harsh or too soft.
The lighting directs attention to key parts of the model.
You can preview the results by rotating the camera around the 3D model to check how the
light interacts with the surfaces from different angles. If necessary, tweak the positions,
intensities, and colors of the lights for a more polished look.
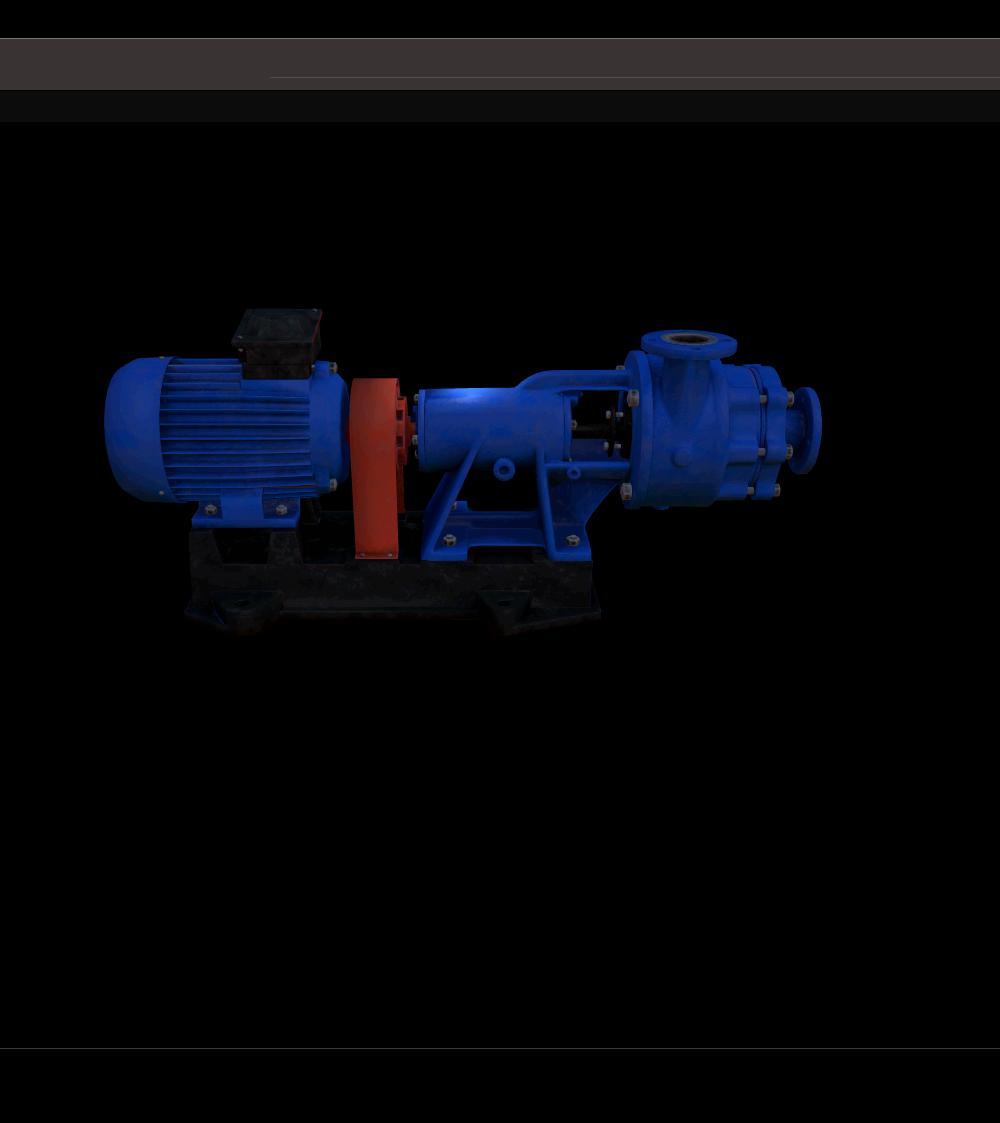
You can also view your model by
navigating to the Project section in the
sidebar and click Play.
You can then go back to your project
by clicking Stop.
C
onclusion
Lighting can make or break the visual quality of your 3D models, and when working in
Model Builder, understanding how to effectively use lights is essential.
Combining different light types like
Directional Lights, Hemisphere Lights and Point
Lights will give your models greater depth, realism, and aesthetic appeal.