11 minute read
TIPS FOR TEACHING BEGINNING WOODWINDS JODI SMITH, NANCY MOORE, SHAWN REYNOLDS


Tips for Teaching Beginning Woodwinds
Jodi Smith, Nancy Moore, Shawn Reynolds FLUTE
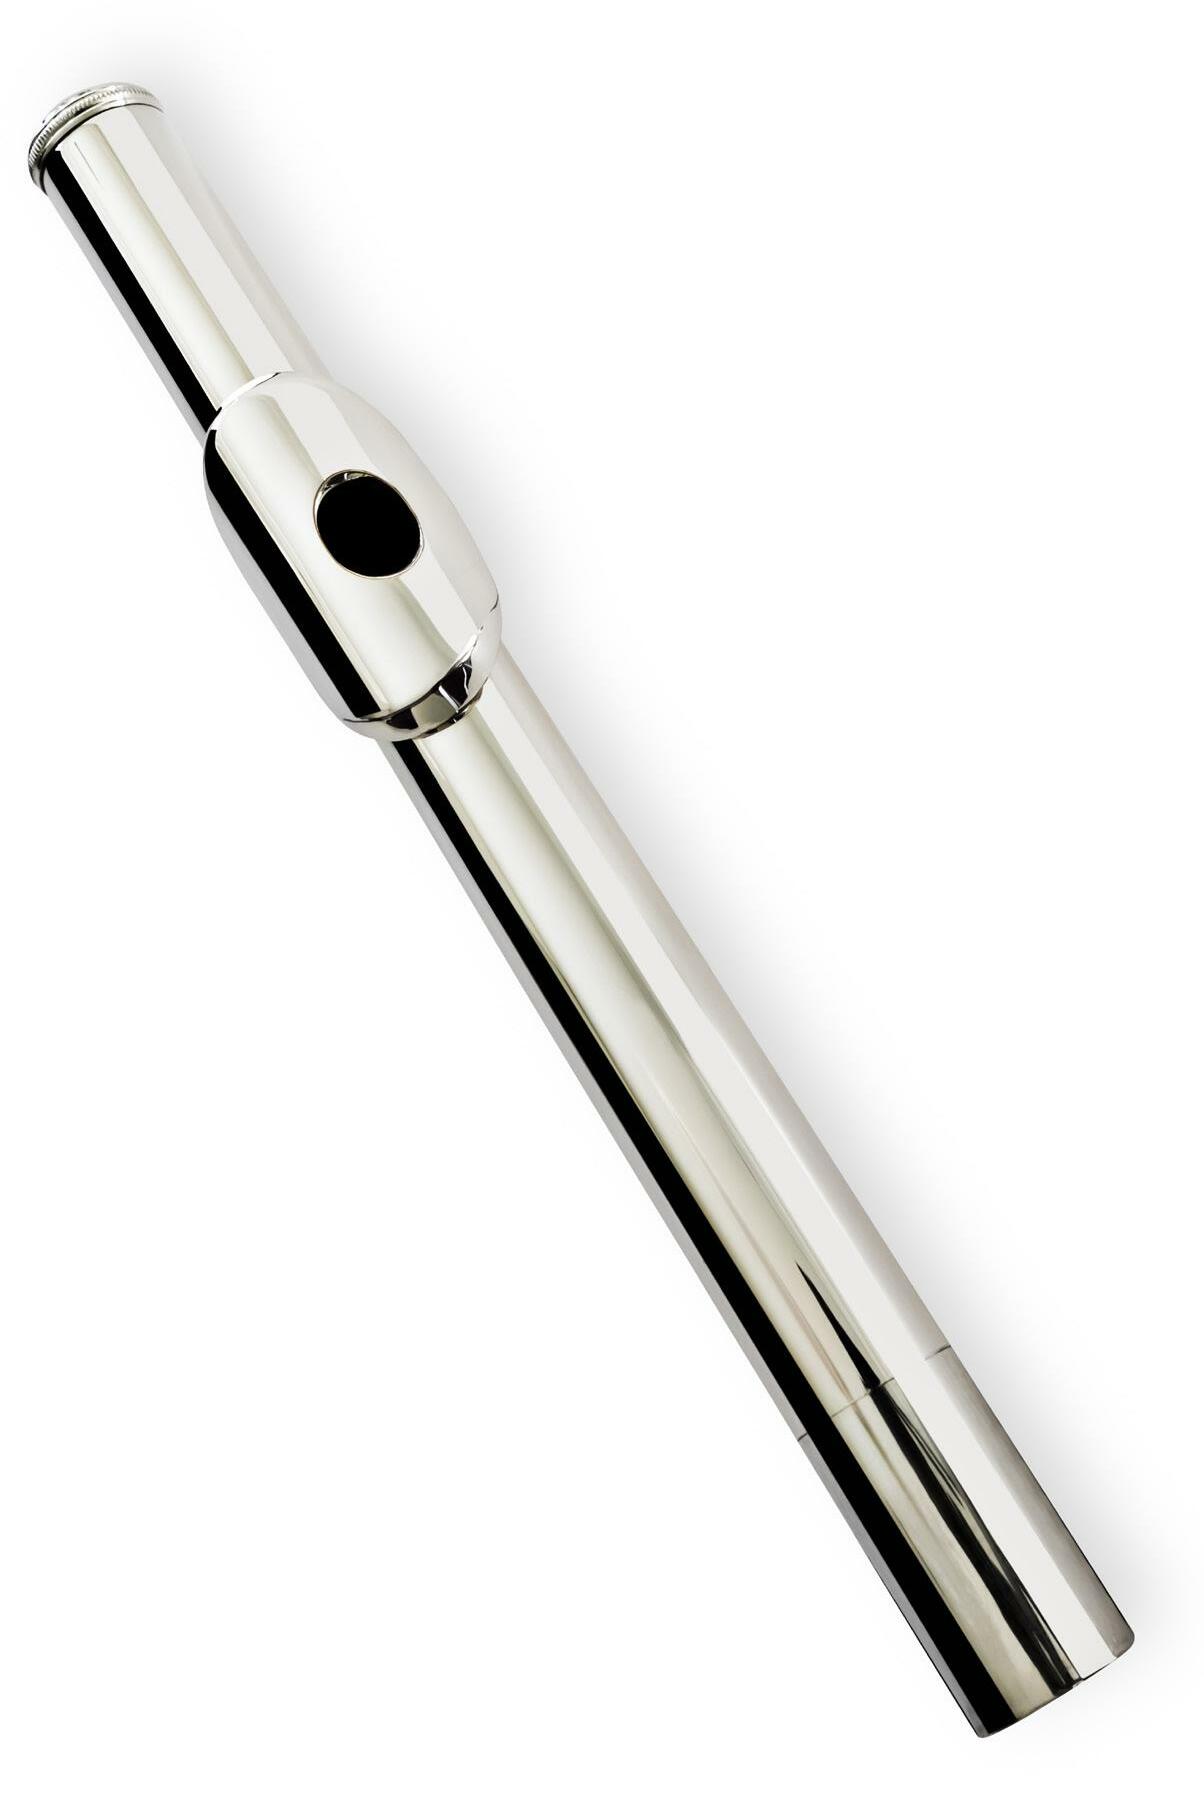
BEGINNING TONE PRODUCTION/DAY 1 • Holding head-joint (HJ) with RH, use the LH index to feel the natural indentation below bottom lip when lips are relaxed. This is where HJ will sit. • The lip plate of head joint goes BELOW bottom lip (not on bottom lip) in that indentation • Catch the inner edge of tone hole below the bottom lip and blow straight across with a lot of air.
They should feel the edge of the hole where the bottom of lip meets skin o This one is incredibly important! Students will roll the HJ in OR place it too high on the lip because it’s easier to produce a tone o If this placement is not secure, they will never be able to play low notes loudly and high notes softly (if at all) • Think “MMMMM” syllable to keep lips straight, then “POOO” to create a small opening in center of lips o Tips for small aperture in lips o Think of spitting a tiny piece of rice through the opening o Use a straw (not big McDonald’s or small coffee stirrer, but somewhere in between) and place between lips forming embouchure and blow through the straw. Don’t pucker lips.
DAY 2- ARTICULATION AND HAND POSITION • Review and reinforce head joint placement and tone production • Teach articulation on head joint only o “TOO TOO TOO TOO” syllable; make each sound touch and the airstream continuous • Once articulation has been taught, play head joint songs. o “Mary Had a Little Lamb” - hold head joint with left hand below the lip plate so it doesn’t block airflow. Utilize RH index finger to insert in open end of head joint to lengthen and shorten the instrument changing the pitch. This also reinforces articulation. o Call and Response: close HJ end with right hand while still holding with left hand below lip plate. Alternate open and closed tones while tonguing each one. Teacher demonstrates 4 count quarter note pattern, rest 4 counts, students respond back. • Hand/finger placement: Use pieces of blue painters’ tape in the following spots ON THE FLUTE. (Students should be instructed to always ‘touch the tape’ at these points) o RH Thumb o Should be on the back side of the tube directly under index finger o Not under because it allows flute to roll in o LH Index Finger ‘Cradle Spot’
o 2 small pieces on the LH first key and the 4th key where LH fingers DO NOT GO; We should be able to see those pieces of tape • Use the Bb thumb key for every note that uses thumb key. Yes, the long Bb fingering is more stable and helps them hold the instrument, but it doesn’t do anything to help with C where there is no fingers to support the instrument. o When they learn B natural, then teach the other thumb key. There are scenarios for all 3 Bb fingerings on flute, just like clarinets using the appropriate pinky fingerings and oboes using the correct F. • Assembly Tip: Teach students to push head joint in, then immediately pull back out about ¼ inch. Flute is made to be played in tune when head joint is slightly pulled out. o It is perfectly fine to see un-plated metal at bottom of head joint when assembled o Line up middle of tone hole of HJ with middle of C key. o Line up the foot joint rod in the center of D key, at bottom of the body • First note is 4th line D o Why? Student uses 4 holding points: o (1) Right hand thumb on tape (holds flute up and out) o (2) LH thumb on Bb thumb key o (3) LH 1st finger pushes the flute into chin o (4) RH Pinky (except for this D) • Always bring flute to you. Do not move head to flute. o Find the edge of tone hole under bottom lip again o Don’t ever look at fingers
DAY 3 - REVIEW • Whole note/whole rest on loop pattern. Tongue the beginning of each whole note. • More HJ songs/call and response (about 15 minutes total of HJ only work) • Review finger placement and hand position • Helpful pointers for first notes, which are D and C in most method book o Do lots of finger only work o Place head joint on left shoulder to help hold. Then, move fingers simultaneously from D to C (I count 1-2-ready-change-GO back and forth). This is the only time they can see their fingers. • Switch all fingers at the same time/slam them down/robot fingers and keep them close to the keys o Say note names while moving fingers in rhythm with book songs (I do this with EVERY song in the book the first month or so) • Usually by the end of day 3 thumb Bb is introduced. Be sure to CHANGE the fingering in their books.
OTHER HELPFUL THINGS: • Use a thin coffee straw to visualize air direction o Range- I mentioned the thin coffee straw. Many people use Pneumo-Pro’s to help students visualize the air stream. These are amazing! o Make flute face and place straw barely in aperture, held by lips. o Blow through the straw. o Make straw go higher by manipulating bottom jaw and bottom lip (move out). o Make straw go conversely, lower. (This represents air direction needed for lower notes) ß In this order: low straw, air into the flute, blow on your chin. ß To achieve higher notes – air stream is up with more across the flute. o Don’t try to go too fast. The other woodwinds can wait until the flutes conquer the first 3 notes with good hand position, articulation and tone production and not breathing between every single quarter note!
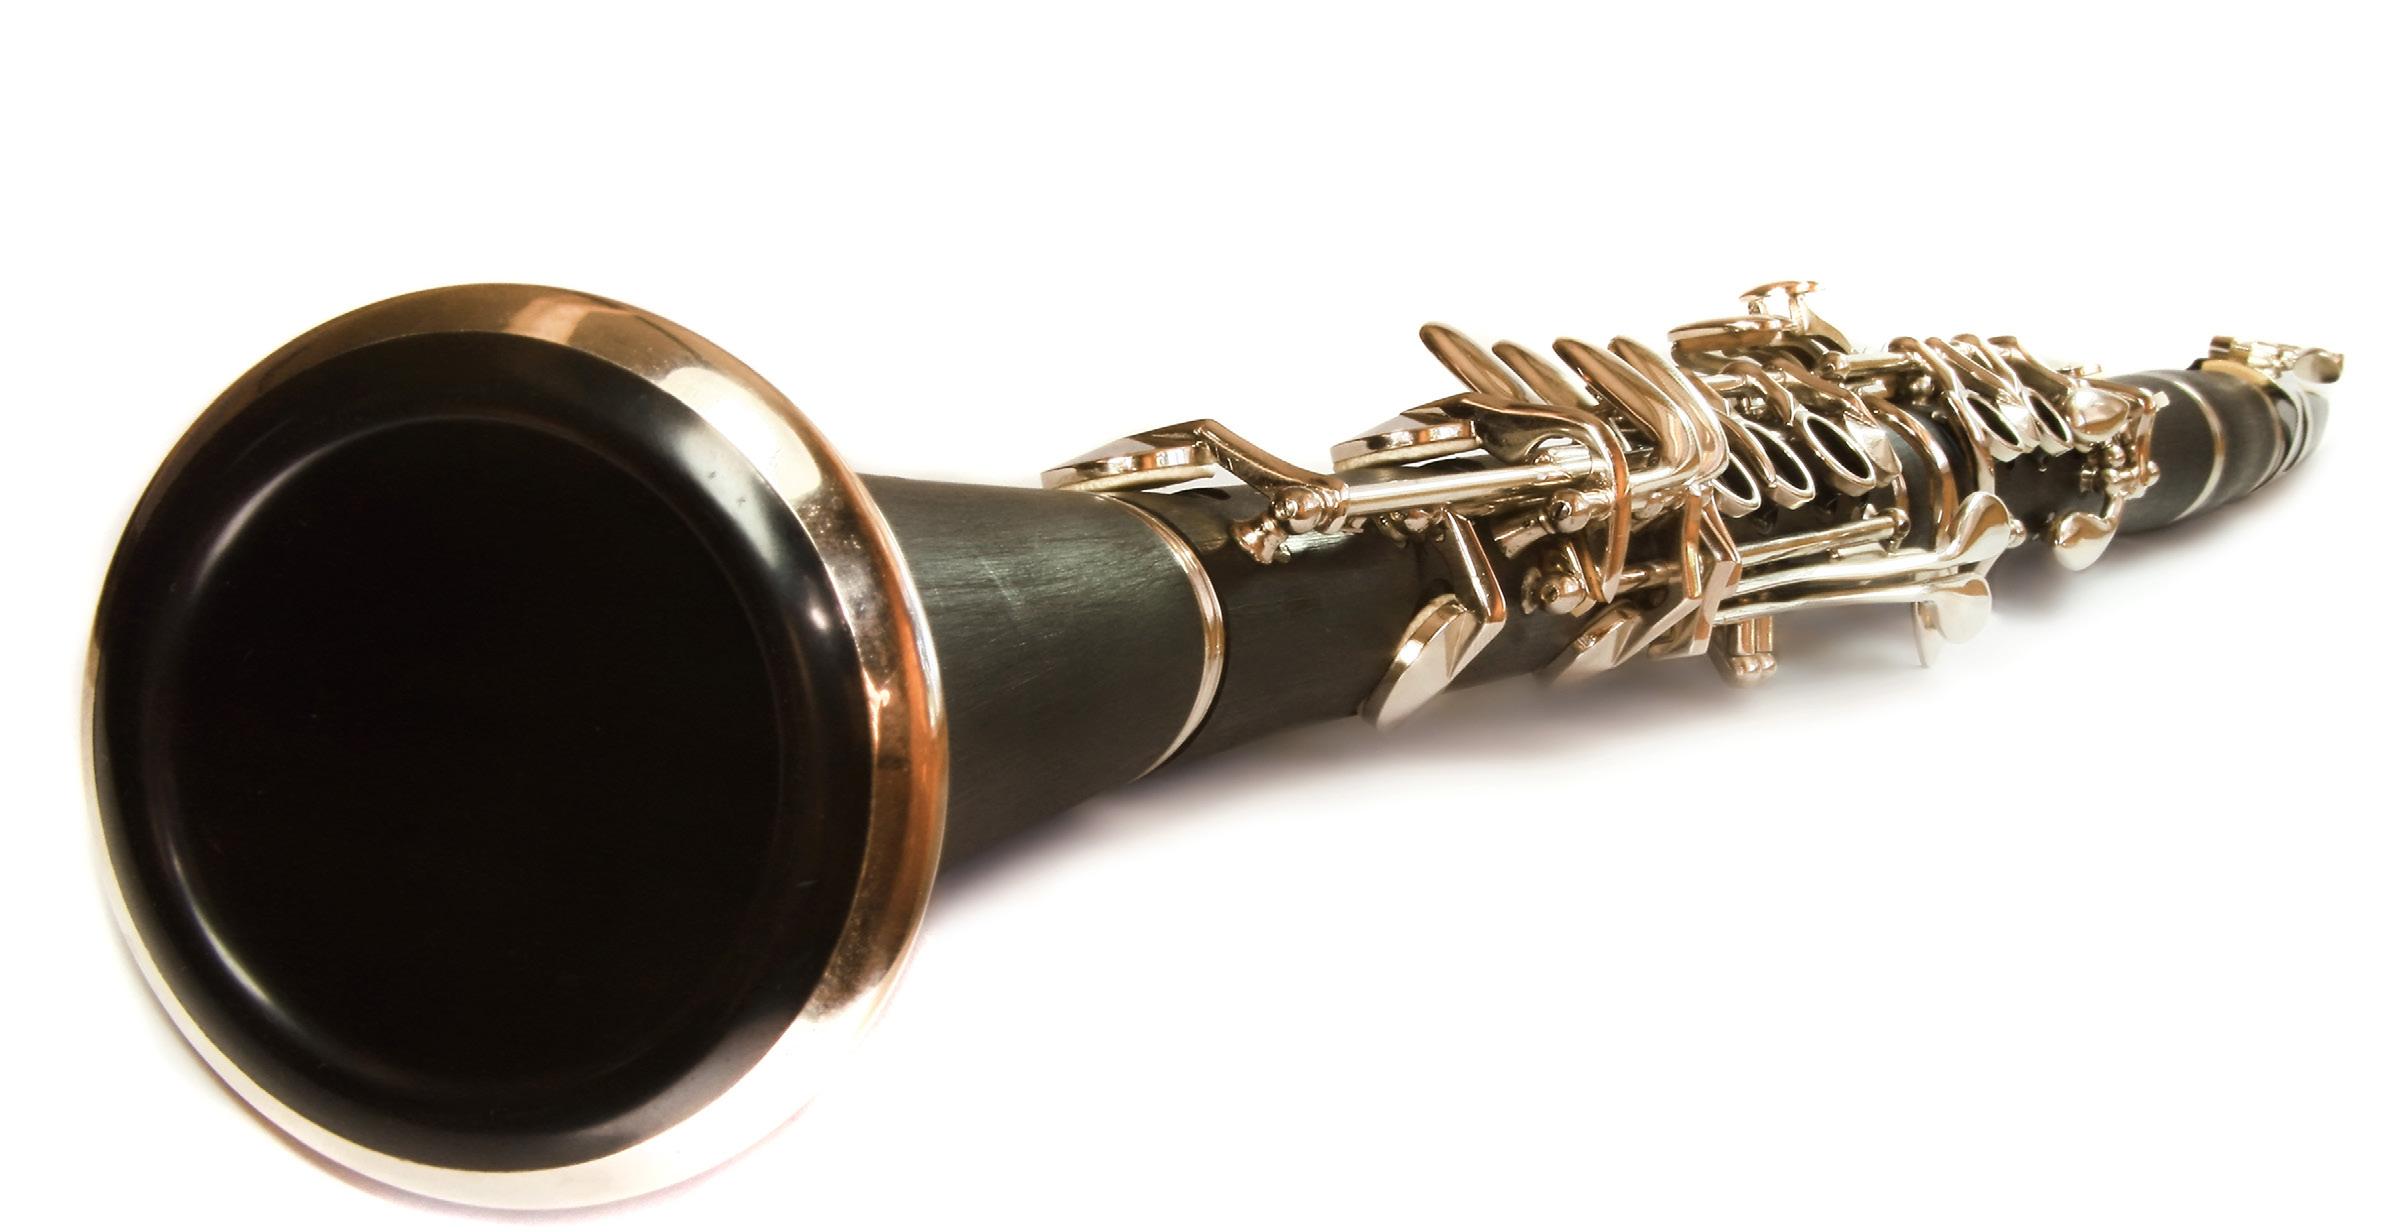
CLARINET
• Make sure students can get correct pitch on mouthpiece and barrel alone. This will ensure their embouchure has the correct pressure/fulcrum balance
• The vibration of the mouthpiece on the top teeth bothers many young students. Invest in mouthpiece patches. Full size saxophone mouthpiece patches can be cut in half to make them last longer.
• Don’t use stock mouthpieces. Instead choose: Premier by Hite or a Debut by Clark Fobes. This will fix many problems right away.
• Always use AT LEAST a size 2.5 reeds and the best brand of reeds they can afford.
• Bottom lip: Just a little pink if your lip covers the teeth correctly.
• Top teeth on the mouthpiece and have students close their lips around the mouthpiece
• Blow a laser beam of air
• Always have a mirror available
• Have students look at their instrument and talk about the size of the tone holes. As soon as they can play middle C, have them stand up and start covering the holes on the lower joint. Do this at least once a week, without associating note names. The kinesthetic experience alone is beneficial! Beginners can play a descending F scale in 10 weeks or less. Once you get to these notes in the book, students can already play them – they just start to learn the note names with fingering patterns they already know!
• As soon as they know low A and G, show them the register key. Again, kinesthetic experience alone without note reading, will make a huge difference!
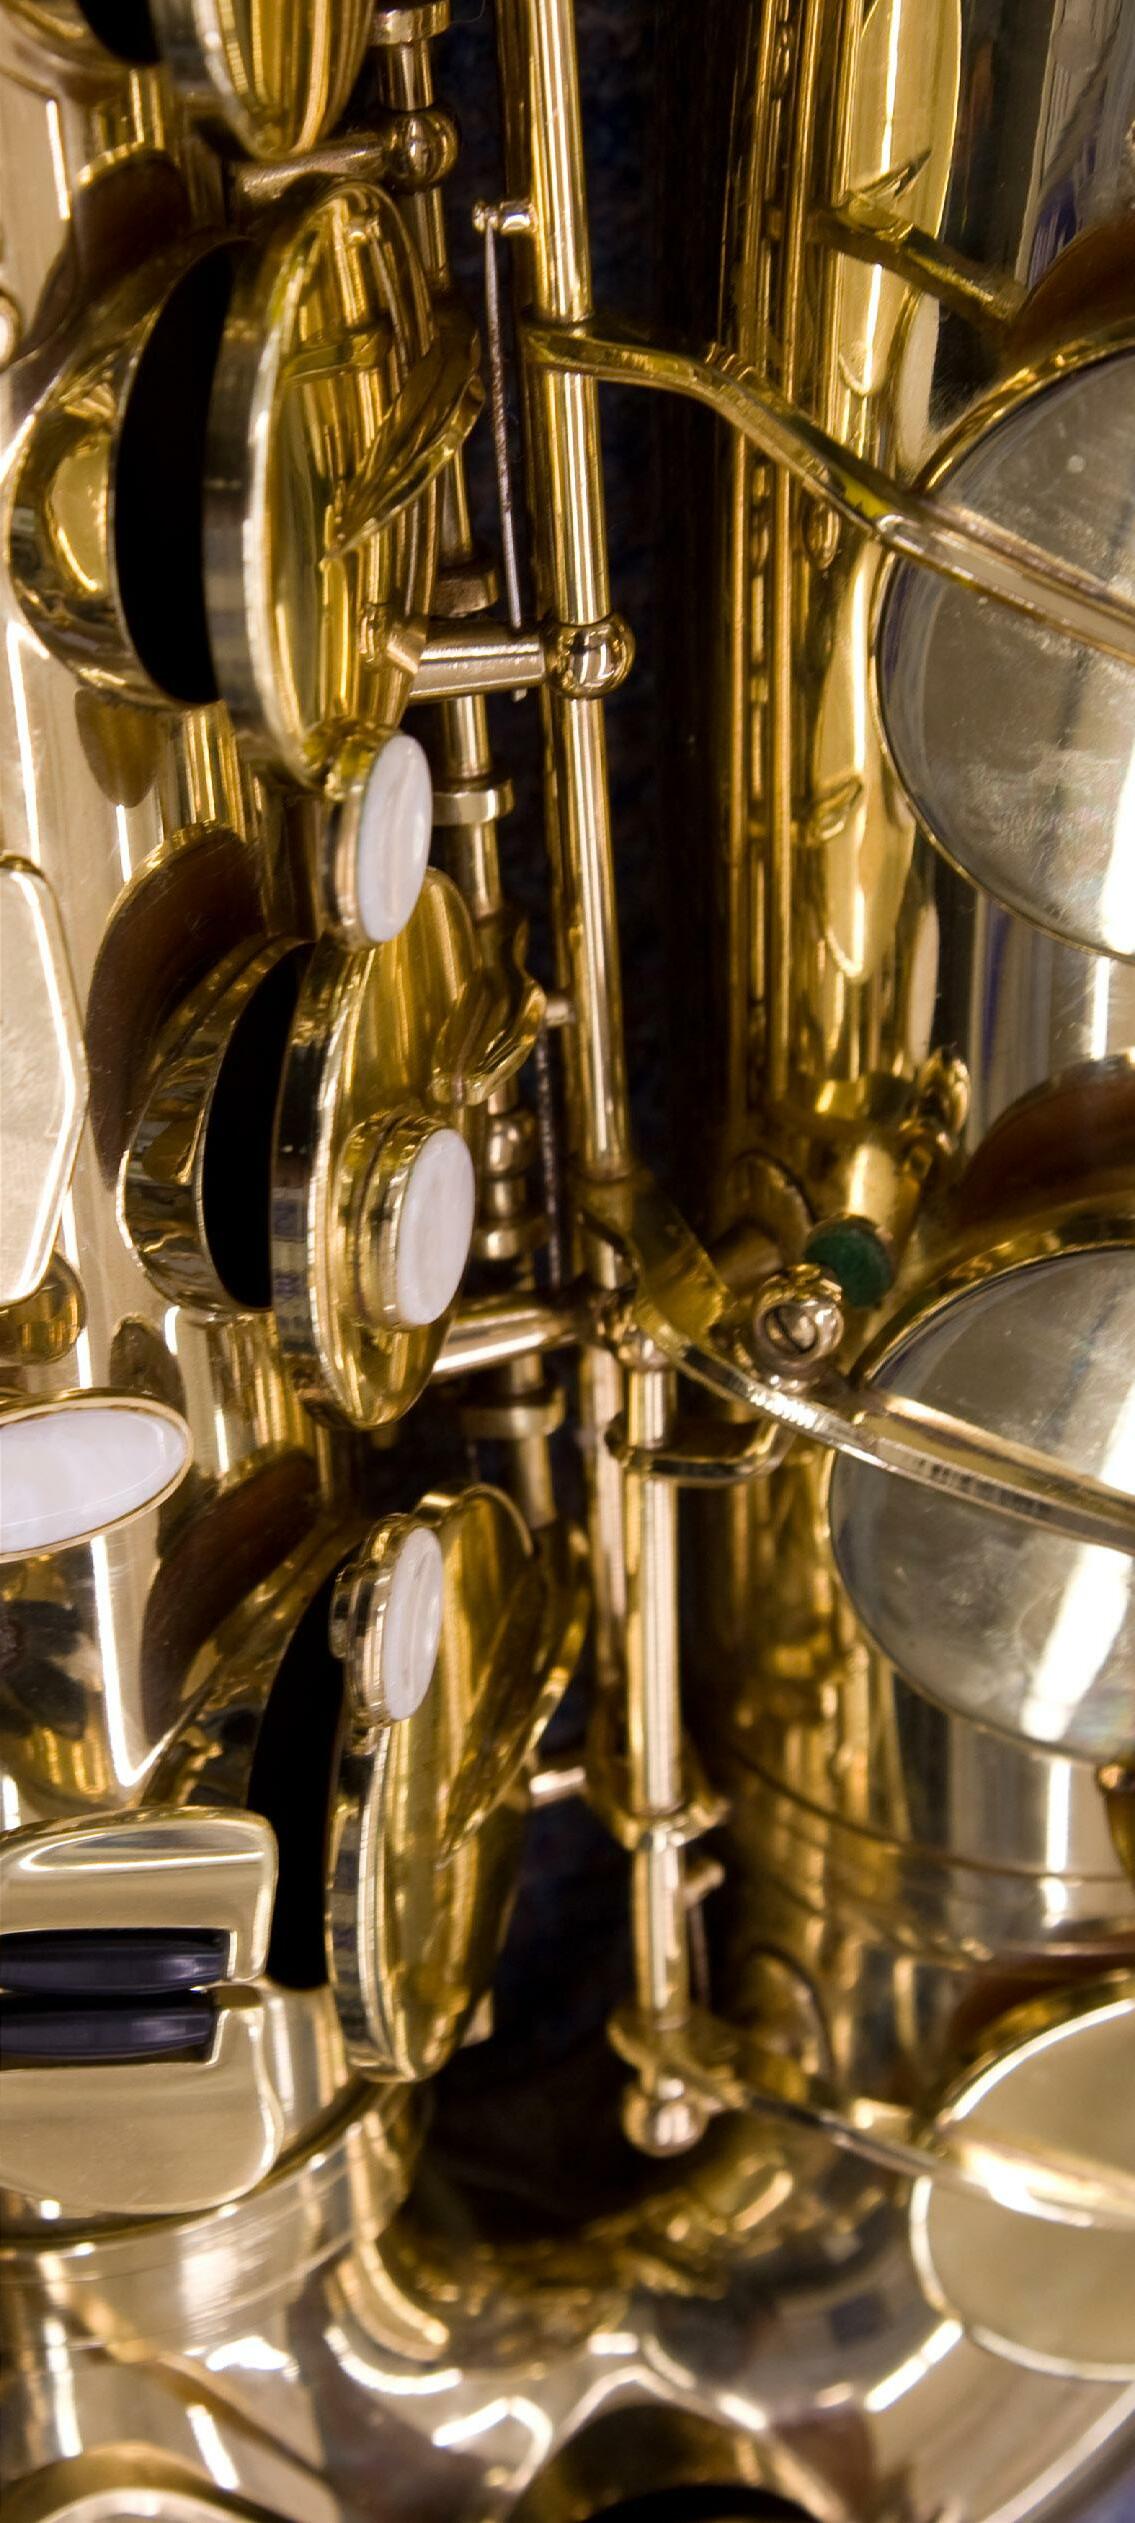
SAXOPHONE
• Reinforce correct embouchure by checking that students can achieve and maintain correct pitch on the mouthpiece and neck alone. This will help fix tone as well as intonation.
• Look at the mouthpiece/reed sideways: The point where the reed begins to separate away from the mouthpiece is a good gauge for where to place the bottom lip.
• Once the upper teeth are firmly on the mouthpiece and the bottom lip is slightly over the bottom teeth, use the words “simply close your lips around the mouthpiece like you are tightening the string on a comfy pair of sweatpants”. Evenly close lips around mouthpiece in an “oooohhhh” syllable.
• The vibration of the mouthpiece on the top teeth bothers many young students. Invest in mouthpiece patches. You can buy these in bulk, and they often fix many problems. Many students won’t put their teeth correctly anchored on top of the mouthpiece simply because the vibration feels awful for them.
• The center/side debate (holding the instrument) has been going on for many decades. Do what is best for the size of the student at the given time. Start students holding the instrument to the right side and then eventually move them to the center when they are tall enough. If students don’t eventually move to the center, I have found that they will have tone issues in upper junior high and high school due to the incorrect angle of the mouthpiece.
• If the neck strap is the correct length, the mouthpiece should come directly to the mouth perfectly horizontal. Enforce that the neck strap is there for a reason and to utilize it for correct mouthpiece placement and angle.
OBOE
• There are companies that specialize in double reed items. Please consider buying hand-made reeds from these sites rather than mass-produced reeds from music stores.
• The correct pressure/fulcrum balance is essential for excellent tone, on the reed alone. Students should be able to achieve a 3rd space C or slightly below (B) on the reed alone. This indicates the correct embouchure.
• If a student cannot get this pitch
o The reed is too hard or too soft. Most often its too thick/too hard!
o Or, the bottom lip support and air speed is incorrect.
• The chin should be mostly flat and pointed downward with the bottom lip
“cushioning the reed with a bit of pressure”. Do not allow students to play with a flat-lip (straight across) embouchure.
• Band books often start in Bb or Eb thus causing oboe players to be forced to learn Fork F and only fork F. Insist that they learn Regular F first, then Left F (if they have one) and lastly, fork F.
• On most student oboes, students should try to avoid using Fork F since it sounds stuffy and causes bad finger technique. Although, there will be unavoidable keys and combinations that students will need to use Fork F (Gb,
Db) as they become more technically advanced.
• There are companies that specialize in double reed items. Please consider buying hand-made reeds from these sites rather than mass-produced reeds from music stores.
• When switching other instruments to double reeds, flute and saxophone players make the best switches because their embouchures are not too firm yet. In my experience, clarinet players do not make the best switchovers because their bottom lips are too stretched and flat for a correct oboe embouchure.
o Clarinets with a looser, less-focused bottom lip may make good oboe switchoevers.
BASSOON
• It is important that bassoon players learn to “crow” the reed alone correctly, in order to have the correct embouchure setup.
• Students should be able to crow the reed with little to no pressure from the lips and achieve a very rattly unfocused sound (unlike oboe).
• If the crow is high in pitch or does not have many different pitches, the students are either crowing with too much pressure from the lips OR the reed is too closed (usually).
• One of the most effective ways to teach beginning bassoons is to model for them by playing ‘call and response’ patterns.
o Example: Teacher: C D E. Student echo: C D E Teacher: C D E F E D C Student Echo: C D E F E D. C Teacher: C D E F E D C B D (Student echoes pattern) Teacher: C B A B C Student Echo: C B A B C
Teacher: C B A G A B C. Student Echo: C B A G A B C
This allows the student to focus solely on finger patterns as well as basic ear-training.
• When looking for students to switch over to bassoon, look for someone with a flexible embouchure. I have often found that saxophone players who have an unfocused and loose embouchure make GREAT bassoon players! The air column needed is very similar. However, the fingering patterns of clarinets are very similar, so clarinets also make great switchovers for bassoon players.
• Don’t be afraid to learn the bassoon this way yourself! You are their best model. If there is no professional bassoonist in the area to teach lessons, you are the next best thing. Even if you don’t feel confident at teaching the bassoon, there is no better way to star then simply by jumping in headfirst and learning like your students will learn.
• While seat straps are commonly accepted as normal on bassoon, often full body harnesses are the best option for bassoon players because they allow the entire body to support the instrument rather than simply the leg. They also allow bassoon players to easily stand up and play when needed. Invest in full body harnesses for your bassoon players. By the way, there are separate ones for male and female students! Be sure to purchase the correct ones.


