IWFS Event Registration Guide
Invitation emails will come from: jmatthews@supportworkstech.com
Step 1 Event Invitation Email
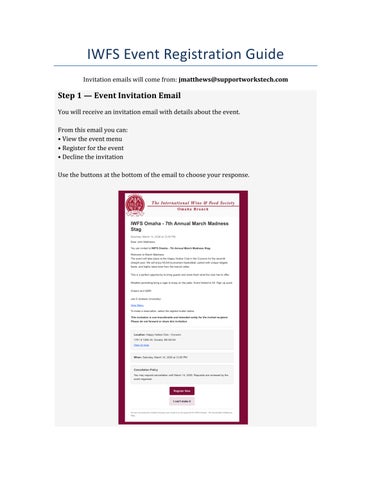
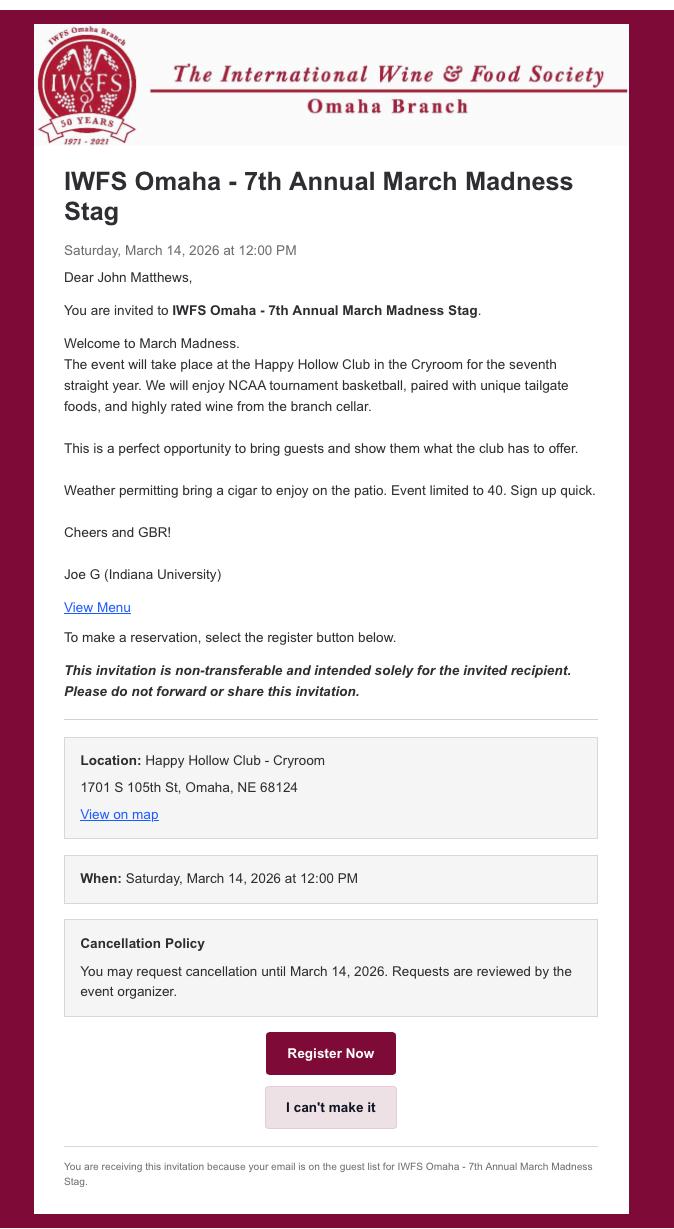
You will receive an invitation email with details about the event.
From this email you can:
• View the event menu
• Register for the event
• Decline the invitation
Use the buttons at the bottom of the email to choose your response.
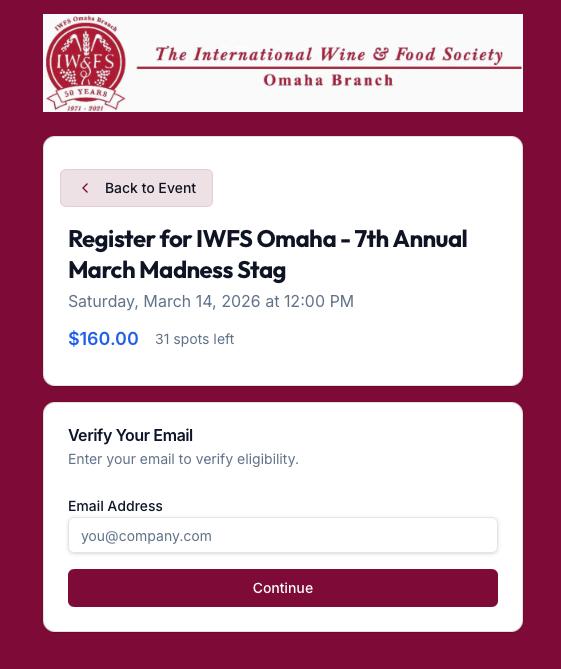
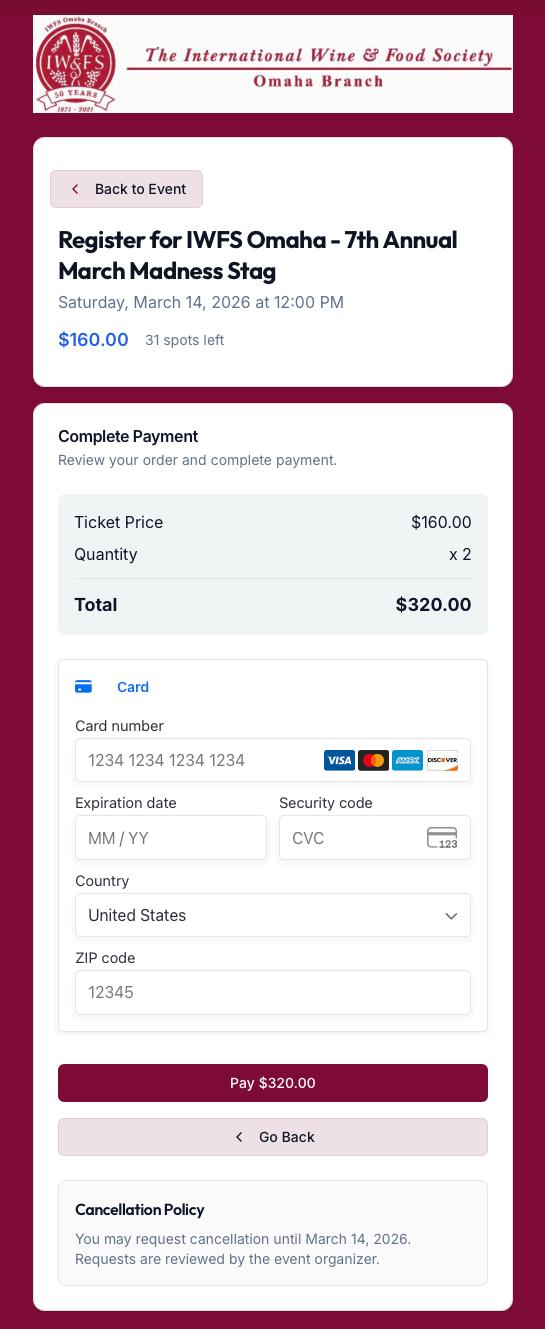
When you click Register, you will be asked to enter your email address.
Important:
• Your email must match the address used for the invitation
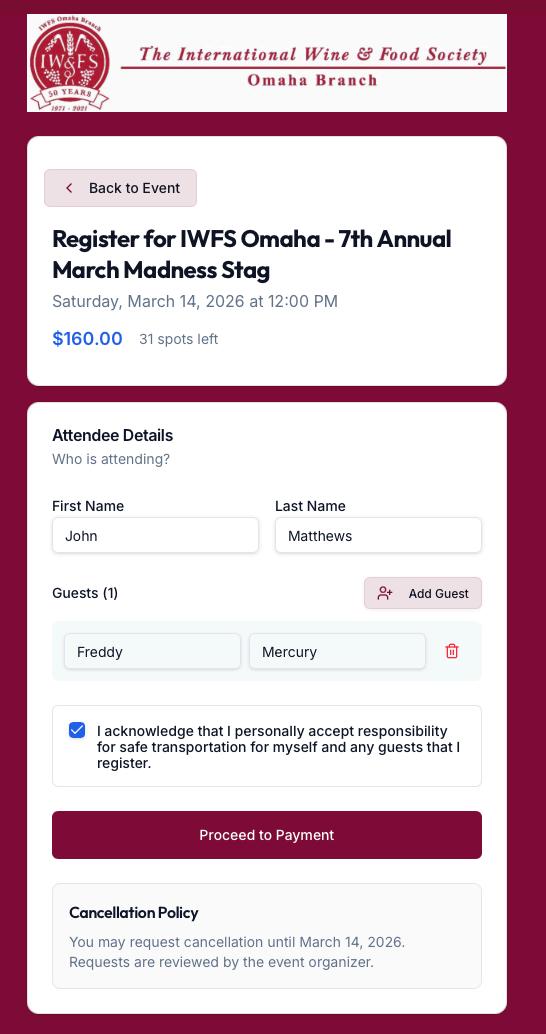
• Each email can only be used once (including guests)
Step 4 — Confirmation Email
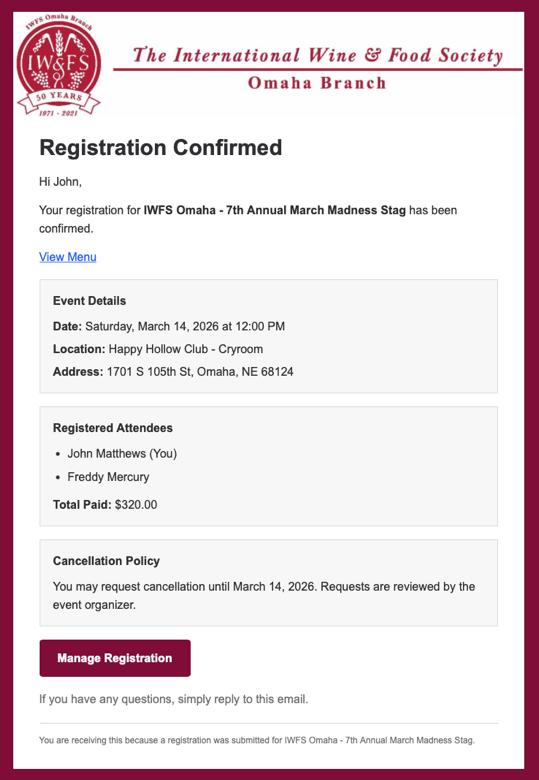
After registering, you will receive a confirmation email.
Keep this email. It contains the link that allows you to manage your reservation.
Step 5 — Manage Your Reservation
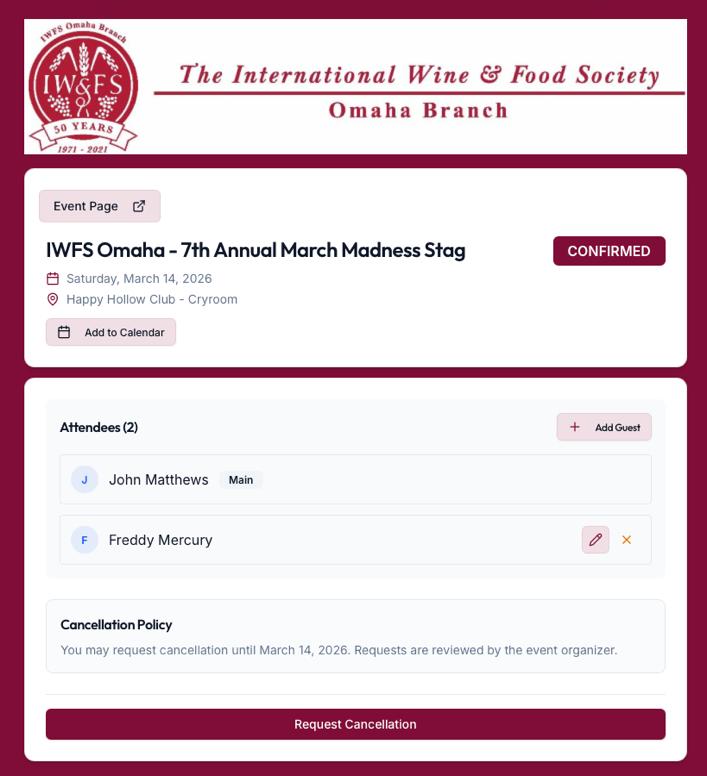
Using the link in your confirmation email will open the reservation management page.
From this page you can:
• Add additional guests (same credit card will be used)
• Update guest names
• Request cancellations
Cancellation Policy
• Cancellations before the registration cutoff date will typically be approved.
• After the cutoff, cancellations may be approved only if a replacement can be found.
• Refunds do not include the Stripe transaction fee.
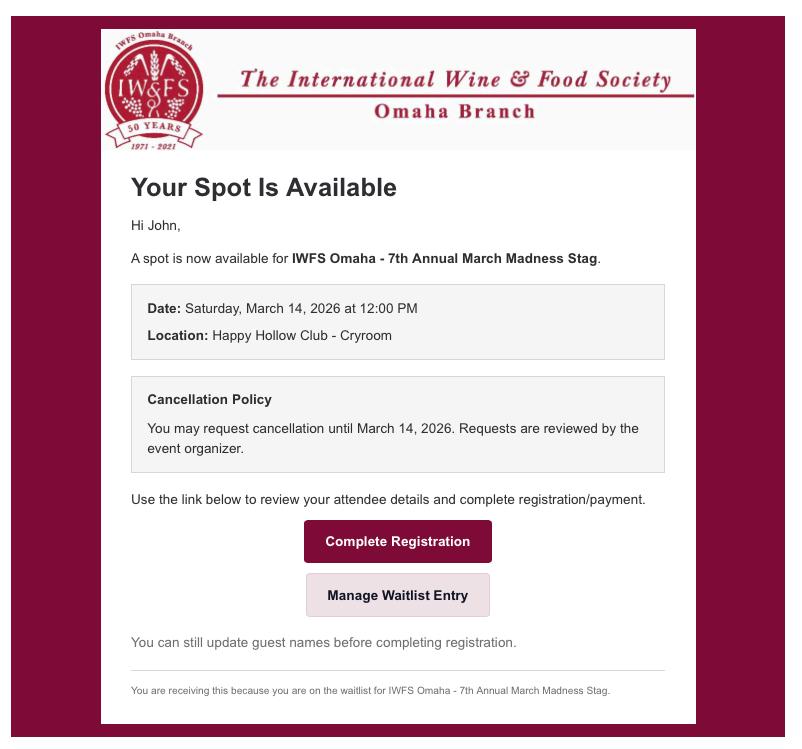
Step 6 — Waitlist (If Event Is Full)
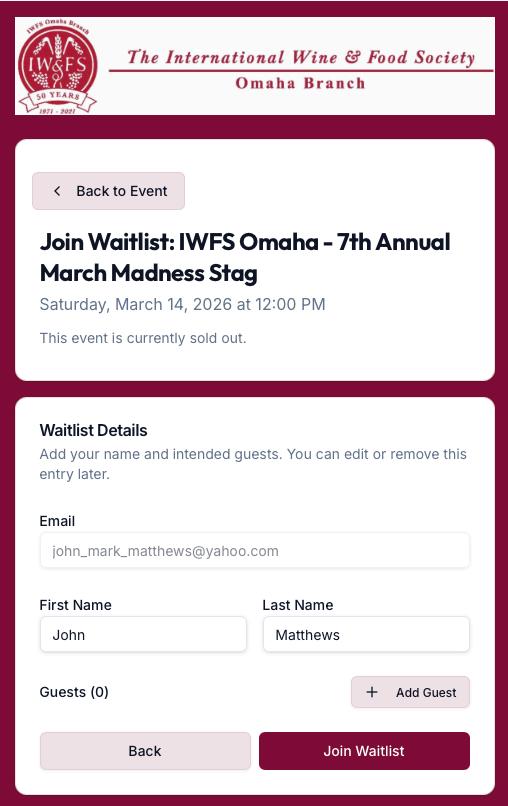
If the event reaches capacity, you may join the waitlist.
You will receive a confirmation email that includes a link to update or cancel your waitlist entry.
Step 7 — Waitlist Notifications
If a spot opens, you will receive an email notification.
Important:
• Notifications are sent in the order people joined the waitlist
• The spot is not reserved
• When a spot opens it may be taken quickly
Register as soon as possible if you want the spot.