SENECA LIFE RECESSED LED EMERGENCY DOWNLIGHT INSTRUCTIONS Issue 03 April 2026 STANDARD / SELF TEST VERSIONS P1-P4 BLACK VERSIONS P4-P5 DALI ADDRESSABLE TEST VERSIONS P5-P6
Thank you for your purchase For best results, have this light fitting installed by a qualified electrician, following these instructions. Keep this leaflet for future reference. Safety
• •
Mains powered – installation must comply with building and electrical regulations. Always switch off and isolate the power before installation or maintenance.
Need Help? For advice or accessories, contact us at the address above. Please have the product name, model, and purchase details ready STANDARD VERSIONS
LUMINAIRE INSTALLATION
1.
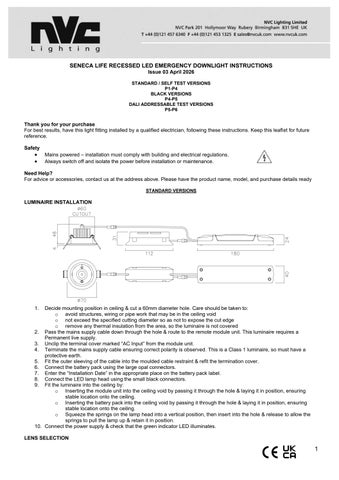
Decide mounting position in ceiling & cut a 60mm diameter hole. Care should be taken to: o avoid structures, wiring or pipe work that may be in the ceiling void o not exceed the specified cutting diameter so as not to expose the cut edge o remove any thermal insulation from the area, so the luminaire is not covered 2. Pass the mains supply cable down through the hole & route to the remote module unit. This luminaire requires a Permanent live supply. 3. Unclip the terminal cover marked “AC Input” from the module unit. 4. Terminate the mains supply cable ensuring correct polarity is observed. This is a Class 1 luminaire, so must have a protective earth. 5. Fit the outer sleeving of the cable into the moulded cable restraint & refit the termination cover. 6. Connect the battery pack using the large opal connectors. 7. Enter the “Installation Date” in the appropriate place on the battery pack label. 8. Connect the LED lamp head using the small black connectors. 9. Fit the luminaire into the ceiling by: o Inserting the module unit into the ceiling void by passing it through the hole & laying it in position, ensuring stable location onto the ceiling. o Inserting the battery pack into the ceiling void by passing it through the hole & laying it in position, ensuring stable location onto the ceiling. o Squeeze the springs on the lamp head into a vertical position, then insert into the hole & release to allow the springs to pull the lamp up & retain it in position. 10. Connect the power supply & check that the green indicator LED illuminates. LENS SELECTION
1