
CAT-R LUMINAIRE INSTRUCTIONS
Issue 01 March 2026
Thank you for your purchase
For best results, have this light fitting installed by a qualified electrician, following these instructions. Keep this leaflet for future reference.
Safety
• Mains powered – installation must comply with building and electrical regulations.
• Always switch off and isolate the power before installation or maintenance.
Need Help?

For advice or accessories, contact us at the address above. Please have the product name, model, and purchase details ready.
INSTALLATION
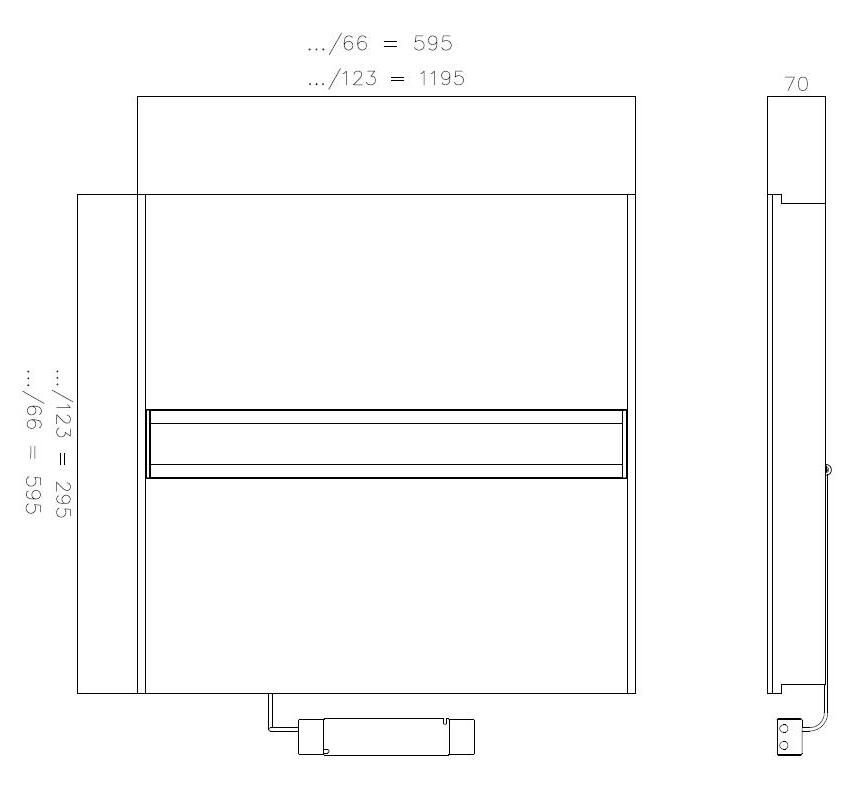
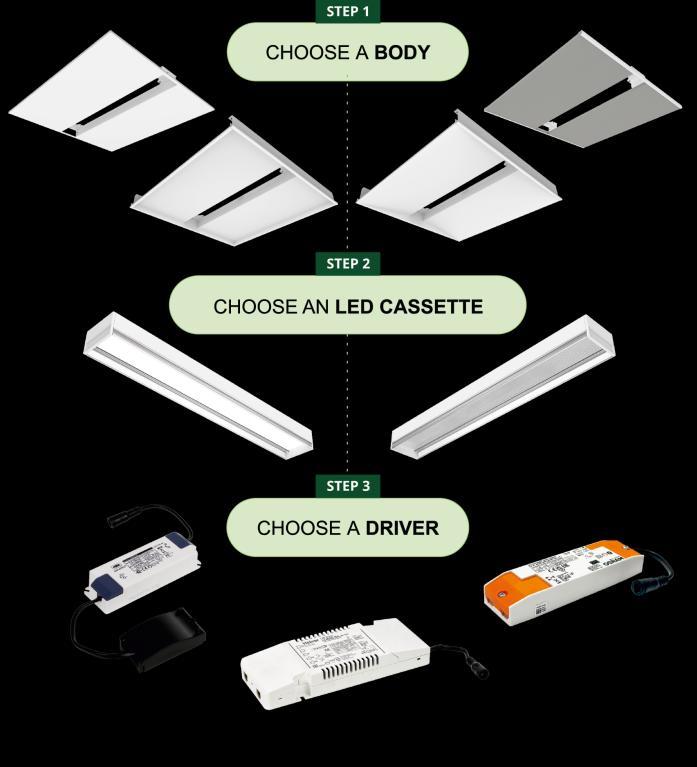
1. The CAT-R fitting includes a selected cassette (Opal or UGR), selected housing (Basic, Square, Winged, Acoustic) & selected driver (Standard, DALI, Casambi or Hubsense wireless control).
2. Feed the mains supply cable through the chosen opening in the suspended ceiling grid. The driver has a prefitted mains connection box for quick installation and “loop in/loop out” wiring.
3. Connect the mains cables to the correct driver terminals, ensuring correct polarity. These luminaires are class II, no earth connection is required, but an earth terminal is provided for the mains circuit if needed.
4. Secure the mains cable with the cable clamp on the connection box.
5. Plug the driver into the LED cassette
6. Once the wiring and housing are installed, the cassette can be fixed to the housing
7. Ensure the safety cables on the back of the cassette (mounted under the fixing magnets) are connected into the holes in the housing.
8. Finally, fit the cassette into the housing, ensuring it is sitting flat at either end to allow the magnets to secure to the housing.
MAINTENANCE
1. Gentle cleaning of the diffuser should be carried out at regular intervals so as not impair photometric performance of the luminaire.


POWER
SETTING ADJUSTMENT
Output
Current (mA) Pin 1 Pin 2
500 OFF OFF
600 OFF ON
700 ON OFF
800 ON ON
DD DIMMING VERSIONS
TYPE OF DIMMING
This product uses an LED driver that is capable of 2 methods of dimming:
REMOTE DRIVER WIRING
Power supply & signal wires input for luminaires with remote mounted LED drivers (i.e. driver not inside luminaire)
Important: The make of LED driver will need to be identified so the correct wiring can be followed.
Dimming via a Digital Addressable Lighting Interface
Further input may be required from your lighting controls provider.
INTERNAL DRIVER WIRING
Dimming via a retractive switch
Different makes of control gear should never be actuated by the same retractive switch in an installation. There is a risk of a conflict in what you are asking the ballast to do.
Power supply & signal wires input for luminaires with built in LED driver & where there is a terminal block present
Note: LSD = Switch Dim Live
PIR SENSOR VERSIONS
• Sensor PIR head to be mounted to housing in 14mm cut-out and plugged into sensor module
• Recommended detection range 6-8M
Module wiring:
• L (Live in) – Mains live input
• N (Neutral) – Mains Neutral
• L’ (Switched Live Out) – To CAT-R driver