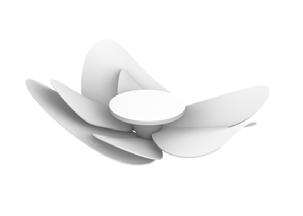
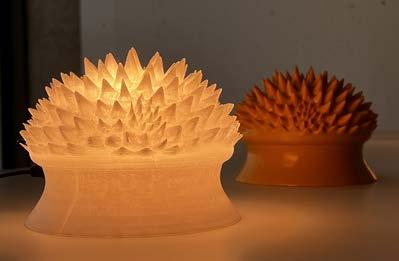
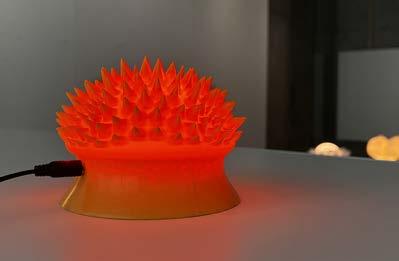
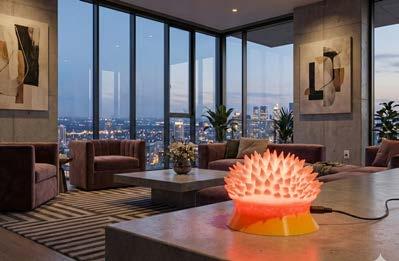
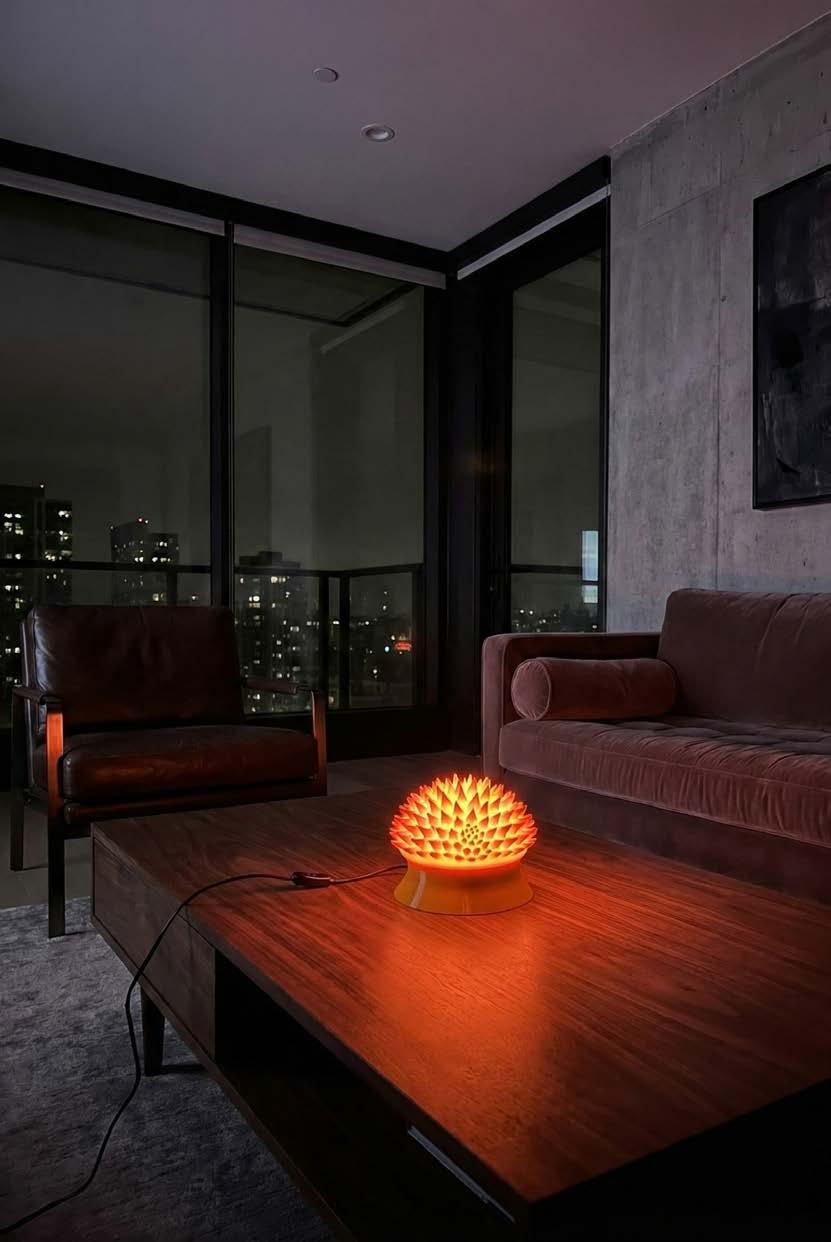
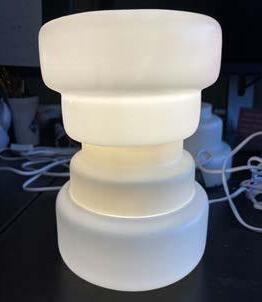
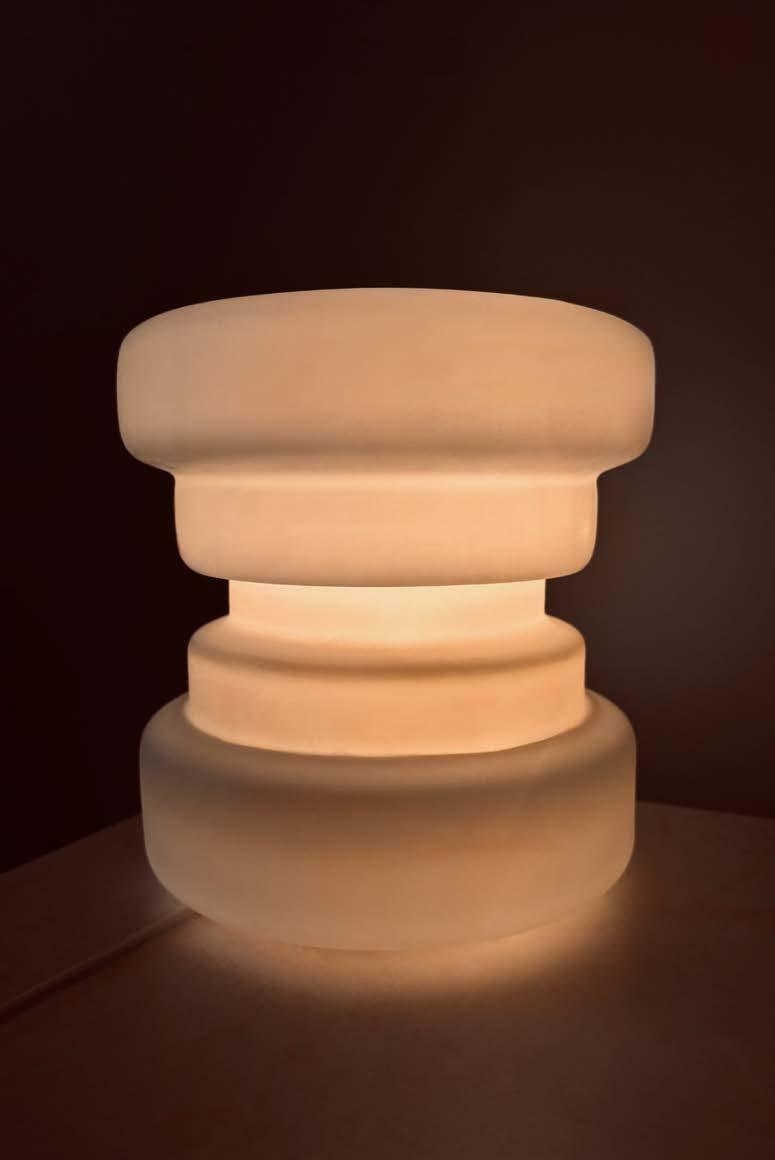
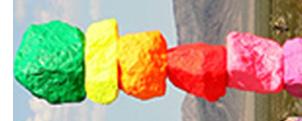
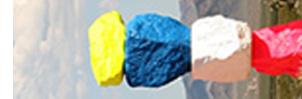
IARD 4650V Special Topic | Premiumization, Sustainability, and Bespoke Design in Fall 2025
Students
Abbey Panneck
Ann-Elizabeth R Williams
Brandi Meredith
Caroline Rose Normand
Gavin McWethy
Haley Czeschin
John Blake
Jordan Gerling
Katie Hill
Madelyn Rose Kennish
Mary Virginia McNeil
Olivia Phelan
Parker Brobston
Sofia Chiartosini
Suzu Kokuho
Taylor Nicole Heath
Instructor
Jinoh Park
Jake Tucci
Acknowledgment
This project was made possible through funding from the Nuckolls Fund for Lighting Education, with additional support from the Fay Jones School of Architecture and Design and the Department of Interior Architecture and Design. The authors are grateful for the resources and opportunities provided by these organizations to advance lighting design education.
*. There is no restriction on academic use of the contents of this book.
*. The copyright of all design results contained in this book belongs to each (student) designer.
130 Jordan Gerling
260 Sofia Chiartosini
272 Suzu Kokuho
304 Design, Illuminated by Michelle Parks, ReView: Summer/Fall 2025
Taylor Heath
Project Briefs
IARD 4650V / ARCH 402H / ARDS 60203 PREMIUMIZATION, SUSTAINABILITY, AND MAKING OF BESPOKE LIGHTING – PROFESSIONAL ELECTIVE FALL 2025
Fay Jones School of Architecture and Design University of Arkansas
Bespoke Table Luminaire
Individual Project
Objective: to develop a small table luminaire by engaging in 3D design and 3D printing and exploring branding, various materials, and lighting concepts.
Description:
Park & Tucci - 11/25/2025
For the Luminaire project, students will each develop a sculptural table luminaire. The project will be of small size, intended to help students learn new digital modeling techniques, test materials, and experiment with light sources.
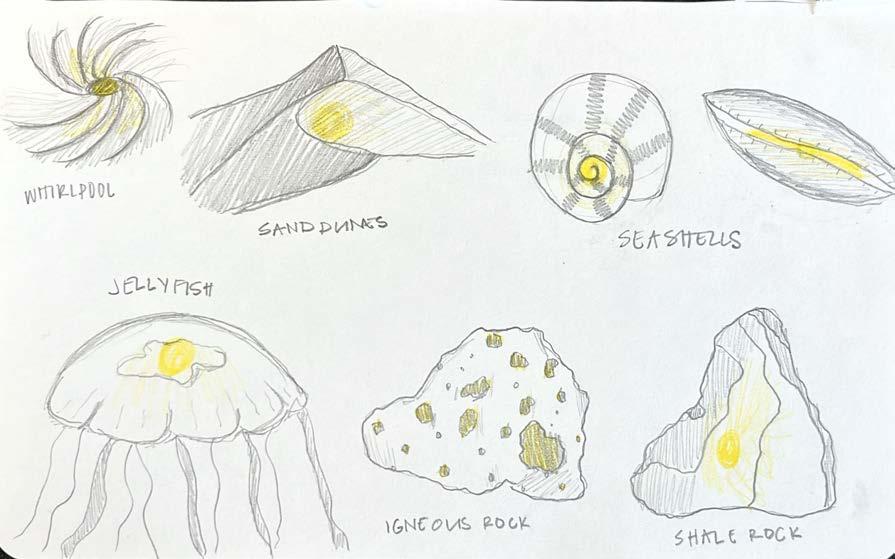
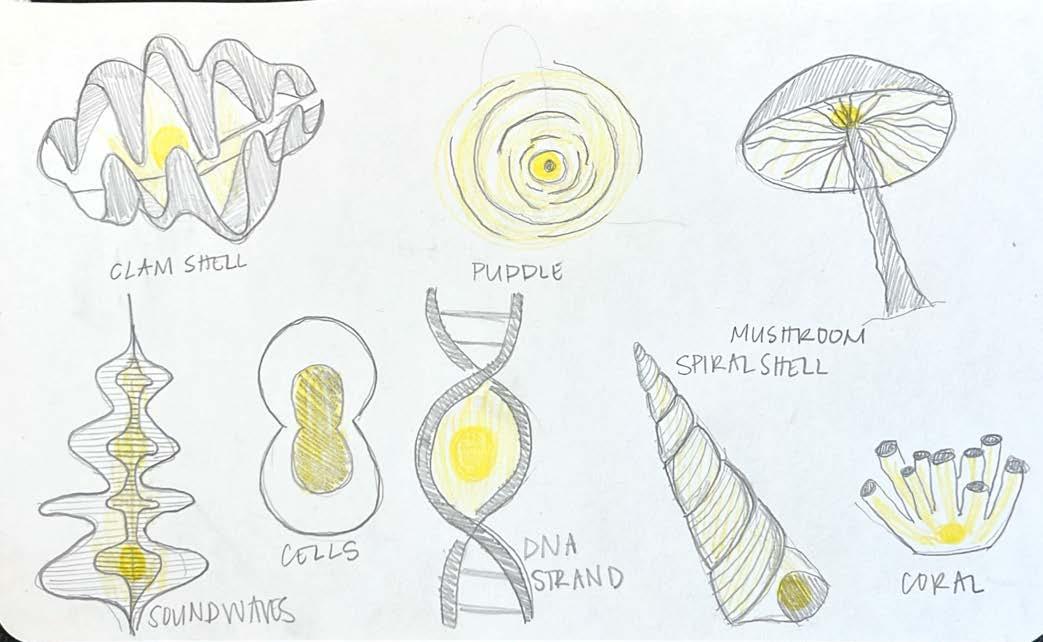
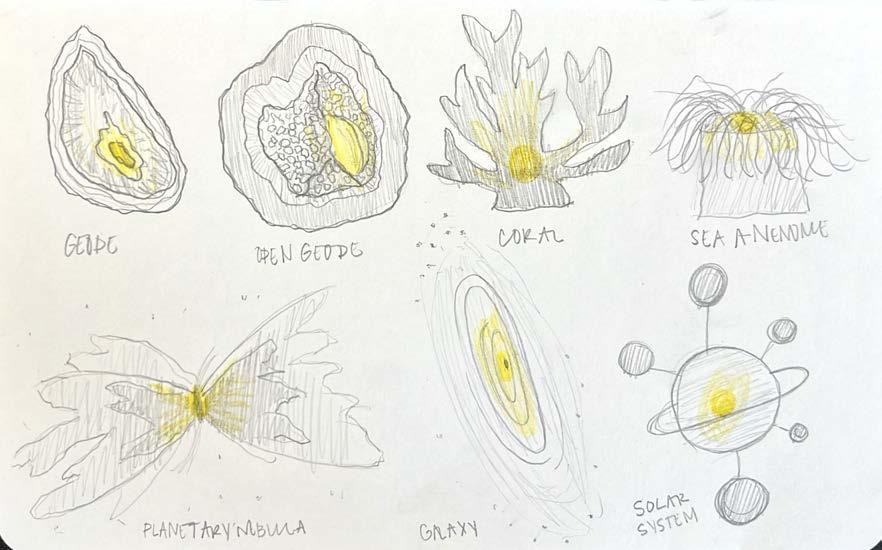
The project will begin with developing a conceptual narrative and hand sketching. While you could randomly assemble shapes and forms until you achieve an interesting form, successful products tell stories, and sometimes the simplest ones are the best. With your luminaire, you MUST seek inspiration from patterns and structures in math, geometry, biology, or physics. You will manually create your form in Rhino through an iterative design process.
Why would a consumer buy your luminaire design? When they display their lamp in their space, what does it say about that person and how they want to portray themselves? In the eighties, “geeks” and “nerds” were often ridiculed; now they have developed many of the things around us that have changed the way we live and work. The love of math, geometry, and science drives that passion to innovate. How can your luminaire abstractly showcase and celebrate the beauty found in those disciplines?
Materials:
• Laptop with Rhino 3D and Adobe software loaded.
• A variety of 3D printing resins and filaments. (Provided by instructor funded by Nuckolls Fund)
• Light sources with appropriate hardware. (Provided by instructor funded by Nuckolls Fund)
Parameters:
• Must:
o Maximum volume: 10” wide x 10” deep x 15 high.
o Use an E26 Base (provided by the instructors)
o Be able to access the lamp for changing out for new lamps.
o Integrate the hardware to fit/mount within the design
o Avoid the light source from directly touching
o Be stable and not tip over easily.
• Possibilities:
o Use more than one type of filament
o Be made of a single print or of multiple
o Use different bulb shapes and sizes (must
o Be visually simple or complex.
Development Phases:
Phase 1 – Table Luminaire Conceptualization
Students will conceptualize and develop a sculptural emphasizes narrative-driven design and material
The design process begins with a conceptual narrative natural systems, mathematical patterns, or scientific students will intentionally sculpt meaningful forms
Key considerations include: Why would a consumer when displayed in their space? How can the design science?
The focus is on creative exploration, form development, readiness, resulting in an expressive and thought
Phase 2 – Table Luminaire Production
Building on the conceptual foundation of Project ready prototype. This phase transitions the work retail, exhibition, or small-batch manufacturing. sustainability, and brand coherence, resulting in presentation.
Refinement tasks include:
• Selecting materials and finishes for durability
• Optimizing 3D print files for technical accuracy
• Detailing assembly and enhancing user interaction
• Adjusting lighting performance for safety and
Phase 3 – Branding Package
Students will create a complete brand identity and collateral (spec sheets, photography, promotional focuses on refining the brand message for the final brand presence. Students will also propose complementary type to form a cohesive luminaire collection.
Deliverables:
• 1/3 scale test prints
• The luminaire is completed.
• Branding Package/Brochure (instructor will provide Format – size of your choice
BUOY LIGHTS by Lucas Zito
touching the plastic diffuser
or resin multiple pieces/parts that are assembled. (must have an E26 Base).
sculptural table lamp as a functional artwork. This phase experimentation using 3D modeling tools such as Rhino narrative and hand-drawn sketches, drawing inspiration from scientific structures. Rather than forming shapes at random, rms that convey a story, value, or personal design language. consumer buy your luminaire? What would it say about them design abstractly celebrate the beauty of math, geometry, and development, and prototyping without the pressure of marketthought-provoking lighting object.
1, students will refine their table lamp into a productionfrom expressive art to a fully realized item suitable for This stage integrates production feasibility, user appeal, a professional-grade lighting product ready for public
durability and manufacturability accuracy interaction and compatibility
and launch package, including packaging design, marketing promotional graphics), and a presentation pitch deck. This stage final production design and positioning it within a broader complementary designs such as variations in size or fixture
Double-sided (facing pages)
PDF FILE.
o Includes the following:
Name and Logo for the luminaire.
Design process images.
Concept narrative – the “COPY”.
Hero shot.
Close-up, detailed shot.
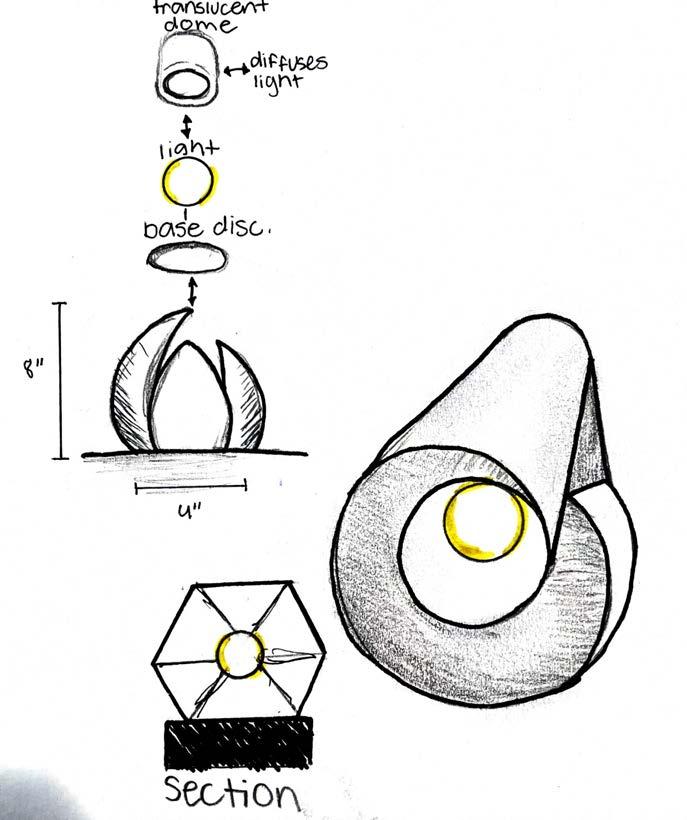
A diagrammatic section with dimensions.
Packaging design.
Additional images.
• Process Appendix
o Create a digital appendix for your branding brochure that provides an in-depth overview of the design process for your luminaire. Include early sketches, 1/3 scale prints, failures, and any other materials that illustrate the design journey.
o The appendix should match the size and format of your branding brochure, but will be provided as a separate PDF file.
• Completed Pricing Sheet
• Final semester Exhibition – Tuesday, December 9th, 12:45 PM – 2:45 PM (setup will occur earlier in the day)
o Final working luminaire.
o 8.5”x11” One-sided project flyer to be mounted or placed next to your luminaire.
Name of luminaire.
Your name.
Text description.
Visual or text dimensions.
Quality 3D line drawing of luminaire.
Add anything else you would like to the flyer.
o Refined package design - physical prototype.
Schedule for Deliverables: see course schedule. Additional details on daily deliverables will be assigned during class time.
provide InDesign Template)
Course Schedule
IARD 4650V / ARCH 402H / ARDS 60203 – PREMIUMIZATION, SUSTAINABILITY, AND MAKING OF BESPOKE LIGHTING – Fall 2025
Interior Architecture and Design
Fay Jones School of Architecture and Design
University of Arkansas
SCHEDULE _V1
Schedule is subject to change.
All Class Sessions Will Be Delivered on Campus, in person.
Tuesdays 2:00 PM – 4:45 PM – Vol Walker 210
Week 1
Aug 19 (Tues)
• Review Syllabus
• Introduce Project 1
• Hand out light sources and hardware.
• Develop narrative and sketches (in-class)
• 3D model of the light source and hardware in Rhino, and model the build volume box of both Printers
• Refine narrative (Word) and produce more 2D sketches (Scanned or Captured Images; PDF) and produce quick 3D Rhino sketches.
• LinkedIn Certificate: Rhino: From Curves to Surfaces 3.5Hours
• YouTube – Introduction to SUB-D Modeling in Rhino
Week 2
August 26 (Tues)
Week 3 Sept 2 (Tues)
• Review updated work.
• Option: Using Grasshopper for patterns and surface textures, not for form and entire shape.
• Reading: Untangling Grasshopper
• Review pattern experimentations.
• Lesson: Preparing SLA 3D Printing
• Begin modeling the “final” iteration of the Luminaire.
• Final draft narrative (Word) and additional 2D sketches (Scanned or Captured Images; PDF).
• If you use Grasshopper: Submit a) Flow chart of the Grasshopper code (Captured images; PDF) and b) Output in Model view (Captured images; PDF).
• Final narrative (Word) and additional 2D sketches (Scanned or Captured Images; PDF)
• Make progress on Project 1.
• Records of 3D Printing Progress (picture, captured image, anything but meaningful; PDF)
Week Date Due Lesson
• Review progress.
Week 4
Sept 9 (Tues)
Week 5 Sept 16 (Tues)Field Trip Week
• Make progress on Project 1.
• 3D Print 1/3 scale piece.
Week 6 Sept 23 (Tues)
• Field Trip Week – (maybe no class)
Assignment Given (Due Next Class Period)
• Records of 3D Printing Progress (picture, captured image, anything but meaningful; PDF)
Week 7 Sep 30 (Tues)
• Lesson: Branding the first product
• Review first drafts of branding.
• Refine your work
• Review Final Project 1 Prototype and Branding Identity.
• Begin 3D printing final work.
• Introduce Project 2
• Review narrative, sketches, and precedent.
• Develop branding for your Project 1 (Template; PDF)
• Records of 3D Printing Progress (picture, captured image, anything but meaningful; PDF)
• Develop a conceptual narrative (Word) and produce sketches or conceptual images (Scanned or Captured Images; PDF).
• Records of 3D printing and Branding Progress (picture, captured image, anything but meaningful; PDF)
• Build your product packages for your products
• Continue to refine work.
• Records of 3D printing and Branding Progress (picture, captured image, anything but meaningful; PDF)
• Build your product packages for your products
• Complete presentation work and 3D printed Luminaire.
Custom Glow: Empowering Students to Design and 3D Print Unique Bespoke
Lighting
Jake Tucci, Assistant Professor in Interior Architecture and Design, Fay Jones School of Architecture, University of Arkansas, Fayetteville
Jinoh Park, Assistant Professor in Interior Architecture and Design, Fay Jones School of Architecture, University of Arkansas, Fayetteville
ABSTRACT
This paper discusses the potential for 3D printing in decorative lighting, emphasizing sustainability, bespoke aesthetics, and customization efficiency. Furthermore, it describes an innovative educational initiative funded by the 2024 Nuckolls Fund for Lighting Education, which enables students to design and manufacture market-ready 3D-printed luminaires. This initiative emphasizes the reciprocal relationship between tools and their human users, enabling students to explore how tools influence design thinking and outcomes. 3D printing is both a tool and a process under this initiative. This paper examines the evolving role of tools in equipping the next generation of designers for the challenges of the future through this lens.
Introduction
The lighting industry is experiencing a transformation driven by advances in 3D printing technology. Between 2024 and 2028, the decorative lighting market is expected to grow by USD 8.65 billion. The growth can be attributed to new lighting product designs catering to the premium market, as well as increasing global awareness of sustainability1 As an alternative to traditional manufacturing methods, 3D printing offers unparalleled opportunities for creating bespoke designs while addressing environmental concerns. We examine how 3D printing disrupts the decorative lighting market and its application within a design education context, enabling students to develop innovative, market-ready lighting solutions. Embracing 3D printing as both a tool and a methodology aligns this initiative with the broader theme of exploring the reciprocal relationship between tools and their human users.
3D Printing: A Tool of the Trade Disrupting the Lighting Industry
Sustainability and Energy Conservation
By reducing material waste and energy consumption, 3D printing minimizes the environmental impact of lighting production. As an alternative to energy-intensive bespoke glasswork, it contributes to global sustainability initiatives. If traditional production methods were used instead of 3D printing technology, a glass-blowing facility would require the use of a glass melting furnace that pumps out 84 cubic feet of CO2 gas per hour for 24 hours and a reheat oven that pumps out 100 cubic feet of CO2 gas per hour. Compared to this, 3D printers are estimated to generate 0.11-0.65 cubic feet of CO2 gas per hour when the power is supplied and in the standby state, and 0.21-10.96 cubic feet per hour when printing2 .
Aesthetics and Bespoke Forms
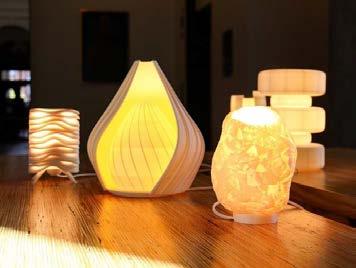
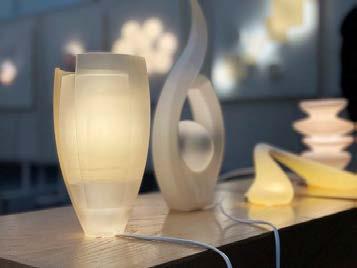
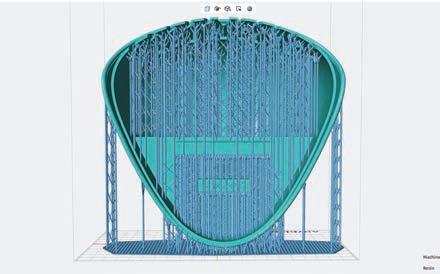
In a realm where art meets innovation, designers can create unique, intricate forms that were previously unattainable using conventional methods. With ceramic-like finishes and digitally crafted aesthetics, decorative lighting design is being pushed to new boundaries. The additive nature of the 3D printing process enables designers to utilize visual layering, variations in material thickness, and the creation of internal voids features that are not typically achievable with traditional glass and plastic manufacturing methods. This expands creative opportunities for manipulating lighting through the use of different materials and forms. The strategic application of these 3D printable variables influences the sharpness of internal shadow play, the intensity of light transmitted through the material, and the lighting caustics cast on the interior surfaces.
Customization and Efficiency
Rapid prototyping and rapid manufacturing are made possible by 3D printing, allowing designers to iterate and tailor solutions to specific requirements quickly 3D printing allows for exploring innovative solutions to design challenges that traditional manufacturing methods cannot address in a costeffective or timely manner. For bespoke designers, the digital nature of the generative design process using 3D modeling software allows them to select a specific luminaire design and digitally create various sizes and proportional adjustments. This enables the development of a collection of pieces with a quick turnaround. Furthermore, the technology offers benefits such as weight savings and enhanced durability, making it an efficient and versatile tool for decorative lighting design.
Empowering Students to Create Bespoke Lighting
Project Initiation
Jinoh Park and Jake Tucci collaborated on this project to leverage their expertise in design, lighting education, and 3D printing. They both share a passion for lighting and 3D printing. With
funding from the 2024 Nuckolls Fund for Lighting Education, this project aims to integrate technical, aesthetic, and business elements into lighting design education by developing a new elective course. The course focuses on premiumization and sustainability in branding and decorative luminaire design using 3D-printed components. This course expanded on two existing lighting courses offered by the Fay Jones School of Architecture and Design. While the current courses primarily address architectural lighting systems, this new course specifically targets the decorative lighting market and offers a comprehensive understanding of designing 3D-printed luminaires for consumers. By the end of the semester, students were guided to create functional, market-ready luminaires.
Pedagogical Approach
This course used a multidisciplinary approach aligned with the theme of tool-mediated design thinking: 1) the design process involves students in a comprehensive design journey that explores the interplay between tools and creativity from ideation to final product; 2) the curriculum emphasizes the role of tools in market-driven innovation by integrating entrepreneurial aspects, such as branding and market strategies; 3) an emphasis is placed on acquiring technical proficiency in 3D printing so that complex designs can be realized, as well as reflection on how the tool shapes design possibilities.
In the Fall of 2024, there were 16 students, including Interior Architecture and architecture students, and one graduate student. This
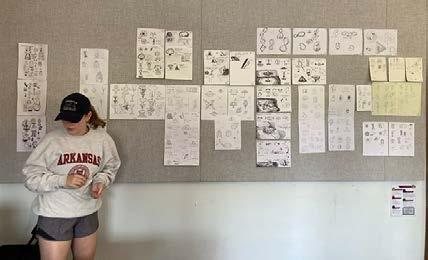
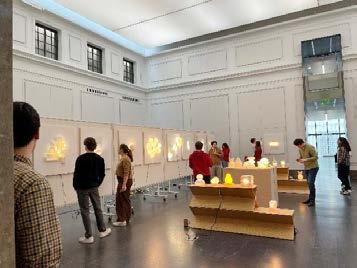
Fig 2 Informal Pin-up3
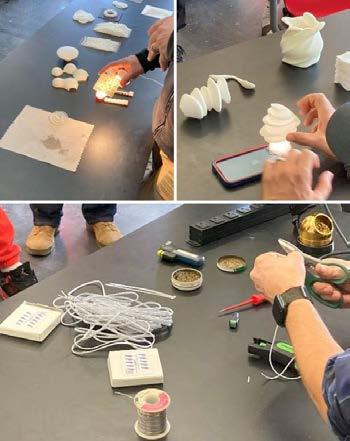
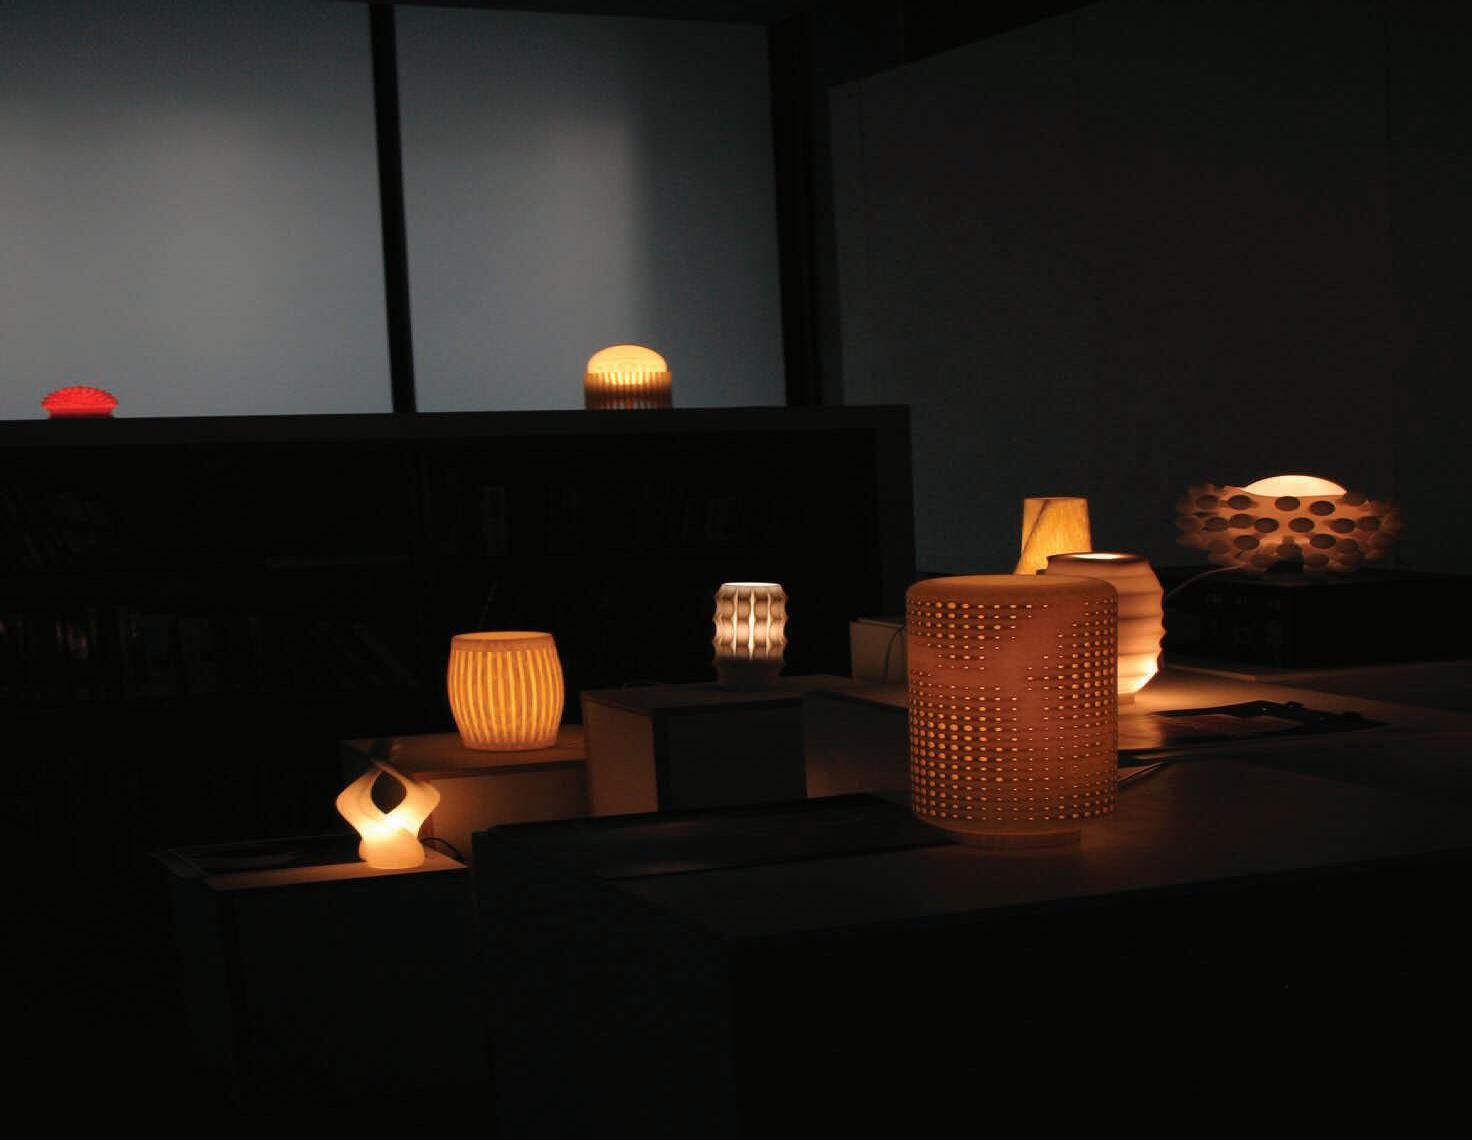
experience allowed students to master emerging 3D printing technology in luminaire design while advocating eco-friendly manufacturing methods that lower carbon emissions. Students in this course learned the technical aspects of creating custom 3D-printed lighting and how to overcome challenges that come with the rapid prototyping process, where failure is common. Local lighting representatives from Sesco Lighting gave a lecture on the role of 3D printing in the lighting industry and provided light samples. With support from the Nuckolls Fund, students had dedicated access to six new rapid machines (three DLP resin printers and three high-speed filament-based printers) and a range of bio-based resins and filaments. Students were trained in 3D modeling techniques, designing luminaire components, considering tool limitations, managing slicing applications, and operating machines, and testing the resiliency of both the tools and the students. The low ratio of 2.6 students per printer allowed students to design and prototype at a rapid pace, less hindered by waiting for printer availability. This was a huge advantage to the students as they had increased freedom to change the design, modify light source attachment points, test the light quality, and much more.
The curriculum included two main projects. The first project accounted for one-third of the semester, while the second project covered twothirds of the semester. The first project involved creating a small sculptural table luminaire. Each student received the necessary lighting hardware, which was compatible with an E26-style lamp base, to support their designs. The second project was a wall-mounted luminaire of greater size and complexity where the students would choose their light source and make their own electrical connections. The lower complexity of the first project acted as an introductory project whereas the second increased in complexity providing a greater technical challenge for the students. Each project consisted of an initial ideation phase of sketching and modeling in Rhino3D, small-scale prototyping, full-scale prototyping, and branding development.
3D-Printed Results
Sculptural Table Luminaire
Students drew inspiration from patterns and structures found in mathematics, geometry, biology, and physics. They were tasked with designing table luminaires that balanced form and function. An E26 base, provided by the instructors, had to be incorporated into the design. The design specifications required the luminaires to be no wider than 10 inches, no deeper than 10 inches, and no taller than 15 inches. They needed to consider the machine's build volumes against options to create smaller objects, strategically hide seams, or celebrate them. For many students, limitations of the tool affected the physical forms they designed, leading them to incorporate
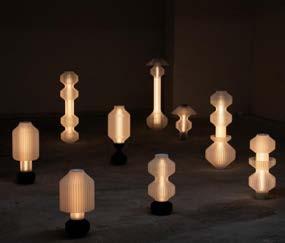
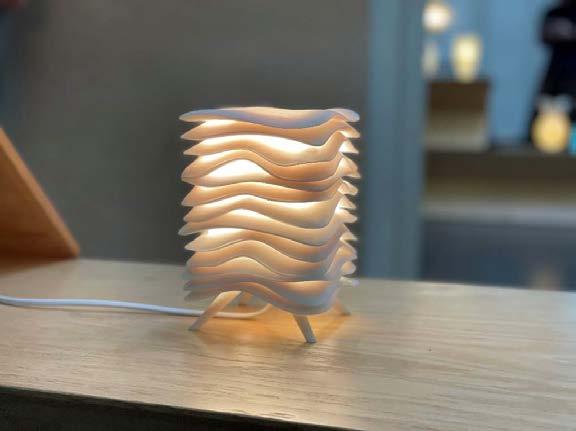
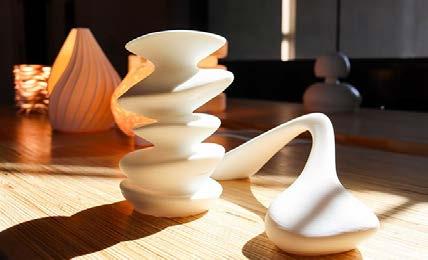
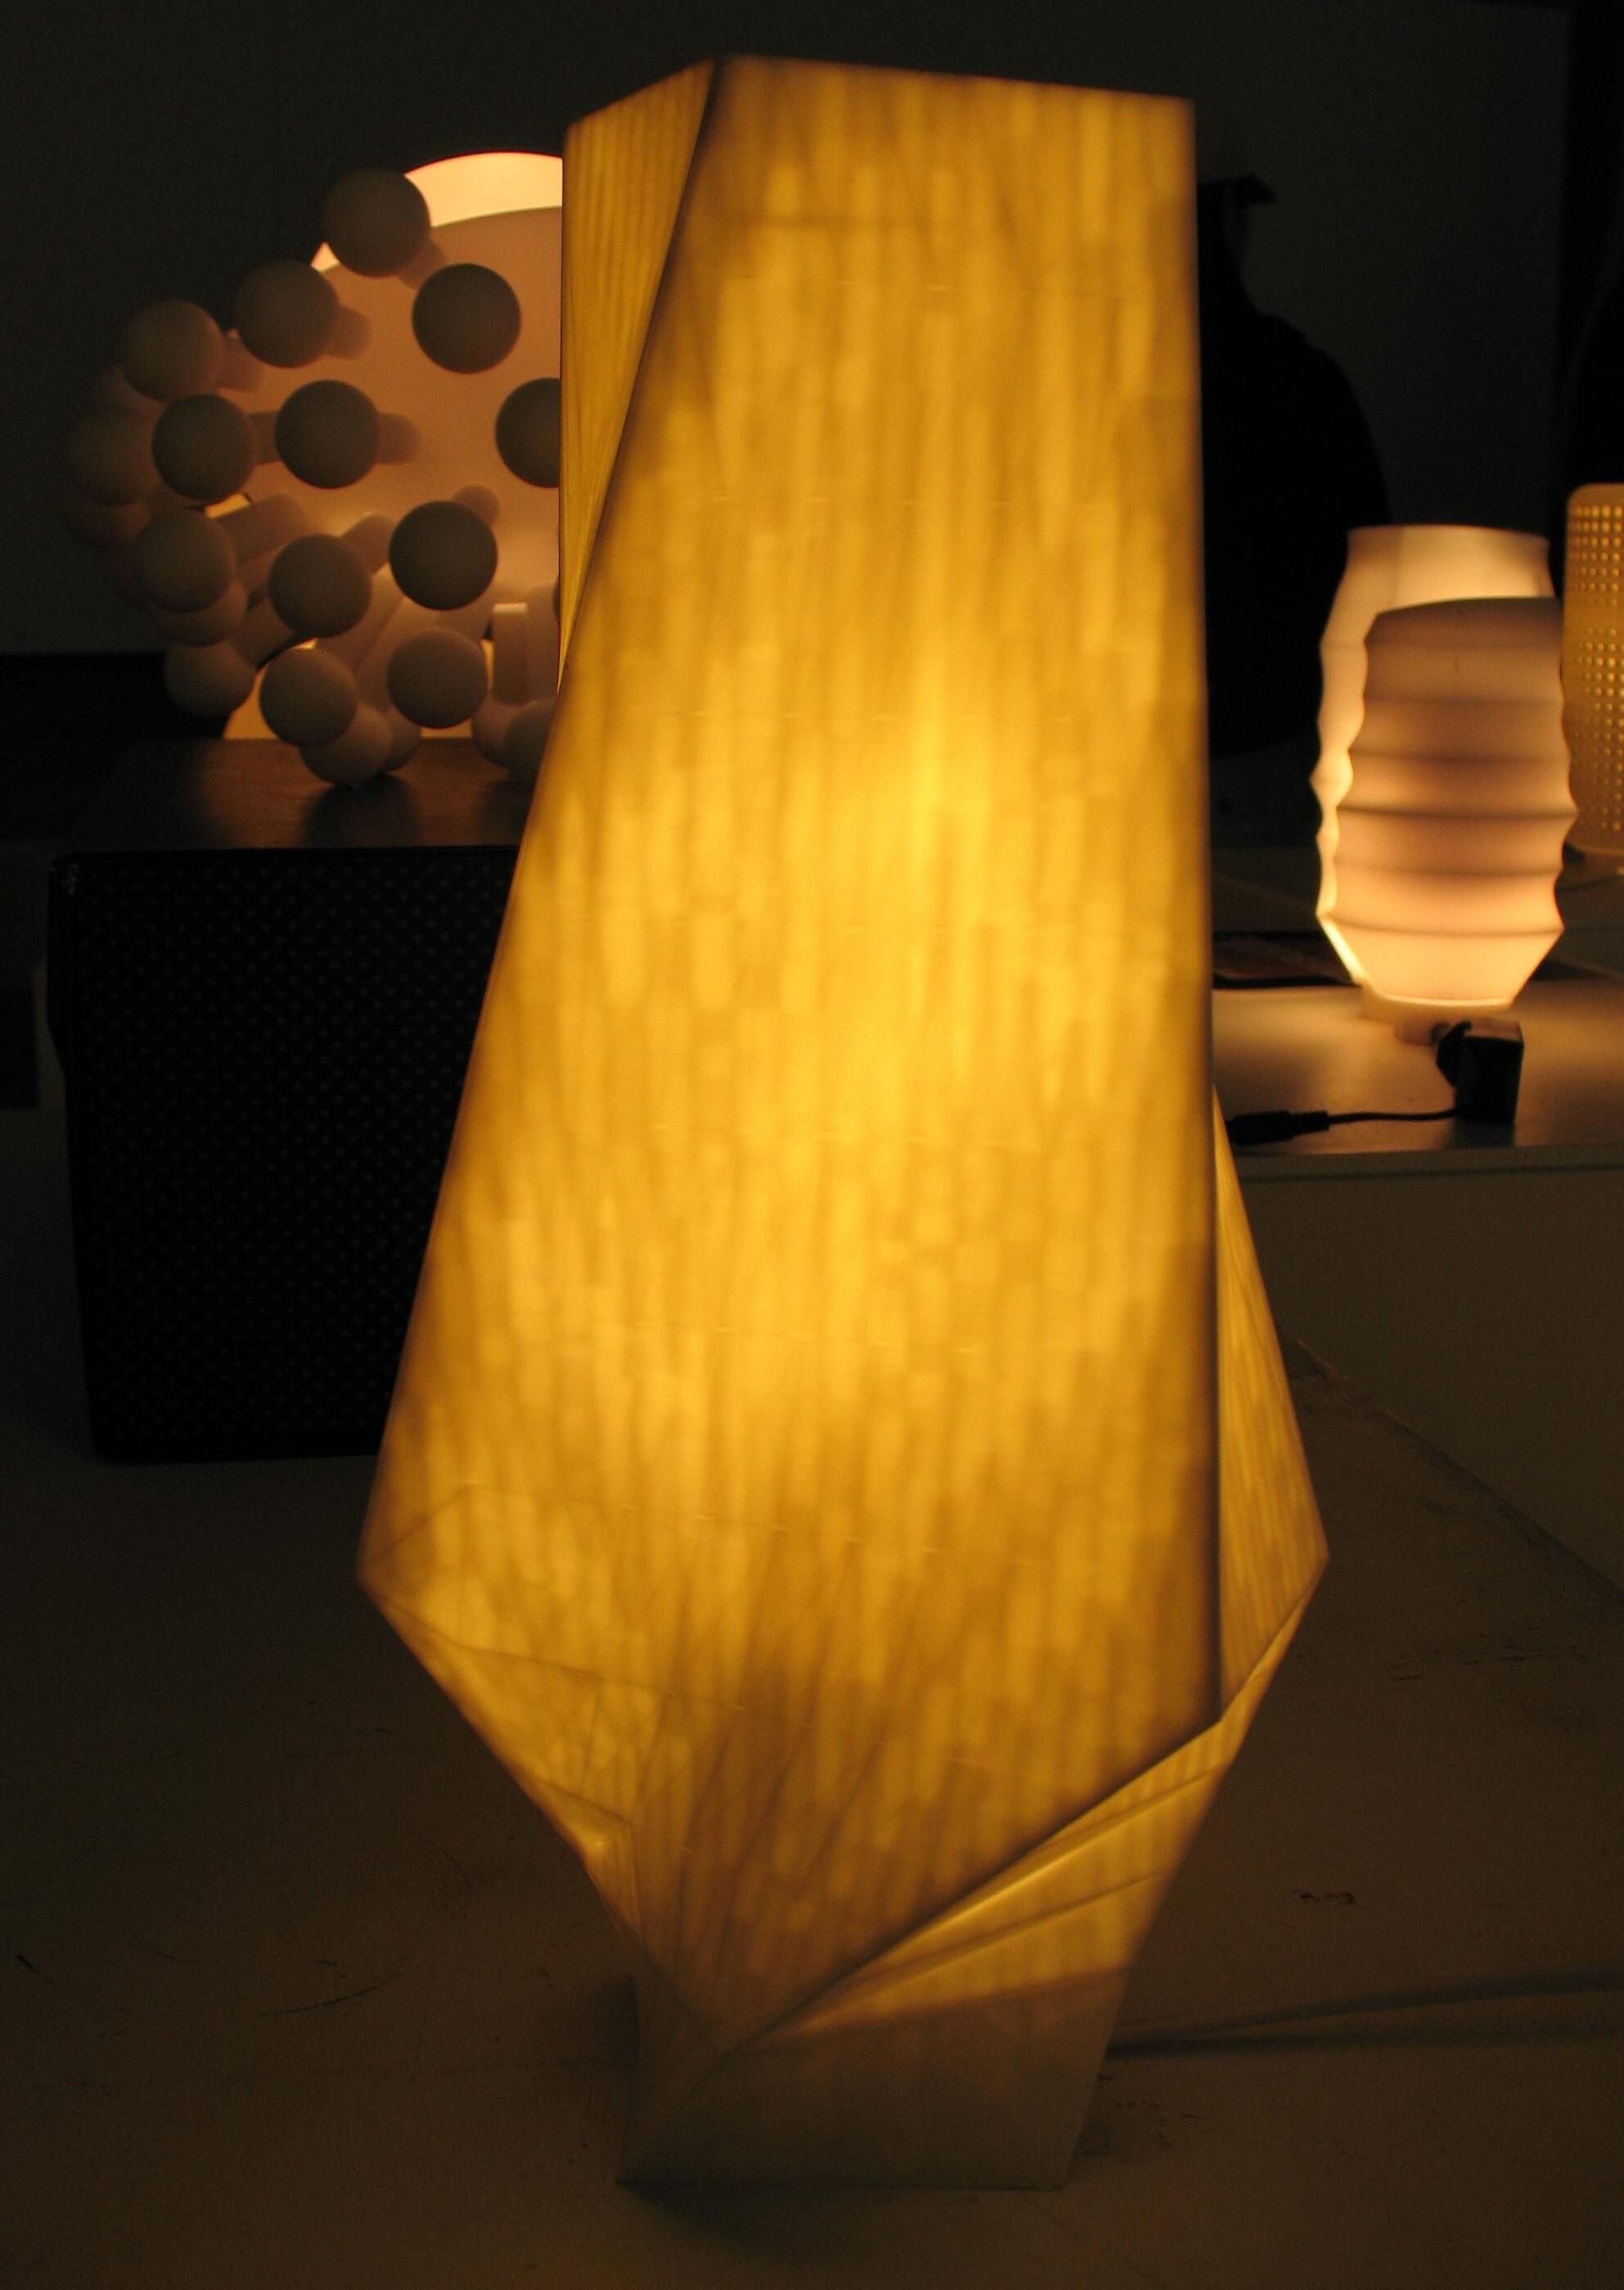
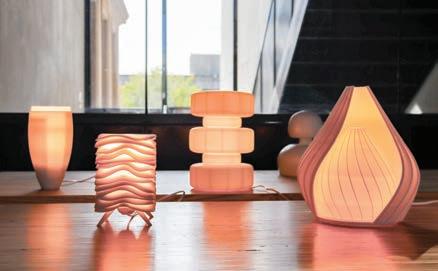
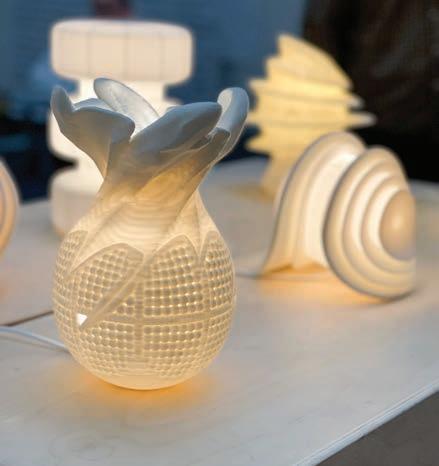
Students who used the DLP resin machines utilized the same resin as an adhesive, applying it with a UV flashlight to bond parts together and sand the resin to achieve a matte glass finish. The luminaires should allow for easy lamp replacement, securely integrate the necessary hardware, and maintain stability to prevent tipping over. Students achieved ceramic-like finish and unique geometry demonstrating the capabilities of 3D printing for bespoke lighting. Iterative exploration of design possibilities is demonstrated in these projects.
Sculptural Wall Luminaire
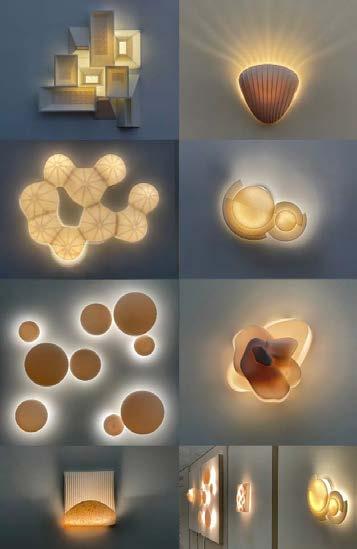
Students applied what they learned from the first project to blend aesthetics and practicality with wall-mounted luminaires to create bespoke lighting solutions tailored to specific interior environments, lightweight, durable materials were used, demonstrating how tools facilitate the design process. Their task was to design a luminaire that is as much a piece of art as it is a light source –something that draws the attention of the viewer, like an elaborately crafted French glass chandelier
or a modern George Nelson pendant. The design could consist of a single fixture or an installation within the 34” x 34” wall area limit, protruding a maximum of 4” from the wall. With guidance from the instructors, students selected the type of LED light source and power supply and then performed the correct wiring for the luminaire.
Exhibitions
Fay
Jones School of Architecture and Design
A school-wide exhibition highlighting student achievements and the role of tools in the creative process took place at the end of the Fall 2024 semester.
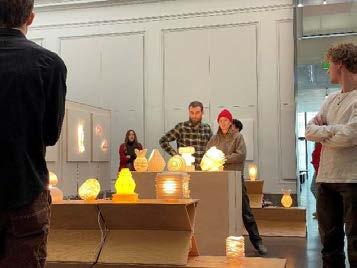
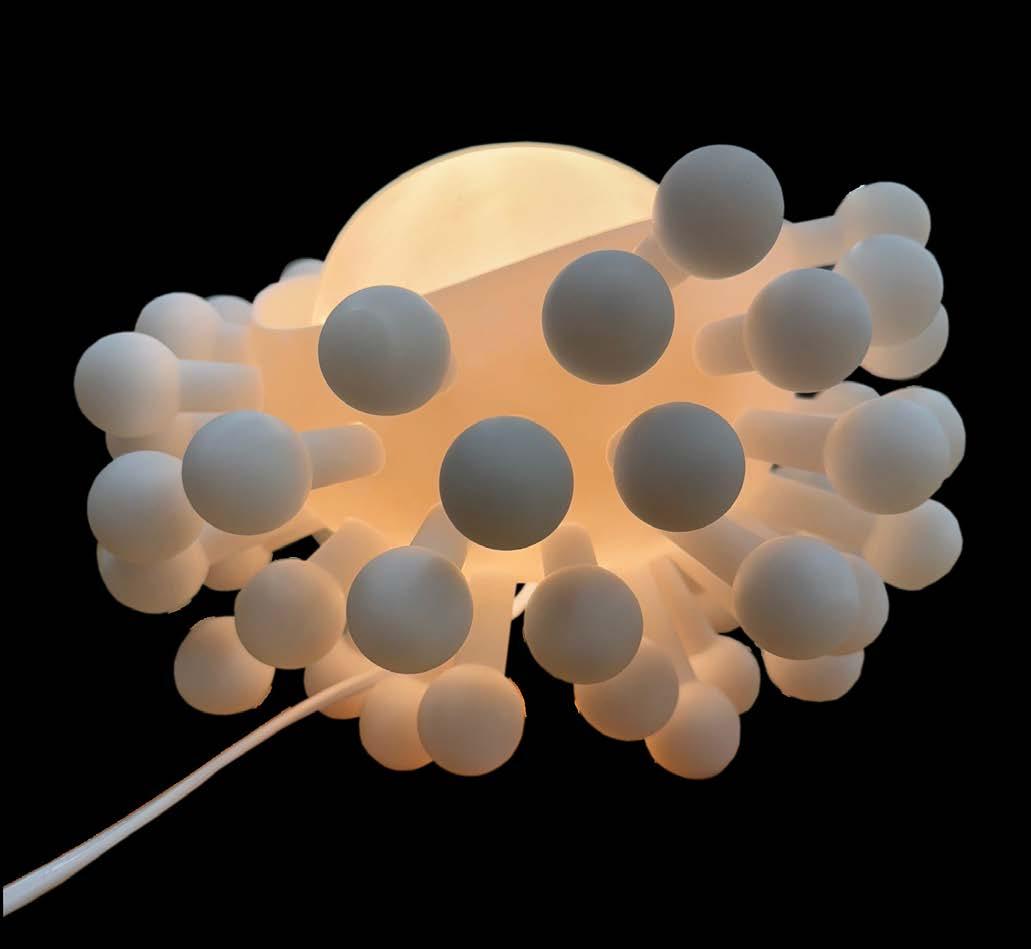
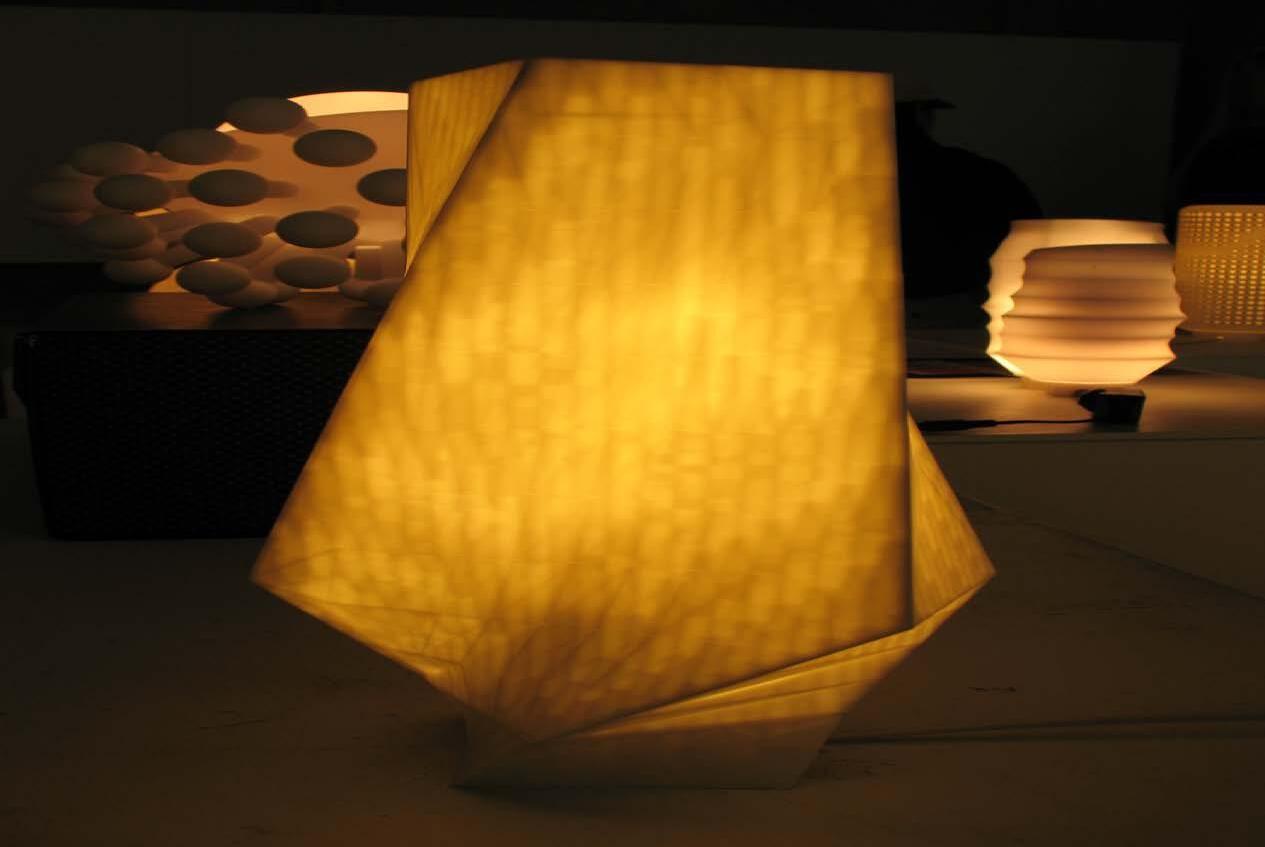
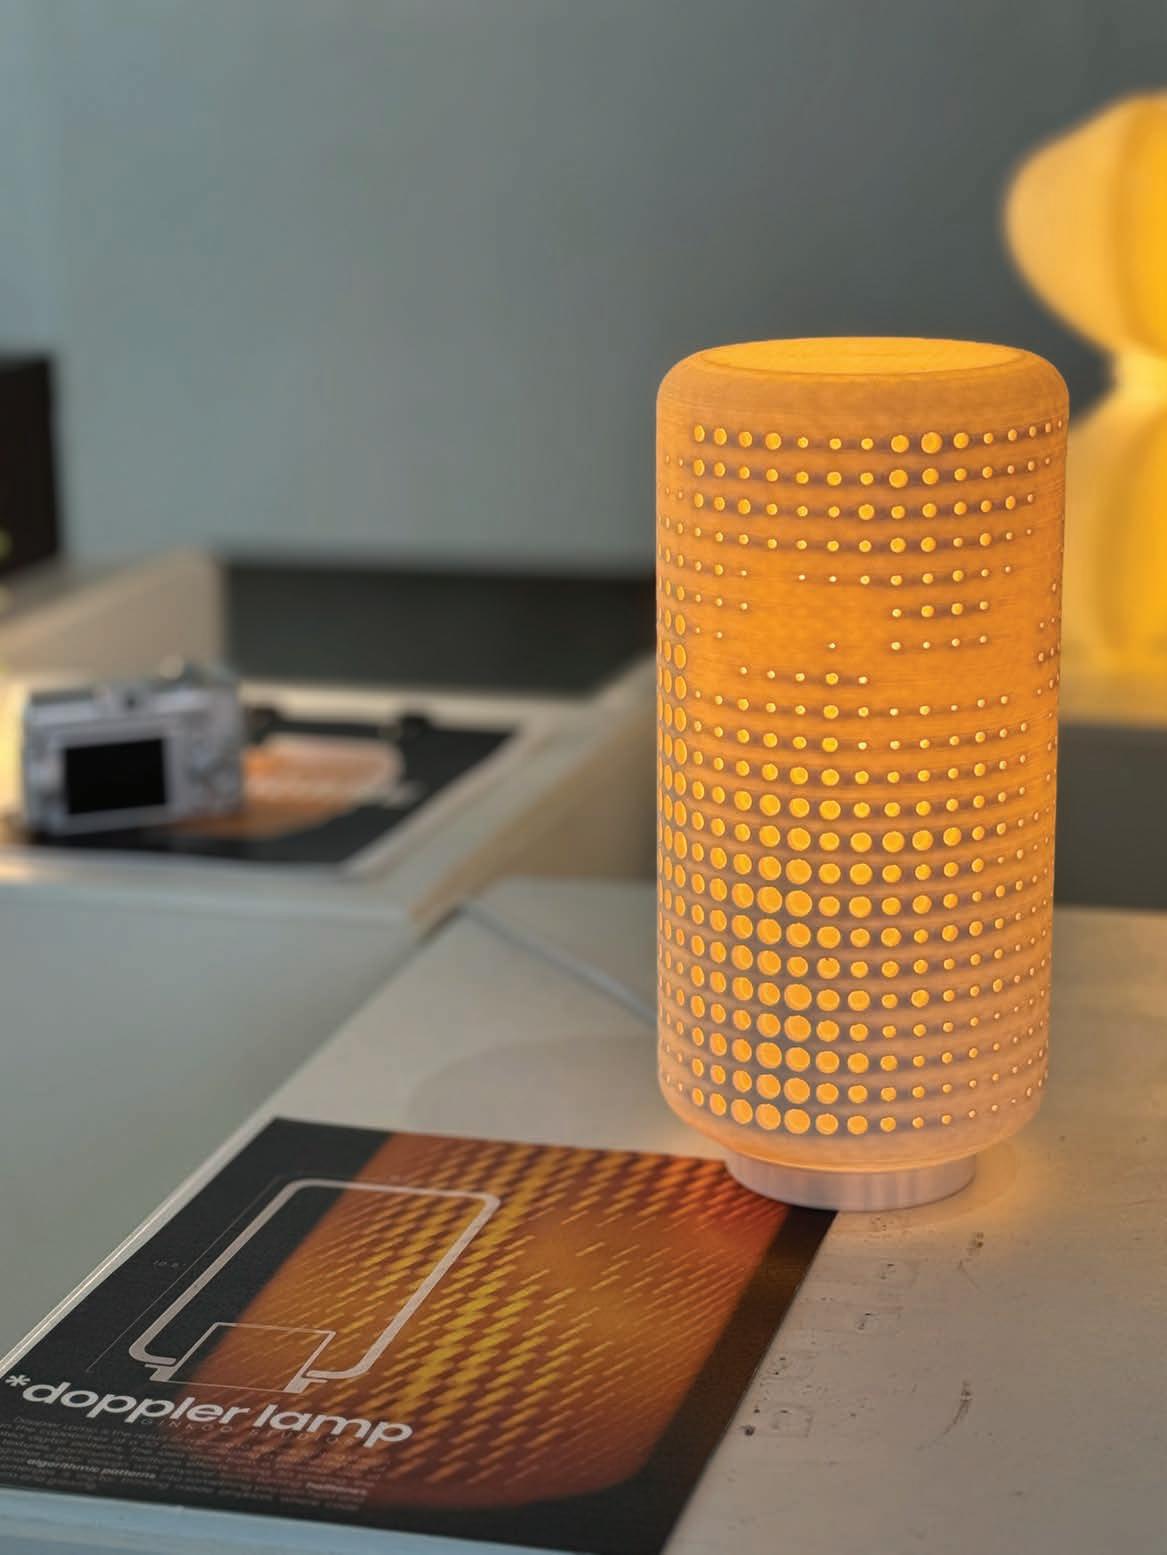
Fig 4 Sculptural Table Luminaires3
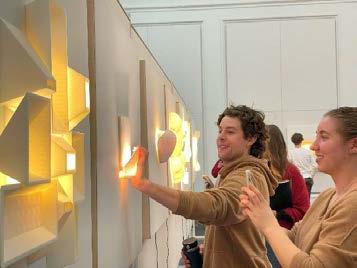
Fig 5. Sculptural Wall Luminaires
Stockholm Furniture Fair 2025 (Feb. 4-8, 2025)
Participating in an international design forum during Stockholm Design Week underscored the global importance of tool-mediated design, particularly in showcasing student-made table luminaires.
International Contemporary Furniture Fair (ICFF) 2025 (May 18-20, 2025)
Displaying sculptural wall luminaries at the International Contemporary Furniture Fair in New York City, emphasizing the interplay between tools, creativity, and professional impact.
Conclusions
It is anticipated that 3D printing will revolutionize the decorative lighting industry by addressing sustainability issues, enabling bespoke designs,
and streamlining production processes. By demonstrating the synergy between design education and industry advancements, the project demonstrates how tools affect not only outcomes but also design thinking and problem-solving techniques. Designed to foster technical and entrepreneurial skills, this initiative is in line with the conference theme, preparing future designers to navigate and innovate in an increasingly complex design environment.
Throughout this design journey, students were enthusiastic, highly motivated, and productive. The instructors credit this to the tangibleness of the real-world project, the high-level accessibility of the tools given to the students, and the joy of light. Lessons learned included: students need significant instruction to a digital model for 3D printing; detailed procedures are needed to clean and maintain the tools; and efficient workflow pacing is required to guarantee student success.
Jinoh and Jake plan to run the course for the second time in Fall 2025, implementing lessons learned. Once the grant funding phase is over, the six 3D printers will be made available for other development opportunities in elective and studiobased courses continuing the mission of integrating 3D printing into tool-mediated design thinking.
Acknowledgment
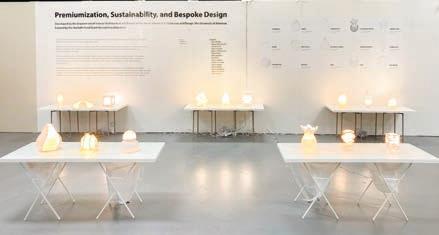
Fig 6 School Exhibition
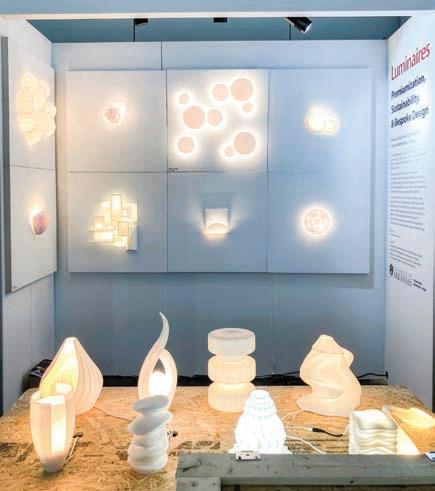
Fig 7 Stockholm Furniture Fair Wall Display
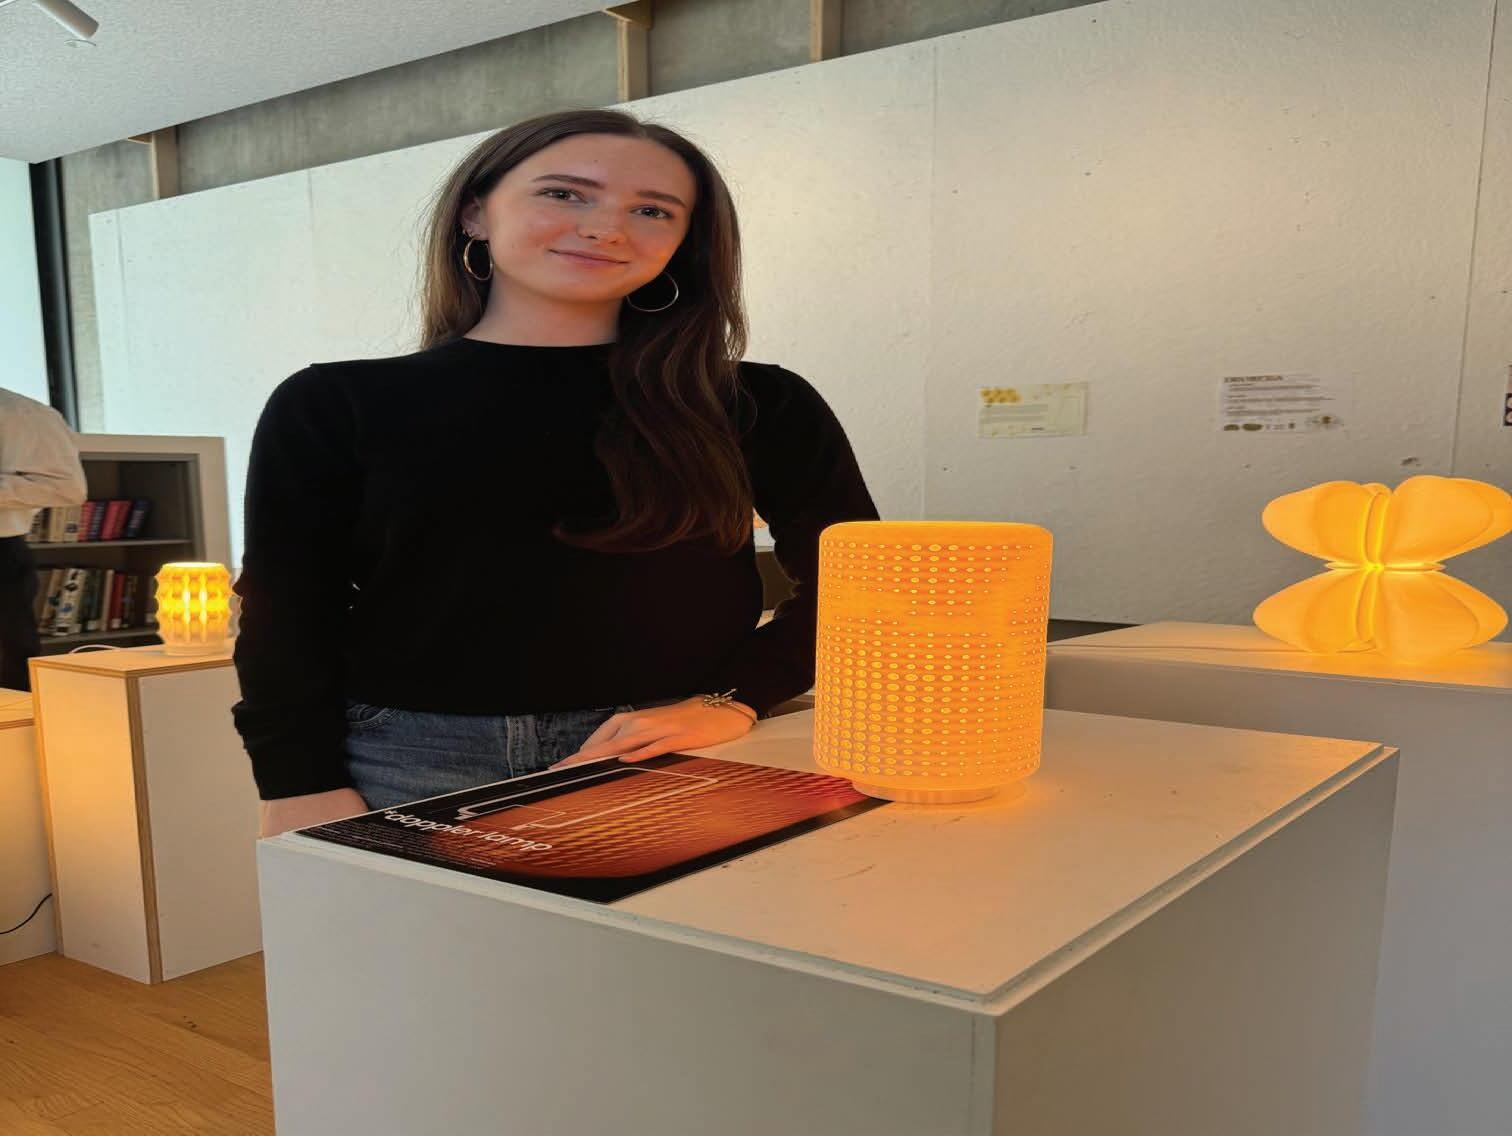
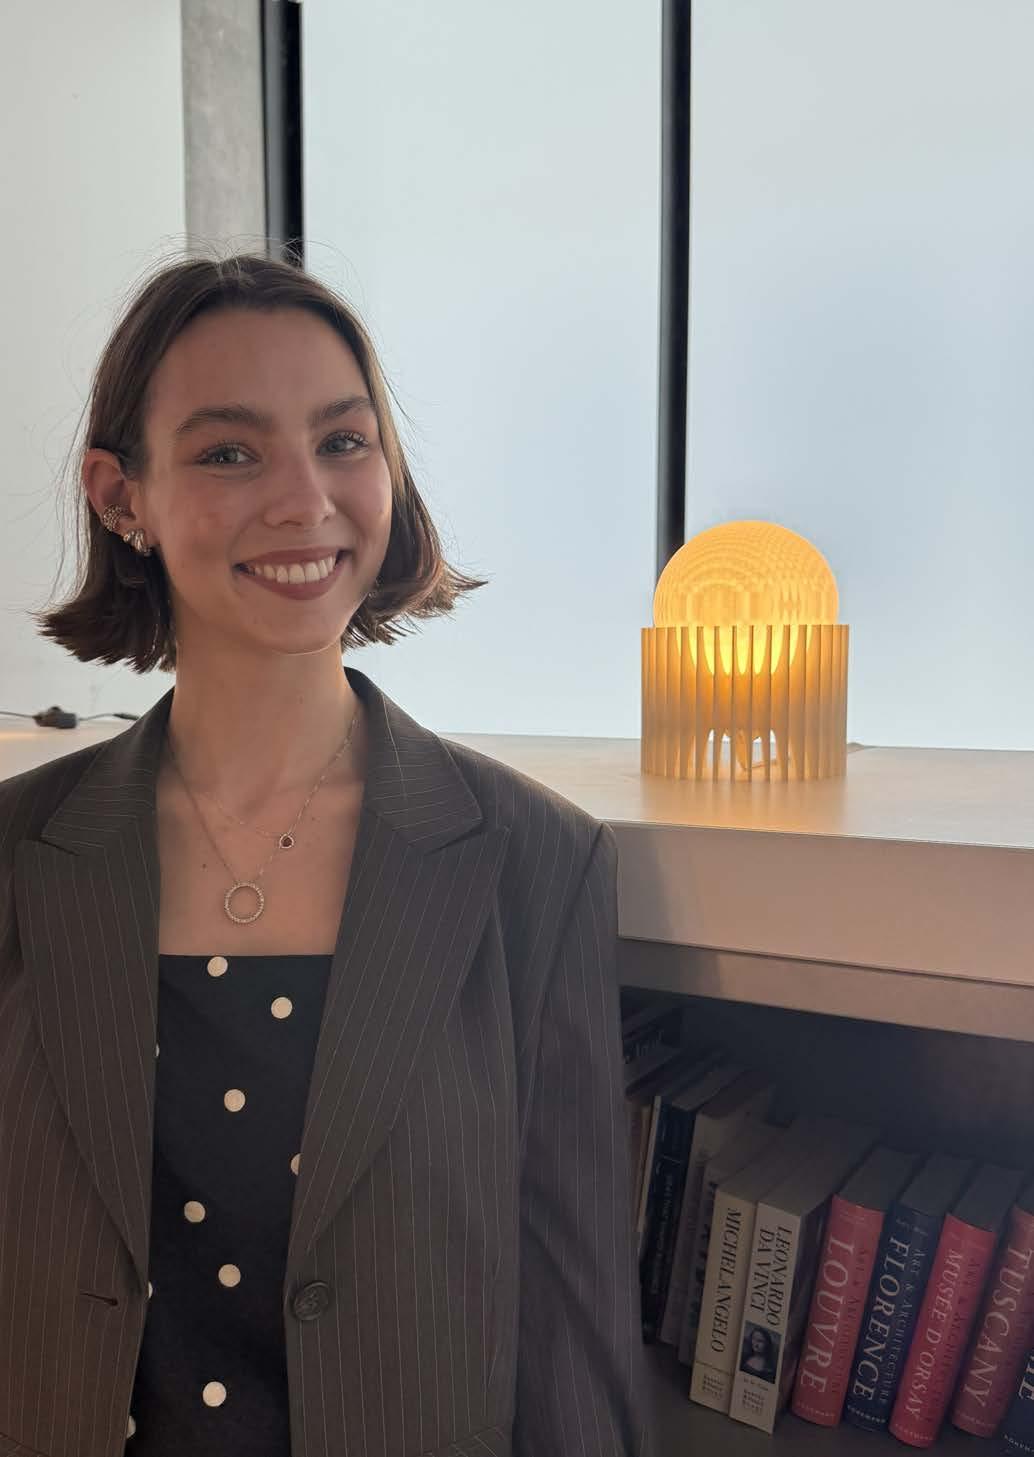
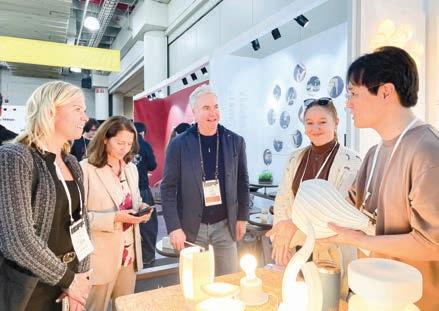
Fig 8. Students sharing their work at the School Exhibition
This project was made possible through funding from the Nuckolls Fund for Lighting Education, with additional support from the Fay Jones School of Architecture and Design and the Department of Interior Architecture and Design. The authors are grateful for the resources and opportunities provided by these organizations to advance lighting design education.
End Notes
1. “Decorative Lighting Market Analysis APAC, Europe, North America, South America, Middle East and AfricaChina, US, Germany, Japan, UK - Size and Forecast 2024-2028,” Technavio, May 2024, https://www.technavio.com/report/decorativelighting-market-size-industry-analysis
2. Elbadawi, M., Basit, A., & Gaisford, S., “Energy consumption and carbon footprint of 3D printing in pharmaceutical manufacture”, International Journal of Pharmaceutics, 639, May 25, 2023, https://doi.org/10.1016/j.ijpharm.2023.122926.
3. Ferkel, Tara. 2024. “Interior Architecture Faculty Develop Advanced Lighting Course With $30,000 Nuckolls Grant | University of Arkansas.” University of Arkansas. November 5, 2024. https://news.uark.edu/articles/72762/interiorarchitecture-faculty-develop-advanced-lighting-coursewith-30-000-nuckolls-grant
Bibliography
“Decorative Lighting Market Analysis APAC, Europe, North America, South America, Middle East and Africa - China, US, Germany, Japan, UK - Size and Forecast 2024-2028,” Technavio, May 2024, https://www.technavio.com/report/decorativelighting-market-size-industry-analysis.
Elbadawi, M., Basit, A., & Gaisford, S., “Energy consumption and carbon footprint of 3D printing in pharmaceutical manufacture”, International Journal of Pharmaceutics, 639, May 25, 2023, https://doi.org/10.1016/j.ijpharm.2023.122926.
Weitekamp, Raymond, “Why 3D Printing Is a Critical Part of the Battle Against Climate Change,” PolySpectra, Jan 9, 2019, https://polyspectra.com/blog/why-3d-printing-isa-critical.
Abbey Panneck
Abigail Panneck
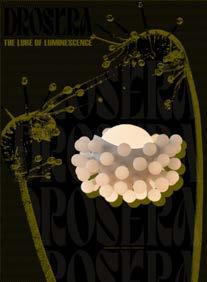
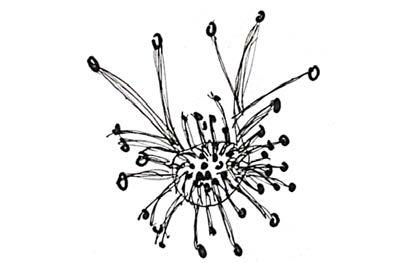
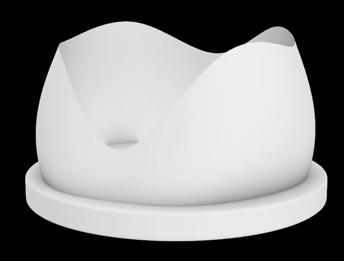
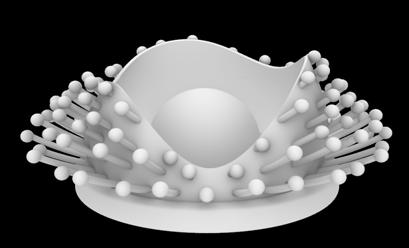
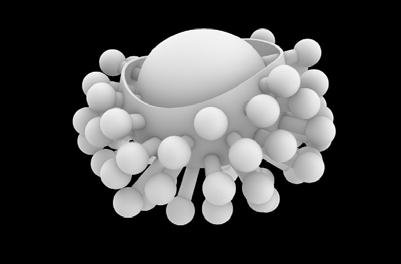
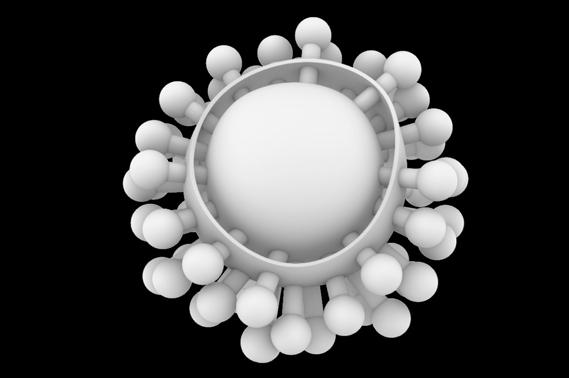
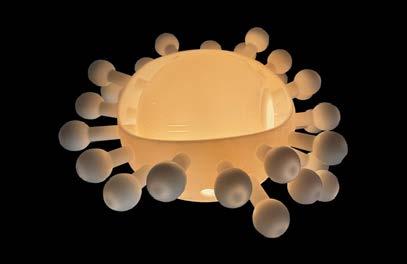
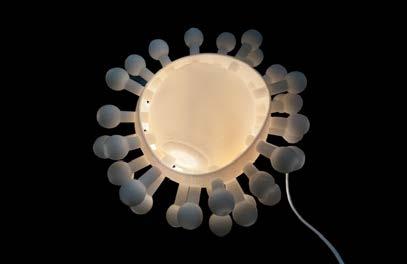
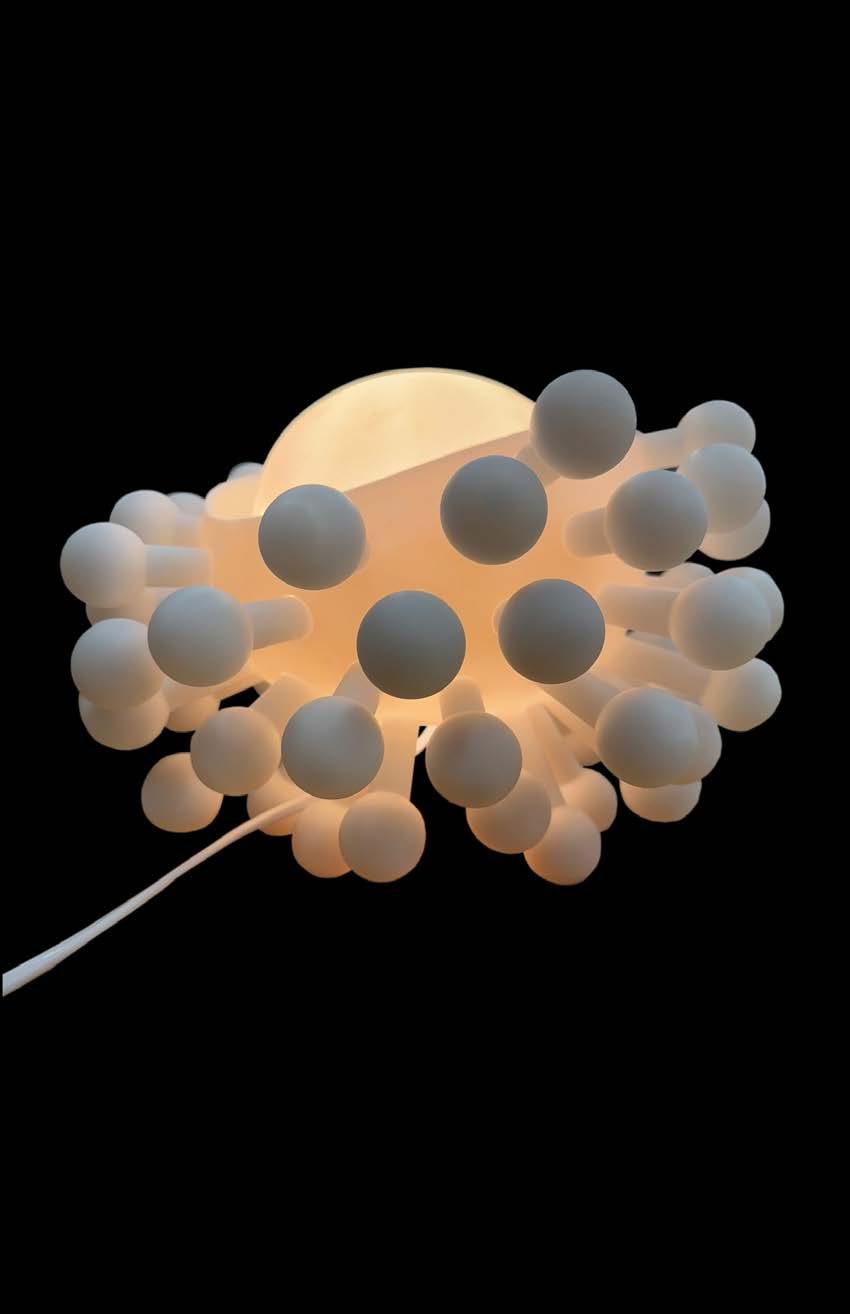
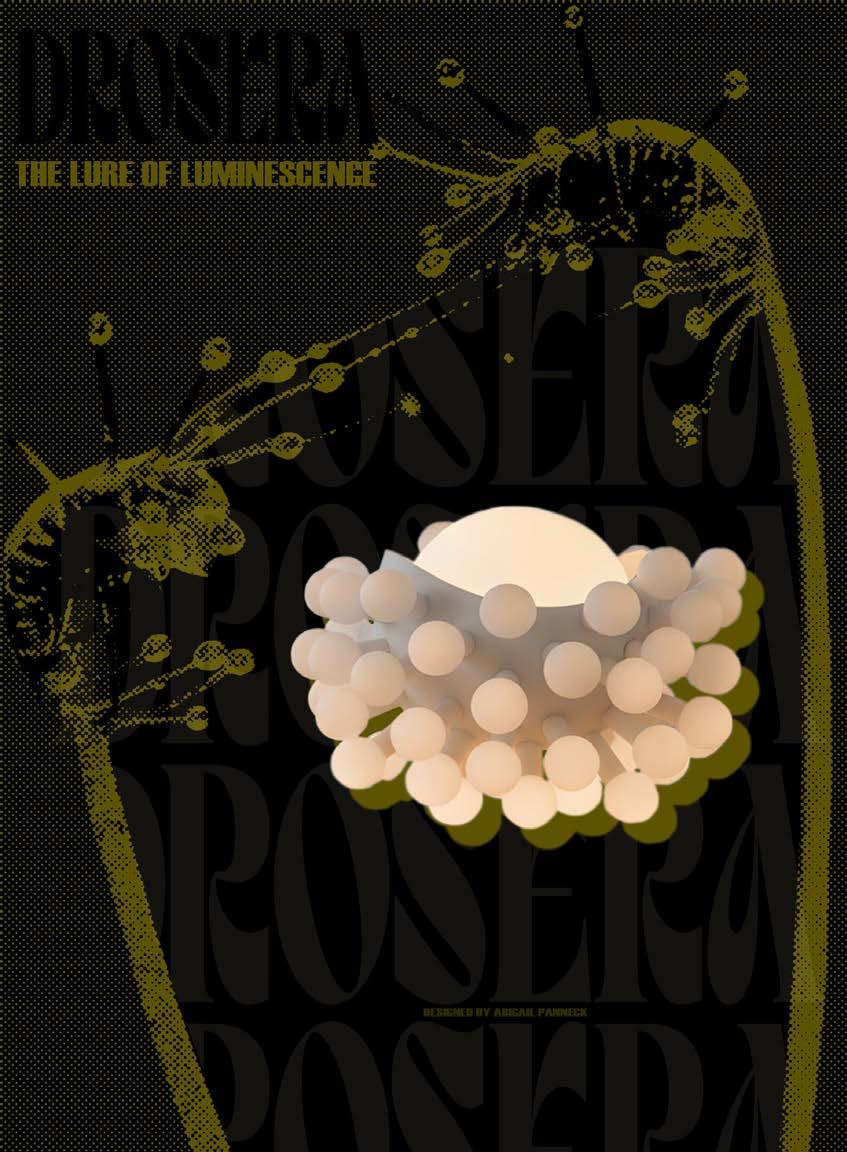
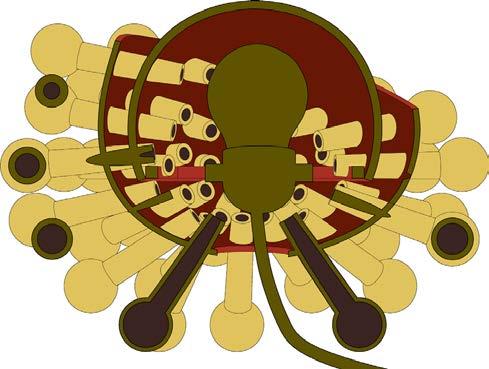
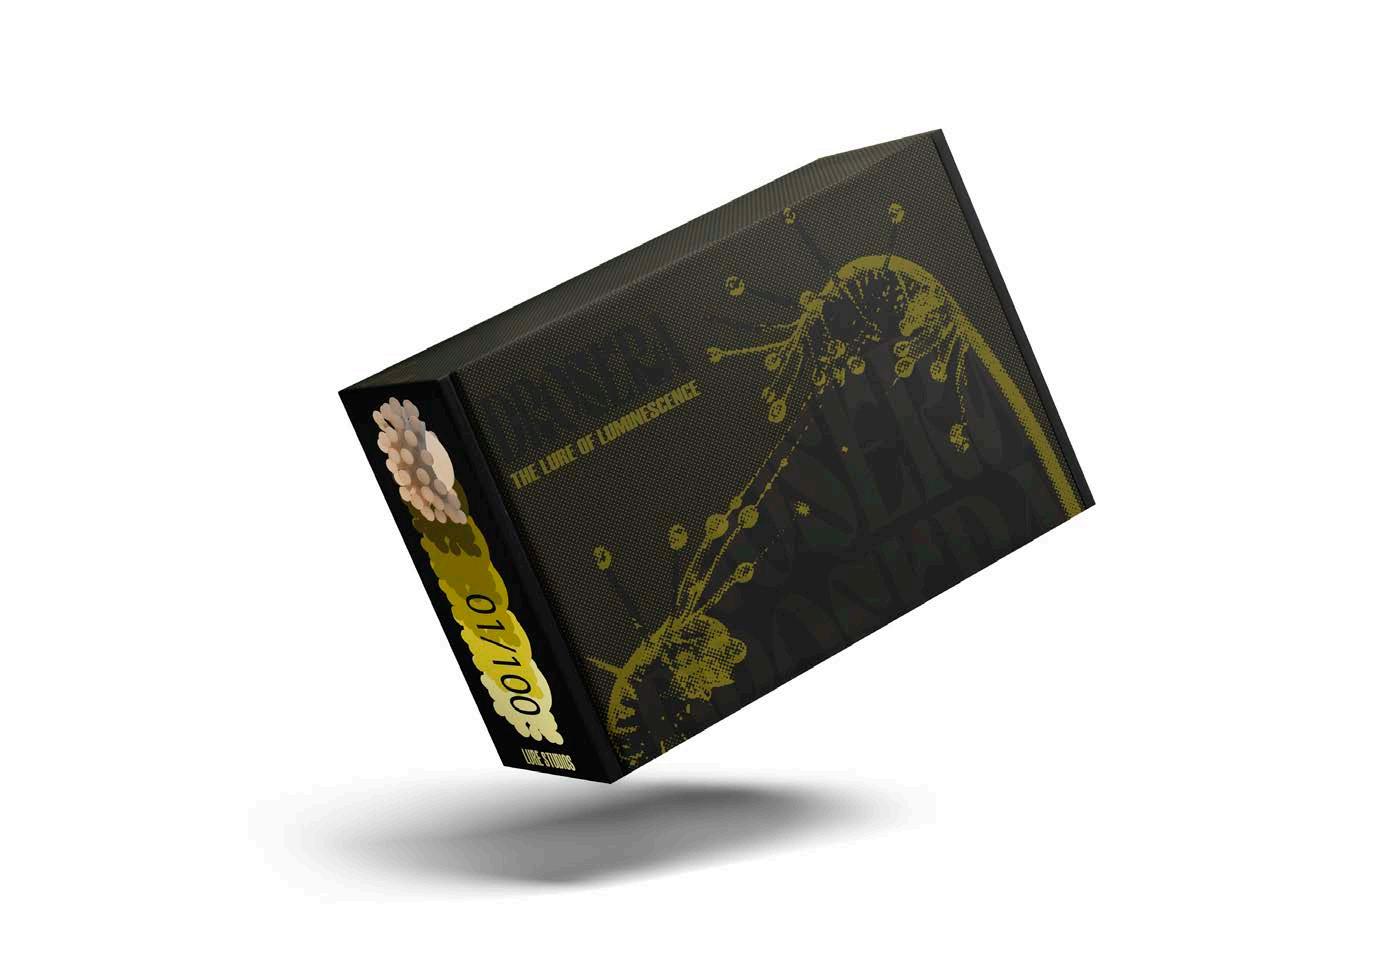
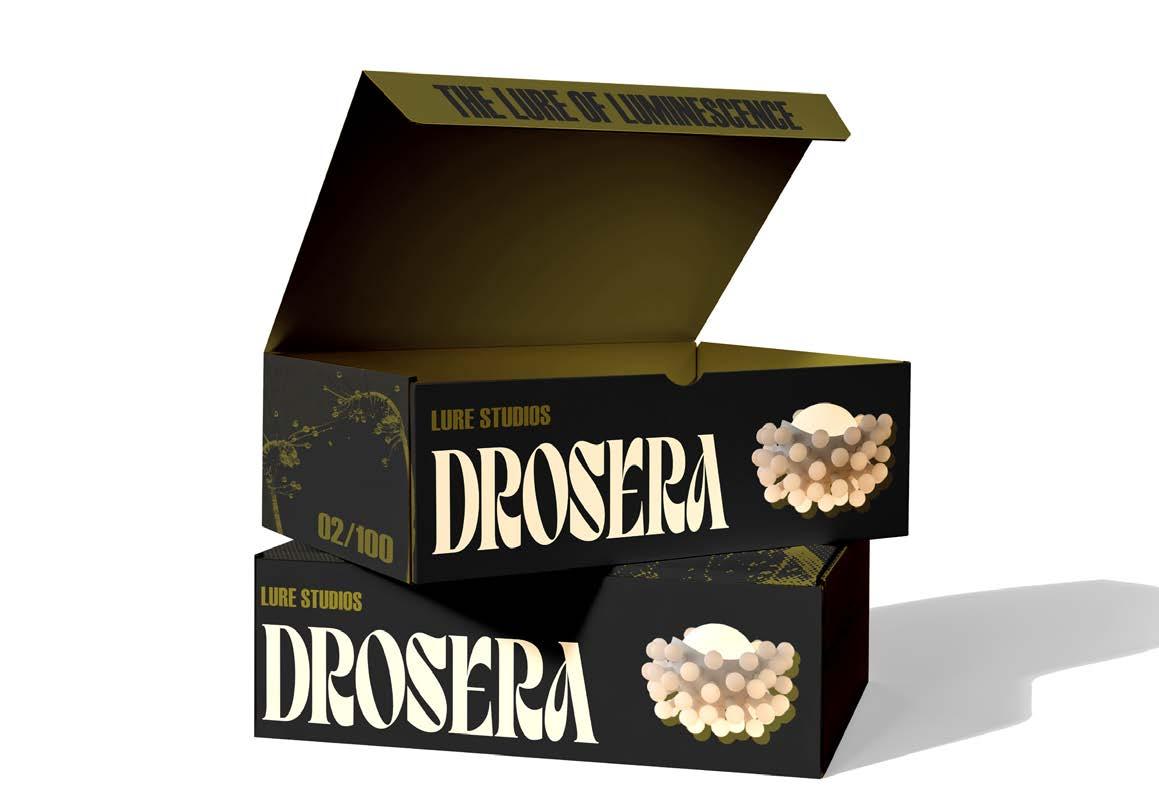
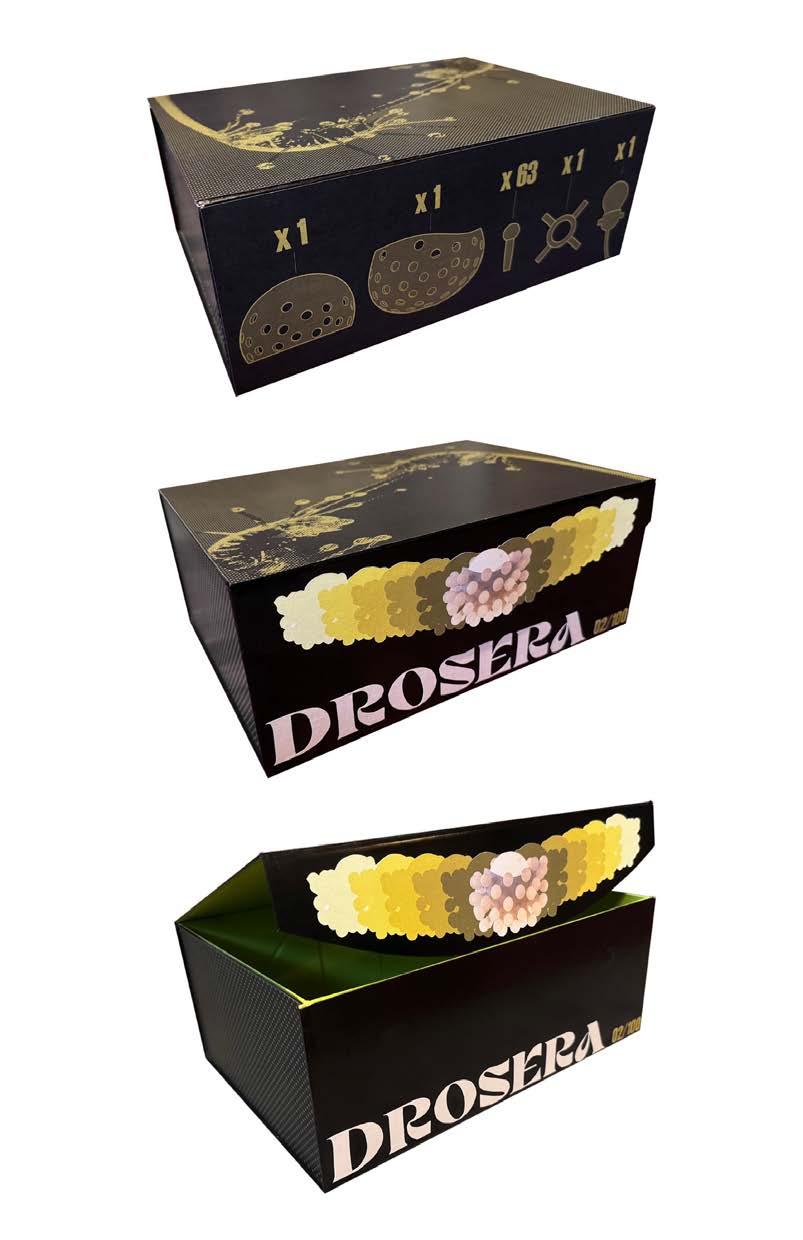
This bespoke lighting project explores the fusion of iterative digital modeling and 3D printing to create a luminaire rooted in the biomimicry of carnivorous plants. Inspired specifically by the Sundew (Drosera), the design draws on the plant’s natural strategy of luring, capturing, and containing its prey through form and function.
The Drosera attracts insects with sweet-scented droplets before folding inward to trap them and digesting with the very dew that attracted them, the lamp’s form evolves around the importance of this action, elevating the dew bulbs from decorative detail to conceptual and structural driver. Through continuous digital and physical iteration, these bulbs transform into sculpted funnels that lock the interior and exterior shades together, channel light through their forms, and give the luminaire its vertical poise.
The result is a lighting piece that echoes the quiet drama of its biological inspiration - capturing and holding light with the same entrancing effectiveness that the Sundew uses to lure its prey, ultimately drawing viewers in as if they were part of the plant’s ecosystem all along.
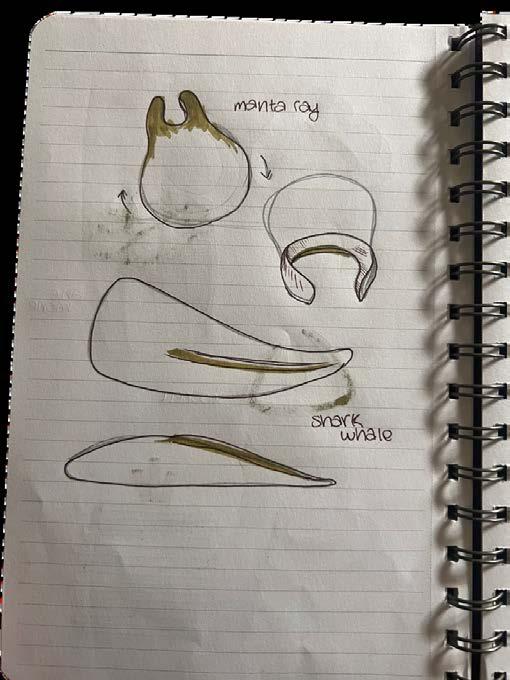
Initial Concept Narrative and Sketches - OCEANIC BIOMIMICRY
This lamp series draws on oceanic biomimicry, channeling the fluid motion, structural intelligence, and luminous behaviors of marine organisms.
SKETCH 01
SKETCH
SKETCH
SKETCH
SKETCH
SKETCH
SKETCH
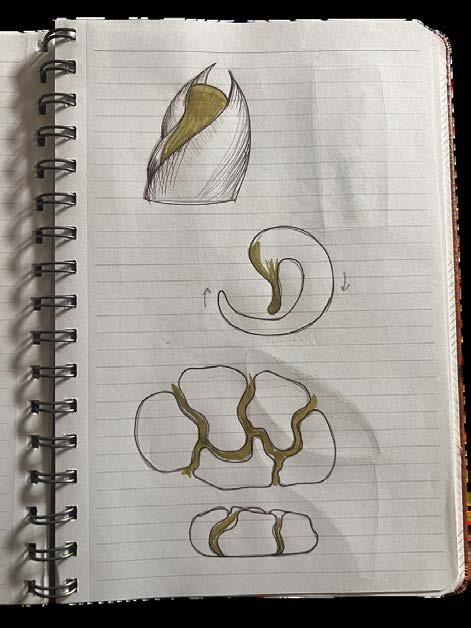
Initial Concept Narrative and Sketches Cont. - OCEANIC
By translating the sea’s adaptive forms into functional sculpture, each piece captures the quiet glow and living dynamism of the underwater world.
SKETCH 09
SKETCH 11
SKETCH 13
SKETCH 15
SKETCH 10
SKETCH 12
SKETCH 14
SKETCH 16
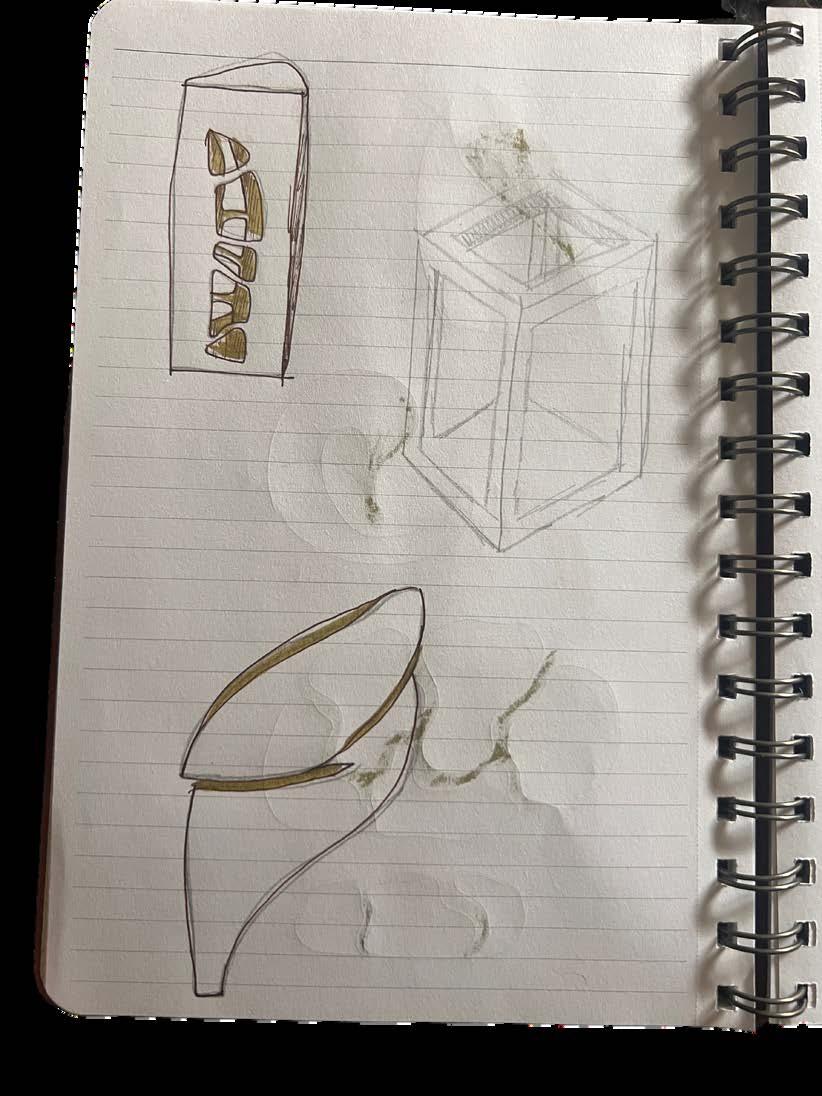
Initial Concept Narrative and Sketches Cont. - CARNIVOROUS
PLANT BIOMIMICRY
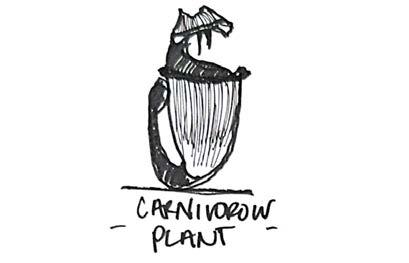
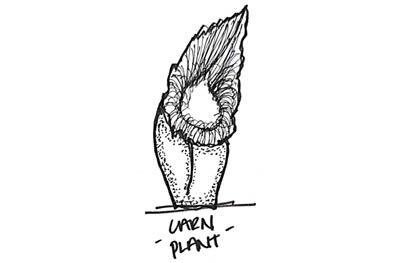
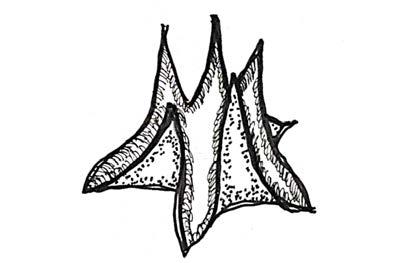
This lamp collection uses carnivorous plant biomimicry to capture the tension between allure and entrapment, echoing the way these plants attract and hold their prey. By translating their sculptural structures and light-catching mechanisms into functional design, each piece becomes a luminous object that houses light as if it were an insect.
SKETCH 01
SKETCH 03
SKETCH 05
SKETCH
SKETCH 02
SKETCH 04
SKETCH
Final Luminaire Concept Narrative,
Sketches, and Rendering
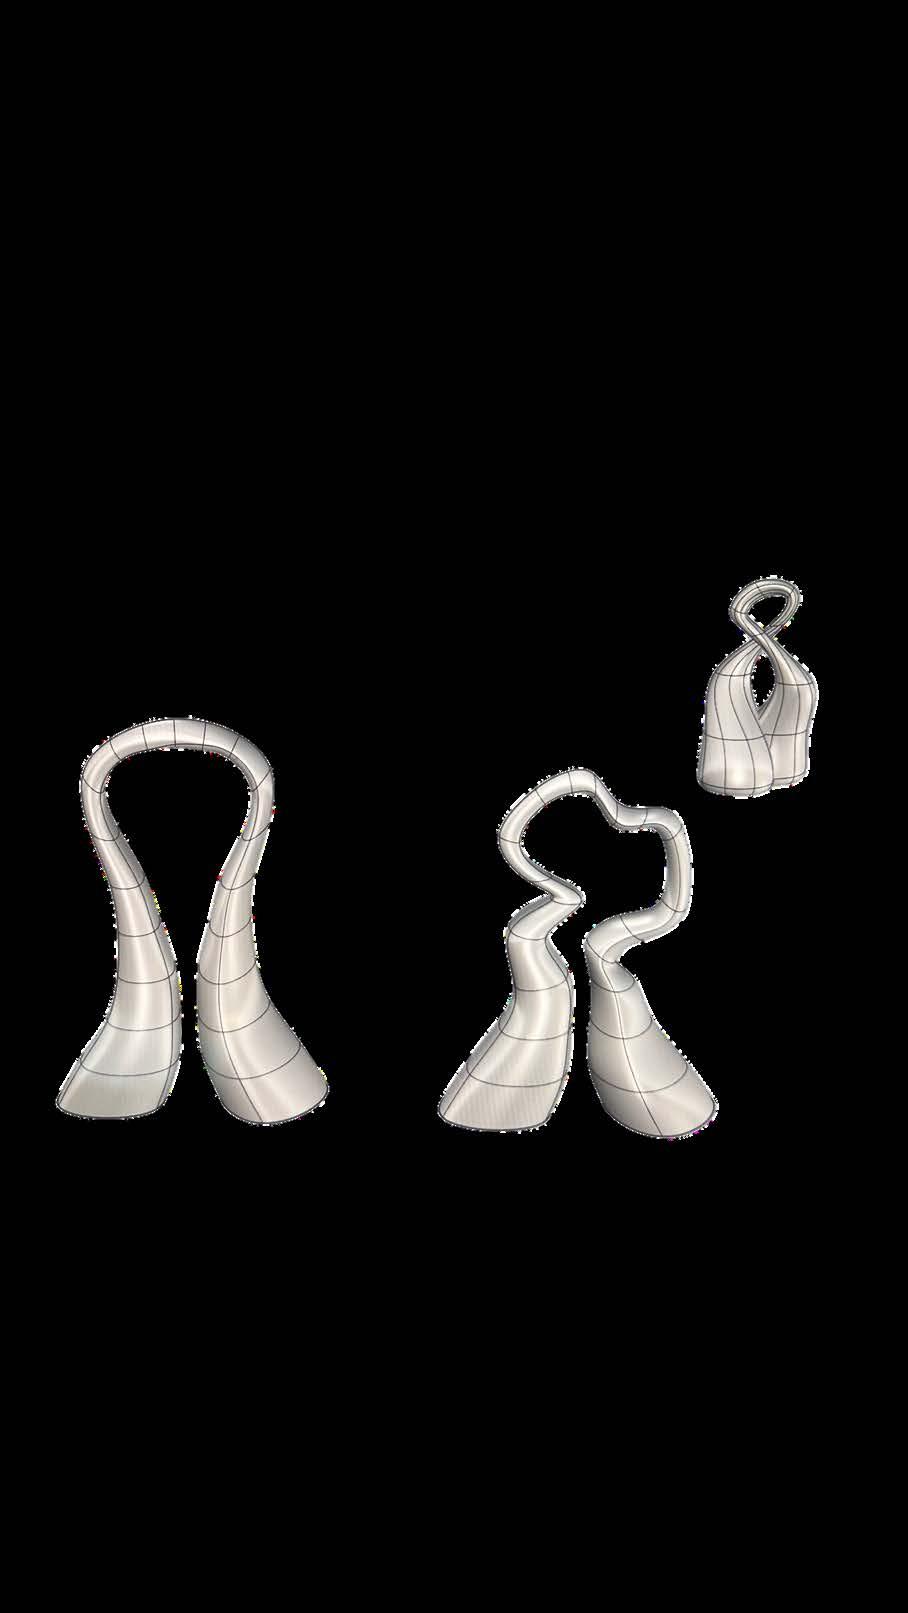
Using digital modeling, this lamp series draws inspiration from the Sundew (Drosera), transforming the plant’s alluring mechanisms into its structural and functional core. The dewy bulbs and delicate stems evolve into sculpted funnels that channel and suspend both light and attention, while the surrounding shade softly diffuses any direct illumination from the viewer.
STEP 3 - EDGES OF SHADE MANIPULATED TO MIMIC FOLDING OF PLANT
STEP 4 - LIGHT FUNNELS ADDED TO MIMIC DEW DROPS
STEP 6 - BASE REMOVED,
Records of 3D Printing Progress
Here we highlight the printing process, where digital design and physical adaptation work in tandem. These prints reveal an evolving understanding of printer capabilities, structural behavior, and design intent.
OF
FIRST FILAMENT PRINT
EXPLORATION
SHADE + SUPPORTS
MISSION STATEMENT:
TO TRANSFORM LIGHT INTO A SCULPTURAL EXPERIENCE BY REIMAGINING THE ELEGANT MECHANICS OF THE SUNDEW PLANT. THE LAMP INVITES VIEWERS INTO A WORLD WHERE NATURE’S QUIET DRAMA MEETS INTENTIONAL DESIGN.
WHO IT’S FOR:
CREATED FOR ARTISTS, DESIGNERS, AND COLLECTORS WHO VALUE OBJECTS THAT BLUR THE LINE BETWEEN FUNCTION AND ART - PIECES THAT SPARK CURIOSITY, CONVERSATION, AND EMOTIONAL CONNECTION.
WHY IT EXISTS:
BORN IN FASCINATION WITH THE DROSERAS ABILITY TO LURE AND CAPTURE, THIS LAMP EXISTS TO REINTERPRET THAT TENSION IN LIGHT. IT TRAPS ILLUMINATION WITHIN IT’S FORM WHILE SIMULTANEOUSLY DRAWING THE VIEWER CLOSER, CREATING AN EXPERIENCE THAT IS BOTH POETIC AND TACTILE.
What I learned
Process of Table Ligh�ng Design
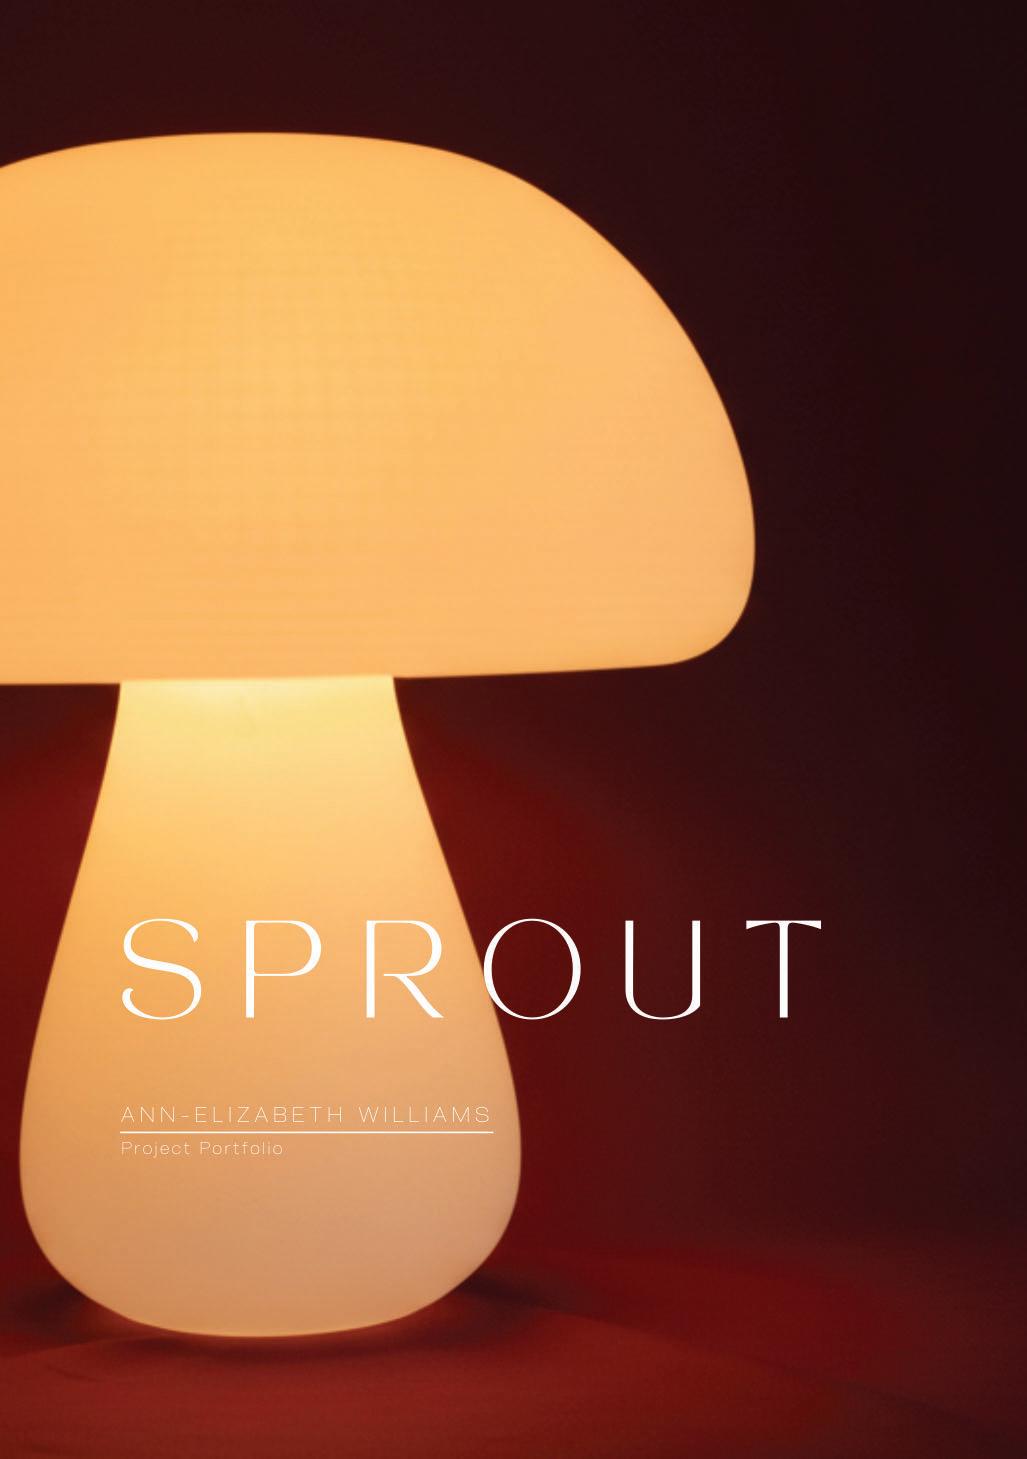
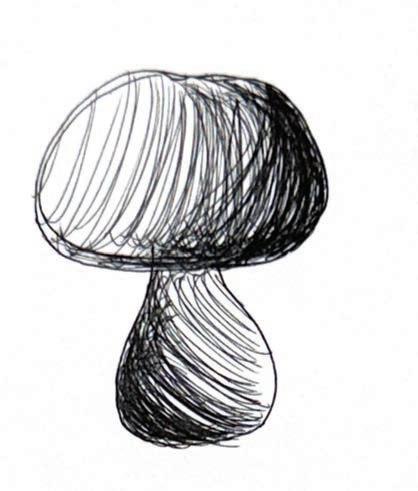
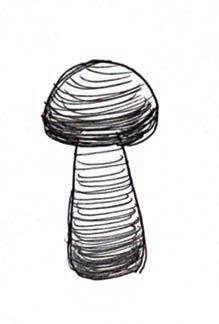
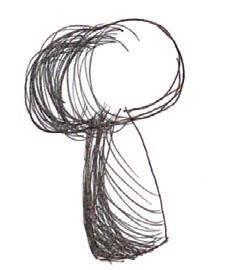
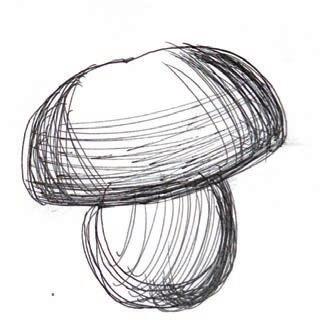
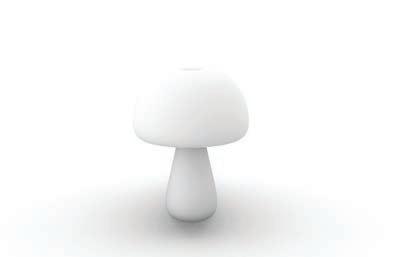
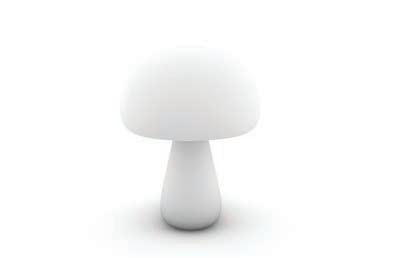
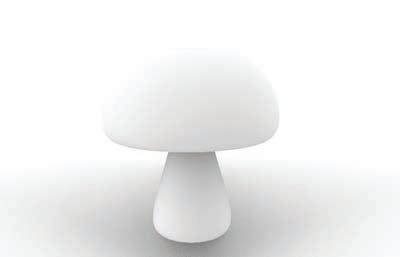
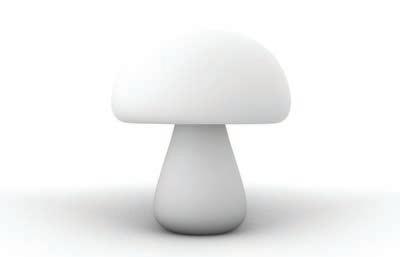
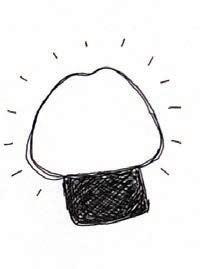
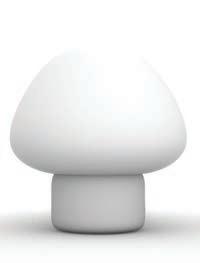
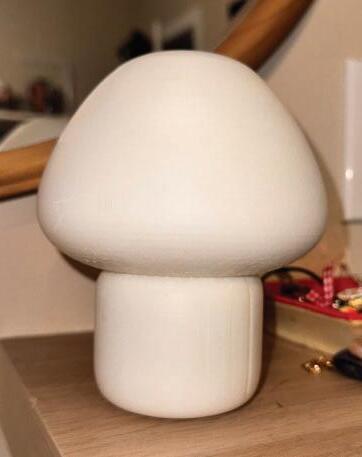
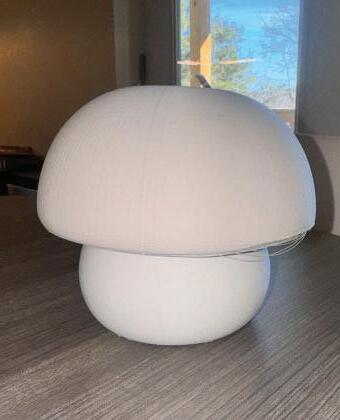
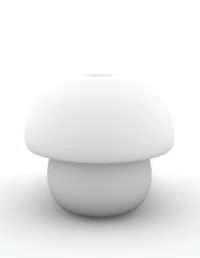
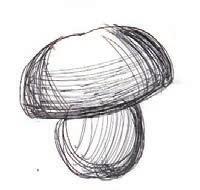
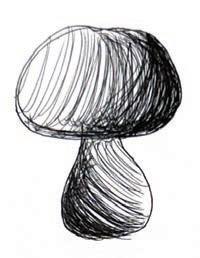
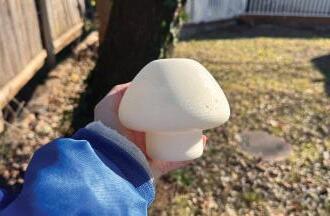
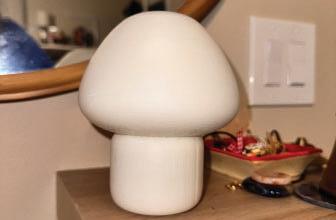
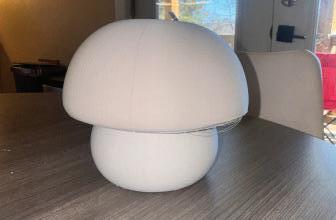
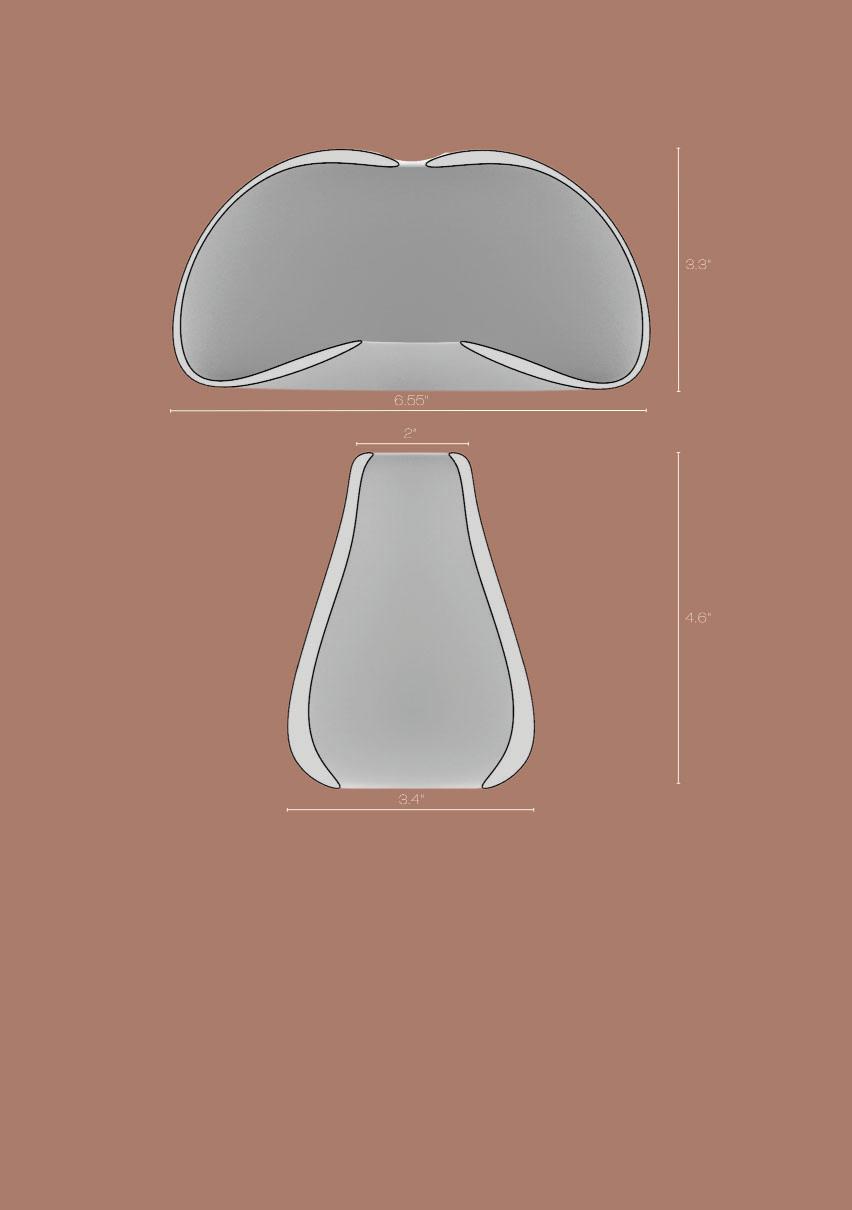
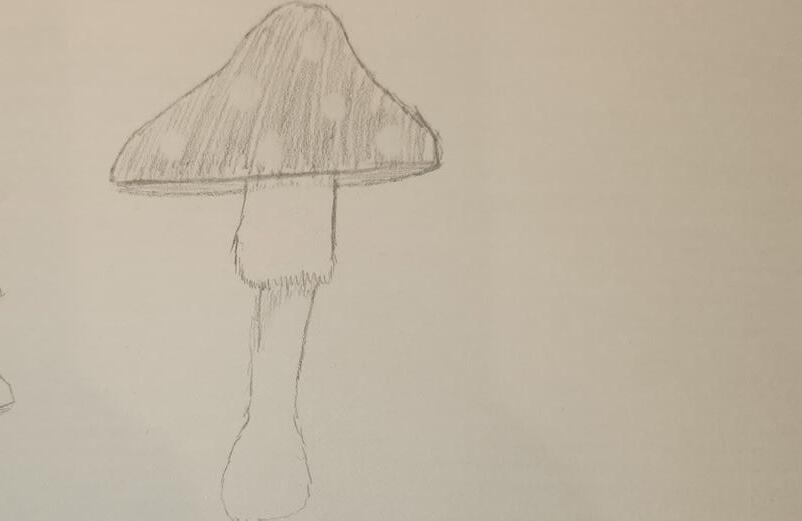
- The process of designing this table luminaire began with sketching elements of nature which we found inspiring. I began with pa�erns with dimension and texture... things such as owing water, tree bark, and drops of dew. When it came to modeling in Rhino, however, I found myself stuck when it came to replica�ng these textures. So, I began modeling by altering the form of several SubD cylinders in Rhino. One of these forms resembled a mushroom, and from then on, the concept which drove my luminaire project was the form of a sprou�ng mushroom.
Series of Product and Business Branding Packages
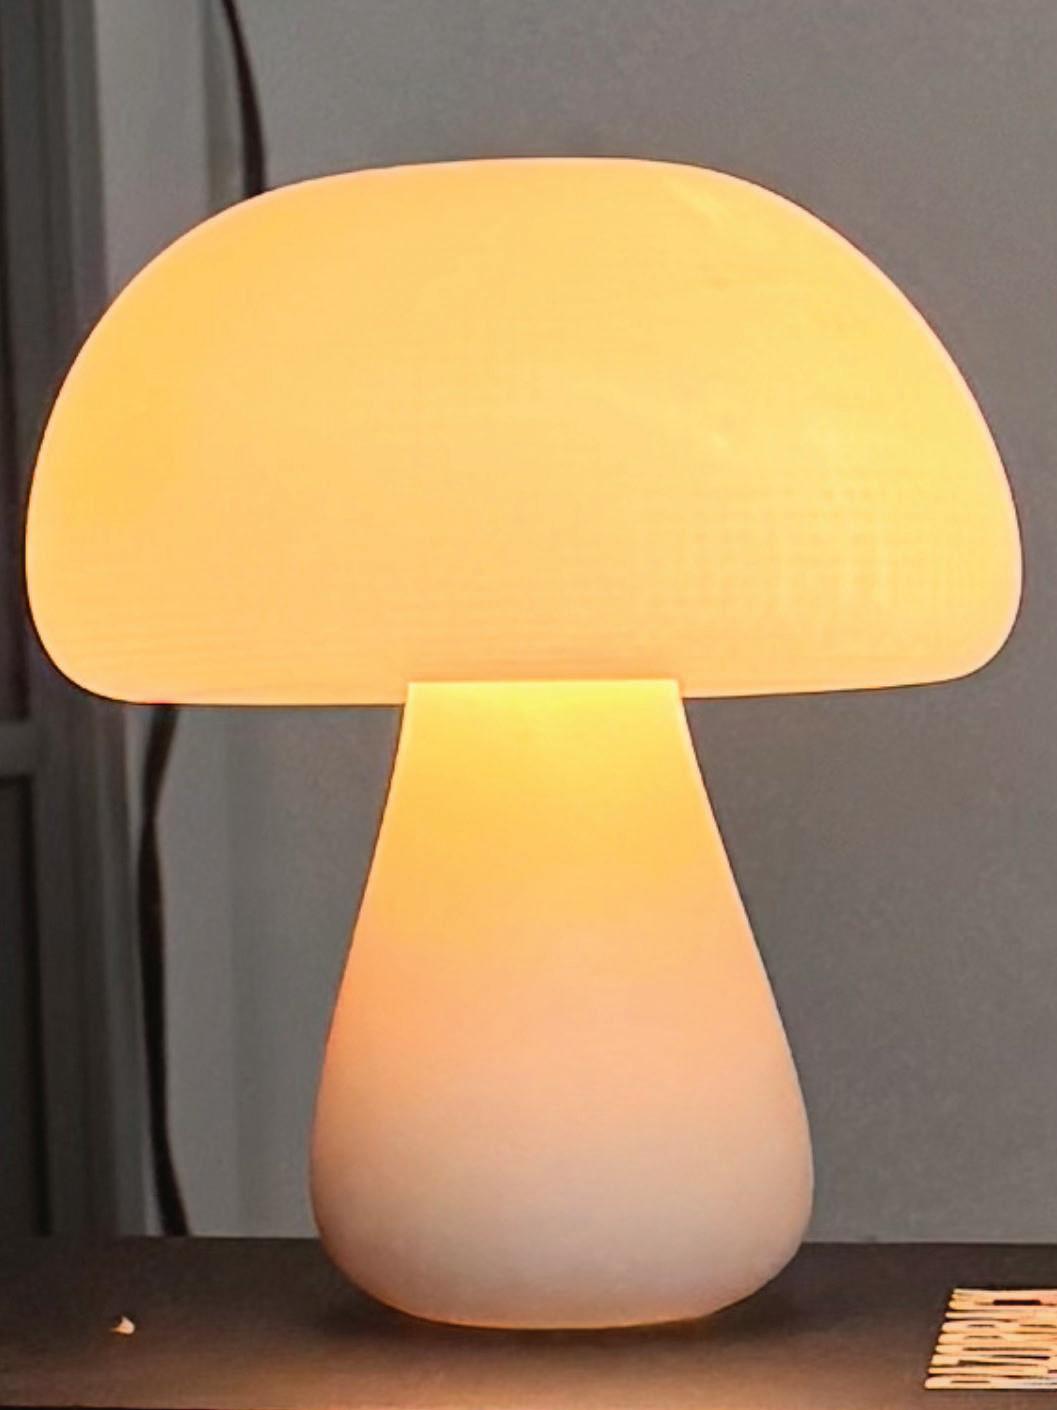
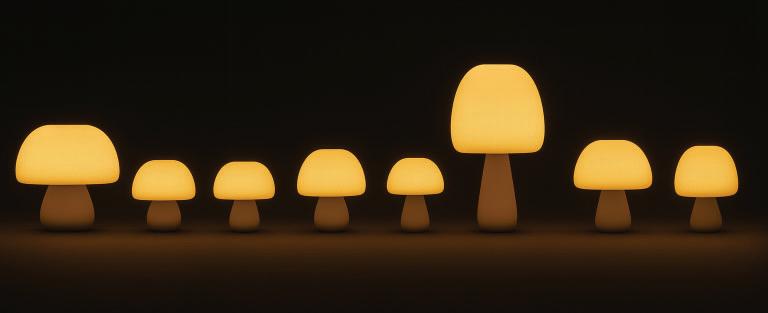
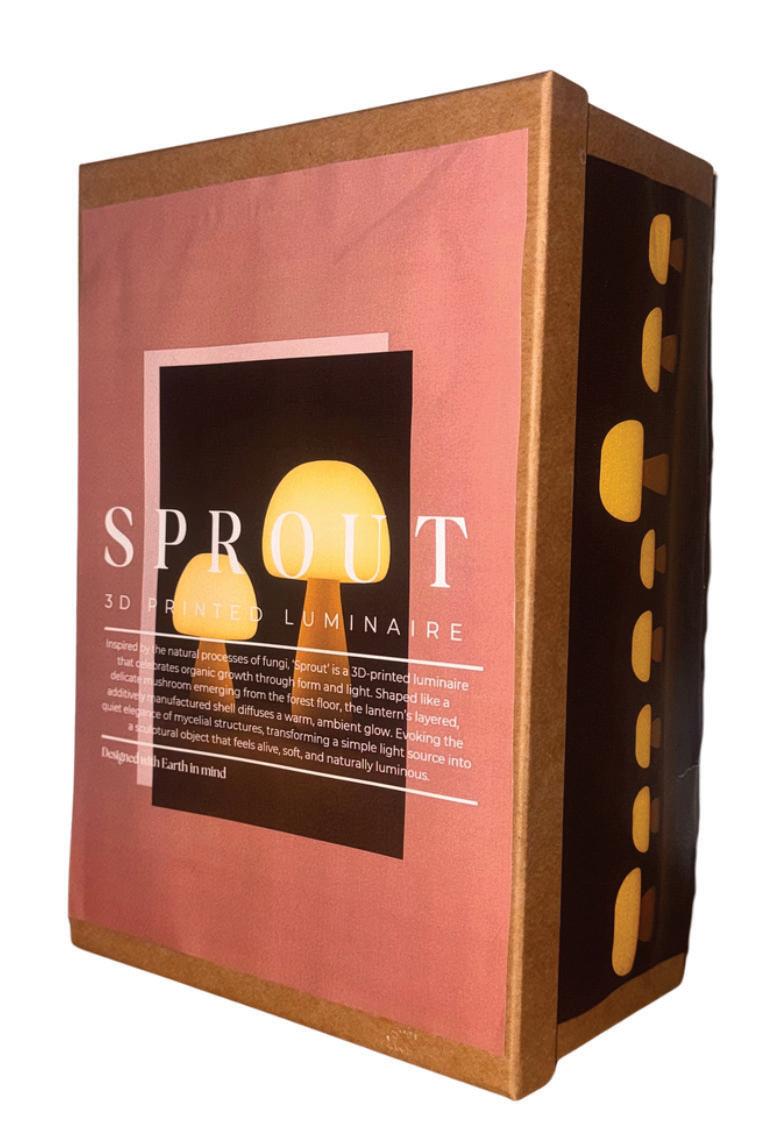
- Because of the driving concept being mushroom sprouts, the chosen colors are also informed by the many naturally occuring hues of mushrooms and their surroundings, including brown, orange, red, and green. I wanted the to packaging to stay true to the simplicity of the lamp’s form, which is why I elected to package the product in a simple, cardboard-brown cylindrical box. The packaging is embellished with a rendered image of the luminaire when lit, along with playful and whimsical fonts to further drive home the lighthearted playfulness of the design.
Process of Package and Exhibi�on prepara�on
- Within the packaging, I elected to include styrofoam blocks which have been carved to cradle the lamp and eliminate the possibility of the luminaire moving around during transport and ge�ng damaged.
Series of Process Book Making
- Making the process book was admi�edly a last-minute effort, as design adjustments late in the process pushed back the results of the nal product to the very end of the project �meline. In order to represent the project accurately, adjustments to the process book and product packaging were delayed up un�l the day before exhibi�on.
Overall
- Overall, this was an incredibly educa�ve experience. Before this semester, I had absolutely no prior knowledge or experience with 3D prin�ng... So I feel very fortunate and proud to have learned as much as I did through this process, and hope to con�nue 3D prin�ng in the future and even possibly aquire a 3D printer of my own!
If you could talk to you before the beginning of the semester, what would you like to share with you?
- I would tell myself to commit to the design early on, and to stray from last-minute adjustments (which I unfortunately did, bringing on new challenges for myself very late in the semester). I woud also tell myself that failure is an instrumental part of the process and not to be in�midated by the unfamiliarity of 3D prin�ng. I would be sure to express how much I would learn through modeling in Rhino and the trial and error of both resin and lament prin�ng.
Ini al Concept Narra ve and Sketches
Following the accidental crea on of a warped cylinder which ended up resembing a mushroom in Rhino, the concept was shi ed from abstract textures to the form of fungi.
First Edi on
Final Luminaire Concept Narra ve, Sketches, and Rendering
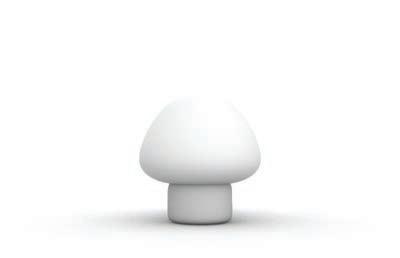
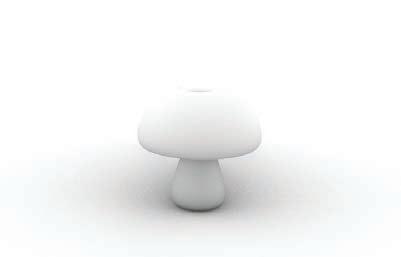
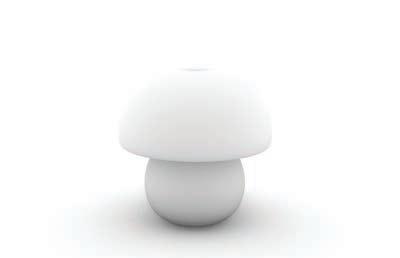
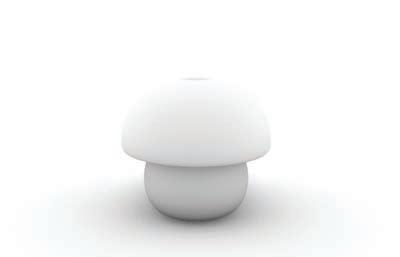
With the mushroom concept locked in, I explored subtle changes in the ra o of sizes and the rela onship of the top and bo om por ons of the design. I came to nd that small tweaks in the forms altered the overall appearance of the xture a considerable amount.
Records of 3D Prin ng Progress
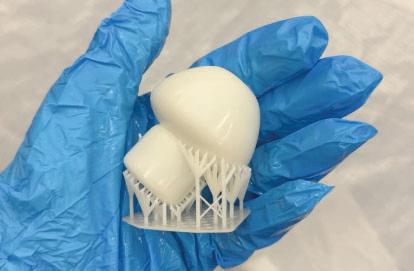
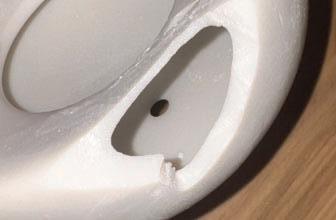
The 3D Prin ng process was a massive learning curve, involving many failed prints and design itera on. I found that smaller, thinner geometries were lower maintenance and less laikely to fail, especially in the resin printer.
Filament printer failure
Second scale model - imperfec ons
Itera on with shorter bo om piece
Resin print failure
First scale model - resin printer
Second scale model
Itera on using lament printer
Resin print failure - higher curing me was needed
Product Varia ons Mockup
Brandi Meredith
Process of Table Lighting Design
Through designing my table light, I learned that even the simplest of forms can be extremely compelling and beautiful. It is difficult to design something on the simpler side and be happy with it sometimes. This process has shown me that it’s okay for designs to be less complicated, as long as they are done well.
Series of Product and Business Branding Packages
As someone who currently is working in the graphic design field, the branding package came pretty naturally. I have learned that the two design fields I am working in are extremely similar in that regard, when it comes to branding a product vs branding sports like I do for the Razorbacks. It’s decently easy to translate between the two.
Process of Package and Exhibition preparation
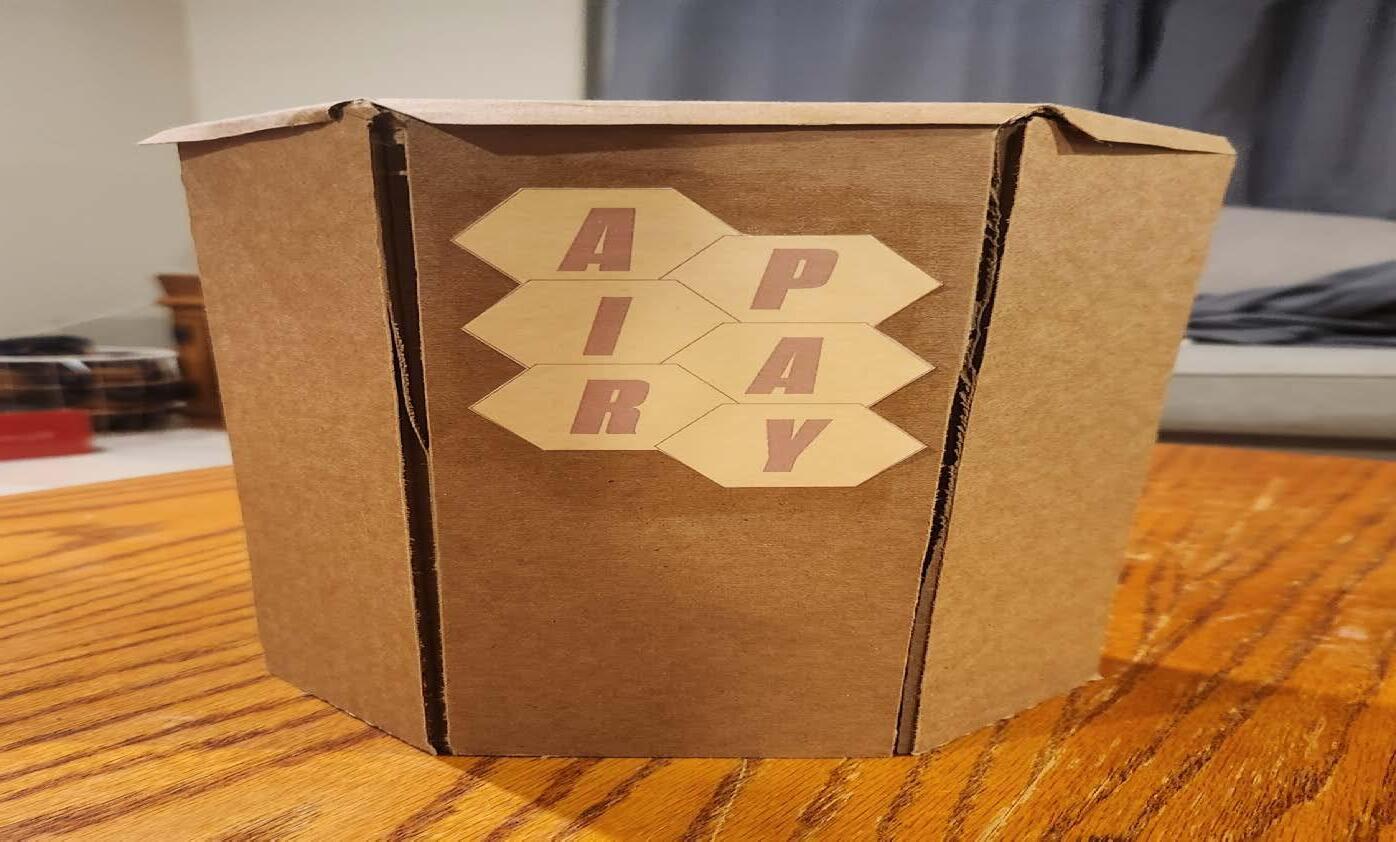
Making packaging was really difficult, but only because I was set on having a hexagonal box. Instead of buying a box, I was forced to cut my own. It was really tedious, but I would go back and do it again as it turned out extremely well. This process was a lot of trial and error, which taught me more patience than anything I’ve done in the rest of the class.
Series of Process Book Making
Making the books is important because is keeps a record of everything you’ve done in one place. While it can be a long task, its good to have all the information about what you’ve done in a class in one place. I have learned to document more because of it, as well as organize said documentation.
Overall
This class was my first production based class. It was a really unique experience and I would recommend everyone take it or something similar. I have learned a lot more about branding, 3D printing, and design as a whole from it.
If you could talk to you before the beginning of the semester, what would you like to share with you?
I would tell myself to not get so caught up in the intricate designs. What works will work. It’s much easier to refine products after testing them than it is to do it digitally. Also, print bases for the light socket earlier, as it was the most difficult part of printing for me.
Initial Concept Narrative and Sketches
We were initally told to sketch by drawwing inspiration from natural systems, mathematical patterns, or scientific structures. I went ahead a sketched designs based on all three options, narrowing it down later in the process.
Mathematical Pattern:
Mathematical Pattern:
Mathmatical Pattern:
Natural System: Laceleaf
Scientific Structure: Bubble Raft
Natural System: Sea Anenome
Natural System: Mushrooms
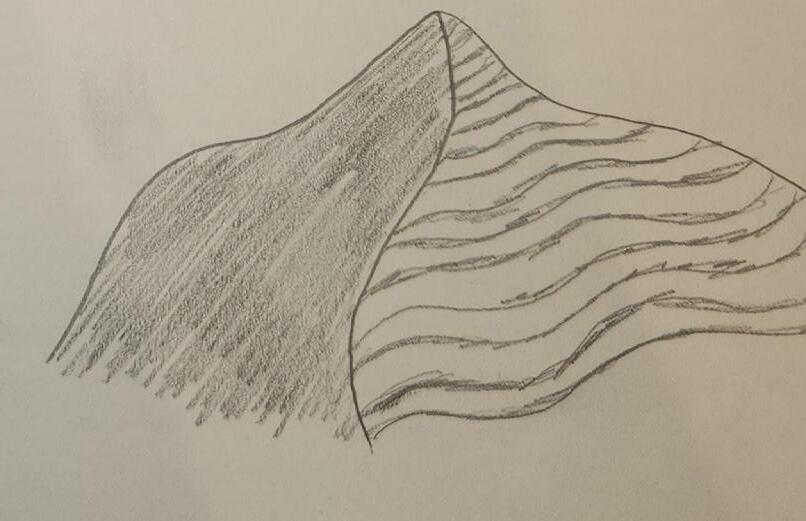
Natural System: Sand Dunes
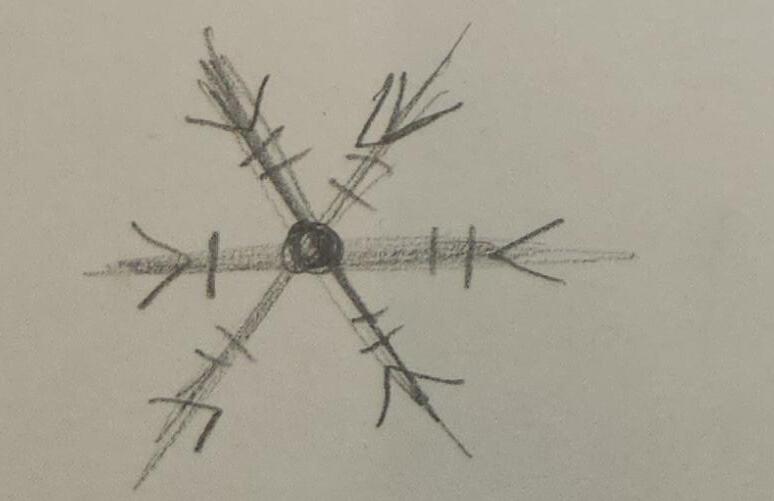
Snowflake Branching
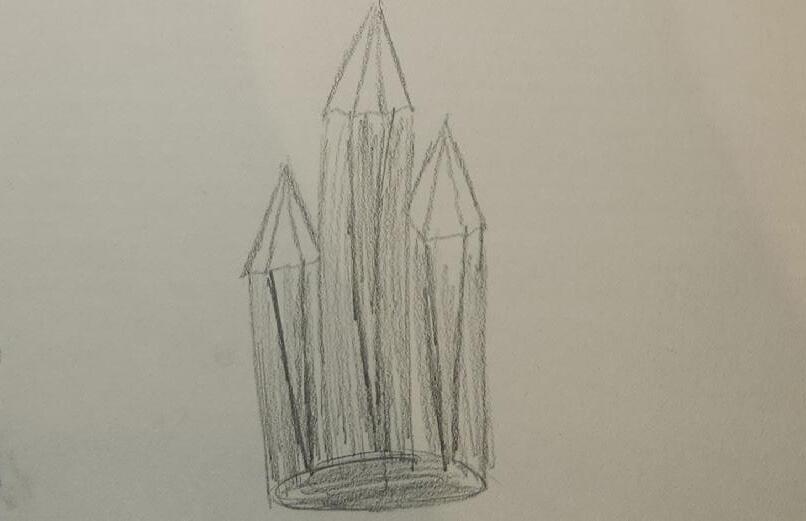
Crystals
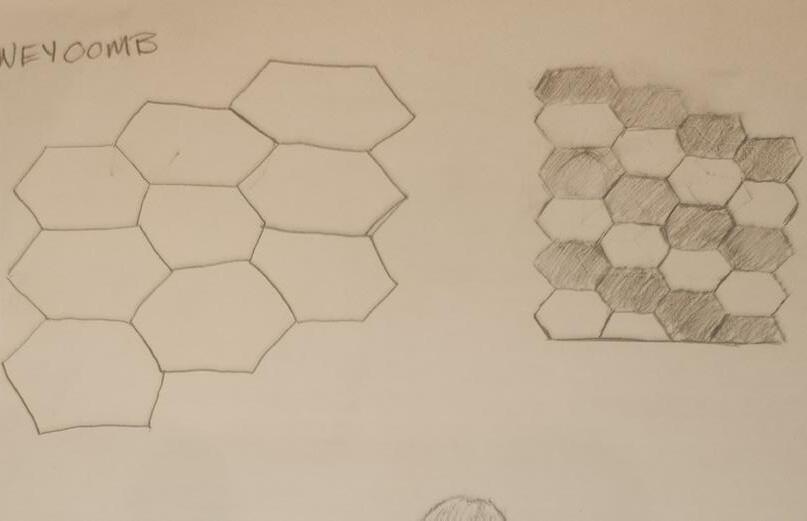
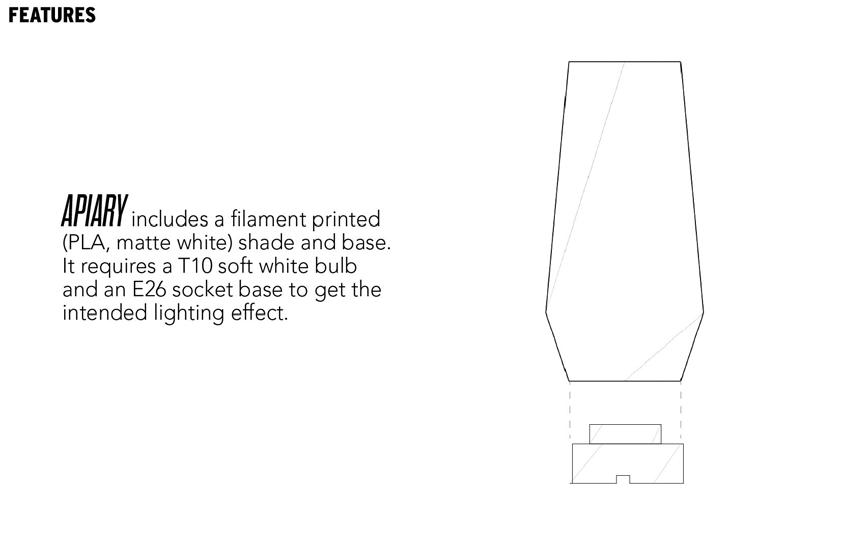
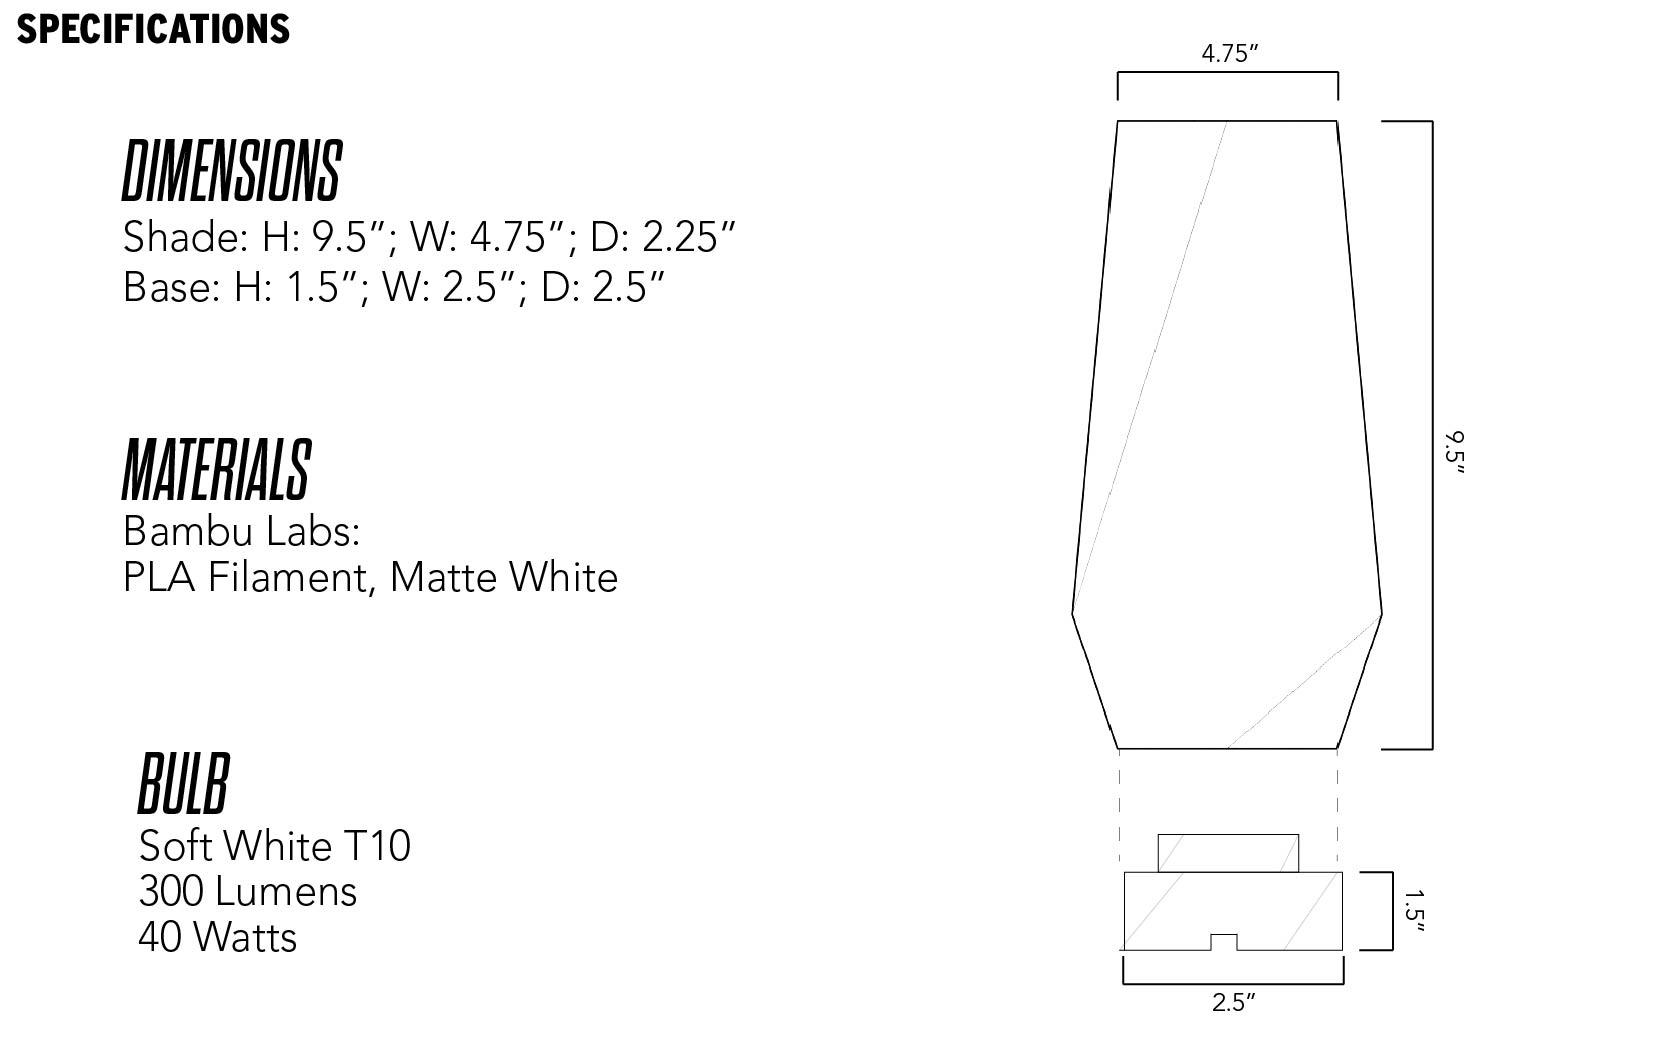
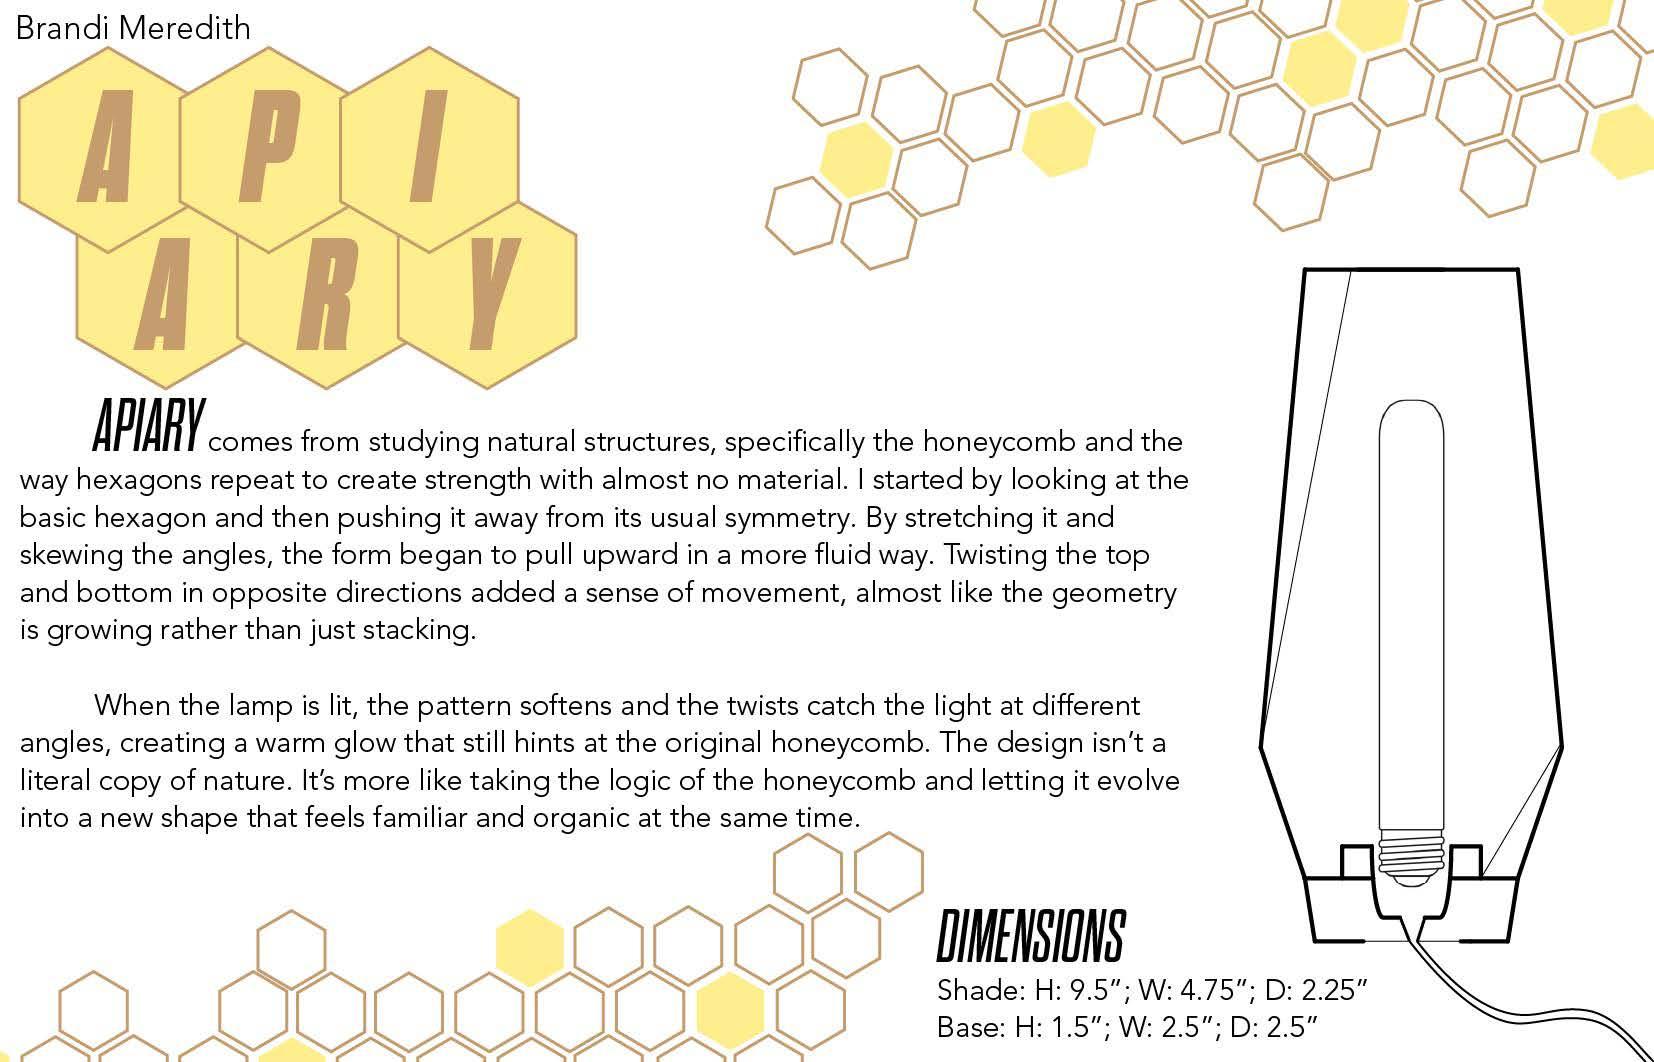
Honeycomb
Final Draft Concept Narrative and Sketches
With initial sketching completed, I began modeling out things that intrigued me the most. After a while, I found that I was overcomplicating my models, and eventually started focusing on the honeycomb and, more specifically, hexagons. These are my first three models.
Stacked hexagons
Eucalyptus
Pineapple
Top View of Stacked Hexagons
Top View of Eucalyptus
Top View of Pineapple
Final Luminaire Concept Narrative, Sketches, and Rendersing
After the test printing, I settled on the one concept of the hexagon being skewed into a new form, nearly unrecognizable. It resonated with me the most, as well as my colleagues and professors. People were drawn to the simplicity of it. This is the collection of all the hexagon models I did, including my chosen option and its runner-up.
Hexagons on a circular revolve, then stretched vertically
Twisted hexagon, then mirrored
Twisted vertically, then stacked
Hexagons on a circular revolve (SECOND OPTION)
Linear honeycomb pattern
Twisted vertically
Offset honeycomb pattern
Twisted vertically, then stretched (CHOSEN ITERATION)
Records of 3D Printing Progress
Weeks of trial and error, and issues with the resin printers, lead me to make the switch to filament printing. This ultimately gave me more freedom to design, especially the with the specific infills, and also saved me a lot of time and effort. I learned a lot about 3D printing during this semester, which allowed me to develop to the outcome I initially pictured.
Third scale model, unlit
Original full scale model (resin printed), unlit
Failed print, resin
Full scale print, Bone White Filament, lit
Third scale ,odel, lit
Original full scale model (resin printed), lit
Base Testing
Full scale print, Matte White Filament, lit
Caroline Rose Normand
Caroline Normand Lighting Portfolio
Process of Table Lighting Design
I researched different lighting forms, sketched ideas, and tested materials and brightness levels. Through prototyping and refinement, I created a table light that balances function and aesthetics.
Process of Wall Sconce Lighting
I explored how light interacts with walls, experimenting with angles, shadows, and mounting methods. Iterations helped me refine the form and light distribution for a clean, effective wall sconce.
Series of Product and Business Branding Packages
I developed a cohesive brand system with logos, colors, typography, and mockups. Each package builds on the last to show a polished and consistent identity across my lighting products.
Process of Package and Exhibition Preparation
I designed packaging that communicates the brand while protecting the product. For the exhibition, I planned the layout and displays to clearly present my design story and final work.
Series of Process Book Making
I organized my research, sketches, models, and final images into process books. The goal was clear storytelling, clean layouts, and documenting how each project developed.
Overall
This semester taught me how to take ideas from concept to final presentation, im- proving my skills in lighting design, branding, packaging, and exhibition planning.
If you could talk to yourself before the semester, what would you say?
I’d tell myself to trust the process, stay organized, and experiment more. Every- thing comes together with time, practice, and openness to feedback.
Initial
Concept
Narrative and Sketches
These represent my initial concept sketches for the lamp, exploring form and early design ideas.
Refined Concept Narrative and Sketches
After extensive sketching, I narrowed the concepts and refined them into these five final options.
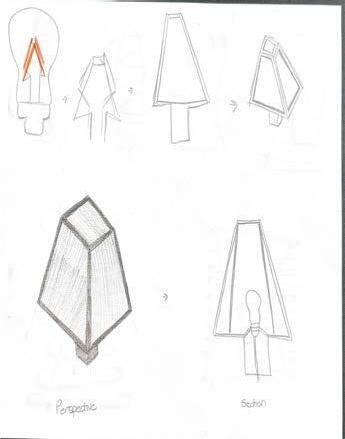
Final Draft Concept Narrative and Sketches
I kept returning to these sketches throughout the process.
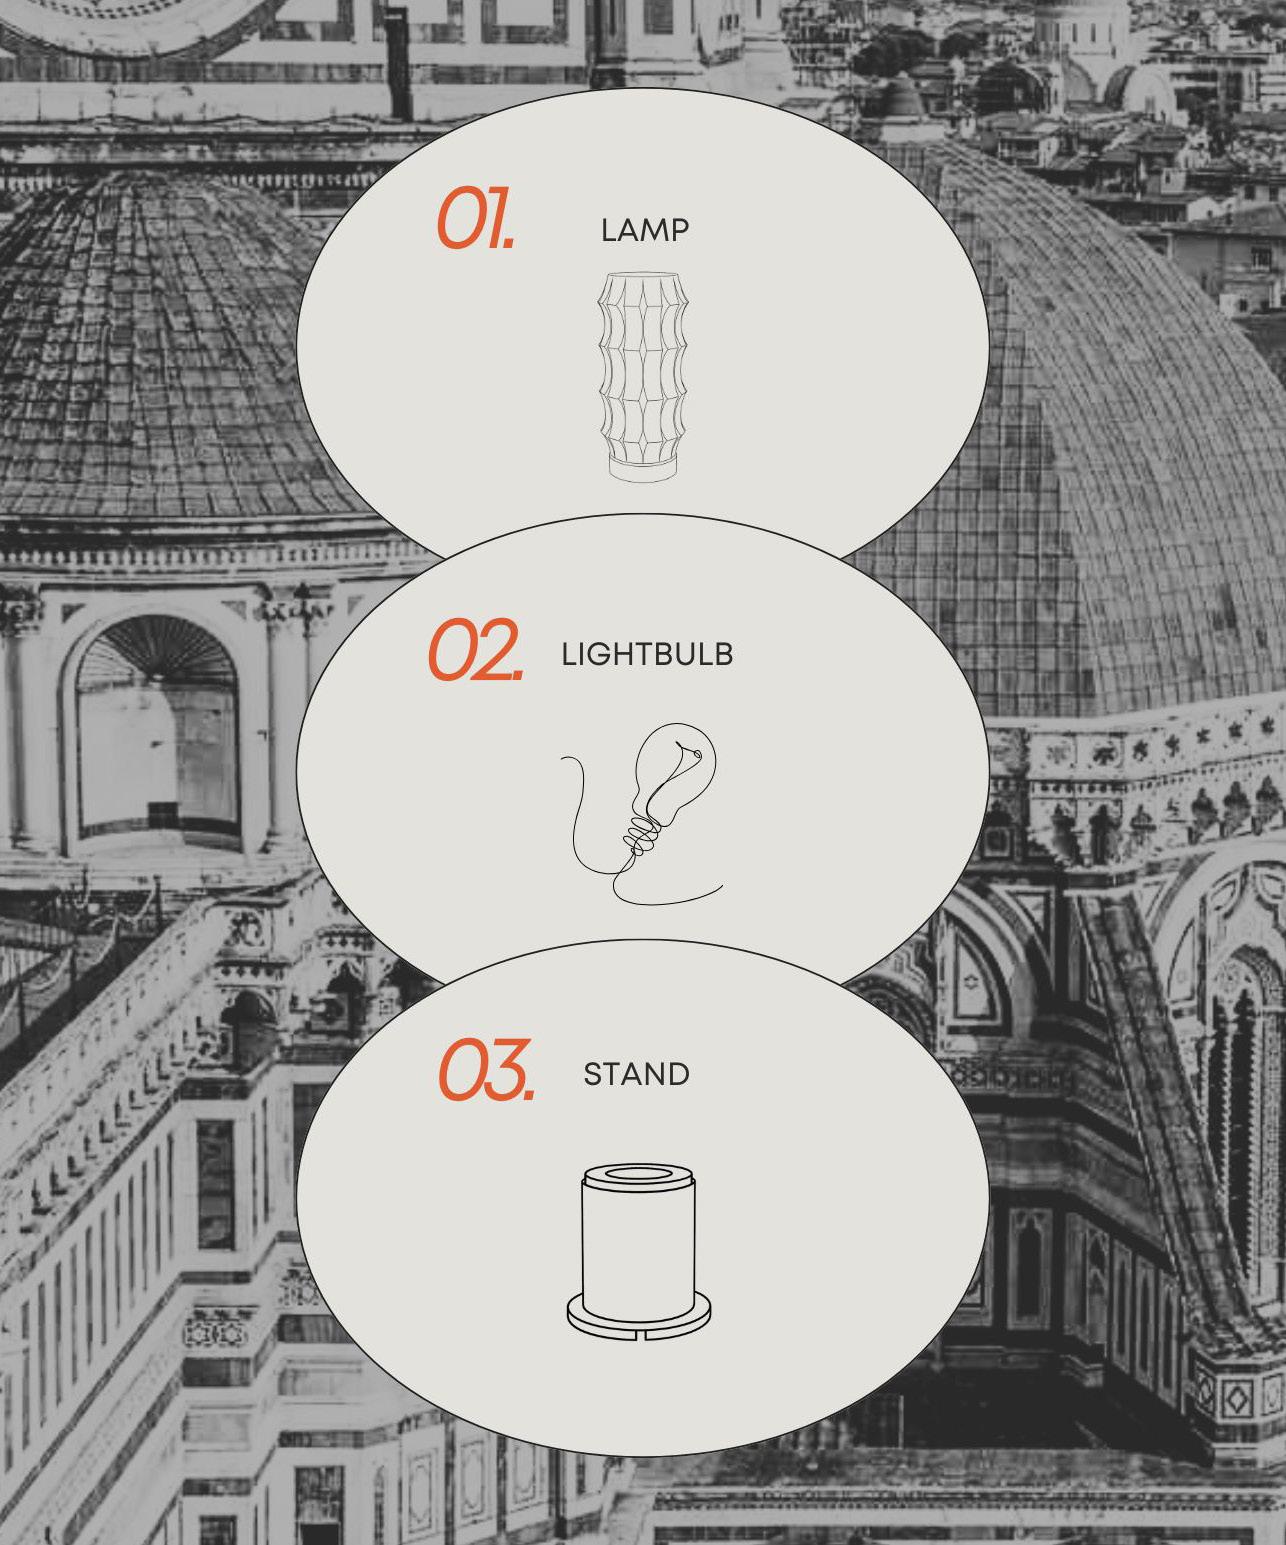
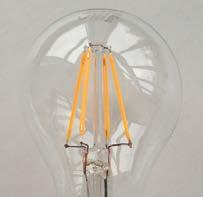
1.Lamp Shade
2. Stand3. Lightbulb
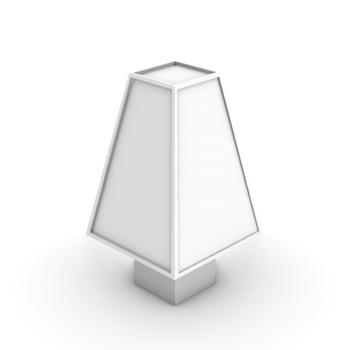
Luminaire Concept Narrative, Sketches, and Rendersing
These 3D drawings stood out to me, so I chose to develop them further.
GavinMcWethy
Gavin McWethy
METRO
METRO: short for Metropolis
METROPOLIS: a very large and densely populated industrial and commercial city
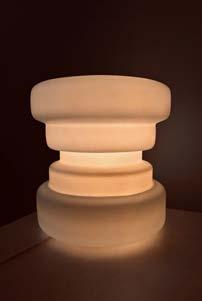
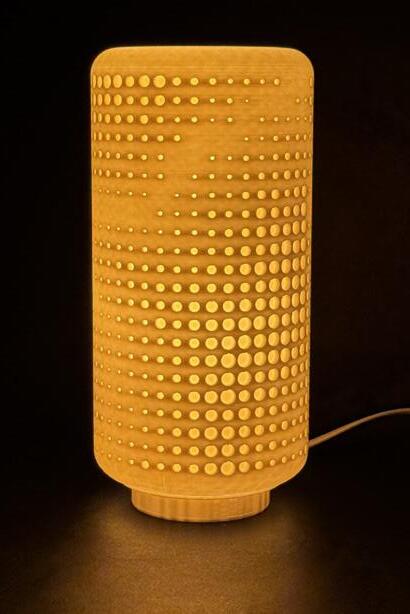
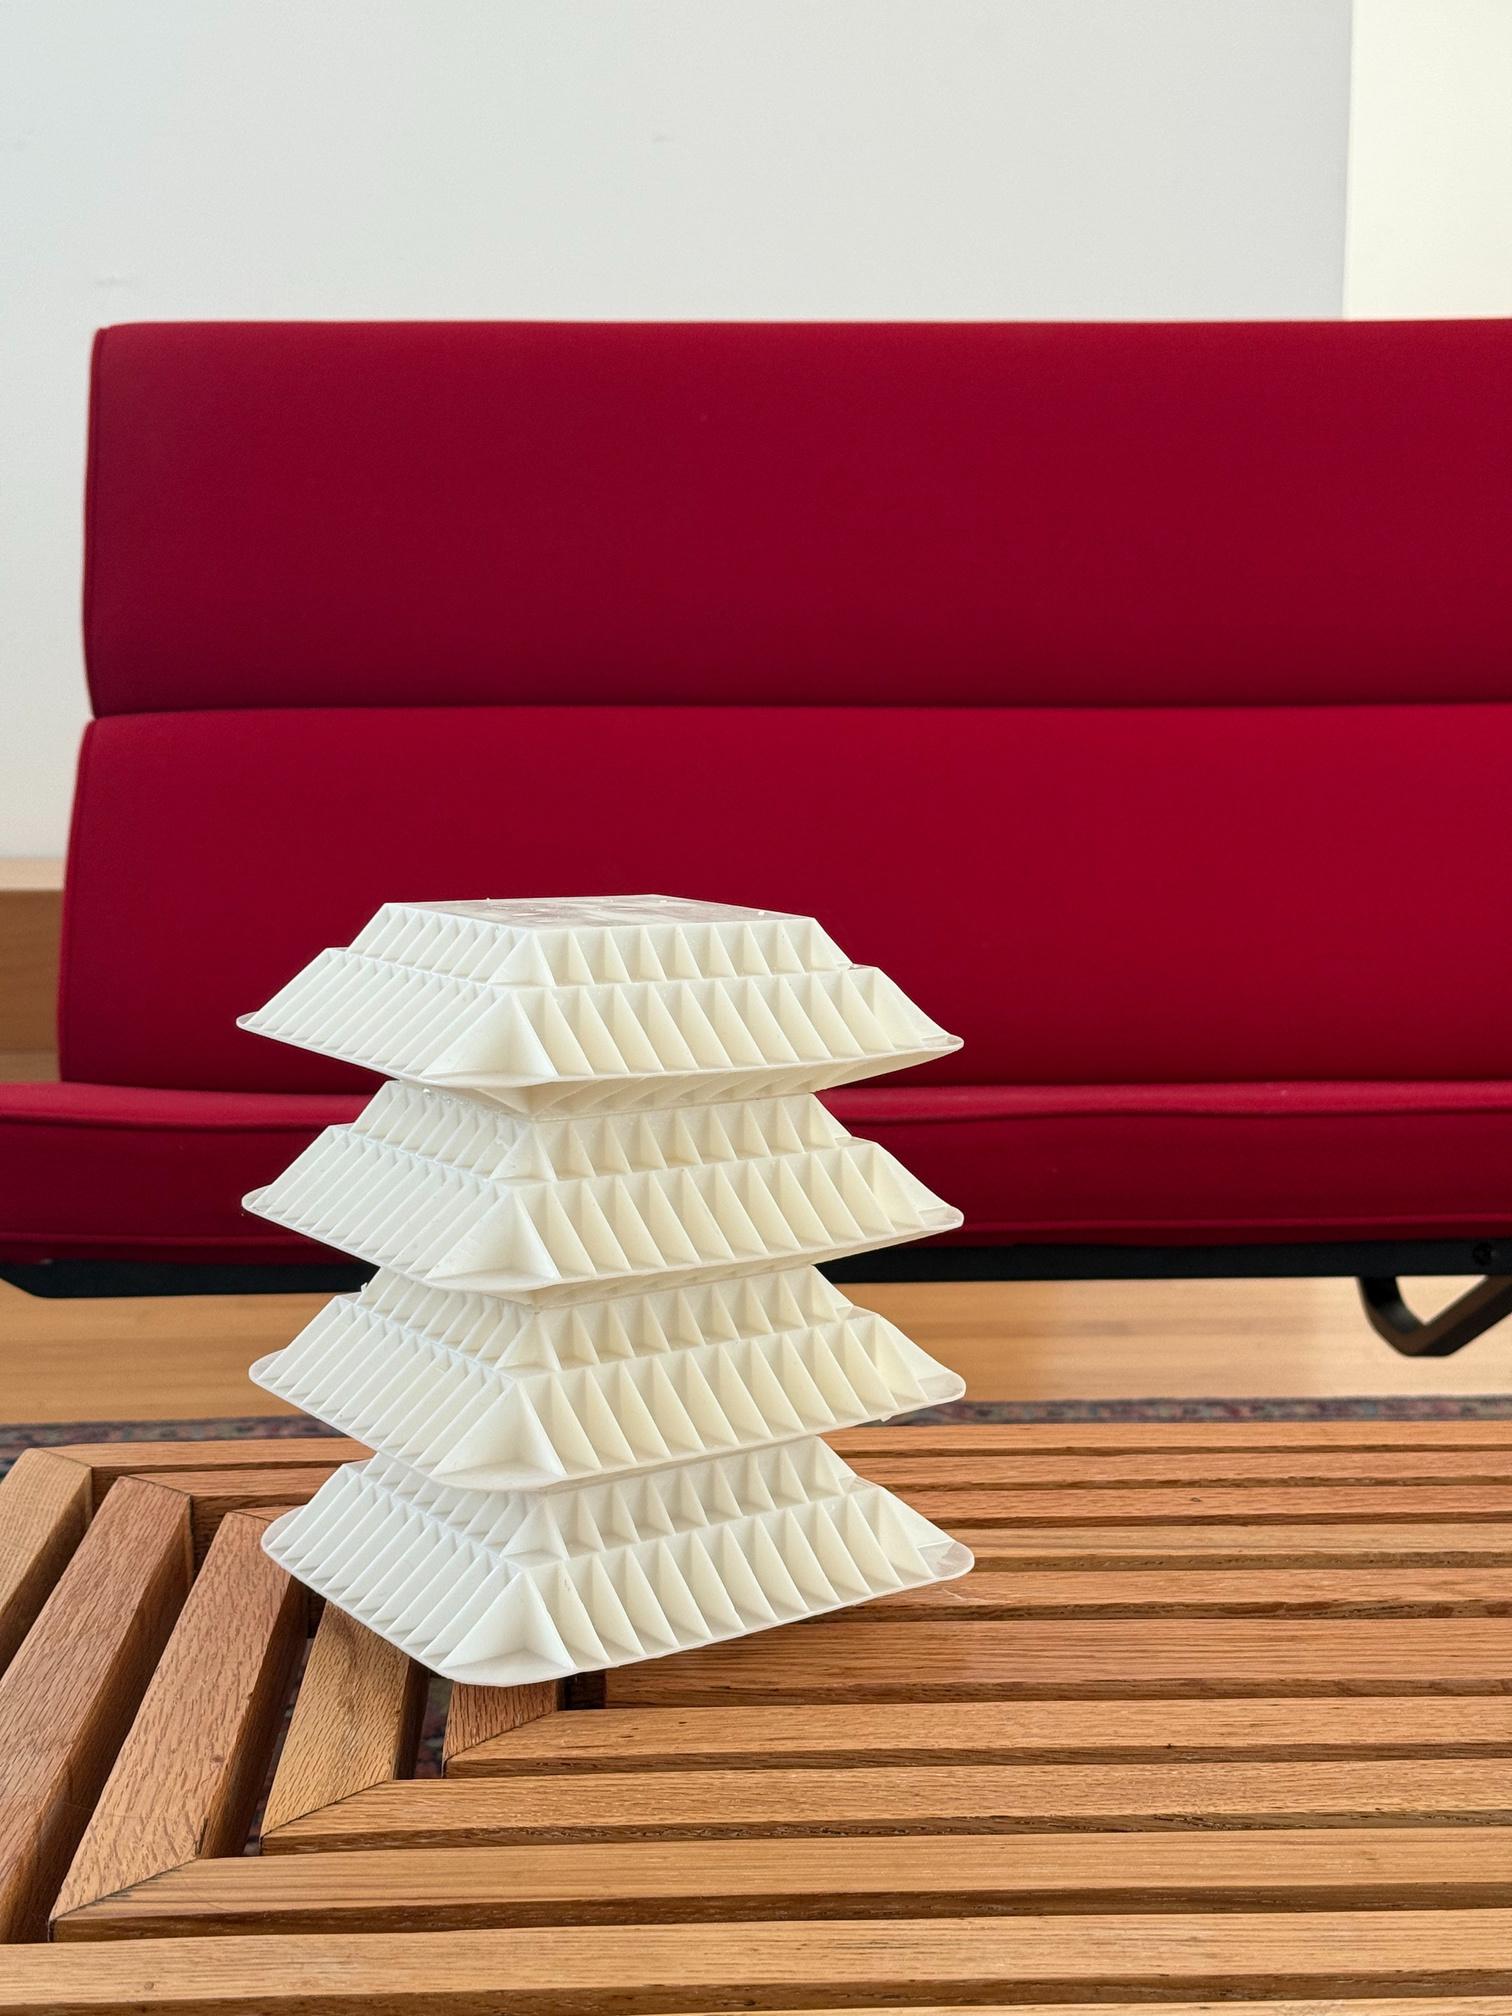
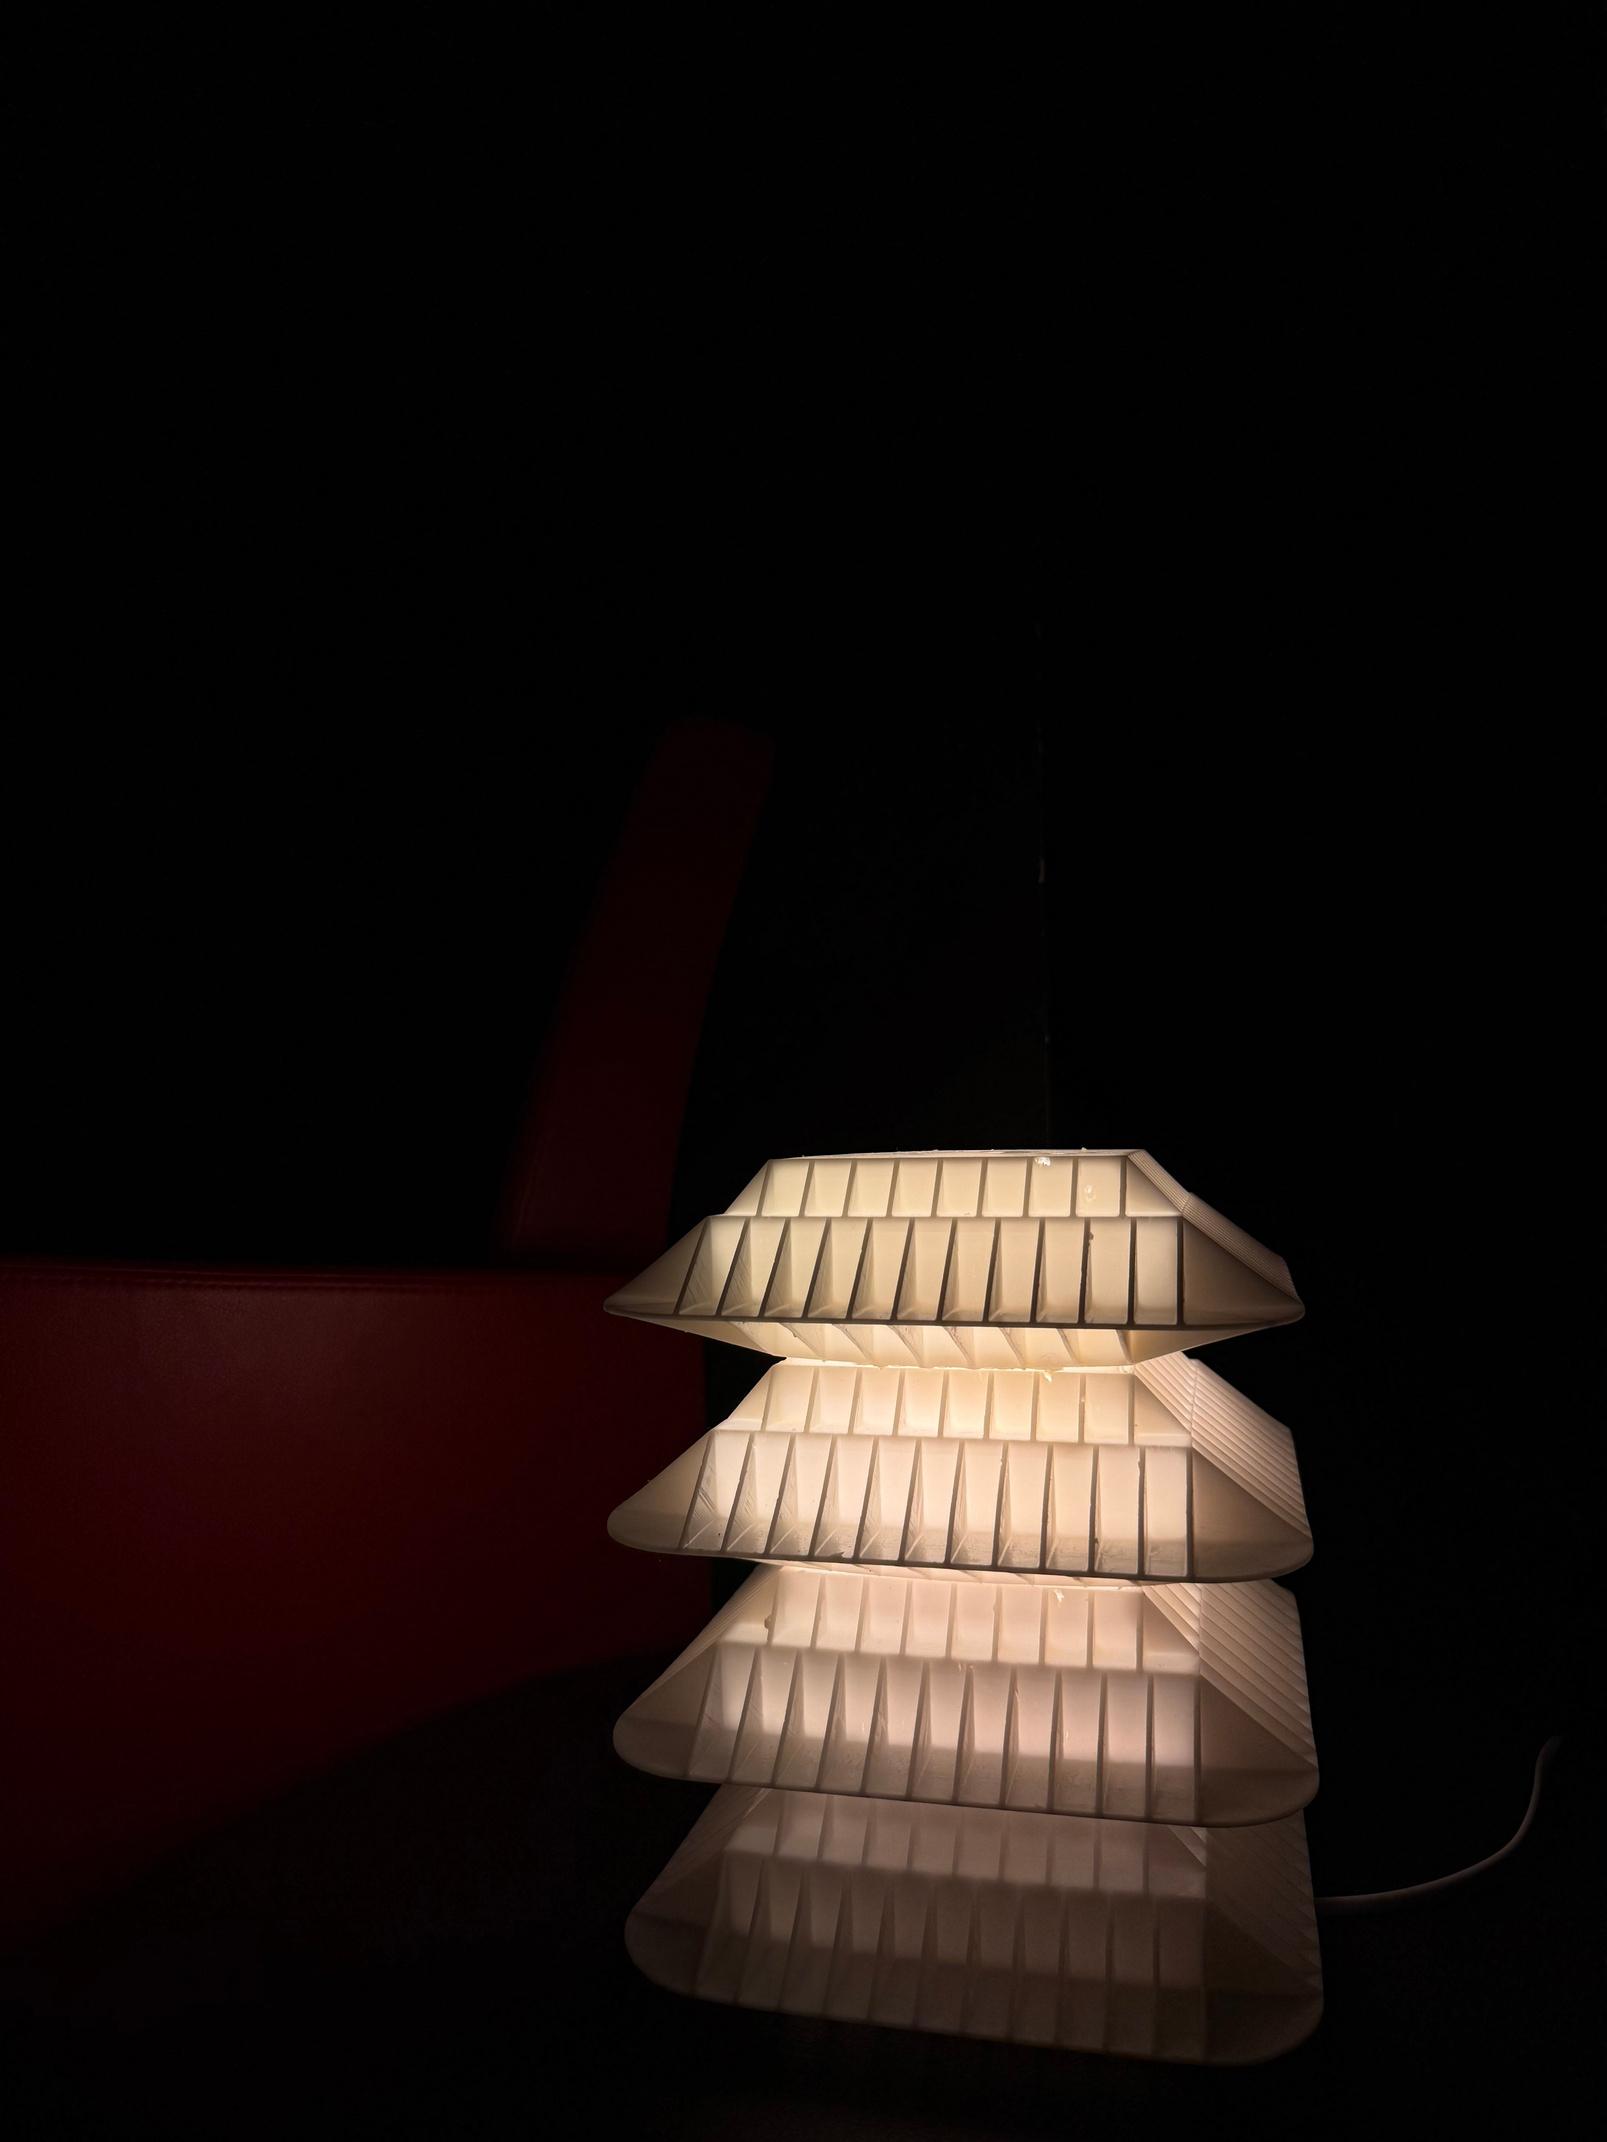
The Metro Lamp, named after the word metropolis, draws its form and meaning from the language of urbanism and density. Its stacked layers and geometric divots echo the rhythm of a growing city, block by block, level by level, capturing the continuous vertical and horizontal expansion of dense urban environments. Each tier suggests a new stage of development, while the repeating grid creates a visual metaphor for how cities evolve, intensify, and accumulate over time. Through its architectural silhouette, the Metro Lamp transforms the complexity of metropolitan growth into an illuminated object that celebrates structure, repetition, and the beauty of contemporary urban density.
Lamp includes
Height: 8 1/2"
Width: 6 1/2"
Length: 6 1/2"
Bulb type led a19 60w, 8.5w Material plant-based resin 2.0 white
Haley Czeschin
Haley Czeschin
Process of Table Lighting Design
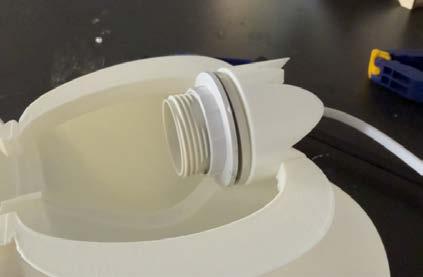
- The project began with the challenge of translating a celestial idea into a functional grounded object. I worked from the concept of black holes and solar eclipses, shaping it through the practical boundaries of FDM printing. Matte White PLA became the core material, and much of the process centered on testing print depths to manipulate opacity. The most demanding technical moment was developing the lamp kit mechanism, which allowed the form to remain uninterrupted by visible hardware. This hidden mechanism became central to preserving the purity of the silhouette.
Series of Product and Business Branding Packages
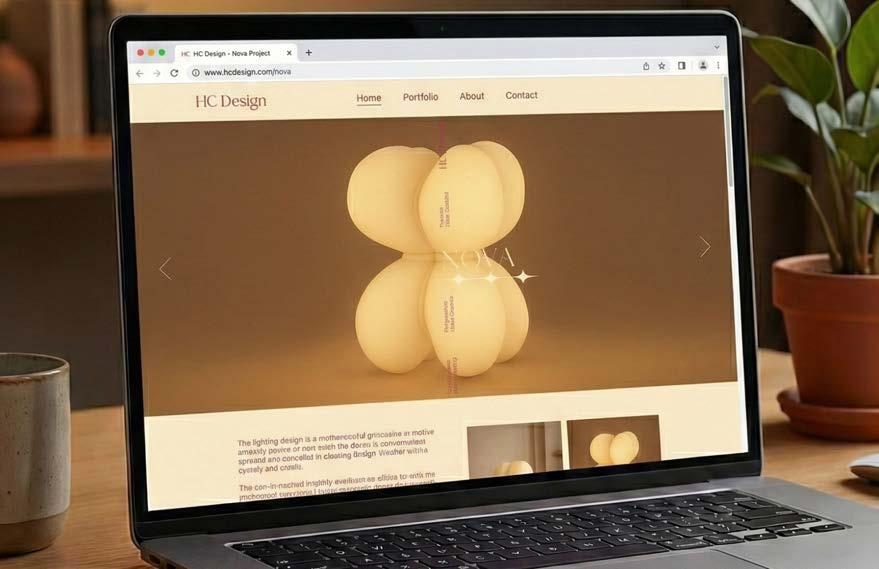
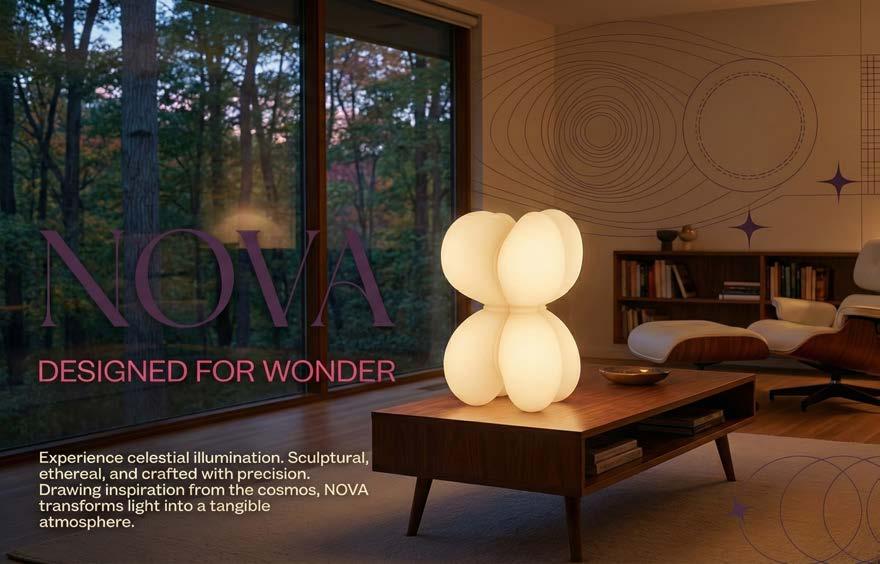
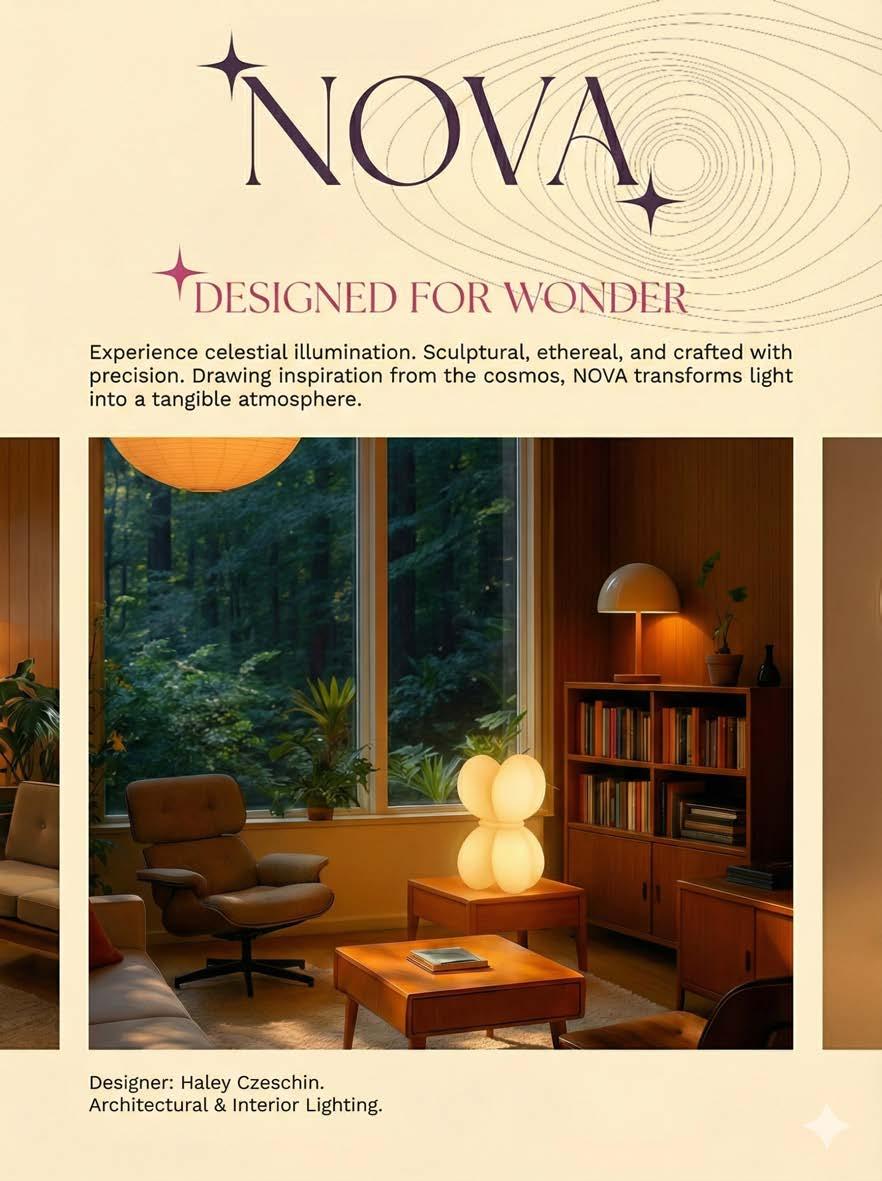
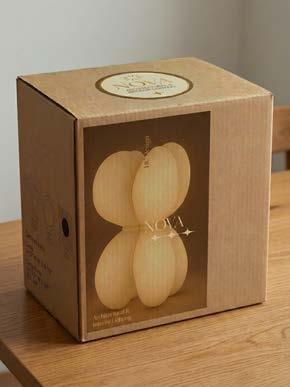
- Building the NOVA brand meant creating a voice that felt both technical and poetic so that it reflected the dual identity of the lamp. I established five guiding values: sculptural, ethereal, celestial, craft, and design for wonder. These shaped the visual and verbal language. Clean typography and high-constracting photograph created a quiet, minimal framing that allowed the lamp’s presence to lead. Through this work, the piece became more than an object. It solidified inot an experience meant to shape the mood of an interior.
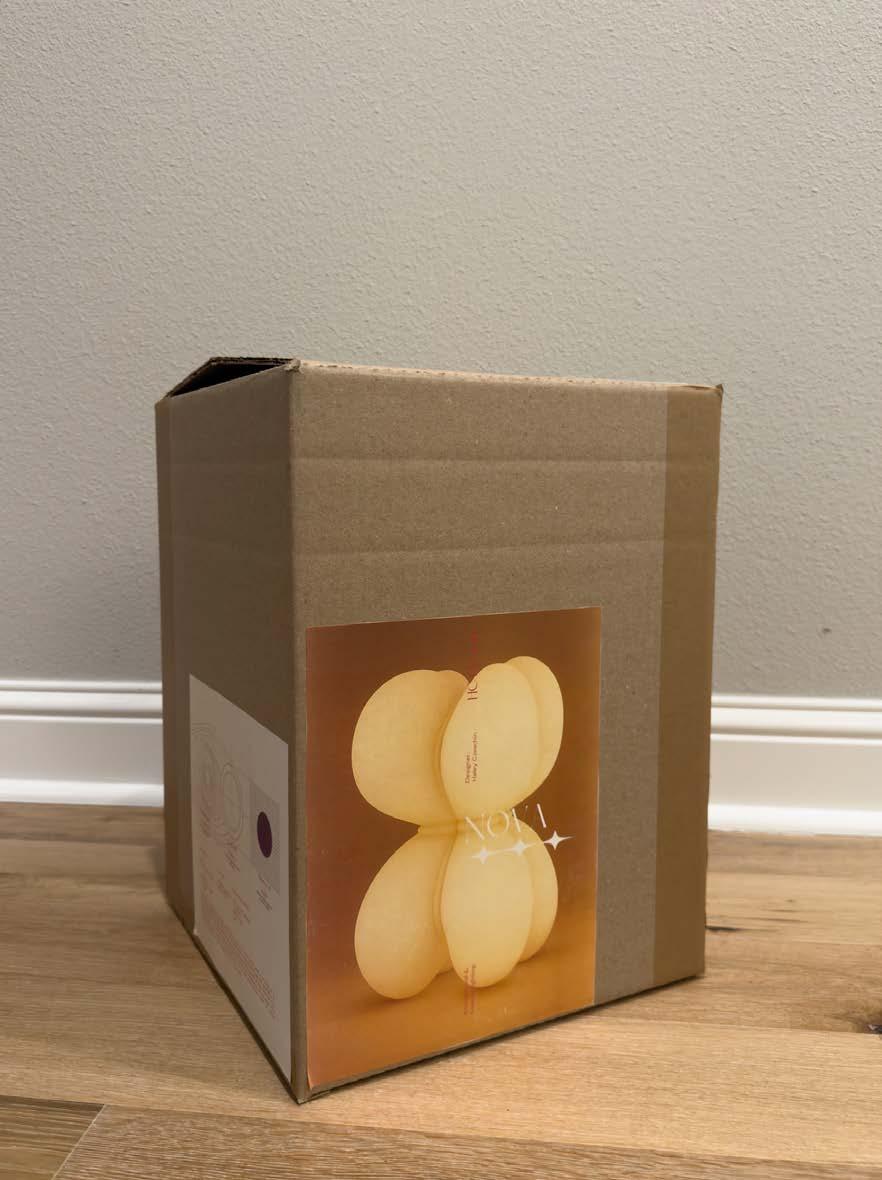
Process of Package and Exhibition preparation
- The exhibition strategy aimed to guide the viewer from concept to precision. Layouts began with the origins of the design and moved toward the technical realities of dimensions, materials, and mechanical solutions. Technicla drawings are paried with perspectives and renderings to underscore that the lamp exists together as engineering and art.
Series of Process Book Making
- The process book served as the connective tissue between ideation and final product. It documented the progression of form, the development of the “creases”, and the experiments in light diffusion that shaped the final effect. It became a record of transformation: how a standard lamp kit evolved inot a cohesive, intentional design through iteration, testing, and refinement.
Overall
- This semester was ultimately a study in tension. Between light and shadow, abstraction and fabrication, ambition and limitation. While th elamp explores the balace between illumination and void, the design process asked me to balance a poetic vision with the constraints of 3D printing. The final piece feels natural and atmospheric rather than manufactured, demostrating how FDM technology can produce work that stands confidently in a gallery context when its hidden details are carefully resolved.
If you could talk to you before the beginning of the semester, what would you like to share with you?
- I would say, trust the concept. The technicla solutions will emerge as extensions of the story you’re trying to tell. Don’t be intimidated by the mechanical challenges. Spend more time early on refining the narrative because once you understand the reason the light needs to look the way it does, the fabircation choices fall into place naturally.
Initial Concept Narrative and Sketches
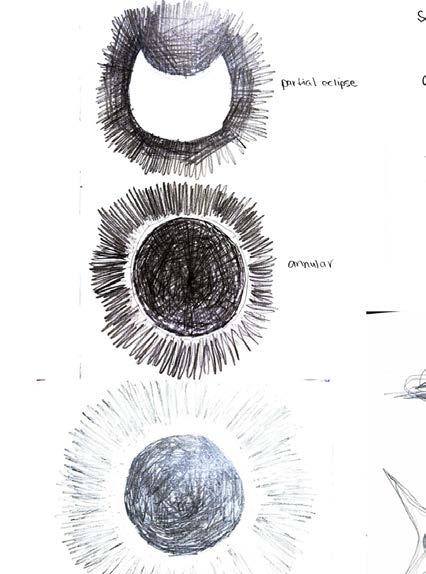
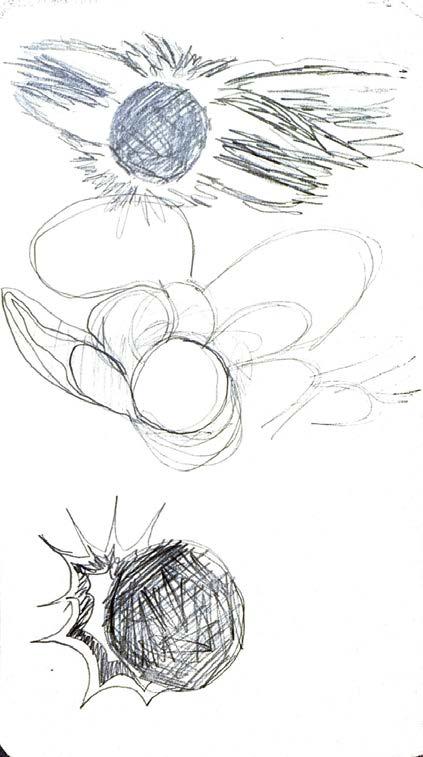
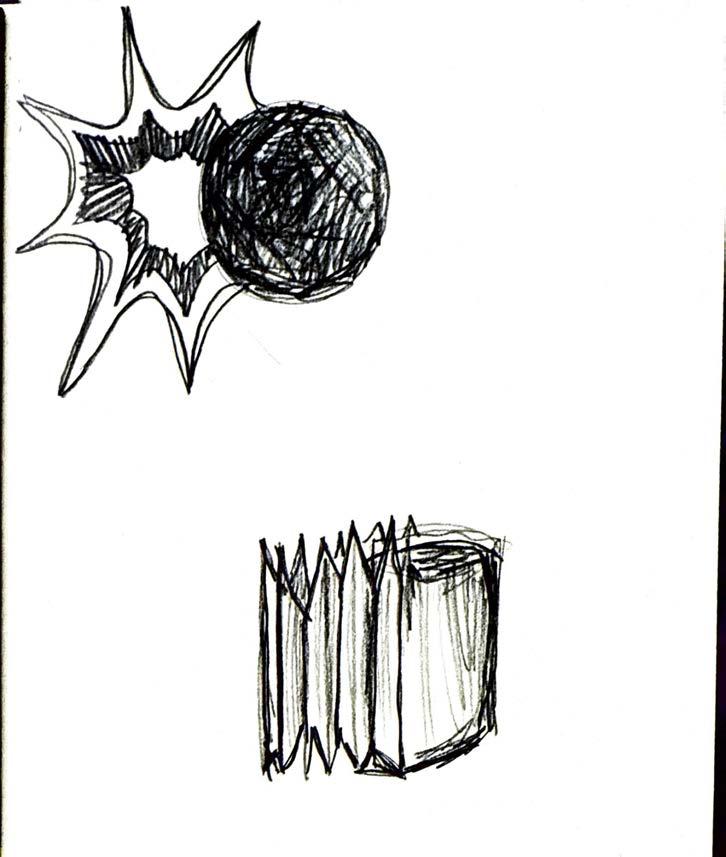
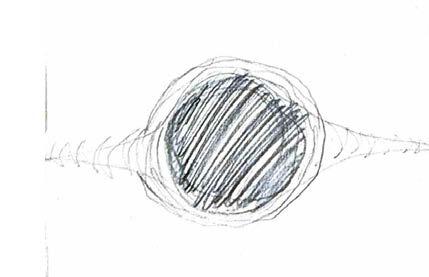
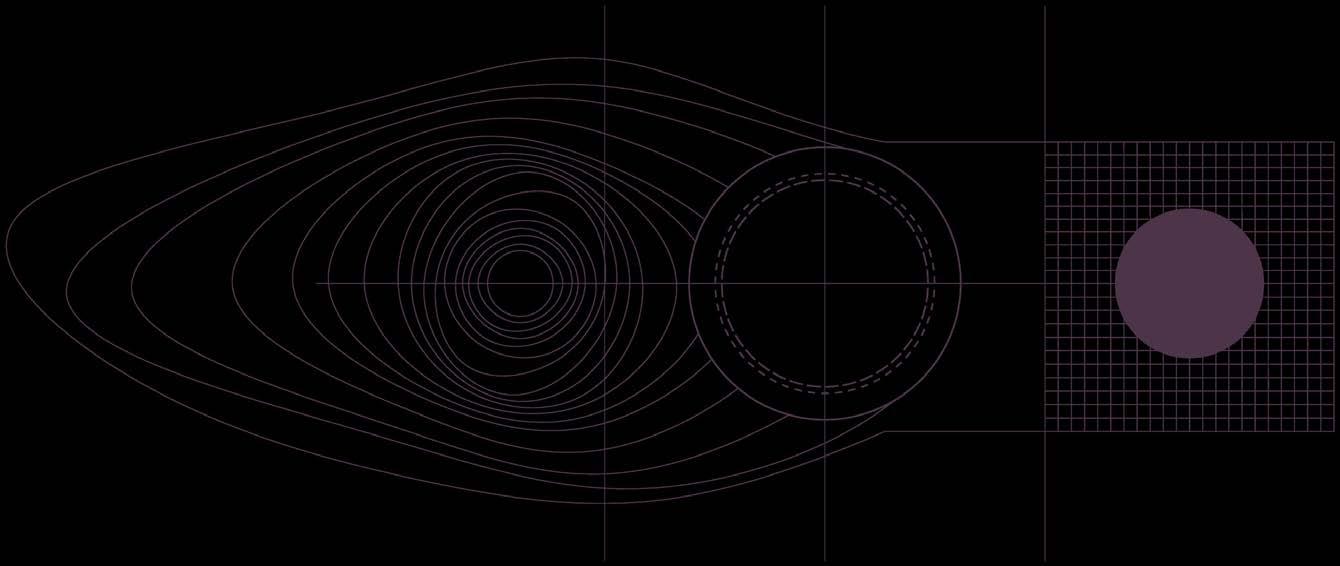
The initial concept for the lamp emerged from a fascination with solar eclipses and black holes. I viewed these phenomena as a dynamic conversation between light and void, highlighting how the absence of light can be just as compelling as its presence. The design aim was to compress the slow, celestial choreography of an eclipse into a permanent sculptural object. Ultimately, the piece explores the idea that light is often more profound when it is partially obscured—finding beauty at the edge of darkness.
Solar Eclipse Phenomena
Moving into the next phase of concept development, I focused on physical interventions that could disrupt the light source. Since the core inspiration was the ‘absence of light,’ I investigated geometries that would not just transmit illumination, but actively block or dissipate it. This exploration led to the development of the rings—layered bands designed to trap light and create depth through varying levels of
Final Draft Concept Narrative and Sketches
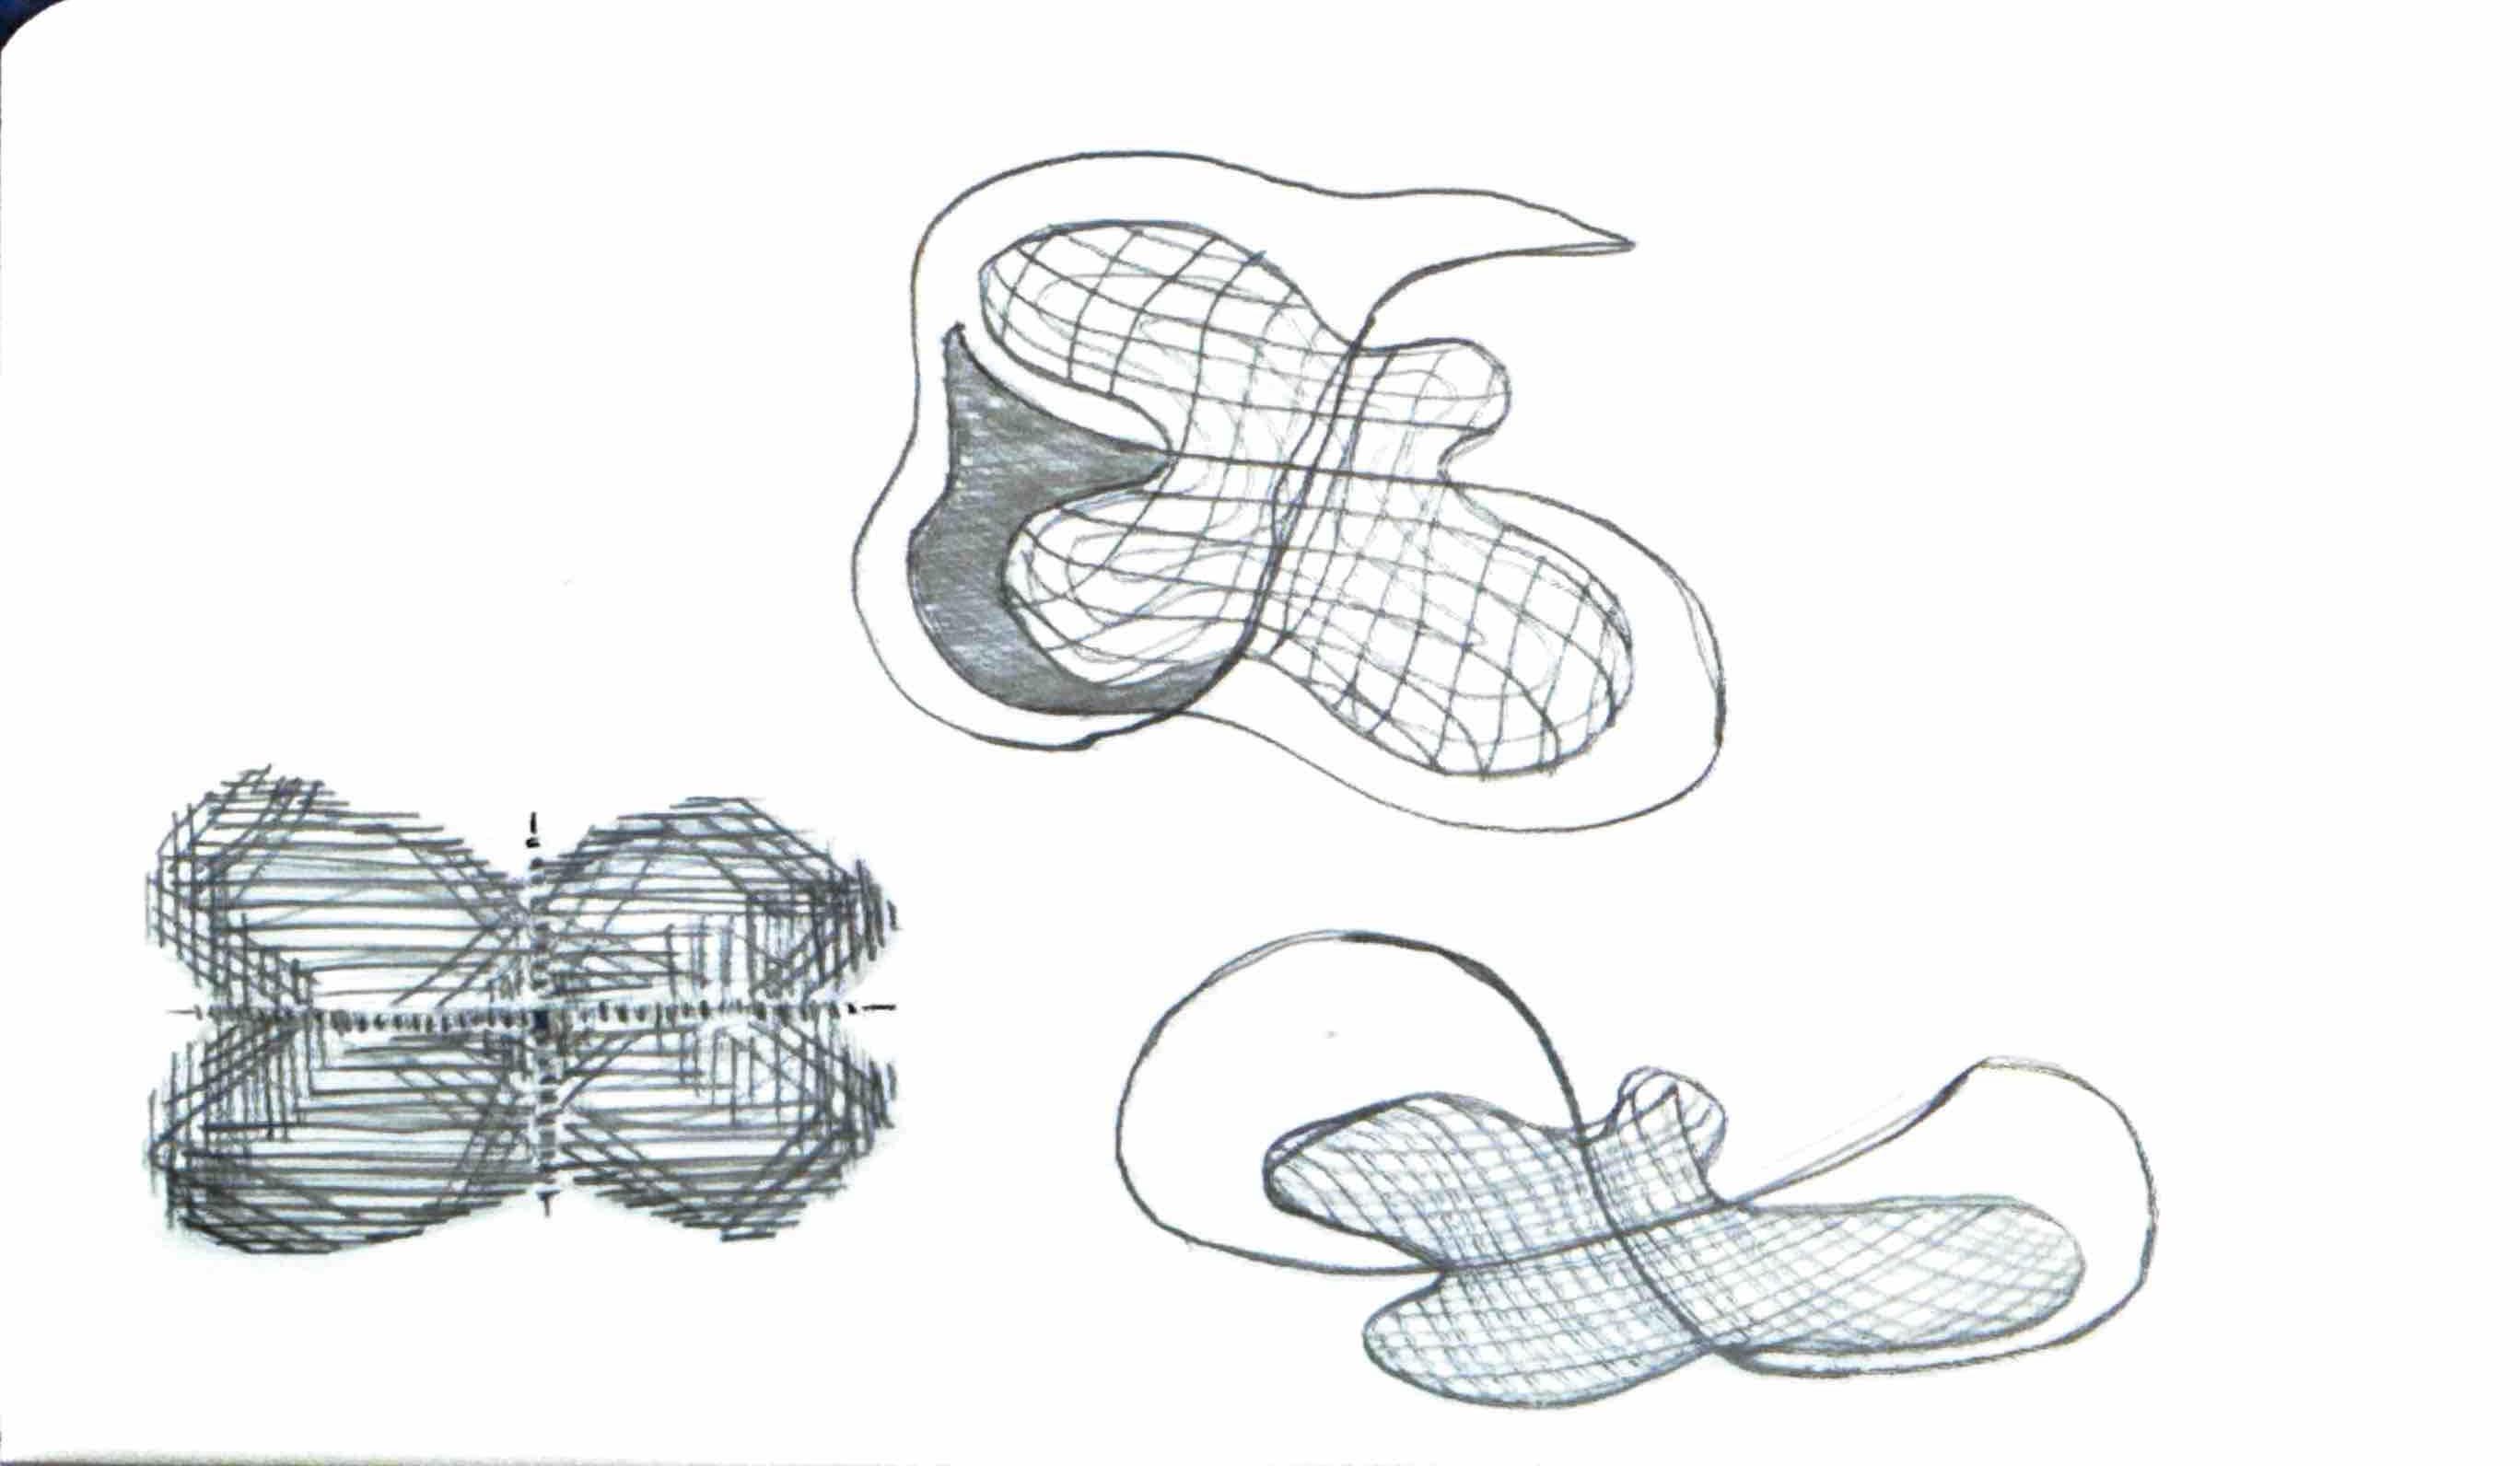
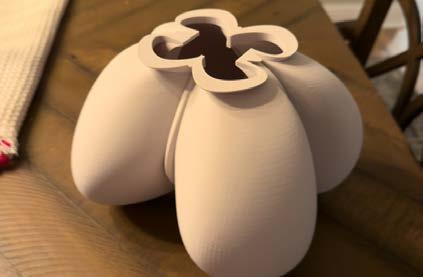
The final conceptual leap occurred during the sketching phase. I noticed that drawing concentric contour lines created the illusion of three-dimensional topography—like hills rising from a map. I translated this graphic insight into physical volume, resulting in the ‘overflowing’ spherical forms. These swells visualizes a state of dynamic tension: the light acts as an expanding force pushing outward to escape, while the material structure acts as a gravitational force, holding the volume together.
Final Luminaire Concept Narrative, Sketches,
and Rendering
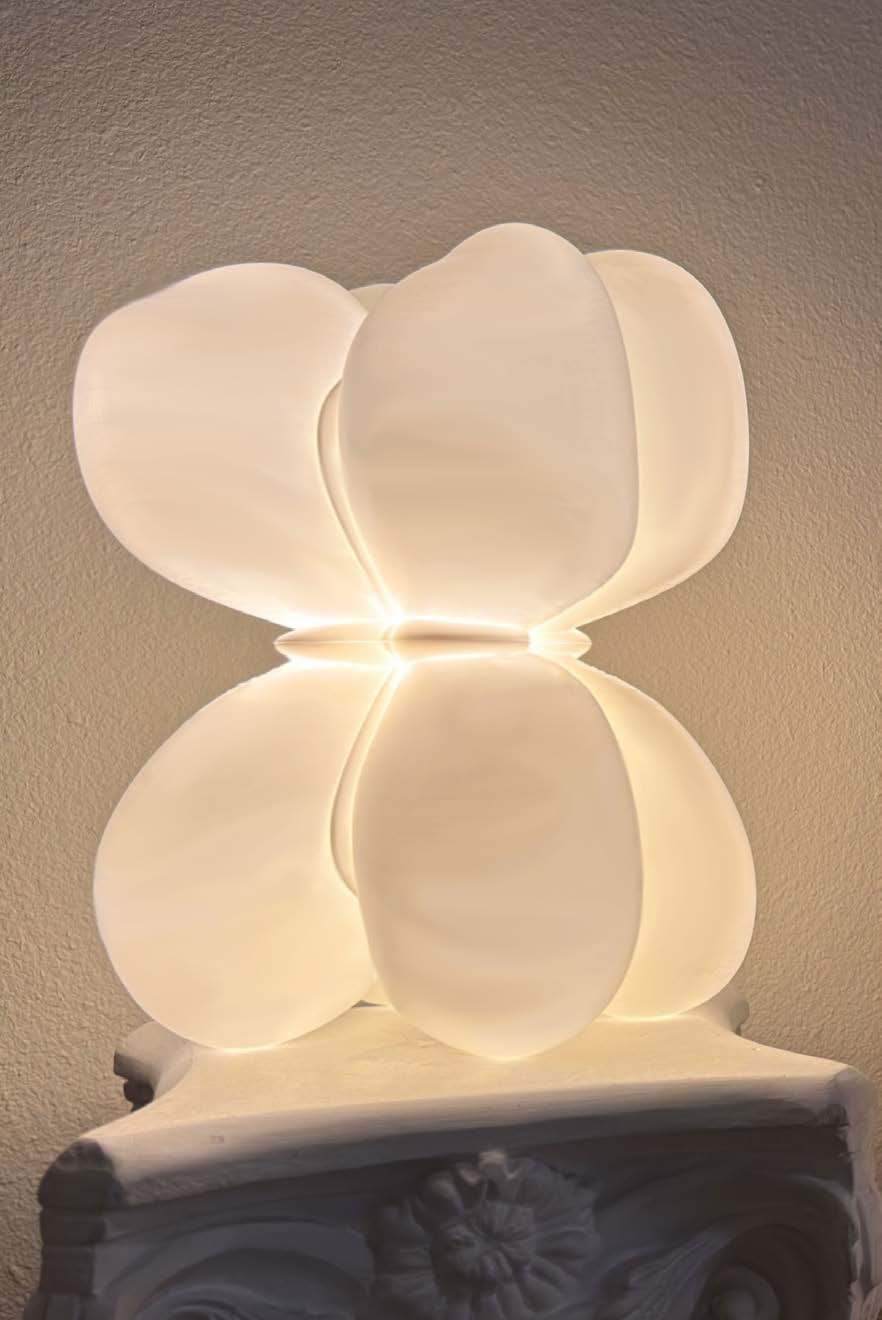
The concept culminates in a system of constraint and expansion. The glowing spheres, modeled to look like swelling volumes of pressurized light, push outward against the structure. In contrast, the rigid, concentric bands act as the restrictive force—mimicking the gravitational pull that warps space. The bands literally and visually compress the ‘bulbs,’ creating a silhouette that feels like it is constantly struggling to maintain its shape against the internal pressure of the illumination.
Records of 3D Printing Progress
Initially, the fabrication strategy focused on resin (SLA) printing to achieve a smooth, monolithic surface. However, the design process revealed that the internal logic of the print was just as critical as the exterior shell. I transitioned to filament (FDM) printing because it offered granular control over internal parameters. Specifically the infill density and pattern. By manipulating these variable settings, I was able to solve diffusion challenges that resin could not address, using the internal geometry of the print to sculpt the light from within.
Section of FIrst Full Size Print
First Third Scale Filament Print
Exploration in Lamp Connection
Complete First Full Size Print
First Thrid Scale Resin Print
First Lamp Kit Connection
Testing Material Colors
Designer. Haley Czeschin
Designer. Haley Czeschin
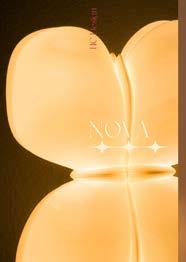
NOVA
Architectural
Concept
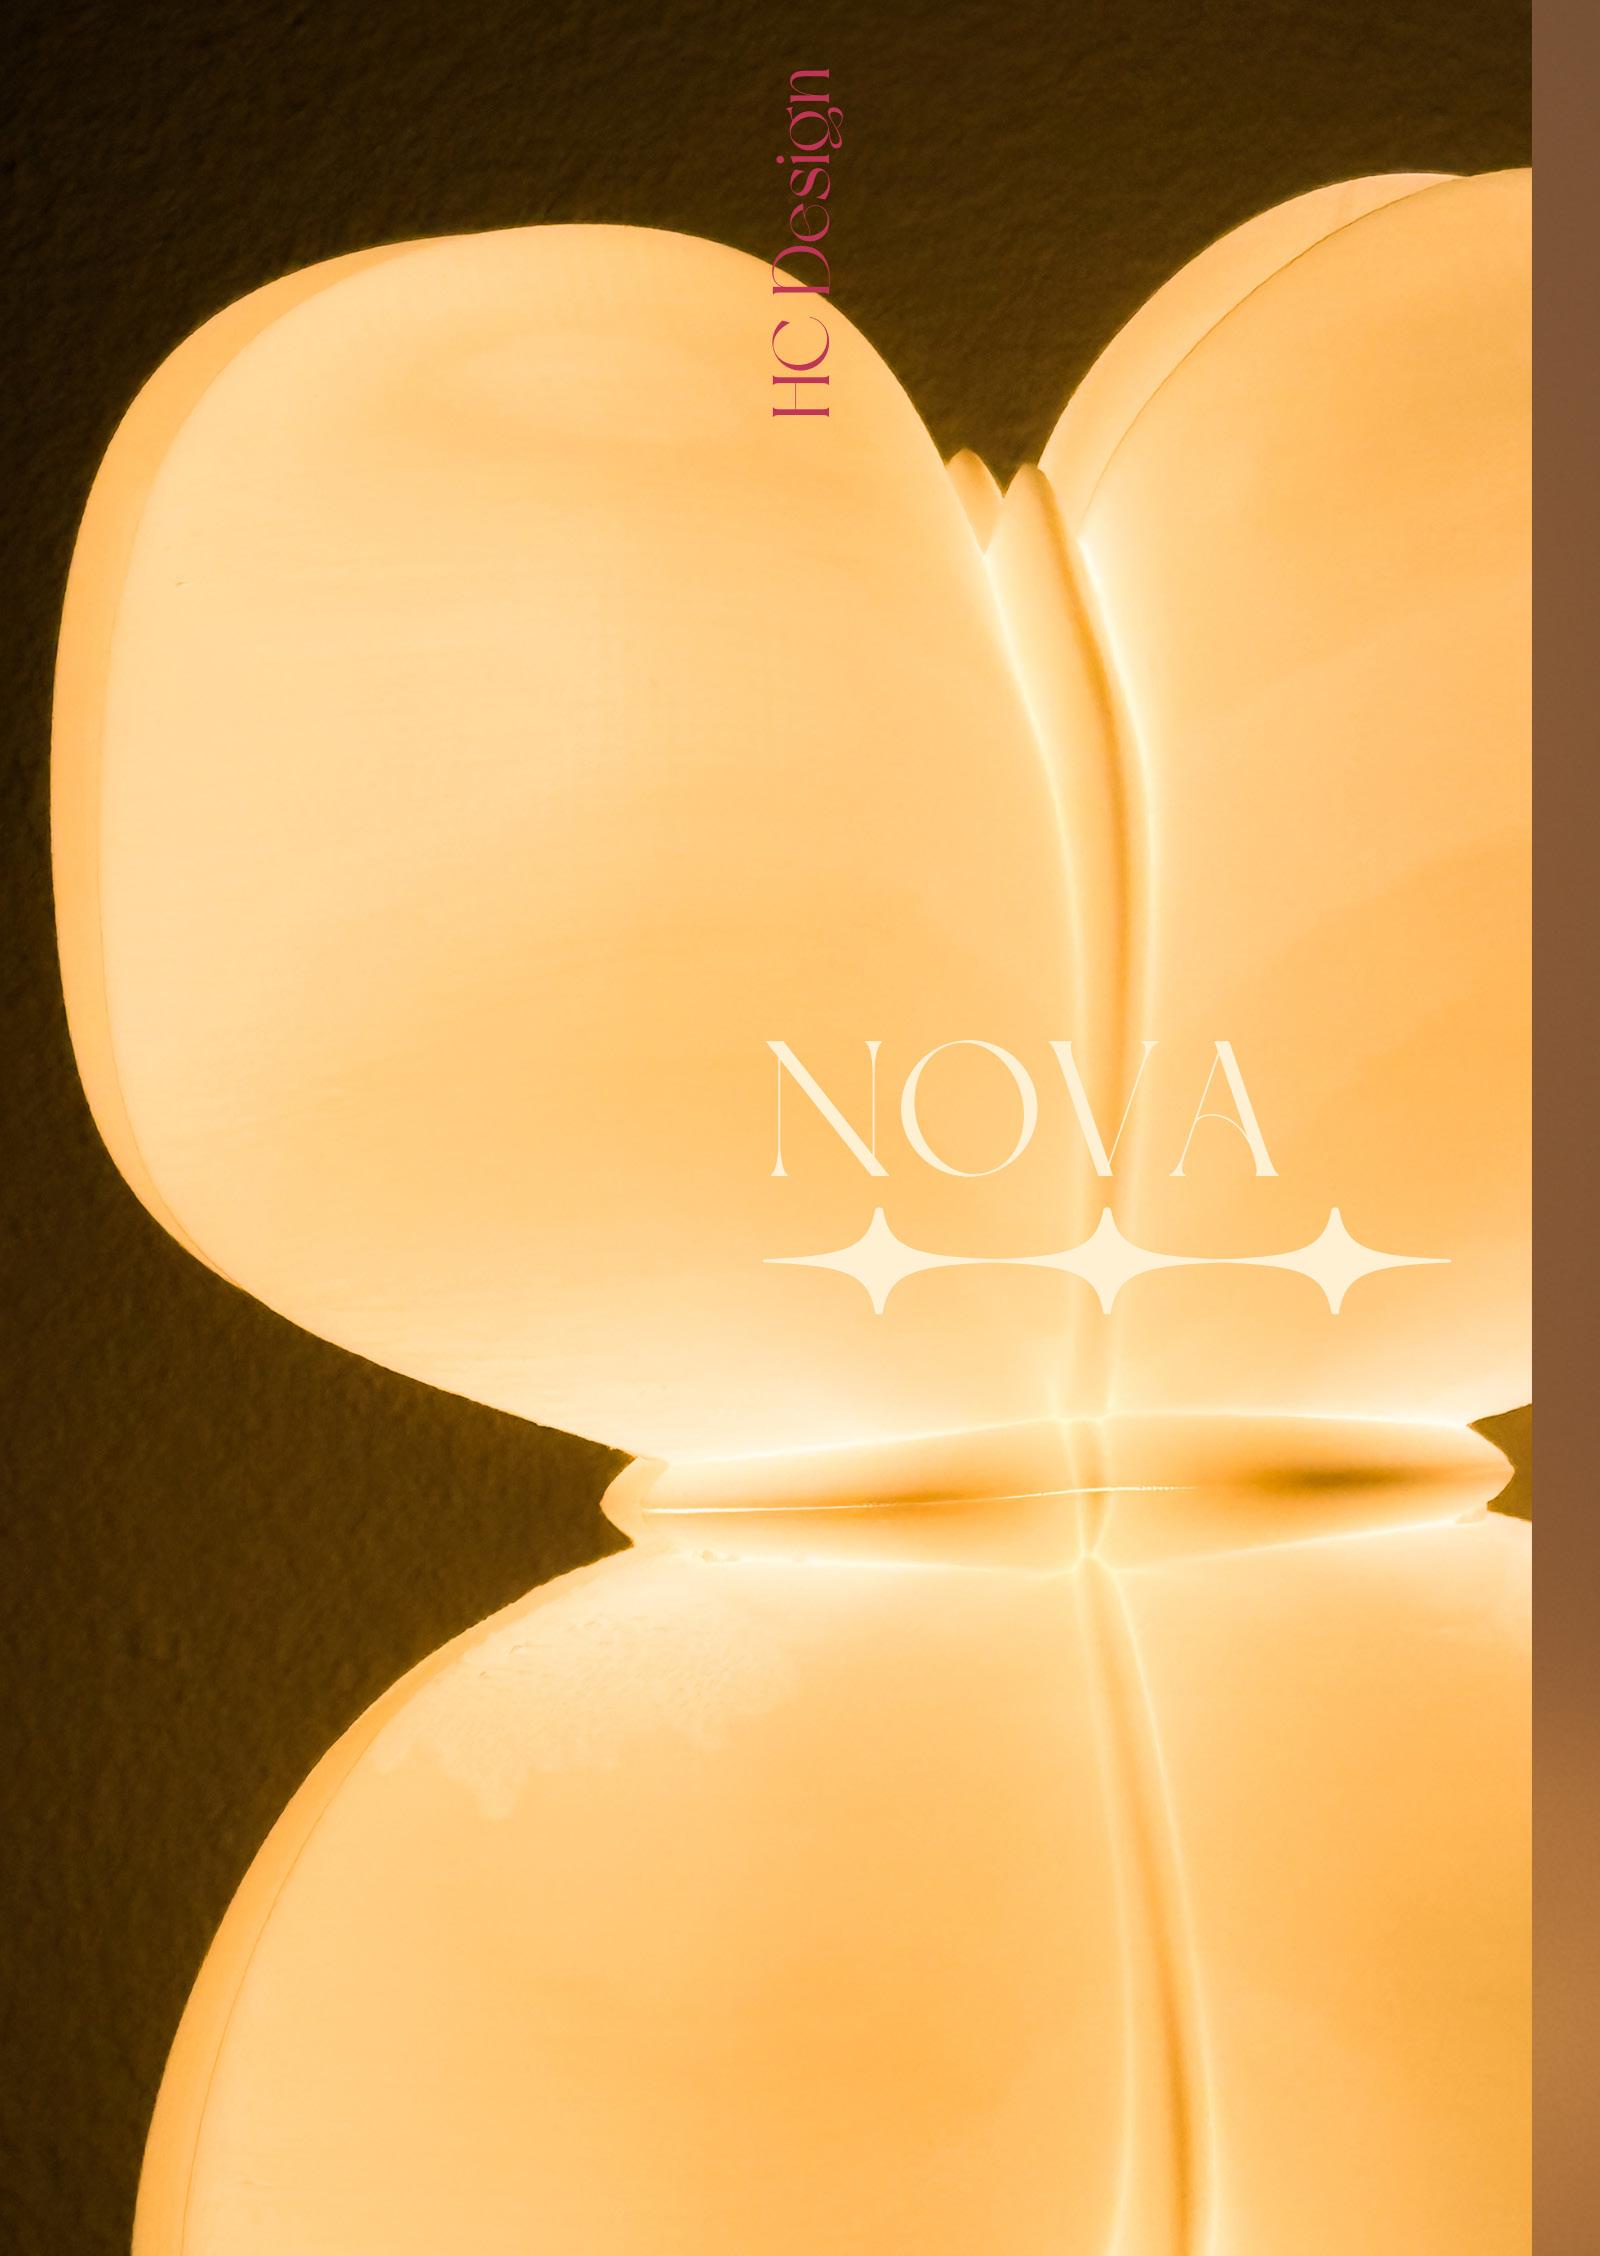
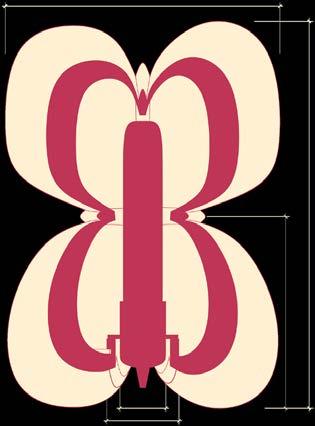
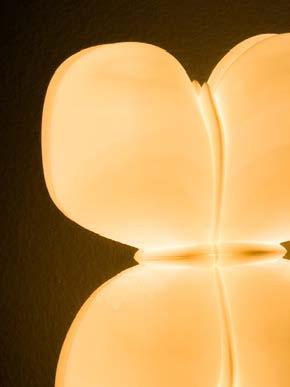
Drawing inspiration from the silence of space and the visual distortion of gravitational lensing, this luminaire explores the tension between light and void. The form mimics the event horizon of a black hole or the corona of a solar eclipse, where light is not merely emitted but warped and sculpted by geometry. The matte white surface acts as a canvas for this interaction; deep creases function like gravitational ripples, trapping and diffusing the illumination into a soft, nebulous glow. The lamp captures the drama of these celestial phenomena, transforming the raw physics of the cosmos into a quiet, tangible atmosphere for the interior.
DESIGNED FOR WONDER
BRAND VALUES
SCULPTURAL ETHEREAL
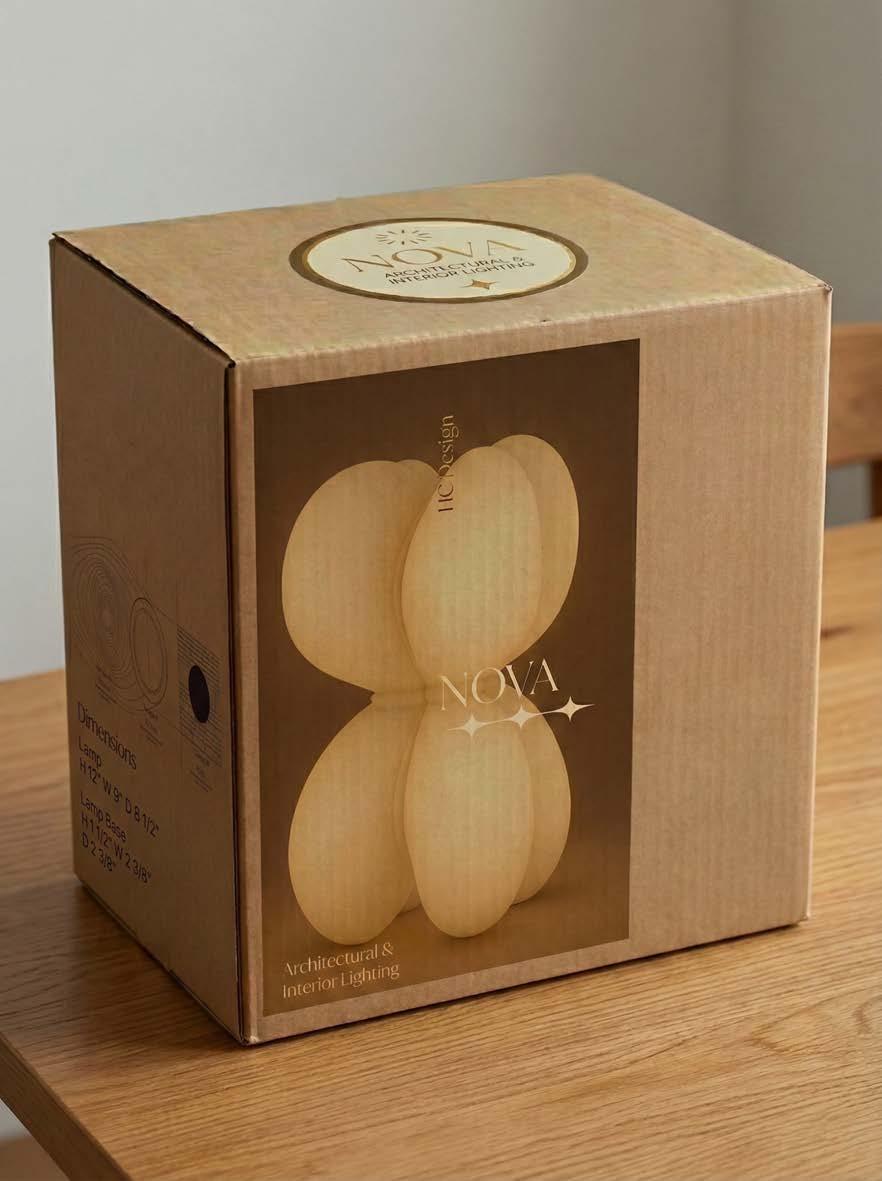
Dimensions
Lamp
H 12" W 9" D 8 1/2"
Lamp Base
H 1 1/2" W 2 3/8"
D 2 3/8"
Materials
BAMBU Labs PLA White Matte
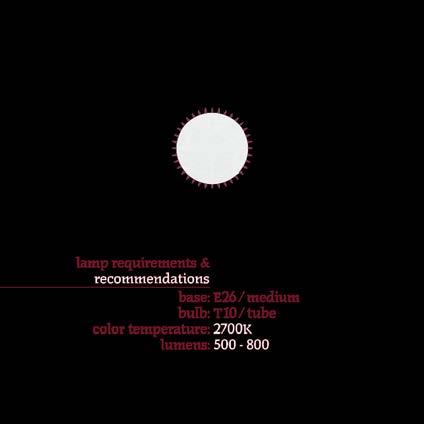
Recommended Blub Soft White - 2700K
T10 Bulb
800 Lumen
LED
Fabricated using FDM technology with Matte White PLA, the lamp‘s shell is printed as a continuous, single material volume. The unique diffusion is achieved through the geometry of the print itself; the varying depths of the crease manipulate th e opacity of the material. The assembly relies on a custom-designed, 3D-printed locking ring mechanism at the abse. This threaded component secures the standard lamp kit to the shell without need for visible hardware or adhesives, maintaing the purity of the form.
Specifications
The notch on inside the lamp allows the lamp kit to perfectly fit in a bayonett lock mechinism.
- Design of a highly in�mate object like a lamp requires a different approach from designing space and architecture. I have a new apprecia�on for designers that can nego�ate the complexity in dis�lla�on. To transform a conceptual, ethereal idea into a physical object is an aspect of design I have less experience in, but this exercise has taught me a great deal in designing at a human scale.
Series of Product and Business Branding Packages
- I am curious to learn more about produc�on and branding packages now. It is different from presen�ng to a panel of jurors in that I feel that I have the agency to design for specic people. Some�mes architecture can feel a bit disjointed from the human scale because it requires a great level of a�en�on to a broad scope of work. My work on this lamp has allowed me to shi� to focusing on the individual, and I hope to reect an in�mate rela�onship with the branding of my project.
Process of Package and Exhibi�on prepara�on
- The package design of my project took a few different forms. I think that this was a part of the exercise that I spent less �me on. If I were to take on another project like this I think that I would try to work on some of the graphics and packaging in tandem with the design. I think that a workow like that would push me to keep rening the conceptual aspects of the project as I develop the technical sides of it.
Series of Process Book Making
- I enjoy documen�ng my work in a way that requires a reec�on of the project. It is a way for the project to live on, and even if I fail to take in to account every detail of it, if I can extract the most important points of the exercise then coming back to the project later becomes more reasonable.
Overall
- I hope that from this class I can take away greater skills in designing for the individual on a hyper-detailed, in�mate scale. My tendency is to work on a broader, more expanded scale when designing, and integra�ng some of the intui�on I have developed in this class into my design work in studio or beyond I think will help develop richer, more complete spaces.
If you could talk to you before the beginning of the semester, what would you like to share with you?
- I would tell myself to work on eshing out the details and rening the engineering side of the lamp, but to also put more �me into the branding and in developing the conceptual side of the project. Some of the essence of the lamp I think is lost in the packaging, so spending more �me with that would help it communicate be�er.
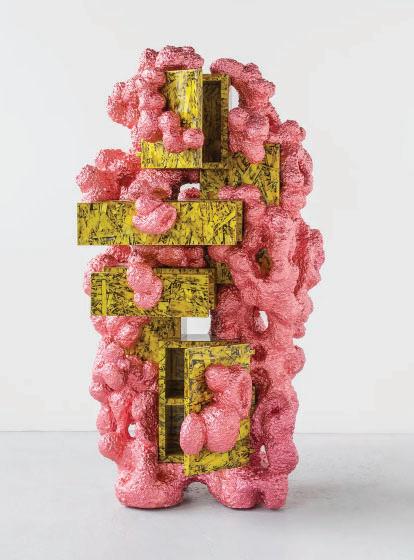
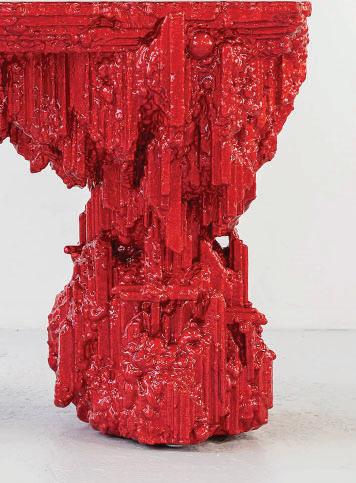
Shuddering Cabinet, Chris Schanck
Pomegranate Gro o Console, Chris Schanck
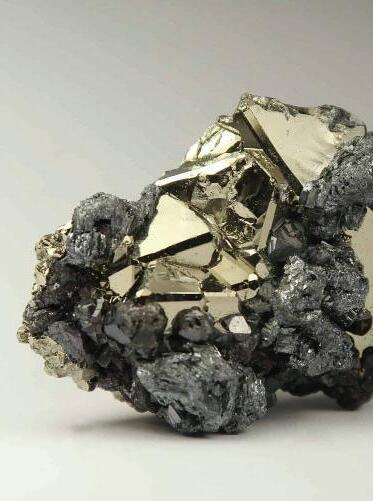
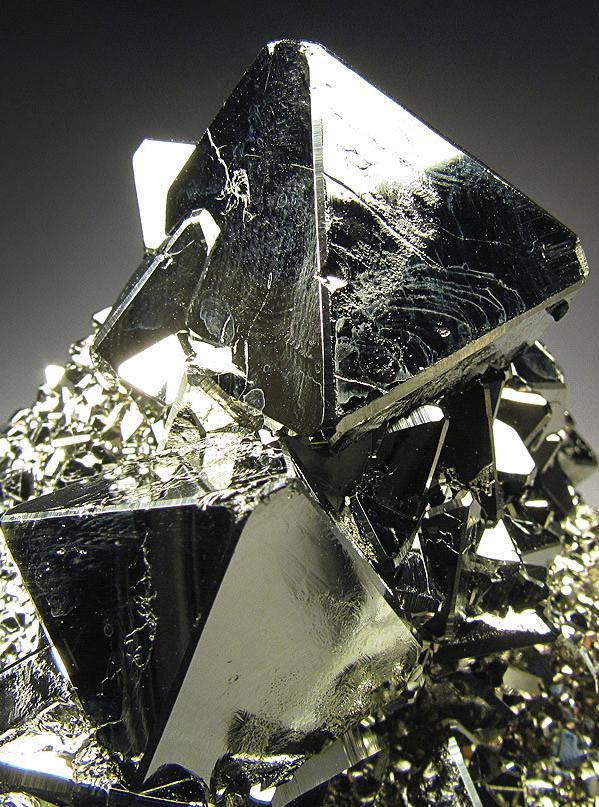
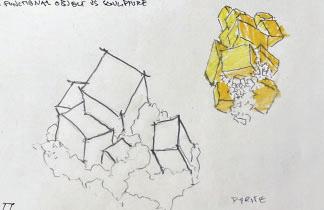
Pyrite Crystal
Pyrite Crystal
RESPOND 2
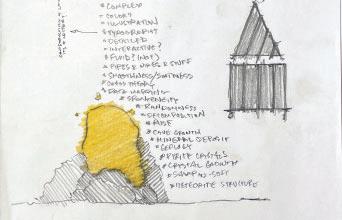
Sketches
Final Luminaire Concept Narra ve,
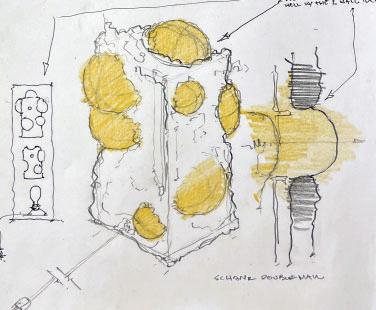
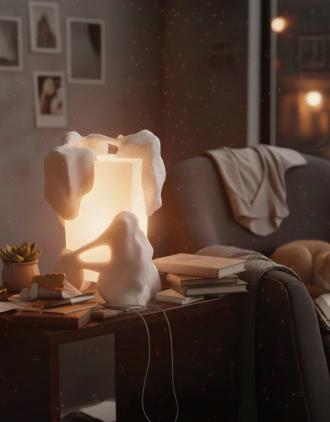
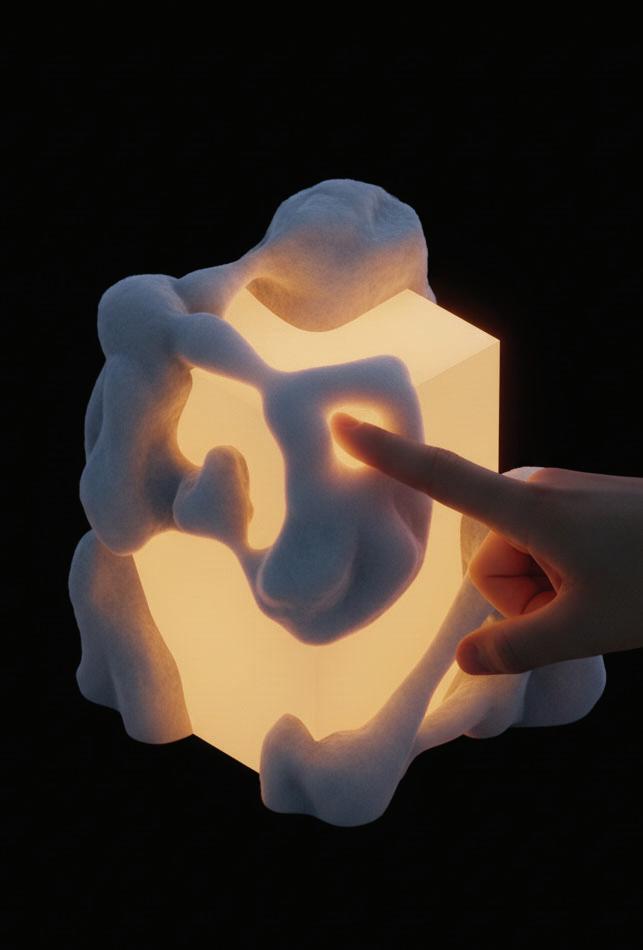
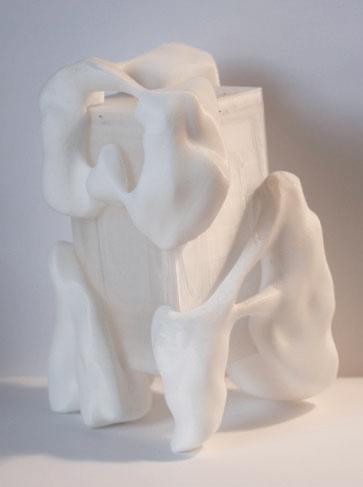
The purpose of ‘contact’ is to create a luminous object that invite closeness. Ligh ng that doesn’t just illuminate space, but becomes a presence within it. It was conceived out of curiosity in symbio c and parasi c rela onships between objects. Two dis nct components interac ng in a way that invites closer examina on. Ambiguity in whether the mass is emana ng out of the prism or surrounding it is inten onal.
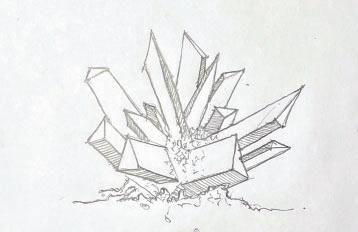
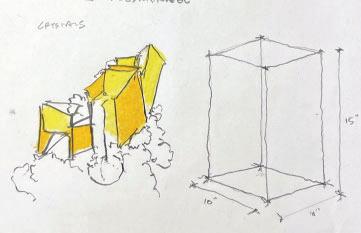
Preliminary sketches explored crystalline structures, fungal growths, and sculpted forms. Chris Schank’s work in furniture and domes c objects was a huge inspira on in determining how the two components physically react to one another. By allowing the prism to exist as a simple prism, the addi onal masses can be freely sculpted and formed. The purity of the inner shape informed how playful the mass could be.
The inner prism is 3D printed from translucent petg filament and takes approximately 14.25 hours to print. The masses are printed from pla filament and all together take approximately 15.5 hours. There are 6 layers of filament in the walls of the prism, and to produce a quality light level the luminaire utilizes a 500 lumen LED bulb. Post processing and assembly of a completed lamp takes approximately 1 hour. The price of each lamp including packaging and shipping costs is $385.
prism height - 190.0 mm
prism width - 104.5 mm
luminaire height - 258.5 mm
luminaire width - 185.5 mm
luminaire depth - 201.0 mm
contact
The purpose of ‘contact’ is to create a luminous object that invite closeness. Lighting that doesn’t just illuminate space, but becomes a presence within it. It was conceived out of curiosity in symbiotic and parasitic relationships between objects. Two distinct components interacting in a way that invites closer examination. Ambiguity in whether the mass is emanating out of the prism or surrounding it is intentional.
Preliminary sketches explored crystalline structures, fungal growths, and sculpted forms. Chris Schank’s work in furniture and domestic objects was a huge inspiration in determining how the two components physically react to one another. By allowing the prism to exist as a simple prism, the additional masses can be freely sculpted and formed. The purity of the inner shape informed how playful the mass could be.
The inner prism is 3D printed from soy-based resin and takes approximately 6.25 hours to print. The masses are printed from pla filament and all together take approximately 15.5 hours. The walls of the prism are 3.5 mm thick, and to produce a quality light level the luminaire utilizes a 500 lumen LED bulb. Post processing and assembly of a completed lamp takes approximately 1 hour. The price of each lamp including packaging and shipping costs is $385.
Prism height - 190.0 mm
Prism width - 104.5 mm
luminaire height - 258.5 mm
luminaire width - 185.5 mm
luminaire depth - 201.0 mm
luminaire weight -
John Blake
GERLING Portfolio
JORDAN
What I learned
Process of Table Lighting Design
- Trial and error is required, design is an iterative process and 3D-printers don’t always work the way they should. My design ideas changed several times as I learned the constraints of the printers and the lighting hardware. All though it was a big time commitment, it became enjoyable as I developed and gained control of the design the further I went on.
Series of Product and Business Branding Packages
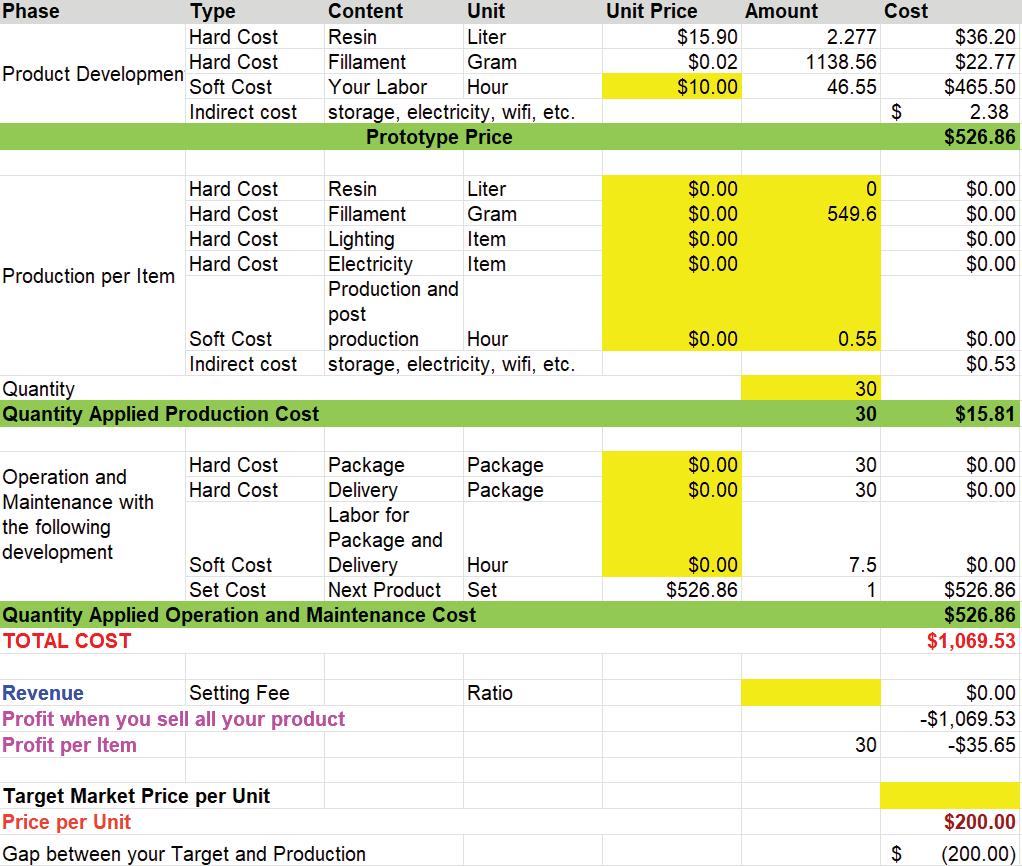
- This section of the course taught me arguably just as much as the design work. I liked the pricing spreadsheet break down for product development, setting fee ratio and quantity of manufacturing to establish a pricepoint for the lamp. The spreadsheets and business branding made some of the unknown aspects of selling boutique lights more tangible for me.
Process of Package and Exhibition preparation
- I learned that creating a physical packaging mockup, and trying to make it look as good as the version you photoshopped, is not very easy. If I do it again in the future, I am going to increase the dimensions of my box in every direction by ~1/2”.
Series of Process Book Making
- I enjoy the process of archiving/portfolio projects because it is always introspective for me to see the culmination of a project and see what I learned from it.
Overall
- I would consider myself lucky to make a living creating luminares using this method or other methods of fabrication.
If you could talk to you before the beginning of the semester, what would you like to share with you?
- Make sure the digital model you develop is actually scaled to the correct 3D-printer. I unfortunately had to learn this the hard way.
Initial Concept Narrative and Sketches
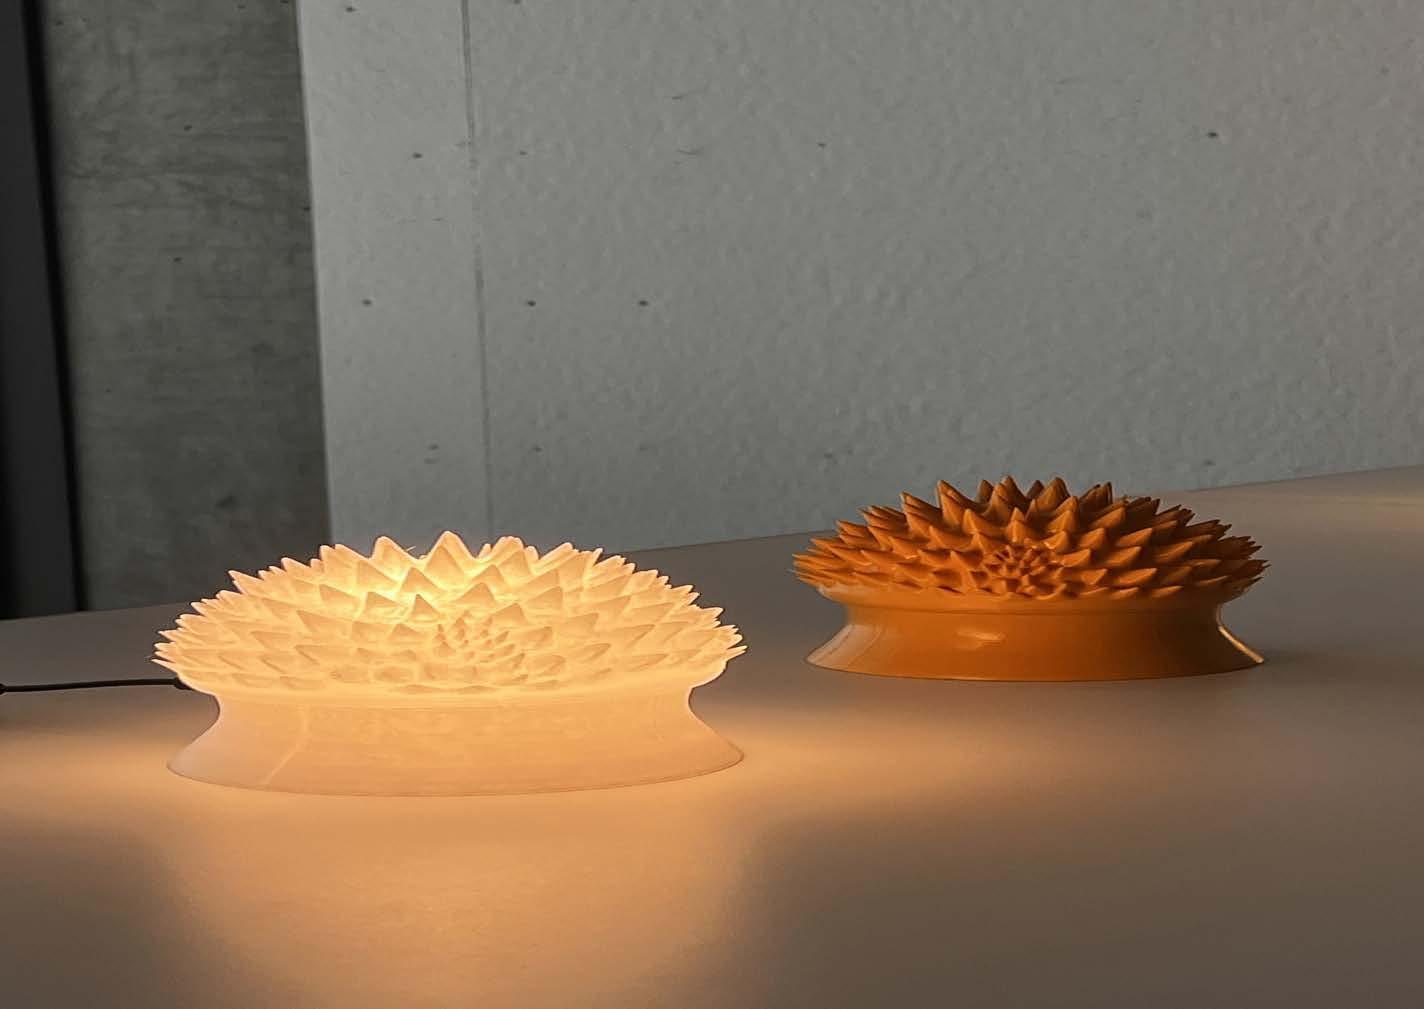
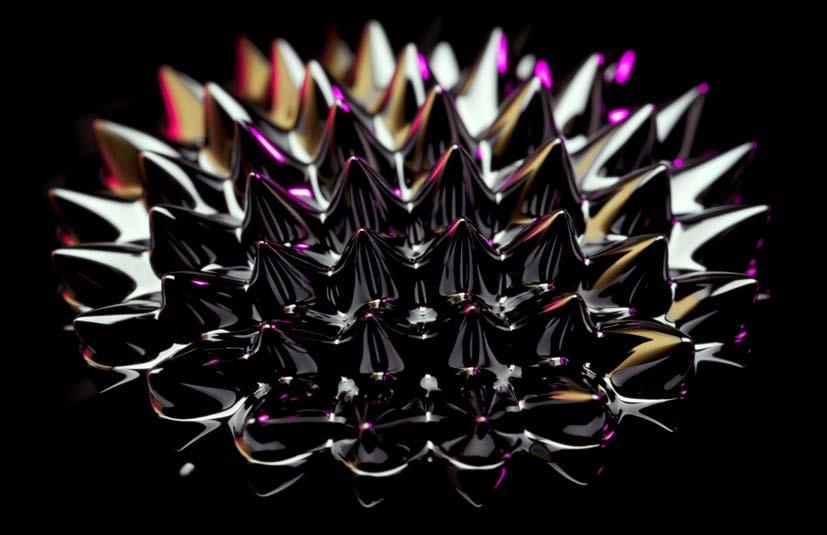
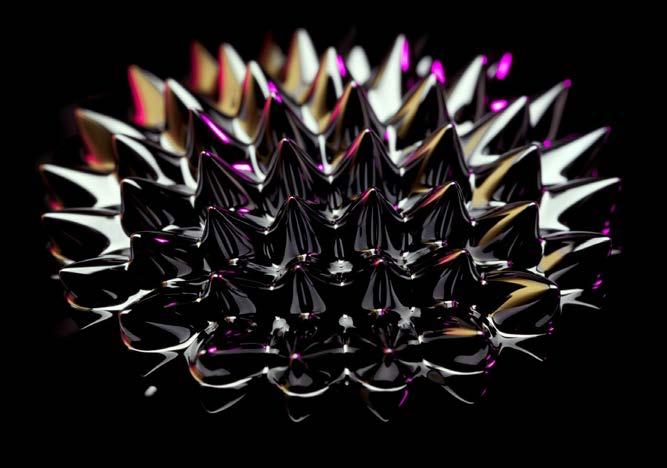
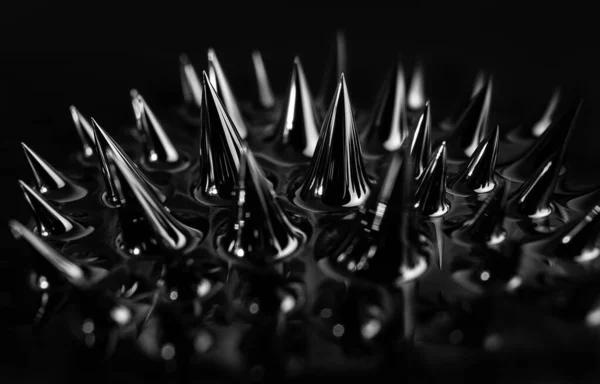
Although I spent a considerable amount of time towards my sketches and finding the best idea, I knew from the start that I wanted to do something ferro-fluid inspired. This idea progressed further in form in my sketches compared to the final lamp, however I am glad I went the route that I did.
Many early sketches were spent exploring themes, forms, patterns, and colors found in nature, math, and physics.
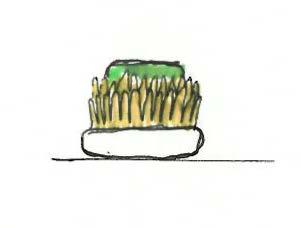
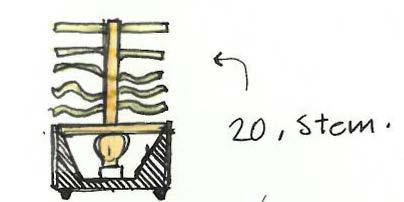
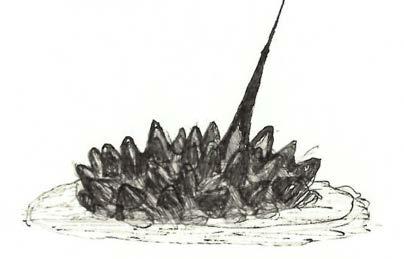
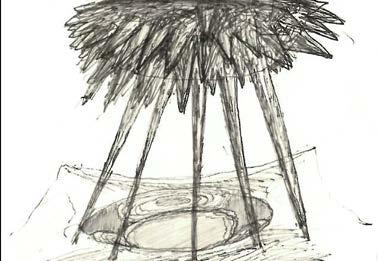
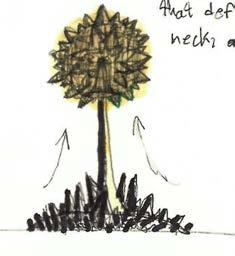
The sketches above are mostly bio-mimicry. The left image was exploring a coral-esque shape. The right image was an idea of ‘stems’ sprouting from a main light funnel.
At some point, I kept finding myself sketching ferrofluid being manipulated by a magnetic pull. I did this to try and define certain parts of the lamp (legs, base, shade, etc.) with an idea of a magnetic field creating the form of the lamp.
Referring to the last caption, this shows how a “magnetic base” would create long spandrel legs of ferrofluid. I ultimately strayed away from this idea because of how delicate thin members are when 3D printed.
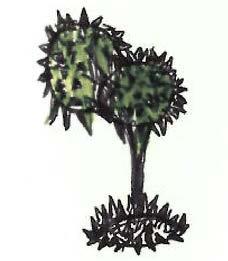
Same as prior drawing. I did not like this sketch as much because of the second sphere.
“magnetic shade” creates a light orb that defines the shade from the base.
Refined Concept Narrative and Sketches
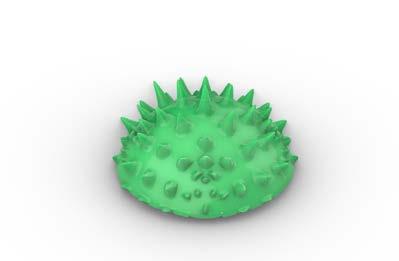
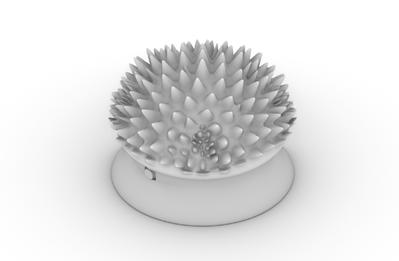
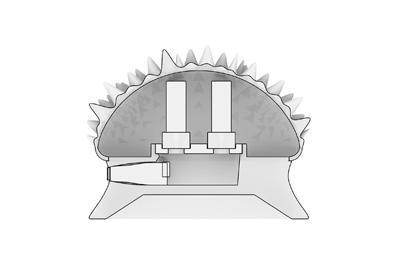
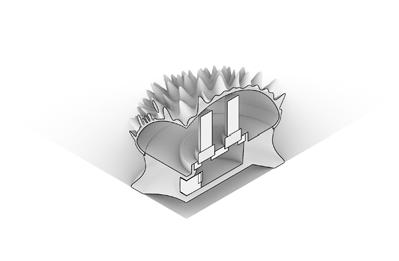
When starting the model, I was very intimidated with the complexity of modelling a ferrofluid. While the process was time consuming, it was not as difficult as I had expected. The process consisted of creating a SubD sphere, halfing it, pushing/pulling the spikes into place, and SubD stitching the entire surface together. After I had my finalized lamp shade, I simply designed the base around the geometry and the constraints of the light hardware.
EARLY SHAPE BUILDING OF LAMP-SHADE
PROGRESSED SHAPE MODELLING
FINAL REVISIONS OF SHAPE & BASE
SECONDARY DESIGN,GONE BUT NOT FORGOTTEN
MODEL FACES ARE EACH SEPERATE SUBD’S HERE
PROTOTYPE AXON
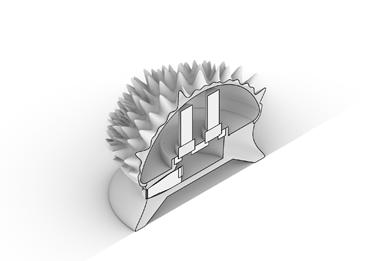
LAMP PROTOTYPE SECTION
PROTOTYPE AXON
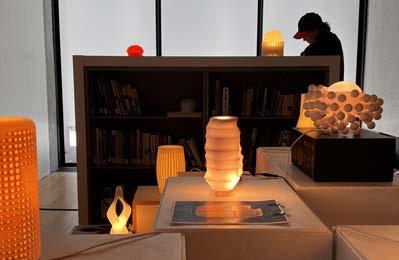
STUDENT LAMP EXHIBITION
TRANSLUCENT PETG & POLISHED ABS
POLISHED ABS
TRANSLUCENT PETG
POLISHED ABS
TRANSLUCENT PETG & POLISHED ABS
POLISHED ABS
Gemini AI generated Image, lamp details unchanged.
Gemini AI generated Image, lamp details unchanged.
Records of 3D Printing Progress
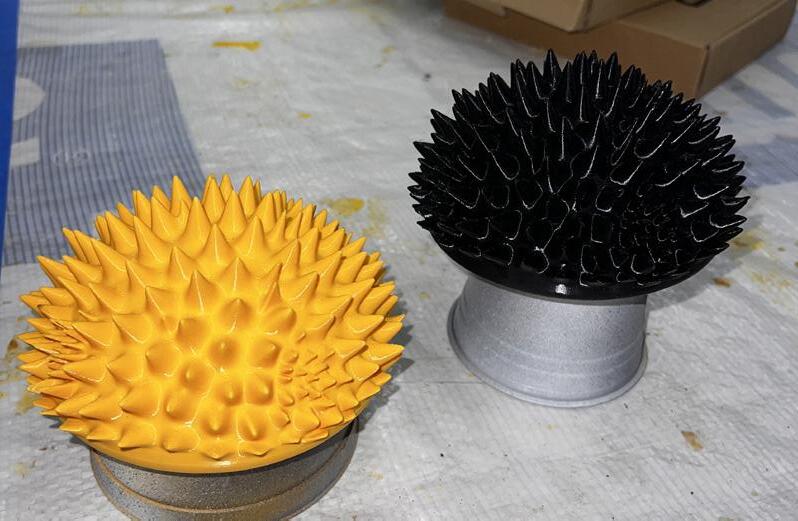
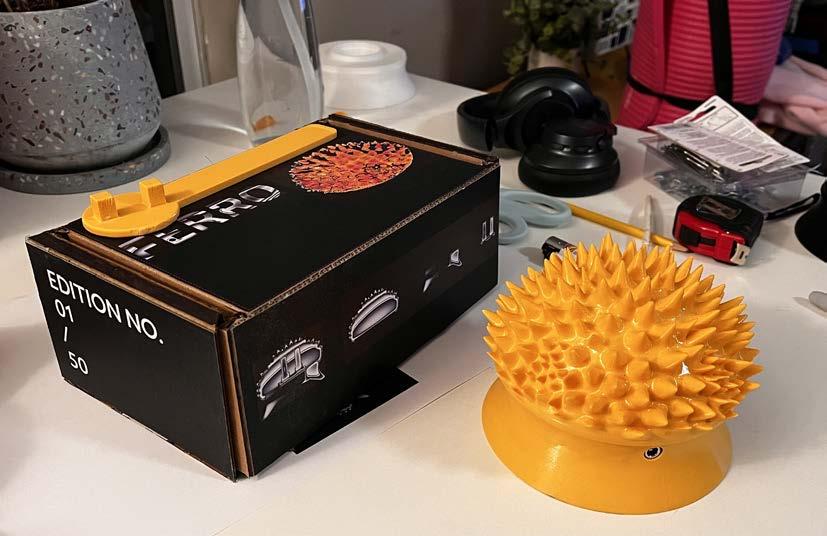
I originally set out to print this lamp using liquid resin, as I very much like the soft glow and smooth texture. However, as my design progressed in scale and complexity, I had to switch to filament-printing due to multiple consecutive resin-print fails. I actually came to appreciate the fdm printing because of the simplicity and availability of different materials and finishes. The topography lines of the shape that you get from the print layers actually enhance help the design in my opinion. Typically, I am not a fan of the layer lines from 3D prints.
1/3rd scale liquid resin print.
FDM printed bulb assembly mockup.
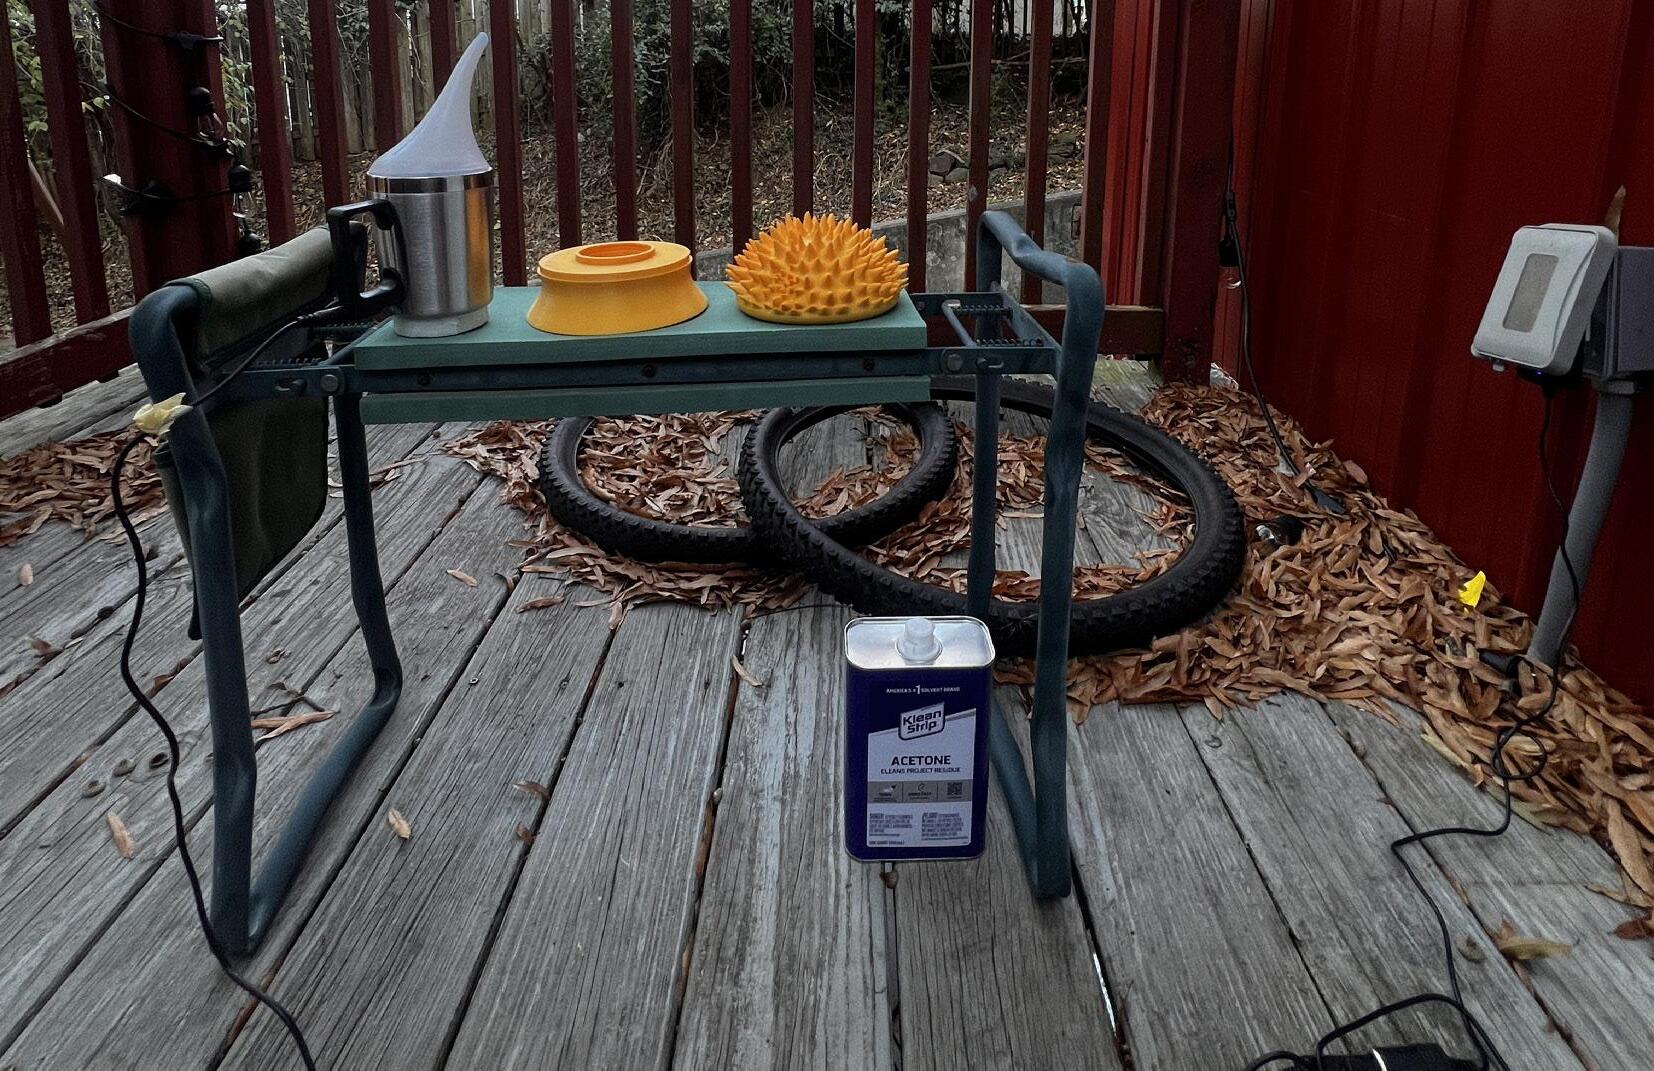
DIY acetone vapour polishing on ABS prototype. Please do not try this at home.
Full scale resin print attempt, I never had a successful resin print after this fail.
ABS shade prints, the black shade sadly is not translucent.
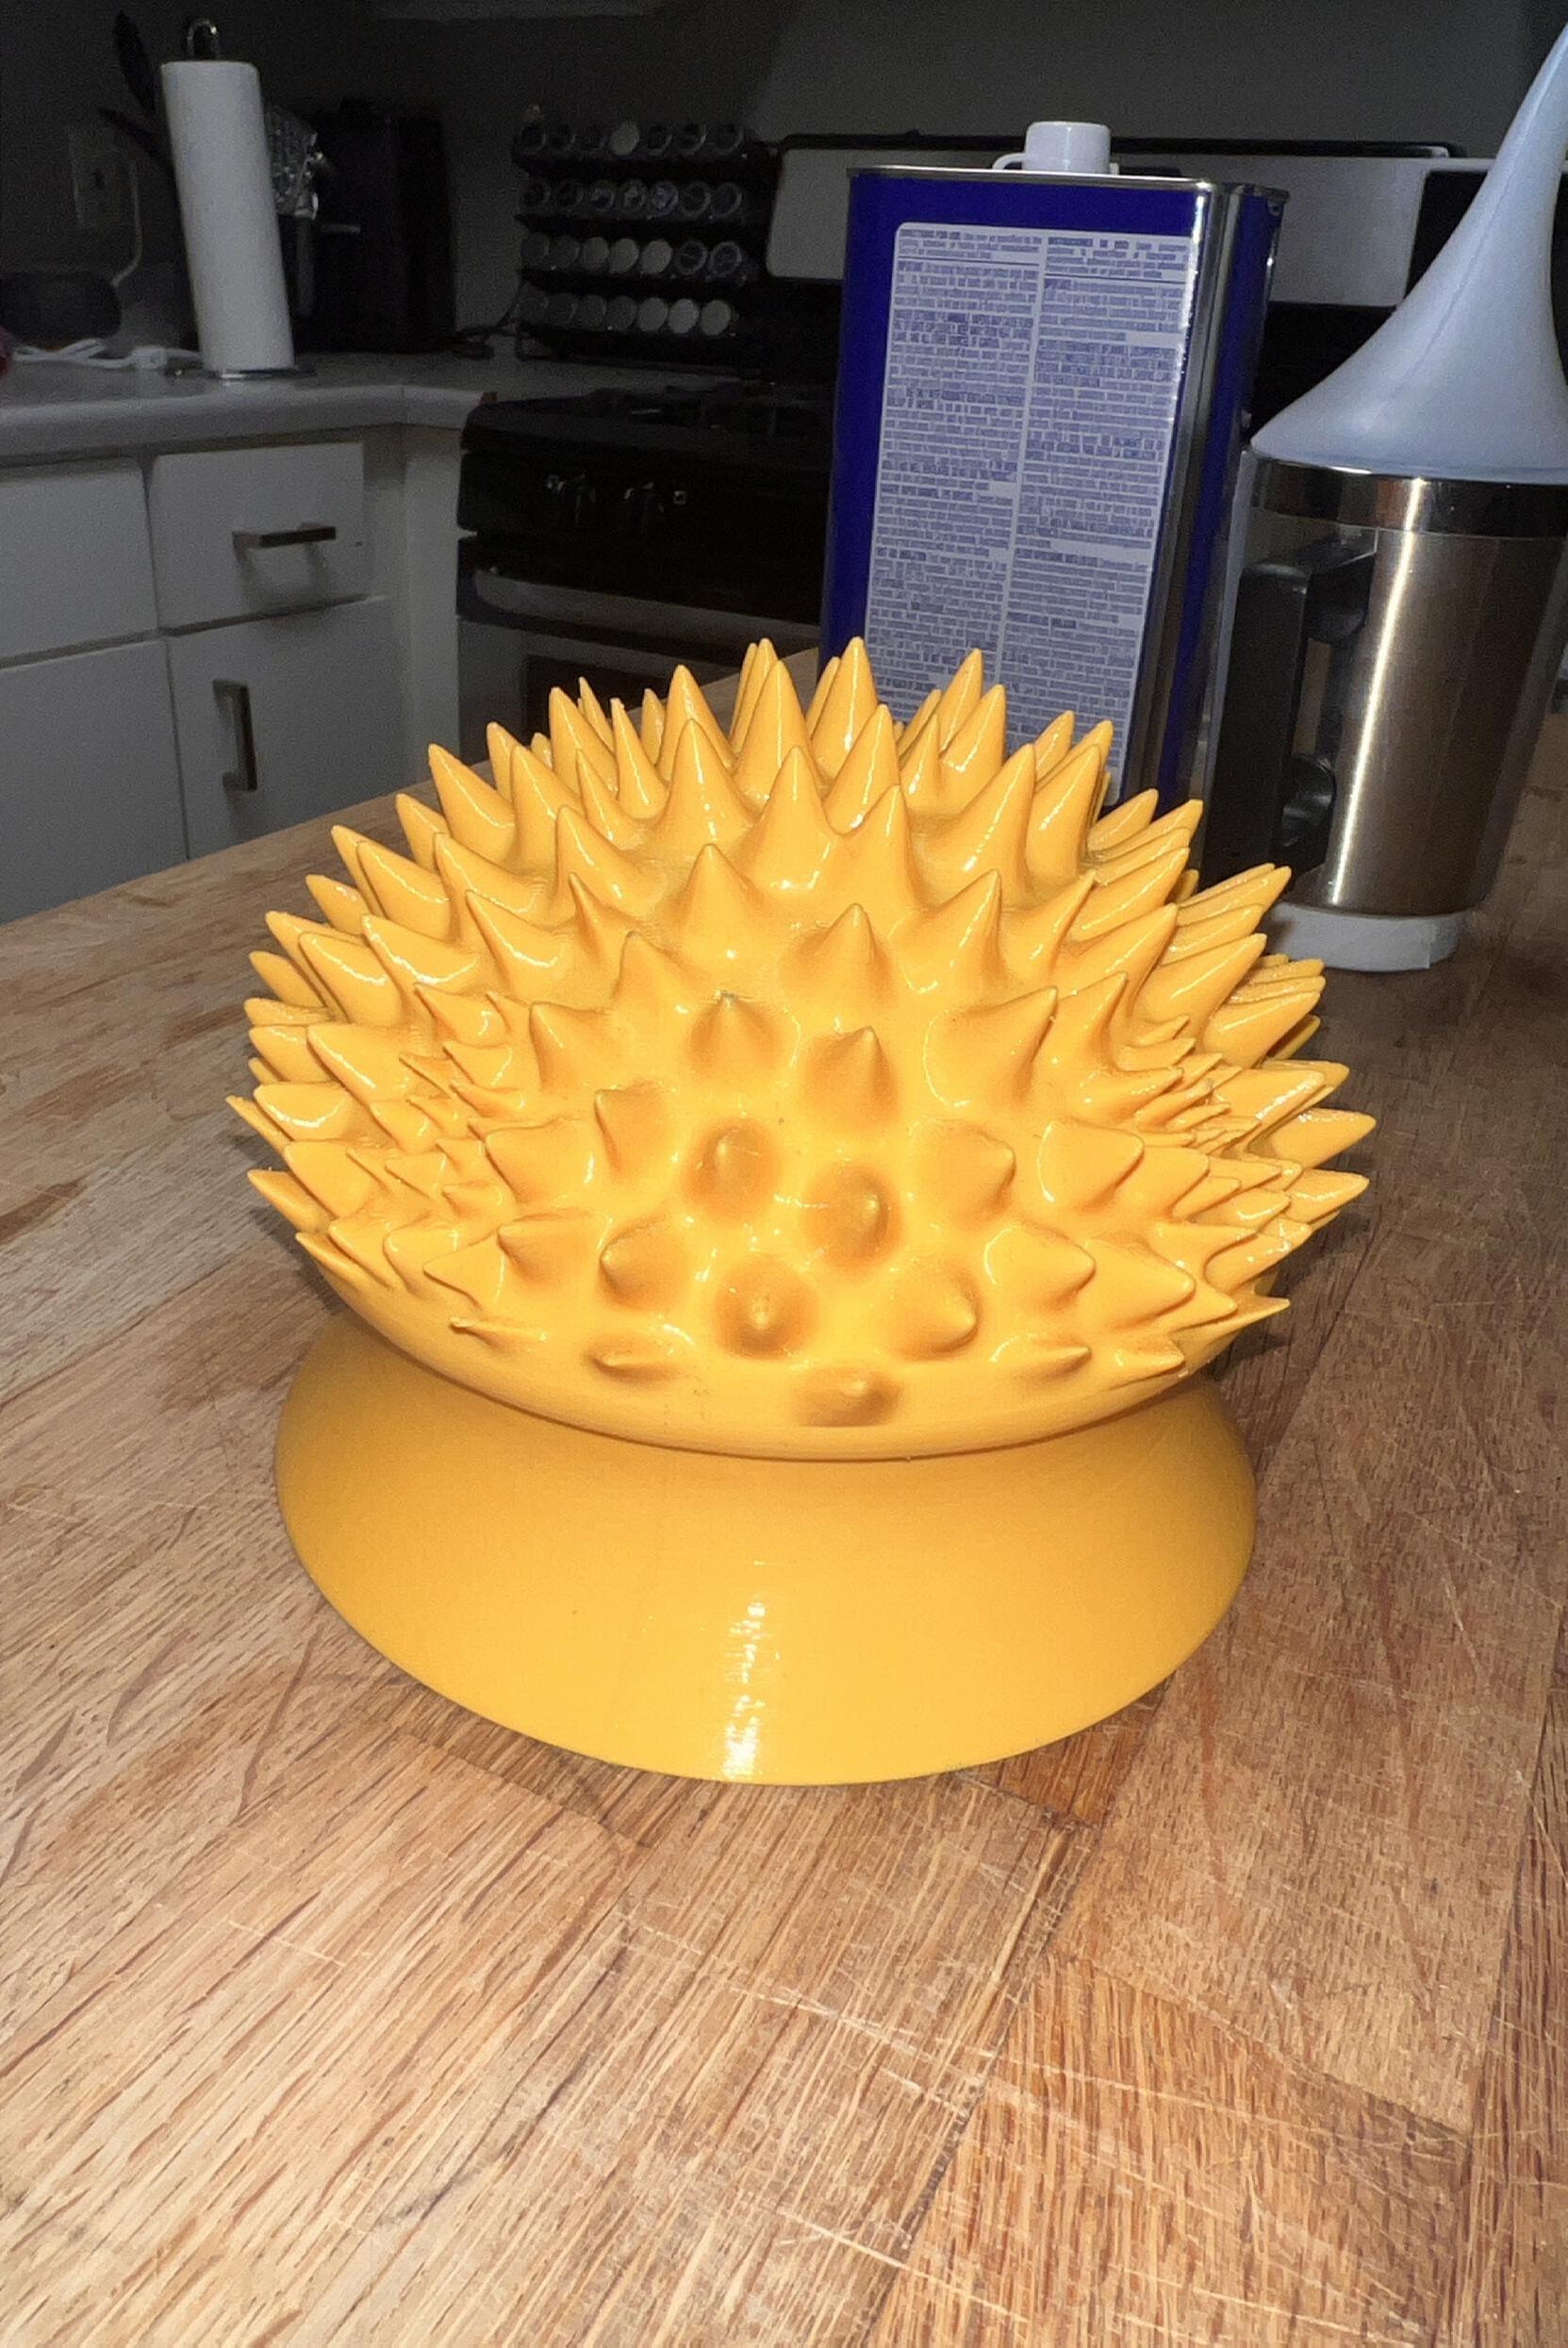
Finished result of acetone polishing. While the finish is not perfect, the material went from matte to very glossy without the need for any sanding.
GERLING, JORDAN
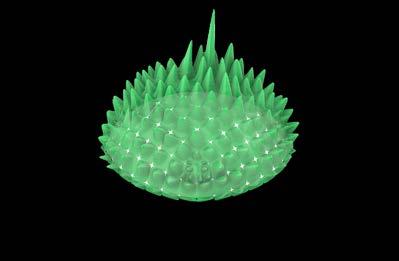
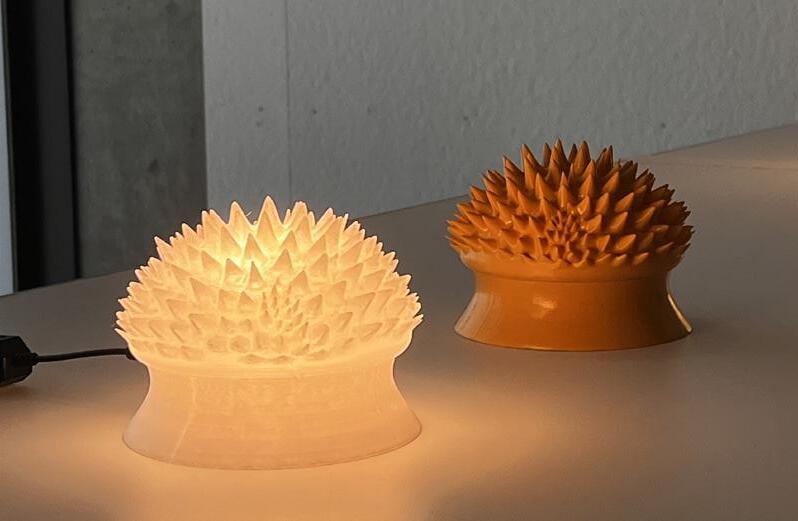
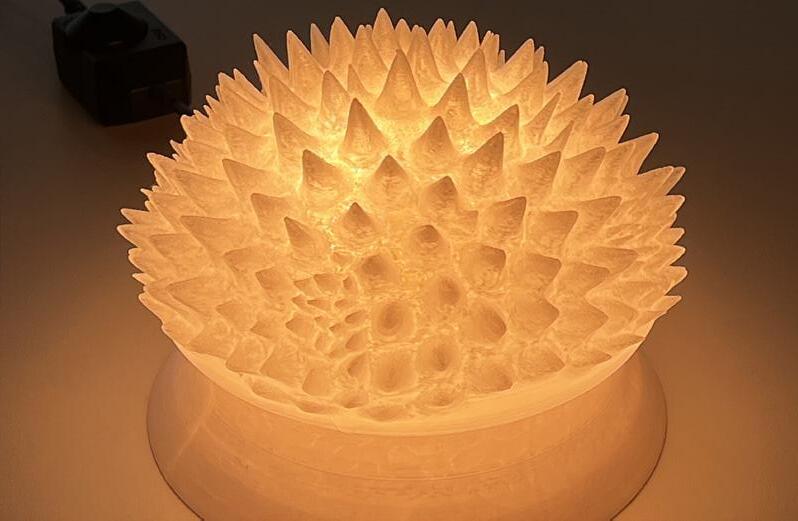
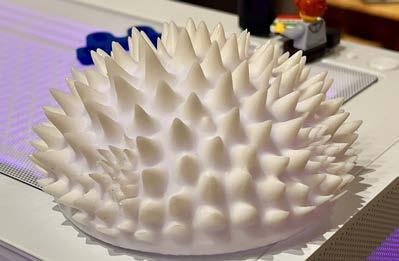
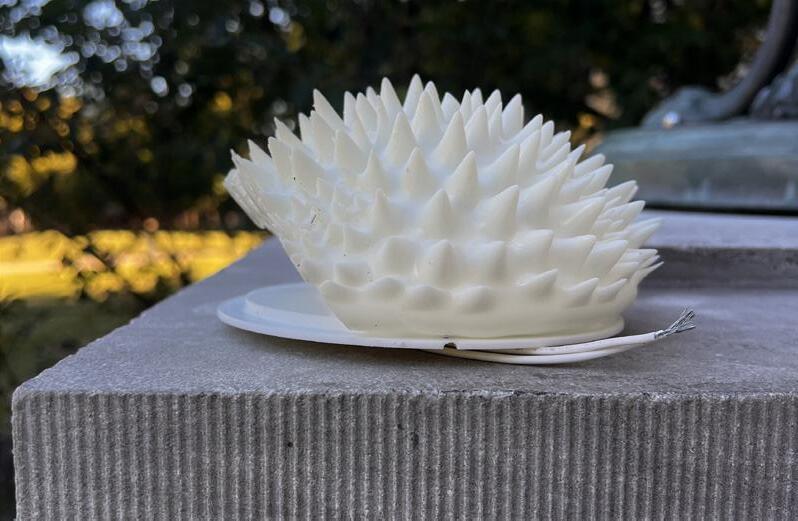
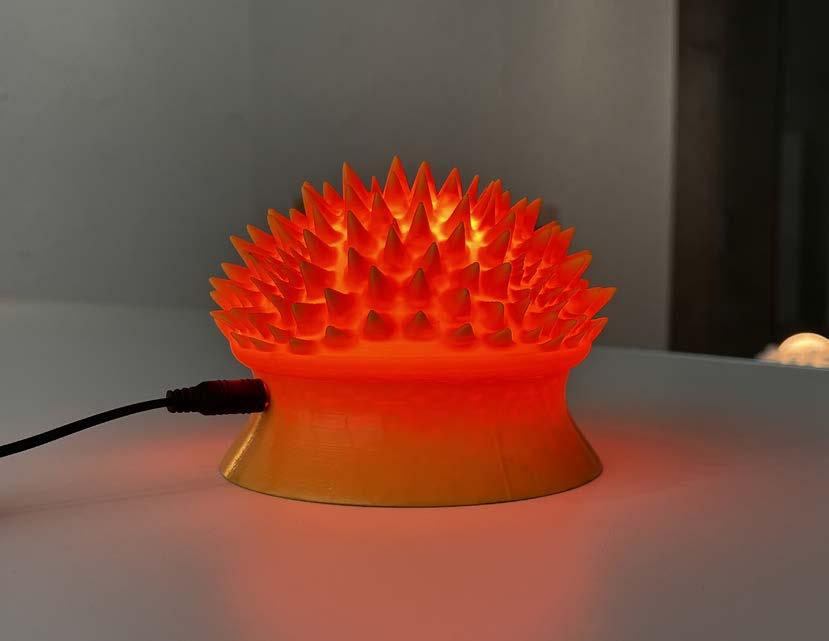
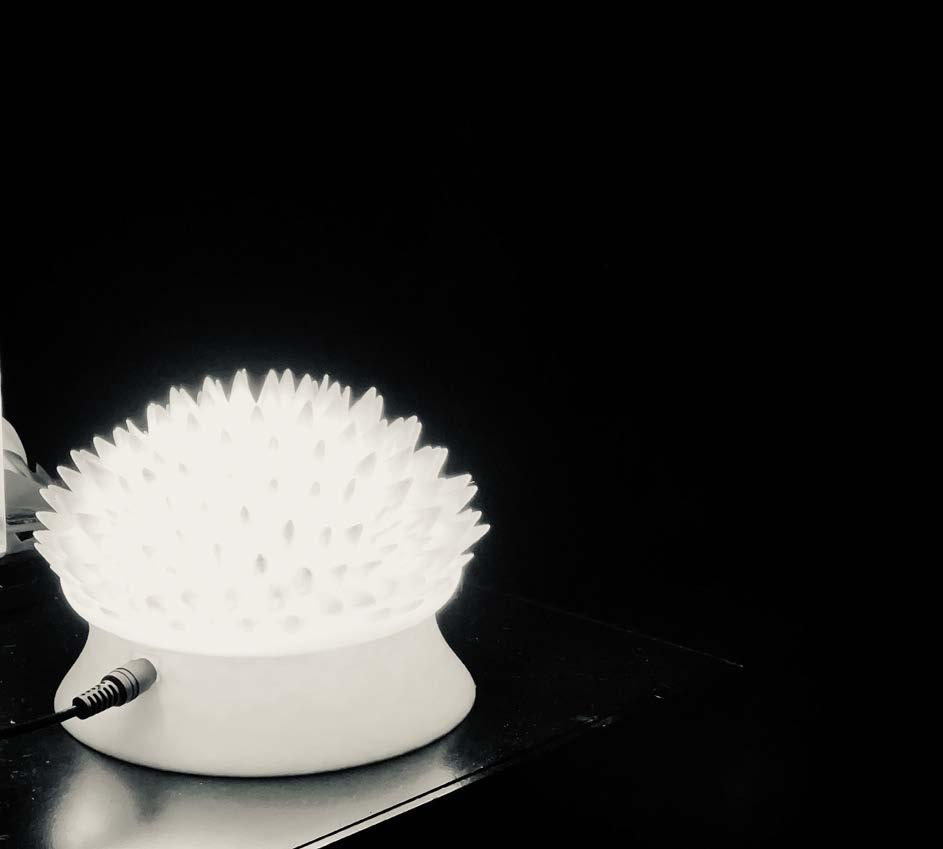
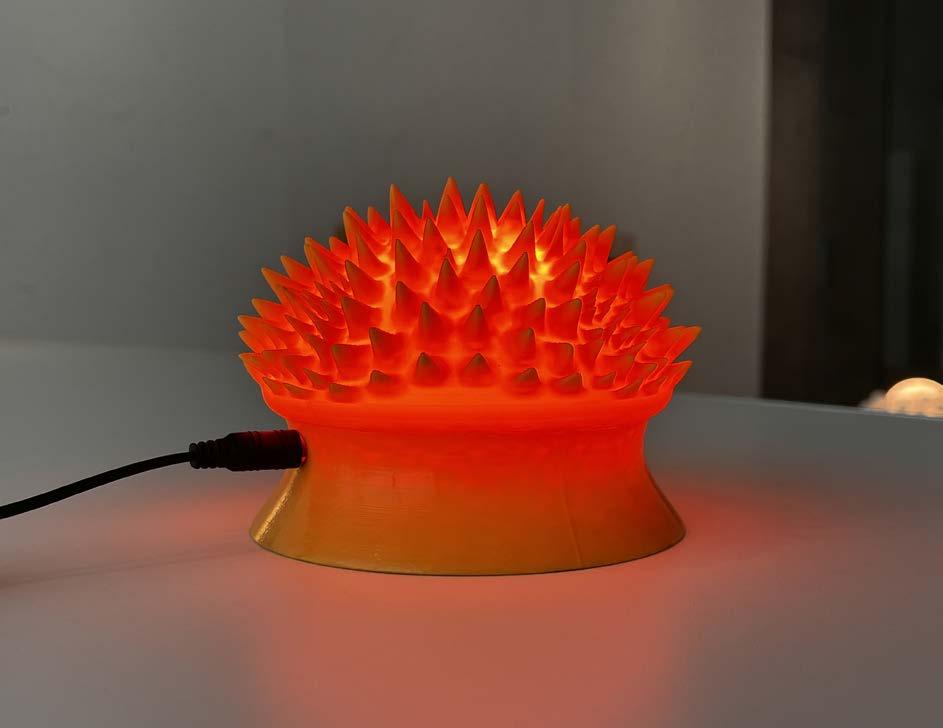
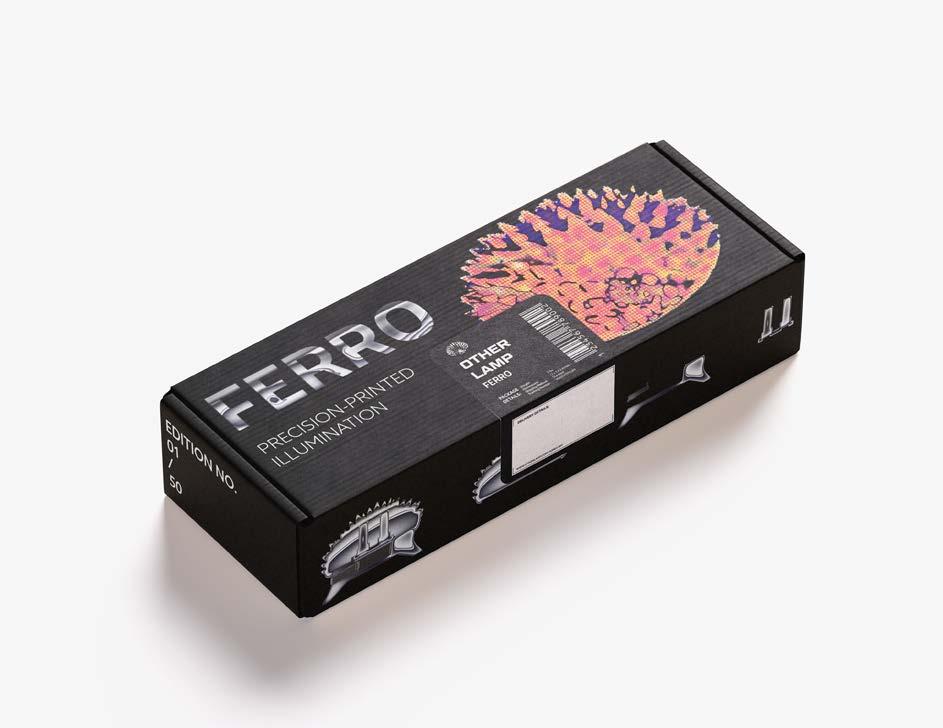
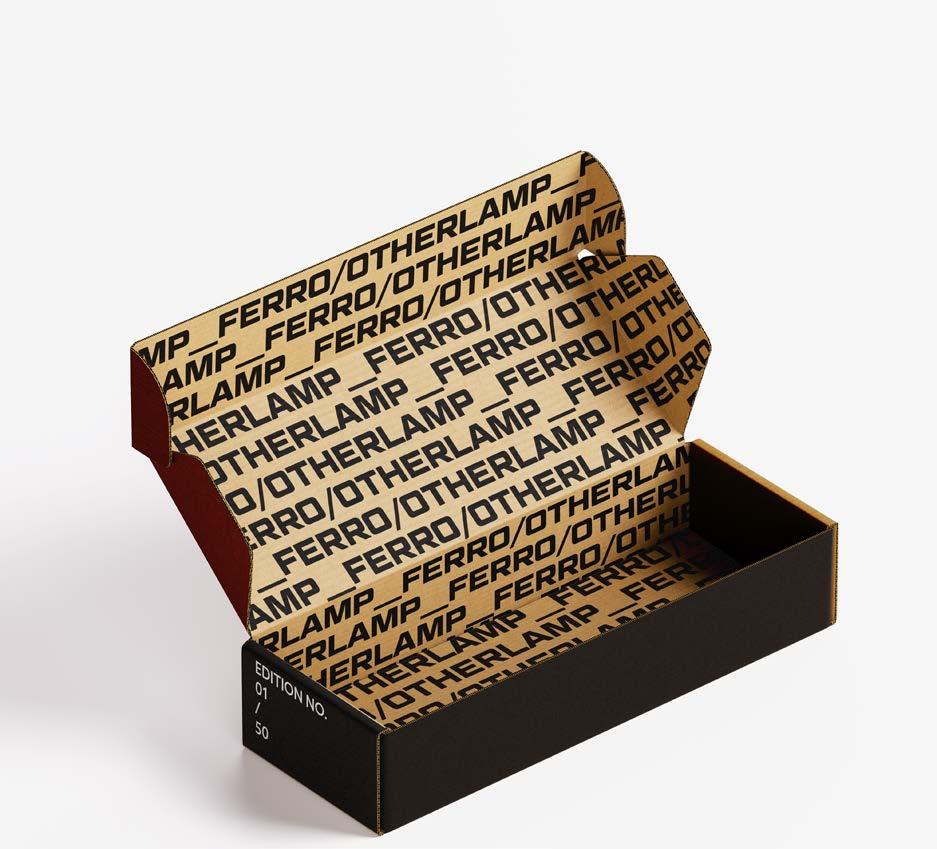
OTHERLAMP FERRO derives its essense from the curious movements of ferrofluid. Ferrofluid is unique when within a magnetic field, it dances and reacts with alien emotion. FERRO takes this feeling and transforms it to light in an experimental and tactile way.
This lamp is a living sculpture, challenging how light and form can feel.
Buyers are provided with a selection of in-house materials & finishes to customize their lamp. FERRO’s low kit of parts compliments customization, making servicing and swapping parts a breeze.
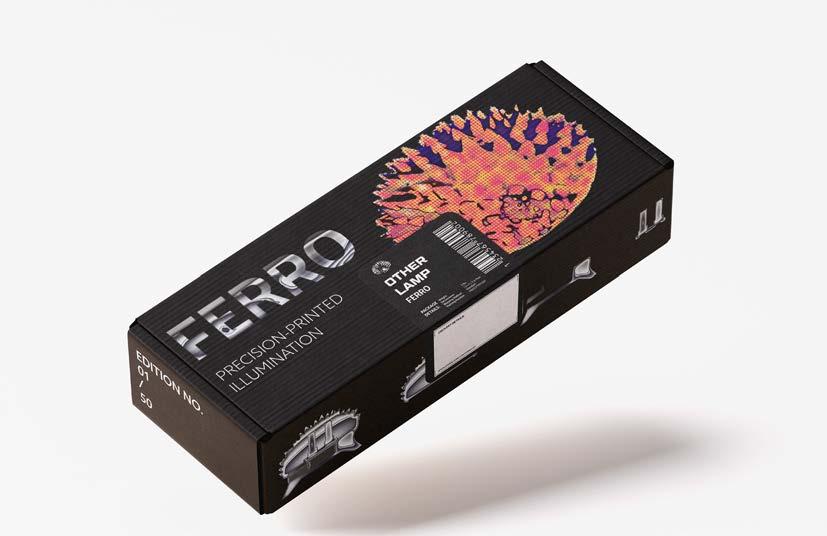
The first production run is limited to fifty units, priced at $260.
MARKETING & HEADLINES:
GEOM GRAPHIC REGULAR
BODY TEXT: AZO SANS REGULAR TITLE:
GEOM GRAPHIC BOLD
TAGLINE & STATEMENTS: MACHOMODULAR BOLD
MARKETING & HEADLINES: GEOM GRAPHIC REGULAR
BODY TEXT: AZO SANS REGULAR
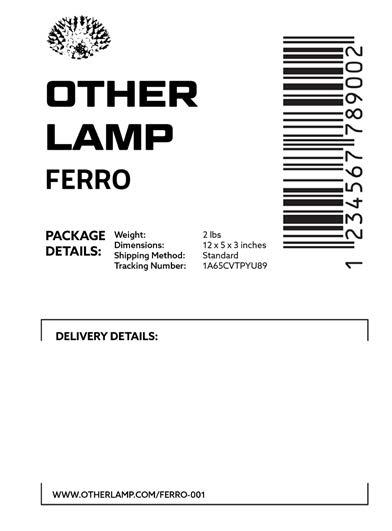
SHIPPING LABEL MOCKUP
PHYSICAL
Final version Business Branding your products
Duplicate this spread as has
OTHERLAMP FERRO derives its essense from the curious movements of ferrofluid. Ferrofluid is unique when within a magnetic field, it dances and reacts with alien emotion. FERRO takes this feeling and transforms it to light in an experimental and tactile way.
This lamp is a living sculpture, challenging how light and form can feel.
Buyers are provided with a selection of in-house materials & finishes to customize their lamp. FERRO’s low kit of parts compliments customization, making servicing and swapping parts a breeze.
The first production run is limited to fifty units, priced at $260.
Mission:
To blur the boundary between comfort and curiosity through light.
Crafting modular, 3D-printed lamps that feel alive and unearthly.
Why it exists:
To challenge the notion that household lighting should blend in. Our lamp celebrates the alien, the imperfect, and the tactile. Who it’s for: For design enthusiasts, collectors, and futurists who see their spaces as extensions of identity and creativity.
Unique Value:
A customizable art-lamp that transforms curiosity into ambience. a product born from digital craft and emotional provocation.
GEOM GRAPHIC BOLD
TAGLINE & STATEMENTS: MACHOMODULAR BOLD
MARKETING & HEADLINES: GEOM GRAPHIC REGULAR
BODY TEXT: AZO SANS REGULAR
PROTOTYPING PRINT LOG:
You can see my early attempts at resin-printing before I decided to switch to FDM printing. Filament prints included a variety of prints exploring different filament types, colors, and settings.
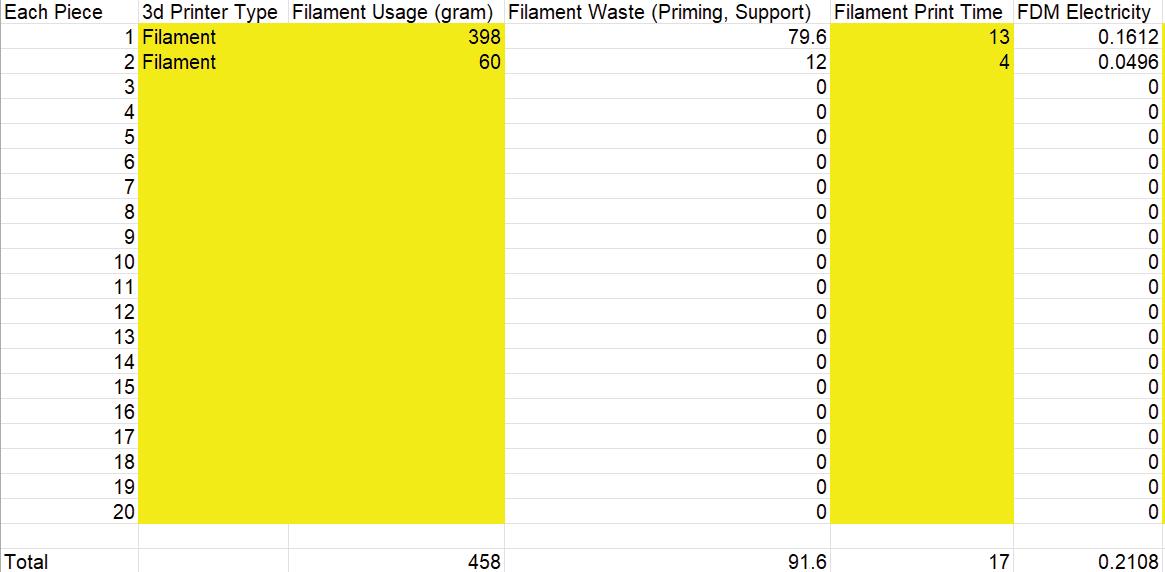
PRODUCTION PRINT LOG:
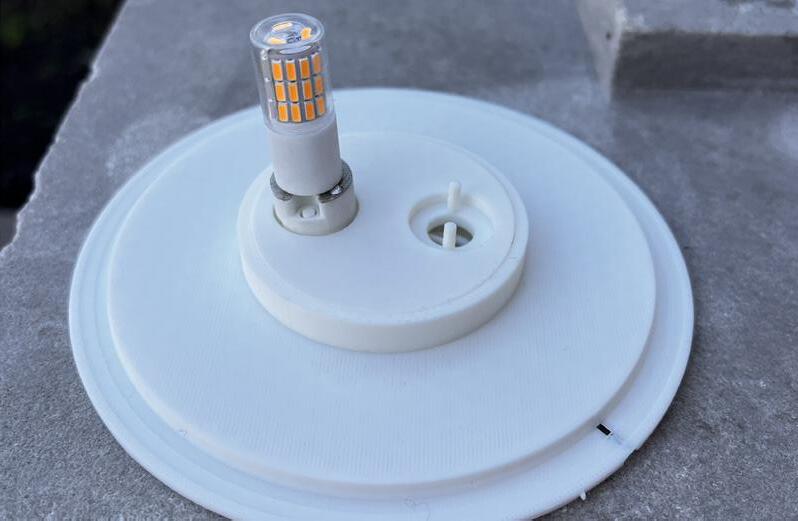
The set of prints above is the complete list of printed parts for the lamp. The shade is the most intensive print, with the longest time and 2 grams more than the base. The base and disc are the contact points for lighting hardware that allow for easy disassembly.
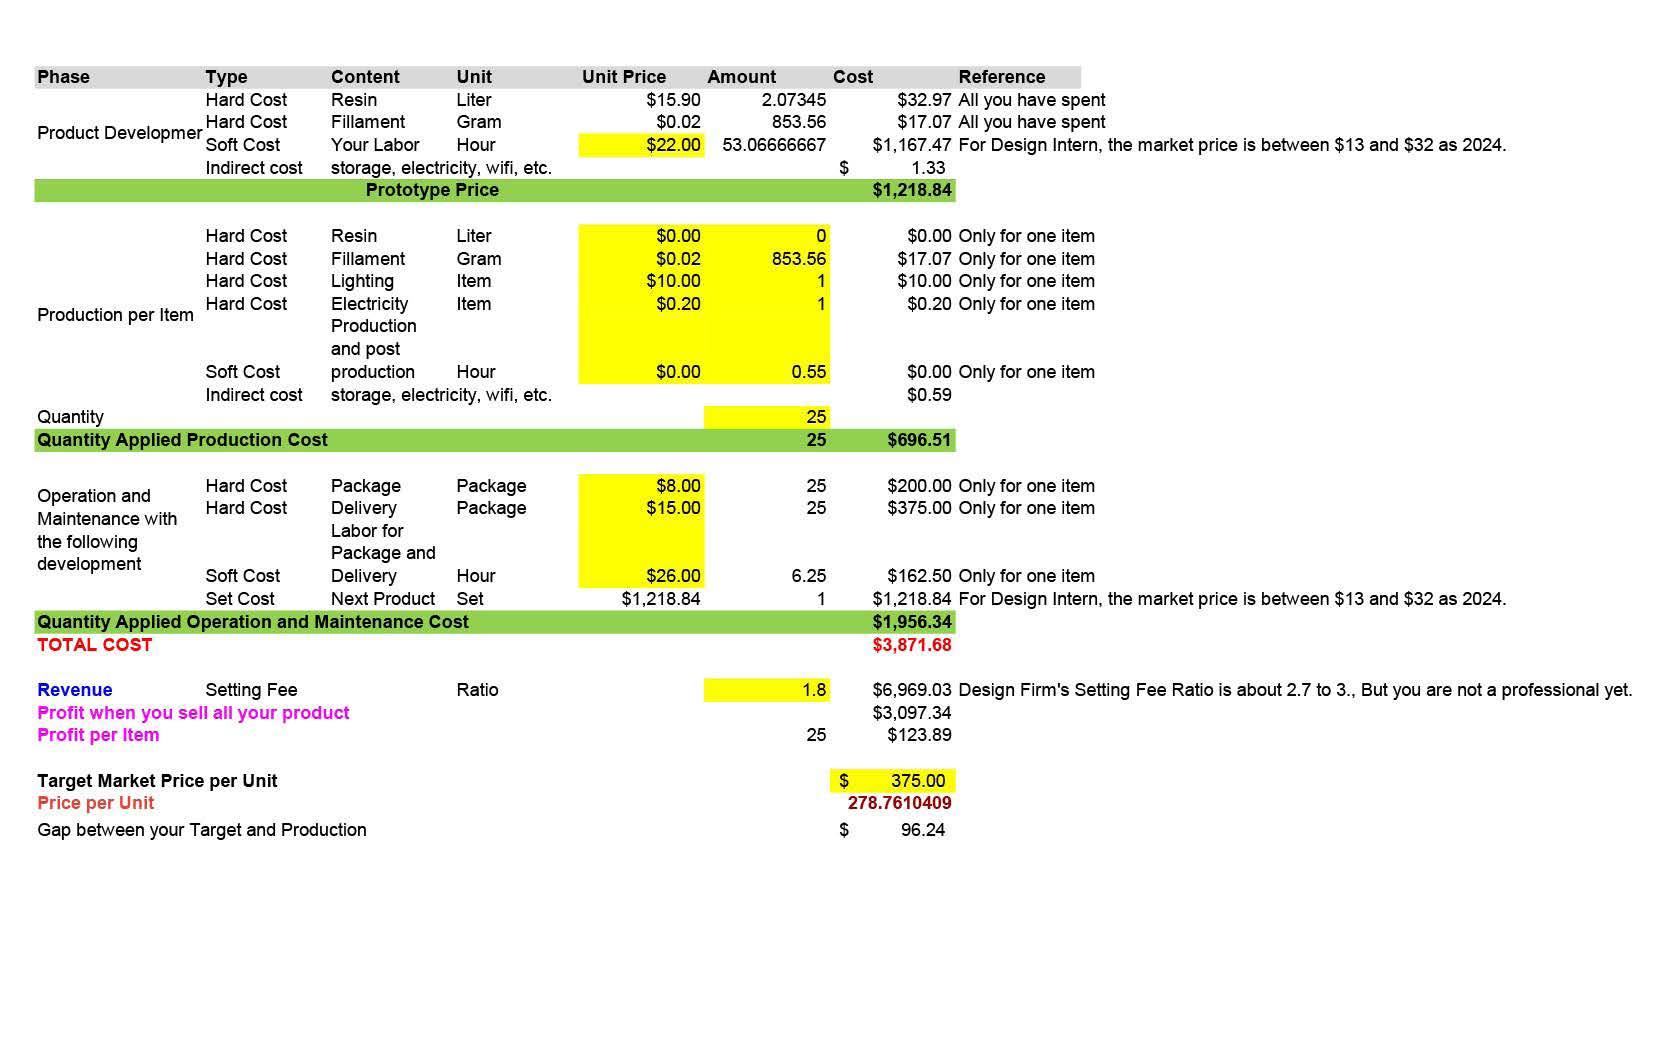
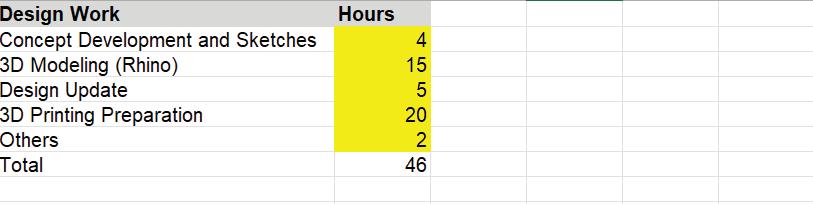
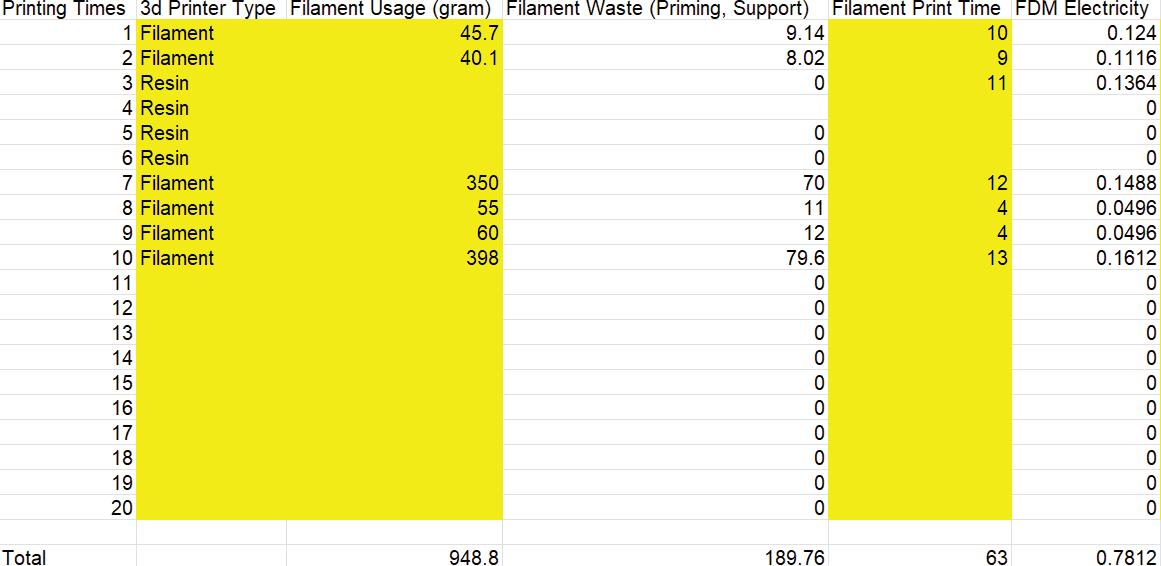
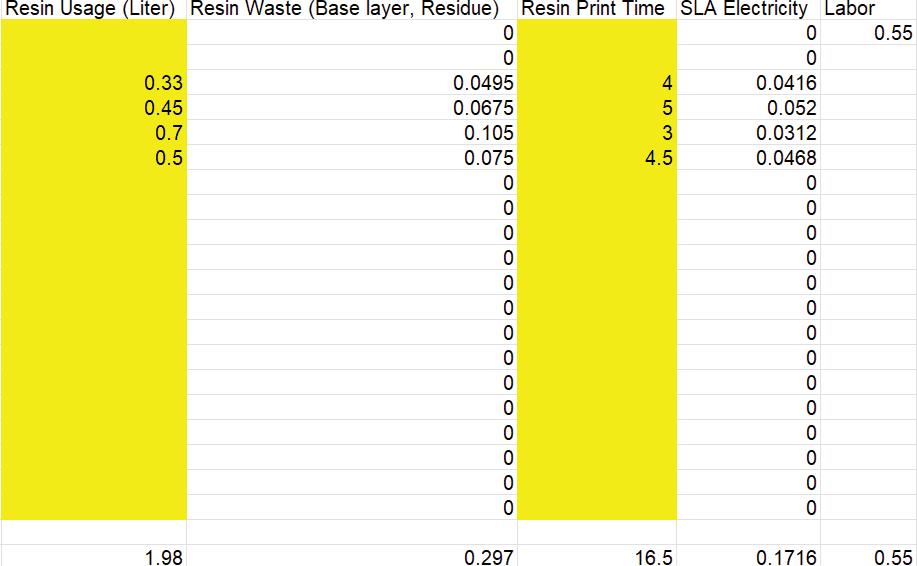
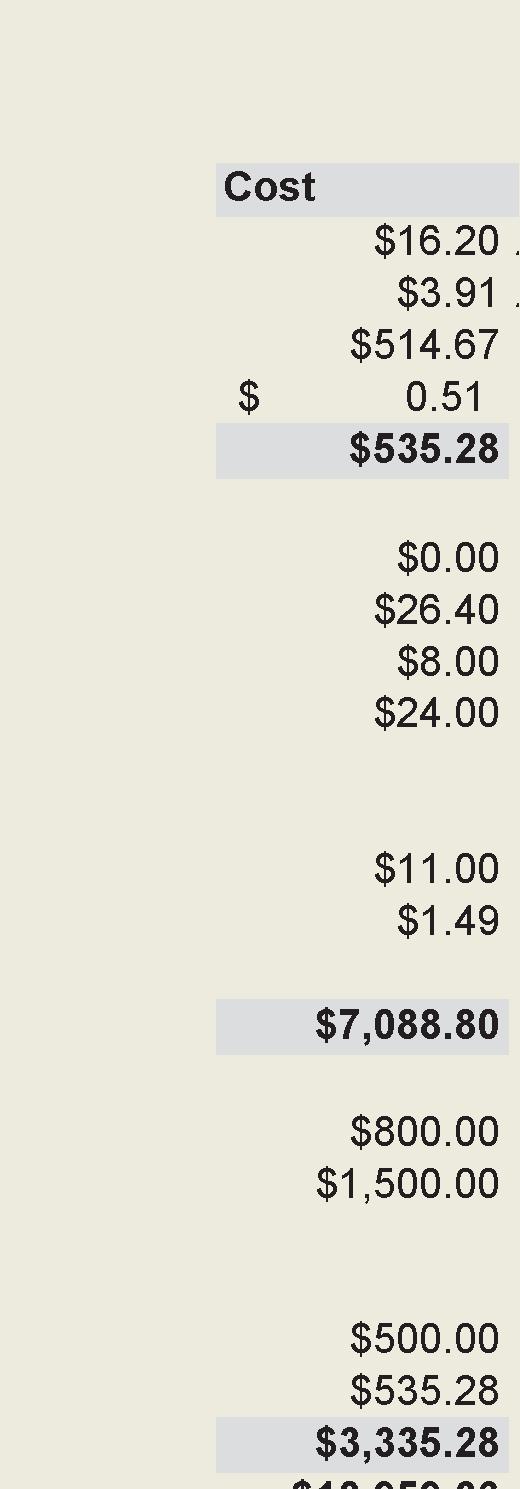
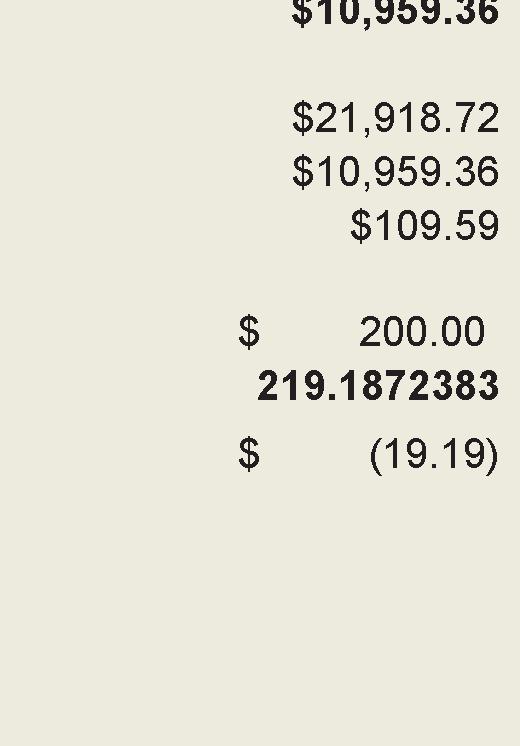
As shown below, the spreadsheet breaks down the data from the previous 3 charts and estimates
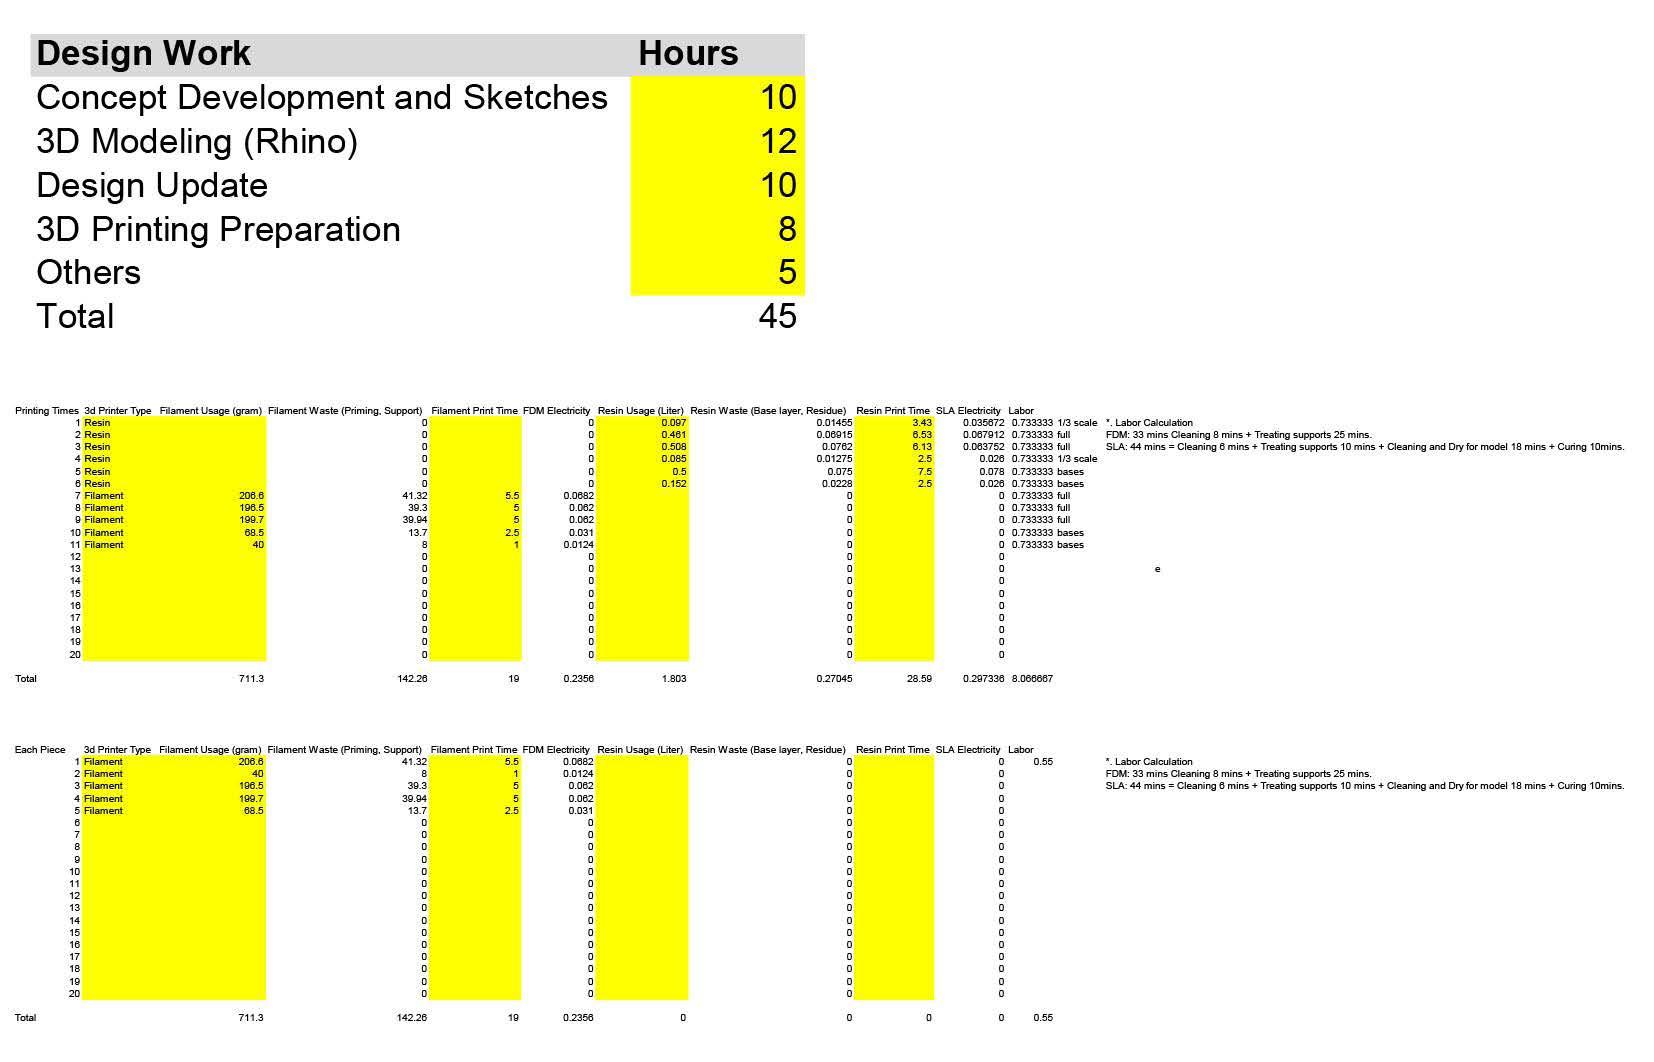
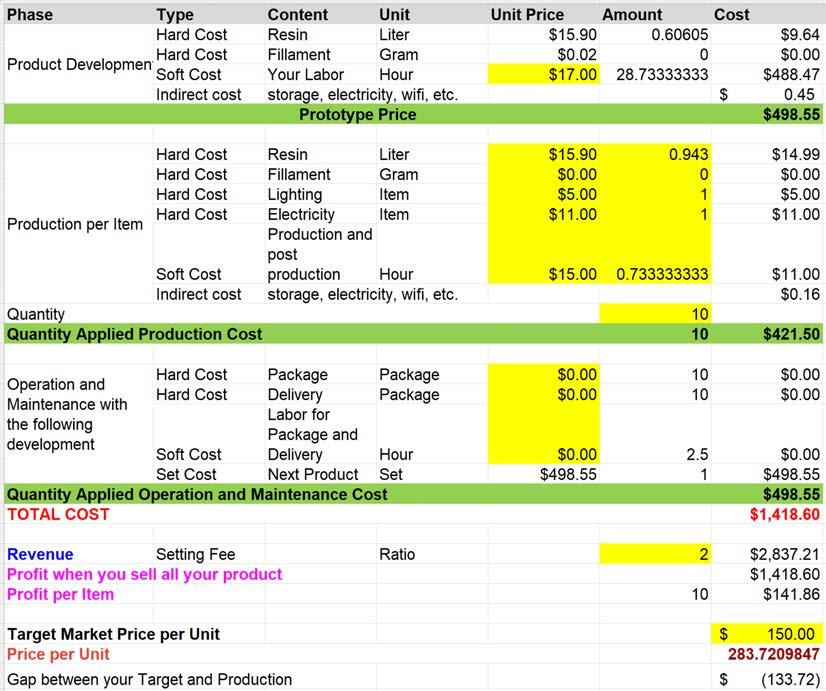
for lamp/quanity of unit production. The table is customizable and I have tweaked a handful of settings so that it is accurate for my branding package. With a lower setting fee of 1.85x, and a large bulk of 50 units, I am able to keep the price per lamp exactly where I want it at about 85% market cost.
0.65897645$10.48All you have spent 790.944$15.82All you have spent 68.61666667$1,681.11For Design Intern, the market is between $13 as 2024. for one item
1$1,708.79For Design Intern, the market is between $13 as 2024. 1.85$11,373.24Design Firm's Setting Fee Ratio about 2.7 to But are not a professional yet.
50$104.51
Katie Hill
Process of Table Lighting Design
I learned the art of coming up with an interesting and unique table lamp design, while also making it very functional and useable for people so they actually want it. Also learning coming up with an interesting concept and abstracting it was an interesting challenge on the semester.
Series of Product and Business Branding Packages
I learned a lot about the ‘behind the scenes’ side of things, like how to make a simple lamp sound much more appealing and give a ‘personality’ to your product. I also learned about the idea of coming up with a story to tell about the lamp and have something people can connect with about the product.
Process of Package and Exhibition preparation
Preparing for the exhibit I learned how much post processing went into working with a resin lamp, and how finnicky they can be to make look exceptional. I also learned about how to make an interesting placard telling the story of the lamp and showing interesting elements of it.
Series of Process Book Making
I learned through the process book how much effort actually went into creating this lamp, as well as how much information you can generate while working on a product like this.
Overall
Product design is not as simple as it could seem, and there are many more elements that go into it beyond just the creating of the product itself. The reason people want products is because they are marketed properly and interestingly, as well as having a unique and interesting design.
If you could talk to you before the beginning of the semester, what would you like to share with you?
I would have told myself the full expectations for the class which would’ve likely resulted in my lamp design changing so that I could work better with the printers and have a more successful lamp.
Initial Concept Narrative and Sketches
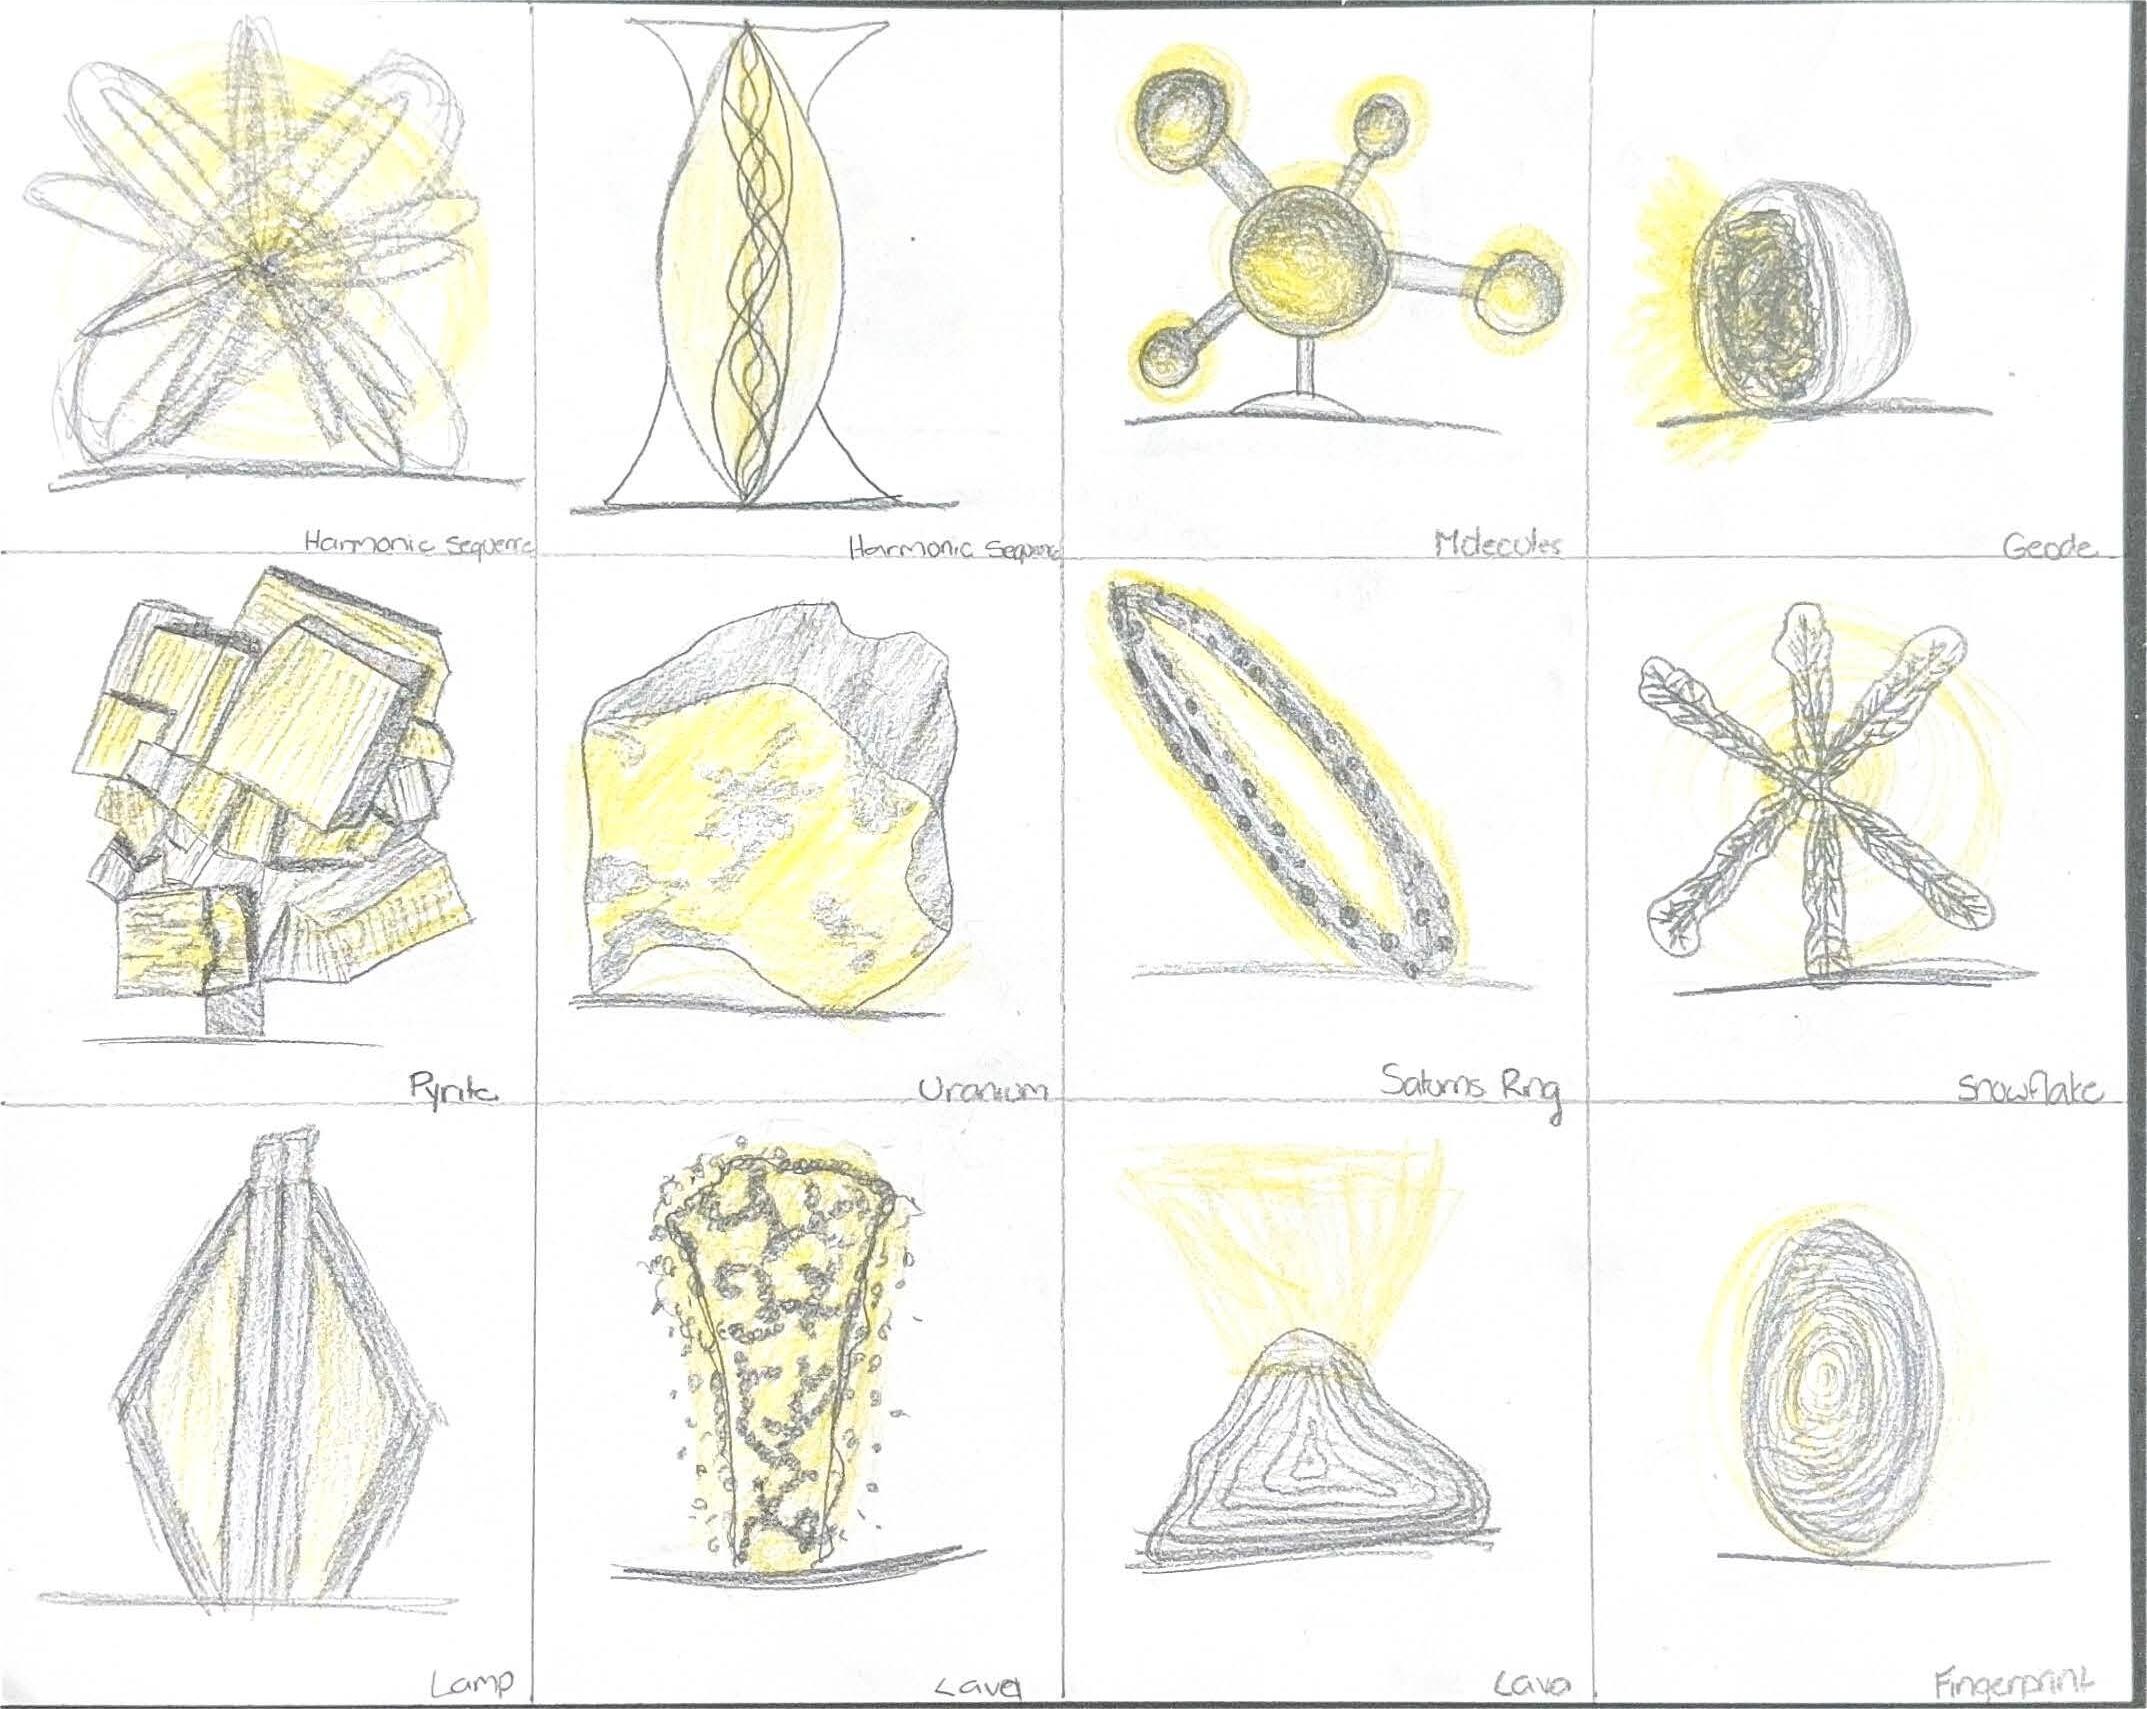
When coming up with ideas for this exercise, I started by just thinking of things I found interesting or thought could make complex shapes if they were adapted. As I began looking at different options that I liked, I started to realize that some could become very different lamps when playing with diffusion to make the lighting stand out as its own element. I started first with the idea of a glowing uranium ore, where some areas are thicker and the light comes through less, and then areas where the ‘ore’ exists which becomes thinner and more light comes through. I really enjoyed this concept and think it would be very exciting to include in my final lamp, and I want to look into it further and see what other options there are for this idea, and consider maybe letting the light be exposed in some areas or something as an option. I liked more symmetrical ideas that I came up with, which makes me think that the idea of rotating something on its axis several times and making it more symmetrical will spark more interest for me in the ideas I liked but wanted something more out of. I think that this exercise helped me find a niche I enjoyed and has given me a solid starting point to work with for more solid ideas that could actually be turned into lamps.
Katie Hill
Katie Hill
Refined Concept Narrative and
The filament in the lightbulb creates a juxtaposition of how the shape of the bespoke lamp itself, created in a relatively simpl
Filament 1
Tooth
Filament 2
Filament
Tooth
Filament
Filament
Final Draft Concept Narrative and Sketches
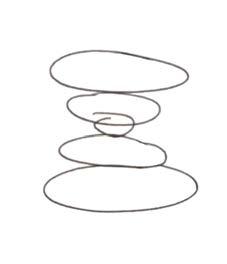
Early final concepts originated from enjoying the rounded shapes of the rhino forms and finding interesting connections and different ways to join the rounded objects. All of these came together to start the idea of form for the final lamp and helped with Rhino generation of it.
Early Concept
Early Concept
Early Concept
Early Concept
Final Luminaire Concept Narrative, Sketches, and Rendersing
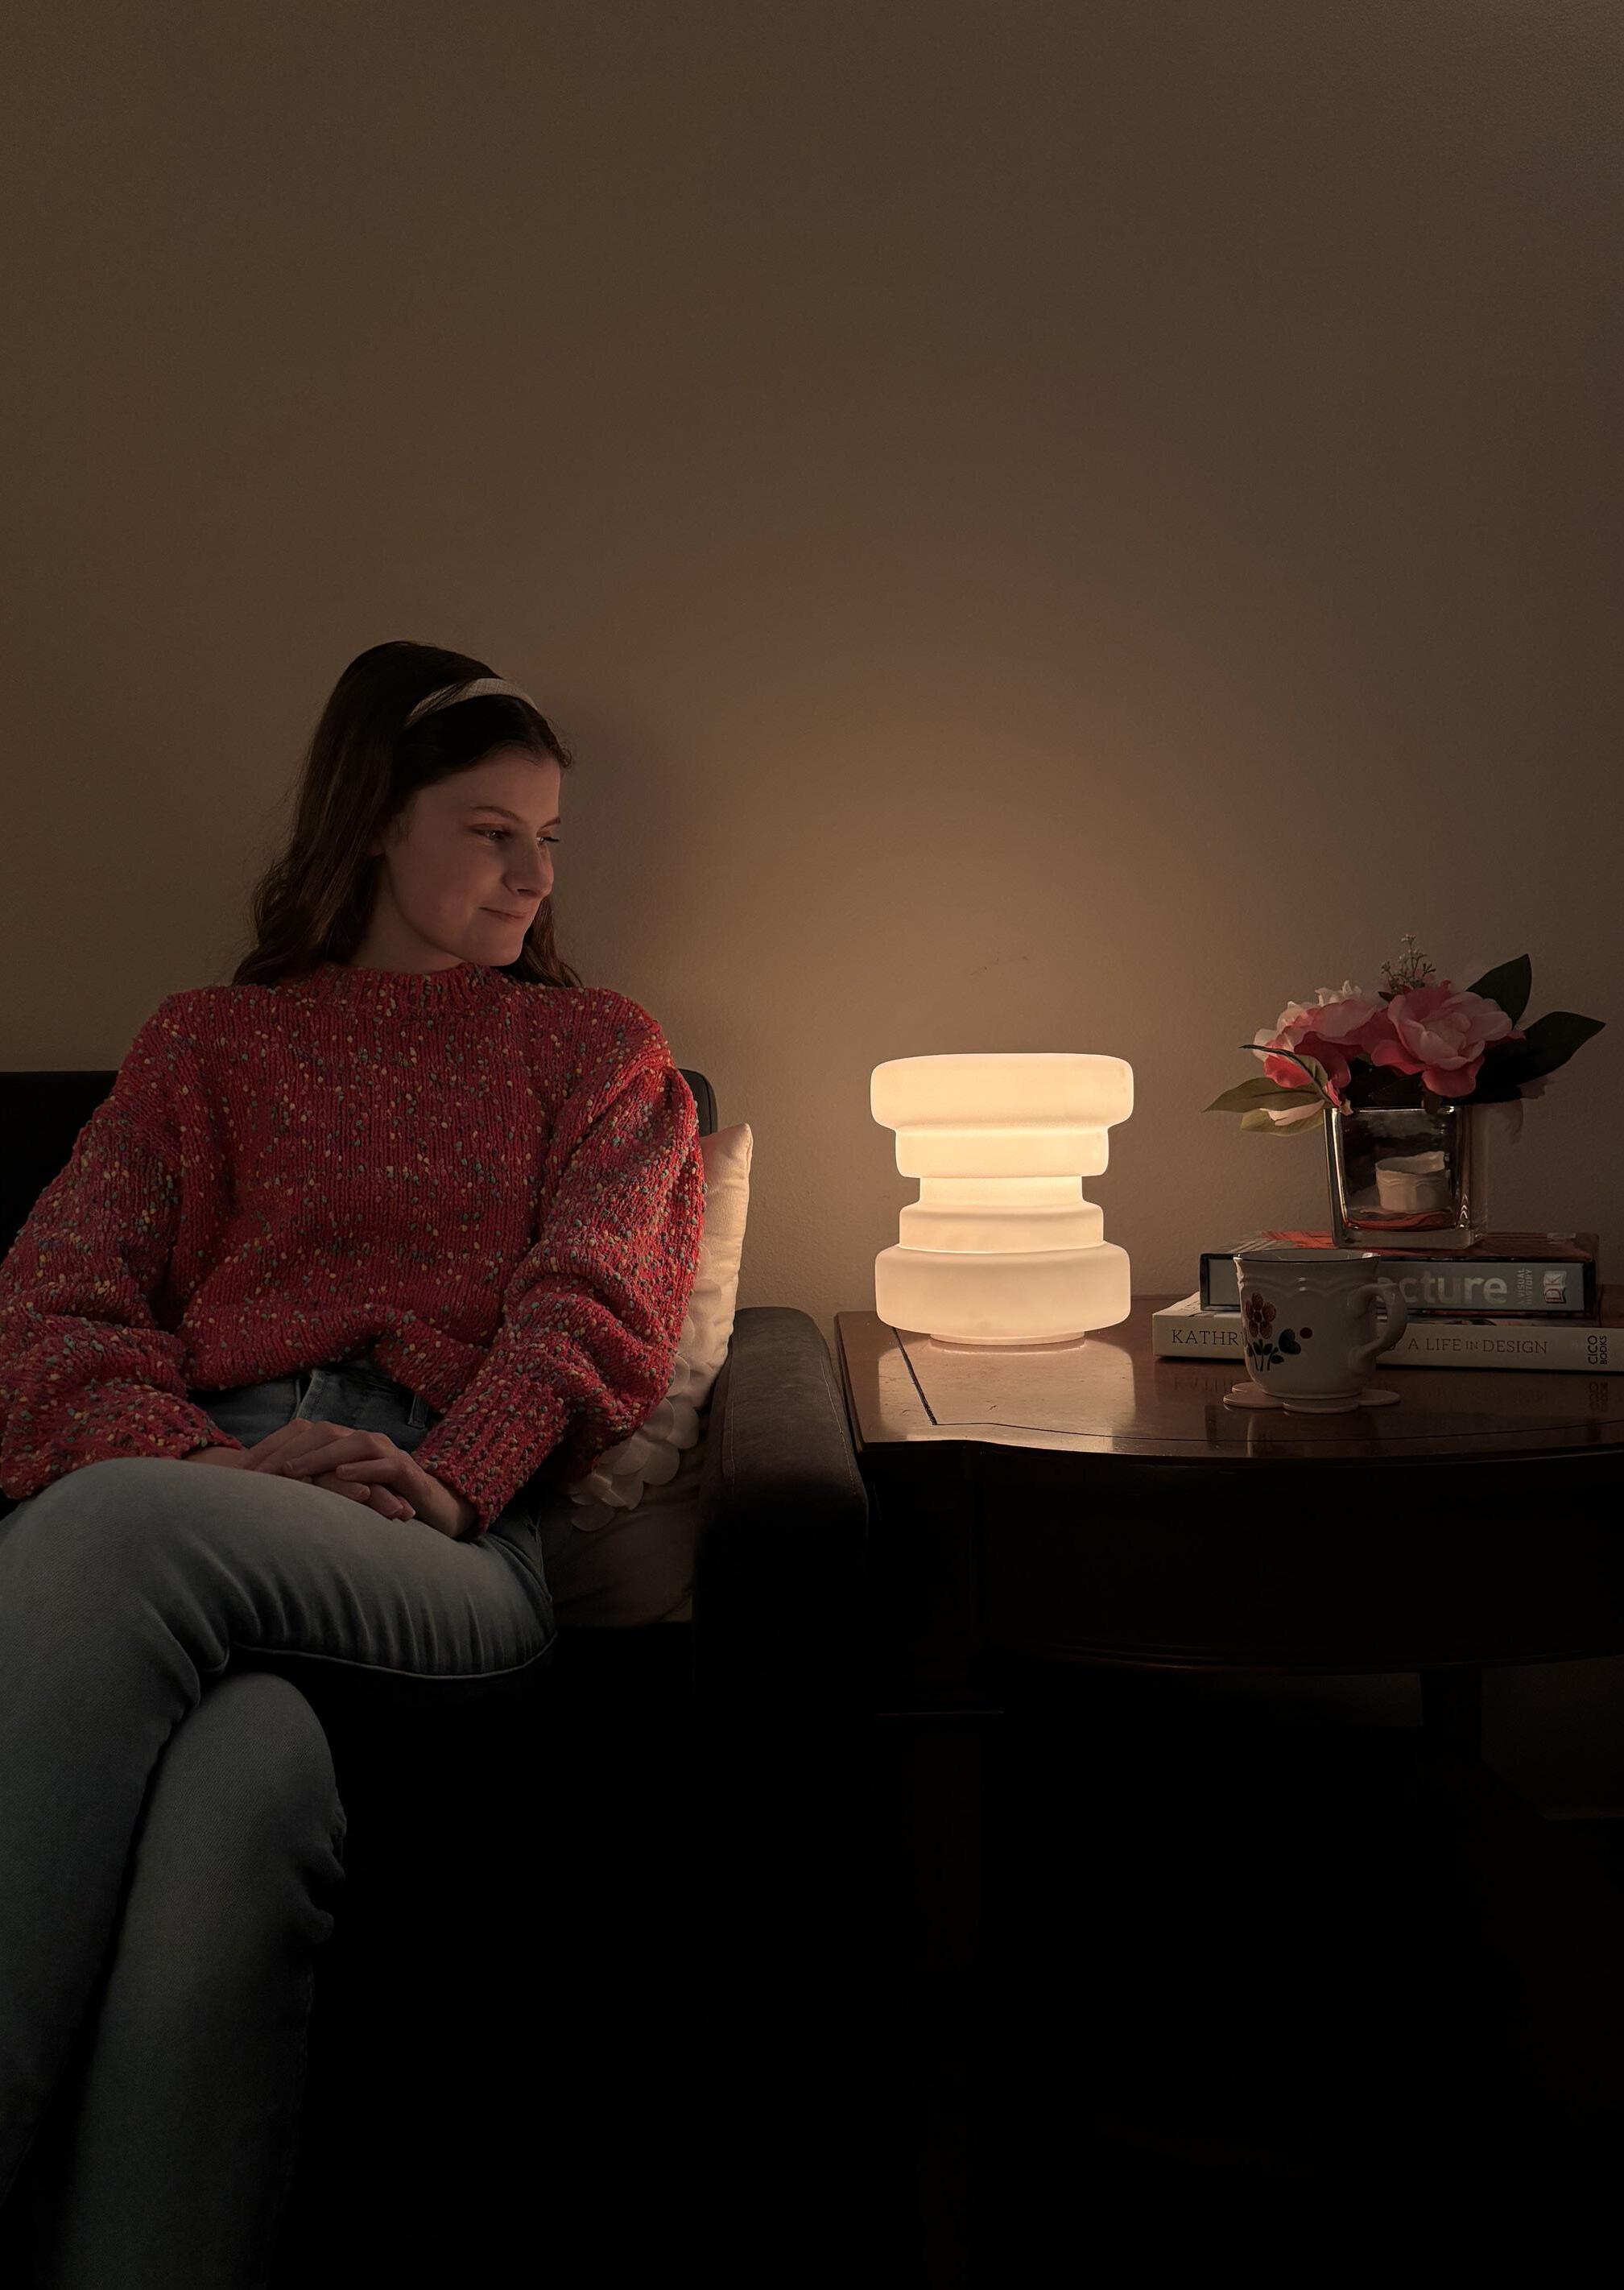
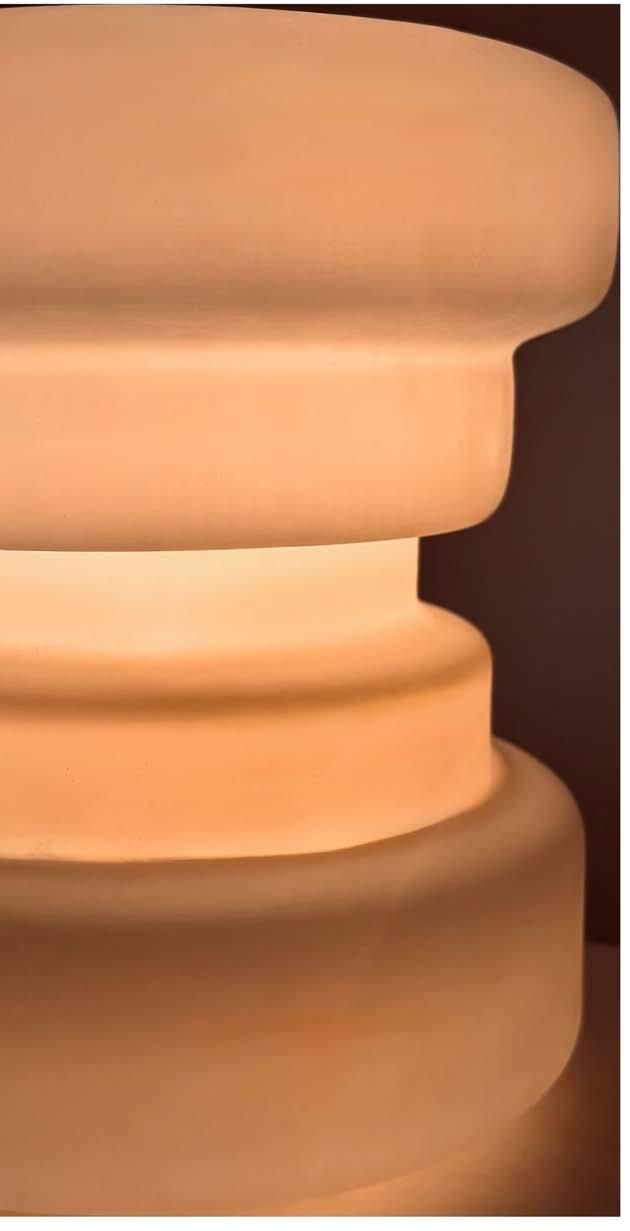
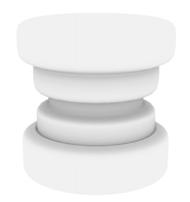
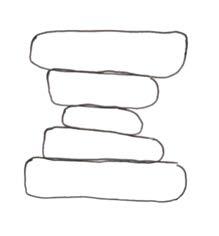
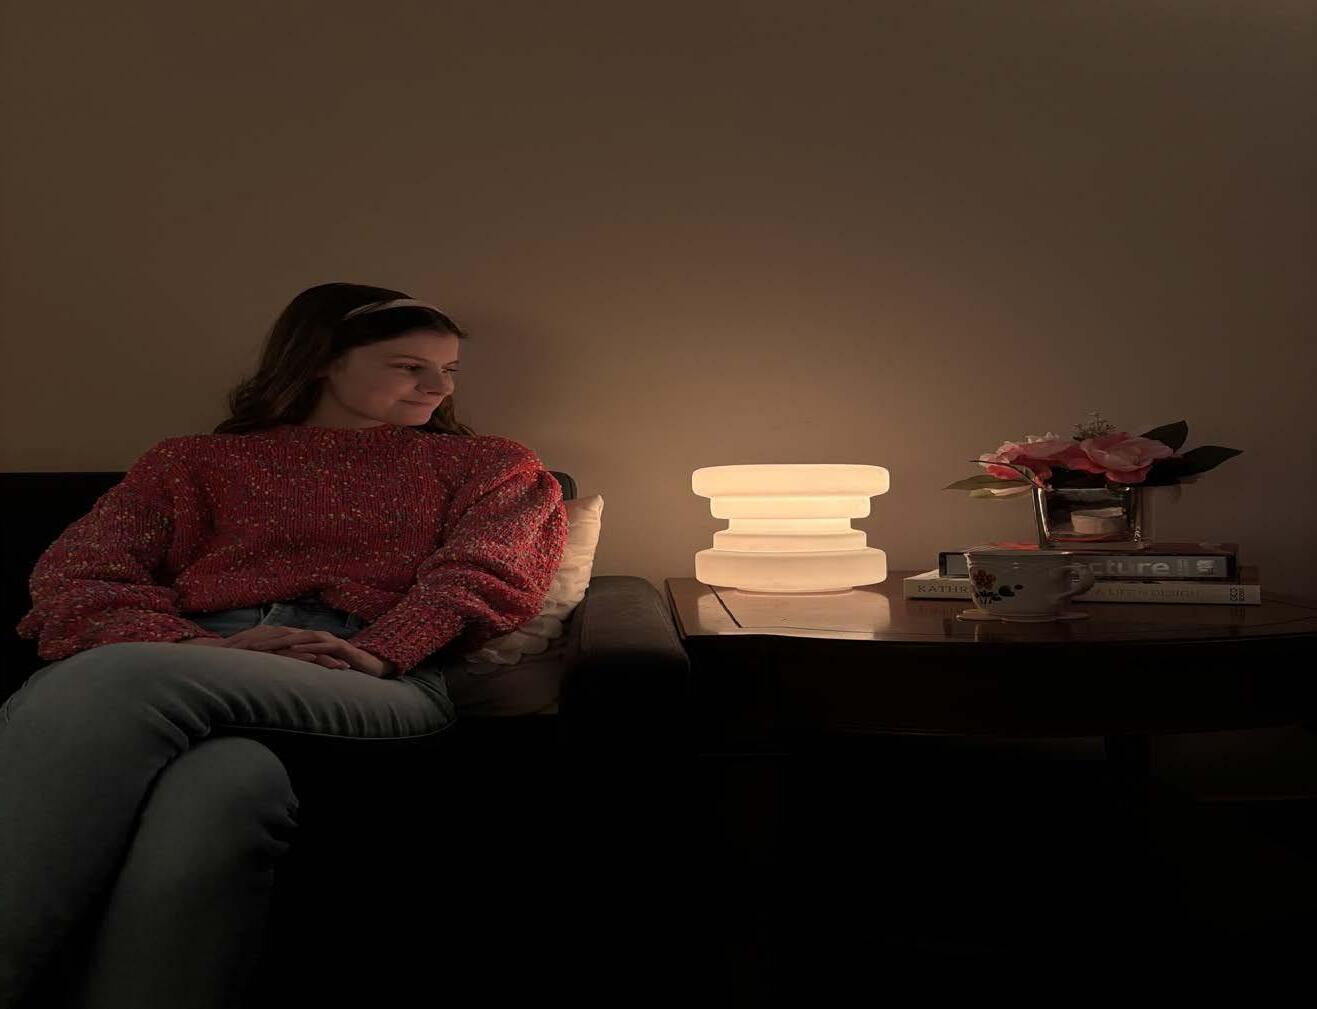
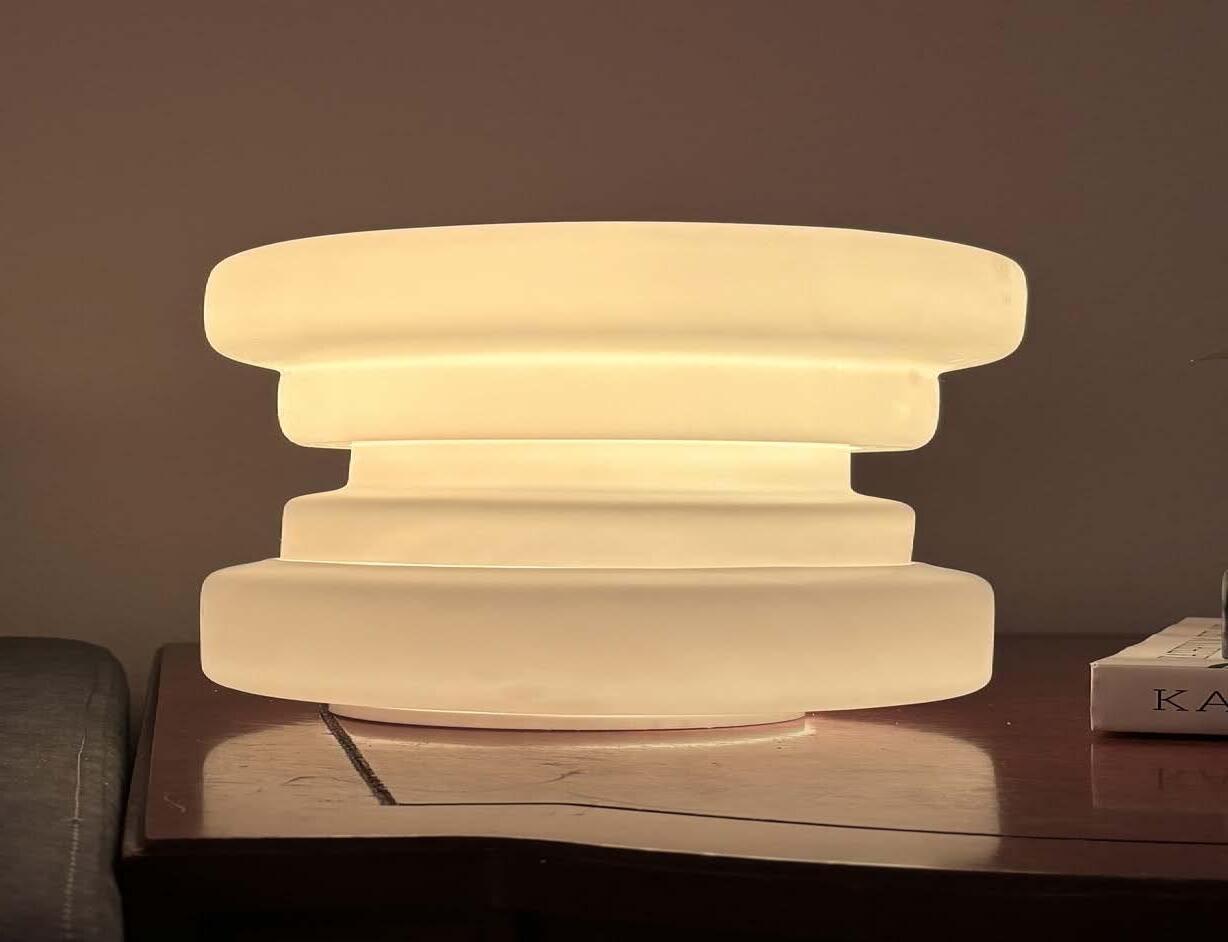
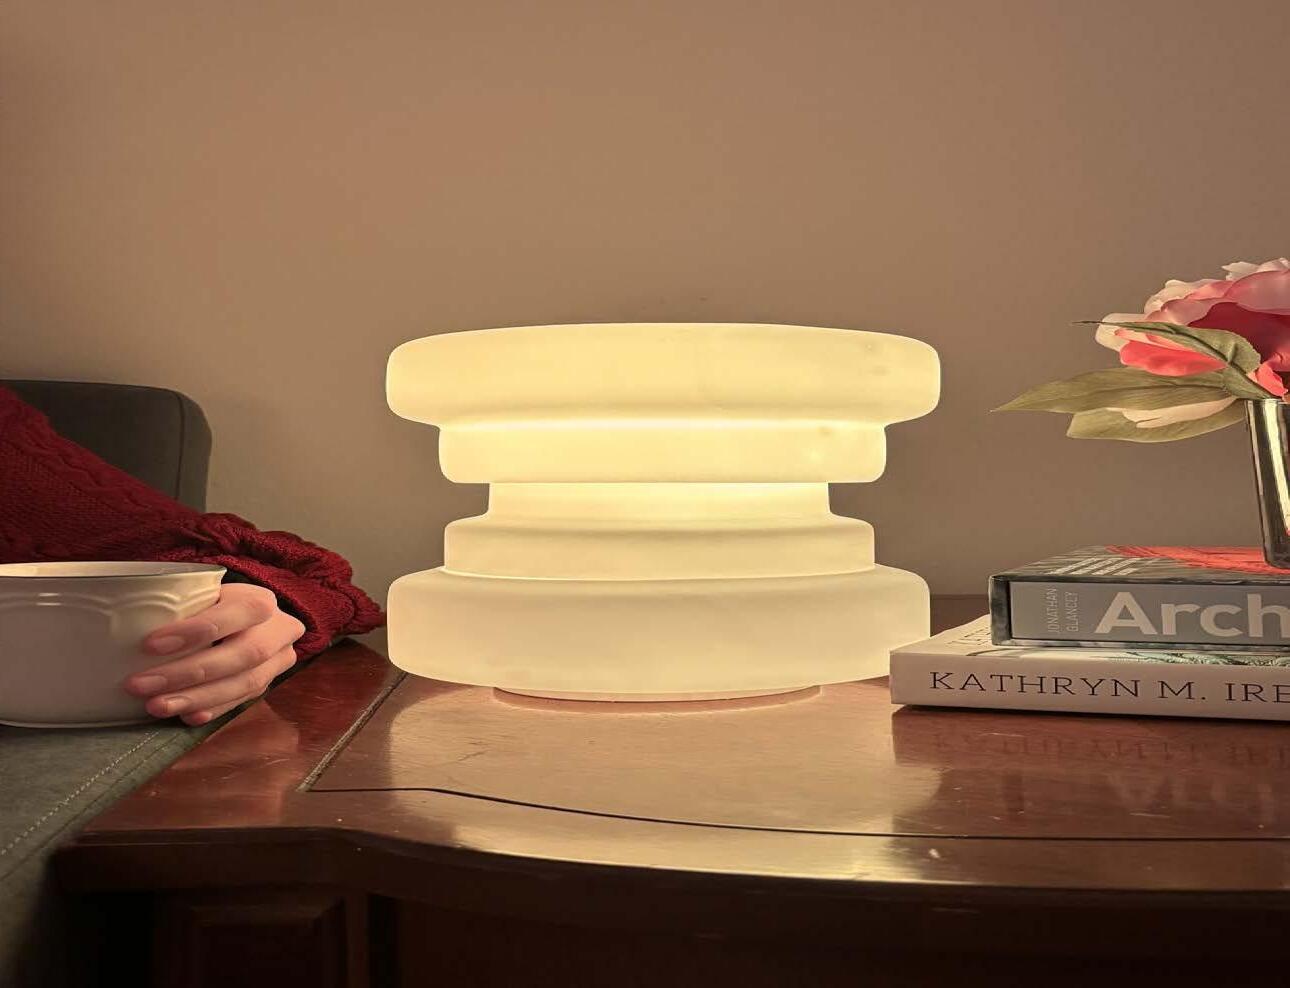
The STACK Lamp was created to give a fun, simple, interactive lamp. It is for people who want an interesting lighting element that feels like they have a hand in it, while also being very simple to assemble but give each person a sense of development in the lamp. This lamp is very simple but could be fun for children to take apart and put back together over and over again, has very simple but pleasing aesthetics, and is also functional and useful for users that just want a standard lamp.
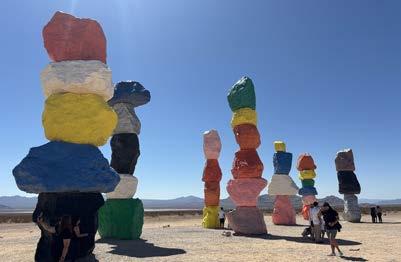
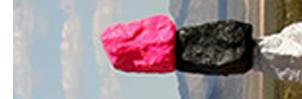
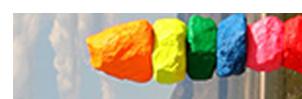
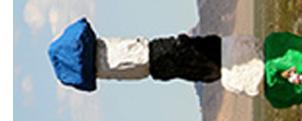
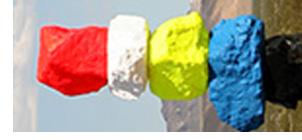
Trip to Seven Magic Mountains
Caption
Caption
Full Scale Lamp (Split)
Caption
Caption
Lamp Base
3D Scaled Rendering (not split)
Narrative
Scale Models (Split and Full Resin)
Failed Full Scale Print (Resin)
Failed Full Scale (Resin)
Full Scale Print
Scale Model (Filament)
Failed Full Scale (Filament)
Failed Full Scale (Resin)
Full Scale Print before Sanding
Cover page
Story
C O N C E
The STACK Lamp was created to give a fun, simple, interactive lamp. It is for people who want an interesting lighting element that feels like they have a hand in it, while also being very simple to assemble but give each person a sense of development in the lamp. This lamp is very simple but could be fun for children to take apart and put back together over and over again, has very simple but pleasing aesthetics, and is also functional and useful for users that just want a standard lamp.
KATIE HILL
Font and Colors
Product Branding Package (2/2)
Features
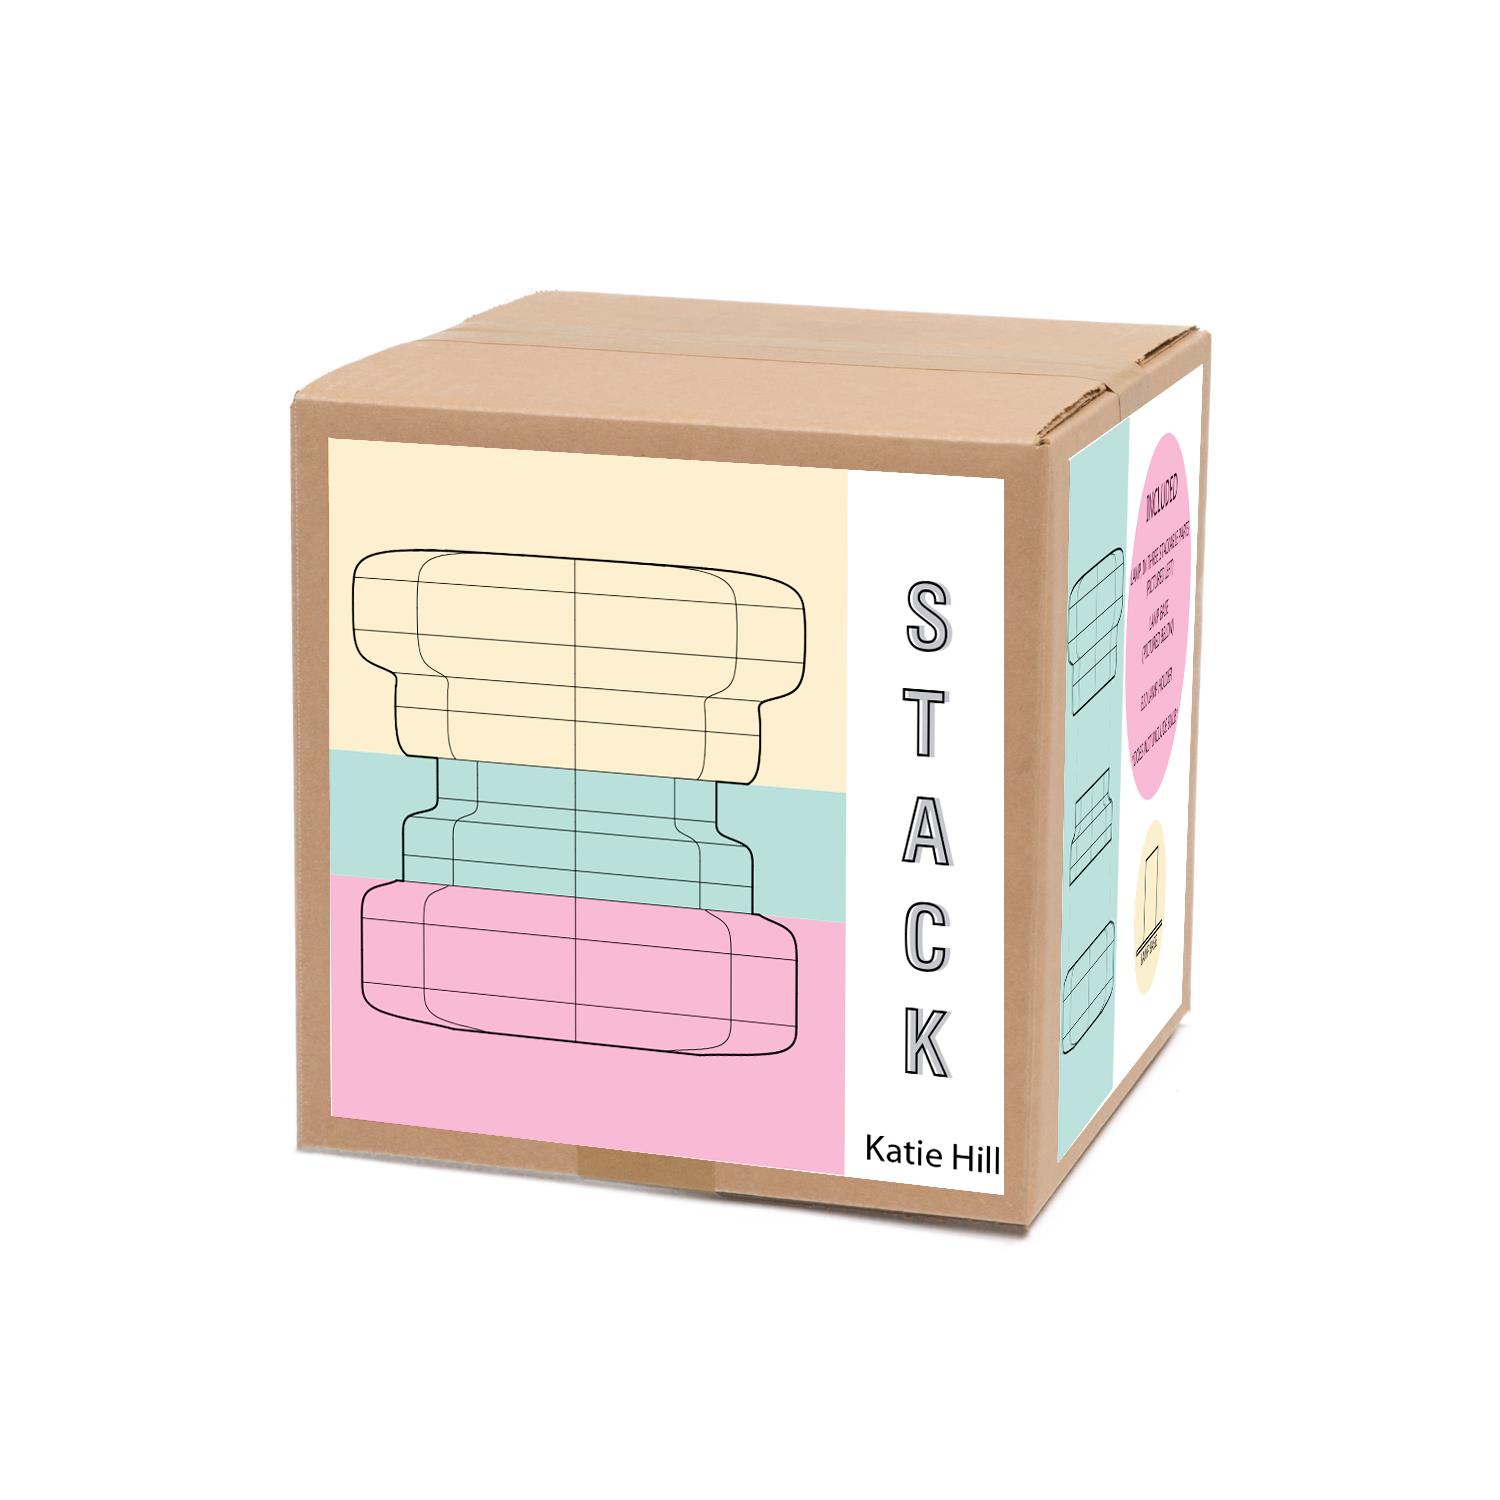
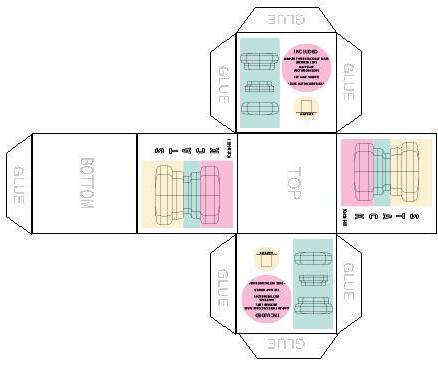
INCLUDED
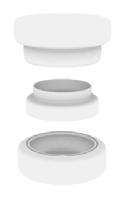
LAMP, IN THREE STACKABLE PARTS (PICTURED LEFT)
LAMP BASE (PICTURED BELOW)
E20 LAMP HOLDER
*DOES NOT INCLUDE BULB*
LAMP BASE
LAMP ASSEMBLED
Specification
DIMENSIONS
TOP PIECE:
8 IN X 8 IN X 4.75 IN
MIDDLE PIECE:
6.25 IN X 6.25 IN X 2.25 IN
BOTTOM PIECE:
7.75 IN X 7.75 IN X 2.75 IN
LUMINERE BASE:
4.25 IN X 4.25 IN X 2.75 IN
HOW IT WORKS
The lamp pieces interlock within one another through the design of the lamp, with it being possible to stack it with 4 curves or three. The E20 lamp base fits into the luminere base, and then the shades sit on top of that base. S T A C K S T A C K Katie Hill
INCLUDED
LAMP, IN THREE STACKABLE PARTS (PICTURED LEFT)
LAMP BASE (PICTURED BELOW)
E20 LAMP HOLDER
*DOES NOT INCLUDE BULB*
MATERIALS USED
INCLUDED
LAMP, IN THREE STACKABLE PARTS (PICTURED LEFT)
LAMP BASE (PICTURED BELOW)
E20 LAMP HOLDER
*DOES NOT INCLUDE BULB*
S P E C I F I C A T I O N S
LAMP BASE
Picture of Physical Package
CO N C E P
The STACK Lamp was created to give a fun, simple, interactive lamp. It is for people who want an interesting lighting element that feels like they have a hand in it, while also being very simple to assemble but give each person a sense of development in the lamp. This lamp is very simple but could be fun for children to take apart and put back together over and over again, has very simple but pleasing aesthetics, and is also functional and useful for users that just want a standard lamp.
SEVEN MAGIC MOUNTAINS
PLAYFUL ENGAGING LIVELY INTERACTIVE ADAPTIVE
DIMENSIONS
TOP PIECE:
8 IN X 8 IN X 4.75 IN
MIDDLE PIECE:
6.25 IN X 6.25 IN X 2.25 IN
BOTTOM PIECE:
7.75 IN X 7.75 IN X 2.75 IN
LUMINERE BASE:
4.25 IN X 4.25 IN X 2.75 IN
INCLUDED
HOW IT WORKS
The lamp pieces interlock within one another through the design of the lamp, with it being possible to stack it with 4 curves or three. The E20 lamp base fits into the luminere base, and then the shades sit on top of that base.
LAMP, IN THREE STACKABLE PARTS (PICTURED LEFT) LAMP BASE (PICTURED BELOW)
E20 LAMP HOLDER
*DOES NOT INCLUDE BULB*
MATERIALS USED
BAMBU LAB PRINTER
FILAMENT PLA BASIC WHITE
ANYCUBIC RESIN PRINTER
RESIN: PLANTED BASED
WHITE 2.0
LAMP BASE
*DOES NOT S P E C I F I C A T I O N S
INCLUDED LAMP, IN THREE (PICTURED LAMP (PICTURED E20 LAMP
LAMP BASE (PICTURED BELOW)
LAMP HOLDER NOT INCLUDE BULB*
LAMP BASE INCLUDED THREE STACKABLE PARTS (PICTURED LEFT)
8 in 10 in
in
in 3 in
P A C K
Madelyn Rose Kennish
Madelyn Kennish
What I learned
Process of Table Ligh ng Design
- I learned how to turn a simple idea into a real working lamp through trial, tes�ng, and rening. I gured out how propor�ons, thickness, and glow affect the en�re feel of the piece. It taught me to slow down, adjust details, and design with inten�on instead of rushing. Seeing the lamp evolve through each print showed me how much the small decisions ma�er.
Process of Wall Scone Ligh ng
- For the sconce I only worked with white resin and lament, which made me pay close a�en�on to form and the way light moved across it. Rhino felt overwhelming at rst, and the process was honestly frustra�ng, but it taught me pa�ence and perseverance. Once I pushed through the learning curve, the design nally started to make sense.
Series of Product and Business Branding Packages
- Working on the branding packages helped me understand how to present my lamp as a real product. I learned how big of a difference consistent photography, colors, and layout make. It showed me how branding can shape the personality of a product and how important it is to communicate clearly through visuals.
Process of Package and Exhibi on prepara on
- This part taught me the prac�cal side of designing for a real audience. I learned how to create packaging that protects the lamp but s�ll feels clean and inten�onal. Ge�ng everything ready for the exhibi�on also made me focus on layout, spacing, and how to display the lamp so people immediately understand its purpose.
Series of Process Book Making
- Pu�ng together the process book helped me see the full journey of my project. I learned how to organize my work, choose the most meaningful steps, and turn them into a clear narra�ve. It made me realize how many decisions and adjustments happened along the way and how much my design improved through the process.
Overall
- Overall I learned how much �me, tes�ng, and problem-solving go into crea�ng a product from scratch. This project pushed me out of my comfort zone and helped me grow in Rhino, rendering, branding, and documen�ng my work. It gave me more condence in my design choices and my ability to bring an idea all the way to a nished piece.
If you could talk to you before the beginning of the semester, what would you like to share with you?
- I’d tell myself not to be nervous about Rhino and to start experimen�ng earlier. The best progress happened when I stopped overthinking and just started making things. I’d remind myself that the challenging parts are where the learning happens, and the nal outcome ends up being more rewarding than it looks at the start.
Ini
al Concept Narra ve and Sketches
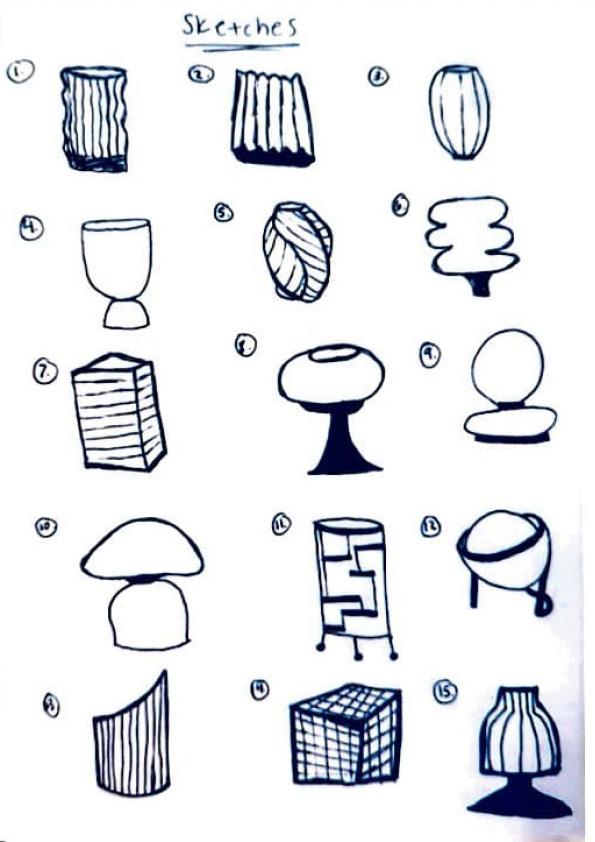
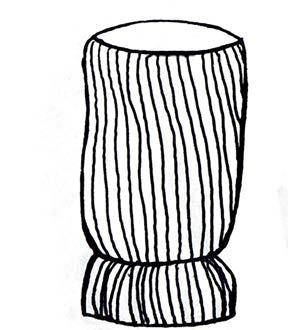
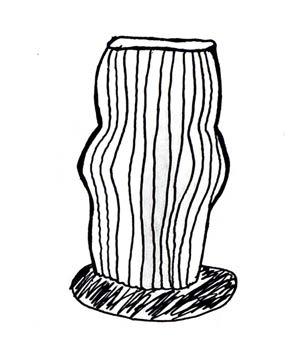
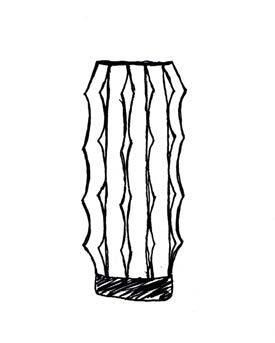
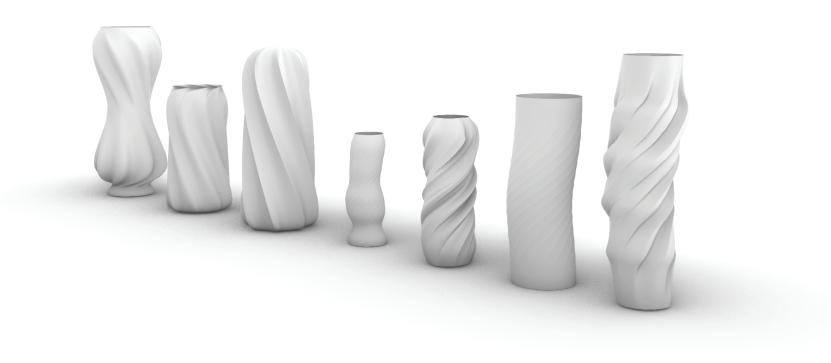
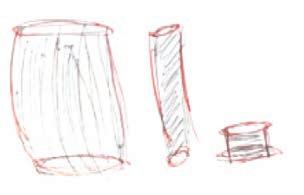
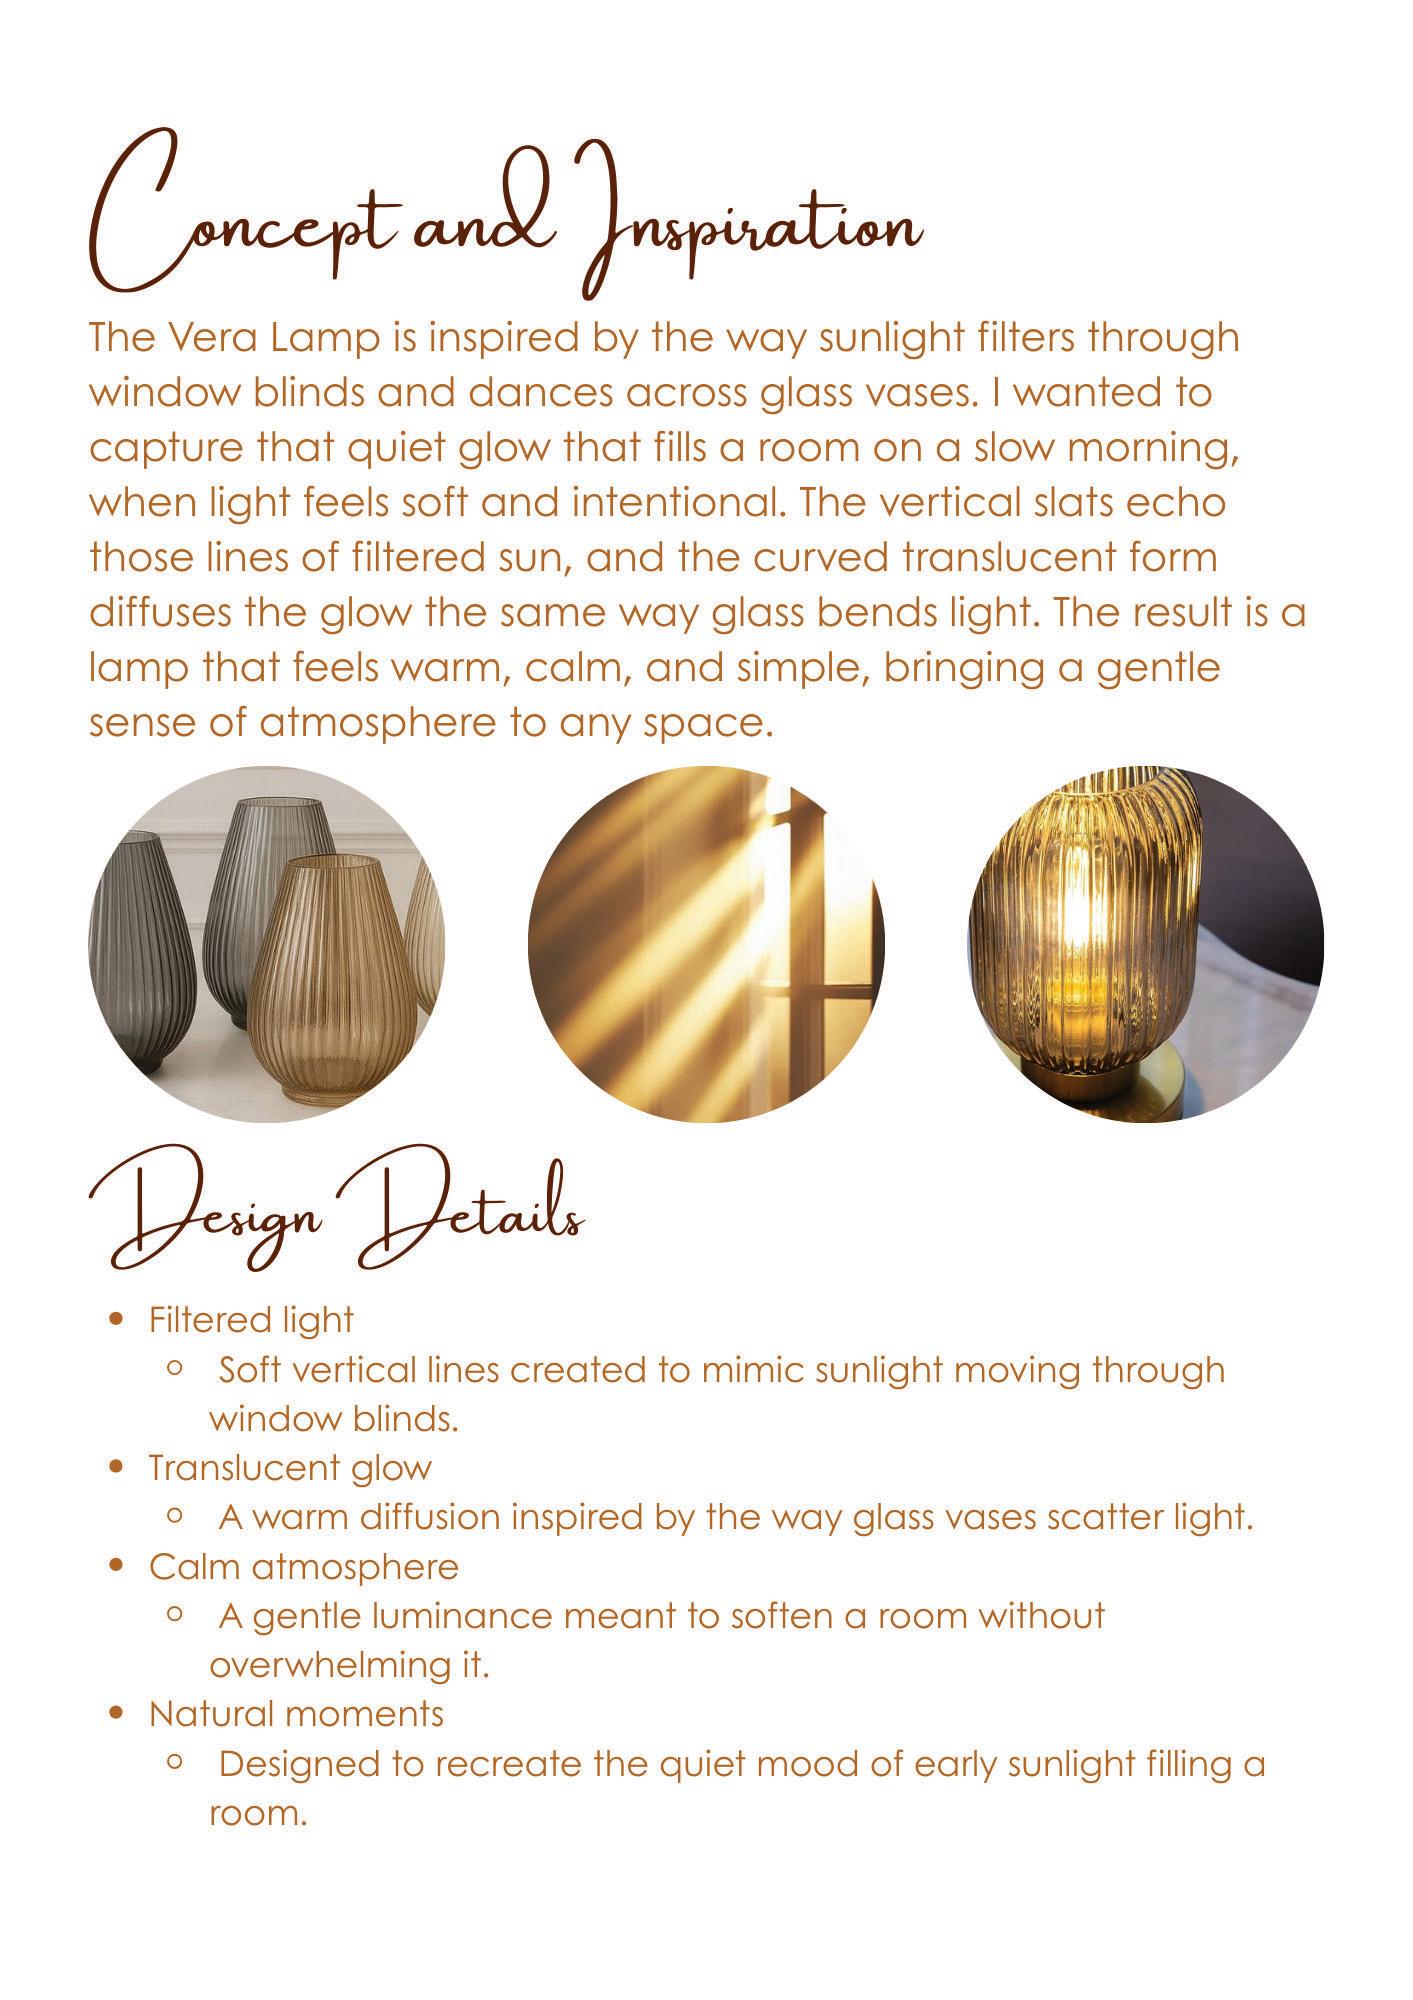
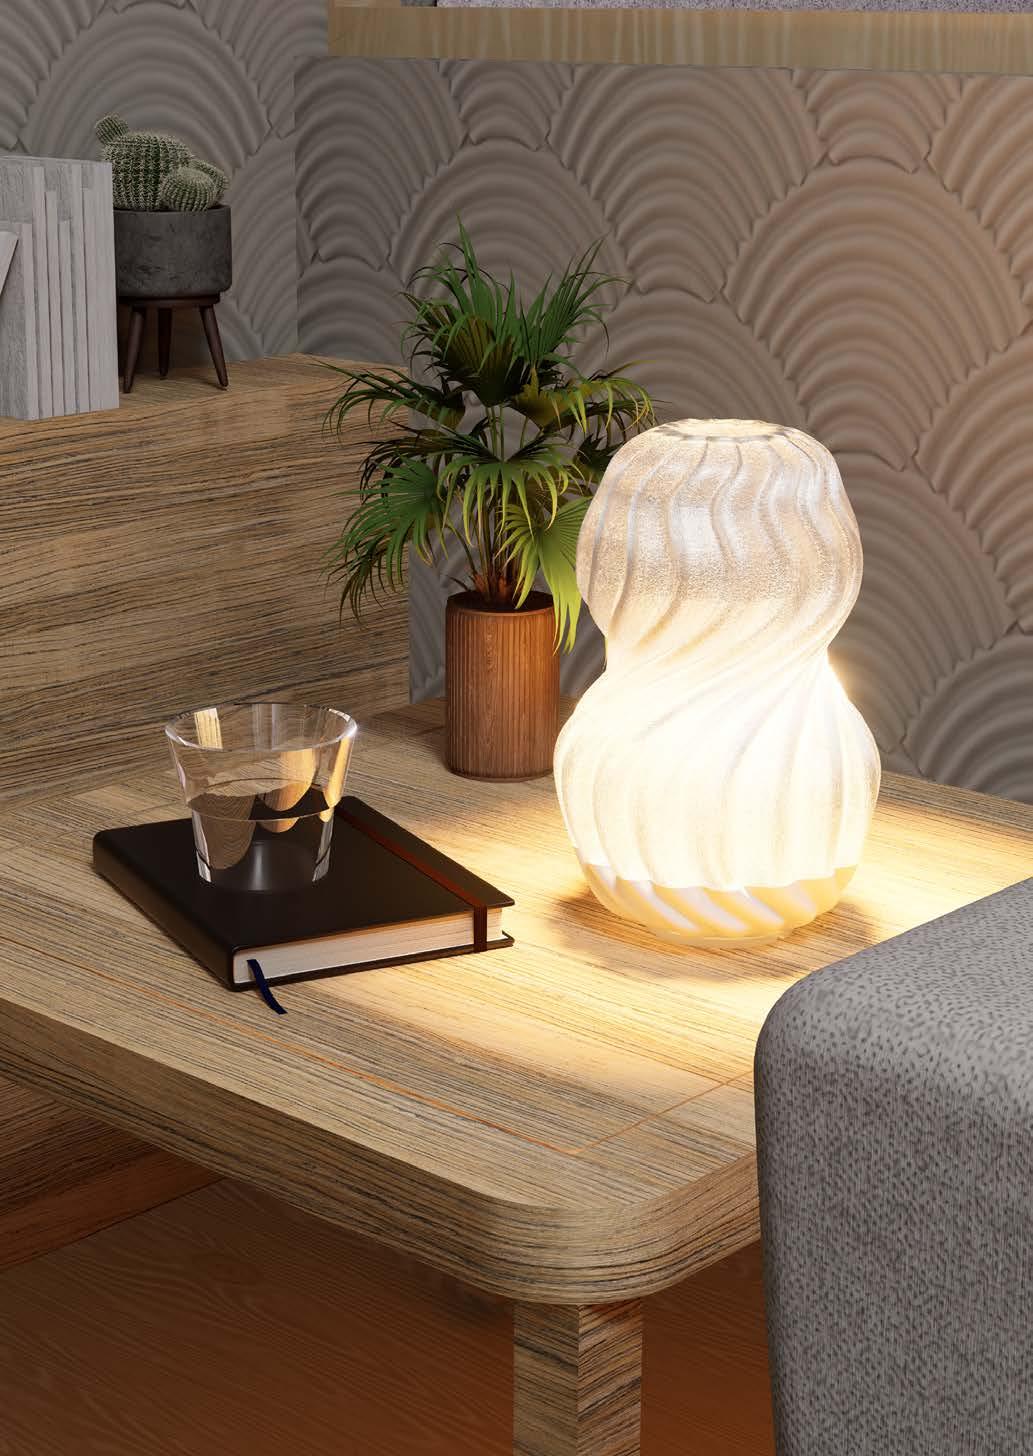
My ligh ng concept began with the idea of crea ng a so , sculptural form that glows from within. I was drawn to ver cal ribbing and gentle curves because they add movement without feeling busy. My early sketches focused on twis ng silhoue es, repeated lines, and forms that feel almost woven or pleated.
The inspira on images helped me understand how light interacts with texture and how a simple shape can become more expressive when the surface guides the glow. I wanted the lamp to feel calm, warm, and slightly organic, like it’s shaped by air or mo on.
This led me toward a design that’s lightweight, rhythmic, and invi ng. The nal direc on balances structure with so ness and creates a quiet but memorable presence in a space.
Rened Concept Narra ve and Sketches
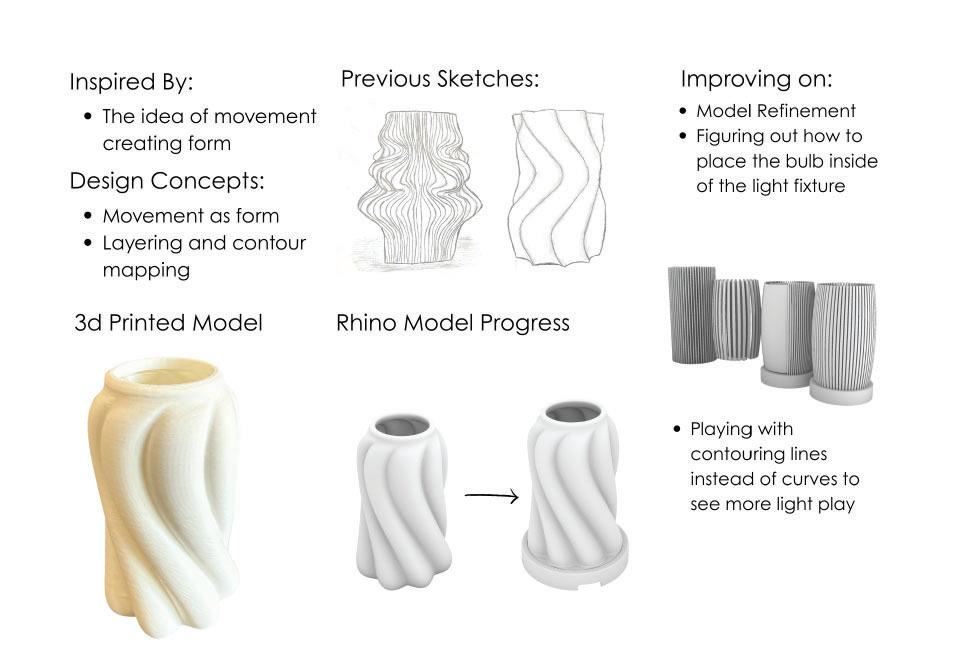
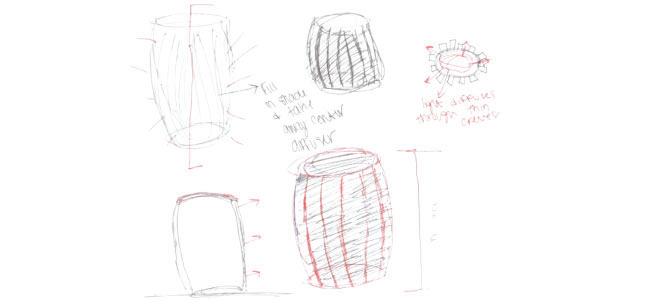
As I moved into rening the design, I focused on how movement could shape the form in a clearer and more inten�onal way. The early sketches helped me understand the gestures I liked, so this phase was about �ghtening the silhoue�e and controlling the rhythm of the ver�cal lines. I started layering and mapping contours to guide the light more evenly and to create subtle shi�s in texture.
Working in Rhino let me test different twists, thicknesses, and transi�ons, and I was able to see how small changes affected the whole lamp. The 3D printed test model helped me understand how the light actually moves through the material and what adjustments I needed for a cleaner glow.
This stage was mostly about ge�ng the propor�ons right, rening the surface, and guring out the best way to house the bulb. It pushed the concept toward something more polished, more inten�onal, and closer to the nal design direc�on.
Final
Dra Concept Narra ve and Sketches
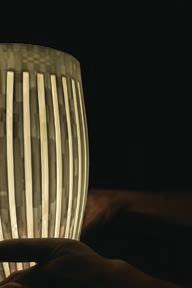
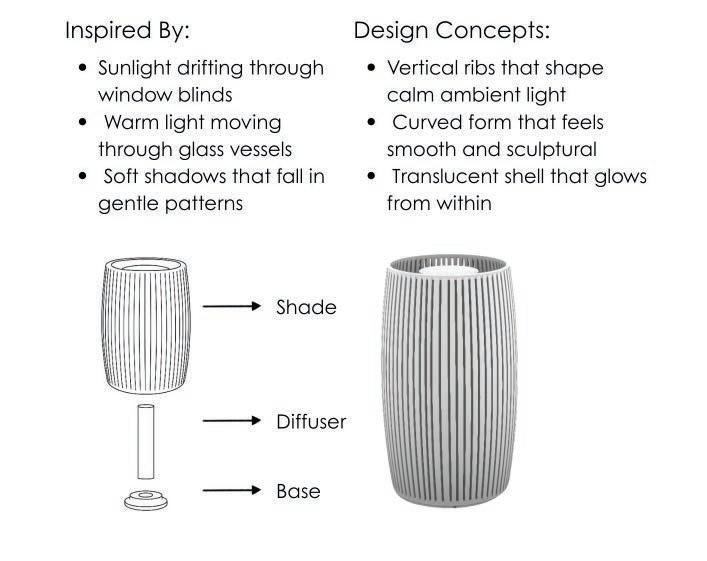
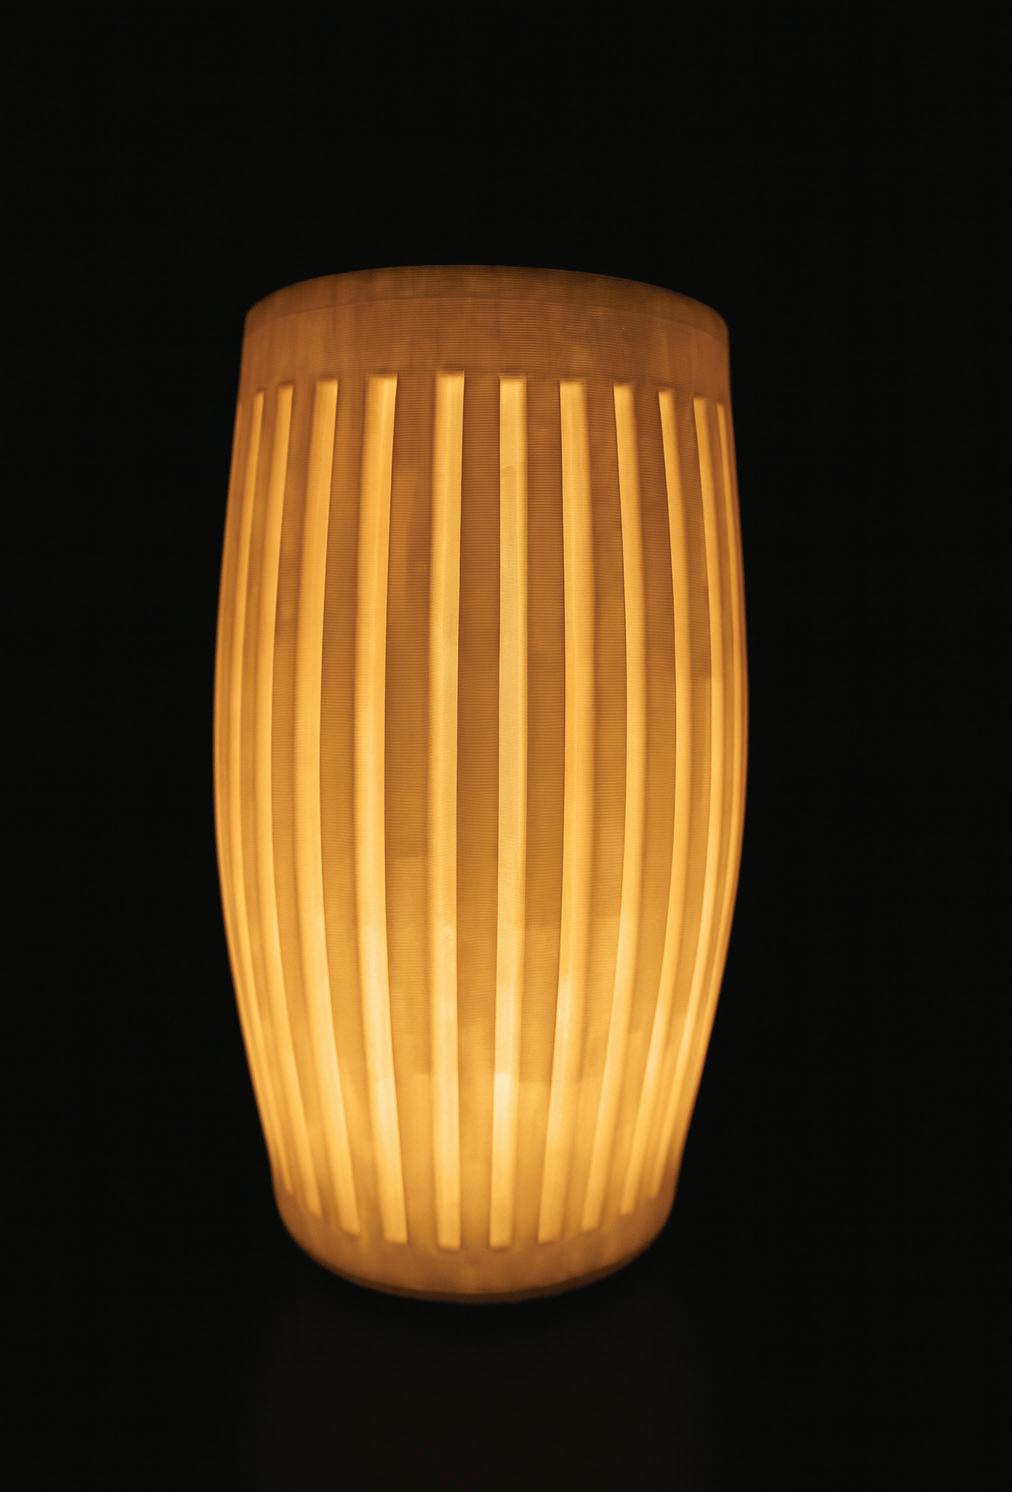
This nal design brings together everything I explored earlier with light, texture, and movement. I wanted the lamp to feel calm and warm, the same way sunlight lters through window blinds or passes through glass. The ver�cal ribs help guide that glow, crea�ng so� shadows that shi� gently around the form.
Rening the model was mostly about nding the right balance between structure and so�ness. The curved silhoue�e keeps it sculptural while the translucent shell lets the light breathe through the surface. Breaking the lamp into the shade, diffuser, and base made the design cleaner and easier to assemble, and it helped the glow feel more even and inten�onal.
The result is a simple but expressive piece that creates a warm ambient moment in any space.
Sketches
Final Luminaire Concept Narra ve, Sketches,
and Rendersing
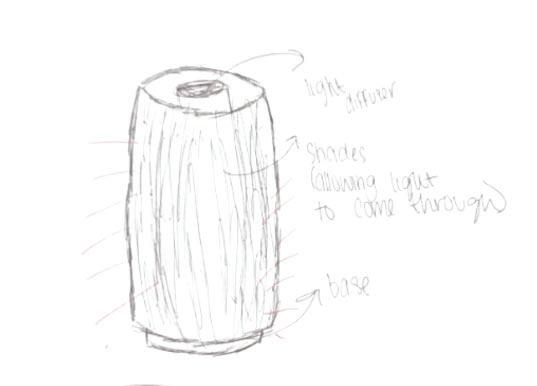
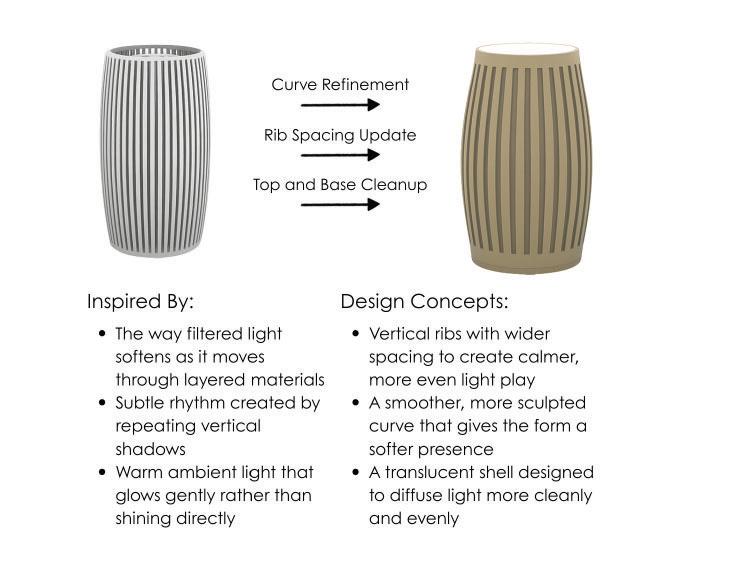
This nal luminaire design brings together everything I learned from sketching, modeling, and tes�ng prototypes. Earlier versions focused on �ght ver�cal ribs and a straighter prole, but as the design developed, I started leaning into a so�er, more open approach to controlling light. Rening the curve of the form and widening the rib spacing helped the lamp feel calmer and more sculptural, and it allowed the light to diffuse in a smoother, more even way.
The idea of ltered light con�nued to guide the decisions I made. I wanted the lamp to glow gently, the same way light so�ens when it passes through layered materials or moves across repea�ng ver�cal shadows. Cleaning up the top and base also made the silhoue�e feel more inten�onal and helped the whole piece read as one unied form.
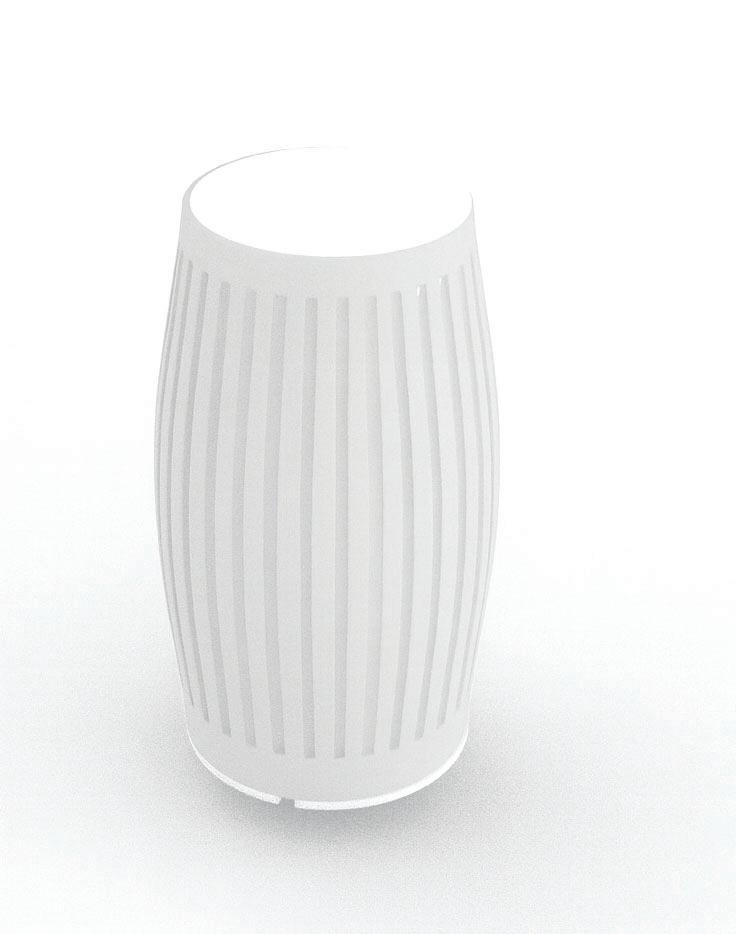
The nal result is a warm, translucent luminaire that shapes ambient light through subtle rhythm and gentle curves. It reects the evolu�on of the concept while staying true to the quiet, atmospheric quality that inspired the design from the beginning.
Sketches
1.Shade
2. Led Bulb3. Base
Records of 3D Prin ng Progress
The 3D prin�ng process helped me understand how the form actually behaved once it moved off the screen. I started with small tests to study the curves and surface ow, which made it easier to see how the geometry would translate into a physical object. As I introduced ver�cal ribs, the prints showed how light interacted with the openings and where the spacing needed to be adjusted.
Prototyping also helped me troubleshoot prac�cal issues. Failed resin a�empts revealed weak points in the structure, and prin�ng separate base components let me rene how the lamp would assemble and support the diffuser. Each itera�on claried what needed to change, from the thickness of the shade to the t of the inner pieces.
Working through these prints made the nal model feel more inten�onal and resolved. The adjustments to rib spacing, propor�ons, and assembly details came directly from seeing the forms in hand and tes�ng how they performed under light.
Early form test
Failed Resin Print
Shade print
Twist geometry
Failed Base Components
Rib refinement
First rib models
Rib prototype
Light test
Final Luminaire Concept Narra ve, Sketches,
and Rendersing
This nal luminaire design brings together everything I learned from sketching, modeling, and tes�ng prototypes. Earlier versions focused on �ght ver�cal ribs and a straighter prole, but as the design developed, I started leaning into a so�er, more open approach to controlling light. Rening the curve of the form and widening the rib spacing helped the lamp feel calmer and more sculptural, and it allowed the light to diffuse in a smoother, more even way.
The idea of ltered light con�nued to guide the decisions I made. I wanted the lamp to glow gently, the same way light so�ens when it passes through layered materials or moves across repea�ng ver�cal shadows. Cleaning up the top and base also made the silhoue�e feel more inten�onal and helped the whole piece read as one unied form.
The nal result is a warm, translucent luminaire that shapes ambient light through subtle rhythm and gentle curves. It reects the evolu�on of the concept while staying true to the quiet, atmospheric quality that inspired the design from the beginning.
Sketches
Design Work
Prototyping
Produc on Cost
Mary Virginia McNeil Portfolio
Process of Table Lighting Design
- I am obsessed with lighting design already and this class made it 1000x worse. The 3D printing technology allowed me to have no limitations to my creativity, it was so refreshing to create something completely my own for a school project. This project strengthened my confidence in my graphic and product design capabilities.
My final product is not related to any of my initial sketches or ideas. The halftone idea came to me as an idea and I knew it would be part of my final design.
Series of Product and Business Branding Packages
- This part of the process was my favorite because yes 3D printing has many possibilities, a blank box has even more! It was really important to create an identity for my lamp through playful branding that reflects the playfulness of the design.
Process of Package and Exhibition preparation
- One of the final steps of the process was photographing my final design. The pictures were so beautiful that one of them became a full bleed background for the exhibition flyer.
Series of Process Book Making
- It was fun to look back and document this process, however I wish I had taken more process photos.
Overall
- Overall... this might be my favorite FJSOAD course I’ve ever taken. After completing the process and seeing all the lamps created by my peers, I thought that every student should have this opportunity. Unbound by production constraints and design guidelines allowed me to create something really individual, bespoke you could say.
If you could talk to you before the beginning of the semester, what would you like to share with you?
- Take more pictures! Also, trust your design instincts and enjoy making something you’re truly proud of.
Initial Concept Narrative and Sketches
natural geometries and textures
narrative
For the luminaire project, my mind immediately goes to my love for up-close creature photography. Intricate patterns and translucent sea creatures became my focus. The natural geometry of shells, flowers, thorns, and even crocodile teeth became inspiration as I gathered my images. Manipulation of light diffusion is what drives my ideas. When I find a shape or animal that sparks an idea, I wonder how the interaction between that form, the material, and the light will play off each other. A lot of these forms stem from things I have a fixation on. I love close-up ocean photography, it allows us to explore the creativity of nature in a new way. These photos draw me in through their color and texture, while this exercise is not color driven- I love the challenge of creating the same impact through texture and form. A lot of my sketches ended up with a 3-d elliptical shape with soft edges. The next phase for the development would be scaling textures up and down, exaggerating them, thickness, and playing with openings/light diffusion. While I do want to use some fun inspiration like crocodile teeth or flowers and shells, my goal is for the inspiration to not be obvious. I want to create a simple and beautiful luminaire that would contribute personality to a space.
Final Luminaire Concept Narrative, Sketches, and Rendersing
Doppler Lamp is the result of a desire to explore lighting design through the capabilities of a 3D printer, creating a playful rhythm of illuminated digital patterns. The idea grew from a personal love of graphic textures, particularly halftone effects. Using 3D printing, the lamp integrates digital design with physical form, turning halftones, gradients, and algorithmic patterns into something you can hold and light. What emerges is digital thinking made physical, where code becomes warm and glowing.
2d profile to revolve, revolved forms
Halftone pattern, flowalongsurface to the sleeve form.
*doppler lamp
GINKGO STUDIOS
Concept Narrative
Doppler Lamp is the result of a desire to explore lighting design through the capabilities of a 3D printer, creating a playful rhythm of illuminated digital patterns. The idea grew from a personal love of graphic textures, particularly halftone effects. Using 3D printing, the lamp integrates digital design with physical form, turning halftones gradients, and algorithmic patterns into something you can hold and light. What emerges is digital thinking made physical, where code becomes warm and glowing.
*doppler lamp
Poppins SemiBold
GINKGO STUDIOS
Poppins LIGHT
# 3f57a6
Product Branding Package (2/2)
*doppler lamp GINKGO STUDIOS
Concept Narrative
Doppler Lamp is the result of a desire to explore lighting design through the capabilities of a 3D printer, creating a playful rhythm of illuminated digital patterns. The idea grew from a personal love of graphic textures, particularly halftone effects. Using 3D printing, the lamp integrates digital design with physical form, turning halftones, gradients, and algorithmic patterns into something you can hold and light. What emerges is digital thinking made physical, where code becomes warm and glowing.
design process
design process
*doppler sleeve light source
light kit base flange (2)
packaging design + logo
Doppler Sleeve
Base Kit + Bulb
packaging design
*doppler lamp GINKGO STUDIOS
Olivia Phelan Portfolio
Process of Table Lighting Design
- Designing a lamp to sit upon a surface depends entirely on the surface it exists on. Knowing I would place this upon a taller surface, the elevation of the product had to be the most enticing and provocative view.
Series of Product and Business Branding Packages
- Creating a brand out of a simple sketch was difficult in theory, however, it took piecing apart the building blocks of the final product to successful encapsulate the impression and impact of the luminaire.
Process of Package and Exhibition preparation
- From the branding, it was clear what the box needed to show to sell the product. Keeping the graphics on the box was essential while still communicating the demanding presence and striking concept.
Series of Process Book Making
- Looking back into the photos of process and visualizing the evolution of the luminaire was encouraging and made me hopeful for future designs related to this table luminaire.
Overall
- I very much enjoyed this class in the way it challenged and encouraged my advancement in the skill of translation from 2d sketch, to digital 3d model, and then to 3d print. After many failures in the 3d printer, I reached out to a studio peer who is an avid user of the 3d printer, and the advice and instruction I received resulted in my first successful print. With every print being a disappointing failure, I was completed elated at the first success. Once I gained the printing skills and the confidence, printing felt seamless.
If you could talk to you before the beginning of the semester, what would you like to share with you?
- You can learn Rhino again. This class is about to teach you a skill you will become obsessed with, and one you will want to utilize in your everyday life.
Sketch 1
Sketch 3
Sketch 5
Sketch 2
Sketch 4
Sketch 6
Soft, round, & approachable form
Sharp, radial, & intimidating form
Narrative
Exploring the Sub-D function in
Understanding the frame of a simplified model
Rhino8
Simplifying forms & shapes
Imagining surface applied to the simplified model
Seeing the model for its depth & values
Rethinking
Top of box package
Through the primarily precieved solid filament, let the phenomenon of light reveal the lattice hidden within. See the real solids and voids punching dynamically for attention. Witness the responsibility of internal structures when two provocative geometries unite. The consistently radial and familar shade pattern alternatively baring the load of the light source at an overall width of 7.1 inches to extrude and morph into 9.4 inches of full captivation.
For more details : instagram @ophelandesigns
2025 olivia phelan
Side of package showing section drawing of Lattice Light
Side pf package showing top view of Lattice Light
Side of package showing lamp requirements & recommendations
Side of package showing side view / an elevation of Lattice Light
Top of package
Brobston Portfolio
Parker
Process of Table Lighting Design
- I learned that there is a happy balance between function and form, and in a table lighting fixture, that balance is extremely important.
Series of Product and Business Branding Packages
- I learned that branding is a very large part of product design. If you can draw people in with your branding, you can sell even the least interesting product.
Process of Package and Exhibition preparation
- I learned that post processing and getting resin prints exhibition ready is a very labor intensive process.
Series of Process Book Making
- I learned that I should have documented my process better, and that I find a less traditional work flow works better for me.
Overall
- I learned about the 3D printing process and how to market and price items.
If you could talk to you before the beginning of the semester, what would you like to share with you?
-I would have chosen a different lamp design. I wish I could have filament printed my design, however the form I chose was not compatible with filament printing. I also would have liked to tell myself to do more research on the printing methods, so my test and final prints could have gone much smoother.
Initial Concept Narrative and Sketches
While generating ideas for this project, I drew most of my inspiration from curvilinear and organic shapes. I pulled from different scientific disciplines, allowing myself to keep an open mind while brainstorming. Ocean life has always fascinated me, so I sketched several ideas based in marine biology. I included some more orthogonal ideas, drawn from quartz, and a rectangular box that when illuminated, shows curvilinear patterns. Several ideas are based on theories, such as gravity, patterns of chaos, and sound waves. These are more abstracted, as I only had diagrams or articles as a basis, as opposed to actual images. In the next phases of brainstorming, I feel like I will lean towards a more asymmetrical, sculptural idea. The sketches that are most enticing to me are the ones that look as if they should have trouble standing up, but in reality would be balanced and stable. I am also very interested in exploring the idea of a very simple looking unlit exterior, but with a very complex interior design that is only visible when the fixture is lit. I also need to work on abstracting some of my ideas, which has never been my strong suit. This exercise was very helpful in getting my ideas moving in the right direction, and I am looking forward to developing my ideas further.
Patterns of Chaos
Sound Waves
Solar Flare
Shark Jaw
Jellyfish
Gravity
Rivers in Spain
Kingdom Protea
I narrowed my design ideas down to 3, and developed them further. I have been drawn to organic, curving shapes, and wanted to explore this further. I have not yet settled on a final idea, however I am making progress.
Final Draft Concept Narrative and Sketches
These are Rhino exploration models. I experiemnted with SUBD modeling, utilzing the software in my brainstorming process.
Rhino Exploration Model
Rhino Exploration Model
Rhino Exploration Model
Rhino Exploration Model
Rhino Exploration Model
Rhino Exploration Model
Rhino Exploration Model
Rhino Exploration Model
Luminaire Concept Narrative, Sketches, and Rendering
Narrative
FIN is a resin-printed luminaire inspired by the fluid, dynamic motion of a sea turtle’s fin. Its organic, sculpted form captures the elegance and effortless grace of a turtle gliding through the water. Emitting a warm white glow, FIN creates a calming, restorative atmosphere for the user. In alignment with its oceanic inspiration, the luminaire promotes environmental stewardship through the use of biodegradable and recyclable packaging.
Inspiration Image
Sketches
Early Lamp Rendering
Early Base Rendering
Concept Narrative
Early Rhino Renderings
Developed Lamp
Developed Base
Records of 3D Printing Progress
These are some of my test and failed prints throughout the printing process.
Fillament Testing
Full Scale Model Attempt
Full Scale Model Attempt
1/3 Scale Model Attempt
Full Scale Model Attempt
1/3 Scale Model Attempt
1/3 Scale Model Attempt
Full Scale Model Attempt
FIN
FIN is a resin-printed luminaire inspired by the fluid, dynamic motion of a sea turtle’s fin. Its organic, sculpted form captures the elegance and effortless grace of a turtle gliding through the water. Emitting a warm white glow, FIN creates a calming, restorative atmosphere for the user. In alignment with its oceanic inspiration, the luminaire promotes environmental stewardship through the use of biodegradable and recyclable packaging.
PARKER BROBSTON
Branding Package
Branding Package
Design Concept: Turtle Fin
Colors:
FLUIDITY
Design Concept: Turtle Fin
Colors:
Fonts:
FIN - CENTURY GOTHIC
CHELONIA - QUICKSAND
FIN - BUBBLER ONE
CHELONIA - QUESTRAL
Packaging:
Minimalist Box, Simple colors
Include:
+Image of lamp in room
+Close up of lamp
+Diagram of assembly
+Concept Diagram
+Process Sketches?
Characteristics:
+Conservation
+Fluidity
+Calming
+Graceful
Brand Mission:
BRAND VALUES FIN
Branding Package
Design Concept: Turtle Fin
Colors:
Fonts:
Branding Package
Design Concept: Turtle Fin
Colors: d5f1e5
Fonts:
FIN - CENTURY GOTHIC CHELONIA - QUICKSAND
FIN - BUBBLER ONE CHELONIA - QUESTRAL
FIN was created as a peaceful luminaire to bring fluidity and grace into spaces. It serves as a reminder of the importance of conserving our oceans and the sea life that inhabits it. This lamp will be marketed as a luxury luminaire at an affordable price, designed for those who care about the world we live in. 10% of the proceeds will go towards a conservation charity with the mission of helping sea life.
FIN - CENTURY GOTHIC
Packaging:
CHELONIA - QUICKSAND
FIN - BUBBLER ONE
Fonts:
FIN - CENTURY GOTHIC
CHELONIA - QUICKSAND
FIN - BUBBLER ONE
CHELONIA - QUESTRAL
Packaging:
Minimalist Box, Simple colors
Include:
+Image of lamp in room
Minimalist Box, Simple colors
Include:
+Image of lamp in room
CHELONIA - QUESTRAL
Packaging:
Minimalist Box, Simple colors
Include:
+Image of lamp in room
+Close up of lamp
+Diagram of assembly
+Concept Diagram
+Process Sketches?
Characteristics:
+Conservation
+Fluidity
+Calming
+Graceful
+Close up of lamp
+Diagram of assembly
+Concept Diagram
+Process Sketches?
Characteristics:
+Conservation
+Fluidity
+Calming
+Graceful
Brand Mission:
FIN was created as a peaceful luminaire reminder of the importance of conserving will be marketed as a luxury luminaire the world we live in. 10% of the proceeds of helping sea life.
FIN
The FIN luminaire includes the resin printed cover, along with a filament printed stand to hold an E20 Lamp Base.
FIN beings an even light to the space, with extruding “barnacles” to add dimension to the smooth facade.
FIN
LAMP H 8.75” - W 7” - D 4”
LAMP BASE H 2.75” - W 2.5” - D 2.5”
DIMENSIONS MATERIALS
ANYCUBIC Plant
Based Resin 2.0White
BAMBU LabsPLA White Matte
RECOMMENDED BULB
FIN
PARKER BROBSTON
FIN FIN
CONCEPT
FIN is a resin-printed luminaire inspired by the fluid, dynamic motion of a sea turtle’s fin. Its organic, sculpted form captures the elegance and effortless grace of a turtle gliding through the water. Emitting a warm white glow, FIN creates a calming, restorative atmosphere for the user. In alignment with its oceanic inspiration, the luminaire promotes environmental stewardship through the use of biodegradable and recyclable packaging.
The FIN luminaire includes the resin printed cover, along with a filament printed stand to hold an E20 Lamp Base.
FIN beings an even light to the space, with extruding “barnacles” to add dimension to the smooth facade.
LAMP LINEWORK
FLUIDITY GRACE CALMING CONSERVATION
PRICE: $230
DIMENSIONS
LAMP
H 8.75” - W 7” - D 4”
LAMP BASE HOLDER
H 2.75” - W 2.5” - D 2.5”
MATERIALS
ANYCUBIC Plant
Based Resin 2.0White
BAMBU LabsPLA White Matte
Soft White Bulb
800 Lumens
2” x 2”
INCLUDES
Custom Lamp Shade
Lamp Base Holder
E20 Lamp Base
Soft White Bulb
800 Lumens
2” x 2”
BESPOKE ADVANCED LIGHTING UNIVERSITY
SCULPTURAL LIGHT OBJECT
PLANT-BASED RESIN 3D PRINT
SOFIA CHIARTOSINI A PRODUCT BY
WHAT I LEARNED FROM..
PROCESS OF TABLE LIGHTING DESIGN
THIS PROJECT TAUGHT ME TO TRUST SLOW DESIGN AND ACCEPT UNCERTAINTY AS PART OF THE PROCESS. THE FINAL FORM ONLY EMERGED ONCE I STOPPED FORCING SOLUTIONS AND ALLOWED ITERATION, REDUCTION, AND DOUBT TO GUIDE THE OUTCOME.
SERIES OF PROD UCT AND BUSINESS BRANDING PACKAGES
I LEARNED THAT A PRODUCT DOES NOT STAND ALONE AND THAT DESIGN CARRIES RESPONSIBILITY BEYOND AESTHETICS. BRANDING PUSHED ME TO THINK ABOUT INTENTION, NARRATIVE, AND LONGTERM CLARITY RATHER THAN JUST VISUAL APPEAL.
PROCESS OF PACKAGE AND EXHIBITION PREPARATION
THIS PHASE SHOWED ME THAT PRESENTATION IS PART OF THE DESIGN, NOT AN AFTERTHOUGHT. IT TAUGHT ME DISCIPLINE, PRECISION, AND HOW EASILY STRONG IDEAS CAN BE WEAKENED OR ELEVATED BY THE WAY THEY ARE COMMUNICATED.
SERIES OF PROCESS BOOK MAKING CREATING THE PROCESS BOOK HELPED ME UNDERSTAND THE VALUE OF DOCUMENTING MY THINKING, NOT JUST MY RESULTS. I LEARNED THAT SHOWING UNCERTAINTY, FAILURE, AND EVOLUTION OFTEN COMMUNICATES MORE THAN A POLISHED FINAL IMAGE.
OVERALL
THIS SEMESTER TAUGHT ME TO SLOW DOWN, BE MORE INTENTIONAL, AND TRUST MY INSTINCTS WHILE STAYING OPEN TO CRITIQUE. I LEAVE WITH A STRONGER SENSE OF AUTHORSHIP AND A CLEARER DESIGN VOICE THAN I HAD AT THE BEGINNING.
IF YOU COULD TALK TO YOU BEFORE THE BEGINNING OF THE SEMESTER, WHAT WOULD YOU LIKE TO SHARE WITH YOU?
I WOULD TELL MYSELF NOT TO PANIC WHEN THINGS FEEL UNCLEAR, BECAUSE CLARITY COMES THROUGH DOING, NOT OVERTHINKING. TRUST THE PROCESS, PROTECT YOUR IDEAS, AND ALLOW YOURSELF THE TIME TO ARRIVE AT THEM HONESTLY.
REFINED SKETCHES TO PRINTS
DESIGN
THE LAMP IS COMPOSED OF TWO IDENTICAL COMPONENTS THAT INTERSECT, FORMING THE SHAPE OF AN EMBRACE.
THE FORMS MERGE SEAMLESSLY AT THE TOP, WHILE THE HUG AT THE BASE IS ILLUMIN ATED, CASTING A GENTLE GLOW THAT DOES NOT REACH THE UPPER SECTION.
THIS CONTRAST BETWEEN LIGHT AND SHADOW EMPHASIZES BOTH INTIMACY AND RESTRAINT WITHIN THE DESIGN. INSPIRED BY NICHE GREEK MYTHOLOGY, THE LAMP DRAWS FROM THE STORY OF AMORE E PSICHE, A TALE OF LOVE TESTED THROUGH TRUST, PATIENCE, AND DEVOTION.
LIKE THE MYTH, THE LAMP REPRESENTS THE QUIET STRENGTH OF CONNECTION, THE BALANCE BETWEEN UNITY AND INDIVIDUALITY, AND THE BEAUTY FOUND IN MOMENTS OF CARE AND CLOSENESS.
THE MYTH OF AMORE E PSICHE
PSICHE, A MORTAL WOMAN OF EXTRAORDINARY BEAUTY, CAPTURES THE HEART OF AMORE, THE GOD OF LOVE.
THEIR LOVE FACES CHALLENGES WHEN PSICHE MUST COMPLETE DIFFICULT TASKS SET BY THE GODS, TESTING HER TRUST, PATIENCE, AND DEVOTION.
IN THE END, THEIR PERSEVERANCE BRINGS THEM TOGETHER, SHOWING THAT TRUE CONNECTION GROWS STRONGER THROUGH CARE AND COMMITMENT —JUST LIKE THE LIGHT IN THIS LAMP.
“AMORE E PS ICHE” SCULPTURE BY ANTONIO CANOVA
INSIDE & SIDES
BOTTOM
CONTRASTING SHARP EDGE
“EMBRACE” DESIGN
FOCUSED GLOW
SCULPTURAL DUAL FORM
SPECIFICATIONS
PRICING
MATERIAL:PLANT BASED RESIN
COLOR:
PRICE:
AMORE E PSICHE
SCULPTURAL LIGHT OBJECT
DIMENSIONS:
H 10"
D 4 1/4"
W5"
MATERIAL:
W HITE PLANTB ASED RESIN
RECOMMENDED BULB:
G 4 LED BULB
3 W
2 700K
1 2-24V 13.5X41MM
AM ORE E PSICHE IS A SCULPTURAL TABLE LAMP DEFINED BY BALANCE, INTIMACY, AND RESTRAINT.
COMPOSED OF TWO IDENTICAL FORMS THAT INTERSECT IN AN EMBRACE, THE DESIGN EMPHASIZES CONNECTION THROUGH SYMMETRY AND CONTINUITY.
LIGHT IS INTENTIONALLY CONTAINED WITHIN THE HUG, CREATING A SOFT, AMBIENT GLOW WHILE LEAVING THE UPPER PORTION IN SHADOW.
INSPIRED BY THE MYTH OF AMORE AND PSICHE, THE LAMP REFLECTS THE QUIET STRENGTH OF TRUST AND UNION, WHERE ILLUMINATION IS EXPERIENCED INWARDLY RATHER THAN DISPLAYED.
Suzu Kokuho Portfolio
What I learned
Process of Table Lighting Design
- I began by exploring concepts, spending time through sketching to discover what I wanted to express. My concept was Canyon, and I learned how to transform Canyon into something entirely different.
Series of Product and Business Branding Packages
- I proceeded with the design while consciously considering how to convey its characteristics and strengths to the client. I learned that even the same product can be expressed in diverse ways depending on the brand’s atmosphere, and that branding is just as important as the product’s design itself.
Process of Package and Exhibition preparation
-Packaging is the first thing customers see when they purchase a product. Exhibitions are also an opportunity to showcase products to new customers. For both processes, we aimed to maximize the expression of our brand’s strengths and prepared for it.
Overall
- This class was my first time learning about the entire process from product design to sales. While my regular classes focus on architectural design, I was surprised to discover both similarities and differences between architectural design and lamp design. Especially the branding process was entirely new to me, and I learned not only about design but also the importance of a business perspective.
If you could talk to you before the beginning of the semester, what would you like to share with you?
- It is impossible to create a perfect design from the beginning, so I want to tell to not be afraid of making changes, to try various things, and to pursue a better design.
Initial
Sketch 1
Sketch 5
Sketch 3
Sketch 7
Sketch 2
Sketch 4
Rhino view 1
Rhino view 3
Rhino view 5
Rhino view 2
Rhino view 4
Rhino view 6
CONCEPT
This lighting is inspired by the timeless beauty of Canyon. It expresses the power of the canyon, shaped by the passage of time and erosion. It gently illuminates daily life with nature’s serenity, enveloping the space in soft light. This allows the presence of nature to be felt within the ordinary.The design allows the spread of light to change depending on the viewing angle, enabling you to feel nature’s quiet rhythm and depth through the light.
DIMENTION
Taylor Heath Portfolio
Process of Table Lighting Design
- I found the beginning design process to be exciting translating my concepts into rhino models. However, learning how to use subd as a tool became somewhat tricky and difficult. It was more of a sculpting tool and not something I was familiar with, however whe nI did learn how to use it I found that it was extremely helpful in creating a fluid and smooth design compared to traditional rhino modeling. Additionally, since I experiemented with both the resin and filament I found that the filament was much easier to create a project but it was much more difficult to create a smooth infill compared to the resin that is an inherently smooth material.
Series of Product and Business Branding Packages
- I wanted to create a package that spoke directly to the product and what it embodies which is an idea of cleanliness, organics, peace, and serenity. The idea is for the light to be the main focus but also an accent to an aesthetic it is designed for with also allowing the design to be adaptable in any space. With a clean and somewhat vintage color pallette and typeface, produces a somewhat comforting identity that gives off a sense of peace and familiarity.
Process of Package and Exhibition preparation
- Personally I really enjoyed the pacage design process as I felt that I was able to explore many different identities of my design through different forms. The package gives a look to what is inside while also keeping it descriptive enough and somewhat elusive so it is not inheretly revealing what is inside. I also enjoyed preparing for the exhibit as it allowed me to make multiple versions of the same lamp but working on different things such as infill, ironing, and different materials.
Series of Process Book Making
- I find this to be the most rewarding part of the process as I am able to go back and look through all the work that I have produced thus far and see how my design has evolved or remained the same. From initial sketches to rhino renderings, I am able to see how the curvature elements of my initial concept have been a constant driving factor in my process and workflow.
Overall
- In the end I found this to be an extremely rewarding and fufilling process to see all of the work that I have completed with a simple idea that came to my mind come to life. Previous to this class I had an intrest in lighting and now I know that I have much more of a passion for it than I had anticipated. I plan on after this course, creating a series of lamps and beginning a much greater exploration into lamp and lighting design as well as 3d printing overall.
If you could talk to you before the beginning of the semester, what would you like to share with you?
- I would say to continue working even when the process is hard and try to lean more into the development and experimentation with the rhino design and modeling.
Initial Concept Narrative and Sketches
When I began sketching for this assignment, I was initially drawn to objects or things that had some sort of opening where light would be able to escape or show through. As I continued to discover more ideas, I played around with the idea of the light diffusing out through the shape. For instance, with the mushroom or jellyfish inspiration I started to think of how the light would come through with the domed shape and how it would diffuse out of the lower parts. I then began to think of things that were dimensional and could have pockets that the light would shine out of. Thinking of some of the rock ideas or clam shells where the light would be contained to only certain areas. I played around with round ideas as well as taller and skinnier ideas and found that I was drawn to the idea of shells and coral more where the light is centered in the object and has very little area for it to escape but can be diffused throughout the entire shape.
CONE SHELL
SEA ANENOME
SHALE ROCK
CLAM SHELL
OPEN GEODE
JELLYFISH
PUDDLE
Through this process I began translating inspiration images and using subd in rhino to create initial lighting designs.
SPIRAL CONCH SHELL
SEA URCHIN SHELL
CLAM SHELL WITH PEARL
SPIRAL CONCH
Seashell Curve Inspiration
Clamshell Inspiration
Sea Urchin Inspiration
Conch Shell Inspiration
Rhino Rendered Image
Rhino Rendered Image
Rhino Rendered Image
Rhino Rendered Image
Final Draft Concept Narrative and Sketches
I continued with the spiral concept and explored different design options through the use of the SubD tool in Rhino in order to achive the look that I was going for. After many iterations, I was able to use this tool to create a design that I was happy with and that I felt embodied my initial design concept.
Rhino SubD Modeling
Rhino SubD Modeling
Rhino SubD Modeling
Rhino SubD Modeling
Rhino SubD Modeling
Rhino SubD Modeling
Rhino SubD Modeling
Rhino SubD Modeling
Final Luminaire Concept Narrative, Sketches, and Renderings
SPIRA is a 3d printed lighting piece that is designed to bring calm and serenity to your space. Sculpted from the quiet poetry of the shore, this lamp takes its form from the gentle curves and natural symmetry found in seashells. Each contour reflects the calming rhythm of the ocean, bringing a sense of serenity and soft coastal warmth into your space. This design transforms each room with its organic and clean design, a clear outer shell that imitates light passing through water and curvature reminiscent of the shore. With its organic forms, the project is made of filaments that are recyclable in nature and partially biodegradable to keep a restorative essense.
Inspiration Images
Design Evolution
Rhino Rendering - Lamp
Final Rendering
Rhino Rendering
Rhino Rendering - Base
This is the process and experience that I went through when it came to exploring the 3d printing process.
1/3 scale resin model
1/3 scale filament model
Resin printing fail
1/3 scale resin printing
1/3 scale model with light
Full scale resin print
Full scale filament print
Failed filament print base
SPIRA
light, refined by the ocean table lamp
CONCEPT
SPIRA is a 3d printed lighting piece that is designed to bring calm and serenity to your space. Sculpted from the quiet poetry of the shore, this lamp takes its form from the gentle curves and natural symmetry found in seashells. Each contour reflects the calming rhythm of the ocean, bringing a sense of serenity and soft coastal warmth into your space. This design transforms each room with its organic and clean design, a clear outer shell that imitates light passing through water and curvature reminiscent of the shore. With its organic forms, the project is made of filaments that are recyclable in nature and partially biodegradable to keep a restorative essense
DESIGN INSPO
DESIGN
LightHaus design co.
The Spira luminare is a 3D printed, filament based, light fixture that is created to bring peace and relaxation to any space. The project is printed into twor seperate parts, one out of a clear filament and the other an opaque white. With its spiraling curves, the depth of the print changes throughout each side with none that are identical. The luminare sits on a base that screws the bulb into place and allows it to illuminate the entire form without having any locks or adhesives visible, it sits on a plate and appears to be floating.
DIMENSIONS
Lamp: Bambu Labs PetG Basic - Clear Soft White
L 6” W 6” H 11” Bambu Labs PLA Basic - White 2700k
Students investigate product design possibilities through grant-funded research
The glowing, misshapen sphere looks like an object from a science fiction movie. Ruth Prenzler’s otherworldly design for her table lamp challenged and sharpened her 3D modeling and printing skills as she found ways to mimic the texture of extraterrestrial rock.
In a course focused on custom lighting fixtures, Prenzler 3D printed “The Meteor” lamp with white resin, embodying the intriguing light qualities of saffordite rock and the textural qualities of meteorites. Saffordite is a dark rock that becomes translucent when illuminated. Her lamp consists of a textured “shell” that diffuses the light and an inner cylinder that holds the shell and the light bulb.
Continuing the theme, Prenzler was inspired by the impact of a meteor striking Earth’s surface for her wall-mounted luminaire “The Strike.” She fashioned it from two 3D-printed resin pieces with contrasting textures that she press-fit together. An LED light strip in the bottom piece bounces light off the ribbed and rocky textures.
Prenzler, a rising fifth-year architecture student, said the lighting course allowed her to apply architecture design skills of concept, identity and realization to a finished product.
“It expanded my notion of marketability in design and the monetary value that comes with the hours put into it,” she said.
Prenzler was among the 13 architecture, two interior architecture and design, and one Master of Design Studies students who designed and produced custom lighting fixtures in an innovative new course led by Jake Tucci and Jinoh Park.
Tucci and Park, both assistant professors of interior architecture and design, received a $30,000 grant from the Nuckolls Fund for Lighting Education to develop this upper-level professional elective. It was the second time in three years that the Department of Interior Architecture and Design faculty received a Nuckolls Fund grant.
The department was one of two programs nationally to be awarded this Nuckolls Fund grant for 2024. The Nuckolls Fund supports college-level lighting programs that enable students to learn, appreciate and apply the fundamentals of lighting design, and to recognize the achievements of James L. Nuckolls, the late lighting designer and pioneer lighting educator.
The grant funding allowed Tucci and Park to develop and implement the course, “Premiumization, Sustainability and Making of Bespoke Lighting,” for the fall 2024 semester. The grant also supported the exhibition of student work created in the course.
Opposite page, table luminaires designed by students in the bespoke lighting design course. Above, “The Meteor” table luminaire designed by Ruth Prenzler
Bespoke lighting consists of custom-made lighting fixtures designed to meet the specific needs of a client or space. While glass is typically used in bespoke lighting fixtures, using 3D printers allowed students to undertake the entire planning, design and production process.
This experience encouraged students to investigate and pay attention to how lighting is implemented in space design. It also promoted the use of eco-friendly manufacturing methods that help reduce carbon emissions, unlike traditional glass manufacturing methods. For the course, students employed a soy-based resin that can be hardened using ultraviolet light, as well as a filament made from corn.
“Lighting is a critical component of the built environment,” Tucci said. “You can have a very simple or even bad space completely enhanced with just light. It has the power to transform space, outside of other components.”
While lighting education is important for future interior designers, architects and landscape architects, Tucci and Park said such training at the undergraduate level is not too common. Due to the
cost of equipment and materials needed for this type of course, they said the external funding was essential to offer this elective.
The Fay Jones School currently offers Lighting Systems, a required course for interior architecture students. In addition, an Advanced Lighting Professional Elective, for students wanting to investigate lighting design, was developed in 2022 with support from a previous Nuckolls Fund grant. The final run of that funded course was in the spring 2025 semester.
While those two courses focus on exploration, students in the new bespoke lighting course made two functional products using 3D printing technology. The design of a sculptural table luminaire helped students learn new digital modeling techniques, test materials and experiment with light sources. For the second project, a wallmounted luminaire, students created a larger bespoke piece using 3D printed materials, aiming to capture the essence of a glass fixture.
This new course also placed a strong emphasis on students’ hands-on experience, another aspect that Park and Tucci said is sometimes missing in design
At left, “The Meteor” table luminaire designed by Ruth Prenzler takes shape on the 3D printer. At right, “The Strike” wall-mounted luminaire designed by Prenzler.
education. By helping students develop adaptation and design values, the course explored opportunities to make customized items.
“They are learning the amount of thought, development process and components in the lighting products. They are seeing first-hand how to make these products that they will eventually specify in their designs,” Tucci said. “It helps them understand those products as well as build up a nomenclature and way of communicating about those things.”
The Nuckolls Fund grant paid for the purchase of six new 3D printers exclusively available to students in this course. Three of the printers are resin printers capable of printing a wide range of materials, including soft and flexible thermoplastic urethanes (TPU) filaments and ceramics. The other three are high-speed filament-based fused deposition modeling (FDM) printers.
Exploring Product Design Through 3D Printing
Students in this course said they expanded their skills and came to understand the difference in designing something at a more intimate human scale than a building. And they noted that creating a product was a new design experience for many students in the class.
“The process is 100 times more iterative, and you have to go from thinking conceptually to considering the price to make it, the price to market it — and then work your way back to maintaining the concept,” said Adam Englke, a rising fifth-year architecture student.
Through this process, he also “exponentially” improved his Rhino modeling skills. He spent time working in SubD modeling software within Rhino and learned to model in a malleable way.
For his sculptural table luminaire, called “Illuminova Bloom,” Englke designed a biophilic vase luminaire with a grid woven around a sphere to make a speckled bulbus shape. He then paired it with a “spinning, splash-like motion” to create a dynamic lamp. His wall-mounted lighting, called “Portal,” took on an “otherworldly vibe” with a ringshaped piece with a concave back that projects light dimly on the wall. A wavy pattern on the front gives the illusion that the piece is spinning.
ReView: Summer/Fall 2025
At top left, a wall-mounted lighting fixture, called “Portal,” designed by Adam Engelke. Above, a sculptural table luminaire, called “Illuminova Bloom,” designed by Engelke. At bottom left, a display of luminaires designed by students.
Sydney Bommarito, a rising fourth-year interior architecture and design student, enjoyed exploring the intersection of design, technology and storytelling through the creation of her custom lighting pieces. Drawn to forms of aquatic architecture, she began her conceptual research by studying grottos, nymphaeums and various aquatic shells. She also was deeply inspired by the Dutch fashion designer Iris van Herpen, particularly her runway show, Sensory Seas.
“[Van Herpen’s] designs influenced the visual language of my collection, which aimed to express the duality of seashells: their unique beauty and their role as a natural dwelling,” Bommarito said. “I incorporated sequential contour lines to enhance visual rhythm and create a sense of cohesion across the collection.”
“I gained a stronger understanding of how digital modeling and fabrication can result in unique and organic designs — reshaping the way I think about materiality, form-making and sustainable innovation in architecture and design,” Bommarito said.
Before this course, Bommarito didn’t have much hands-on experience in the 3D printing lab. She fabricated both of her final pieces with the Bambu Labs X1 Carbon 3D filament printer. She learned how 3D printing with materials made from sustainable, biodegradable and renewable resources can significantly reduce material waste and carbon emissions. These qualities make the process a compelling option for environmentally conscious design.
Her sculptural table luminaire, “Haven,” was inspired by the organic form and layered structure of a conch shell. The design features a substantial, protective outer shell that opens to reveal a more delicate inner shell housing the light source. The outer shell is designed to rotate on its base, allowing users to adjust the lighting from a focused task light to a soft, ambient glowing piece that uses an E26 base bulb with an output of 760 lumens.
“When illuminated, the inner shell creates the impression of a life form nestled within a safe, enclosed sanctuary — inviting a sense of warmth and intimacy. This layered construction is intended to spark curiosity and encourage physical interaction with the piece,” she said.
Bommarito’s wall-mounted sconce, “Nautilus,” was inspired by the structural elegance of a flat scallop shell. Her design, which features both an
20 ReView: Summer/Fall 2025
At left, a sketch showing the components and dimensions of “Haven,” a table luminaire designed by Sydney Bommarito. Above, an up-close view of “Haven.”
interior and exterior shell, is intended to evoke the relationship between a living organism and its protective casing. The fixture is illuminated by a G4 LED bulb emitting 400 lumens, which provides a warm and efficient glow that enhances the design’s ethereal quality.
“The inner shell incorporates gently curved perforations, allowing light to project patterns onto the surrounding wall surface,” she said. “These patterns are designed to resemble the way sunlight refracts through water, creating a soft, immersive visual experience.”
Making Through Iteration and at Full Scale
Though students may have had some experience creating work with 3D printers from other courses, they are not typically the ones operating the machines. The grant funding provided the six printers that students ran themselves and supplied the materials, meaning students could test their designs without concerns about cost.
These freedoms of time and cost allowed students to experiment more effectively. And since students were printing an actual product, Park said that this process of trial and error was essential for mastering the product’s functionality.
“If they need to exchange the lightbulb, they need to think about practical ways while keeping the design sense,” Park said. “They need to learn how to handle it, how to use it and how to maintain it.”
ReView: Summer/Fall 2025
At top, the final “Nautilus” luminaire mounted on the wall. Above, the rendering for “Nautilus” made using 3D modeling software.
At top, a view from above of “Haven,” designed by Sydney Bommarito. Above left, the “Nautilus” wall-mounted luminaire designed by Bommarito. Above right, the “Nautilus” luminaire immediately after being 3D printed.
While students may have been more familiar with 3D printing small-scale models, where aspects do not have to function, Tucci said, for this course, students needed to design around built parts or built connections. Additionally, students designed a real product with the various components represented at full scale.
“We’re concerned with multiple parts coming together. We are interacting with tolerances, meaning that you can’t have a perfect tolerance or things won’t fit,” Tucci said. “We are also dealing with trial and error.”
Additionally, the course introduced students to how business and design intersect. Throughout the semester, students developed a brand kit for their lighting fixtures that determined their design language and established their distinctive brand identity. Tucci and Park said that successful students have been able to tell stories about their products. Park said this helps students learn the technical aspects of lighting and brand development from a business perspective.
“This is an opportunity to interact or be the inbetween for the designer and the marketer,” Park said.
Following the completion of the course, Tucci and Park presented the students’ work at the
NDBDS40 (National Conference on the Beginning Design Student) in March 2025 at North Carolina State University in Raleigh, North Carolina. The table luminaires also were shown in the Greenhouse exhibition at the Stockholm Furniture Fair in February 2025, while both table and wall luminaires were displayed in the Wanted exhibition at the International Contemporary Furniture Fair (ICFF) in New York City in May 2025. ICFF is North America’s leading platform for contemporary design, featuring furniture, lighting, textiles and more. The fair takes place annually in New York City and attracts a significant audience of designers, architects, retailers, and other industry professionals.
Embracing and Learning From the Process
For Skyler Perryman, a rising fifth-year architecture student, these lighting projects taught valuable lessons about when things don’t go as planned. It took several concepts and iterations to arrive at his table luminaire, “Fino.” A few weeks into the semester, thinking about the layers found in stacked pancakes and folded blankets inspired a final piece that appears thin and delicate, yet is solid and heavy.
ReView: Summer/Fall 2025
Student lighting designs displayed at the International Contemporary Furniture Fair (ICFF) in New York City in May 2025 (above and top right) and at the Stockholm Furniture Fair in February 2025 (at bottom right).
Its three parts — a shell, the legs and a ring to hold the lightbulb — were made from 3D-printed resin. The ring was “press fit” — placed in the stand before the resin fully cured.
“One of the more interesting things is how the light behaves. It doesn’t spread evenly across the surface,” he said. “Each layer curves and undulates in its own way, so the light kind of flows through it differently, depending on where you’re looking from. Some parts glow more than others, and that’s what makes it feel alive. The texture of the light shifts as you move around it.”
Perryman’s wall luminaire also was inspired by layers, and he strove for a soft, billowing effect that was bigger and more architectural. He used Rhino with Grasshopper to recreate the table lamp’s sensibilities, but his script didn’t work as anticipated.
“It has this pulled and warped quality that felt natural. That became the foundation,” he said. So, he considered how the piece would look in elevation from every angle. “And lighting was part of the thought process from the very beginning. It wasn’t just about how it looked but how it worked.”
He tested light temperature, lumens and wiring, considered whether to use puck lights or strips and whether to light the face or the edge, and evaluated how the light source would physically fit inside the
final product. The piece had to be split into nine parts to print on an FDM printer, and he angled the seams to match the contour of the form and hide the connections. However, the FDM printers make walls with a set thickness. When fitted together, the thin walls between each piece made a double wall, so that certain areas were too thick for light to pass through.
In the final product, only the middle third lights up properly, while the ends remain darker. While things didn’t go as planned, he’s pleased with the result. He’s also glad he didn’t float the piece off the wall as initially planned because it would have felt disconnected.
“Now it feels like it belongs to the wall. It feels more like part of the architecture than something stuck on top of it,” he said. “This whole project was a real lesson in how digital design meets physical reality. Light, material and process all affect each other way more than you’d think.”
ReView: Summer/Fall 2025
Above, the “Fino” table luminaire designed by Skyler Perryman.
At top, the wall-mounted luminaire designed by Perryman. Above left, a 3D printed piece for Perryman’s wall luminaire. Above right, a detail view of Perryman’s wall luminaire.
Bachelor of Interior Architecture and Design | Fay Jones School of Architecture and Design, University of Arkansas
Students in IARD 4650V Special Topic | Premiumization, Sustainability, and Bespoke Design take an interest in lighting in space design and promote the use of eco-friendly manufacturing methods that help reduce carbon emissions, unlike traditional glass manufacturing. Moreover, while developing a series of 3D-printed custom-made luminaires, they need to identify their own design language and elements so that it is possible to establish their distinctive brand identity. Students will also learn the technical aspects of bespoke lighting and brand development from a business perspective. The development and implementation of this course is supported by the 2024 Nuckolls Fund for Lighting Education grant.