3 minute read
Fruit & Veggie Painted Rocks


BY JEN KOSSOWAN
Summertime is officially here and something that never seems to get old is painting rocks with kids. It’s such a fun, low-prep activity and can truly be as simple as throwing down a drop cloth, setting out some rocks, paints, and paintbrushes, and letting them to it. That being said, if you want to take your rock painting to the next level, this technique works super well and creates the most beautiful, vibrant painted rocks. Use it to create a set of fruit and veggie rocks of your own or do something completely different.
What can you do with your completed fruit and veggie rocks?
• add them to your outdoor mud kitchen • use them in your garden as markers • place them in a local rock garden • tuck them along pathways and in parks in your neighbourhood • add them to your indoor play kitchen
Other rock painting ideas:
• numbers
• letters (particularly the letters in your child’s name) • hearts
• kindness messages • facial features
• nature items
JEN KOSSOWAN is a kindergarten and grade one teacher and mama of two gorgeous kiddos. She’s passionate about play, loves a good DIY project, and can most often be found in her kitchen whipping up recipes that taste delicious while meeting her crunchy mama criteria. She started Mama.Papa.Bubba. on a whim in 2010 while living in the Middle East and has been sharing her recipes and activities there ever since.
mamapapabubba.com | mamapapabubba
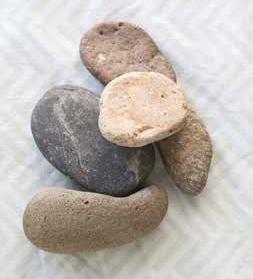
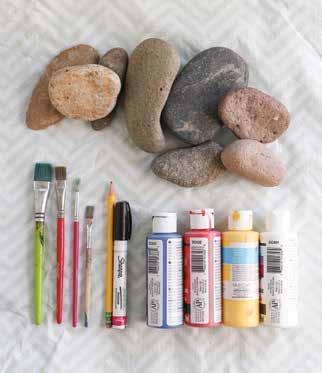
• rocks with at least one smooth, flat side
• acrylic paints
• paintbrushes
• pencil
• black paint pen • clear topcoat (optional)
• cup of water
• rag
Instructions
Step 1 Start with clean, fully dry rocks. If needed, give them a wash with warm soapy water and a scrubber brush… Just be sure to allow them to dry fully before beginning the painting process. (Sunshine speeds this process along wonderfully!) Prepare your workspace by covering your surface with newsprint or a drop cloth.
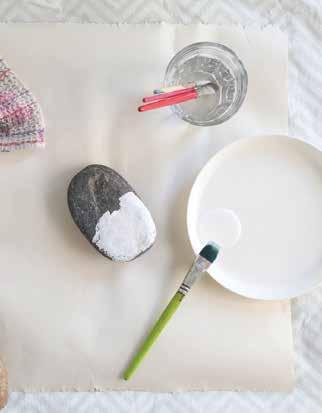
Step 2 Paint your rocks white. This will allow your design to pop. Choose to either paint the entire rock white or just the area where you’ll paint your design. You may need two coats of paint for full coverage. Let the first coat dry fully before adding a second. Let dry completely.
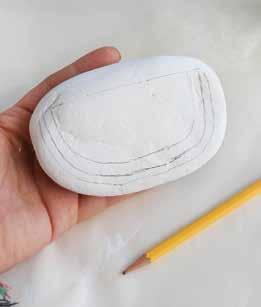
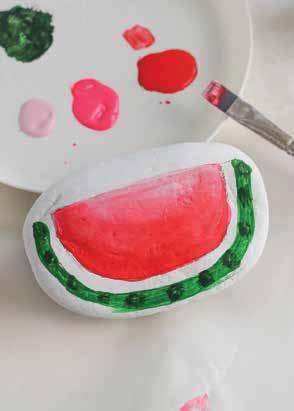
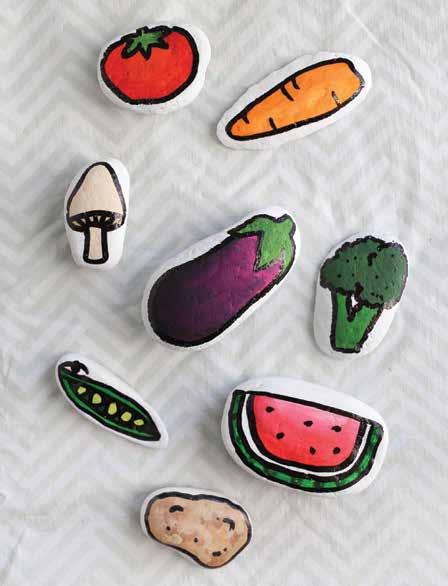
Step 3 Lightly sketch your fruit or veggie drawing onto the rock’s surface. Most rocks’ shape will lend themselves well to a particular fruit or vegetable… Just hold the rock in your hand, see what comes to mind, and go for it! Think carrots, eggplant, broccoli, peas, corn on the cob, mushrooms, strawberries, watermelon, apples, tomatoes, peaches, or lemons—or anything else!
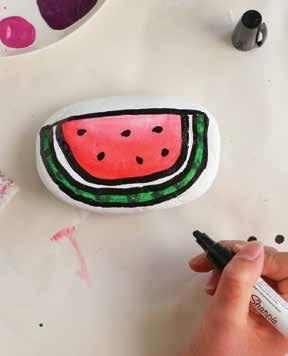
Step 4 Now it’s time to paint! Using your sketch as a guide, begin adding colour to your fruit or veggie drawing. This may require two coats of paint as well. It doesn’t have to be perfect—you’ll clean up the lines and edges afterwards. Add as many layers of colour as you’d like. Allow the paint to dry completely.
Step 5 Okay, time for the best part… Outlining your drawing with the black paint pen. This step will clean up all of your edges, make your designs pop, and take your fruits and veggies to the next level. Simply trace your pencil lines with the paint pen, add any extra little details you’d like, and you’re done!
Note: if you want to help your painted rocks last longer, you can add a clear topcoat of your choice—just be sure to do this once your paint pen is completely dry and follow the instructions on the top coat packaging. Once the topcoat is set, your set of rocks is complete!