Technical Datasheet Vario Loose Wire Heating Cable
For installation in small, awkward areas
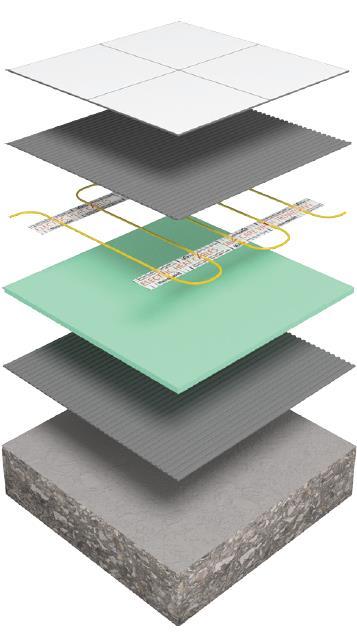

uncoated insulation board
5. Flexible tile adhesive
6. Concrete substrate






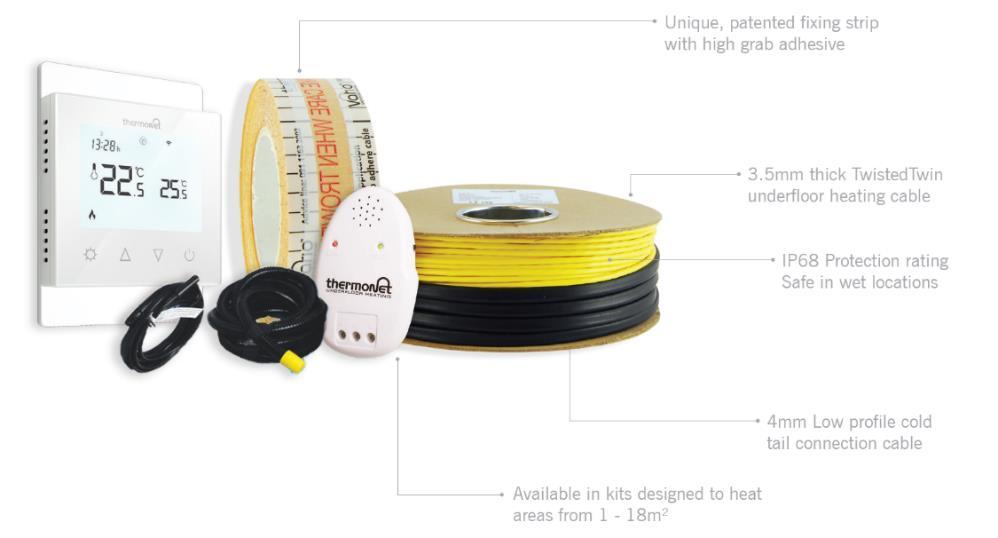
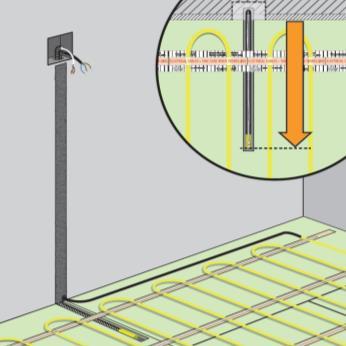
Kit Includes: Vario Heating Cable, Programmable Thermostat (5220A), Floor Temperature Sensor, Sensor Conduit, Cable Monitor, Cloth Tape, Patented Pre-measureed Fixing Strip, Installation Guide & Warranty Form.


Lifetime Warranty
We are so confident of the quality of Vario Underfloor Heating cable that we give each system a warranty that lasts a Lifetime with 3 year warranty on our Thermostats.
Variable output underfloor heating
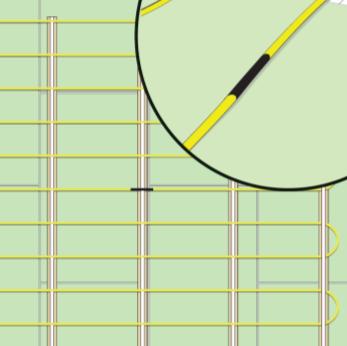
Using Vario cable allows you to space the heating cables yourself to achieve a desired layout and heat output per m2.
Advanced TwistedTwin heating cable
The unique stress free cable construction creates a longer lasting heating cable with zero electromagnetic field (Zerio EMF).
Strong bond to the substrate
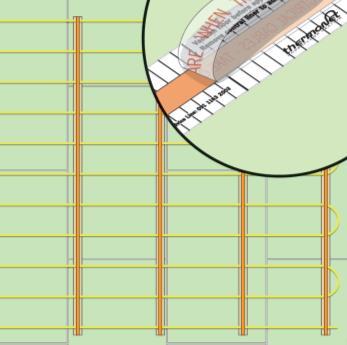
The adhesive used in the Vario fixing strip is a high-grab, pressure activated adhesive that bonds permanently to the substrate and the heating cable.
Ideal for irregular shaped areas
The layout is totally flexible and can be designed to fit around furniture and fixtures in small or irregular shaped rooms.
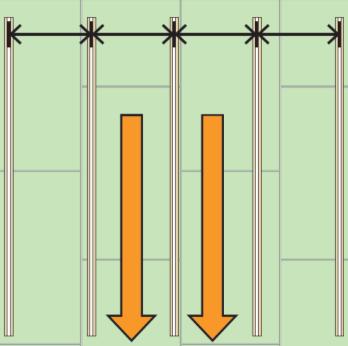
Pre measured cable spacing
The Vario fixing strip has pre measured 10mm cable spacing markers that remove the need to measured and mark your substrate, saving you time.
Thickness 3.5mm
Max. Temperature 28°C *
Protection Rating IP68
Warranty Lifetime on cable
Conductor Type Single Ended
Cold Tail Length 5m
*Regulated by floor sensing thermostat