
Version Update: July 2026
customer care instructions
An important notice for all customers, tilers & flooring installers.
As a responsible supplier of first quality tiles into Australia, National Tiles is committed to the safety of our Customers, Installers and Tilers.
general safety instructions
• Use Caution When Unpacking Pallets. Tiles and flooring products can be heavy and awkward to handle. Always take care to prevent injuries.
• Heavy Lifting Requires Two People. Tile and flooring boxes can weigh up to 35 kg or more. For anything larger than 600mm x 600mm, use two people to lift safely.
• Support Long or Flexible Flooring Products. Products such as vinyl planks or hybrid flooring may bend or flex—always lift from both ends to prevent damage or strain injuries.
• Unwrapped Pallets Become Unstable. Once the pallet is unwrapped, it becomes less stable. Always unpack with caution.
• Cut Tape Only as Needed. Your pallet may be secured with tape around the sides and sometimes across the top.
• Only cut the tape as you remove each box to keep the stack secure. Be especially careful with the final boxes.
• Layered Pallet Handling. If the pallet is stacked in layers, cut the wrap one layer at a time to help prevent shifting or collapse.
• Use a Second Person for Support. Another person can assist in supporting the load once unwrapped—but they must be mindful of finger and toe placement at all times
• Never try to catch a falling box or plank, as this increases the risk of crush or laceration injuries.
• Store Materials Safely. Stack boxes on a flat, stable surface to prevent tipping. Avoid stacking too high to maintain stability.
• Follow Safe Manual Handling Practices. Use proper lifting techniques (bend knees, keep back straight, lift with legs) and mechanical aids (like trolleys) where possible.
before you lift safe manual handling
• Check to see if mechanical lifting aids are available
• Assess/identify the weight of the load
• Get help with heavy or awkward loads
• Ensure the load is free to move
• Ensure that you can lift the load without overexertion
• Check that the path is clear and free of grease, oil, water and objects
1. Plan your lift & ask for help if required
2. Widen your base support
3. Bend your knees
think safety first lifting technique lifting aids
Sprains and strains from lifting and handling objects, working in awkward positions and performing repetitive tasks are some of the major causes of serious injury in the workplace. They can cause muscle damage, squashed nerves, back injuries and even permanent spinal damage. So, the next time you are about to do any of these things, use the proper lifting technique!
5. Lift with your leg muscles
6. Keep your load close & your back straight
4. Tighten your stomach muscles
National Tiles also stock a manual handling aid available for purchase called the Nemo Grabo. This tool can assist with lifting our larger format tiles.

Click here to shop the Grabo range
delivered product
As a leading supplier of first quality tiles and flooring in Australia, National Tiles is committed to delivering an excellent customer experience.
• Please check that the tiles or timber flooring delivered to site are exactly what was ordered.
• Ensure batches and Sizing codes (on the sides of the box) are consistent and matching throughout the delivery.
• Check that the tiles, flooring and product delivered to site are of the correct quantity, shade and surface finish.
• All tiles and flooring may vary in size. The nominated sizes displayed in store, on packaging, on orders and invoices are general to actual working size. Please check your tiles or flooring for size before being installed.
• Check that the shade is consistent throughout the batch and ensure the batch is the same throughout the order.
• DO NOT start laying tiles, flooring or product until you have checked you have the required quantity. Ensure that there are enough tiles and flooring onsite for the project, if not order more of the same batch, size and date before work commences.
• All store/showroom samples are indicative of the product range and finish only, rather than an exact representation of every tile or paver supplied. Prior to installation, it is the customer’s responsibility to inspect and approve the material before commencement.
Important note:
Shade variation can and does occur in natural stone and in all types of kiln-fired clay products, including tiles. This happens because tile production uses natural clay elements that are baked at very high heat. Depending on the raw materials and firing conditions, slight changes can occur from batch to batch. As such, in-store samples may differ slightly from the delivered product.
installation
• Place (assemble) 2-3m2 in the room the tiles or flooring product are intended to be installed (for example: next to floor to ceiling windows, entrances, hallways, etc.) prior to installation
• These should be observed at various times of the day and night, and from different viewpoints to ensure the product meets your expectations.
installation considerations
• Mix tiles or flooring from several boxes to ensure blending of any inherent shade variation.
• Check for any potential product defects as the works progresses, under adequate lighting as required by the Australian Standard AS 3958.1 “Guide to the Installation of Ceramic Tiles)”.
• Always clean adhesive, grout or wax from the surface of the tiles and flooring.
Important note:
Any manufacturing defects or variations in shade, should be brought to our notice prior to installation. Installation of product constitutes as acceptance. No claim will be accepted after the product has been installed.
Returns Disclaimer:
• No claim will be accepted after installation of the product.
• All tiling must be undertaken in accordance to AS 3958.1 “Guide to the Installation of Ceramic Tiles”. Installation of the product constitutes acceptance, no claims in respect to variation or noticeable defects will be accepted after tiles have been installed.
• Returns will be accepted within 30 days for unopened boxes.
PPE & hazards
dust exposure
Exposure to dust can be harmful, simple steps to prevent exposure, include:
• Adequate ventilations system(s)
• Power tools with a Class H dust capture and collection device
• No uncontrolled dry cutting
• Face masks certified to Australian Standard
• Clean up dust with water or with a Class H vacuum cleaner.
Scan the QR Code to visit Safe Work Australia for further information on Crystalline Silica and Silicosis or Click Here
personal protective equipment
What Personal Protective Equipment (PPE) is required when cutting tiles, flooring or mixing grout?
Eye protection to prevent chips or dust from getting in to your eyes.
Ear muffs & ear plugs to protect hearing.
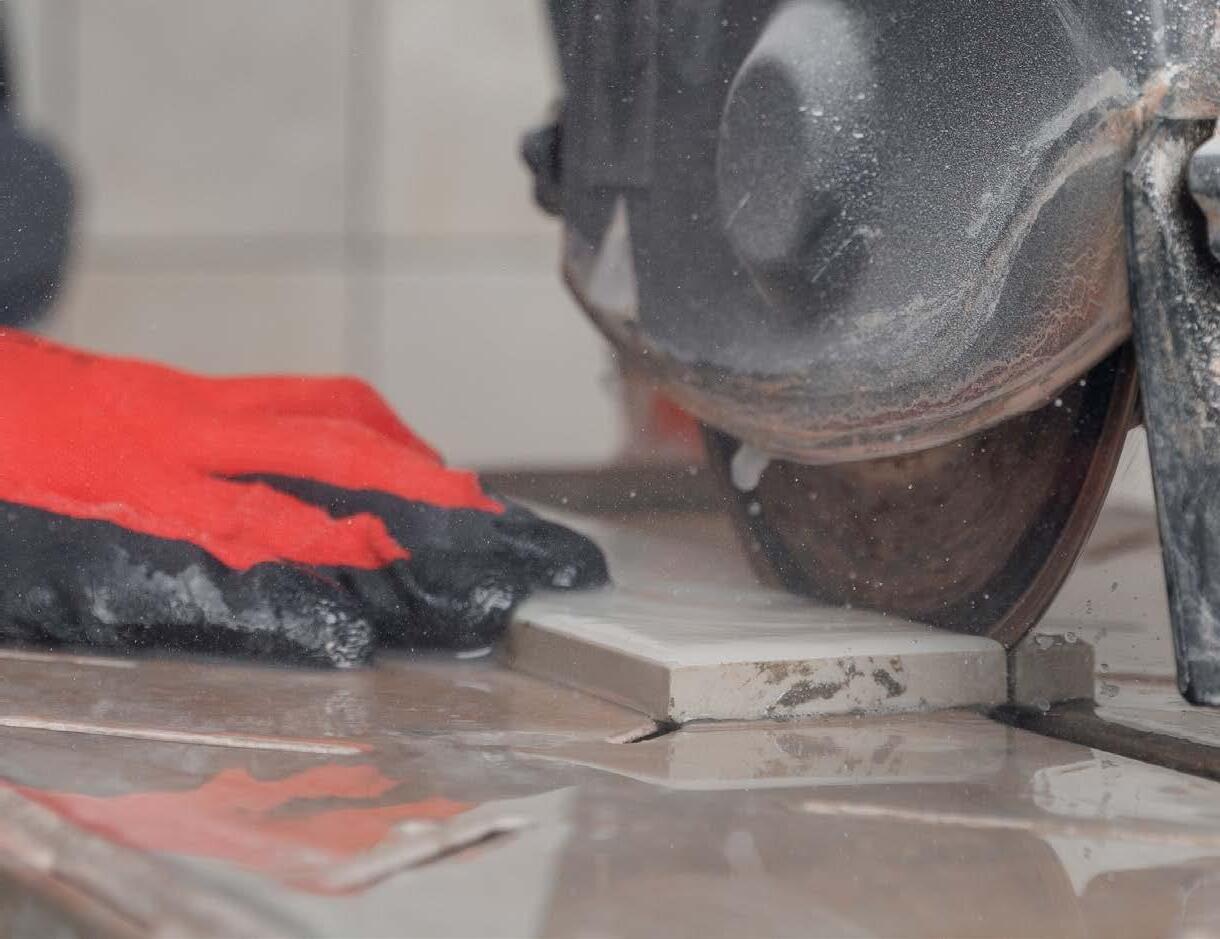
Gloves to guard against chipped, cracked, cut tiles or sharp edges.
Long pants and sleeves to guard against chipped, cracked, cut tiles or sharp edges.
Safety boots, to prevent injuries to your feet when handling heavy items or using potentially hazardous tools.
Face mask (P2) disposable or halfface respirator, to prevent dust inhalation. The mask must seal to the wearer’s face in order to provide protection.
A good fit means the respirator will seal to the skin, with air passing only through the filter. Respiratory Protective Equipment (RPE) needs to comply with standard AS/NZ1716.
engineered dust controls | cutting tiles
Engineered controls to reduce dust when cutting tiles:
• Dry cutting with manual (score and snap) cutters
• When power tools are used to cut tiles, engineering controls may include:
• Wet Saw
• Wet Grinder
• Grinder with an approved Class H dust capture & collection device
• When drilling or cutting holes into tiles, engineering controls may include:
• Wet Drill/Cutter
• Drill/Cutter with an approved Class H dust capture & collection device
engineered dust controls | mixing grout & mortar
Engineered controls to reduce dust when mixing grout or mortar:
• Place a whale tale on the bucket and connect Class H Vacuum cleaner or place vacuum hose on the rim of the bucket.
• To reduce dust, scoop grout or mortar into a bucket using a shovel or scoop.
• Add water to the bucket (follow instructions for quantity) and then add the grout.
• Always mix in a well ventilated area.
cold weather effects weather conditions
Did you know, changes in temperature and humidity greatly affects the cure time of glue and grout?
What are the effects?
• Tile movement
• Aluminum trim corrosion, allergic reactions and dermatitis
Why does this happen?
• At both lower temperature and higher humidity’s, cure time slows down, slower again when excessive water is applied, for example: sloppy or wet mixtures to level out or “mud up”
• Most glues and grouts are cementitious and alkaline in nature (they have a high pH value). Here’s the facts:
drinking water pH=7, for every 1 pH increase Example: pH=8, alkalinity increases 10x
So, what does that all mean?
Below is a pH chart. When mixed with water, pH of cementitious glues and grouts is over 13. Prolonged skin exposure to high alkalinity materials can lead to skin irritations, dryness and dermatitis.
High alkalinity will attack and etch aluminum surfaces. Etching occurs whilst glue and grout are in a mixed uncured state. The longer they take to cure, the longer they are able to attack the aluminum.
• Change bucket of water frequently, especially during grout clean up to prevent high pH water contacting the trim.
• Wear appropriate Personal Protective Equipment (PPE).
• Use a quick set or accelerator material additive, such as Mapei Keraquick S1.
How can I avoid these problems?
• Stick to the glue and grout manufacturer’s guidelines about water content, contained in technical data sheets.
• Minimise the amount to glue and grout that contacts aluminum surfaces and clean up as soon as possible.
Please ensure you understand the following:
• You as the end user are responsible for determining product suitability
• Always read labels and test products before use Use pH-neutral cleaners designed for porcelain/ ceramic tiles.
• Follow manufacturer instructions (dwell time, rinsing, etc.)
• Avoid abrasive tools and harsh chemicals.
• All cleaning residue must be thoroughly removed after each clean.
No claims will be accepted for use of incorrect products and or processes.
maintaining the appearance of your tiles
• To remove grout haze, use National Tiles Residual Surface Cleaner (NATTC033). Direction of use (i) dilute in water 1 part to 10, (ii) Wipe surface with solution and scrub, and (iii) Rinse well with a diluted pH neutral cleaner such as the National Tiles All Purpose Cleaner (NATTC027).
• For regular cleaning (internal or external) use National Tiles All Purpose Cleaner. Directions of use (i) add 2-3 caps of National Tiles All Purpose Cleaner to 3L of tepid water, (ii) Wash tiles with solution and allow to dry, (iii) Change solution for every 50sqm.
• For problem stains, contact your nearest National Tiles store for more details on a suitable cleaner.
maintaining the appearance of your timber, hybrid, laminate & vinyl maintenance
• Visit our website for care and maintenance guides for each product. Flooring Resources | National Tiles
• For problem stains, contact your nearest National Tiles store for more details