1 minute read
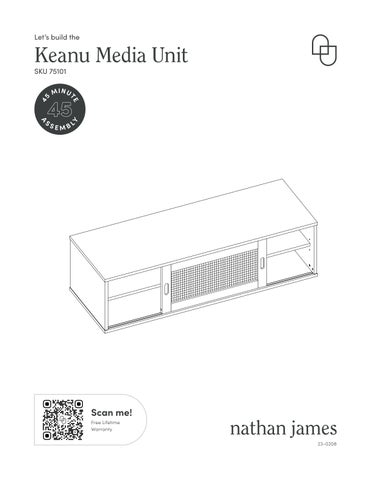
The goods


IMPORTANT
1. Do not tighten bolts / screws completely until all bolts / screws are lined up and inserted into holes.
2. Do not over tighten screws and bolts to avoid stripping.
3. Please use hand tools to assemble this product. Do not use power tools.
Let’s get this thing fired up! Secure the Cam Bolts (1) into the Top Panel
Step 2
Next, attach the Right Back Corner (E) to the Right Side Panel (B). Attach the Left Back Corner (F) to the Left Side Panel (C). Align the holes with the Wooden Dowels (3) and 1/4 x 38mm Bolts (4). Insert the Flat Washers (5) and Lock Washers (6) to the Bolts (4) before assembling. Tighten to 100% using the Allen Key (8).
Step 3
Next, attach the Left Side Panel (B), Right Side Panel (C) and Middle Panel (D) to the Top (A). Align the holes with the Wooden Dowels (3) and the Cam Bolts (1) you inserted in Step 1, then secure with the Cam Locks (2) and the Bolts (4). Insert the Flat Washers (5) and Lock Washers (6) to the Bolts (4) before assembling. Tighten to 100% using the Allen Key (8).
Step 4
Attach the Bottom Panel (H) to the rest of the unit. Align the holes with the Wooden Dowels (3). Using the 1/4 x 38mm Bolts (4) with the Flat Washers (5) and Lock Washers (6), secure the panel in place and tighten to 100% using the Allen Key (8). Once tightened, carefully flip the unit over so it’s upright.
Step 6
You’re over halfway done! Now would be a good time to call in that pizza order.
Now let’s get those shelves in. Insert the Shelf Pins (9) into the Left Side Panel (B), Right Side Panel (C) and Middle Panel (D). Then slide the Shelves (J) into place.
Step 7
Okay, time to attach the Door (K) to the rail. Before assembling, press down the guide pins at the top of the Door. Then, align the wheels at the bottom of the Door into the V-rail before aligning the guides at the top of the door with the U-rail at the top of the cabinet. Once the door is aligned to both rails, press the guide button to lock in place.
Step 8
After attaching the Door, adjust the height of the casters to ensure the door slides smoothly.
Slide guide pins up and into rail
Adjust for door height