4 minute read
Kitchen


tip
Advertisement
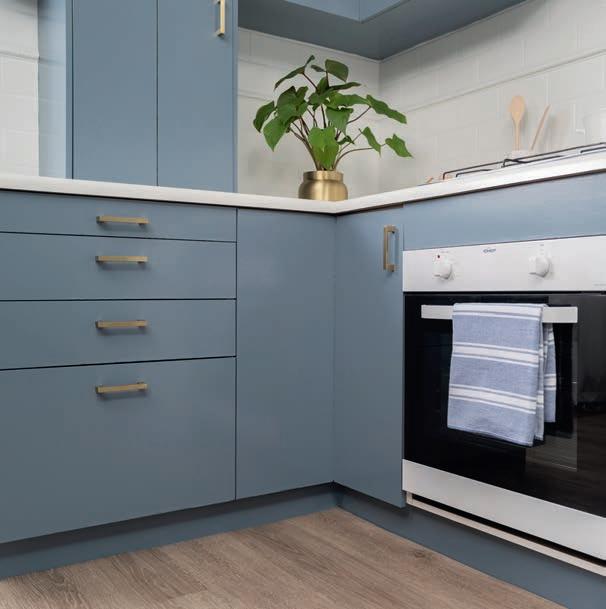
Andrea Lucena-Orr says mid-tone blues, reds and pinks can be used for a daring and playful eff ect in the kitchen. For example, cornflower blues on cabinets or cabinet doors, complimented with soft grey on handles, can be tied together with a warm tile colour. Kitchen renovations can be costly with the average project coming it at around $21,000 and taking upwards of a month to complete.
For those people who are looking for a quick and inexpensive fix, the use of the correct paint and method can breathe new life into a kitchen.
The recently launched Dulux Renovation Range is a water-based, interior range of coatings that are perfect for wet and high-use zones, such as the kitchen.
The paint formula is tailored to cabinets, tiles, benchtops, grout and floors, and the range off ers a simple solution to achieving a custom, premium looking hub for you to cook and entertain in.
Dulux colour and communications manager, Andrea Lucena-Orr says that the kitchen can be the heart of the home, especially for those who use dining as an immersive experience and chance to connect with others through a shared passion. She says kitchen areas should feel inviting and inspiring for creation and conversation.
“Whether it is a high-end, luxurious look and feel you wish to or a more relaxed, lived-in space for the whole family to enjoy, the right colours and
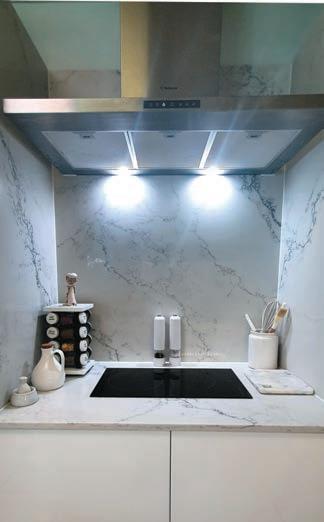
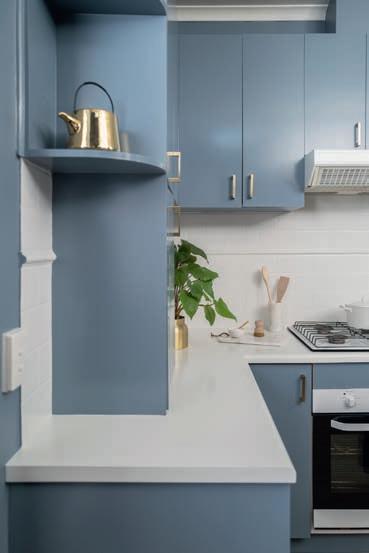
The cabinets are painted in Dulux Five Fingers Peninsula, while Whisper White and Vivid White have been used to complement the colour. Credit: DULUX AUSTRALIA. STYLIST: HEATHER NETTE KING. PHOTOGRAPHER: GOS4 MEDIA products can make all the diff erence,” she says.
“Adding a moody colour to your laminated benchtops or tiled floors… can create a classic and sophisticated look that can be tweaked over time with kitchen accessories and stainless-steel appliances for a timeless transition.
“Colour has always been a popular trend for the kitchen, however, as we’ve seen more individual tastes emerge, inspired by past decades, it’s more important than ever to select a product type that will support your vision.”
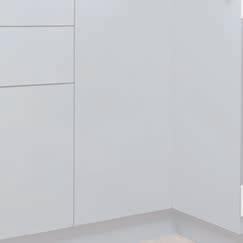
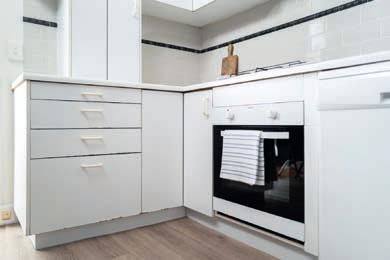
Before
NORM EVANS FLOORS
Personalised Service and Expert Advice
SPECIALISING IN BUILDERS AND DEVELOPERS • DIRECT IMPORTERS OF TILES • SUPPLY AND INSTALL OF VINYL PLANK, CARPET, TIMBER AND BAMBOO
SHOP where the builders SHOP!
We create lasting, functional environments
BEFORE
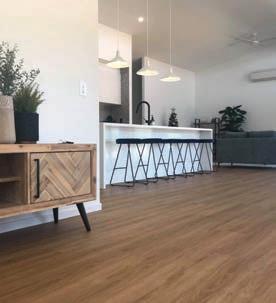
AFTER
• Marble, Granite and
Reconstituted Stone • Kitchen and Vanity Tops • Domestic and
Commercial Projects + MUCH MORE! Ask about our offcuts, cut to size Established on the Coast for over 20 years
YDL STONE
9am - 4pm Mon - Fri. Saturday by appointment

PROJECT: TRANSFORM YOUR CABINETRY
Try using the Dulux Renovation Cabinet Doors product for an easy to apply and durable finish.
PREPARING THE SURFACE Cleaning all surfaces is vital before you begin the job.
APPLICATION: 1. Scrub down all areas with Selleys Sugar Soap and rinse with clean water to remove any dirt, oil or grease. Use a plastic scouring pad on heavily contaminated surfaces. 2. Repeat this process using clean water, at least twice. Mask as required using a good quality painters’ tape. 3. Completely remove any loose and flaking paint. Fill any cracks or holes with a suitable acrylic water-based filler such as Selleys Spakfilla Rapid. 4. Sand glossy and semi-gloss finishes to a dull flat finish using p400 paper before coating. 5. Use a clean damp cloth to remove any dust. Vinyl and plastic wrapped cabinet – doors and panels: apply Dulux Renovation Range Prime before topcoat application. Wooden cabinet doors and kick boards: if there are any breaks or scratches in the coating, apply Dulux Precision Stain, Smoke & Odour Blocker spraypack before topcoat. Kitchen, bathroom and laundry cabinets (including laminate and varnished timber): remove doors for easy coating of edges and door surrounds. APPLICATION: Primer – Aft er the additive has been added and stirred, apply Dulux Renovation Range Primer. For full instruction, see label. Top coat 1. Cut in as necessary using an angled sash cutter brush and four millimetre nap 100 millimetre wide microfibre roller. 2. Coat surface using the microfibre roller. 3. Lay off . Once each section is coated, gently go over the surface in the same direction with an unloaded roller using minimal pressure. This will give a smooth consistent finish. 3. For neutral and light colours, apply two coats. A third coat may be required when painting over dark colours or prepainted timber. Allow eight hours drying time between each coat, and a further eight hours aft er the final coat before applying the clear coat to seal. Clear Coat For best finish on cabinet door areas, apply one coat of Dulux Renovation Range Clear Coat as the final coating using a clean roller. This will add a layer of protection to the Dulux Renovation Range topcoat. Clear Coat is available in satin and gloss clear coat. Curing Period Light use aft er three days and full use aft er seven days. Products will continue to improve their performance for up to 20 days.