
8 minute read
MenuWorks Recipe Protocol- MHC

Submit all recipe requests and details of regarding recipe needs to Jeffery Quasha and Heidi DeCosmo for approval before starting
Recipe Review and Approval Process to submit Recipe a. List all ingredients used (with Webtrition numbers) in the ingredients section b. Write out all instructions to cut and paste into Webtrition c. Ensure all yields are documented for reference as needed d. These steps ensure easy entry into Webtrition
1. Submit recipe list and goals to team for review to determine if this will be corporate recipe update, copy of existing recipe or new recipe.
2. Once recipe request has been approved, test the recipe and ensure all testing notes are written down in a hard copy of the recipe (word document).
3. Enter recipe into Webtrition
4. Recipe Approval Process Tracking Sheet – Located in TEAMS
• Fill out tracking sheet per recipe
• Send a detailed email to Jeffery and Heidi to explain all recipes in approvals
• The tracker will be used by all 3 recipe approvers
• The system does take a few days to complete, if the recipes are correct, and all aspects of the entry are completed correctly.
• If the recipe is missing any of the required components, it will be rejected and will need to corrected in order to resubmit.
• Once the recipe is approved, the chart will have all tabs filled in with Initials of approver and the recipe is ready to use.
Develop and Test Recipe
List the ingredients in the order in which they will be used.
Include measurements by weight as well as volume. Before and after testing
Record times and temperatures.
Take a photo of the completed dish, preferably a shot of a single portion.
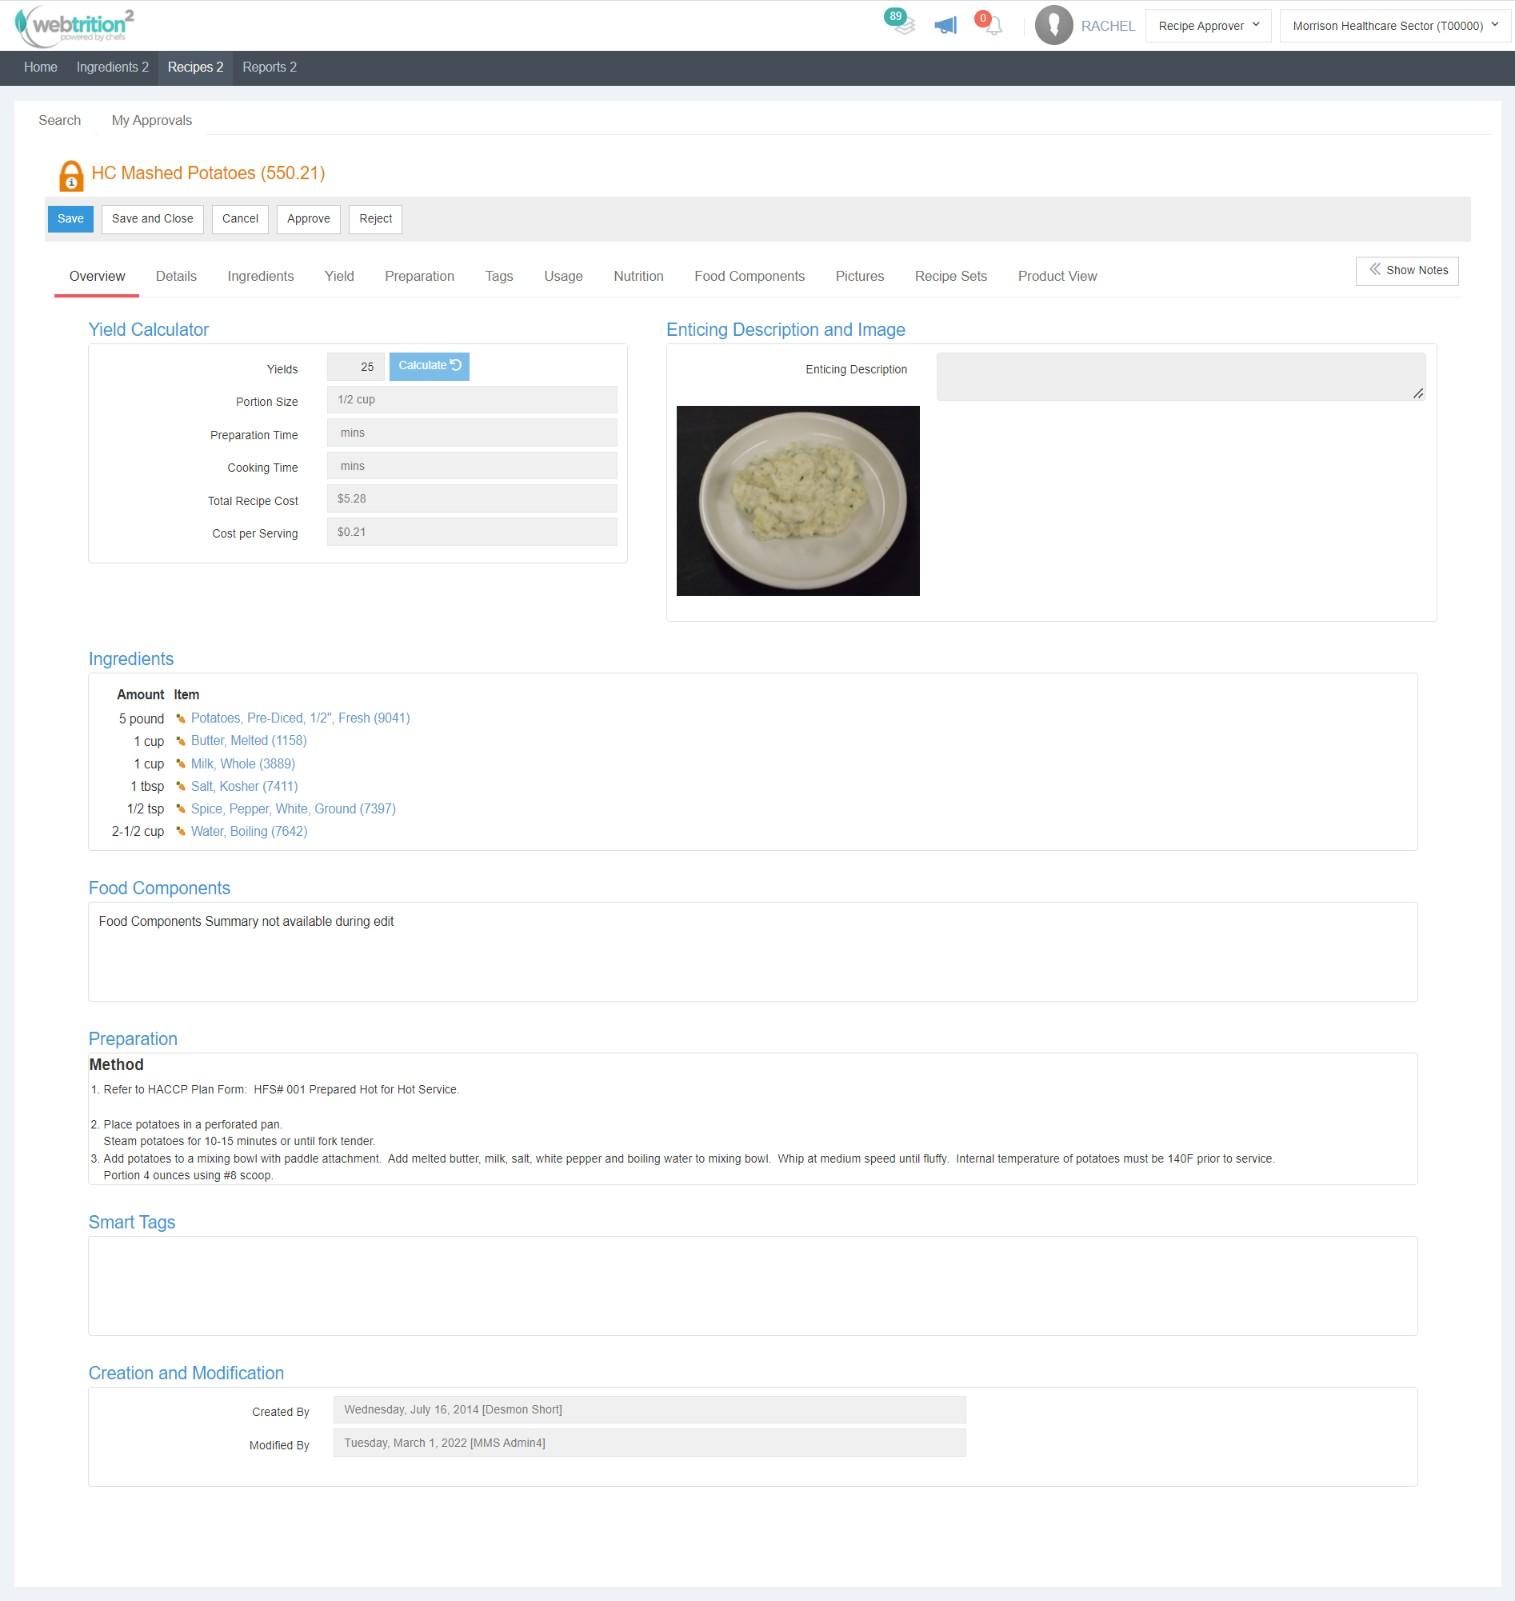
Inputting into Webtrition- MenuWorks Platform

Details Tab: fill out completely and accurately.
Recipe name – recipe title includes standardized promotion name or sector at beginning, for example, Superfoods Stone Fruit: Thai Nectarine and Green Bean Salad with Pistachios.
ALLERGENS: Include peanuts, tree nuts (including coconut), fish or shellfish in recipe title if used as ingredient.
short name – this populates customer facing signage such as PIDs and Station Signage o please keep customer facing signs in mind when developing recipe short name o there is a 36-character short name limit – this includes spaces and punctuation
enticing description – not required
description - leave blank
prep time – required (in minutes)
cooking time – required (in minutes)
Notes – use this field to call out any allergens within the recipe or any special notes you want to add for the end user.
Ingredients Tab:
Select ingredients in the order they are used, enter amount used and assign to a procedure step. Be sure to assign a step number to each ingredient. Whenever possible, use S1 or S2 products. Be mindful of sector ingredient specs

List weights (rather than volume measurements) whenever feasible
Check off appropriate EP/AP boxes (EP = edible portion, AP = as purchased) o For prepped vegetables, EP is checked o For most animal proteins, the EP is not checked as we link our ingredient to cooked and the wastage is already accounted for
Make sure to add recipes NOTES to any Copied or Edited Recipe
Yield Tab:
Yield – total number of servings. Try to write recipes in even number yields, it will be easier to multiply and divide, preferably 12 or 24. Test recipe in quantity scale if possible.

Portion size – avoid 1 ‘serving’ when possible, as it is too generic
Minimum batch – only applicable for pies, casseroles, items baked in a ½ sheet pan, etc. For example, minimum batch for a pie is 8.
Maximum production – be thoughtful in filling this out, in most cases, it is not necessary.
You can only save Webtrition recipes AFTER this point.
Measure and weigh total yield of recipe to validate
Weigh and measure a single portion size
Preparation Tab:
Figure out how many steps are needed for a recipe and open the appropriate number of steps.
Click “Add Step” to begin
Name the steps as you create the recipe.
Always begin with the correct HACCP and end the recipe with the corresponding “Hold cold for cold service” or “Hold hot for hot service.”
Click the “Assign to Step” button. Choose the step form the drop down and click “Assign” o Refrain from being general (i.e Salt to Taste) o Be certain that all basic instructions for ingredients are included (i.e. “chop carrots”) if whole carrots are the ingredient
Be consistent in the procedures.
Be consistent in your writing: o “slice bread in half” o “slice roll through the middle” o “slice roll in half lengthwise” o “slice baguette in half and horizontally” o “split baguettes lengthwise” o “cut bread in half horizontally” o If you MUST utilize a sub recipe/s, add the sub recipe/s to the first step after the HACCP guidelines. o Reference the sub recipe by name at the appropriate time. “Prepare ________ sub recipe according to recipe”. o Add the sub recipe prep and cook time into the overall times.
Record temperature (i.e. 350F degree oven) and times but also include a physical description to check for doneness. Include final cooking temperature when appropriate.
End the final preparation step with “Portion size: 1 cup/4 oz”. Be sure to weigh AND measure single portion size. ½ cup does not always weigh 4 oz.
PROOFREAD as Webtrition does not have spell check!
Sub Recipes: Please refrain from using Sub recipes. This will assist with cross sector sharing.
Categories Tab:
The following categories MUST be tagged before submitting your recipes: o Recipe Category – choose sub category only, this will auto-populate main category o Recipe Production Area o Recipe Source – Sector Name
If there is a sub category applicable under the main, choose that.
If these categories are NOT tagged reports will not generate.
Smart Tags are analyzed against categories so be sure you are selecting the correct one.
NEW* Utilize shared Smart Tag list for easier searching
Nutrition:
Will be validated by administrative final nutrition approvers.
Smart Tag will auto tag for FIT if the criteria is met.
This is a required field.
Insert photo of single serving (use only compressed photo)
Photos need to be 20MB or less

If trouble adding a photo – see below:
1. Users can log on VPN and upload the images.
2. The image can be saved as another image by using any picture editing tools. Please follow the below steps for this option.
Step1: Open the picture in any picture editing tools like Paint. Right click on the picture and select open with => Paint as shown(highlighted) in the image below.

Note: Paint is a default windows software tool. You don’t have to install anything new.
Step 3: Save the picture by selecting File=> save as => png/jpeg as highlighted below. Note: You don’t have to make any changes to the picture.
Step 4: Try to upload the new picture in that you saved in step 3, to Webtrition. The Add button should be enabled now.


Recipe Overview Tab (we waited a long time for this – MAKE USE OF IT)
General Tips:
All recipes should be user friendly. Keep the end user in mind.
Avoid too many sub recipes within one recipe – “Prepare ____ according to recipe.” o “in a large bowl…” this no longer applies if recipe is scaled to a smaller yield o “for 12 serving yield, pour batter into a ½ sheet pan…”
Do not specify amounts within procedures as they will change if recipes are scaled to a different yield.
Do not specify size of containers without amount assigned to it.
Simplify procedures by avoiding redundancy, be efficient and clear: o “Preheat oven to 350F degrees. Place casserole in the oven and bake for 45 minutes…”
Change to: “Bake casserole in a preheated 350F degree oven for 45 minutes….” o “…Remove from oven and allow meat to rest 15 minutes prior to slicing.”
Change to: “…remove from oven and slice meat after 15 minute rest.”
And be grammatically correct.
Webtrition does not have spell check. Please proof your spelling.
Copying an Existing Webtrition Recipe
Find existing recipe you want to copy and click “Copy” Details Tab: o Include promotion name if applicable.
Recipe name – erase “Copy of” and update name to reflect new recipe.
Short name – update short name (remember 36 character limit)
Prep time – update (in minutes)
Cooking time – update (in minutes)
Notes – update notes and remove any statements that are not relevant to the new recipe
Ingredients Tab:
Delete ingredients that are not in the new recipe.
If recipe you copy does not belong to your sector and has sub-recipes, all sub-recipes must be incorporated into copy or make copies of the sub recipe(s) first, then submit for approval. Once approved those sub recipes can be added to the copied recipe.
Add new ingredients. Make sure to double check step numbers and update if needed.
Check off appropriate EP/AP boxes (EP = edible portion, AP = as purchased)
Yield Tab:
Update yield if different than existing recipe.
Preparation Tab:
Be sure to read through the preparation steps. Erase references and directions to any ingredients that have been removed. Double check the preparation step names.
Add new preparation steps or directions to current preparation steps for new ingredients. Make sure new ingredients are linked to the correct preparation step.
Double check the HACCP statement in the first preparation step as it may need to be changed.
Update the “Portion size:” in the final preparation step.
Categories Tab: o Recipe Category – choose sub category only, this will auto-populate main category o Recipe Production Area o Recipe Source
Double check categories as they may have changed.
REMOVE existing Recipe Source that don’t apply to your sector (THIS IS VERY IMPORTANT)
ADD your sector category or concept as the new main source
Photo Tab:
Delete picture if one was uploaded for the original recipe.
Upload new picture.
Tagging for ACC BANK recipes
for ACC BANK
Pump directions:

Pump approximately 1-1/2 gallons of taco meat into each bag. Clip bag. Place in tumble chiller. Chill contents of bag to 70F or less within 2 hours and 41F or less within an additional 4 hours for a total chilling time of 6 hours or less. To check temperature, remove bag from chiller and gently shake to distribute contents. Place bag on towel on counter and let set for 2 minutes. Place thermometer in center of bag. Fold half of bag over thermometer. Label bag with recipe name and expiration date, 14 days from current date. Refrigerate bag. Use by expiration date.
ACC recipe reheating directions
From cold storage, pull bagged taco meat, ACC. Place bag in simmering water bath or in steamer. Heat until contents of bag reaches 165F. To check temperature, remove bag from water and gently shake to distribute contents. Place bag on towel on counter and let set for 2 minutes. Place thermometer in center of bag. Fold half of bag over thermometer. Place in appropriate serving container and hold hot for hot service.
Recipes for reference if needed
HC BJC Beef Taco Meat, ACC-Bank (96433.1)
HC BJC Beef Taco Meat, ACC (96433.2)
HC BJC Beef Meat Sauce, ACC-Bank (96441)
HC BJC Beef Meat Sauce, ACC (135767)
Due to all our bags being 1.5 gallons (192 fl oz), our ACC recipes typically have two yields:
Soups: 32 6 fl oz portions
Sauces: 192 1 fl oz portions
