Streamlined Test Tray How to Guide

Test Tray How To Video

Test Tray How To Video
1: Sign into Acuity Connect

Go to the Forms Screen from the App menu on the left
Select: Streamlined Test Tray in the Patient Services Section
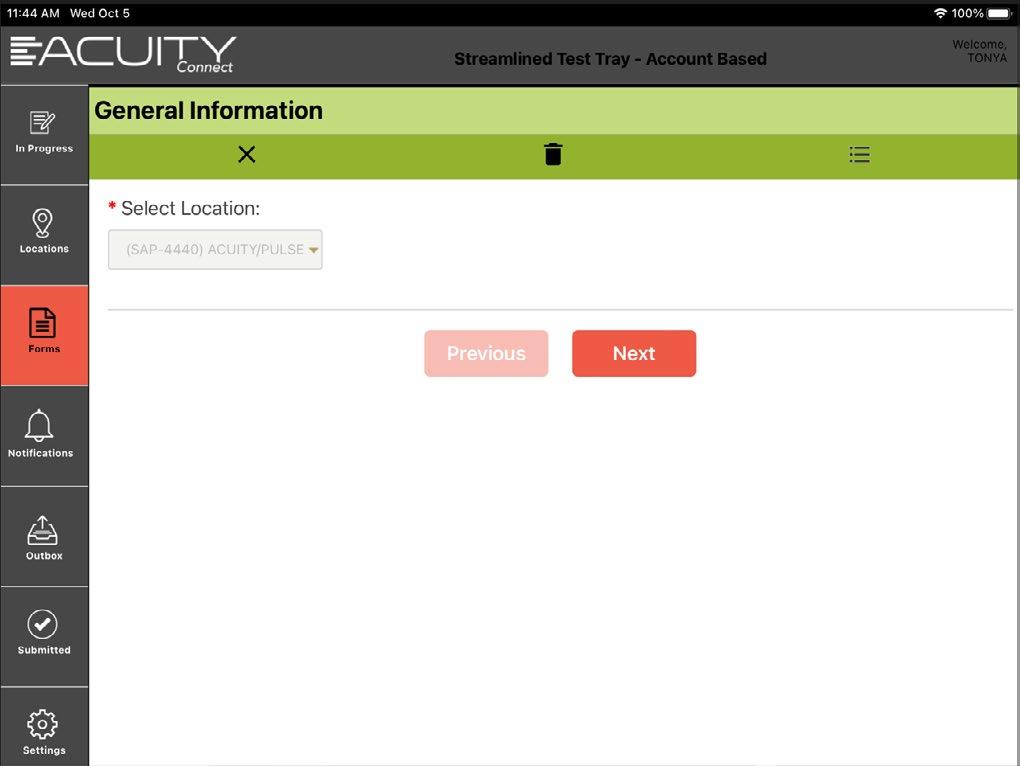
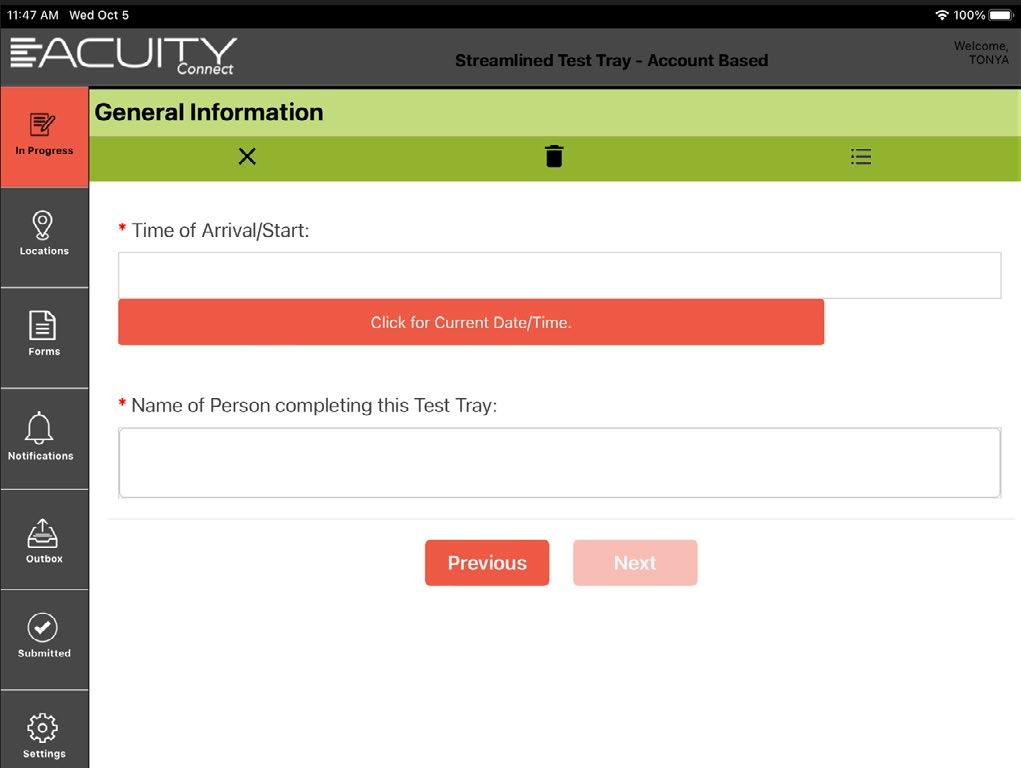

Read the directions completely on this page
Test Trays are done on the nursing unit in a private area
Trayline temps are only done if required for your region
Click “Next”
FYI: No matter if your region is testing test tray temps, all food temperatures must be recorded in the taste/temperature log per the P&P manual
Use the drop down to choose day of the week
Use the drop down to choose main diet patient is prescribed
Use free text box to insert any other diet indicators not listed*
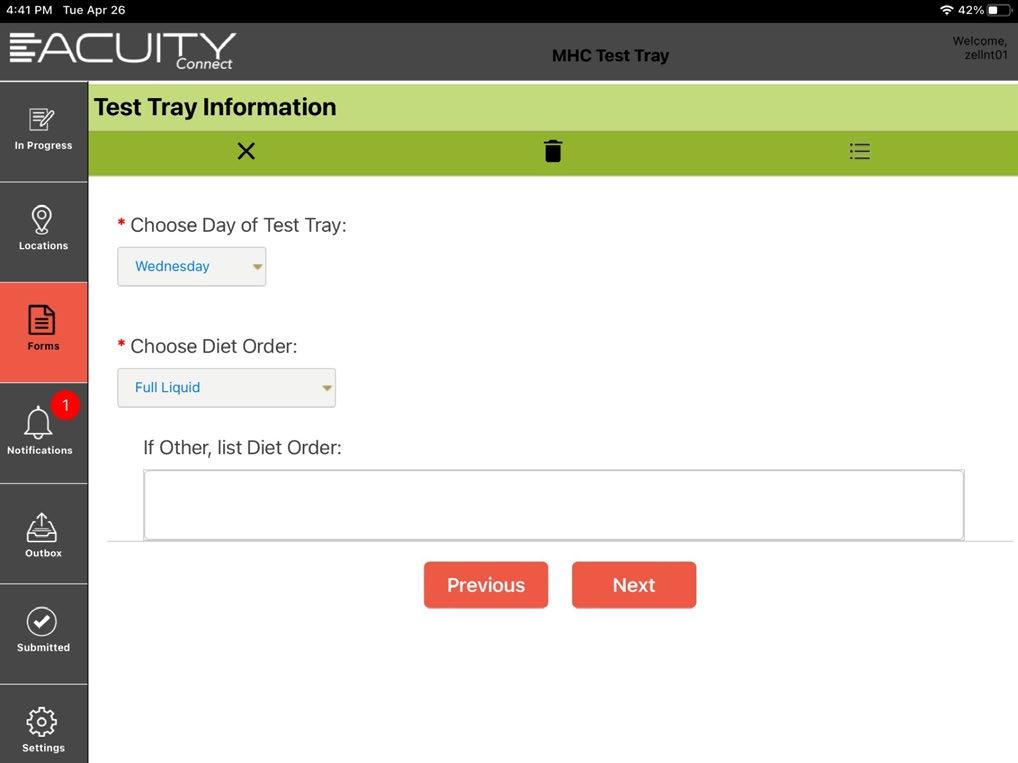
Click “Next”
*FYI: Anything written in the free text box will not be tracked/analyzed in the MHCAcuity Rollup report.
This will show up in the Test Tray PDF report.
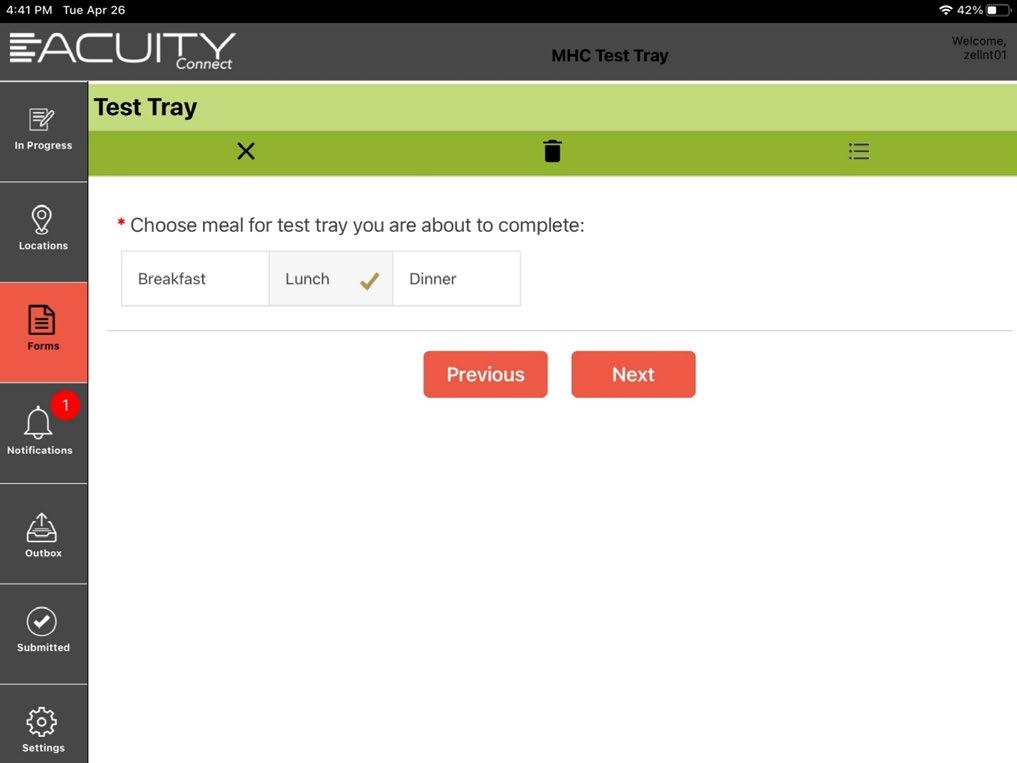
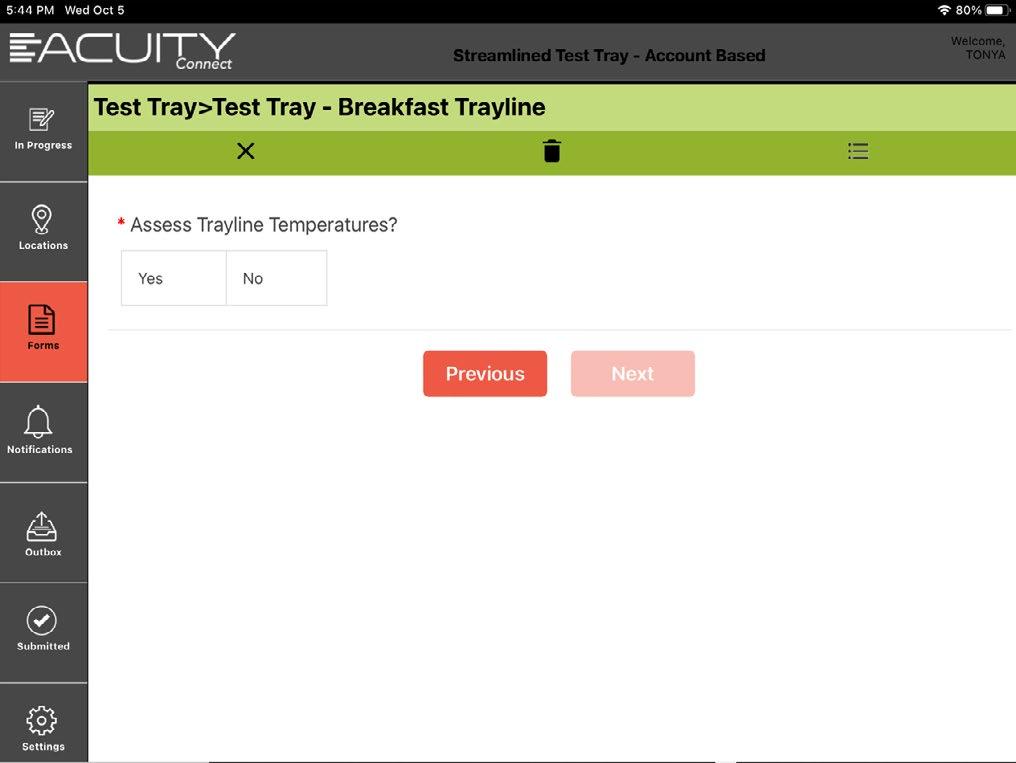
This step will depend on if your region is requiring test tray temps to be completed.
Click “ Yes ”
Region requires Temperatures
Click “No ”
Region does NOT require Temperatures
Click “Next”
This step will depend on if your region is requiring test tray temperatures to be completed.
Take the temperature of all items on trayline that are on the test tray
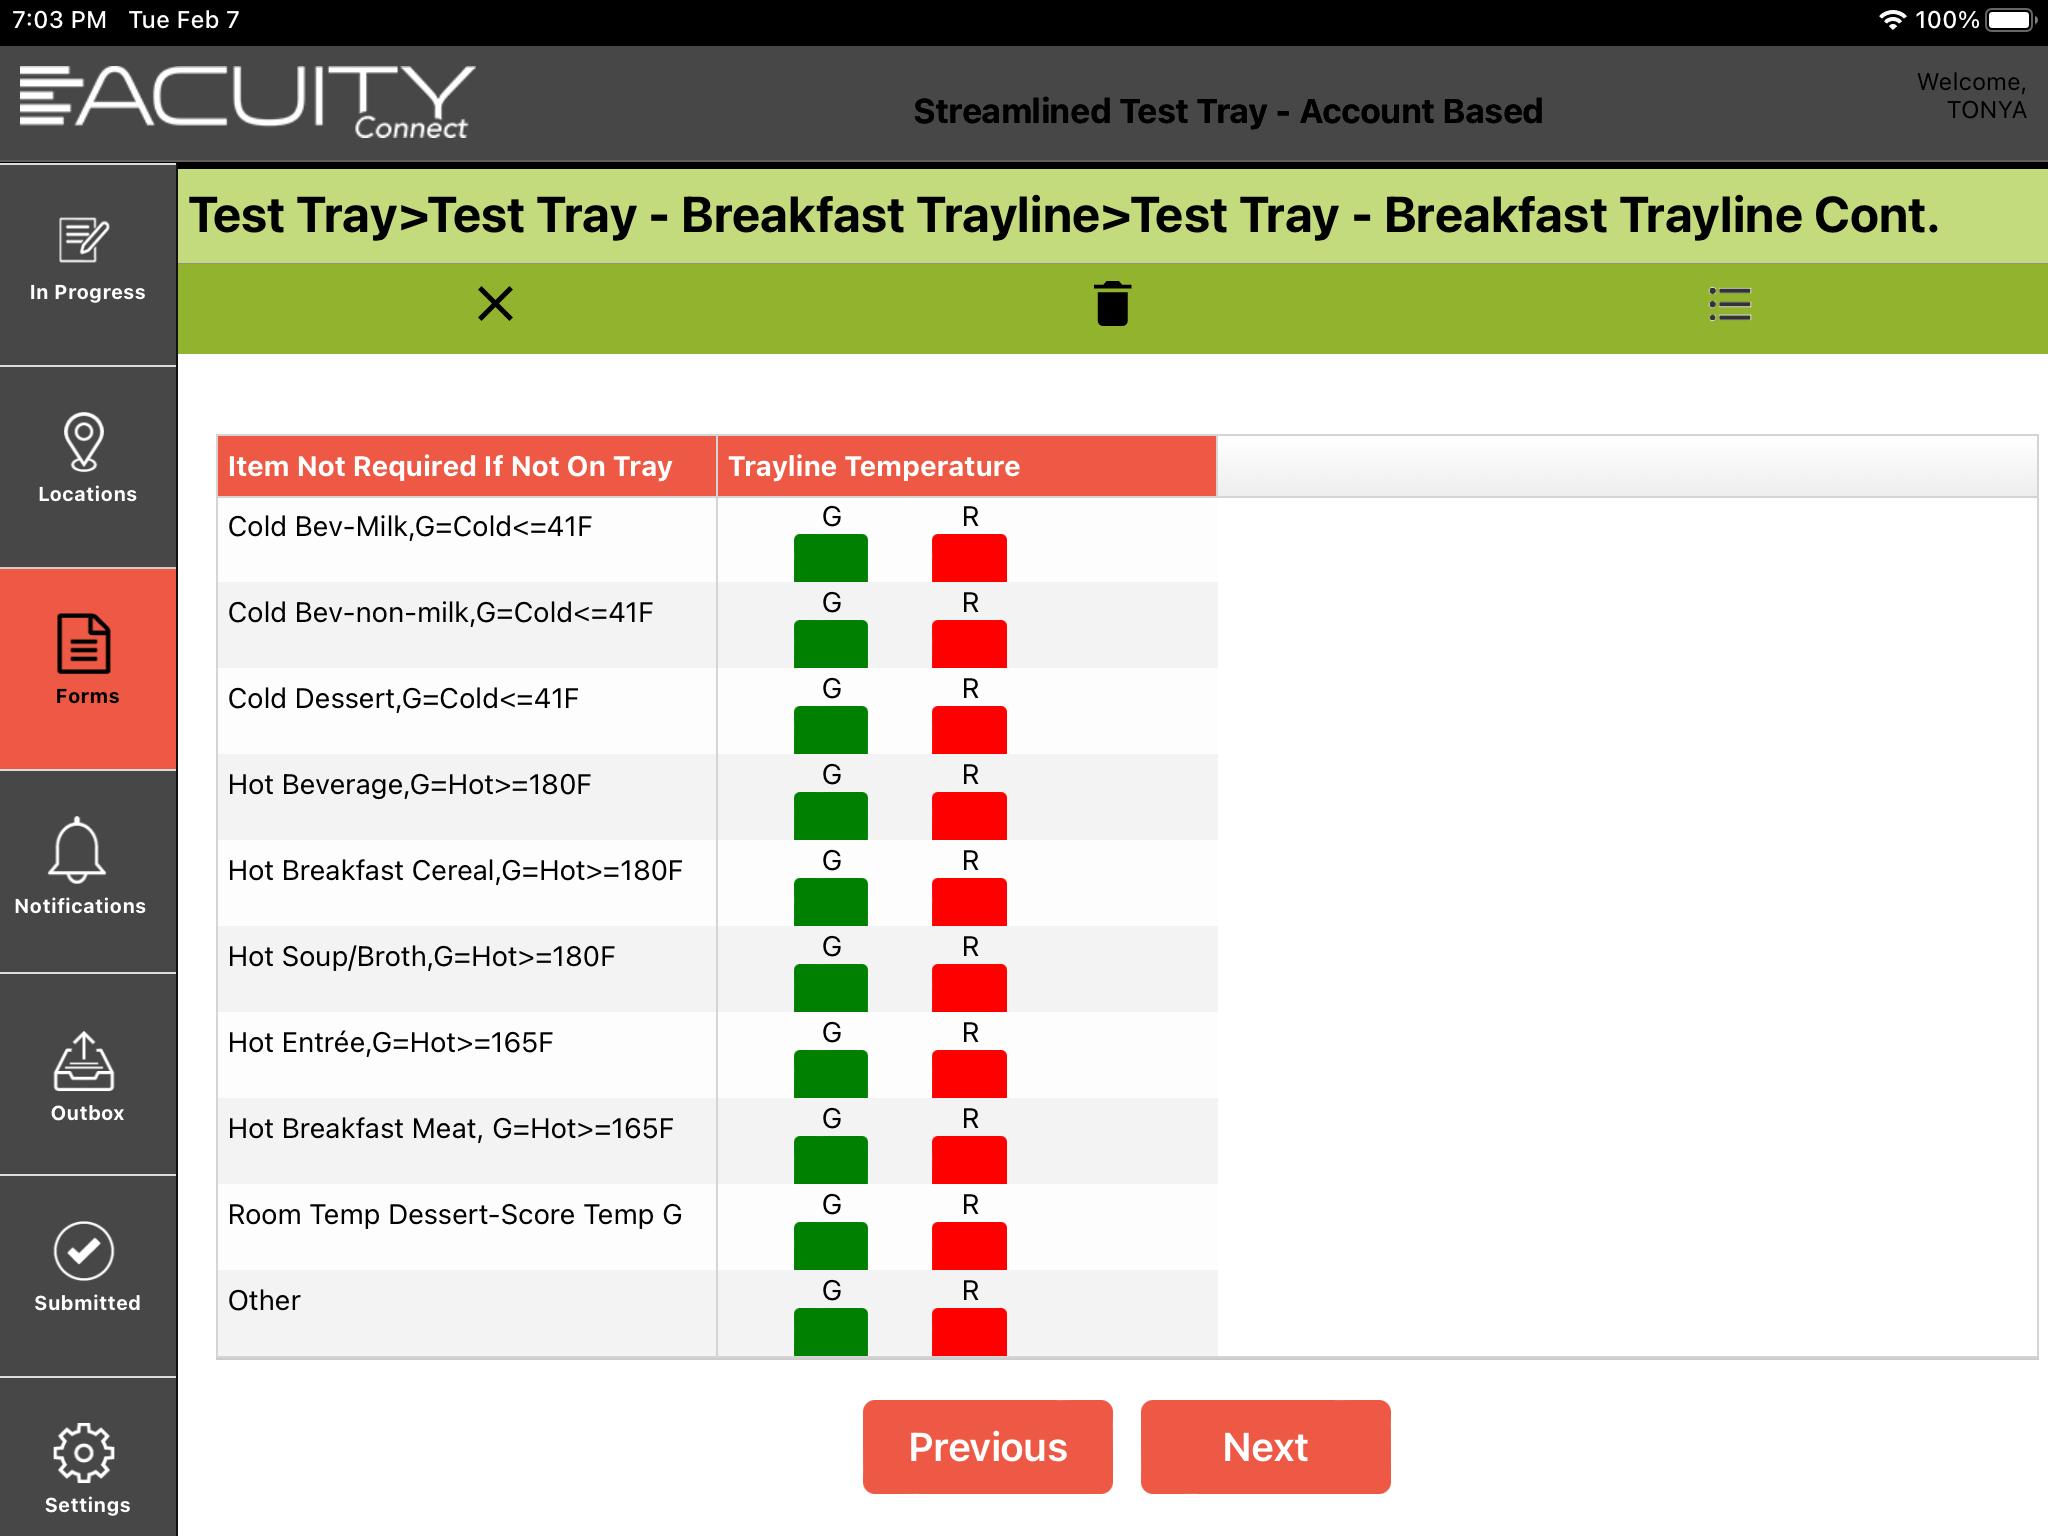
Cold items should be done BEFORE hot tray items
Only check items G/R if on the tray
Items under “other” will be able to be entered in a text box at the end of the test tray form
Click “Next”
NOTE: Skip any item that is not part of your test tray.
No temperature required!
FYI: Use the scroll function to move items up and down if you can’t see all areas of the trayline temperatures to complete.
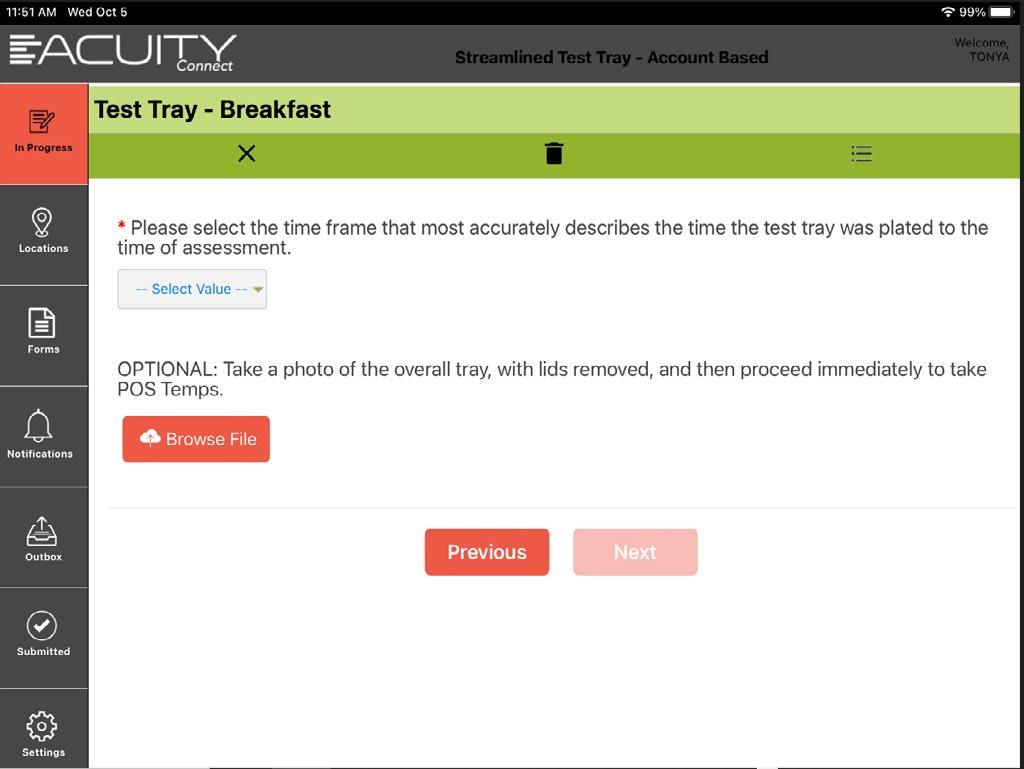
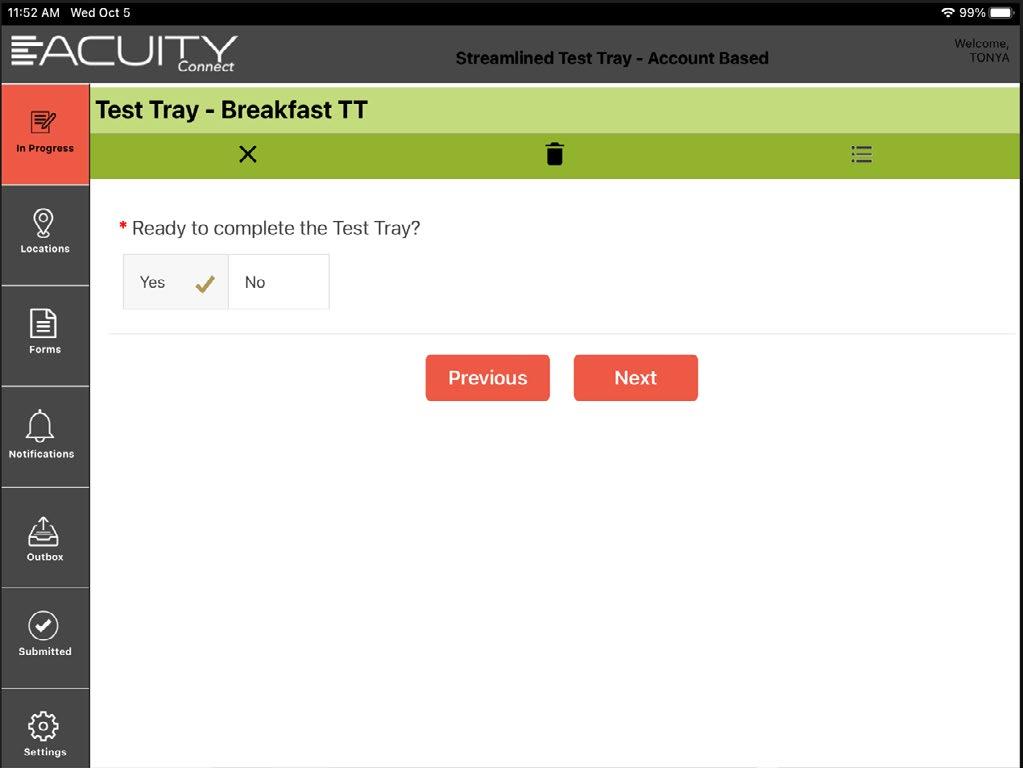
Choose “Yes” to start the Test Tray and go to Step 11
Choose “No” and you will be directed to Step 12 Click “Next”
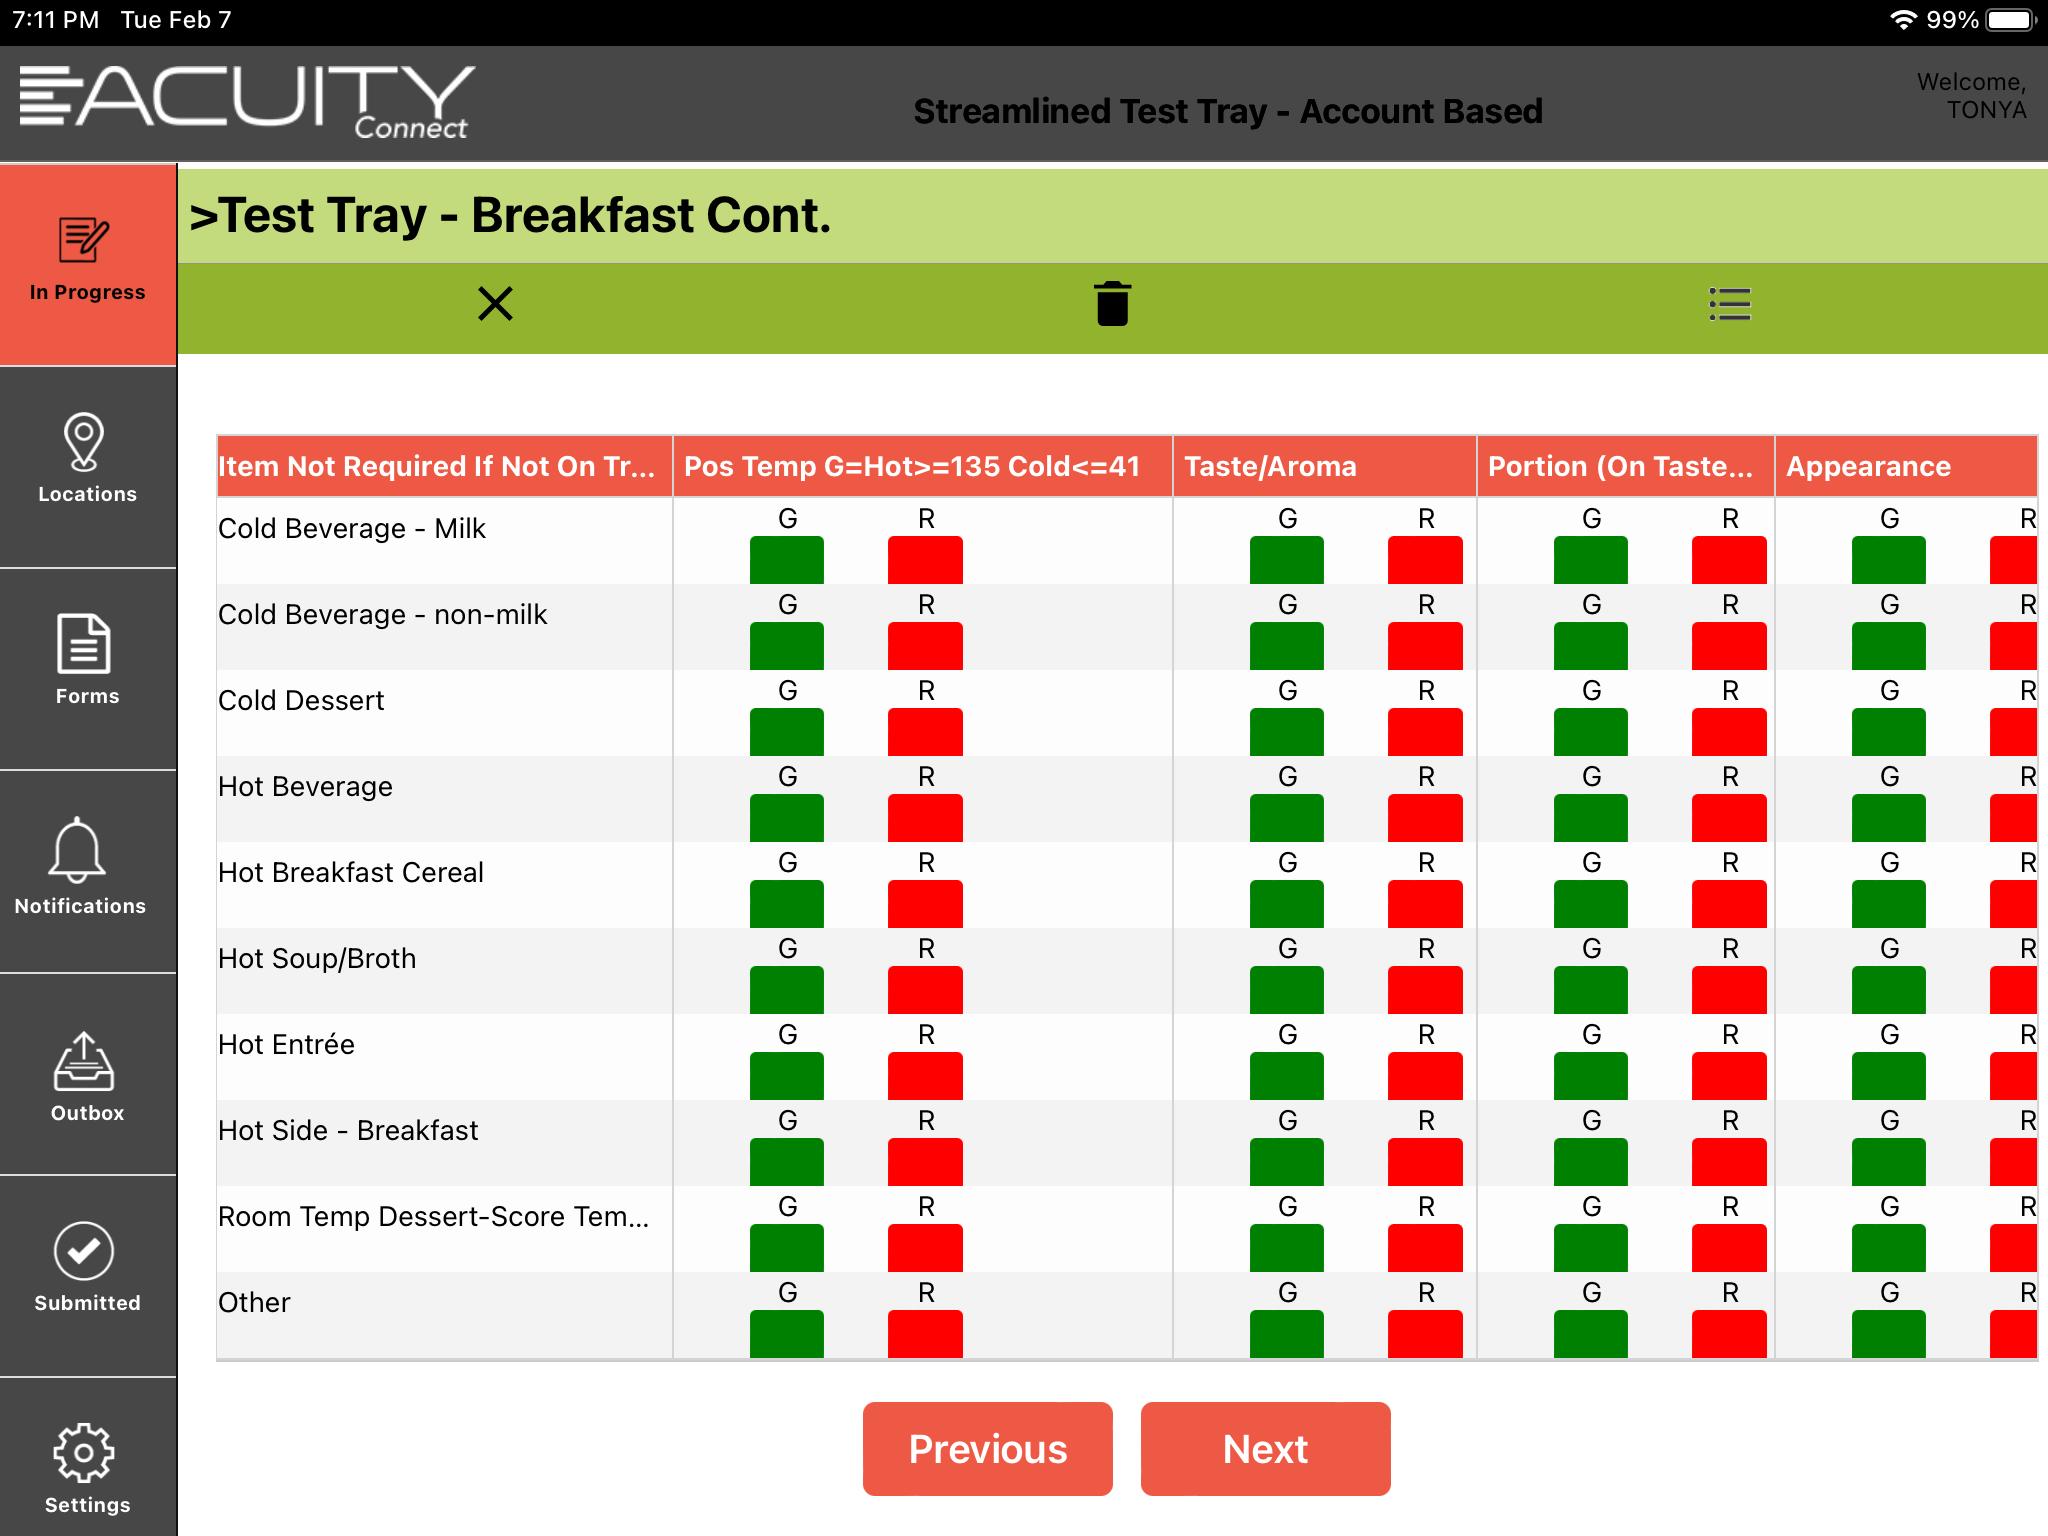
Take the temperature of all items that are on the test tray
Cold items should be done BEFORE hot tray items
Only check items G/R if on the tray
Items under “other” will be able to be entered in a text box at the end of the test tray form
Click “Next”
NOTE: Skip any item that is not part of your test tray.
No temperature required!
FYI: Use the scroll function to move items left if you can’t see all areas of the test tray to complete. You will be completing POS temperatures, Taste/Aroma, Portion & Appearance
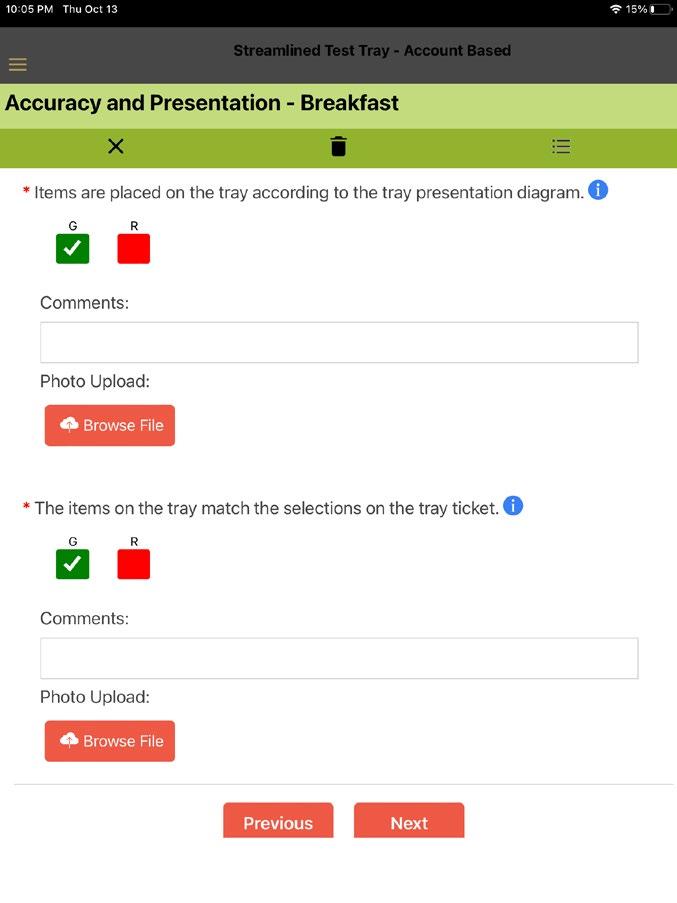
Compare the tray ticket to what is on the tray
*Insert comment if red*
*Photo is not required*
Compare tray diagram to tray built for compliance
*Insert comment if red*
*Photo is not required* Click “Next”
Read the recommendations for any item that was marked red (not compliant)
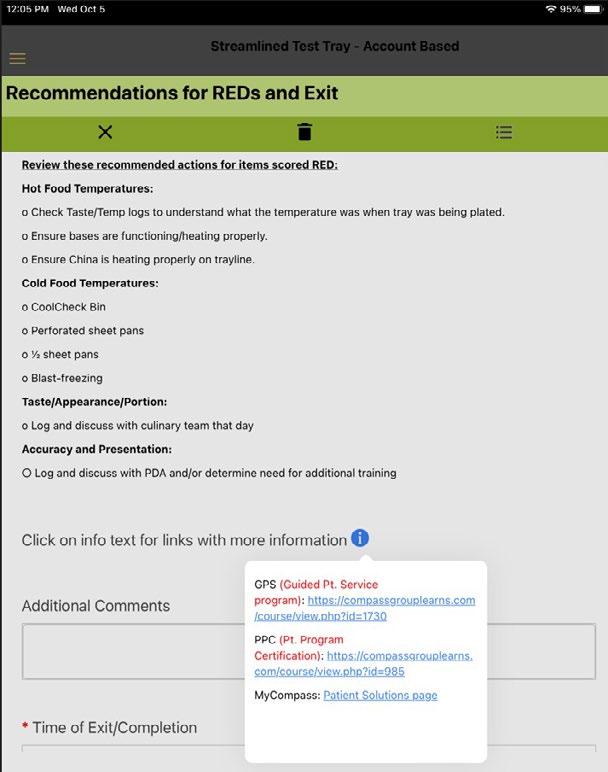
Click on for links to PPC, GPS, and MyCompass
Use “Additional Comments” for any items you want to remember were out of temp or need a plan of action to get into compliance
Hit “Current Date/Time”
Click “Finish”