5 minute read
ART OF THE PHOTOSHOOT - Part 3: Executing Your Shoot

By Ryan Poole
You’ve built your creative team, nailed your concept, and everyone’s confirmed for shoot day. Now it’s time to make it all happen. Shoot days can be exciting, inspiring… and honestly, a little hectic! With so many moving parts - people, gear, styling, timing - things can go sideways quickly if you’re not prepared. The good news? A little planning goes a long way, so let me break down shoot day!
Arrive Early and Set the Pace
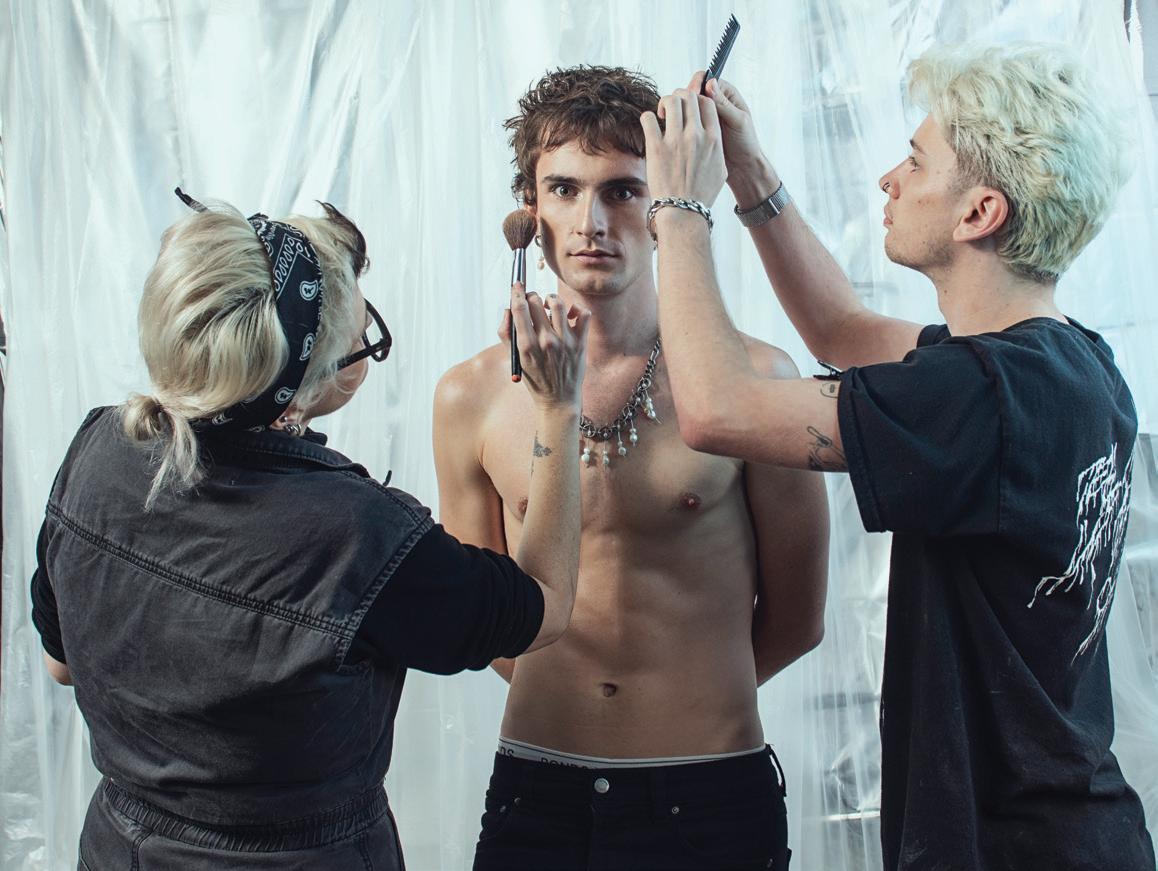
On your shoot, your arrival time should be earlier than anyone else’s. This gives you space to get organised, check the location, and set up without feeling rushed. Not only do you need to set your tools up but also the rest of your crew will need their sections in the studio. Helping offload any gear the team might have and organising their sections in your shooting space stops the pre-shoot jitters.
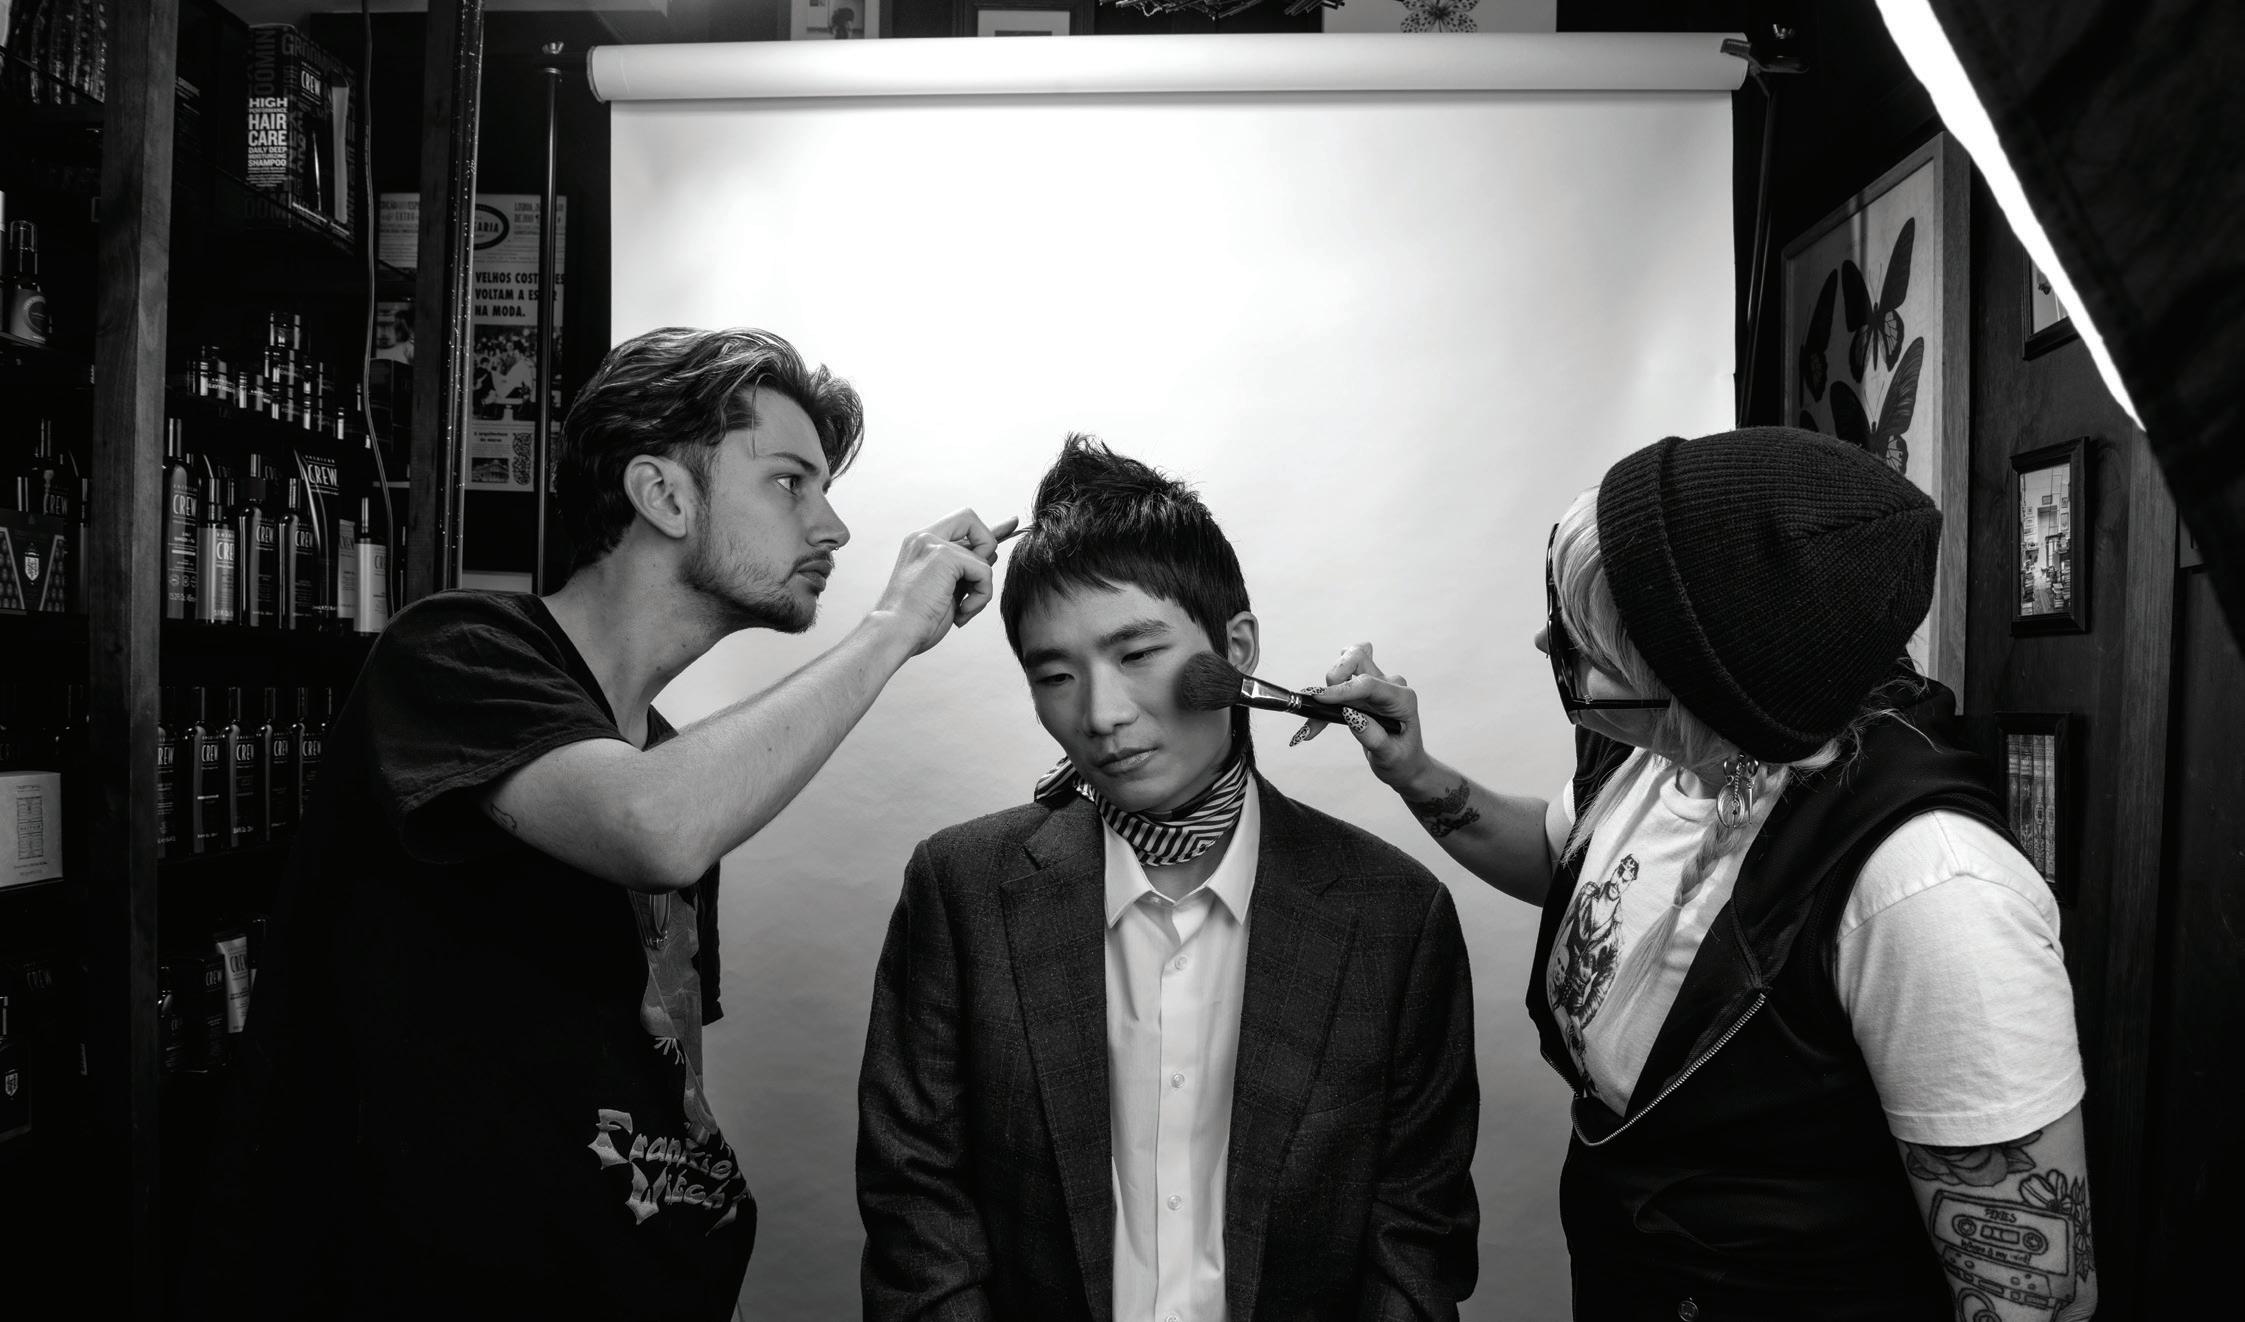
Have an area for your photographer where they have enough space for their backdrop, light setups as well as any natural lighting considerations. An area for your makeup artist where they can setup a ring-light, a makeup chair and a desk for all their kit. A space for your stylist to keep outfits and fit portable clothes hangers and if you are using a videographer, maybe a separate shooting area if necessary.
Use a Run Sheet to Stay on Track
One of the best ways to keep a shoot running smoothly is to create a run sheet; a schedule that lists every model, their look, and the approximate timing for hair, makeup, and photography. In my shoots, I always print off a run sheet for each team member so they all have a clear point of reference of timing. Keep in mind that some parts of the process take longer than others. Hair for one model might be quick, but makeup could be more complex. Build in buffer time for these variations, and always include a lunch break, where you might organise some catering for the team.
Do Test Shots Before You Start
Before you launch into styling or shooting, take a few test shots with your photographer. This lets you check the lighting setup, see how colours and textures are reading on camera, and make any tweaks before the real work begins. If your concept relies heavily on a style of photography like longexposure or you’re maybe you’re using a wide-angle lens; play around with the test shots until you are happy. Test shoots will also help you find your models strongest angles and the focal points of the hair you are trying to capture. This gives the photographer a crystal-clear idea of what you need from the shoot.
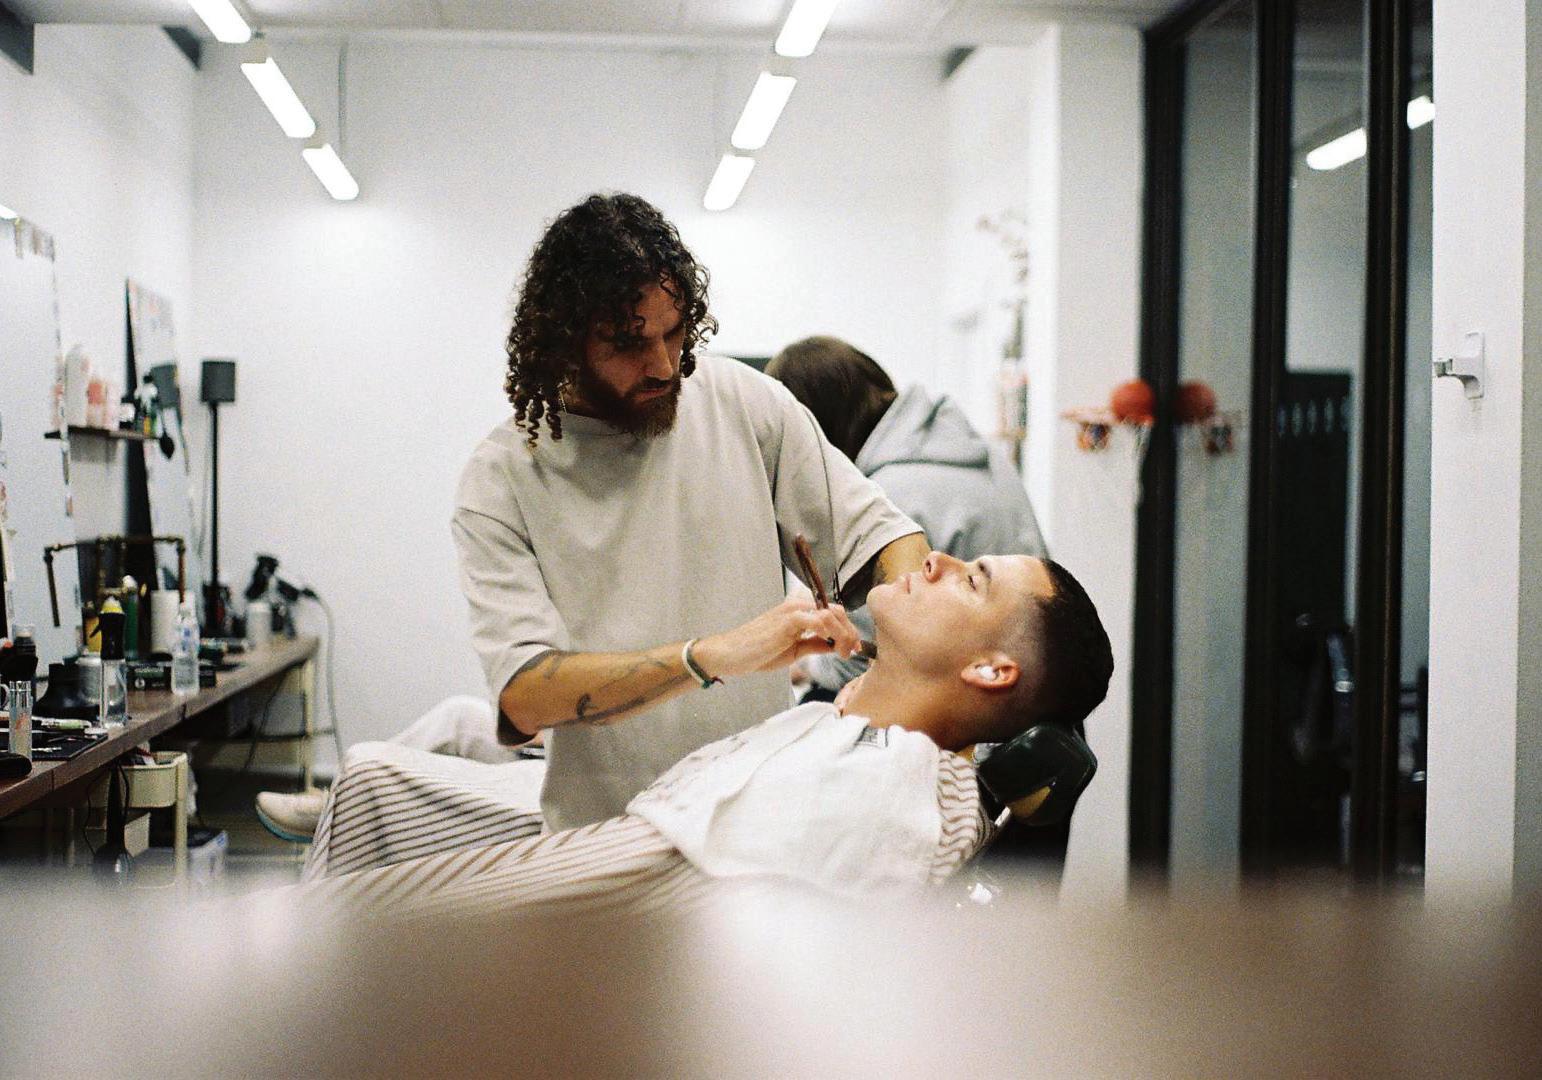
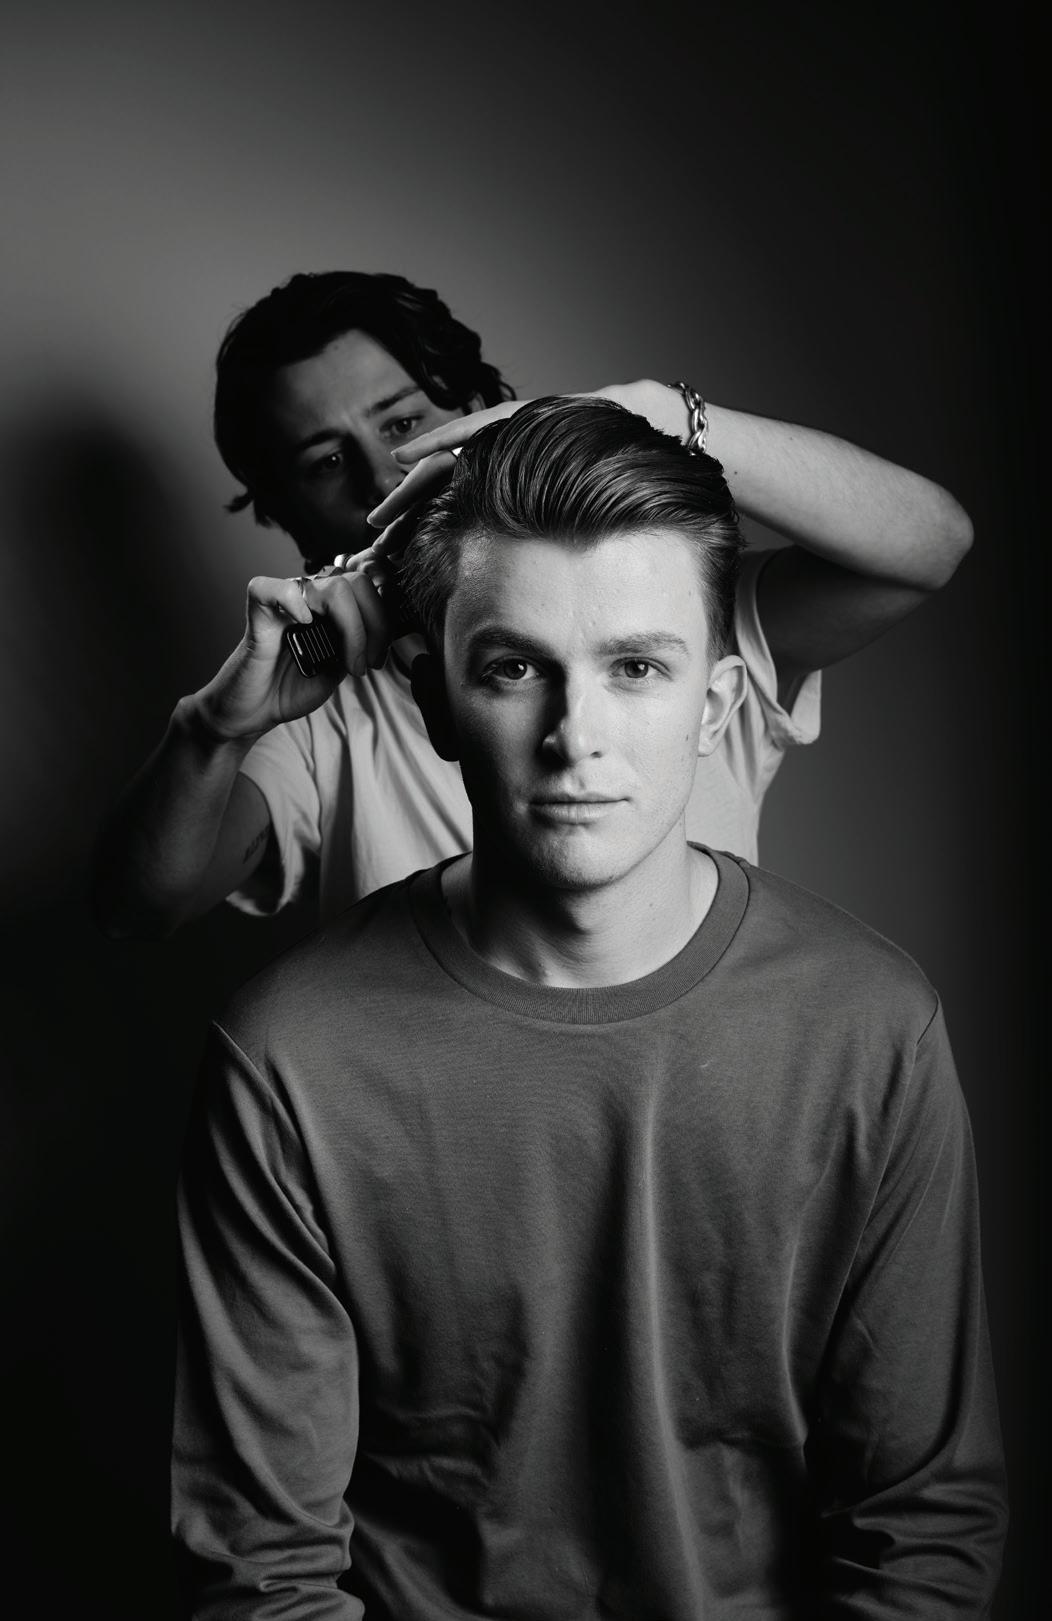
Pre-Cut Before Shoot Day
If you are planning to cut hair for your shoot, I recommend doing it the week of the shoot. This keeps the focus on styling and finishing touches, rather than eating up precious time with a full cut on set. Shoot days are already high pressure when you’re first starting out; so make it easier for yourself! This will streamline your day, but it also allows you to experiment with different looks. If there are things on the hair you would want to touch up on the day of the shoot, be it touching up a fade on a model or taking a bit more out of the fringe, go for it.
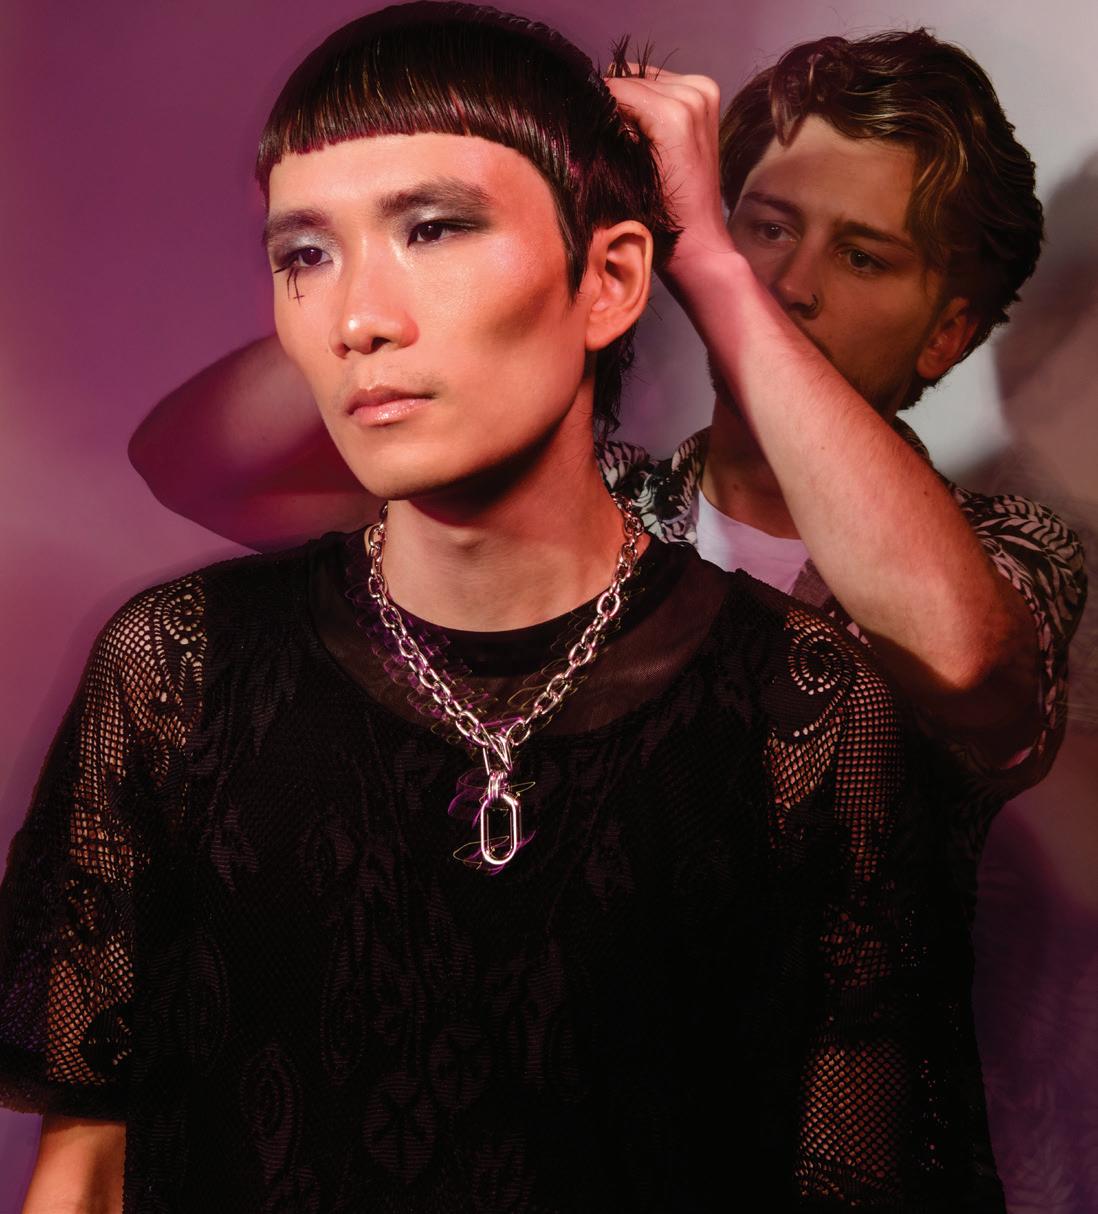
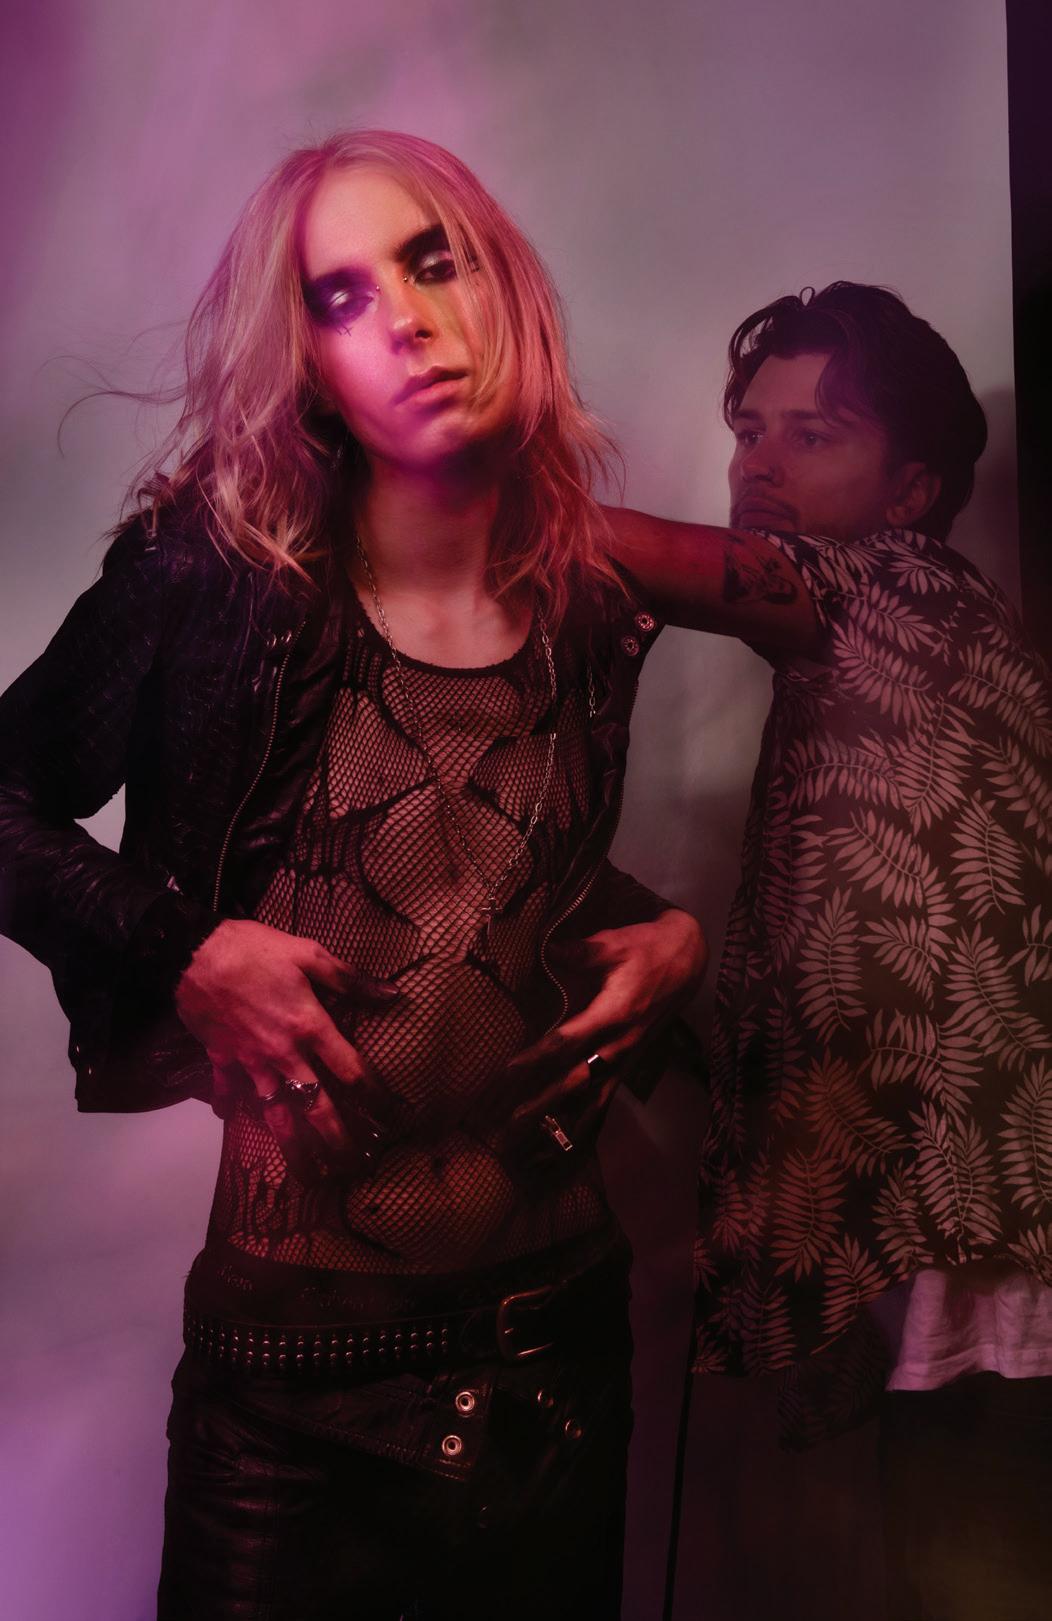
Be Bold Enough to Change the Hair
One of the most important things I learned on one of my first shoots was that just because you’ve cut your model’s hair a certain way, doesn’t mean you have to be locked in on that style. If you’ve cut and styled a classic slick pompadour, why not try changing it to a messy quiff after you’ve got some shots? If you’re not feeling how your look is translating on camera, don’t be afraid to completely restyle. Changing a shape, adding texture, or altering the finish can give you a fresh set of images and add variety to your portfolio. Some of my favourite shots have come from making a last-minute change that I wasn’t originally planning.
Don’t Move On Until You’ve Got It
I understand that the confines of a run sheet can feel daunting if you start to run overtime and that it’s tempting to keep things moving quickly… BUT never stop shooting a model until you’re confident you’ve got the shots you need. Running a little over time is far better than realising later that you’re missing key images. Use this time to experiment with slightly different poses, lighting angles, or camera heights, you might end up with something even stronger than you’d planned. This is YOUR creative endeavour. This is YOUR project. This is YOUR shoot. Keep going until YOU are happy with the results!
Paperwork Matters: Model Release Forms
Are you planning on submitting a collection to next year’s AMBA or AHIA awards? Maybe you want to get your work published? Always have model release forms signed before you start shooting. These forms give you legal permission to use the images in your portfolio, on social media, or for competitions and publications. It might feel formal, but it protects you, your team, and the photographer from any issues down the line.
Final Thoughts
Shoot day is where all your prep work pays off, but it’s also where quick thinking and adaptability are tested. By arriving early, planning your timing, making space for test shots, and keeping your team energised, you’ll create an environment where great work happens naturally.
Stay tuned for the final entry in this series we move into post-production. We’re looking at polishing your work, selecting your final shots, and submitting them so they get the attention they deserve. Best of luck on your shoot day!