3 minute read
5 colorful DIY projects you can tackle with one gallon of paint


THE WASHINGTON POST
When Racheal Jackson bought her 1978 fixer-upper in Vancouver, Wash., she considered the wood-accented house a blank canvas waiting to be made over with color. The designer and artist took it one room at a time: painting a mural here, creating a piece of art there. Before she knew it, her house was an amalgamation of smaller projects, most of them accomplished with paint.
Her motto, “It’s just paint,” also has colored the work she’s done on clients’ homes. “Does your room feel uninspired? Paint it,” advises the founder of Banyan Bridges, a mural and interior-design service. (Jackson also co-hosts the series “Artfully Designed” on Discovery+.) “We live bolder lives when we surround ourselves with bold design, so . . . just try it on. Paint your wall fuchsia!”
Maggie McGaugh, a homerenovation Instagrammer and self-proclaimed “dumpster diver,” agrees with Jackson’s “go bold” approach. For the past few years, the Texas creative has shared her adventures rehabbing discarded furniture with more than 500,000 followers. Sometimes the slightest changes can make the largest impact, McGaugh says.
Want to give your own DIY project a go? Jackson, McGaugh and other design experts share some of their favorite homerefresh ideas, all requiring nothing more than a single gallon of paint.
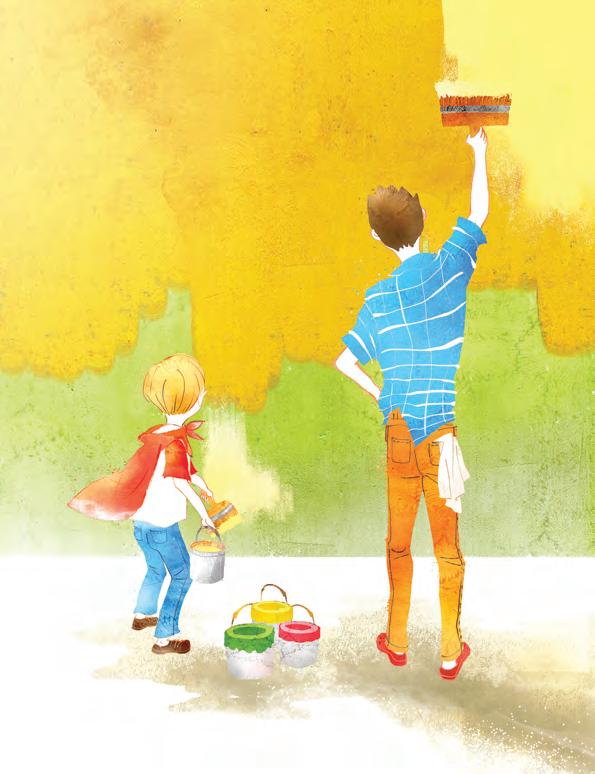
1. Design a color-block mural
Jackson’s signature are her whimsical, color-blocked murals, which also happen to be an ideal paint project for newbies.
Using a variety of different size brushes and painter’s tape, Jackson has created these vivid murals in homes across the country. For simple designs, she says DIYers can use their phones to take a photo of the wall and use the editing function to sketch the design, to determine placement and scale.
For a more complicated mural, you could use an app such as Pro- create to sketch out your idea first, then project it onto the wall and trace over it with pencil or chalk. Often, you’ll need a few coats of paint on each block to achieve full coverage. If you’re using several colors, buy sample sizes or quarts for each section, rather than a whole gallon. Jackson recommends paint with a matte finish.
To prevent the sections from bleeding into each other, tape off the design (pressing along the tape with a credit card or something similar to make sure it’s tight against the wall), then paint your base color over the whole area, including over the tape. Once the base color dries, apply your next color over the top. When you remove the tape, your design should be crisp.
2. Build a monochromatic gallery wall
Colson Horton, an interior and prop stylist, says that if you aren’t ready to paint an entire wall, tackling a more manageable project such as a grouping of picture frames can give a space personality with minimal effort.
“If you want to spruce up a room, why not paint your wooden frames a half shade darker or lighter than your wall color to create a clean, monochromatic look?” she says.
To achieve such a look, sand each frame, then prime before painting. Using a sprayer will give the cleanest finish, Horton says. “Make sure not to be too close to the frame to avoid drips, and allow the paint to dry fully between layers. I have rushed this process before and I always regret it, so take your time!”
For added dimension, she suggests using a different sheen of paint on your frames than what is on your wall, or adding contrasting mats “for a little extra punch of playfulness.”
3. Stencil on faux wallpaper
The application and semi-permanence of wallpaper is daunting to many homeowners. If that includes you, interior designer Isabel Ladd suggests emulating the look and feel of patterned paper with paint instead.
“What looks like wallpa- per [can] actually be done with a gallon of paint and stencils,” says the founder of Isabel Ladd Interiors in Lexington, Ky. In rooms with odd dimensions, the method can work much better than traditional paper. “This was especially necessary in a bathroom [I designed] with quirky sized walls where everything was crooked,” Ladd says. “We had better command of the design using paint and a stencil than we would have papering the walls.”
You can find handmade stencils on Etsy or buy a set at your local craft store. Or, find a pattern that you love, print it out and cut your own stencil from blank stencil sheets. Use blue painter’s tape to hold the stencil in place, Ladd says, and start in the middle of the wall, then work your way out on either side to ensure symmetry and even spacing. Ladd also recommends investing in a stencil brush, “as they are flat and great for this application.”
To prevent the paint from bleeding beyond the stencil borders, don’t oversaturate your paint brush. “If you need more coverage, wait until the first layer of paint is dry, then use the guidelines on the stencil to line up the design again, and proceed with your next layer,” she advises. “Use a fine painter’s brush to clean up any spots or errors.”
4. Upcycle discarded furniture
Keeping an old piece of furniture out of a landfill can be as easy as slicking on a fresh coat of paint, McGaugh says. The results are almost always rewarding and, if you find discarded items
See Paint, Page 11


