1 minute read
Step 8: Validate and Test the Object
2
Review the BIM object for accuracy, completeness, and compliance with standards. Test the object's behavior within the BIM authoring software and verify that it functions as intended.
Advertisement

Step 9: Add Metadata and Documentation
2
Attach relevant metadata, such as classification codes or sustainability information, to the BIM object. Create documentation, including user manuals or installation instructions, if applicable.
Step 10: Save and Publish the Object
2
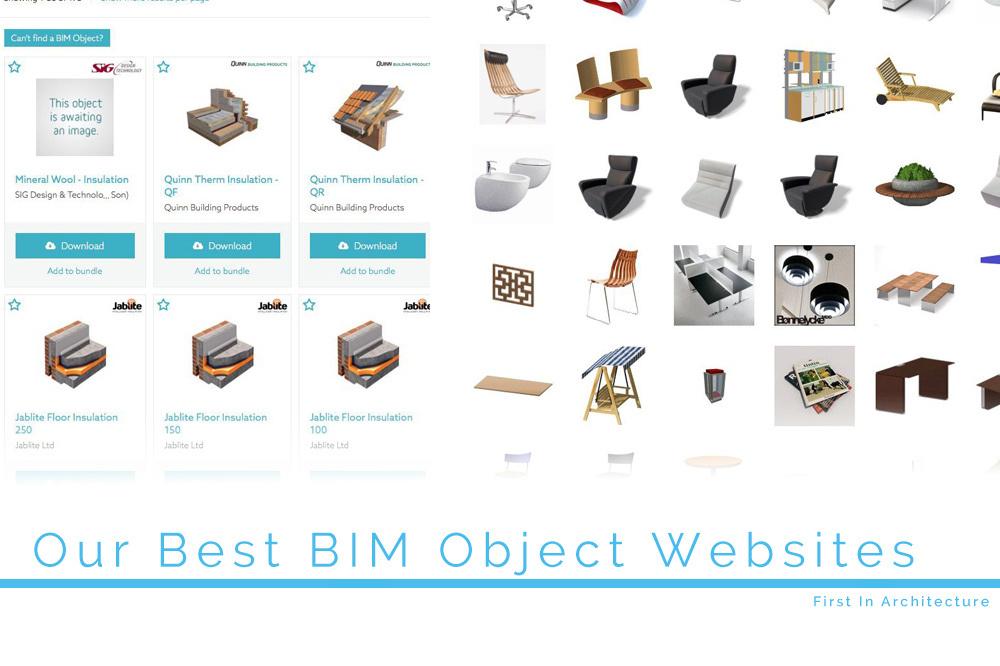
Save the completed BIM object in a compatible file format, such as IFC (Industry Foundation Classes) or the native format of the BIM authoring software.
Publish the BIM object through a platform or library for others to access and utilize.
Step 11: Maintain and Update the Object
2
Regularly review and update the BIM object to ensure it remains accurate and up-to-date. Incorporate any changes or improvements based on feedback and evolving requirements.


Conclusion
In order to guarantee an accurate representation and seamless data integration, the creation of BIM objects requires multiple processes. Certain processes could differ from one another based on the BIM authoring software that you use and the degree of difficulty of the BIM object that you are developing. In order to ensure compatibility and interoperability with other BIM tools and platforms, it is vital to adhere to the standards and norms established by the industry.


