! WARNING
Childrenhavediedfromfurnituretipover.Toreducetherisk oftipover:
ALWAYSsecurethisfurnituretothewallusingawallanchor. NEVERallowchildrentostand,climb,orhangondrawers,doors orshelves.
Donotdefeatorremovethedrawerinterlocksystem. Placeheaviestitemsinthelowestdrawers.
NEVERputaTVonthisfurniture.
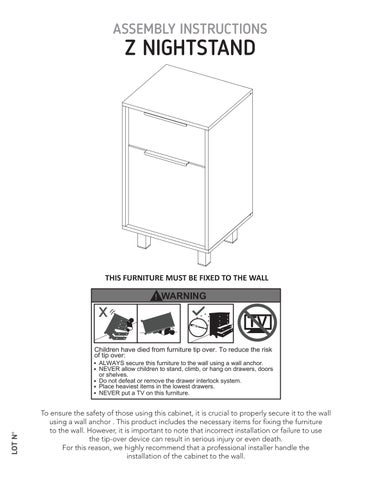
To ensure the safety of those using this cabinet, it is crucial to properly secure it to the wall using a wall anchor . This product includes the necessary items for fixing the furniture to the wall. However, it is important to note that incorrect installation or failure to use the tip-over device can result in serious injury or even death. For this reason, we highly recommend that a professional installer handle the installation of the cabinet to the wall.
Over the next few pages is the panel and hardware content for this cabinet.
Please make sure that the quantity of each one is correct, and that everything is in good shape.
(When the cabinet is already assembled there’s no warranty for this)
Cover caps x10
Drawer slides + screws
Spreading bolt x14
Flat head screw x20
Steel legs x4 2" x1
Drywall screw
Cover caps x10 x4
Handle x2
Hinge + screws x2 x2 Bumpons
Be careful!, try not to lose anything from this bag, its content is necessary for assembling your cabinet.
1
1
Everytime you’re using one of these connectors during the assembly, you should follow these same steps.
2
They are little wooden cylinders.
Put in the dowel inside the indicated hole and softly hit it until it’s fully inside.
2
When joining two panels together, don’t forget to gently hit the panels to adjust the joint.
It’s a joint compound of two parts: a spreading bolt and a Minifix cam.
This is a Minifix cam. It has a little arrow on its upper surface.
You should insert these cams with the little arrow pointing towards the drilling on the panel’s edge (shown on the left).
3
4
This is a spreading bolt. You should put it with the black plastic part facing down.
After joining two panels together you should turn the cams 180° with a phillips head screwdriver to adjust and secure the joint.
You can see the last page of this manual to have a full look of the panels of this cabinet.
The wheel should go towards the front edge of the panel and facing down, like this: (apply for steps 2)
Slide the back panel inside the grooves.
Turn this panel over
Slide the back panel inside the grooves.
Slide the drawer inside the cabinet.
Depth adjustment Lateral adjustment
After adjusting all the Minifix cams, cover them up with the cover caps.
Tighten all minifix cams at the rear !
Height adjustment
Front screws adjustment
AAfter finishing the assembly, lift off al the adhesive letters.
*weight in pounds
But don’t go yet!
There are some recommendations left for you to take care of your cabinet correctly from now on.
We suggest fixing the cabinet to the wall, so we can avoid the cabinet tipping and harming anyone. Be specially careful with the kids.
Do not paint the cabinet.
The cabinet it’s exclusively for indoor spaces. Do not expose it to the direct sun.
Clean the metallic hardware with a dry cloth.
DO NOT overload the cabinet (see suggested loads)
Do not hit or hammer the cabinet (only when indicated here).
Clean it with thinner, a soft soap solution or simply a damp cloth.
Don’t drag the cabinet, lift it up with other people.
Avoid direct contact with water, fire or exposing it to high heat.