
9 minute read
MONEYWISE

Did youknow that you can paint a metal light fixture or a plastic chair? Even a laminate countertop? OK, so it takes more than a brush and a can. But with the right kind of instruction (read on!), you can tackle nearly any paint project. And here is the pros’ number one rule: Don’t rush. “Skipping prep work or the second coat always backfires,” says DIY expert Lucianna Samu. “Also, make sure you start from the top. It keeps drips from ruining areas you’ve already painted.” Gravity, people.
PICK YOUR PAINT
Advertisement
Which type is best for cabinets? Doors? Floors? This breakdown helps you decide.
latex
Made from synthetic polymers, like acrylic or vinyl-acrylic, suspended in water, latex paint is the most durable choice for many projects, and the type that most DIYers choose. It doesn’t have the noxious odor, long drying time, messy cleanup, or yellowing tendency that oil-based paint often has. PROS: Fast-drying, lowodor; cleans up with soap and water. CONS: Not as smooth or hard as oil-based paint. BEST FOR: Just about any application, from trim to floors to furniture.
waterborne alkyd
A newer addition to the market, waterbornealkyd paint—made of alkyd resin suspended in a water base—is essentially a marriage of latex paint and oil paint. It dries to a hard, smooth finish like oil-based paint and is low-odor like water-based paint. PROS: The finish is tough and resistant; low-odor; cleans up with soap and water. CONS: About 10 percent more expensive than standard latex. BEST FOR: Trim, doors, and cabinets, which need a paint that yields a smooth finish and handles wear and tear.
milk paint
One of the oldest-known forms of paint, milk paint gets its name from its main ingredient: casein, a dairy protein. It comes in powdered form; you mix it with water to create the paint. PROS: All-natural; since you mix it yourself, you can customize the consistency and saturation. CONS: Not as long-lasting as latex; if you mix it too thin, the color can streak. BEST FOR: Creating a soft, vintage look on walls or furniture.
What is low-VOC paint?
Paintwith 50 grams per liter (g/l) or less ofvolatile organic compounds. VOCs are organic chemicals that evaporate at room temperature, giving off fumes and potentially causing health issues.The lessyou’re exposed to them, the better. Federal law limits VOCs to250 g/l for flat finishes and 380 g/l for others; California has stricter limits. It’s safest to use formulas labeled “low-VOC,”which have 50 g/l or less, or even “no-VOC,” which have 5 g/l or less.
spray paint
Packaged in a sealed, pressurized container, spray paint is released in an aerosol spray. PROS: Quick and easy to use; airborne particles can reach places a brush can’t, like around the fibers of wicker furniture. CONS: Can be difficult to spray evenly; can be messy (overspraying is hard to avoid); many versions are high in VOCs.
BEST FOR: Painting smallobjects and getting into thecrevicesof ornate detailing.
CHOOSE YOURFINISH
It may not be as big a consideration as color, but picking the right sheen does affect the way a paint job turns out. To choose one, consider how you use the room and the effect that you’re going for, then consult this cheat sheet.
FLAT/MATTE
PROS: A velvety finish that hides surface imperfections. CONS: Although more durable than they used to be, flat and matte finishes are softer and less scrubbable than higher-sheen options, so they may not hold up as well on walls that get bumped or need frequent cleaning. BEST FOR: Ceilings, as well as walls in low-traffic spots, such as adult bedrooms and dining rooms.
EGGSHELL/SATIN
PROS: A tough, slightly reflective surface that holds up well to cleaning and traffic. CONS: Doesn’t camouflage surface imperfections as well as matte finishes do. BEST FOR: Kitchens, bathrooms, hallways, kids’ rooms.
SEMIGLOSS/HIGH GLOSS
PROS: A hard, shiny finish that withstands vacuumcleaner bumps and scrubbing. CONS: The reflective surface catches the light on high spots, exaggerating lumps and bumps (especially with high gloss); extensive surface prep is required for mirror-smooth results. BEST FOR: Trim, doors, cabinets, and furniture.
ALWAYS TRYBEFORE YOUBUY! For a sense of how different shadeswill look inyour space, use the PaintTester app (free).Snap a picture of the room, then “try on” different colors by tapping a paint-bucket icon.You can also tape a real paint-color chip to thewall inyour room, photograph it, and use the app’s Color Picker tool,which matches the sample shade and “paints” the room with it soyou can see how itwill look on thewalls.
BRUSH FINDER
When (and why) to use each type.
flat
For doors, cabinets, and paneling—or anything flat and wide—pick a four- to five-inch flat brush. With long, straight bristles, it covers a wide swath at once.
angled sash
Most pros prefer a 2½to 3-inch angled sash brush for painting trim and “cutting in” (painting a strip along the edge of the ceiling, floor, or wall before rolling for neat, complete coverage). For small spots and for maneuvering into the corners of furniture, a twoinch brush with a short, stubby handle works best. Always choose a synthetic-bristle brush for latex paint; natural bristles absorb too much water and become floppy.
PAINT MATH
HOW MUCH DO I NEED TO BUY?
roller
For floors, walls, and ceilings, choose an eight- or nine-inch roller, which will cover the area quickly but won’t be so heavy that it tires your arm. Painting trim or the stiles of a door? Go with a mini roller, usually about four inches wide. Choose a synthetic roller cover for latex paint; natural materials will absorb too much water and swell. A ⅜-inch nap length works well on most surfaces with most paints. But if the surface is particularly rough, you’ll want a longer nap.
One gallon of paint covers approximately 350 square feet. You may need more if you’re painting a raw-wood floor, because unfinished surfaces absorb more paint than previously painted or primed ones do. If you’re covering a dark color with a lighter one, you’ll need more paint, too. There are equations that you can use to figure out exactly how much to buy, but it’s easiest to plug figures into an app or an online tool—every major paint company offers one. (You’ll need to measure the room, but you won’t have to break out your calculator.)
THE BASICS
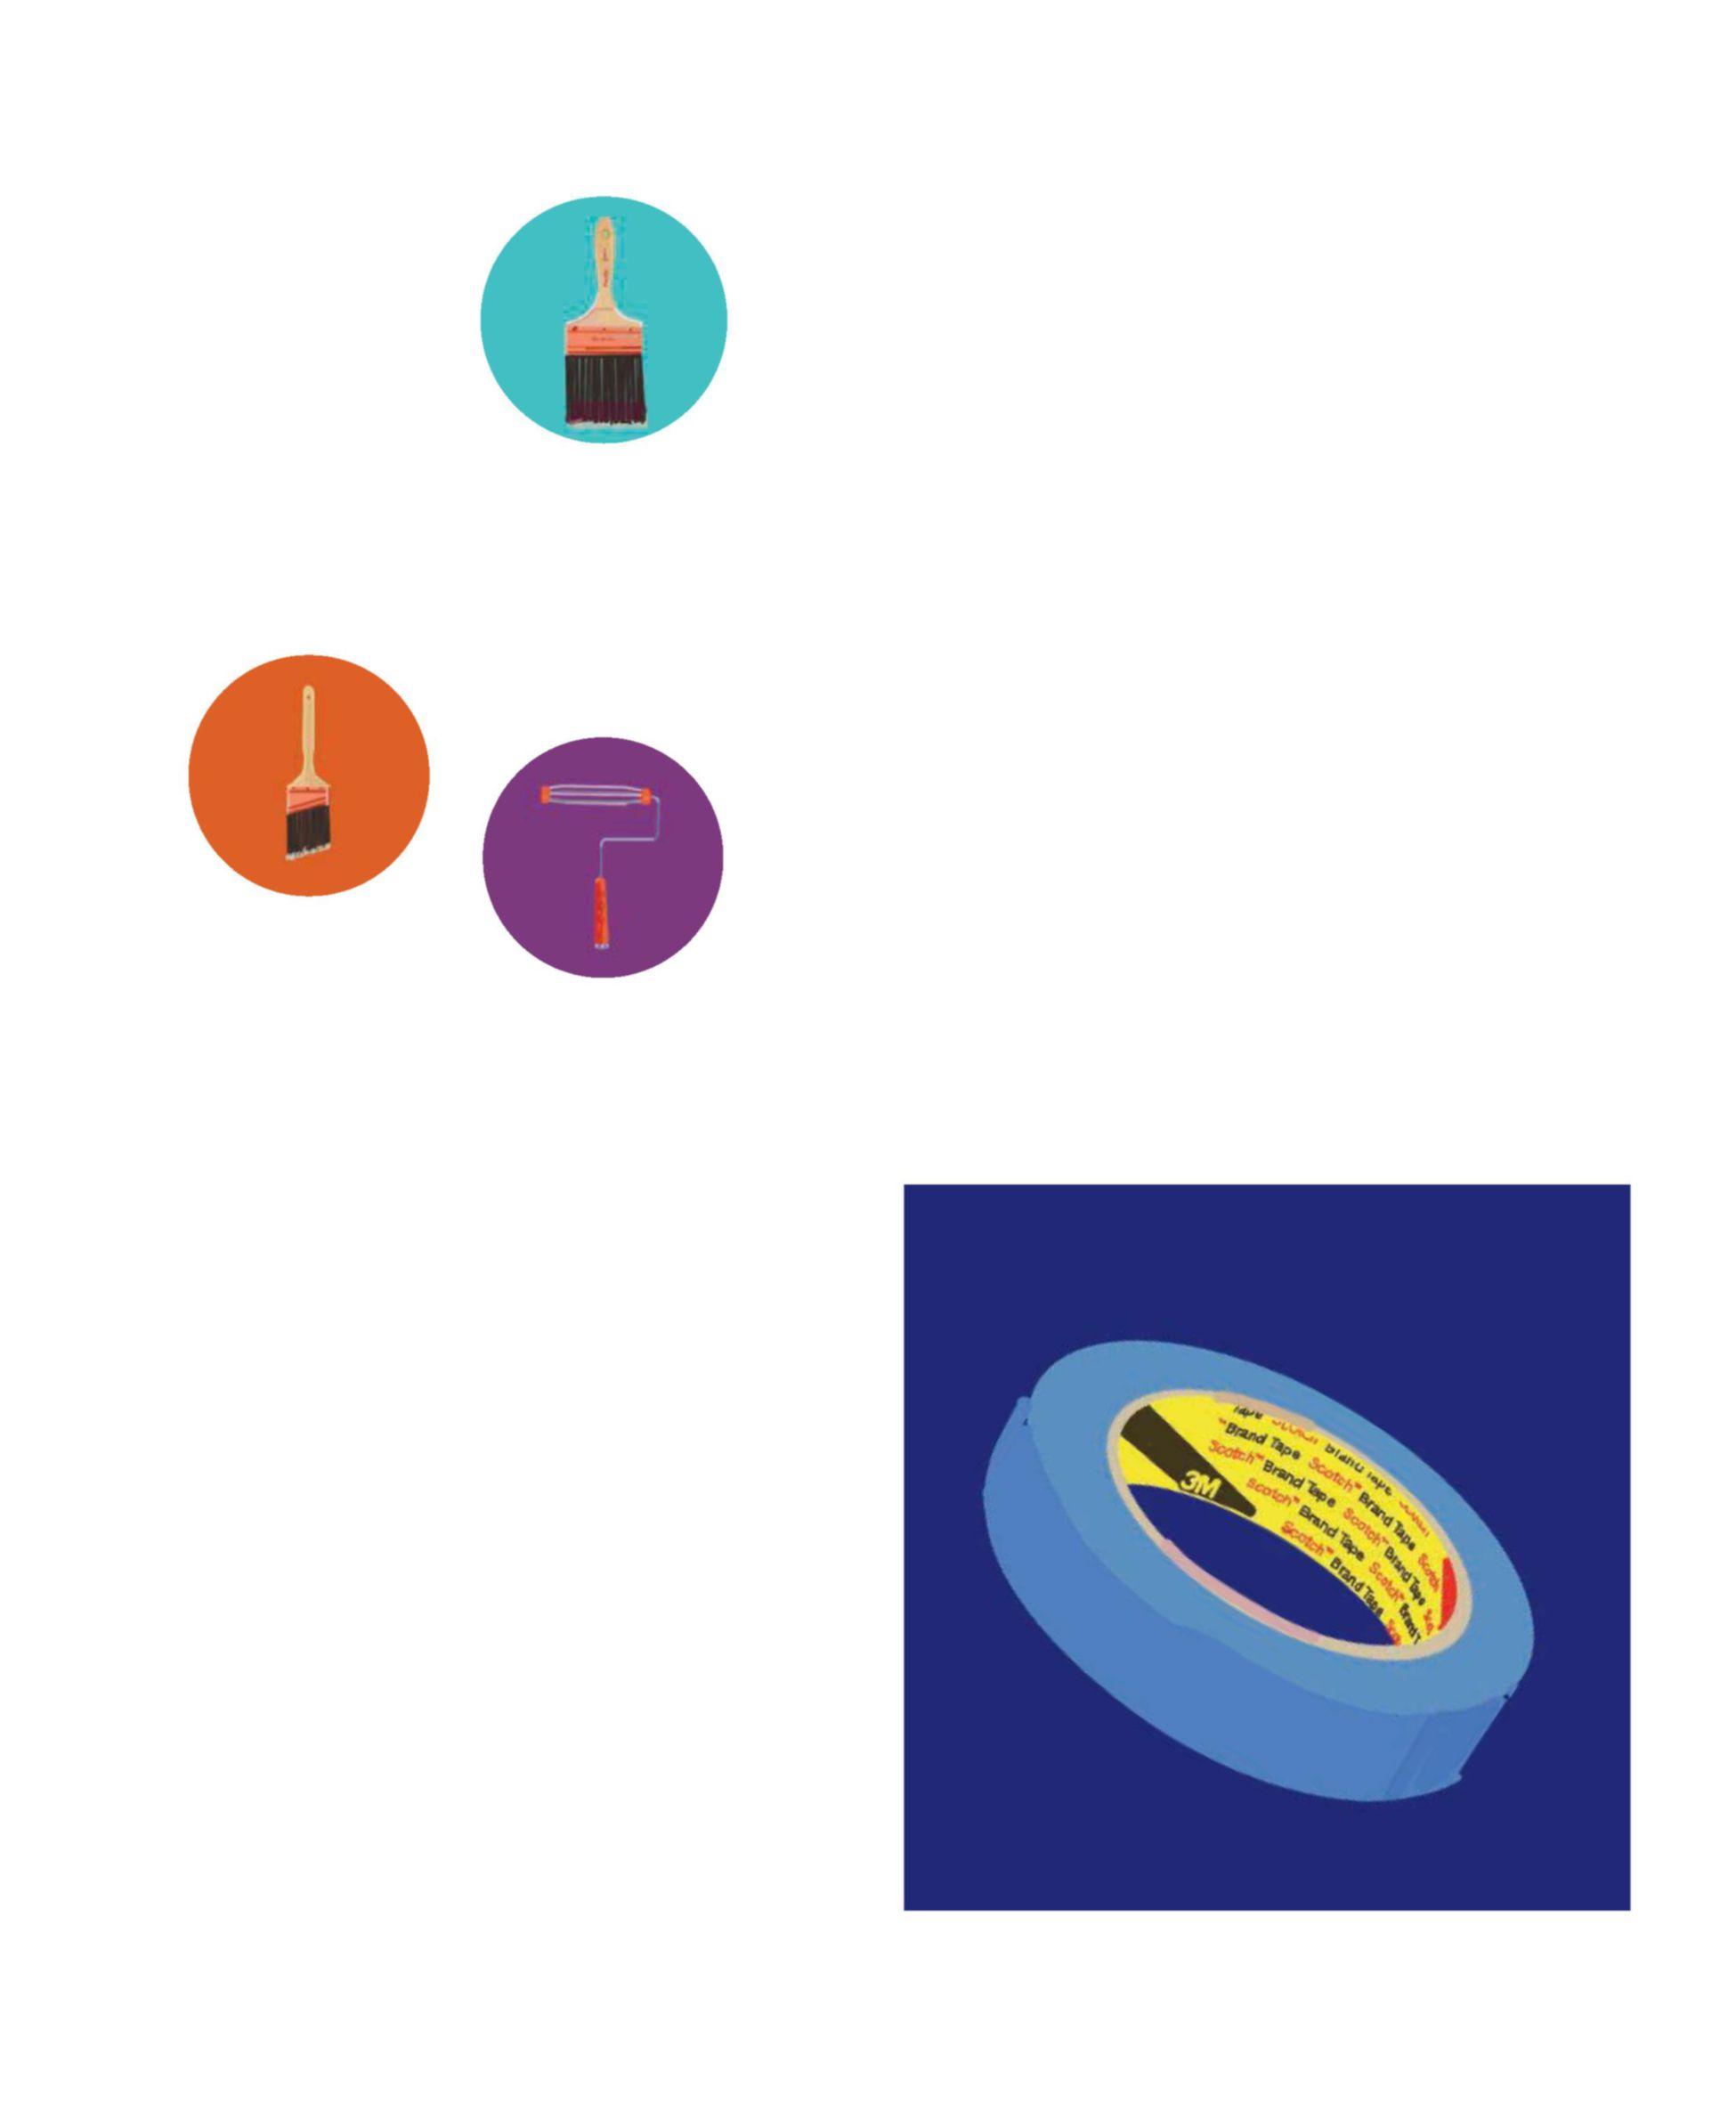
DROP CLOTHS: Plastic ones are disposable, but they can be slippery and need to be taped down; canvas drop cloths are about three times more expensive but are also reusable. Some pros use both, layering canvas drop cloths over plastic for foolproof protection plus a nonslip surface. But you can get the same effect for less with taped-down garbage bags and sheets of newspaper on top. TAPE: Use regular masking tape to secure plastic drop cloths. Stick with high-quality painter’s tape for creating sharp lines around trim. PAPER TOWELS ANDRAGS: Heavy-duty paper towels (like Viva) make quick work of drips and drops. (This may seem obvious, but you’ll probably go through a roll.) Rags for wiping up particles from sanding are a must. LATEX OR RUBBER GLOVES: Protect your hands from rough sandpaper and inevitable paint splatters. MASK: Keep dust out of your mouth and nose when you’re doing any heavy-duty sanding. SCREWDRIVER: You may need one to remove screws from hardware and electrical plates. A screwdriver can clean out a crack or a gouge before filling or caulking. It can also take off a paint-can lid. DO’S AND DON’TS
OF PAINTER’S TAPE
DO buy the best. (Frog Tape and ScotchBlue with EdgeLock are two pro favorites.) Cheaper versions tend to allow more seepage. DON’T skip the sealing step. After you put down the tape, run a plastic putty knife along the tape’s edge to get rid of any air bubbles and get a perfect seal. DO remove the tape while the paint is still damp (within 15 minutes). If you wait until it’s dry, you could end up pulling up paint with the tape. (See below for the fix.)
UH-OH! I DIDN’T REMOVE THE TAPEFAST ENOUGH, AND NOW THEPAINT IS DRY
Use a utility knife to cut verycarefully along the edge of the tape, removing small sections at a time to avoid pulling up any paint.
1 3 5
2 4 6
HANDY HELPERS
Try these low-cost tools and tips from the pros for expert results.
1
ADJUSTABLE EXTENSION POLE
“This sturdy pole can double in size, so it’s great for getting into tight spots or reaching the ceiling. Your roller screws onto the end.” —Brian Santos

TOBUY: Shur-Line EasyReach 60-inch adjustable extension pole, $21, homedepot.com.
2
SANDING BLOCK
“Instead of holding the sandpaper in my hand, I use a sanding block—a hard piece of rubber, cork, or wood wrapped with sandpaper. It makes it easier to apply even pressure.” —Lucianna Samu
TOBUY: Hyde Tools heavyduty sanding block, $6, amazon.com.
3
EDGER
“Edgers help you reach corners and get a straight line along the edge of a ceiling. Avoid overloading it with paint, and keep your hand moving.” —Katharine Kaye McMillan
TOBUY: Shur-Line 500 premium paint edger, $7, amazon.com.
4
CAULK
“During the prep stage, it’s a good idea to caulk anywhere you see a black line, like between the trim and the wall, or any spot where old paint has cracked. It makes a finished job look better because even the best paint can’t fill in a crack for long.” —Cheri Sparks
TOBUY: 950A Siliconized acrylic-latex caulk, $2.50, sherwin-williams.com.
5
5-IN-1 TOOL
“I use the blade to smooth down the edge of painter’s tape to get a tight seal. This tool is also my go-to for scraping paint, spreading putty, cleaning rollers, and more.” —Katharine Kaye McMillan
TOBUY: Hyde Tools 5-in-1 painter’s tool, $9, hydestore.com.
6
PLASTIC BUCKET
“I don’t like to brush from the can. It’s heavy to hold, and you’ll contaminate your paint with dirt or wall matter every time you dip your brush in. Instead, pour a small amount of paint at a time into a bucket and work from that.” —Brian Santos
TOBUY: Leaktite five-quart red plastic bucket, $8 for three, homedepot.com.
Do I need to prep and prime, no matterwhat?
You can skip this if you are giving a flea-market find a colorful new coat and aren’t set on perfection. (Just clean the item with soap and water and let dry.) But if you’re repainting your front door or the floor, or pretty much anything else, it’s key. The time you spend on prep—whether it’s 10 minutes to prime a piece of furniture or an hour to prime a room’s trim—will pay off. “Priming seals the surface and gives the paint something to adhere to, so you get a much better, longerlasting result,” says Lucianna Samu. “You want to start with a surface that’s clean, dry, dull (not glossy), and sound (no cracks, chips, or bubbles),” says Rick Watson, the director of product information at Sherwin-Williams.
HOW-TO
PREP AND PRIME
STEP 1 Clean. Fill two gallon-size buckets with water—one cool, one warm. Add ¼ teaspoon dishwashing liquid to the warm water. Dip a sponge in the soapy water and wash the surface. Rinse with another sponge dipped in the cool water. Dry completely. STEP 2 Smooth. Sand any high spots with 220-grit sandpaper. Fill any low spots, holes, or cracks with wall compound, wood filler, or caulk. Dry thoroughly, then sand smooth. Remove the sanding dust with a clean, damp cloth. STEP 3 Apply the primer and let dry. This is an especially important step if you’re painting an unpainted or stained surface, if you’re in a mildew-prone area, or if you’re painting a specialty surface (like ceramic tile or laminate). The primer will seal out stains, odors, or mildew and ensure proper bonding.
