
6 minute read
Float Frames Masterclass


FLOAT FRAMES: ARE YOU MAKING THE MOST OF THEM?
A MASTERCLASS WITH JON PRICE GCF (APF)
Advertisement
Float frames, floater frames, L-shaped mouldings, tray frames, canvas box frames, canvas float frames; they are known by many names. Does it really matter what you call them? A much more interesting question is what should you do with them, how you should do it and which of the many types of float frame on offer you should choose? Okay, so that’s three questions!
It’s generally accepted that float frames are a relatively modern concept. But, when did they first start being used and who invented them? It seems that there are two schools of opinion:
The first is that mid 20th century modern abstract expressionists like Jackson Pollock (1912-1956) wanted to display the entirety of their paintings on canvas, not cover up the edges with a traditional frame moulding. These, of course, were the days before ‘gallery wrapping’ and the sides of most canvases would have been partially sized, paint splattered and full of tacks holding the canvas to the stretcher bars. To cover up those shabby sides, wooden strips were attached along the outside edges of the canvas. This was known as ‘stripping’. Thus the concept of the float frame was born. Although, with a wry smile, I wonder, had Mr Pollock simply signed his painting too close to the edge?
The second school will tell you that ‘bins’, which were similar in construction to modern float frames were used to protect valuable paintings during transportation, and that this in fact led to the concept that we know as the float frame.
Whichever opinion you side with, float frames have come a long way in the last seventy years. Larson-Juhl now offers 92 canvas box mouldings, in a wide array of colours, depths, profiles, widths and finishes. The concept of the modern float frame is similar to those ‘stripped’ frames of the 1940s in that they are generally used when you wish to display the edges and/or sides of a piece of artwork, and they are mostly used for framing art on canvas. However, you can also use floats for framing art on board and, as you’ll see if you look at the pictures that accompany this article, there are ways of using float mouldings when you don’t want to display the sides, or even the edges, of the artwork.
A canvas framed with just a float frame offers a rather minimalistic look, especially if the float is narrow faced and fitted tightly to the edge of the canvas. This can work well with contemporary artwork but, in many cases, doesn’t do the artwork justice, either in terms of enhancement or proportion. The canvas also needs to be perfectly square. A great many aren’t, and a wonky canvas looks awful when framed with a tight fitting float moulding. To give the artwork more presence allow some space between the edge of the artwork and the inside of the moulding. How much space depends on the size of the artwork and the restraints of the moulding. In practical terms, too little space creates a hard to clean dust trap. On the other hand, the artwork needs to overlap the moulding enough so that it can be easily positioned and the moulding easily attached to it. Most float mouldings allow for at least a 15mm gap on all sides. When possible, I increase this according to the size of the artwork.
As well as allowing more space between the artwork and the moulding, there are other ways of increasing the frame’s presence when float framing. For example, using a wider faced moulding. The widest Larson-Juhl floats have 54mm wide faces. You could also use a stepped float, like those in the Bari range, use a stronger coloured moulding, or stack a moulding alongside the float.
If you do decide to allow a gap between the float moulding and the artwork, ensure you have an even amount of space on all four sides by placing offcuts of mount or backing board between the sides of the artwork and the inner sides of the moulding. This helps to hold the artwork in position whilst the frame is attached (see image 4). So far, I haven’t addressed the important issue of rebate depth. Normally the face of the artwork, be it on board or canvas is positioned level with, or slightly recessed to, the face of the float moulding. Stretched canvases come in lots of different depths. You can either choose a moulding that has the same or slightly more rebate depth than your canvas or you can use a moulding with a deeper rebate and lift the canvas to the required height. Lifting enables you to choose from a wider range of mouldings. The technique is also required when float framing art on board. I either use canvas offsets or I screw through the back of the moulding and into the stretcher bars or board with a nylon screw spacer placed between the two. If you’re thinking of framing art on board using a float moulding, the board must be of a suitable density and thickness to screw into. For thinner boards, gluing is an option, but non-reversible processes should only be considered for artwork with very little intrinsic or sentimental value.
Regular readers will know that I am a big fan of stacking mouldings. In my mind, the biggest disadvantage of float frames is that they don’t often do much to enhance the artwork. Stacking a float frame with other mouldings offers the opportunity to overcome this. In his book ‘Guidelines for great frame design’ Greg Perkins writes: “A float frame should be looked at as a method of presenting a painting so that none of it is hidden under the frame. If that presentation isn’t enough, add to it.” I think that’s a pretty good way to look at float frames, in that it encourages us to think about a float as just the starting point of a frame design and not the be all and end all.
Jon Price GCF(APF) has framed the works of world-renowned artists, photographers and designers, and for internationally recognised museums and galleries. With nearly two decades experience as a professional training provider, Jon offers training and consultancy in all aspects of bespoke framing, including how to run a profitable and successful framing business.
www.handmadepictureframing.co.uk 01288 321221.

1 Foiled floats

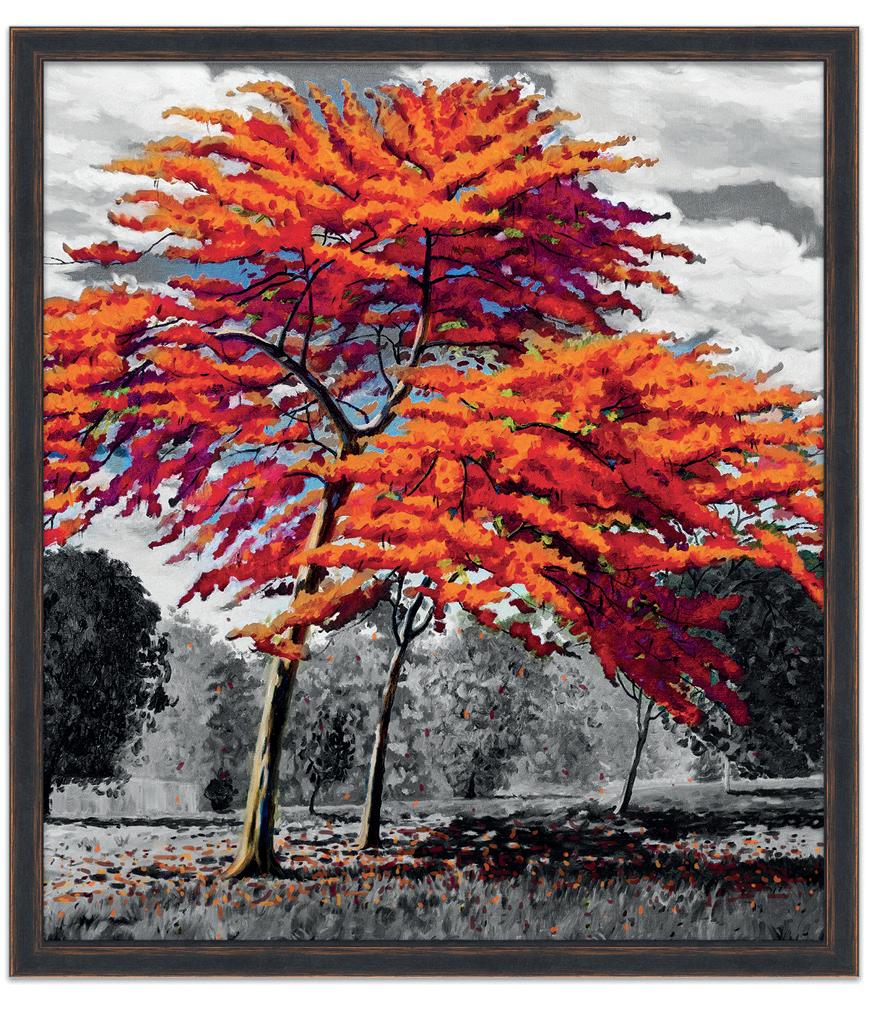
2 On its own a float frame offers a minimalistic look which can work well with contemporary artwork
3 A stronger coloured float, like this one from the
Andover range, will help give the frame and artwork more presence
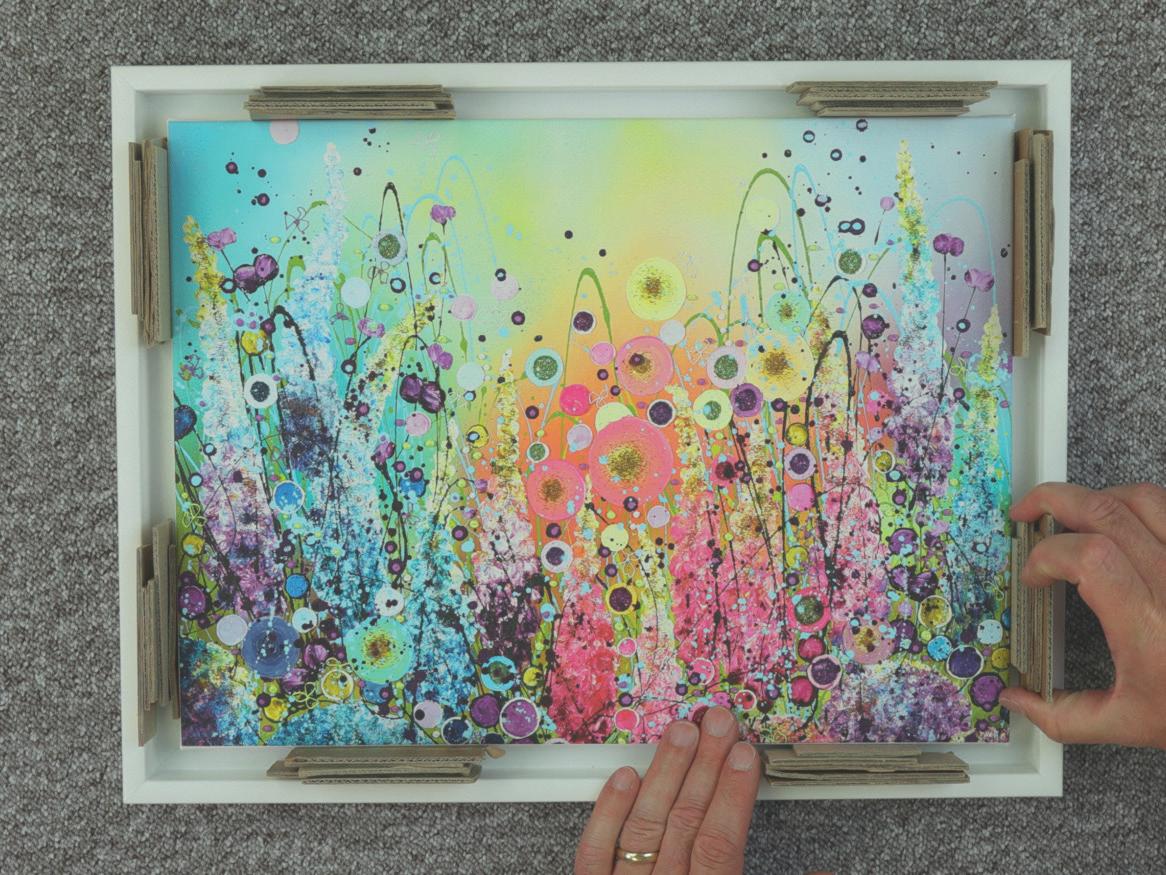
4 Pieces of mount or backing board can be placed between the artwork and moulding to ensure even spacing
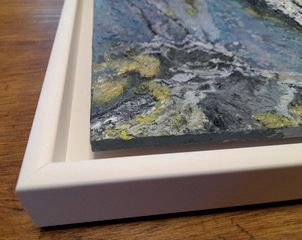
5 Float frames can be used for art on board as long as the board is of suitable density and thickness to screw in to. (‘Waterfall’ by
Chris Edwards – oil on board)
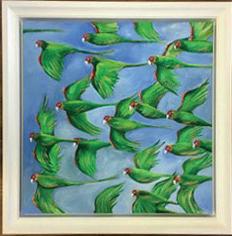
6 Think about a float frame as the starting point of a frame design, not the be all and end all. (Parrots by Rebecca Davies)

7 There are ways of using float mouldings even when you don’t want to display the sides or edges of the artwork


