2 minute read
Ask the experts

Question A client has given me a signed football shirt which may or may not be valuable. I would prefer to be cautious but having never framed a shirt before, please can you advise the best way to handle it and also fix onto a baseboard? I am framing it with a deep box frame and will use fillets to hold up the glass. Also what sort of glass do you recommend for shirts? I am assuming something with a higher protection against fading.
Reply Thank you for your question. This is something I get asked a lot because shirt framing is very popular. You are correct to be cautious about how it is framed since it is signed. Your glass choice is impor tant because most shirts are signed with felt pen or biro and that will fade unless you use glass with a greater UV/light protection. I would suggest something like Clarity from Larson-Juhl.
Advertisement
1. You need to make a ‘body’ to fit into the shirt. An easy way to do this is to lay the shirt onto a piece of paper (glass packing paper is good for this), draw round it and use this pattern to cut out a shape from either conservation mountboard or archival foamboard which will fit into the shirt. All shirts seem to vary in shape and this ‘body’ enables you to present a good form. You will need to decide what to do with the sleeves. Sometimes they are folded down the sides but it is best to discuss with your customer what format they would like. The illustration in Photograph 5 excludes the sleeves totally.
2. Once the body is in the shirt, you may need to adapt the neckline. See photograph 4. If you pin from the front round the neckline, the pin holes will enable you to cut the shape you require accurately. You then need to put some fixings onto the corners and anywhere else that you think suitable. Using a thread (light crochet thread is good), take a needle through the back of the shirt and through the board. Using a stitch about 5mm wide, return the needle back through the board and back of the shirt. Tie off securely leaving two threads about 6” long. Repeat where appropriate. Tip: Position bottom stitches carefully because you have yet to tidy the shirt on the back, i.e. stitch any excess down and also stitch up the hem. See photograph 1 and 2. By Lyn Hall GCF (APF) Adv 3. When the shirt is secured with long threads, get some pins and push them through the shirt from the front so that it goes through the knot on the back. See photograph 3. When you have chosen your base on which to lay the shirt, put it into position carefully and when you are happy with the location, push the pins into the board. This will enable you to make small holes which you can enlarge through which to pull the long threads in accurate positions.
4. Once the threads are through the baseboard, spread the two threads in different directions and use a suitable tape to secure them. You can also use PVA or EVA glue to secure the threads.
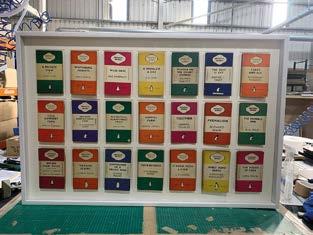
5. Photograph 5 – this particular piece was mounted using Larson-Juhl black mountboard spliced in with Larson-Juhl red suede.