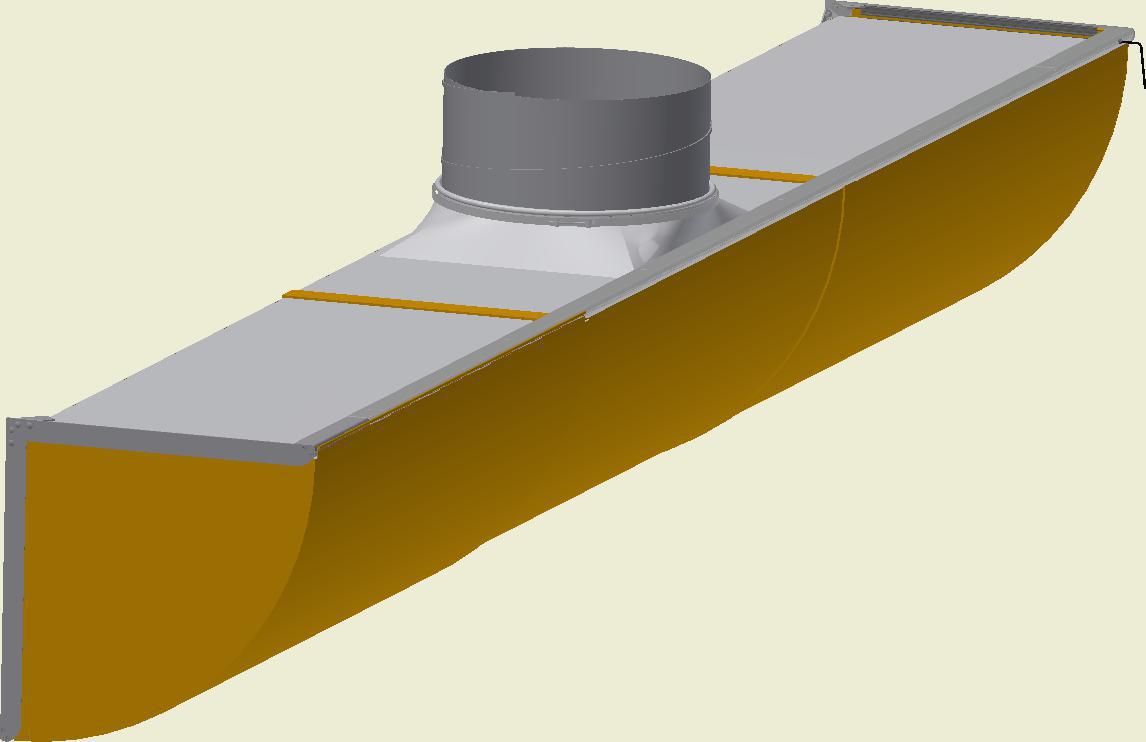
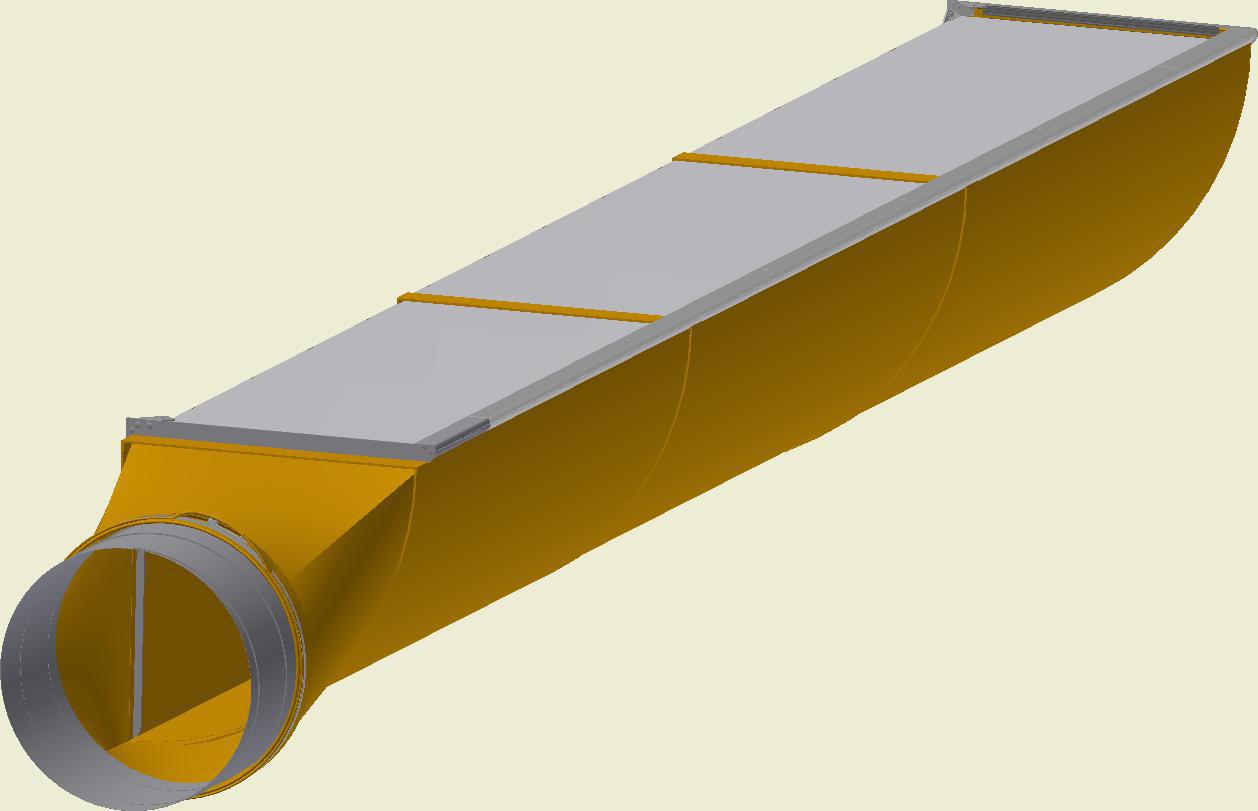
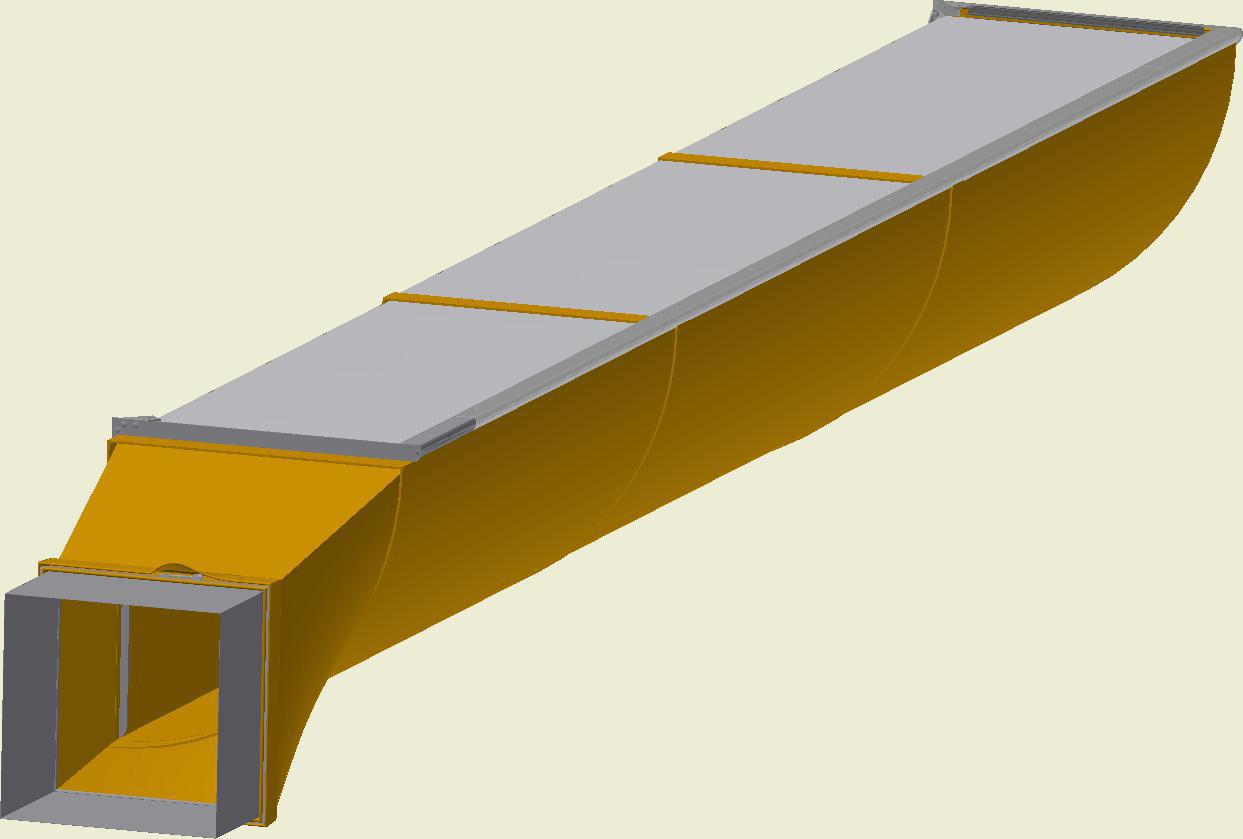
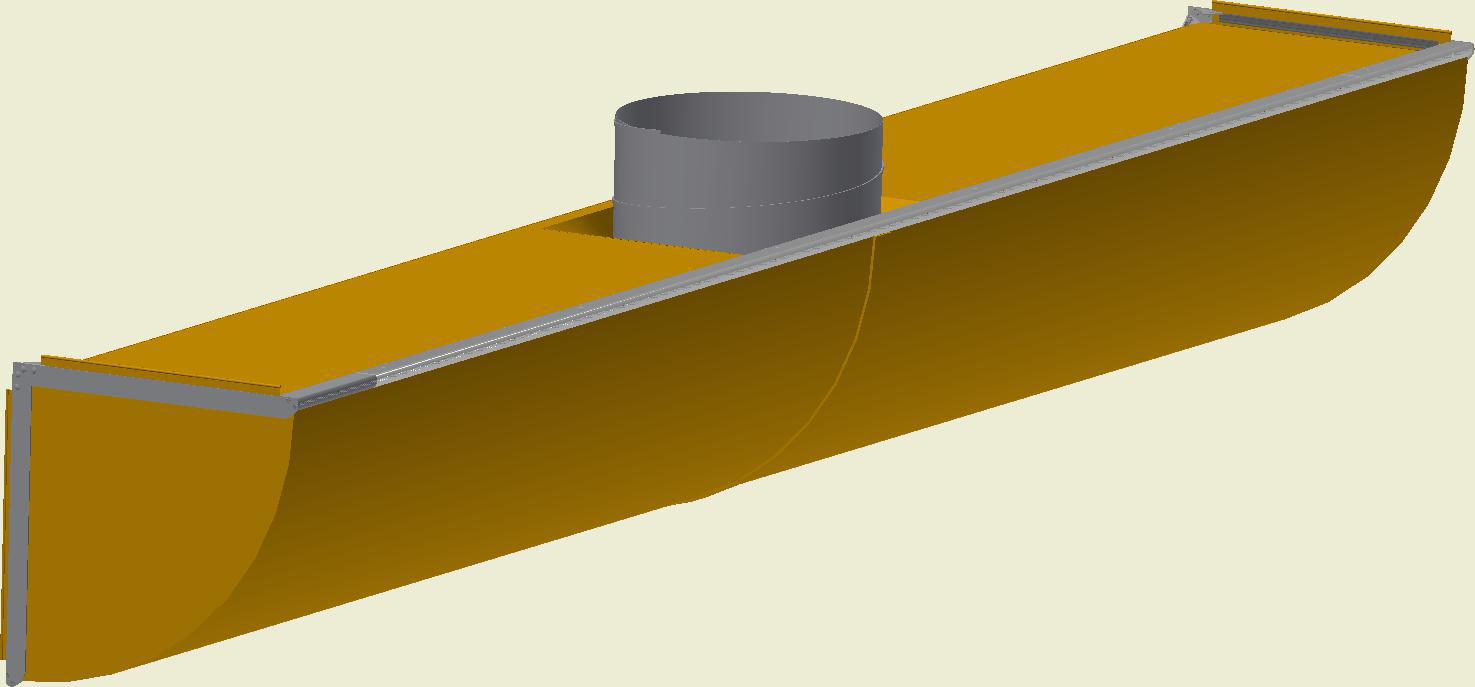
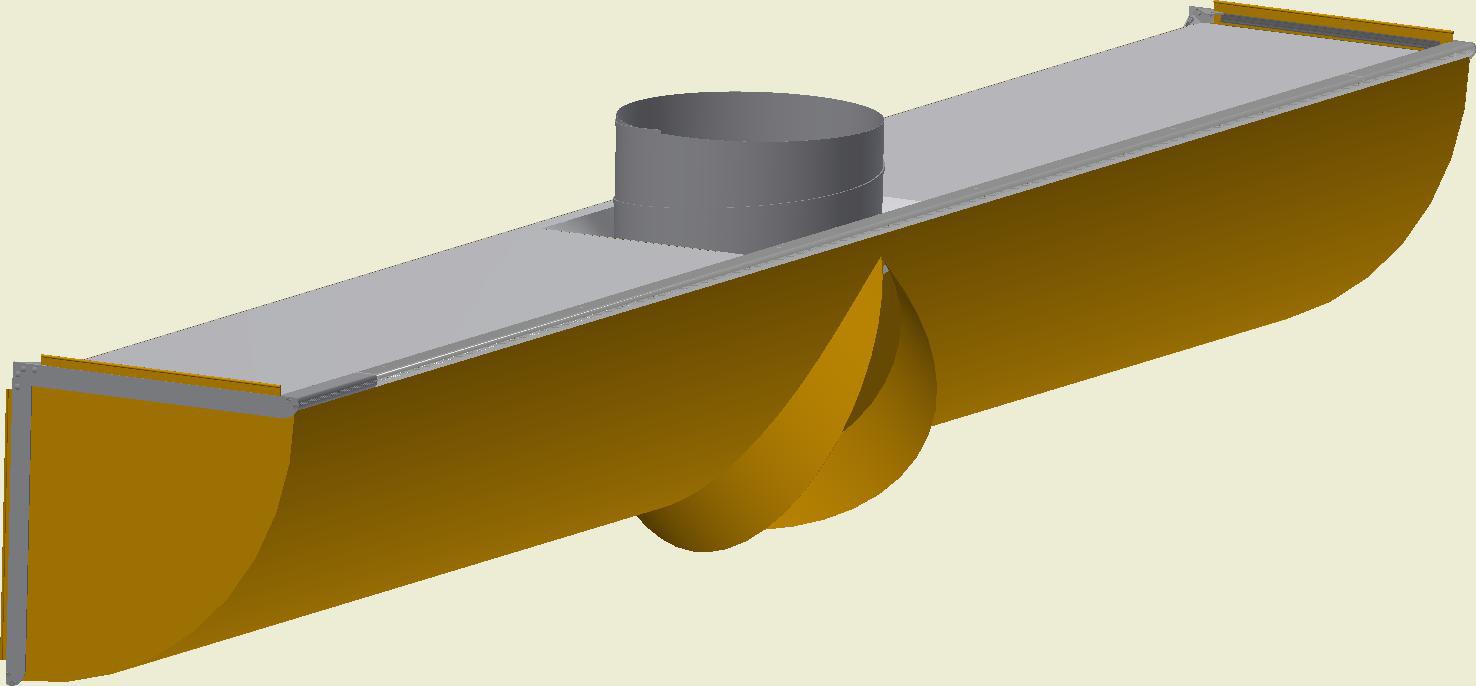
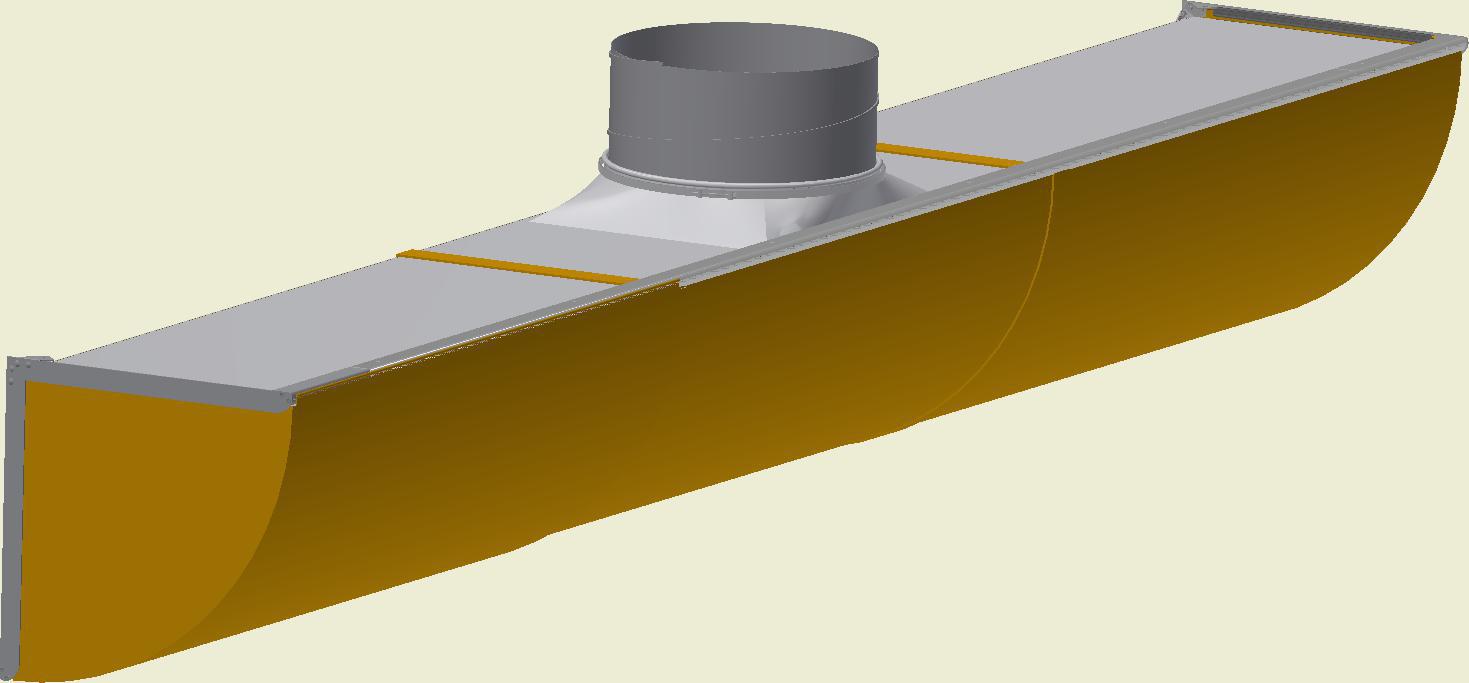
D-Lite Alu Suspension for 1/4 Rd KE-Interior System
QL-0003-US-05
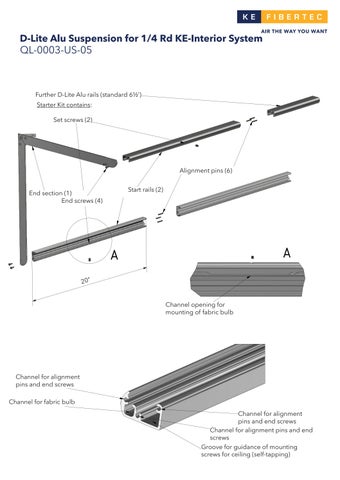
Samling ½D-Lite Alu Skinner
Yderligere skinner (std. 2500 mm)
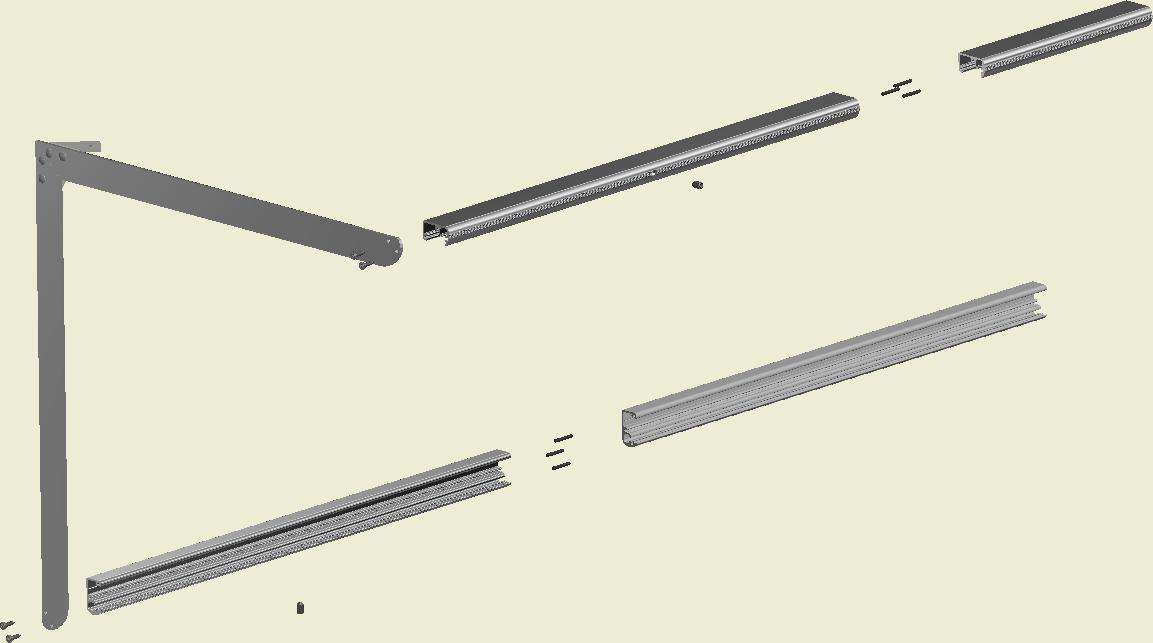
Further D-Lite Alu rails (standard 6½’)
Starter Kit contains:
Startpakke består af: Strammeskruer (2 stk)
Set screws (2)
End section (1)
Endeplader (1 stk) Endeskruer (4 stk)
Startskinner (2 stk)
Start rails (2)
End screws (4)
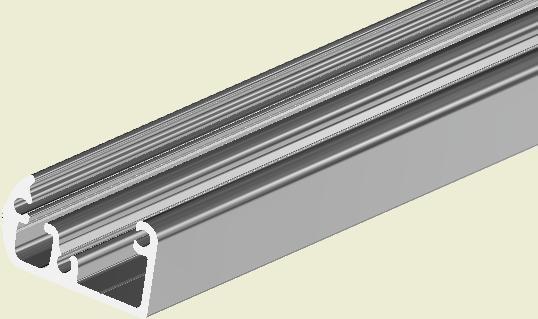
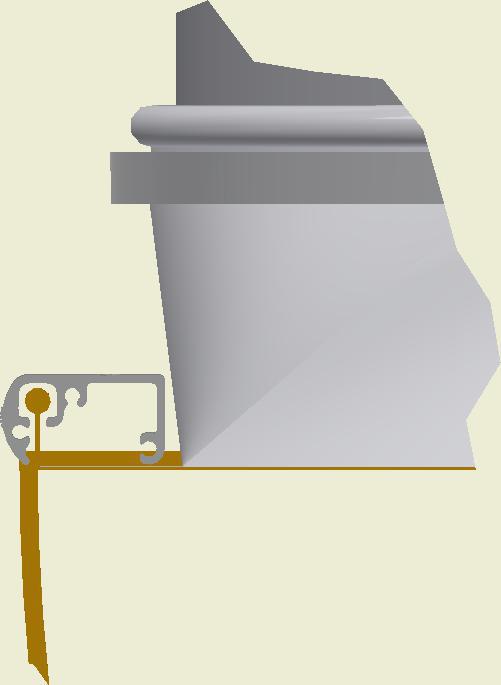
Channel for alignment pins and end screws
Spor til samlestifter og endeskruer
Channel for fabric bulb
Spor til posevulst
Samlestifter (6 stk)
Alignment pins (6)
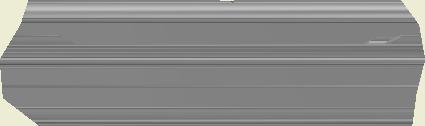
Channel opening for mounting of fabric bulb
Montageåbning til tekstilvulst
Spor til samlestifter og endeskruer
Channel for alignment pins and end screws
Spor til samlestifter og endeskruer
Channel for alignment pins and end screws
Spor til loftsmontage (selvskærende skruer)
Groove for guidance of mounting screws for ceiling (self-tapping)
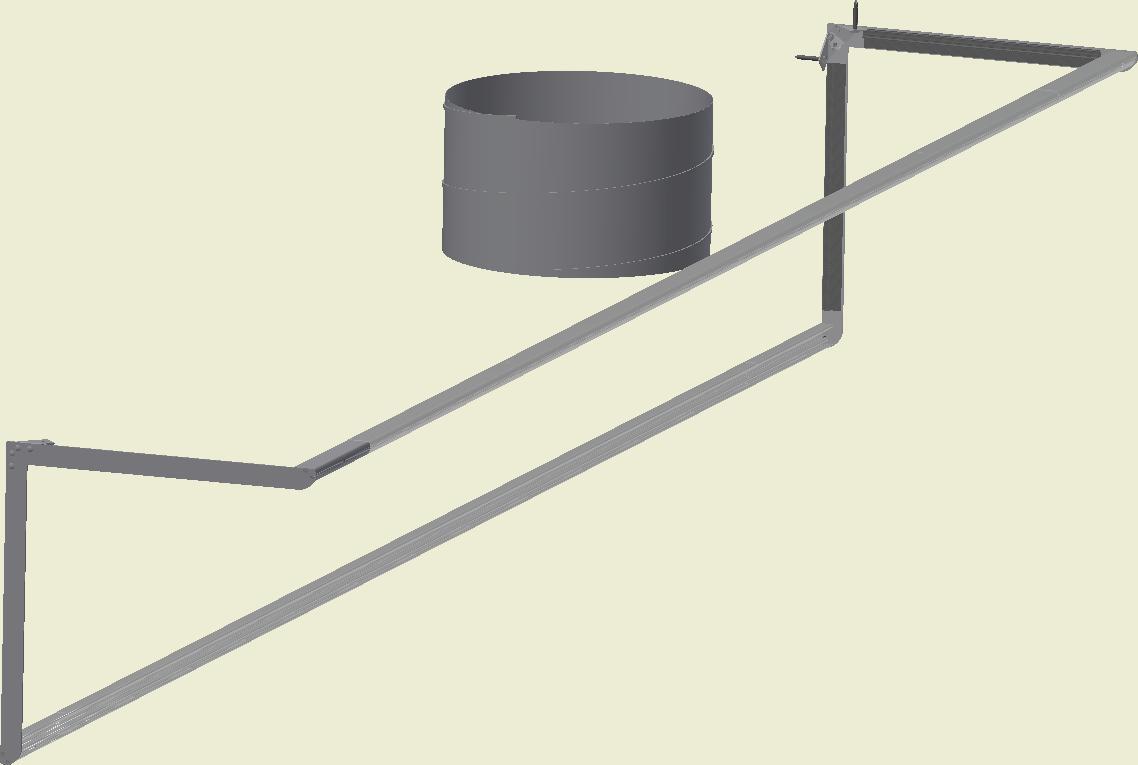
D-Lite Alu for 1/4 Rd KE-Interior System (Rail Assembly)
QL-0004-US-05
QL-0004-DK-05
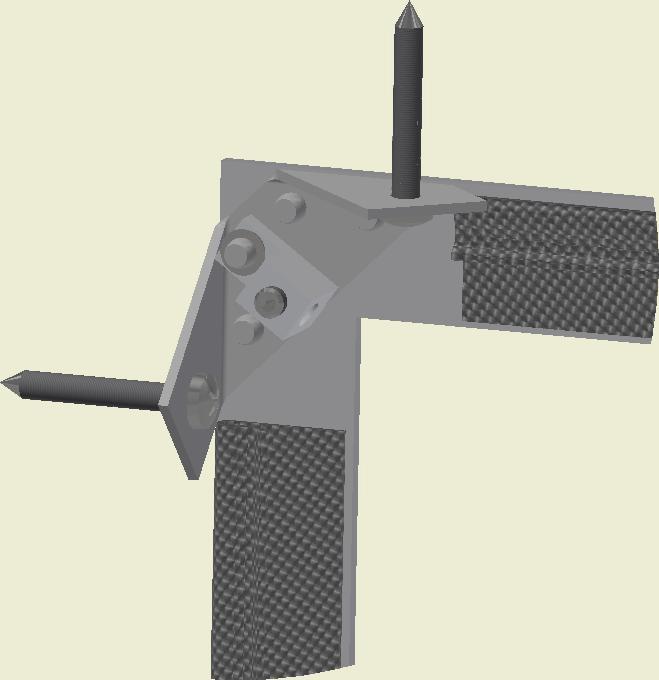
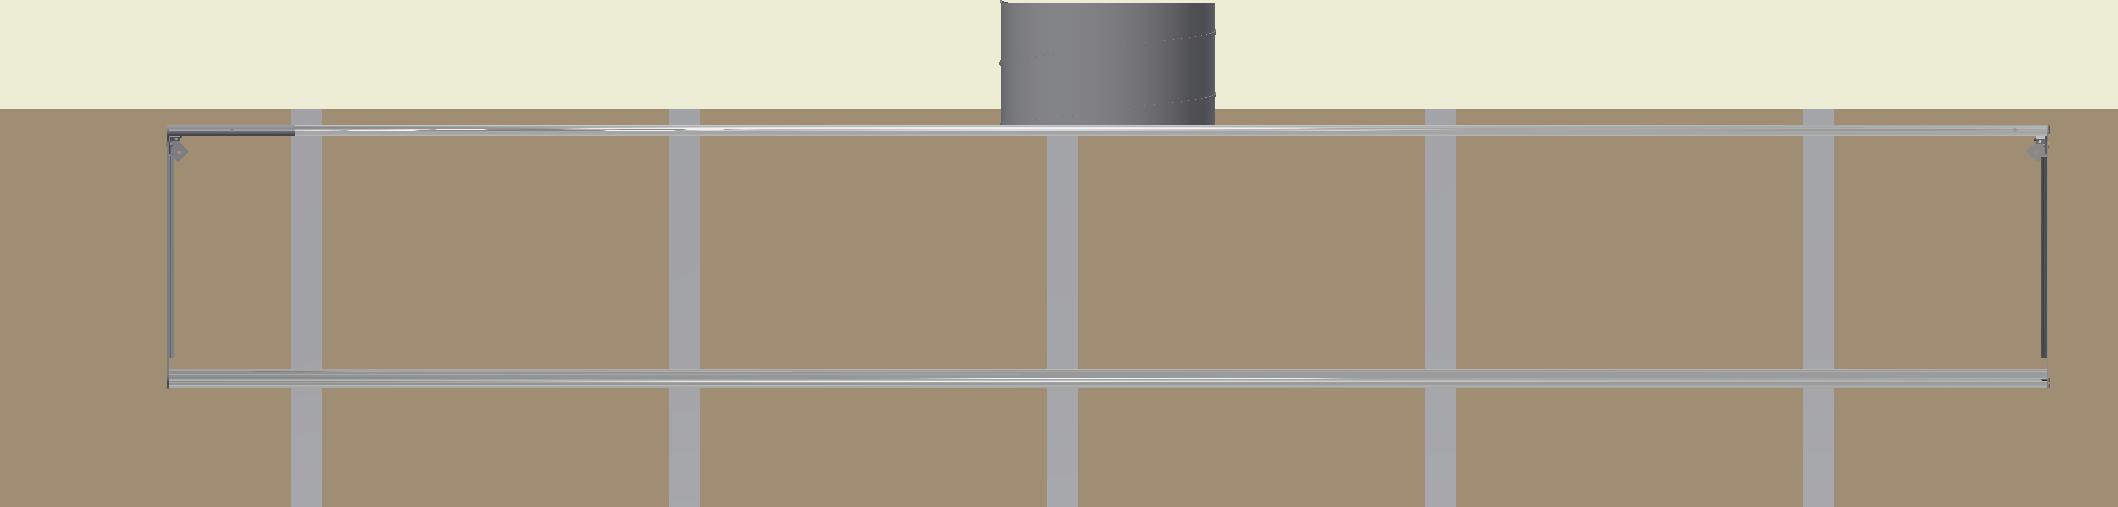
Start rail
Startskinne
C
D
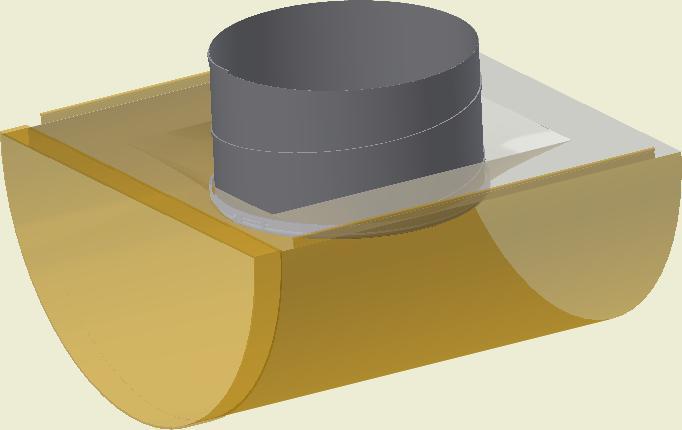
Hvis montering af studs er mulig over loft behøves der ingen lynlås i nærheden af studs.
If it is possible to mount the socket above a false ceiling, a zipper near the socket on the duct is not necessary.
E
W-7 mm
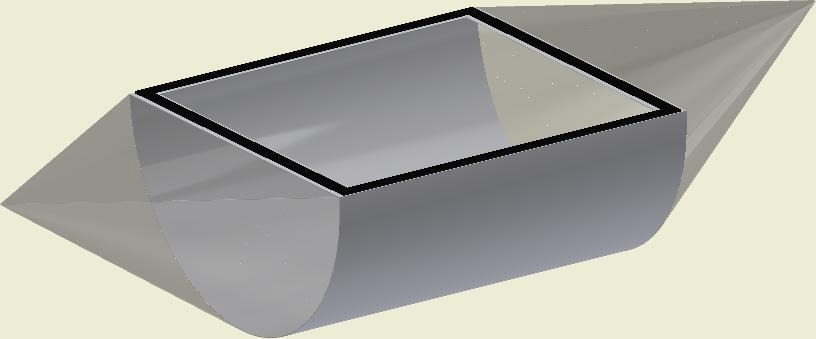
Hvis montage af studs skal ske indvendigt skal man være opmærksom på at placere mindst 1 lynlås tæt på studsen. Eller der skal laves en service Lynlås i buen.
If mounting of the socket must be done from inside the space you must place at least 1 zipper close to the socket. Otherwise a service zipper must be placed in the arc of the duct.
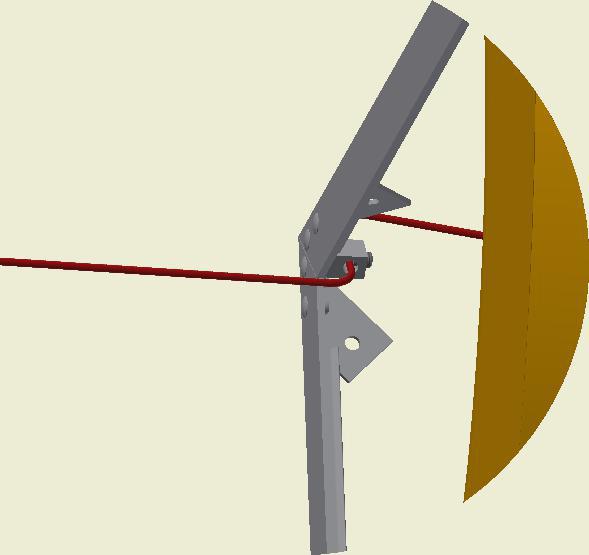
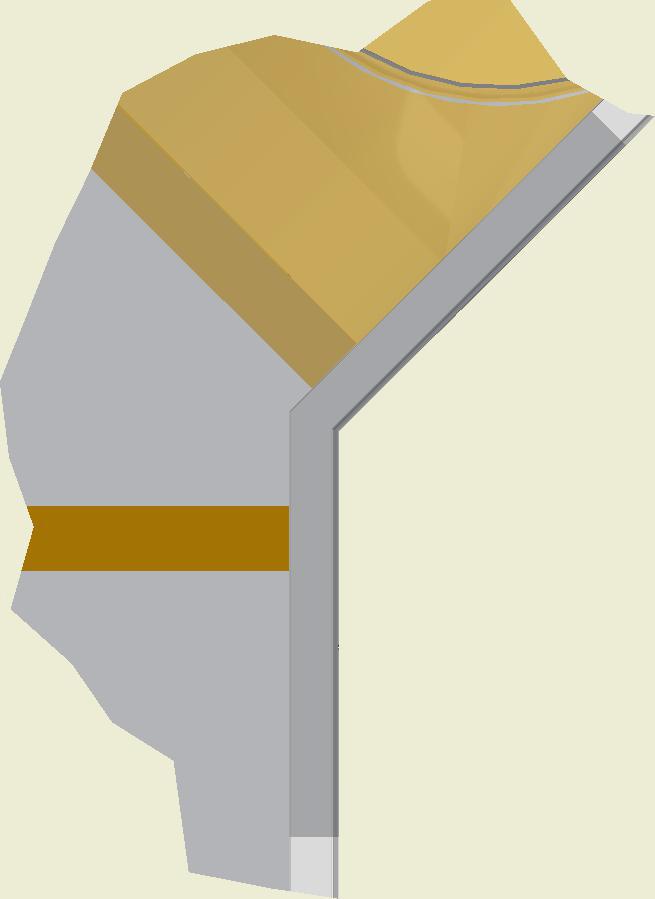
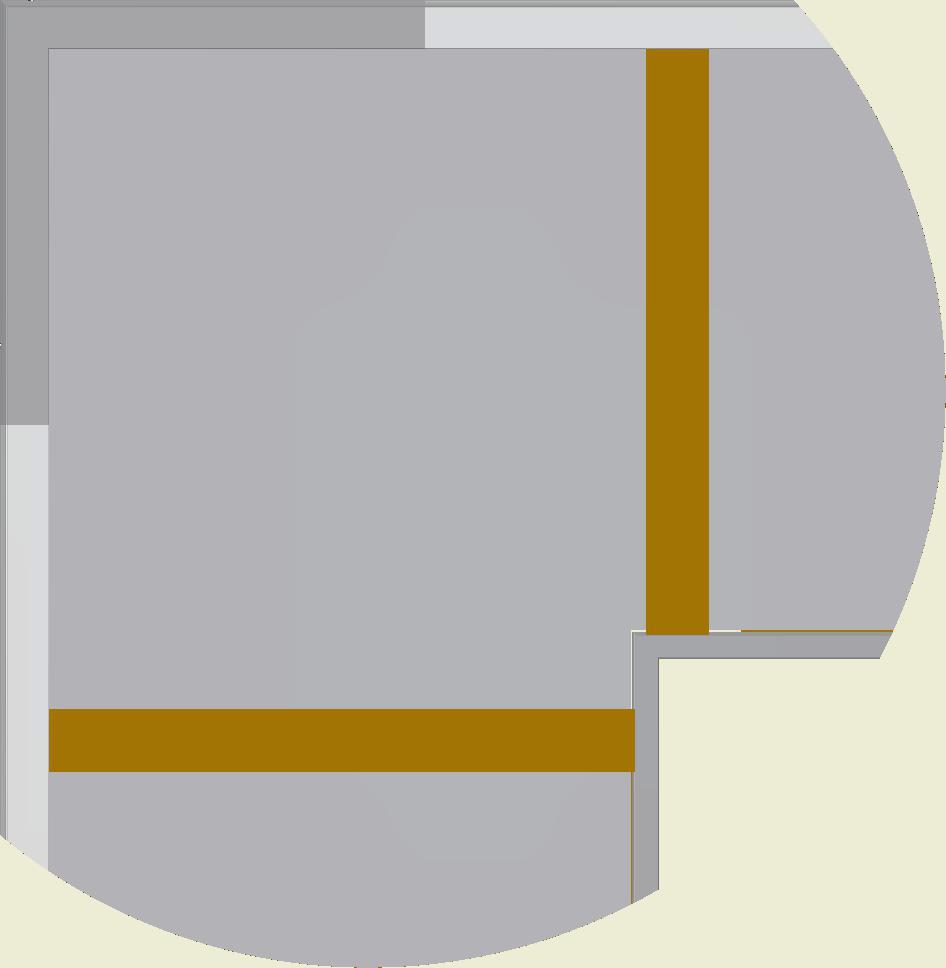
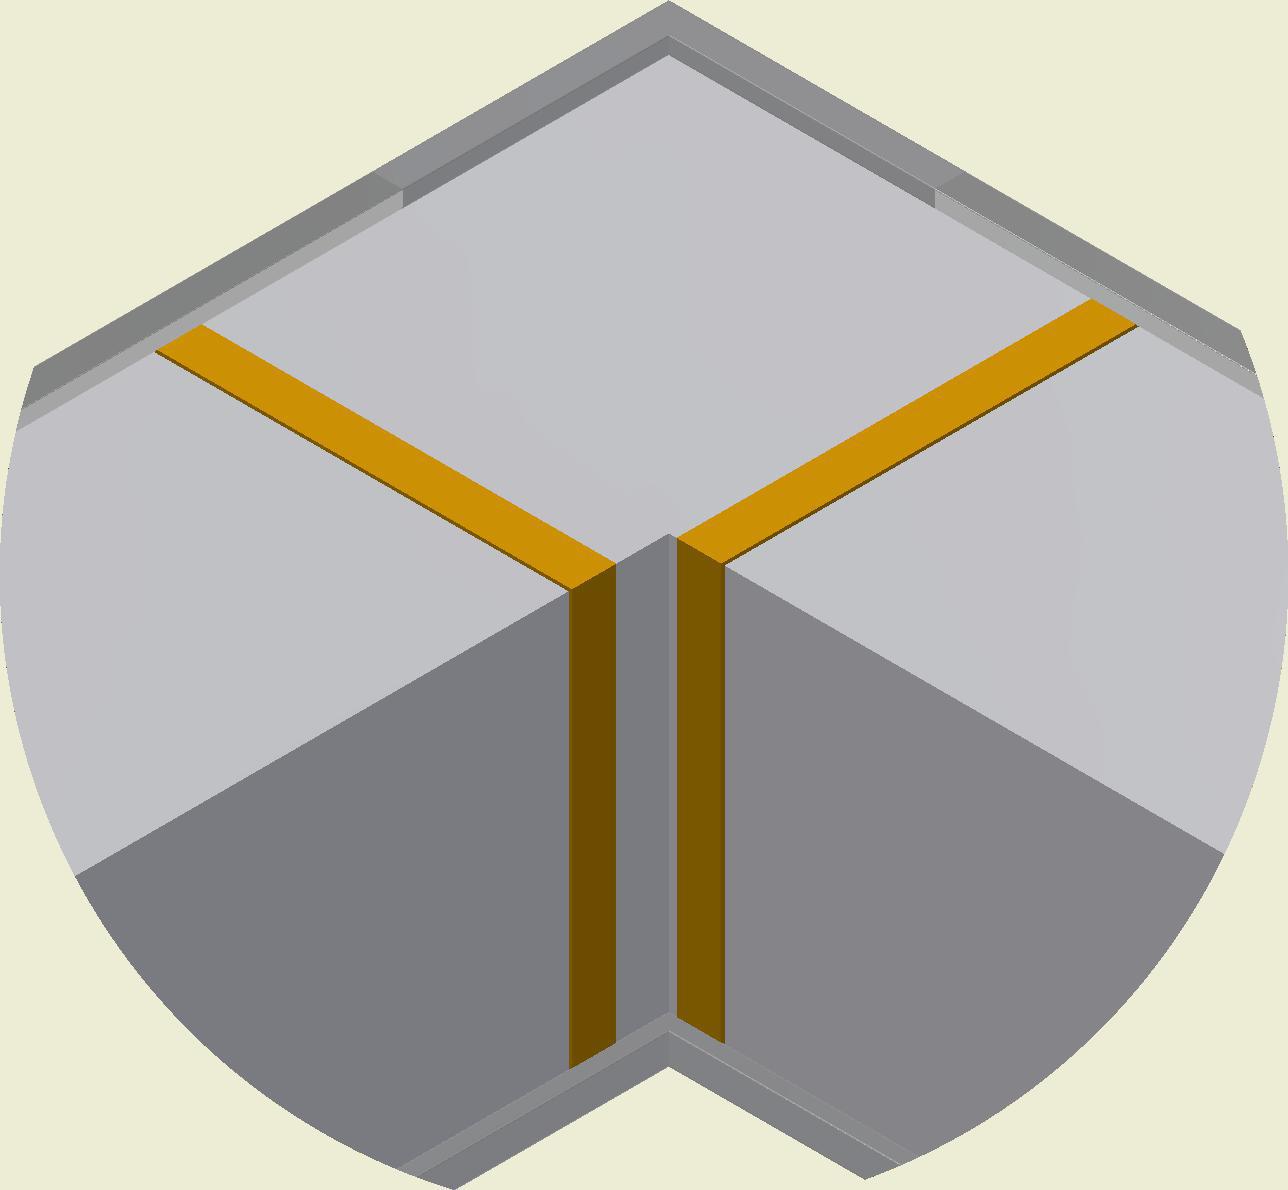
Indvendigt hjørne skal fastgøres med minimum en skrue i enten væg eller loft.
Fasten inner corner of rail to wall or ceiling with at least one screw.
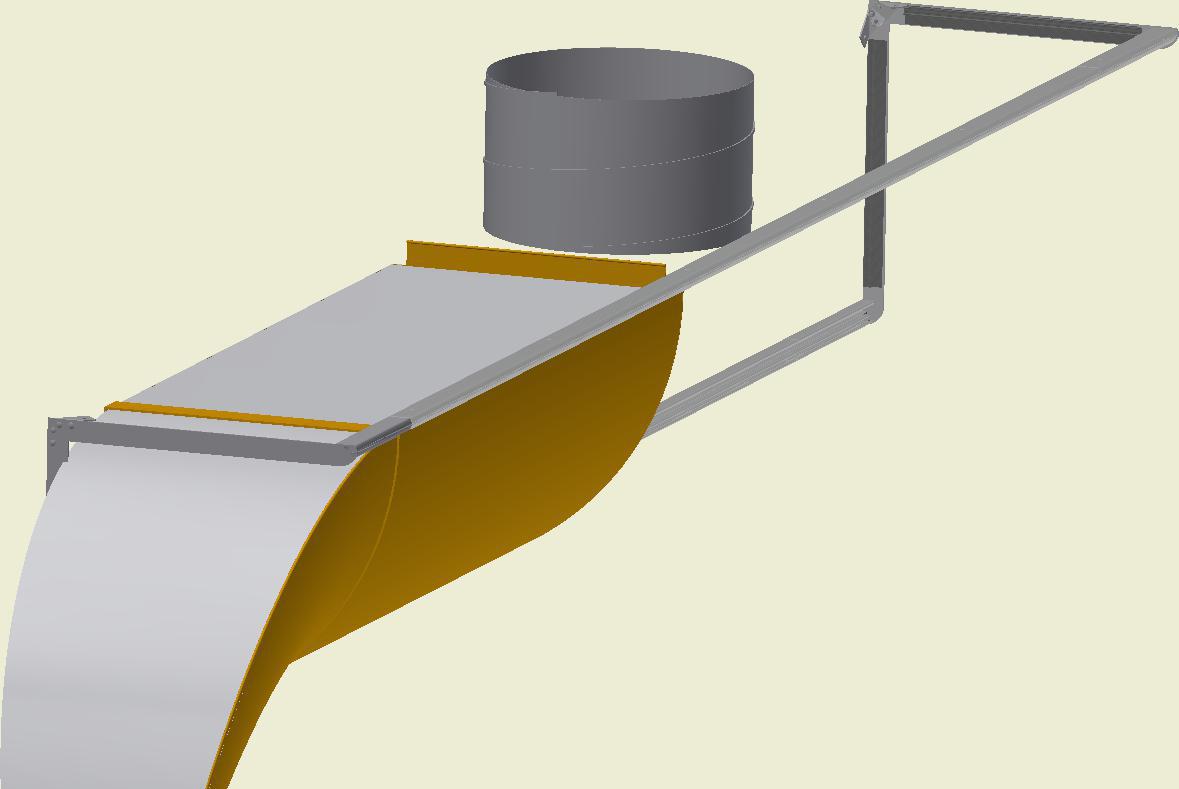
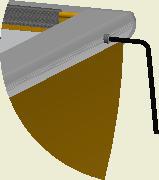
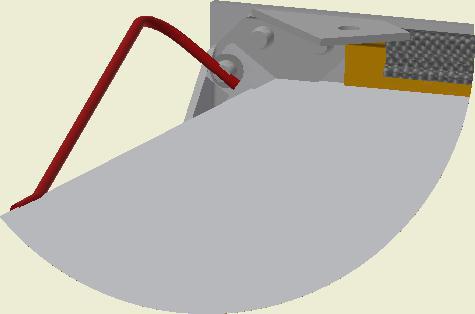
Feed cord through hole. Pull/ push the duct along the rails until reaching the end section. Tighten the set screw with a hex key (not included).
Før snoren igennem hullet. Træk posen ud til enden af skinnen spænd Pinol med 3mm Umbracho ikke incl.
Upon properly installing the fabric duct, tighten the set screws with a hex key (not included).
Når posen sidder som den skal spændes Pinol med 3mm Umbracho i alle Startskinnerne Umbracho ikke incl.
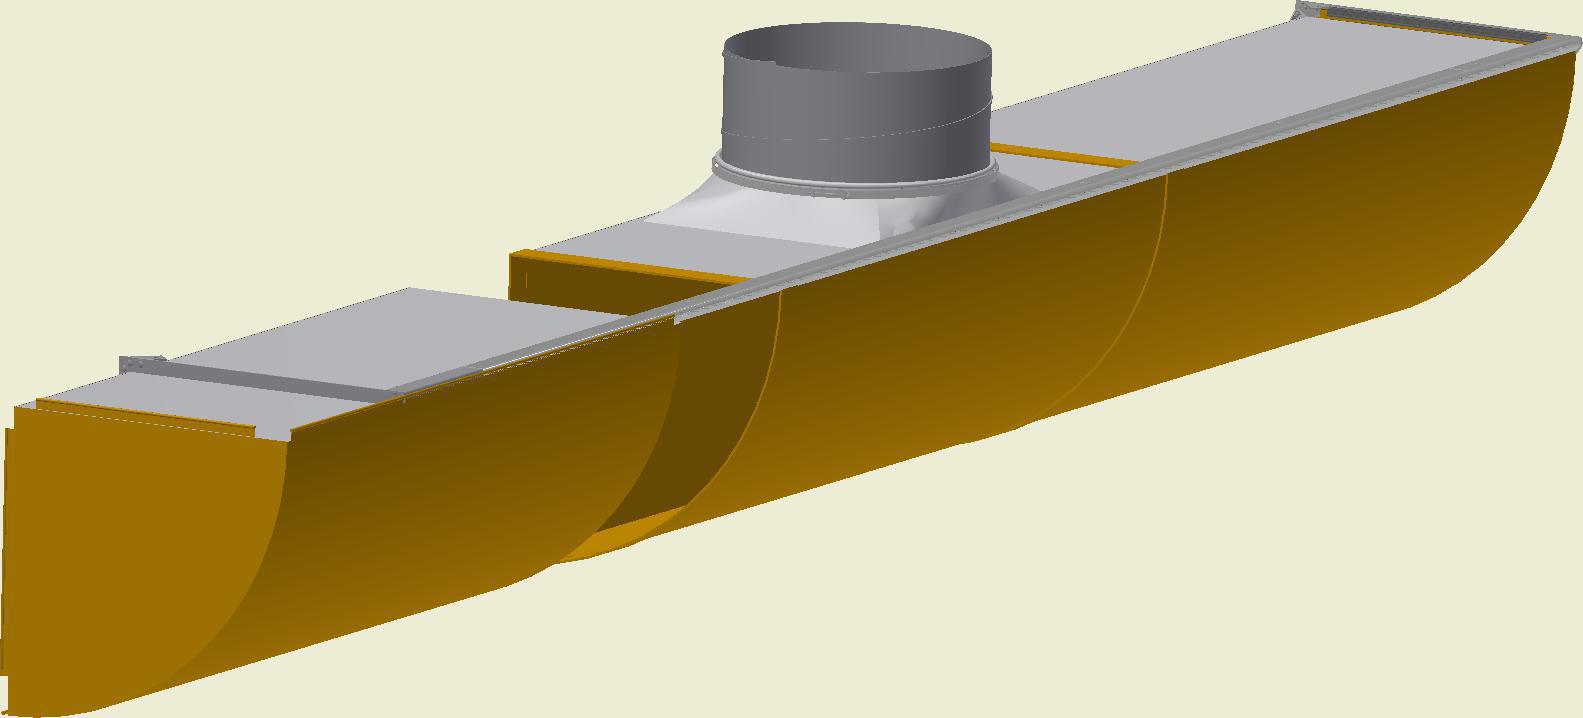
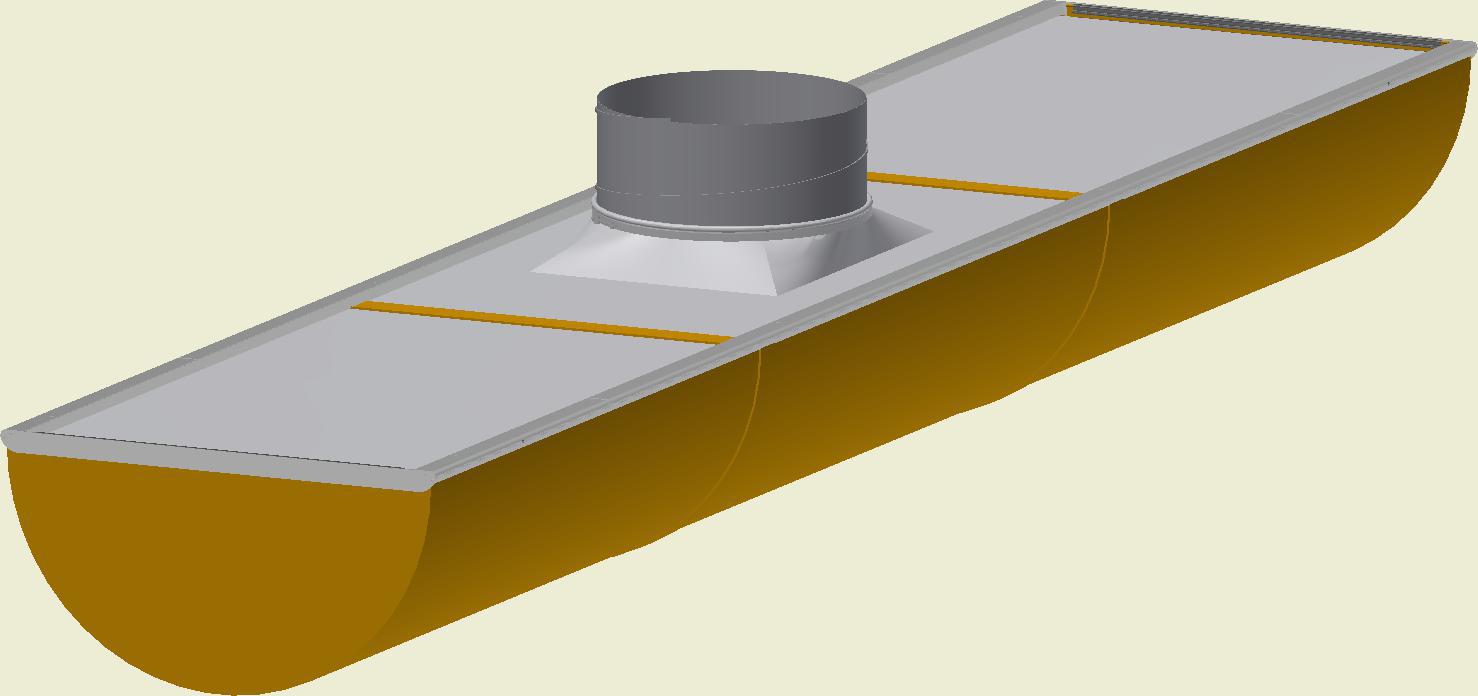
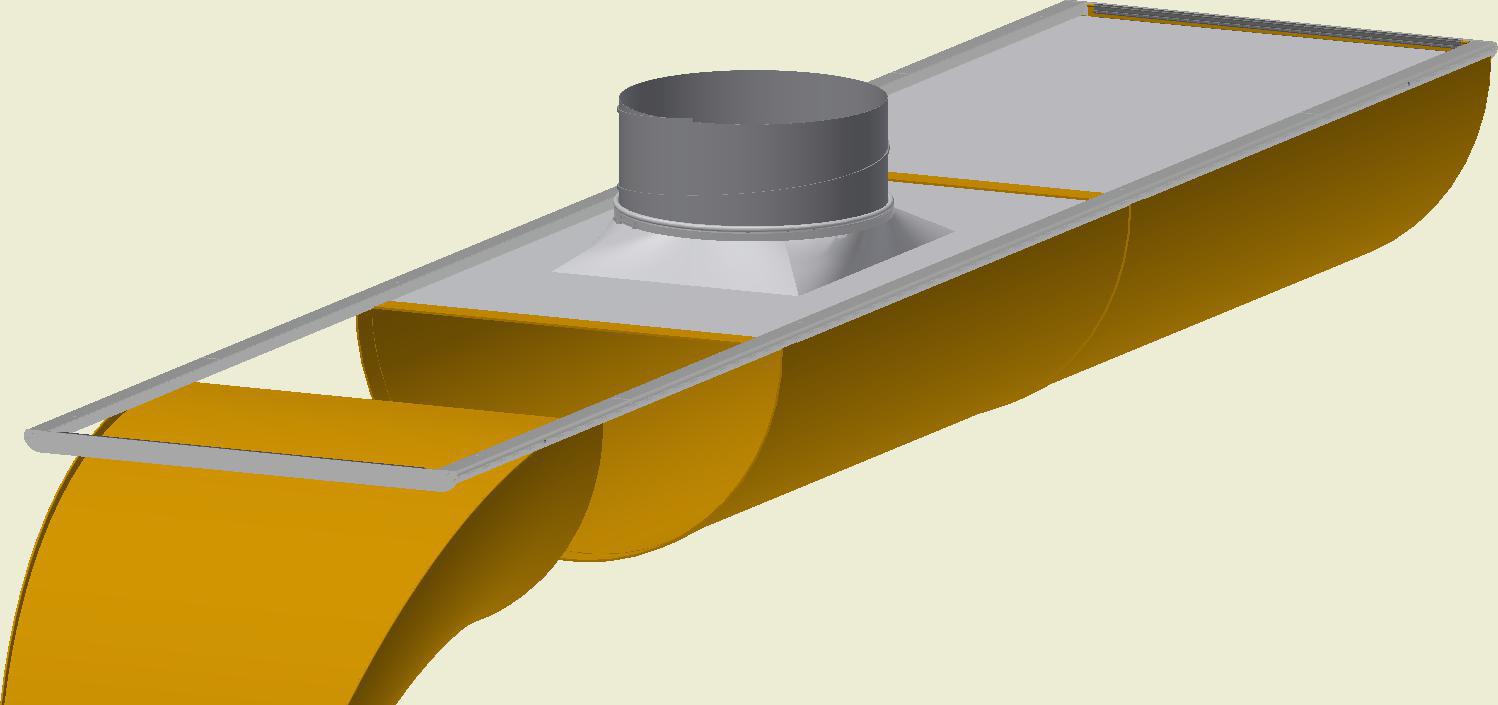
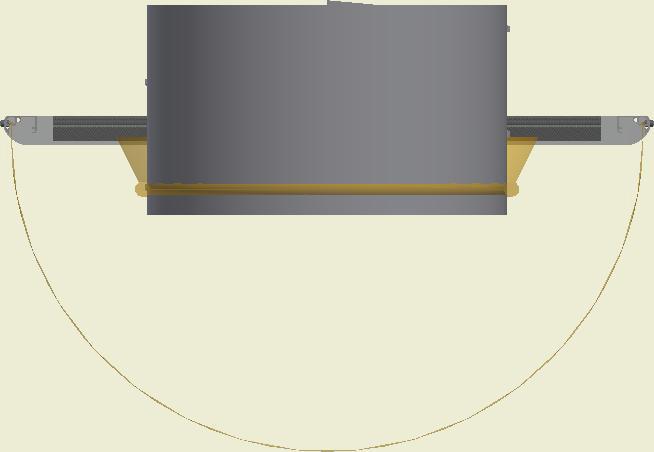
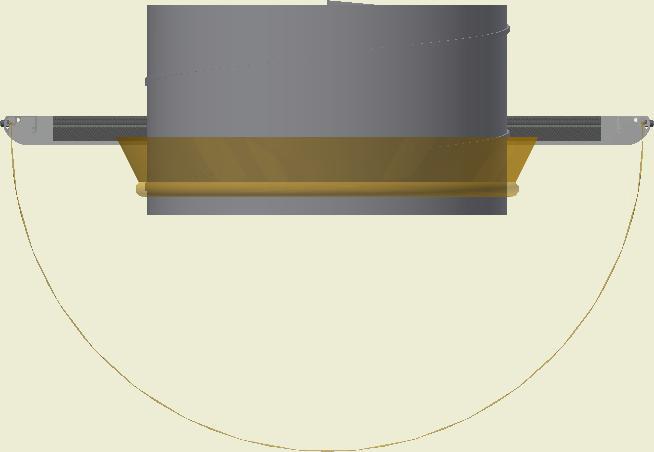
D-Lite Alu for 1/4 Rd KE-Interior System (Plenum)
QL-0006-DK-05
QL-0006-US-05
L = Duct length
L = Pose læ ngde
LS = Length socket
LS = Læ ngde Studs
Ø = Studs Diameter
Ø = Socket diameter
H = Hø jde
H = Height
W = Bredde
W = Width
O = Forsætning
O = Offset
A = Afstand studs 1
A = Distance socket 1
B = Afstand studs 2
B = Distance socket 2
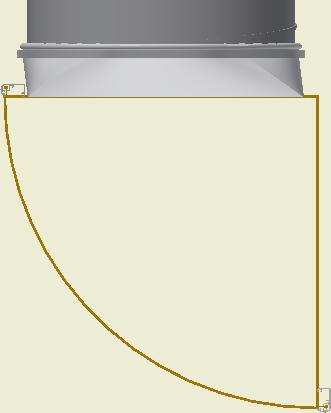
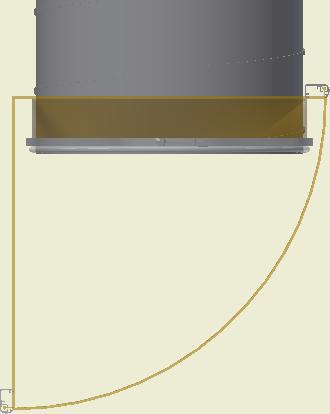
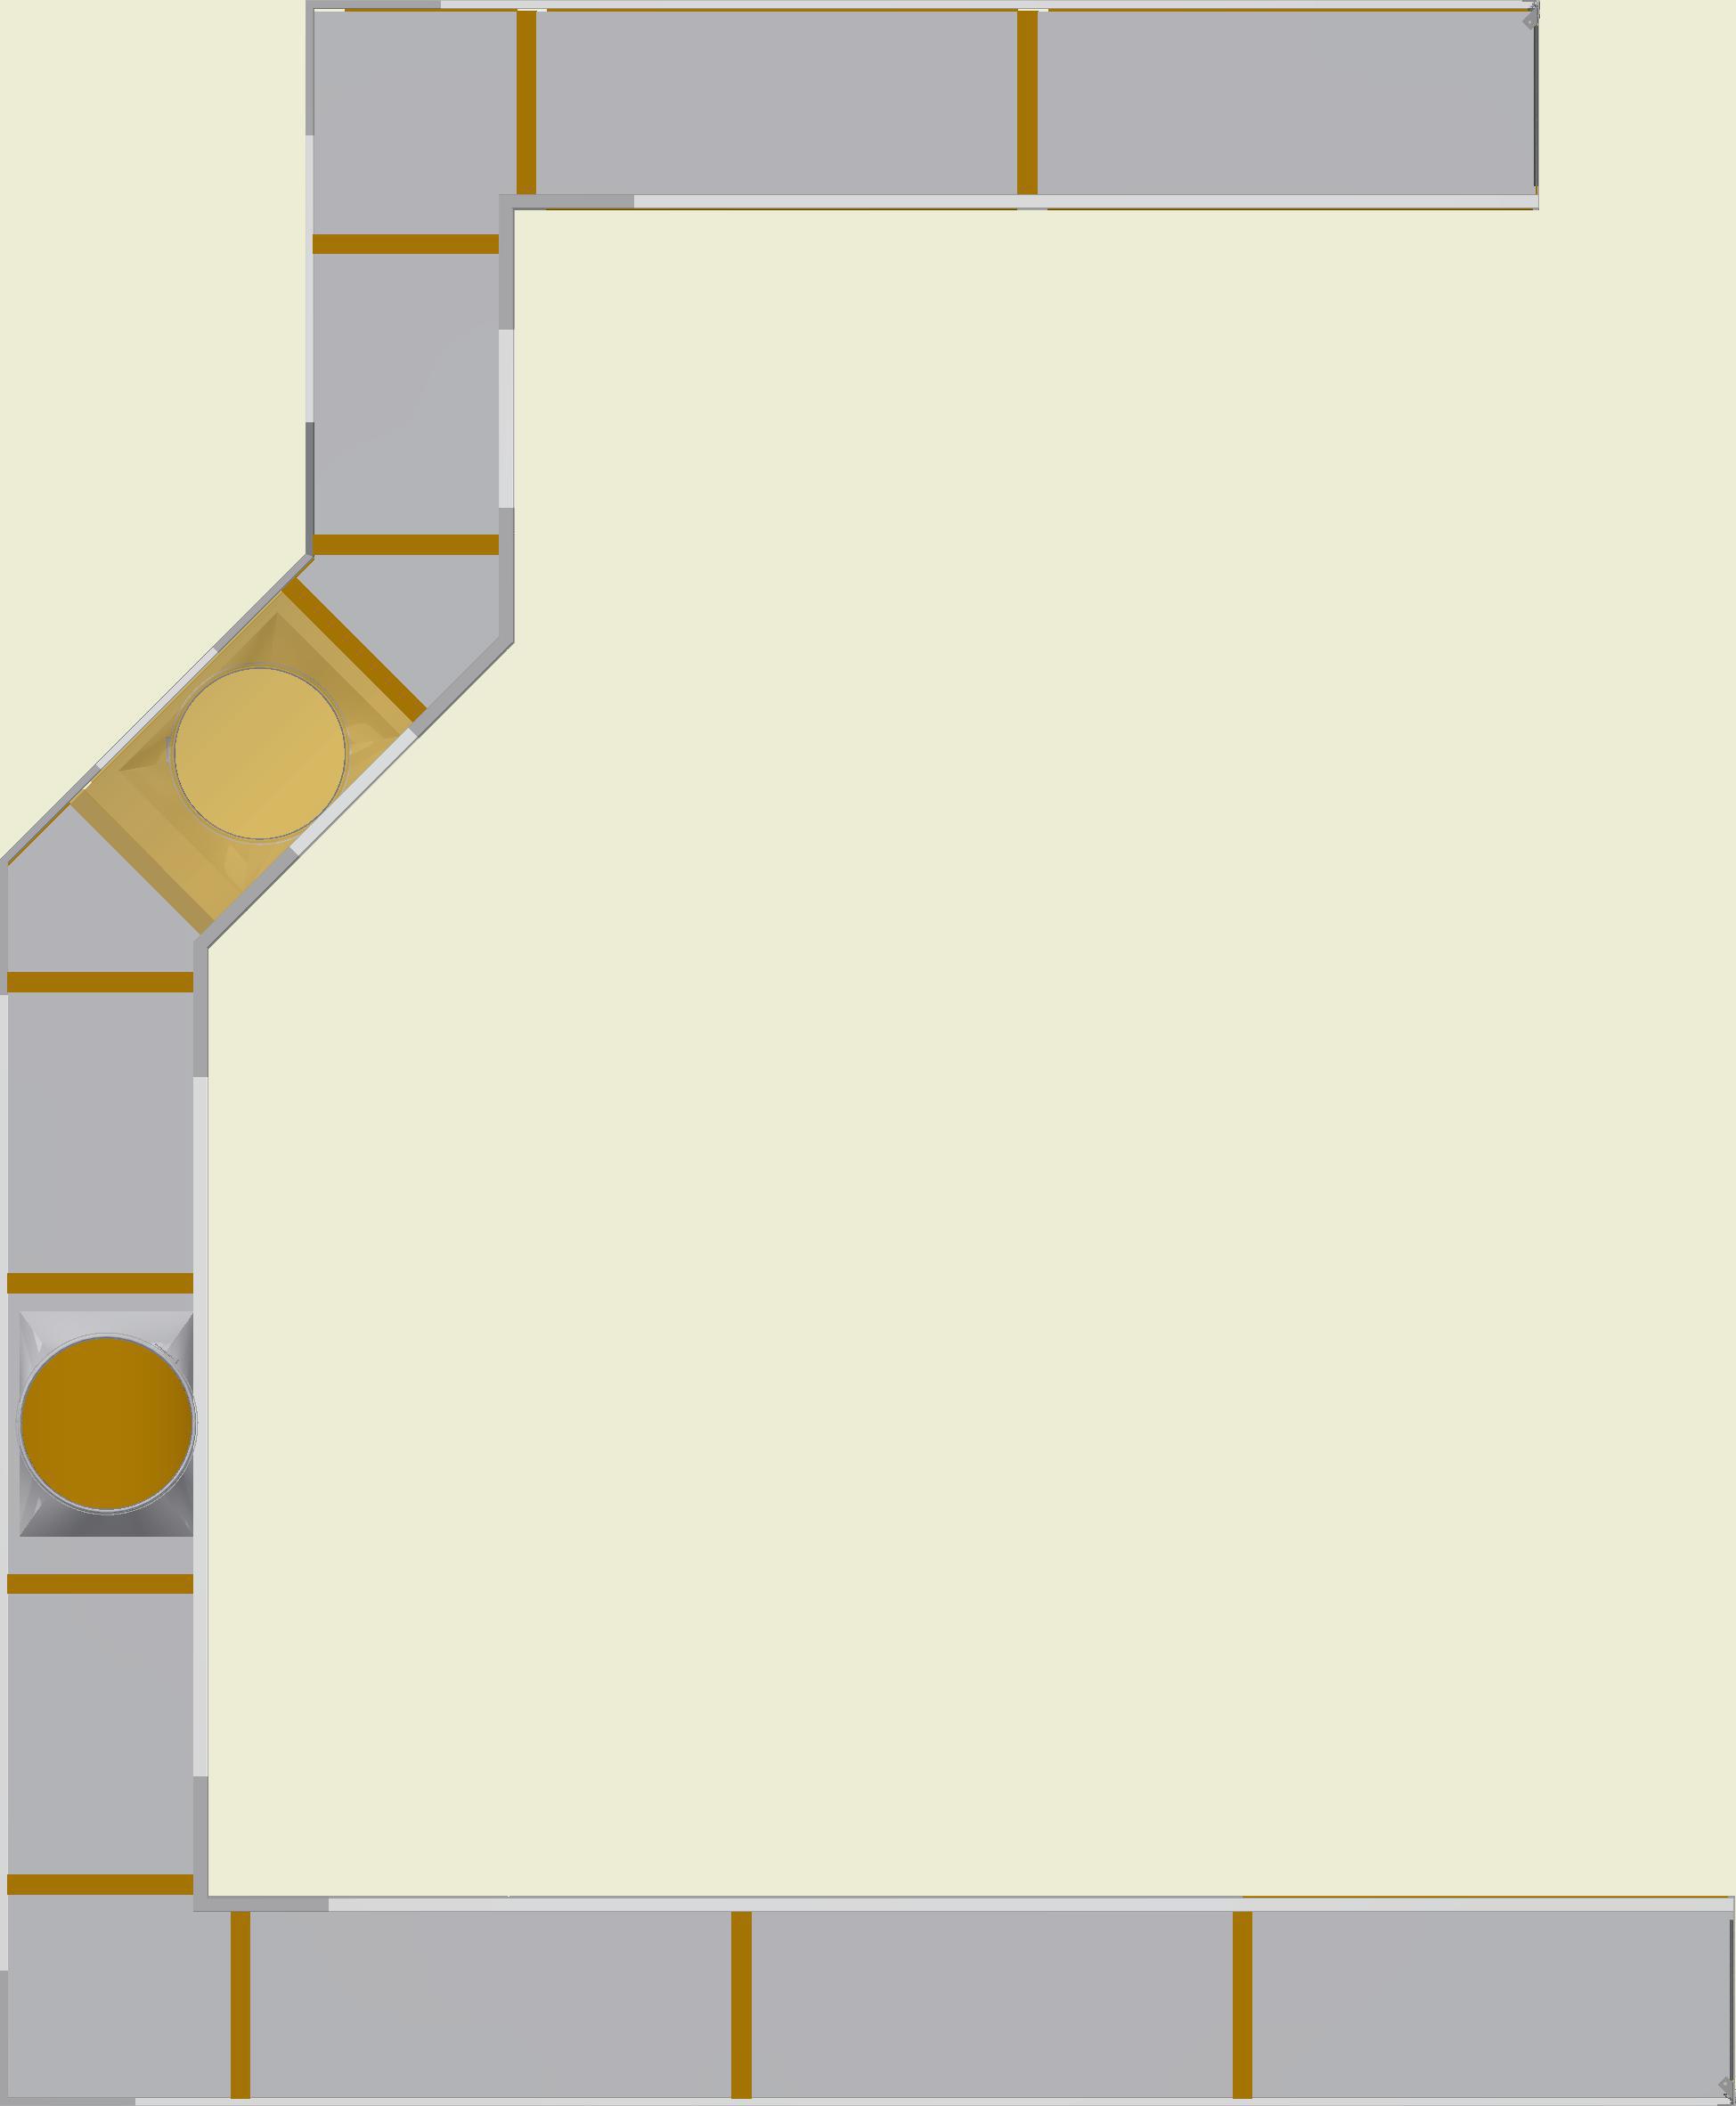
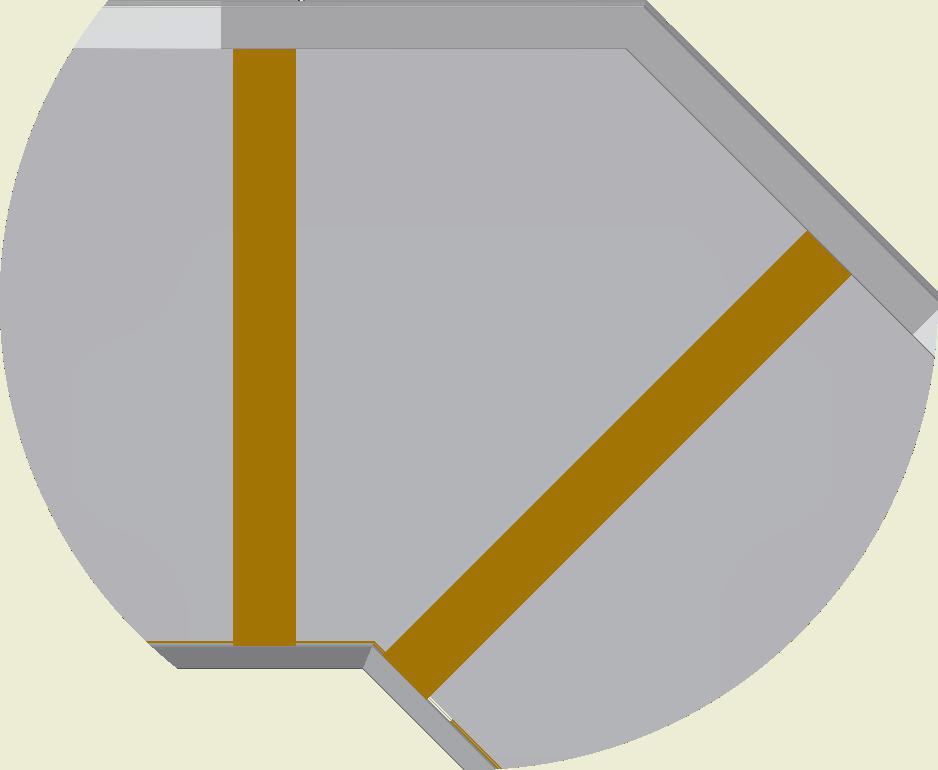
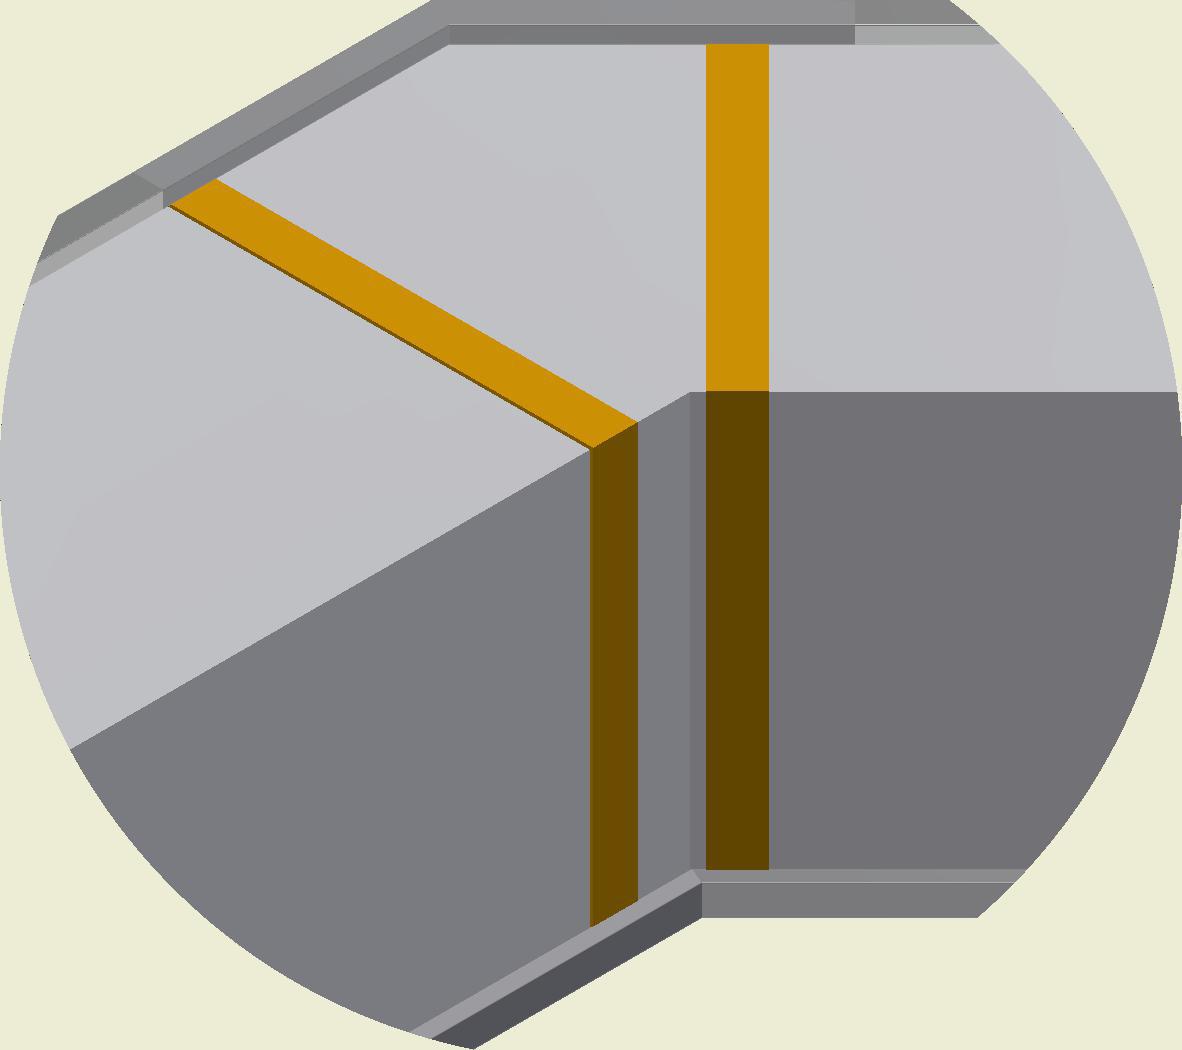
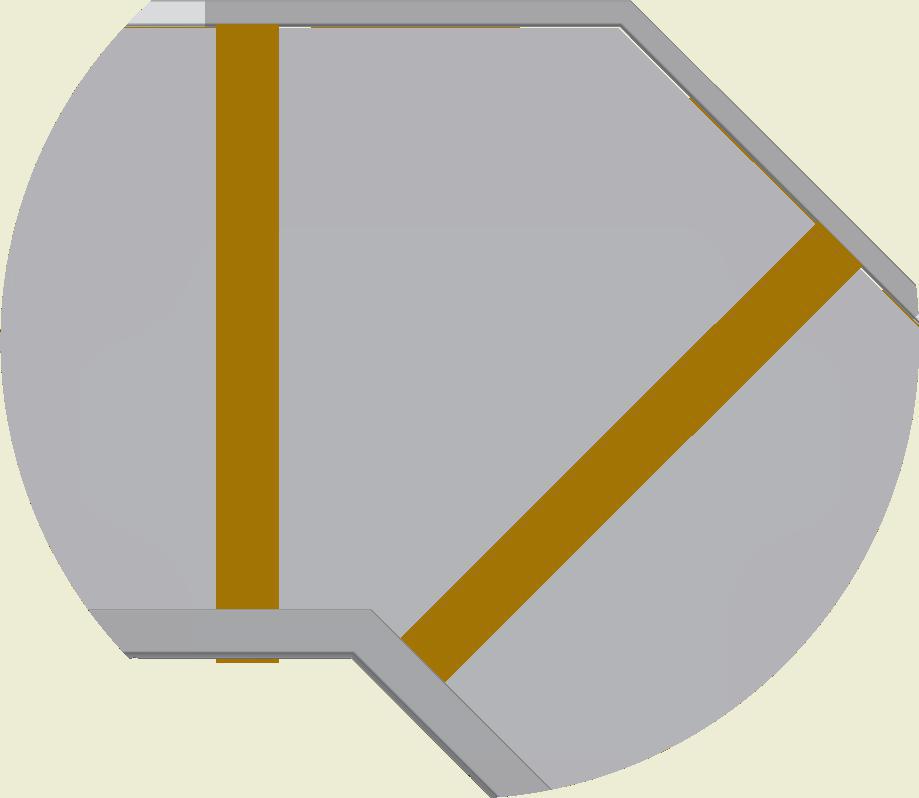
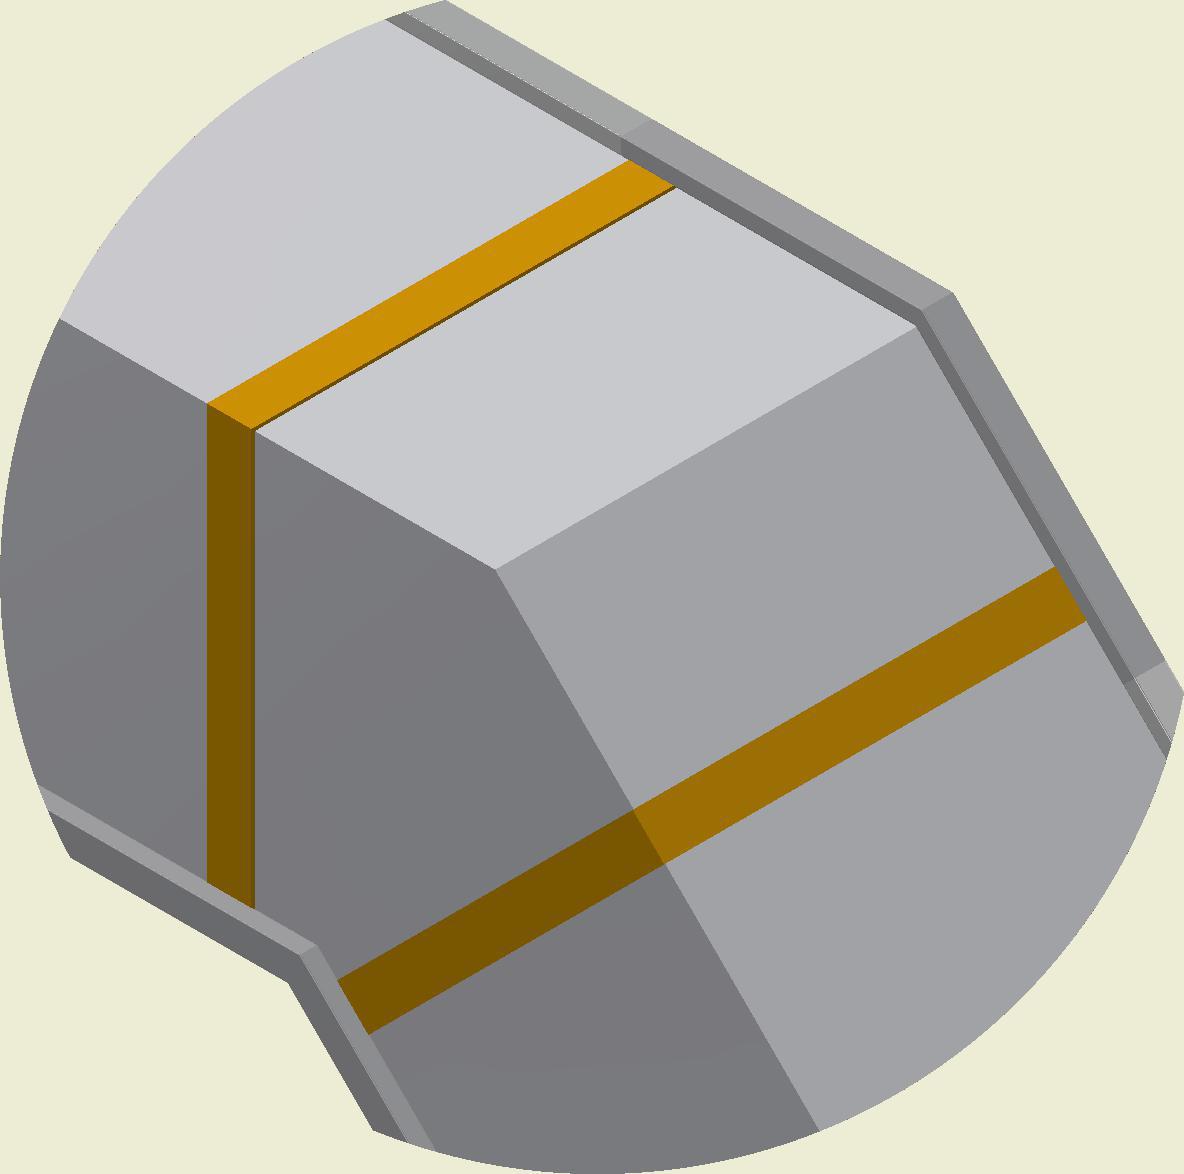
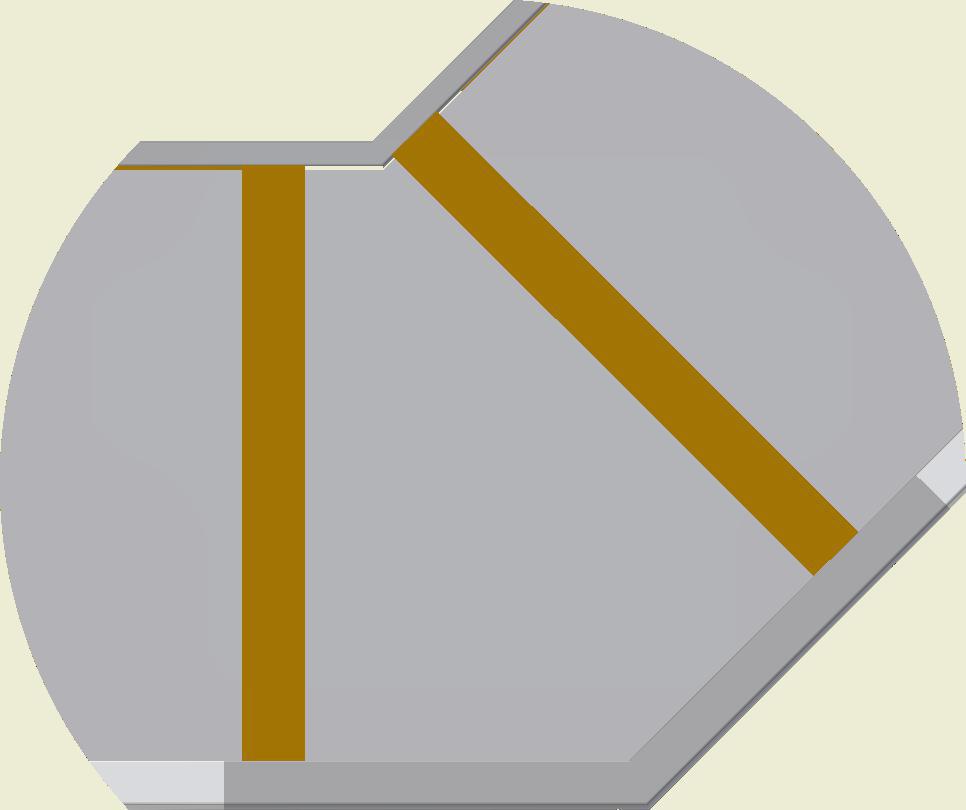
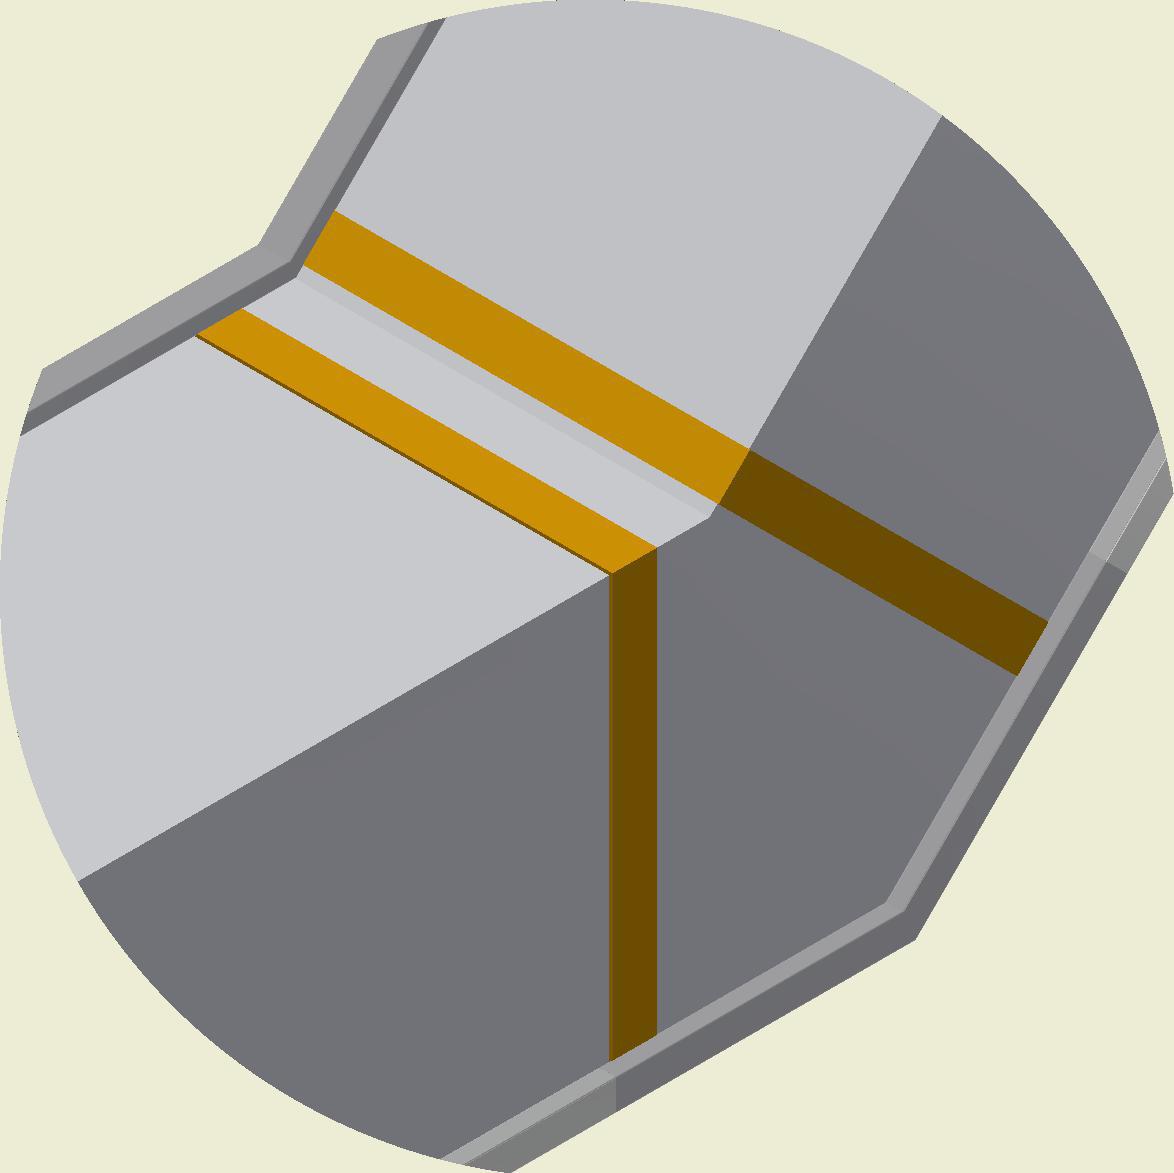
Mitered elbow to be assembled without pins. Attach to ceiling/wall with min. 2 screws.
Knæk samles uden stifter montageres min. 2 skruer væg/loft
1 set screw each 10½” rail at mitered elbow.
Spænde skrue 1 stk pr 270mm knæk skinne
!!! NOTE !!! Knæk monteres som det første før de lynes sammen med en pose
NB! Always install mitered elbow first. Then zip elbow and duct together.
Start rail 8” / 20”
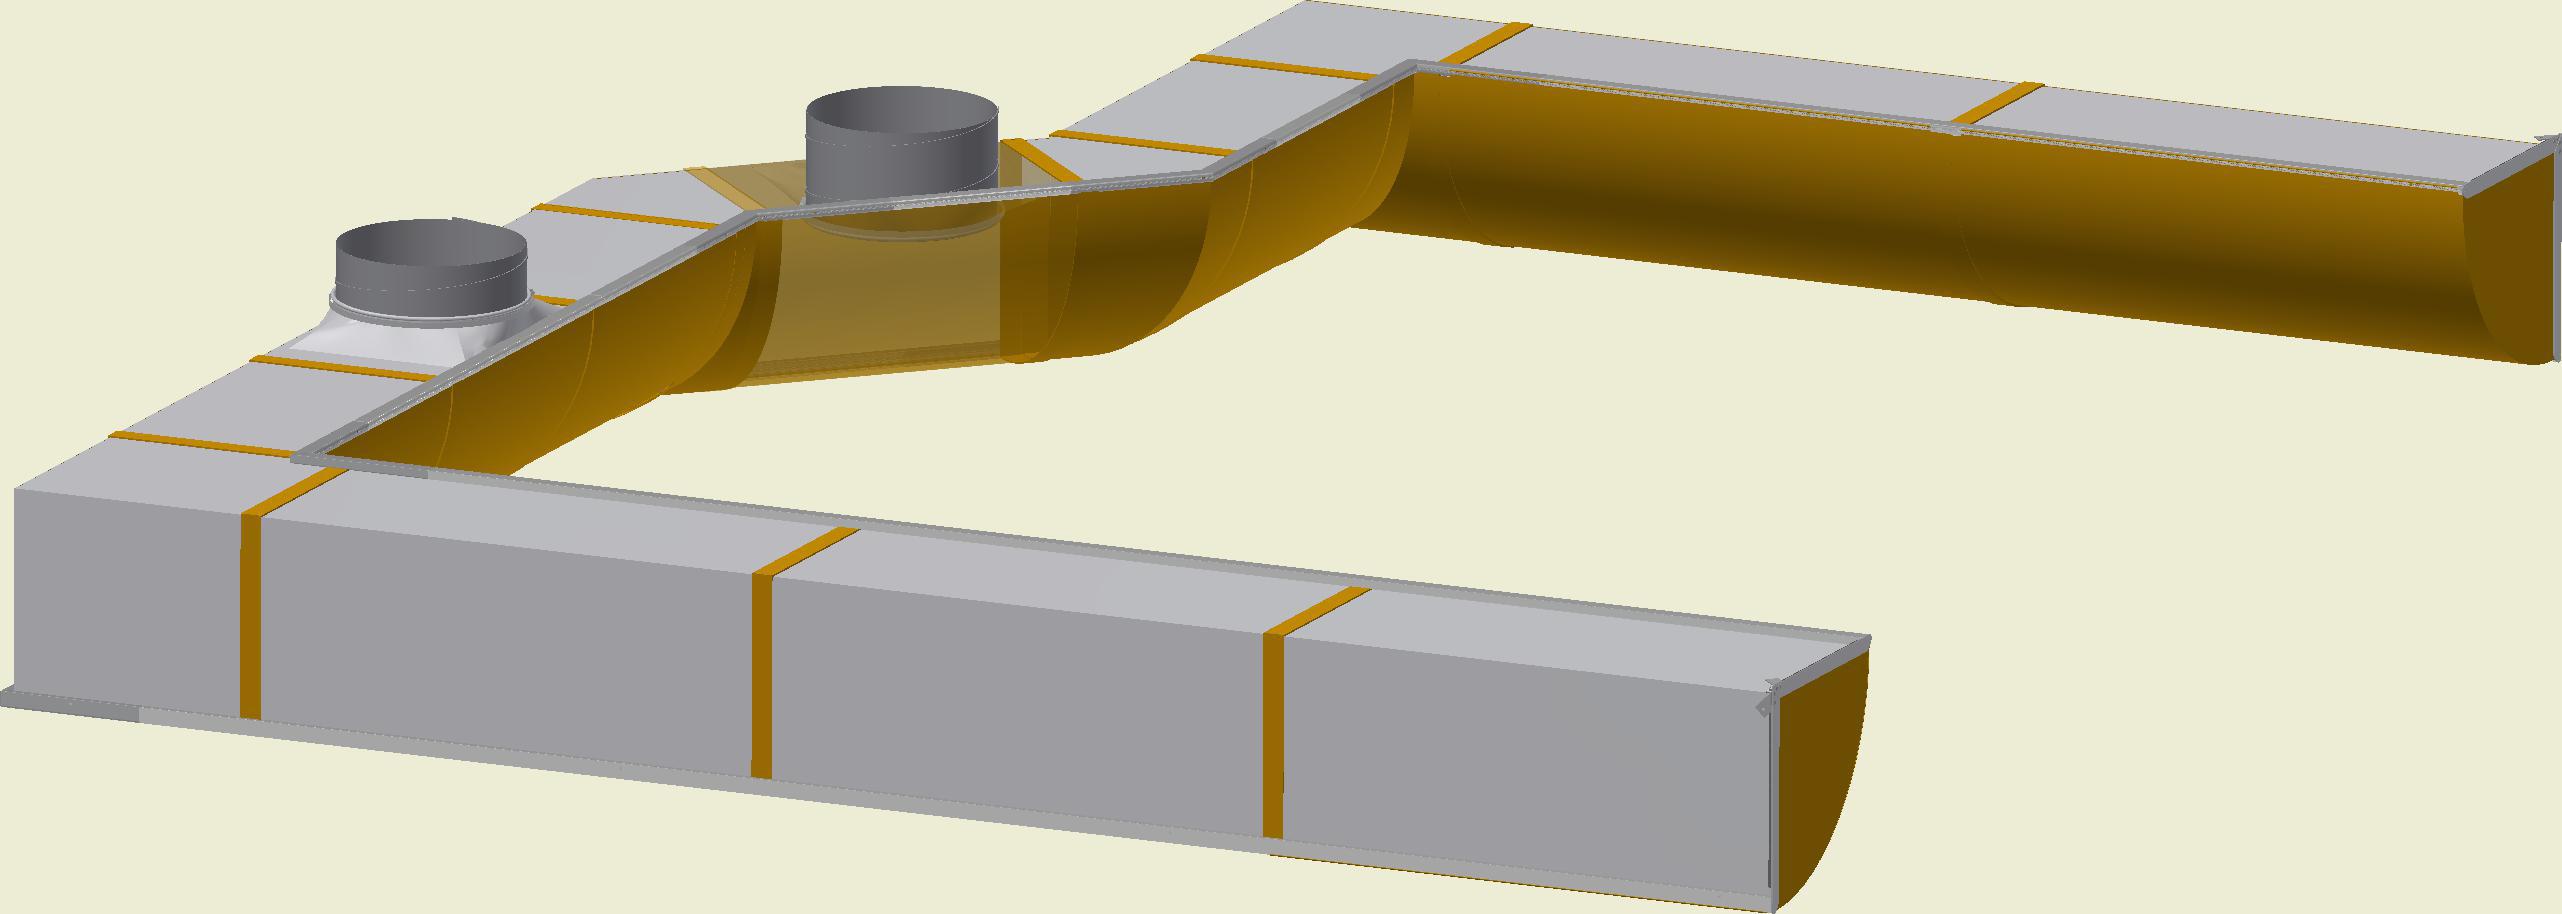
D-Lite Alu for 1/4 Rd KE-Interior System (Mitered Elbow)
QL-0007-US-05
QL-0007-DK-05
See
Alu for 1/4 Rd KE-Interior System (Mitered Elbow 90°)
QL-0008-US-05
Mitered elbow Right/Left
Mitered elbow Downwards
Mitered elbow Upwards
D-Lite Alu for 1/4 Rd KE-Interior System (Service Zipper)
QL- 0009-DK -05
QL-0009-US-05
D-Lite Alu ½ D-Pose Service Lynlås.
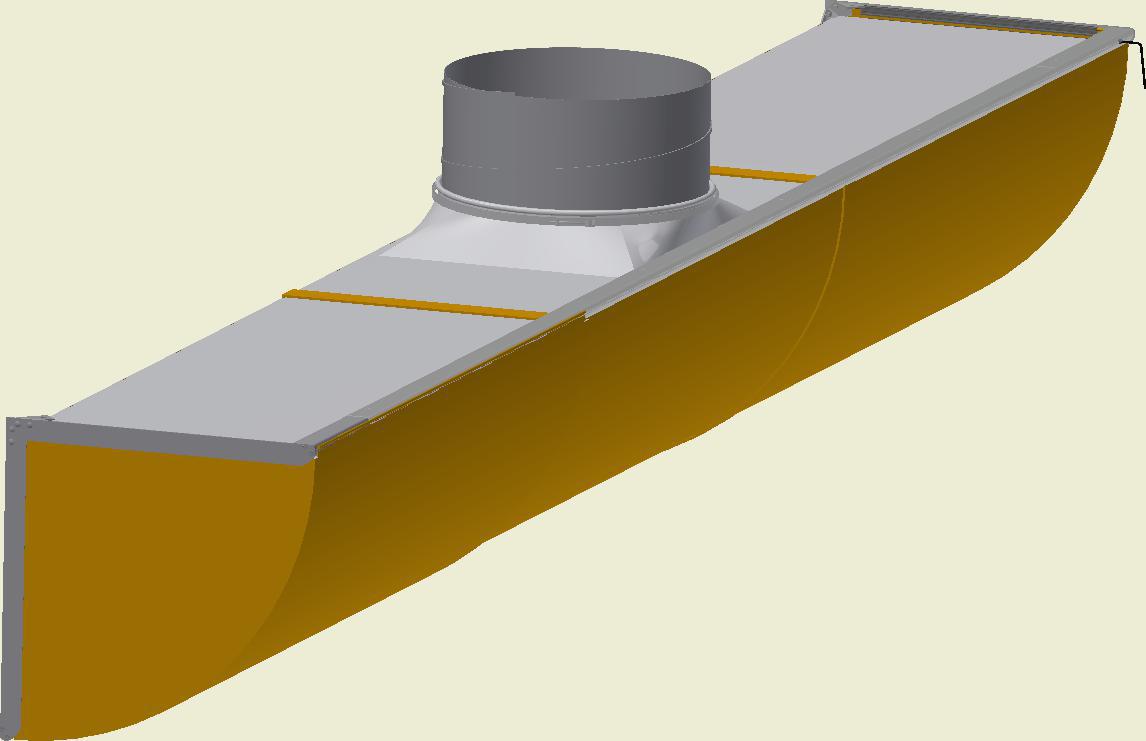
D-Lite Alu 1/4 Rd Duct with Service Zipper
D-Lite Alu ½ D-Pose Lynlås .
D-Lite Alu 1/4 Rd Duct with Zipper
D-Lite Alu for KE-Interior System (Service Zipper)
DL- 0009-DK- 03
DL-0009-US-03
D-Lite D-Pose Serv ice Lynlås .
D-Lite Alu D-Duct with Service Zipper
D-lite D-Pose Ly nlås.
D-Lite Alu D-Duct with Zipper
DL- 0010-DK- 03
D-Lite Alu Suspension for KE-Interior System (KE-SRD)
DL-0010-US-03
Installation of T-SRD (top inlet)
T-SRD montage .
The T-SRD is optional
T-SRD kan tilvælges
Installation of D-SRD (end inlet)
Indløbs -SRD m ontage .
Indløbs SRD kan tilvælges
The D-SRD is optional
The D-SRD and D duct are joined by means of zipper
Indløbs SRD lynes i ved en lynlås
The T-SRD is fastened to the inside of the fabric duct by means of velcro
T-SRD monteres indvendigt i posen med velcro.
D-Lite Alu for KE-Interior System (Inlet socket with spring lock)
DL-0011-DK-03
Startskinne
Startskinne
L = Duct length
L = Pose længde
LS = Length socket
LS = Længde Studs
Ø = Socket diameter
H = Height
Ø = Studs Diameter
H = Højde
W = Width
O = Offset
W = Bredde
O = Forsætning
A = Distance socket 1
A = Afstand studs 1
B = Distance socket 2
B = Afstand studs 2
Husk!
Marker A-målet på skinnen så du ved hvor studsen er når du har trukket posen på skinnerne.
Mark the A measurement on the rail so that it is clear where the nozzle is located after the duct has been mounted in the rails.
Mount the spring lock of the inlet socket onto supply spigot.
Fjeder trykkes over studsen.
NOTE!
Husk!
Vask hænder eller tag handsker på før montering.
Remember to wear gloves or wash your hands prior to installation.