1 minute read
Craft Corner

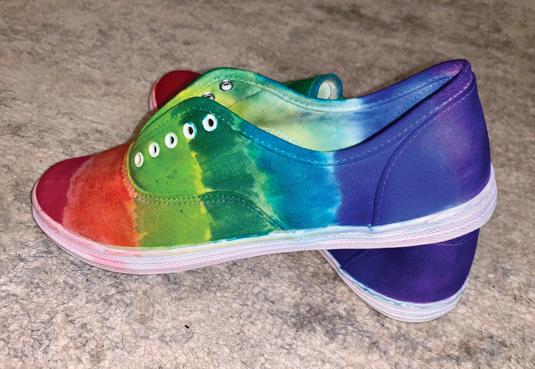
DIY Tie-Dye Shoes G
et ready for back to school by making your own on-trend shoes this year! These DIY tie-dye shoes are easy to make, and you can customize them any way you see fit! Go bold with your shoes and get ready for fun at school!
Advertisement
Step one: Remove laces from shoes.
Step two: Tape any white rubber bottom of the shoe.
Step three: Set up design and mark off sections with your Sharpies as a guide.
Step four: Color your design leaving white spaces for the tie-dye effect.
Step five: Outdoors or in the sink, spray rubbing alcohol all over shoes. Shoes will drip the Sharpie color, giving the tie-dye effect. If you do this in the sink, rinse it immediately to avoid staining!
Step six: Allow shoes to air dry for at least 24 hours. (Our shoes dried way quicker than 24 hours.)
Step seven: Wash your hands immediately after you are done handling the shoes to avoid staining on them.
Step eight: Once shoes are dry, put in your laces and enjoy being trendy with your DIY!
Janelle Cumro-Sultzer lives in Overland Park with her husband, son and two dogs. Janelle is a former health care executive director and is a mediator in Kansas, helping families in conflict. Janelle loves to focus on learning through play and getting messy with crafts.
Materials needed:
• White canvas shoes • Rubbing alcohol • Spray bottle • Masking tape (We used painters tape and it did not work!) • Assorted Sharpie markers
