1 minute read
CHAIR PROJECT
CHAIR PROJECT Franklin & Marshall College/Intro to Architectural Design/2017
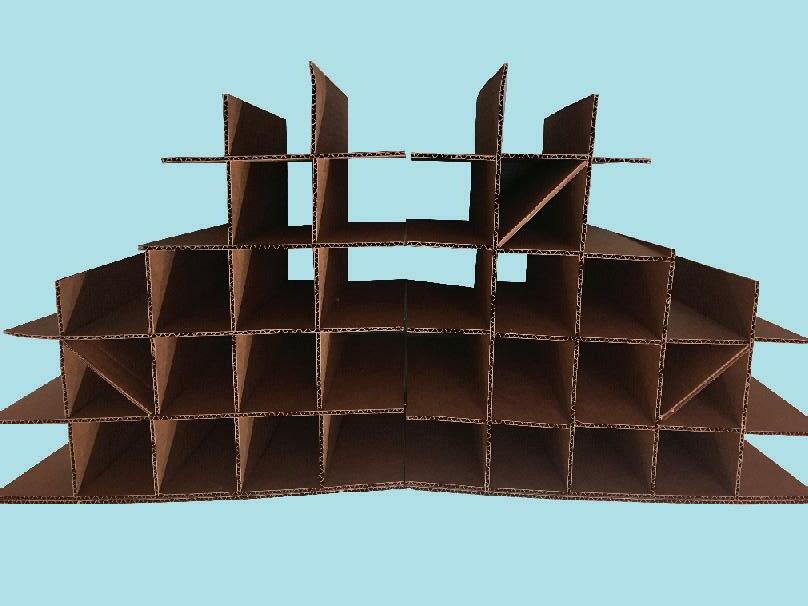
This project involved designing and constructing a chair for a four to six year old child using only a 48"x 60" sheet of corrugated cardboard. Glue was allowed for laminating the faces of pieces together, but not for holding the structural pieces together. The goal of the project was to create a chair that would be inviting, durable, and safe for a child's use. These were the project's only parameters which left a lot open for interpretation and exploration.
Advertisement

4 @ 8"x11" 4 @ 9"x11" 4 @ 14"x11" 4 @ 15"x11" 2 @ 15"x11"

1 @ 30"x15" 1 @ 30"x11" HINGED CHAIR INSTRUCTIONS
Notes: -All grid pieces should be cut so that the corrugations run along the length of the piece -Notches should be spaced 3" apart and measure 5.5"x0.125"
1. Measure and cut the pieces shown below. Pick one of the 15"x11" pieces to cut a 1.5"x0.25" slit that is 0.75" from the 11" edge and 5" from the bottom
2. First attach the gridded pieces to each other, starting with a 15" notched pieces and adding the smaller pieces in descending order both horizontally and vertically
3. Laminate the 2 15"x11" pieces to the 30"x11" using Elmer's glue and a paint brush. Be sure to cover surface thoroughly, especially the edges. Place under a heavy object and leave to dry for several hours.
4. Attach the edges of the gridded pieces into the notches of the previously constructed piece using Elmer's glue. Make sure that the tab of the 30"x11" is opposite of the slit in the 15"x11".
5. Finally, glue the two seat pieces on top of the gridded structure, using the gridded lines you traced onto the pieces as a guide.


