
4 minute read
White on white

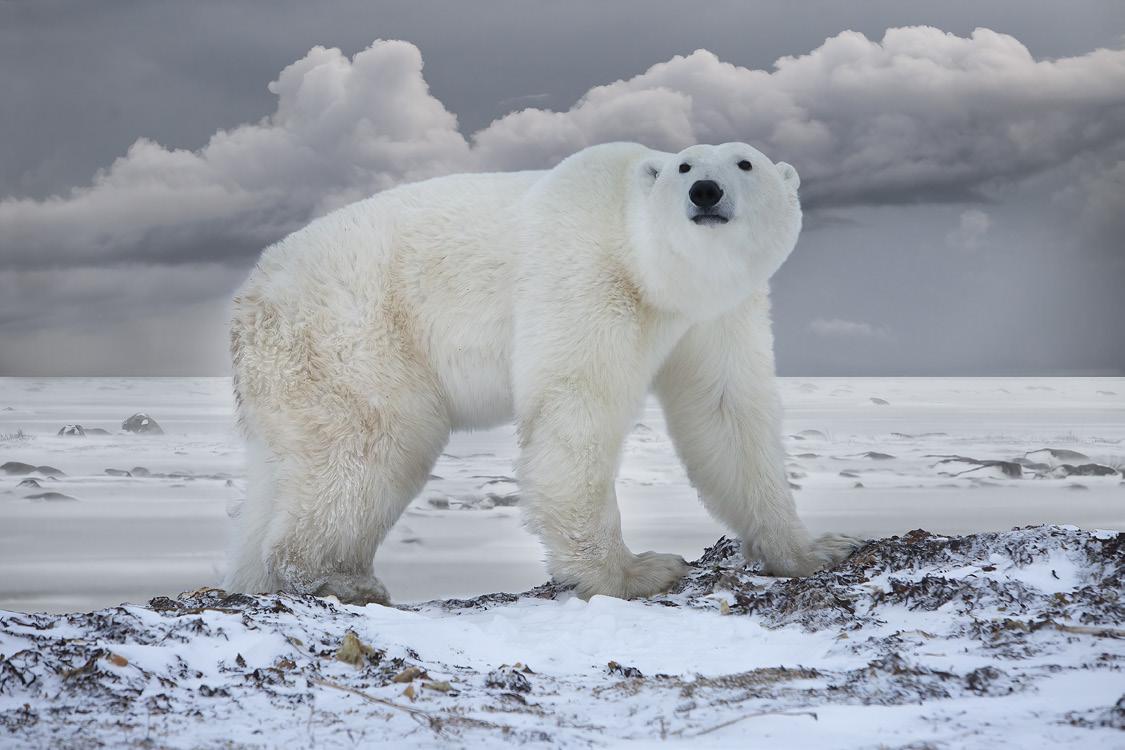
Afavorite color theme of mine is white on white, and that’s why I love shooting in winter. The purity of white is compelling, and when the various tones or shades of white are combined, some of the most amazing images result.
Dealing with exposure
The first question in a photographer’s mind when shooting snow and other bright white subjects (like white-feathered birds, white wedding dresses, etc.) is how to expose for the subjects. Meters are designed to determine an accurate exposure when the subject is middle toned. This is usually referred to as middle gray,, but this could just as well be middle red, middle magenta, or middle green. The color doesn’t matter -- it’s how light or dark the tone is.
If a subject is white, the meter assumes it’s middle toned and therefore dictates a shutter speed/ f-stop combination that makes the white subject or scene middle toned, i.e. gray. A middle toned rendition of a pure white landscape like the cottonwood tree on the next page produces an underexposed image. The meter is trying to make the scene middle toned, thus the highlights are darkened in keeping with the programming of the meter.

The way photographers would traditionally deal with this problem was to overexpose the pictures using the exposure compensation feature on the camera. The amount of overexposure was typically 1-1/3 to 1-2/3 f/stops. This was an educated estimate because many factors influence an exposure, the primary one being what percentage of the frame is white, and whether the center of the composition white.
When we shot film, we couldn’t see our exposures until the slides or negatives were developed. If our exposure compensation guesstimate was wrong and the pictures were either too light or too dark, there wasn’t much we could do about it. Two important things have changed since the film days, and these changes make getting perfect exposures easy:
1. We have the advantage of the LCD screen on the back of the camera which immediately shows the results of our pictures. Therefore, we can determine whether or not our exposures are correct at the time of shooting.
Related to this is the fact that mirrorless cameras show the exposure value in the viewfinder in real time. So, as you are viewing a scene through the camera, you can actually see the image get lighter or darker as you adjust the controls.
2. Because of the tremendous ability of RAW files to be manipulated -- shadows, highlights, exposure, etc. -- even if your pictures are over- or underexposed, you can correct them afterthe-fact . . . within reason. This means there is a wide range of acceptable exposures that will, in the end, enable you to produce well exposed images.
The technique I use now for shooting on snow is to use Matrix or Evaluative exposure mode and zero exposure compensation. Because of

the whiteness of winter scenes, the pictures look underexposed when viewed in Bridge or Lightroom. I then make the necessary adjustments to the exposure to make the images perfect. The underexposure isn’t severe enough to introduce additional noise, and this technique allows me to protect the vulnerable highlights from blowing out.


The blue bias
In the two photos above, you can see a color
discrepancy. The picture on the left is obviously more blue. When shooting in winter, the color temperature (i.e. the white balance) is often on the cool side of the spectrum (meaning bluish) because of a thick cloud cover. Cloud covers make the lighting soft and diffused, which is beautiful, but at the same time pictures tend to appear bluish. Seen by themselves, you may not notice the color shift, but when seen next to snow that’s devoid of the blue tone, you can immediately see the difference.
In addition, the number of daylight hours in winter are reduced, and photographers often shoot at dawn and as late in the day as possible to extend the amount of time for photography. This also yields blue-toned images because reduced natural light and deep shade always photograph on the cool side of the color temperature chart. You may like blue/cyan tones in winter landscapes or when photographing wildlife because this color connotes cold. If you don’t, though, you can eliminate the cool tones in Adobe Camera Raw and/or Photoshop.
In ACR, go to the ‘color mixer’ down arrow (in the latest release) and there you will find the color sliders. Often, the cool tones are both blue and cyan, so you’ll need to desaturate those colors by moving the sliders to the left.
In Photoshop, go to Image > adjustments > hue/ saturation. In the submenu (click on the ‘master’ tab), sliders are revealed that make it easy to desaturate the blue and/or the cyan colors. Move the saturation slider to the left until you are happy with the results. This will bring your snow pictures back to a neutral white which looks like what you saw with your eyes. §

