
3 minute read
Snapshot Society


Working with Obstructions
By John Reed, Photography Volunteer & Snapshot Society Instructor
Advertisement
1
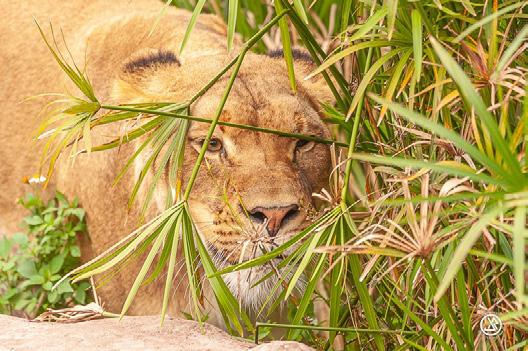
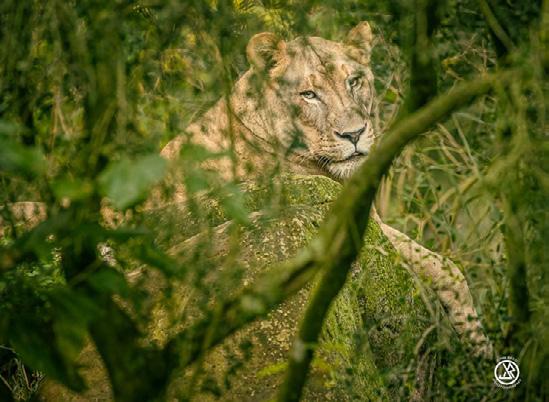
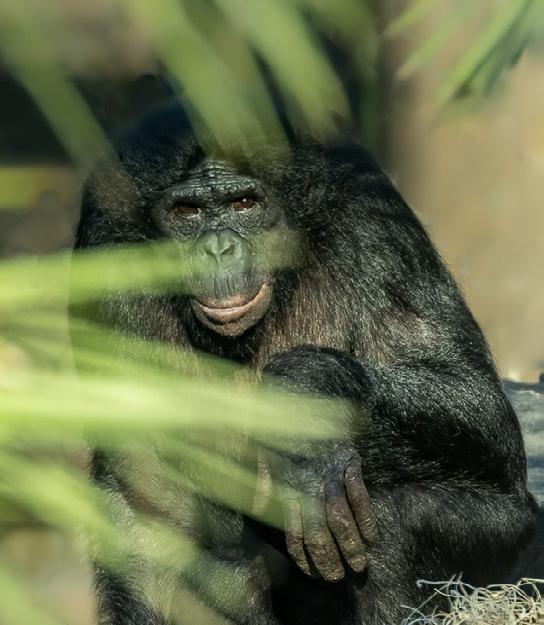
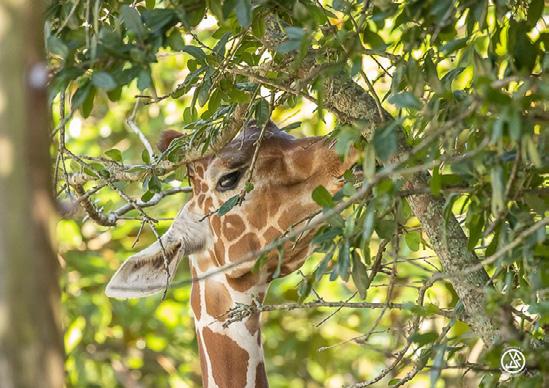
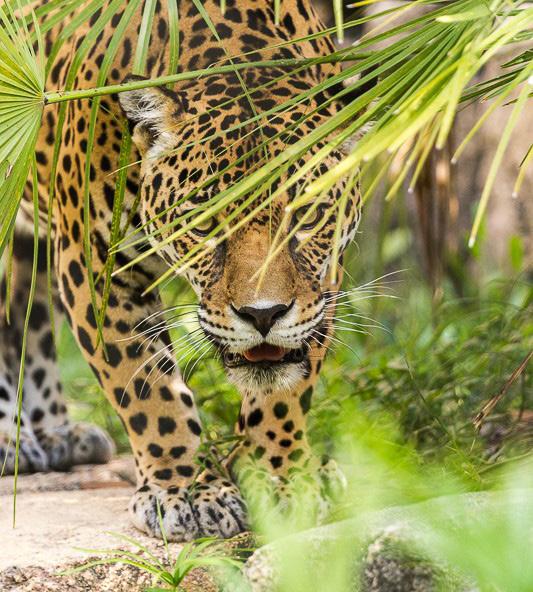
While we often want to be able to photograph through intervening obstructions like fence and branches and not have them in the photo, sometimes it’s more interesting if they show up! Well, not fence, but yes, branches. These photos with the subject behind some branches or leaves, can appear more as if “in the wild” under the right conditions. See photos one to three.

2
The camera autofocus function, normally a wonderful thing, gets in the way here. It is designed to focus on whatever is closest to us, so if we wanted a photo of a lion behind some branches, we’d almost always get a very sharp photo of branches with a blurry lion behind them.

3
To get around this, use manual focus. To my knowledge, all cameras can do this. Actually, turning autofocus off and on is done with the lens and not the camera except in a few models. For most lenses, it’s simply a switch on the side of the lens that turns autofocus on and off.
4
One important thing to do before using manual focus is to adjust the sharpness of your viewfinder if you’re using the viewfinder to shoot, as opposed to using the screen on the camera back. It is usually done using a small knob just to the side of your viewfinder. It’s called “adjusting the diopter” so just look that up in your manual. If you don’t adjust this setting to your eye characteristics, when you focus based on what you see, you may think something is sharp and it really isn’t.
5
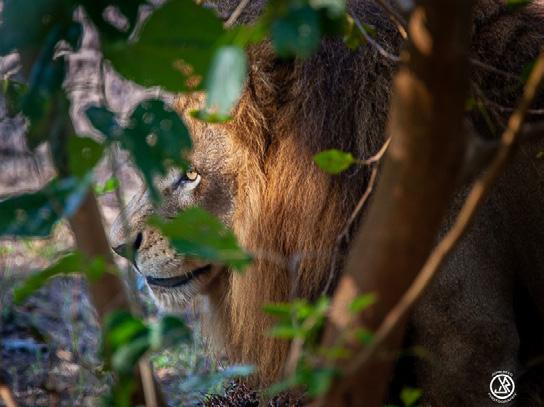
Once you are in manual focus mode, if your subject is sitting still, it’s very straightforward. You just turn the manual focus ring on the lens until the subject behind the branches is sharp. See photos four and five. If your subject is moving, there are two ways you can utilize manual focus. The first and most obvious is to practice so you can adjust focus manually as you follow your subject. This takes some time but it’s not a particularly difficult skill to master. It just takes practice. See photos six and seven.
6
The second way is to do what is often called “predictive focusing.” In this case, you focus manually on an area where you anticipate the subject will go and just wait. When it comes into the frame, push the shutter button and take the photo. See photo eight. Don’t forget, you must have the lens switched to manual focus. It’s easy to forget because you can manually focus with the lens set to auto. However, in that case, as soon as you half press the shutter button, autofocus kicks in and all your hard work manually focusing is gone.
7
8


