
Designing, Pressing & Veneering
Bringing different worlds together effectively
By Davor Marković DT, KreševoThis report presents an efficient hybrid workflow for the fabrication of all-ceramic restorations. It shows how digital technologies can be used to create the basis for the analog fabrication of the final restoration. In addition to technical expertise, high-quality materials are part of the recipe for success. In the case presented here, the restorative work was realised using the popular IPS e.max Ceram layering ceramic and the IPS e.max Press press-ceramic system, which has a proven track record spanning several decades (both Ivoclar). The report stresses the importance of working with a coordinated system of proven materials. This enables the dental technician to bring the desired high quality and efficiency to the interplay between the different production methods.
Analog or digital, or both? Although dental laboratory processes are commonly divided into analog and digital workflows, the day-to-day work in the laboratory shows that both domains form part of a coherent whole. By combining digital technologies with analog fabrication techniques, the best of both worlds can be harnessed. From scanning to designing, pressing and layering: the manufacturing processes in the dental laboratory are so varied that it seems unreasonable to limit yourself to just one approach to achieve optimum results.
Manual working techniques have a track record spanning several decades. They set the bar high for all-ceramic CAD/CAM materials and digital technologies. Even today, the ceramic layering technique is considered the best approach to achieve anterior aesthetics in many cases. The layering technique offers a high level of flexibility and, depending on the veneering ceramic being used, impresses with excellent aesthetic outcomes (e.g. IPS e.max® Ceram, Ivoclar). The same is true for the press technique, which appears to be the favourite option for many restorations; the procedure is safe and efficient. Additionally, press-ceramic materials (e.g. IPS e.max® Press) offer exceptionally aesthetic optical properties.
Dovetailing digital technologies with manual processes
Dental laboratories have been using digital technologies to enhance their workflows for a number of years now, and so have we. Useful though these technologies may be, the expertise of the dental technician remains essential. Analog processes shape the aesthetic and functional outcome of a restoration, while CAD/CAM technologies increase the efficiency of the workflow. In this report, I shall use a clinical case from my day-to-day practice to demonstrate the interplay between analog and digital.
Naira’s desire for a beautiful smile
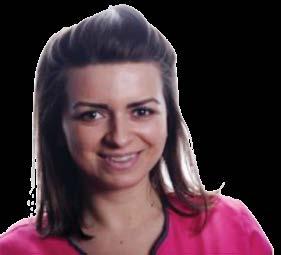
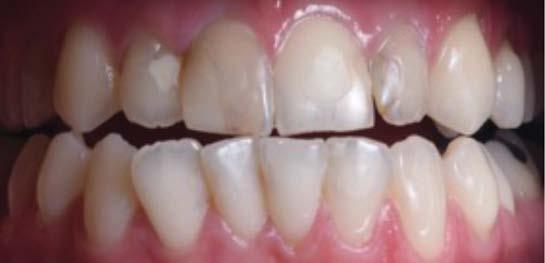
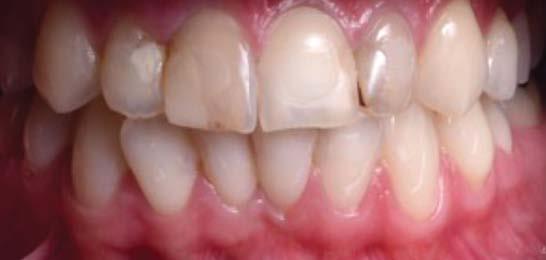
This case is about Naira, a young female who wanted her smile to look beautiful (Fig. 1a). She cared a lot about her appearance and was bothered by the way her teeth looked. Some of the composite fillings on her upper anterior teeth were severely discoloured (Fig. 1b). Teeth 11 and 22 had undergone endodontic treatment and their incisal edges were worn. Her aesthetic appearance was additionally affected by malocclusion. During the initial consultation, she was asked what she wanted her smile makeover to look like and various treatment options were explained to her. Naira emphasised the fact that she wanted an optimum outcome with straight, harmoniously white teeth. So, it was decided to restore teeth 22 to 12 with all-ceramic restorations. Prior to the restorative work, her malocclusion had to be corrected. The end of the orthodontic treatment represented the starting point for the prosthetic part of the makeover (Fig. 2) and an impression was taken to record the situation before preparing her teeth.
All-ceramic press and layering techniques: state-of-the-art, even by today’s standards
Digital: Preparing long-term temporaries
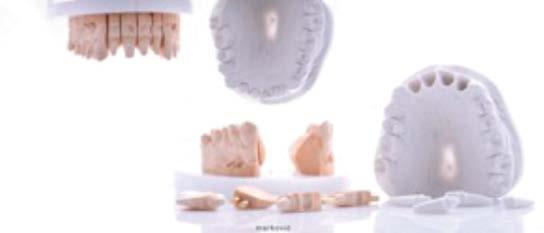
Teeth 22 to 12 were prepared for restoration with all-ceramic crowns (Fig. 3). The existing composite fillings had to be completely removed. Because the teeth had already been damaged, it would have been impossible to achieve an adequate result by means of a minimally invasive method (i.e. veneers). An impression of the prepared teeth was taken and then the models were produced. I tend to create two models in cases like this (Fig. 4): The first model is a working model that I use for creating the copings. The second model is a die model that visualises the surrounding soft tissue (gingival contours, papillae) when applying the ceramic.
Ivoclar) (Fig. 7 and 8) and examined the shade, shape and function in the patient’s mouth at the try-in. At this point, Naira was given a preview of her prospective new smile. Adjustments and adaptations of the dimension and shape of the crowns were discussed with her and implemented in the laboratory (Fig. 9).

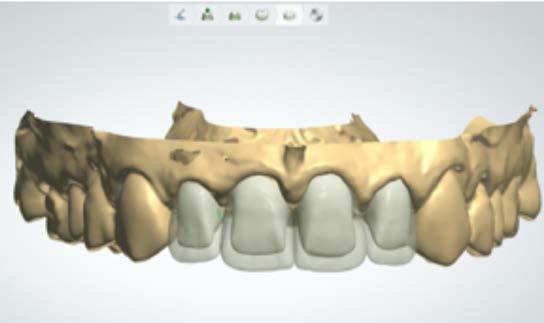
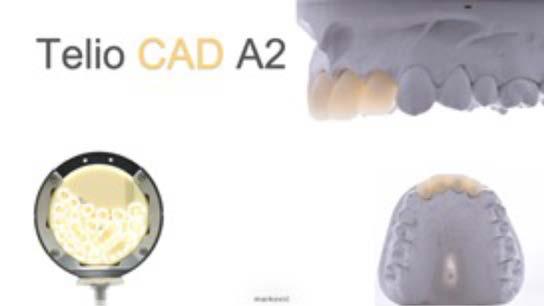
I used CAD/CAM to produce the long-term temporaries. The models were scanned and then the patient’s data were entered into the design software (3Shape) and then the area of application and the material to be used were defined. The anatomical model (the model prepared before preparing the teeth) was also digitalised and stored with a view to using it later as reference for designing the crowns (Fig. 5). I then designed full-contour crowns that reflected the shape and function of the intended final restoration (Fig. 6). The software can be used to design not only the shape of the tooth but also the micro- and macrostructure on the tooth surface. A high-precision milling machine allows me to reproduce even the finest details neatly and precisely using a digital method. The longterm temporaries were fabricated using Telio CAD (Ivoclar). These cross-linked PMMA discs are characterised by excellent optical and mechanical properties. The monochrome material assists in assessing and determining the shade of the final restoration, to name but one advantage. I milled the crowns from Telio CAD discs in shade A2 using a high-precision milling machine (PrograMill PM7,
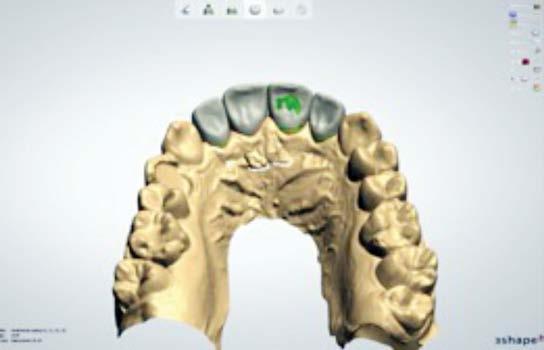
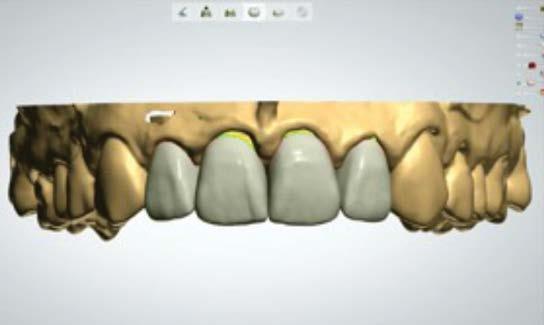
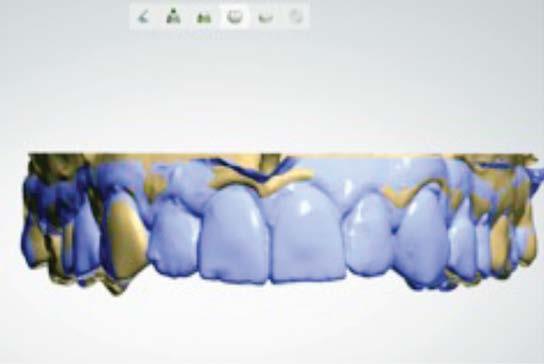
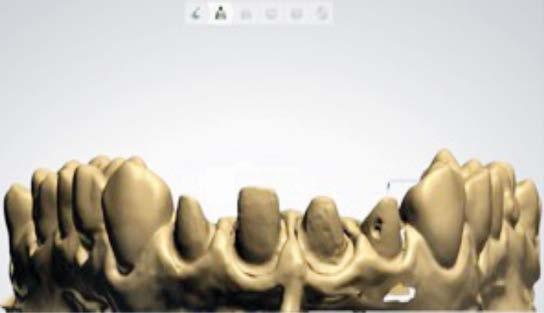
Fig.
Figs. 6a and b CAD design of the full-contour long-term temporaries
Fig. 2 Situation following orthodontic treatment Fig. 3 Crown preparation on teeth 12 to 22 Fig. 4 Creating the models Fig. 5a Digitalised model of the prepared teeth … 5b … superposed with the pre-op situationHybrid: creating the crown copings

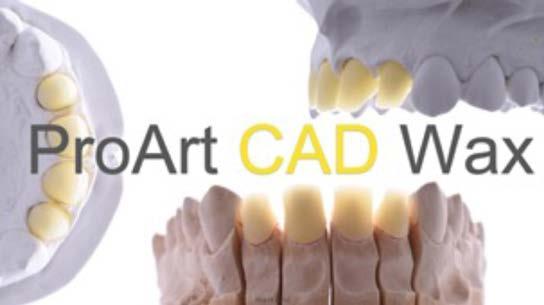
To create the permanent anterior crowns, I returned to the CAD program and reduced the full-contour crowns to crown copings (Fig. 10). I was careful to provide an even cutback so that the veneering ceramic could be applied in a uniform thickness and the shrinkage behaviour would be the same across the entire ceramic during the firing procedure. The crown copings were to be pressed from IPS e.max Press (Ivoclar). For this, I first milled the CAD crowns from wax discs. To this end, I used ProArt CAD Wax (Ivoclar), which is optimally coordinated with the press technique and the lithium disilicate press ceramic (Fig. 11). In my experience, staying within a
coordinated range of materials ensures reliable results and a high accuracy of fit, reducing the amount of time spent on reworking. As an alternative to CAM milling, an additive method may be used to produce the copings (PrograPrint PR5 3D printer, Ivoclar).
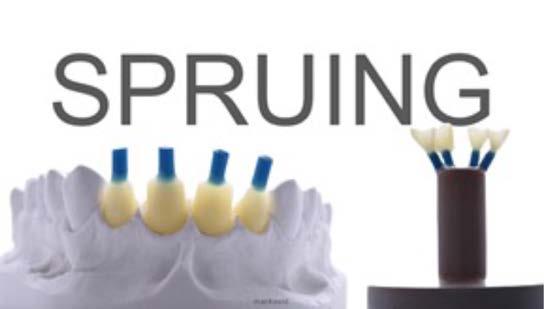
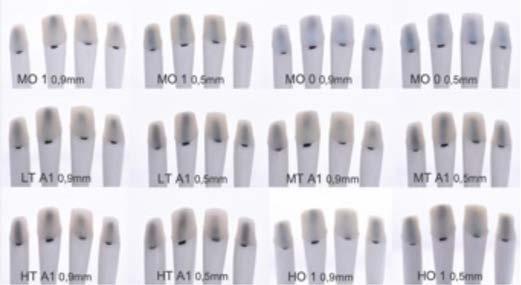
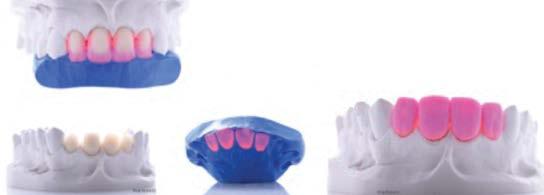
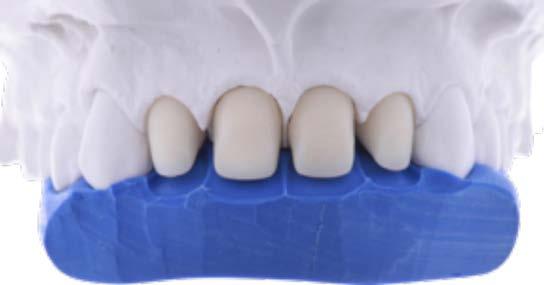
Once milled, the copings were placed on the investment ring base with the help of a sprue guide (IPS Sprue Guide, Ivoclar) and prepared for the pressing procedure (Fig. 12). Selecting a suitable ingot is pivotal. Based on the die shade guide (IPS Natural Die Material, Ivoclar) (Fig. 13a), I tested IPS e.max press ingots of various shades, levels of translucency and degrees of opacity for the present case. I also juxtaposed two different construction geometries to compare them: The first set of four copings featured a uniform layer thickness of 0.5 mm each. For the second set, the layer thickness in the neck area was increased to 0.9 mm to conceal the dark discolouration in the cervical area of the prepared teeth. Having compared the different options with each other, I decided to use a medium opacity (MO 1) ingot. The MO 1 ingot would provide a coordinated level of brightness and sufficient chroma in the dentine area and conceal the dark preparations reliably. Spruing, investing, preheating, pressing: I will not dwell on describing the individual steps of the press technique here. By now, the technique has reached maturity and delivers high precision. If you follow the manufacturer’s instructions and if you use, let’s say, a Programat EP3010 G2 press furnace (Ivoclar), you can be sure of achieving reliable press results.
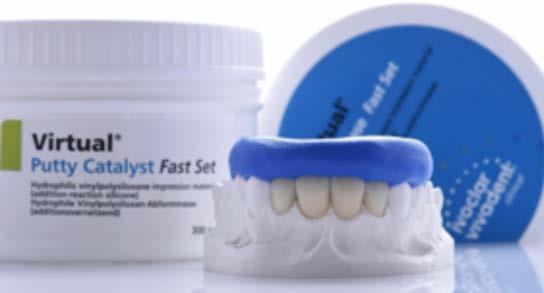 Fig. 7 Long-term temporaries, produced from a PMMA disc (Telio CAD) using a milling machine
Fig. 8 Securing the position of the temporaries on the model with the help of a silicone key
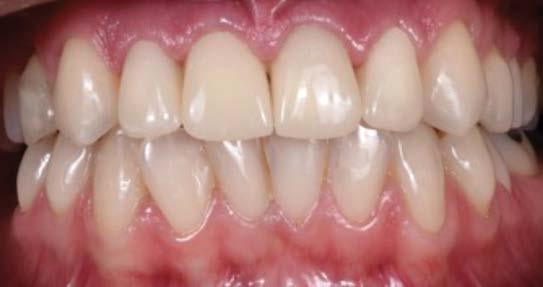
Figs 9a Long-term temporaries in situ
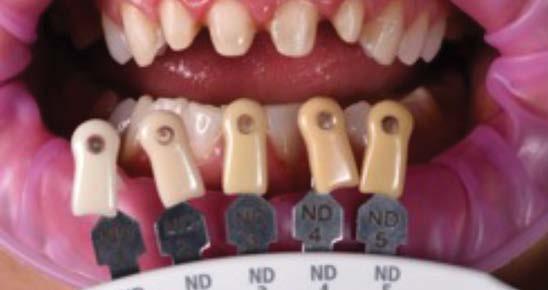
 Determining the shade of the tooth preparation in the patient’s mouth.
Fig. 14a Pressed copings (IPS e.max Press) on the die model, secured in position with a silicone key
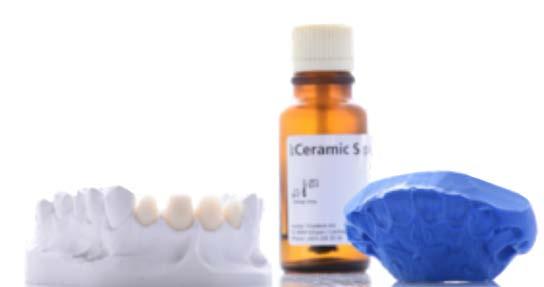
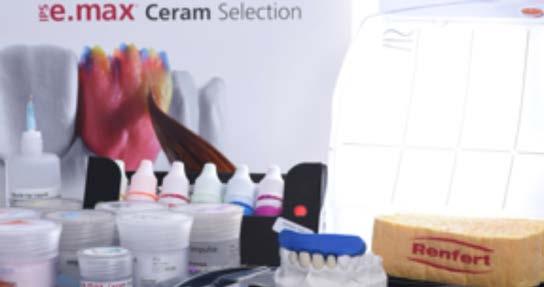
Figs. 15a and b Applying the wash and preparing the pressed copings for manual veneering (IPS e.max Ceram)
Fig. 16a and b Building up the crowns to full contour with dentine materials
Fig. 14b Isolating the silicone key (to create a barrier between silicone and layering ceramic)
Fig. 13b Test pressings of different opacities, shades and two different layer thicknesses were made to select the ingot
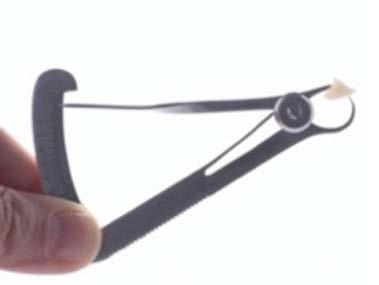
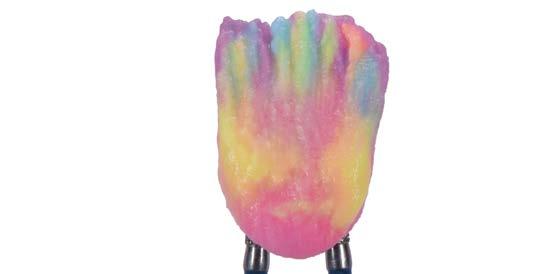
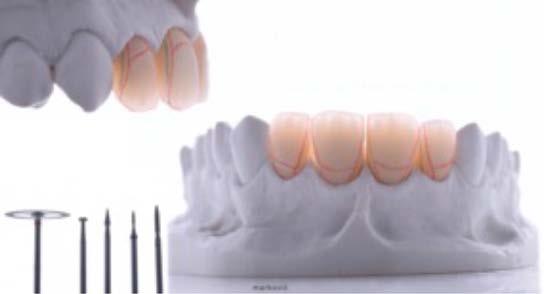
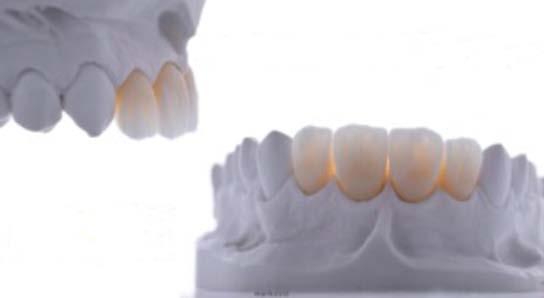
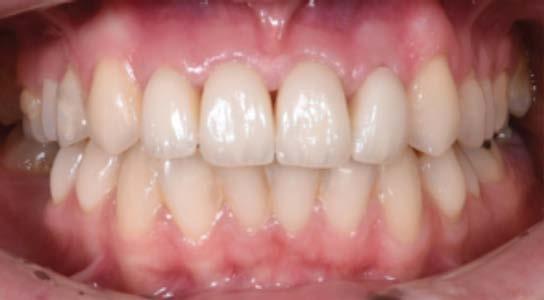
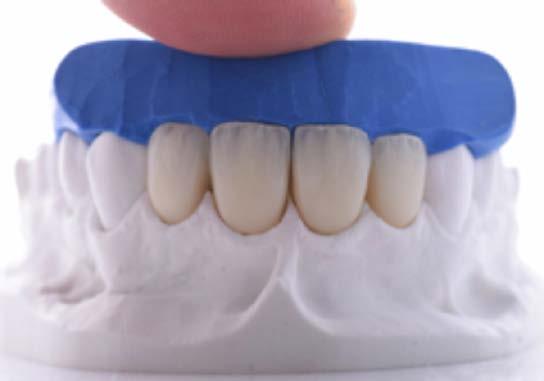
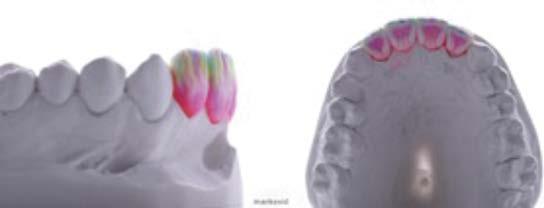
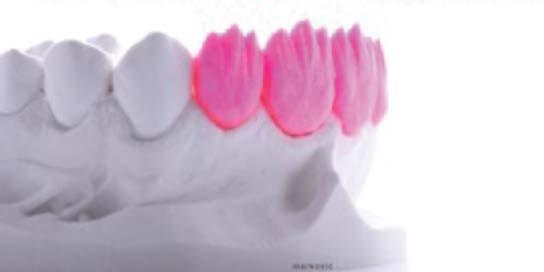 Fig. 17 Performing a light cut-back to incorporate Mamelon and Effect materials
Fig. 21 Try-in after the first firing
Fig. 22 Perfecting the tooth shape for the next firing
Fig. 23 Marking the characteristic features of the tooth to reproduce a true-to-nature shape and surface texture
Fig. 18 Completing the layering process using various Effect and Impulse materials
Fig. 19 Completed layering procedure, before firing
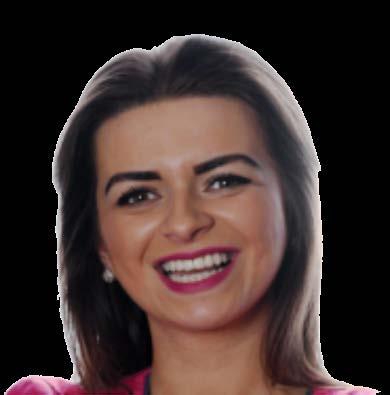
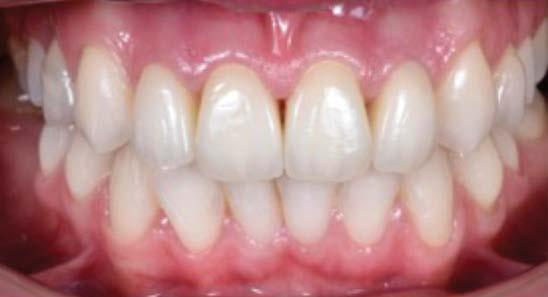

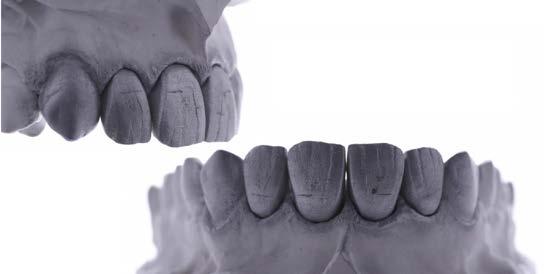
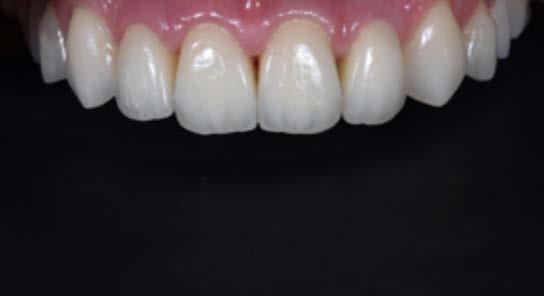 Fig. 24 Checking the micro- and macrotextures with the help of a dusting of powder
Fig. 27 Naira is satisfied and happy with her restorations and her “new” smile.
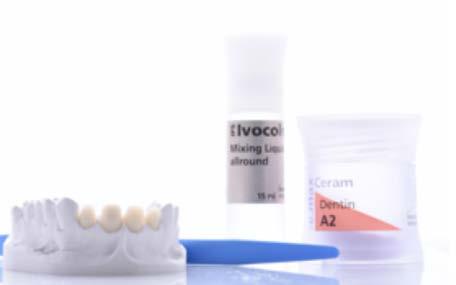
Fig. 25 Applying subtle adjustments to the optical properties and characterisations by means of a universal range of stain and glaze materials (IPS Ivocolor)
Figs 26a and b The seated anterior crowns meet the intended shape, shade and function accurately
Davor Marković DT is the owner of a private dental polyclinic “Dental Centar Markovic” in Sarajevo, Bosnia and Herzegovina, and for the last few years he has been working on fully implementing digital technology into everyday work.