2 minute read
Try-in of the restoration after the stains firing cycle

04 — Mock-up made of provisional composite resin 04b
Advertisement
05 — Models of prepared posterior teeth 05a 05b 05c 05d
objective was to achieve immediate disclusion of the posterior teeth. Any interfering cusps were relocated. As a guide for the appropriate functional preparation, the dental technician marked the original location of the working cusps (red lines) and the non-supporting cusps (green lines) on the buccal surface of the teeth. Markings were made on the gingiva of the model to indicate the new position of the cusps and spaces. A mould of the duplicate wax-ups was made using a thermoforming process. A temporary composite resin was filled in the moulds, which were placed on the teeth. Once the material had set, the moulds were removed. Together with the patient we were then able to evaluate the planned changes in terms of phonetics, function and esthetics (Fig.4) before the teeth were actually prepared.
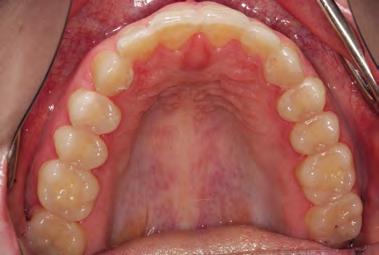
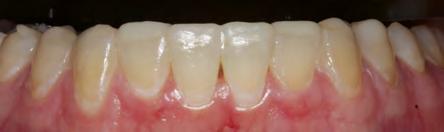
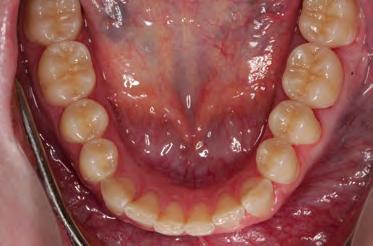
06 — Upper and lower anterior teeth: lengthened with composite resin; upper posterior teeth with provisional restorations; lower posterior teeth with permanent partial crowns (characterized) 06b
1st treatment phase: temporary upper posterior restoration and permanent lower posterior restoration
The posterior teeth in the upper and lower jaw were prepared, and the models (Fig. 5) were mounted in the articulator on the basis of the obtained facebow and centric relation data. The support pin was adjusted in accordance with the planned vertical dimension. The lower posterior teeth were waxed up with the help of an occlusal plane plate. Next, the wax crowns were invested and reproduced with ceramic. The crowns were placed using an adhesive cementation technique (self-etch technique, Adhese ® Universal, Variolink ® and Monobond ® Etch & Prime).
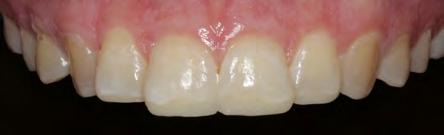
We placed an indirect temporary restoration made of composite resin in the upper posterior jaw. The unprepared anterior teeth were provisionally treated with an adhesively bonded composite resin mock-up (Fig. 6). The upper dental arch was slightly expanded towards the buccal aspect and the anterior teeth were lengthened. The restorations featured the vertical dimension and cusp positions that were determined by means of the mockup. Small adjustments were made in the upper temporary restoration by means of splint therapy.
2nd treatment phase: permanent upper and lower anterior restorations
Preparation and fabrication of the temporary restorations
The upper and lower anterior teeth were prepared on the basis of minimally invasive principles (Figs 7 and 8).
Step 1: A “dual-grit” diamond was used to mark the depth to which the incisal edge needed to be removed through the adhesively bonded mock-up (generally 1.0 to 1.5 mm).
Step 2: A special grinder was used to apply 0.5mm horizontal depth markings on the facial surface of the teeth through the mock-up. The grooves were marked with an insoluble fine liner.
Step 3: The incisal edges were removed. For this purpose, the “dual-grit” diamond was inclined towards the palatal aspect at an angle of about 30°.
