1 minute read
ACRYLIC CUTTING AND FINISHING


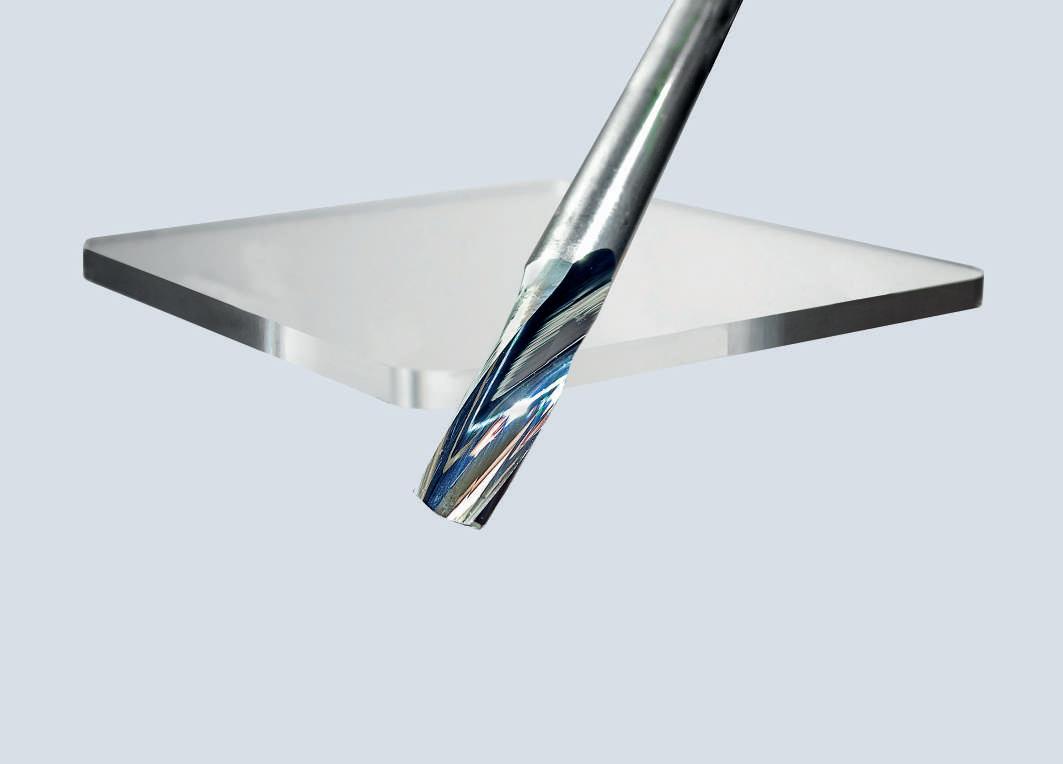
Usually the aim when cutting Acrylic on a CNC Router is to have a minimal amount of subsequent operations to complete the project once the component has been machined. ITC’s Clearcut Single Flute Router used under the correct machining conditions helps to eliminate additional sanding and polishing operations.
As always, the cutting tool is only one variable in achieving a great finish when cutting any material. Workpiece mounting issues, CNC machine rigidity, tool holding accuracy and collet condition all play vital parts in obtaining the best possible finish on your component’s cut edges. All of these variables are especially relevant when cutting Acrylic.
Advertisement
Here below are a few simple steps to follow to achieve a great finish on your Acrylic:
• If your CNC machine has a tool changer utilise 2 tools to achieve the best possible finish. 1 tool for a roughing cut, 1 tool for a finishing cut. Once the finishing tool becomes slightly blunt it can be re-used as the roughing tool in future projects.
• Use the largest diameter possible Clearcut tool, a 6mm diameter tool is sufficient for most Acrylic thicknesses. Choose the shortest flute length possible to cover your material thickness. This will give you the most rigid tool setup possible.
Using the example of a 6mm diameter tool, cutting 6mm thick Acrylic Sheet, use the following machining strategy to cut out your component:
CUT 1 - TOOL 1 (Roughing Tool)
Spindle Speed 20,000 RPM. Feed Rate 2m/min (33mm/sec). Depth of Cut 5.8mm. Offset 0.4mm*.
CUT 2 - TOOL 2 (Finishing Tool)
Spindle Speed 20,000 RPM. Feed Rate 1m/min (17mm/sec). Depth of Cut to machine bed. Offset 0.0mm.
* This factor can vary depending on material type/brand etc. but is usually between 0.2 and 0.6mm. Experimental cuts with your own material type will establish the ideal Offset.
Tel: +44 (0) 1827 304500
Email: sales@itc-ltd.co.uk

