14 minute read
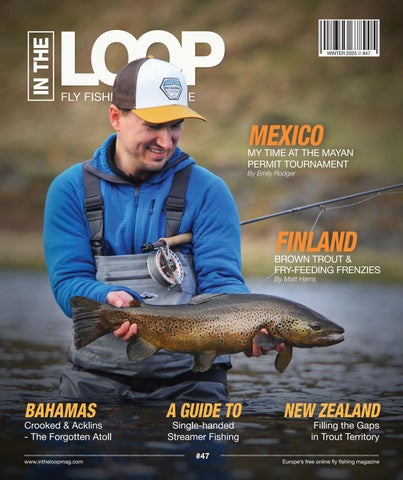
Finding Your Path in New Zealand (Pt II)

Finding Your Path - And Learning the Lessons (Continued from Issue 46)
For first-time visitors, New Zealand can be daunting - it certainly was for me on my first trip in 1980. You want to see as much as possible, which is great for scouting future adventures, but it also means endless packing and unpacking, a lot more driving, and a lot less fishing. Choosing a few places to base yourself for several days - or longer - is a smart compromise. And as I’ve already mentioned, hiring a guide for a couple of days at the start of your trip can really get you off on the right foot. But let me help speed up your learning curve with the nuts and bolts of it all.
By DAVID LAMBROUGHTON

The smaller North Island holds 76% of the population and has about onethird less land mass than the South Island. Its trout population is roughly 90% rainbows and 10% browns - the opposite of the South Island. With rainbows preferring more broken water, you can get away with slightly sloppier casting, bigger flies, heavier tippets, and blind-casting the heads of pools. The water can still be won derfully beautiful, with overhanging tree ferns and lush, tropical-feeling settings - I’ve always loved it.
For a solid base, the historic fishing town of Turangi, at the south end of Lake Taupo, sits at the epicentre of it all and helps cut down on driving.

The North Island also enjoys a longer season, and the Tongariro runs begin in April, while it’s already getting a bit chilly down south.
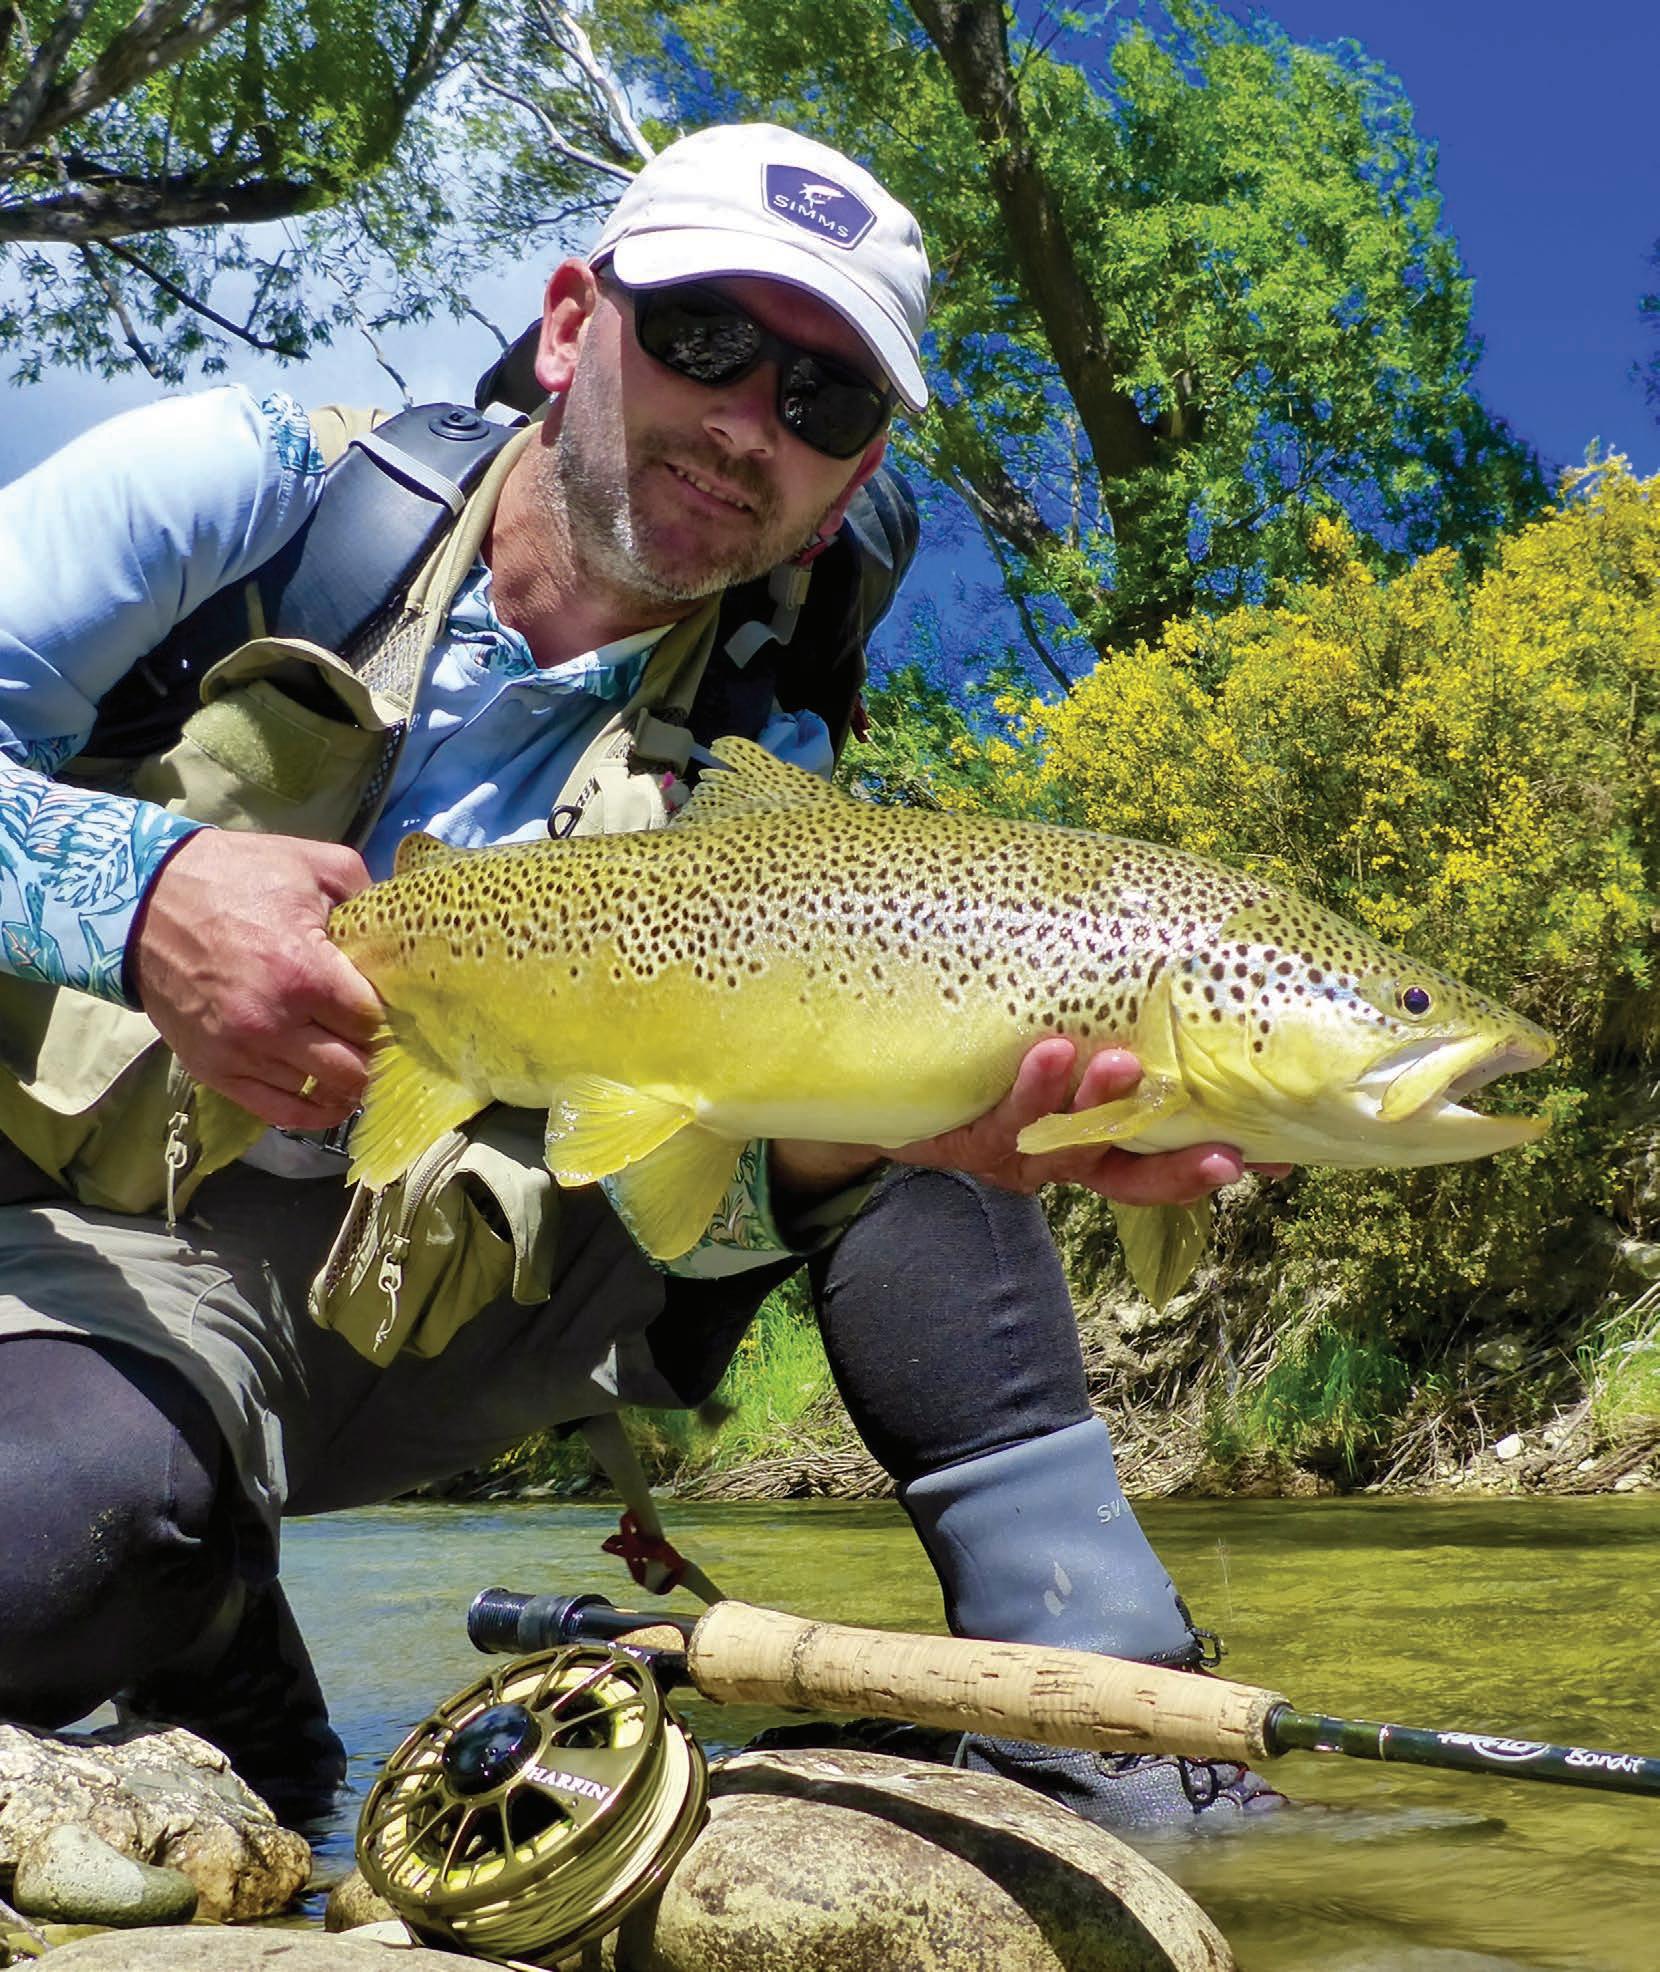
Moving to the South Island - where practically every river you cross is a trout river - you enter the land of sight fishing, and that’s why it’s so popular with visiting anglers. It’s ad-

On the South Island, you become more of a hunter. You cross streams in the riffles to mask the sound of your boots on the rocks - another reason few anglers wear studded boots, and the rivers really aren’t that slippery.
You walk the gravel banks like a butterfly with sore feet and avoid breaking the skyline on high banks. You learn just how well browns can see and hear in the slower, smoother water they favour, and you don’t cast until you’ve spotted a fish. Blind-casting only pushes nervous fish upstream to have a little “fin chat” with the rest. Everyone tightens up or slides into deeper water. Game over for you - time to move on.
“You learn just how well browns can see and hear”

So now you’ve found a happy fish - a “Swinger” - in the next pool. Its feeding movements are fluid and relaxed. You carefully move into position, but you don’t fire the “perfect” cast just yet. Too short and you’ll startle him; too long and he’ll see your line or the thick part of your leader. So start with a quiet cast 15 feet away on your side to judge the distance.
If I’m standing behind you watching, I’ll be saying things like: “Add three feet. A little more. Now move it over.” Each cast goes tight to the reel for measurement. With a few casts, you’ve got the distance dialled in.

After a few days with the same rod and a 12–13 ft leader, you’ll speed up this process dramatically. But if there’s a good hatch and fish are feeding near the surface, they won’t move far, and you’ll need to drop the fly closer. When that’s the case, I’ll throw an extra false cast away from the fish just to shake the water out - spray you often can’t see from behind the rod.

Ideally, you still want the fly slightly on your side; sometimes a fish hits the tippet on the take and you think he missed or refused. And any time a fish comes up, inspects a drag-free fly, and refuses - change flies. Otherwise, they’ll start hearing Lassie barking and tighten up.
Squiggling Tippets
Now let me talk tippets - or more precisely, tippet squiggle, which is deadly on smooth water. That’s why on big wide rivers like the Henry’s Fork, Missouri, or the lower Mataura, the most productive presentation is across and downstream. The squiggle is still there, but when the fly enters the fish’s window fly first, it’s far less noticeable.
A good example is fishing the spring ponds or old cutoff horseshoe tarns - common in the South Island and perfect when rivers are out or your legs need a break. When I place a little foam terrestrial ahead of a fish coming toward me, getting a take isn’t hard. But when the fish is going away from me or moving across, it’s nearly pointless - unless there’s a slight ripple - because of the tippet squiggle.
I’ve spoken with both Simon Gawesworth and Gareth Jones at Airflo about it, and there’s simply no way to make light tippets sink. I’m not about to smear on something whose label reads “avoid contact with skin.” I’ve tried tippet mud and streambank silt - neither lasts long.

Using a small unweighted nymph is one way to kill the tippet on smooth water. On spring creeks, I tie a simple unweighted pheasant tail with a black glass bead. It lands almost as softly as a dry and sinks a few inches. For an indicator, I like a piece of that white net-foam used to wrap Asian pears or liquor bottles. I’ll tie it on with a simple double loop and trim it to BB-size. It’s just there to let you know when the fly is entering the “chomp zone.” I then watch the fish - not the indicator - because unweighted nymphs move more naturally and don’t track like heavier ones. When the fish takes, the tippet slices through the foam, and you’ll never see it again. If you want to remove it, a small tug and it explodes off - gone.
For larger weighted flies, use a bigger chunk farther up your leader and trim it round so it doesn’t helicopter and twist your leader. The white foam works beautifully - easy to see and looks like just another bubble. It’s perfect when you’re fishing alone and want to switch quickly between dries and nymphs.

When I’m fishing with a buddy, we use two rods: one rigged with dries and one with nymphs. My all-day indicator is simply a size 12–14 dry-fly hook wrapped completely in palmered hackle - just a harmless fluff on the surface - with the tippet tied to the bend. We switch rods depending on what the fish wants. The usual hotpink and lime-green indicators common in North America are a definite no-no on my favourite waters.
Now that we’re working on our sneakiness, let me touch on fly-line colour…

Fly Lines for New Zealand
Forty years ago, when I didn’t know my arse from a hole in the ground about New Zealand fishing, I booked a guided day with the godfather of modern NZ guiding, Tony Entwistle. When we set up beside the river, he glanced at my Hardy Princess reel, which was loaded with a peach-coloured Cortland 333 line, and said, “I wish I’d seen your line last night - I could have fixed it.”
What he meant was that he could’ve easily dyed the first 10–12 feet of my line dark brown.
That simple idea is one of the reasons so many line manufacturers now produce their tapers in more earthy colours - olive being the classic compromise between visibility and stealth. But even olive has limits. Countless times over the years, especially on the superclear spring ponds, I’ve watched how fish react.

Picture this: I’m laying the trap to intercept a slow-cruising feeder when another fish suddenly appears, much closer to the bank. I freeze, hoping not to spook it. But when it reaches the undyed section of my line, it stops dead. It refuses to go underneath, then quietly slides back into deeper water. Game over. The same thing happens on rivers, and it can happen with the fish you never even saw until it’s too late. In pools, fish will often drop into the tailout and then work their way back up in a sort of circular beat. And if you’re fishing weighted nymphs, making long drifts in broken water, you’re often casting past deeper fish to get your fly down to their level. So for years I’ve dyed the first 10–12 feet of my floating lines, and it’s remarkable how the tip simply disappears on the water. That’s also why you shouldn’t dye more than 12 feet - otherwise you lose visual control for mending.
But here’s the new challenge: modern line coatings can be almost impossible to dye. So now we simply use a black felt-tip marker on the front section. It fades, so you have to touch it up every month or so - but it works.

Door #3: Their Acute Sense of Smell
In most rivers around the world, a trout’s sense of smell isn’t much of an issue. With all the runoff from human activity - and all the angling pressure - if smell alone shut down feeding, the fish would starve. But in New Zealand’s pristine waters, especially in remote spring creeks, smell absolutely matters.
Here’s a typical example. I’m on one of my favourite West Coast spring creeks. Just upstream, a farmer comes rumbling through the ford in his greasy old tractor.

The water clouds up and the fish go down - but only for a minute. It clears quickly and they’re feeding again. Later, a herd of dairy cows crosses; half of them defecate in the stream. Again, the fish drop for a couple of minutes, then resume feeding. But when a fishing buddy - wetwading, and I’ll get to that - crosses upstream, the fish go down for one to two hours, sometimes the rest of the day. An extreme example: I’m standing on a sheep bridge with my camera ready. Thirty yards upstream, a big brown is sipping occasionally, and my buddy is trying to catch it. Eventually he gives up, walks upstream, and at about 50 yards decides to take a leak. I yell, “Pee in the stream!” which he does.
I kept my eyes glued to the fish. Twenty-five seconds later, that concentrated plume hit him and he absolutely lost his mind - thrashing in a starburst pattern before rocketing downstream at warp speed. You’ve never seen a fish move that fast when it’s not attached to anything.
You see the same thing on the small summer-run steelhead rivers on Vancouver Island. All of this is another reason to fish upstream - unless you’re swinging flies on some huge, fast river.

Door #4: Fishing in Comfort
I really dislike wearing waders in New Zealand. The water isn’t cold, you walk a lot, and from December to mid-March I rarely wear waders at all. On hot summer days, you’re more comfortable in the water than out of it. Early and late in the season, we sometimes go “flaps up” - instead of folding wading socks over the boot tops, we just pull them up to just below the knee.

For footwear, I prefer lightweight boots, though almost all wading boots lack decent arch support. Quality aftermarket arch supports make a huge difference in comfort and help fine-tune the fit; if you do need to wear waders, you can remove the inserts for a bit more room.
As for clothing: long-sleeve, earthtoned shirts and thin nylon wading pants (without those useless linesnagging cargo pockets) are ideal and dry incredibly fast. At the end of the day, slip out of your boots, put on sandals or normal shoes, and you’re ready for dinner. I wear shorts all summer, and unless you’re in West Coast beech forest or the top of the South Island - prime sandfly habitat - biting insects aren’t much of a concern.

Door #5: Blowing the Strike
This happens thousands of times every season. A big fish rises to the dry fly, and in the excitement, the angler strikes too soon - accustomed to smaller fish that spit a fly instantly. Large NZ trout don’t. The old tradition of silently mouthing “God Save the Queen” before lifting is surprisingly accurate. A slow, soft strike sets a small hook far better in a large mouth.
But there’s more. Nearly everyone strikes incorrectly, and probably has their entire life - myself included. About 30 years ago, while nymphing with an indicator, I discovered that a side-strike gave me a far better hookup rate than the traditional lift. It didn’t take long before I was using the side-strike with dries as well.
Think about it: with a vertical lift, much of your motion is spent simply removing slack and curves from the current before anything goes tight - exactly the way you’d break a string. But a side-strike tightens the system instantly, even with current curves.

And if you do strike too hard, the curves buffer the shock, resulting in a quicker yet softer connection. In New Zealand, you still delay slightly on a dry-fly take, but with a nymph under an indicator, you don’t hesitate - the indicator already adds a small “tape delay.” Try it with a drifting dry or indicator and you’ll notice the difference immediately. And always strike away from your body, never across it, whether fishing upstream or down, left bank or right.

Door #6: Once You’ve Hooked the Big Bugger
After you’ve blown a few early chances - especially right after arrivingyou’ll finally have a big fish on. Now what? Unless you’re on a huge open river, that fish is heading straight for its bolt-hole: an undercut bank, willows, a logjam, something nasty. Your first priority is to never let the fish hit full acceleration. If you can hold it on that first run, odds are you’ll land it. Trying to “get it on the reel” immediately is a mistake. Instead, quickly strip in your loose line and control tension between your finger and the cork. Once the fish is past the danger zone and starting to tire, then wind the line onto the reel and fight from there.

New Zealand etiquette
And finally, an important one - etiquette. In New Zealand, leaving a message on your dashboard is standard, even if the knuckle-dragging Australians struggle with it. I use a laminated letter-sized sheet. One side reads:
“Two Anglers Fishing Upstream.” The other: “Two Anglers Fishing Downstream to Car.”
I park facing upstream traffic so it’s easy to read. This simple courtesy lets everyone fish all day without climbing over each other. If you see a car already parked on a river, drive a few miles upstream to give them room. Fishing behind someone dramatically reduces your chances.
So have fun out there. New Zealand has been my favourite fishing destination for more than 40 years. In today’s crazy world, there’s no better place to experience genuine kindness - and to renew your faith in humanity.