2 minute read
Disassembling the Main Unit into Upper Case and Lower Case


1. Disconnect the power cable from the mainboard.
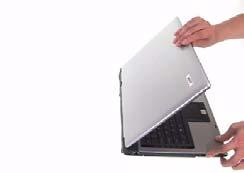
1. Remove the three screws securing the middle cover on the rear panel. 2. Open the notebook.

3. Release the clasp of middle cover and remove the middle cover from the main unit.


4. Remove the two screws securing the keyboard. 5. Turn the keyboard over.
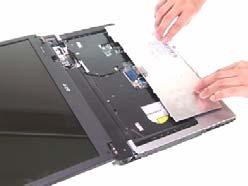
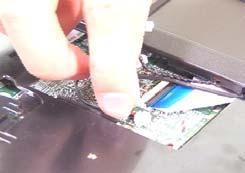
6. Unlatch the keyboard FFC latch and remove the keyboard from the main unit.


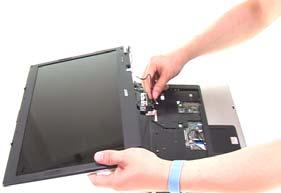
8. Remove the two screws on left and right hinges. 9. Remove the LCD module from the main unit and be careful to pull the antenna out.

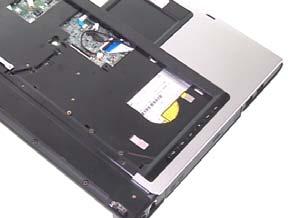
10. Remove the screw securing the ODD module. 11. Push the ODD module out of the main unit.

12. Remove the five screws securing the upper case. 13. Remove the 22 screws securing the lower case.


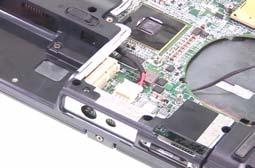
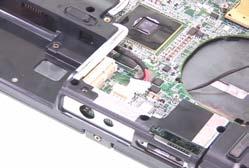
14. Disconnect the LID switch cable from the mainboard. 15. Disconnect the audio DJ cable from the mainboard. (Aspire series only) 16. Disconnect the MDC cables.

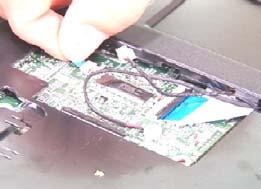

17. Disconnect the MIC wire cable from the mainboard. 18. Unlatch the touchpad board FFC and disconnect the touchpad board FFC from the mainboard.

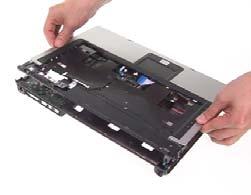
19. Lift up the upper case to separate the upper and lower case.