2 minute read
Disassembling the LCD Module


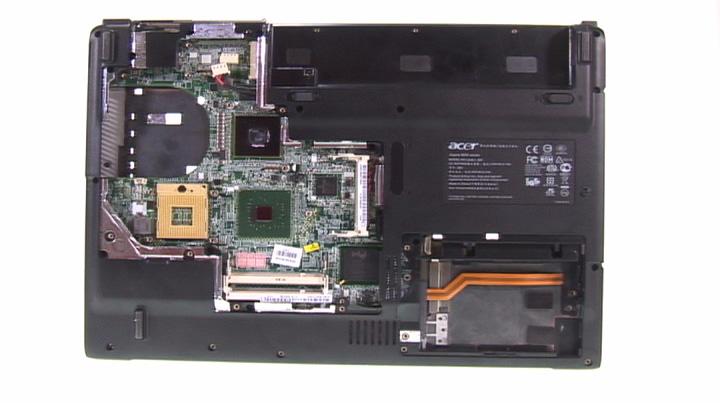
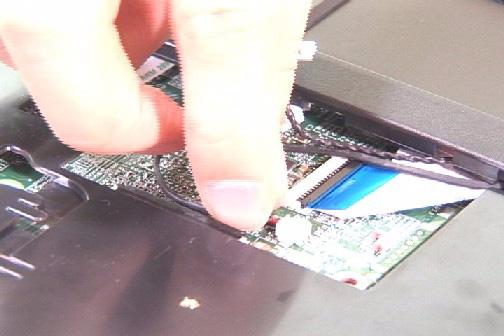
14. Disconnect the LID switch cable from the mainboard. 15. Disconnect the audio DJ cable from the mainboard. (Aspire series only)

16. Disconnect the MIC wire cable from the mainboard. 17. Unlatch the touchpad board FFC and disconnect the touchpad board FFC from the mainboard.

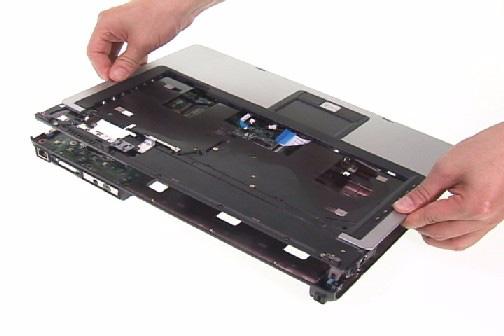
18. Lift up the upper case to separate the upper and lower case.

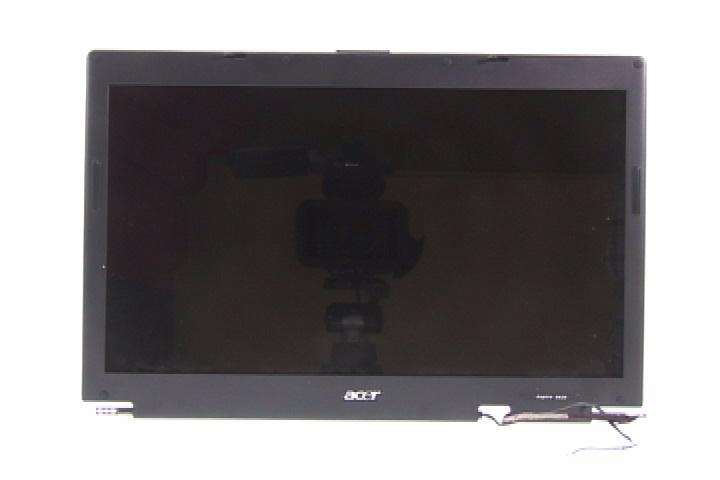
1. Remove the four screw caps from the LCD module. 2. Remove the four screw securing the LCD bezel.
NOTE: For LCD module with CCD, please refer to following steps. 1. Remove the six screw caps for the LCD module. 2. Remove the six screws securing the LCD module.
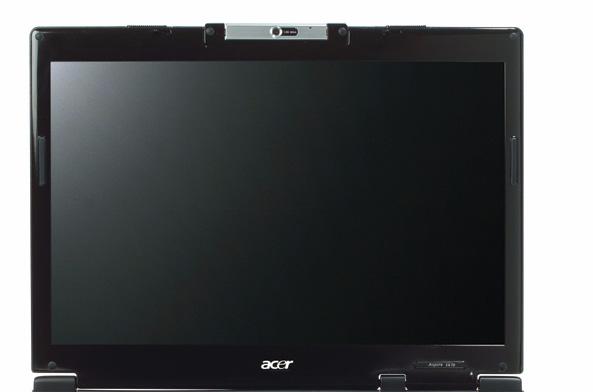
3. Remove the LCD bezel.
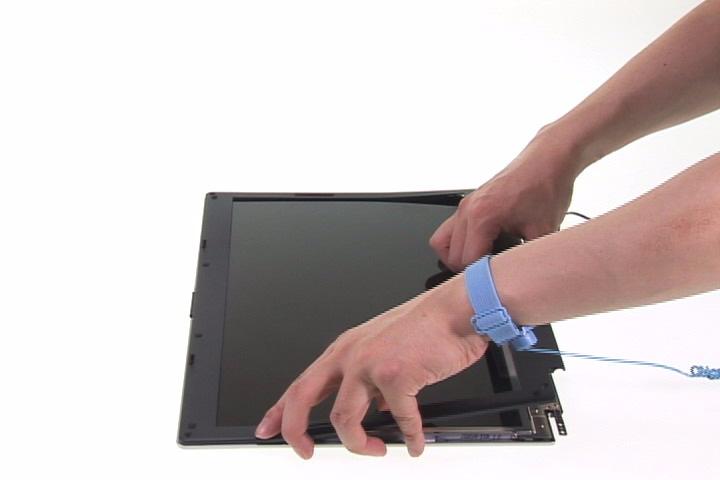
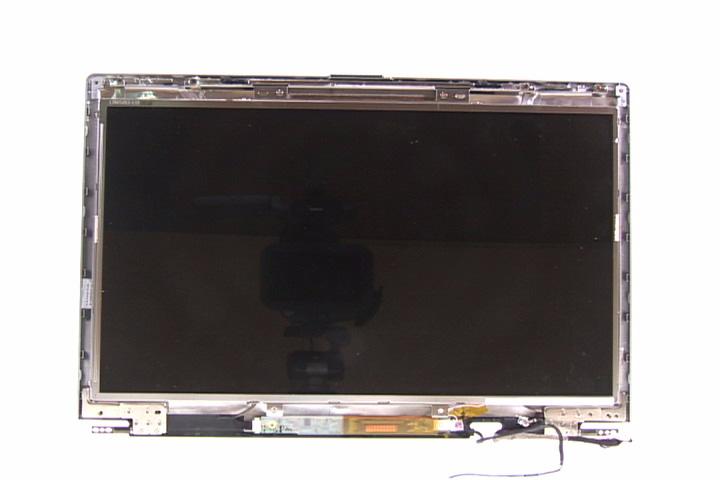
4. Remove the 13 screws securing the LCD panel.

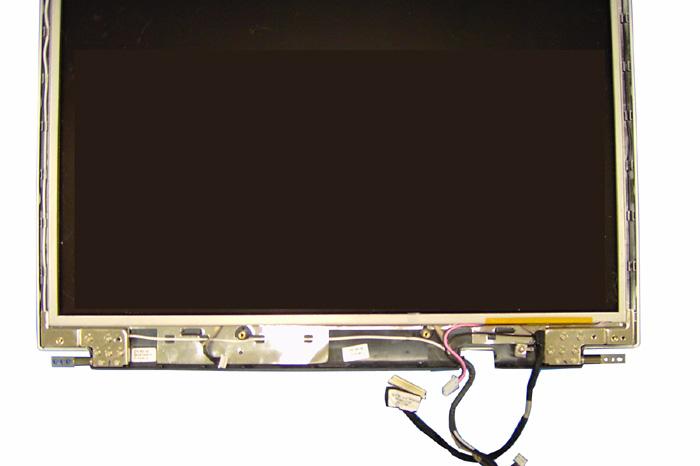
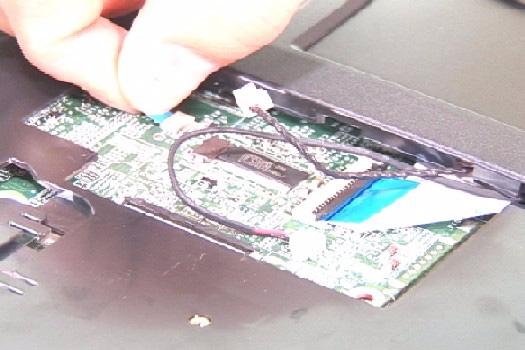
6. Lift up the inverter board. 7. DIsconnect the inverter cables from the inverter board and remove the inverter board.


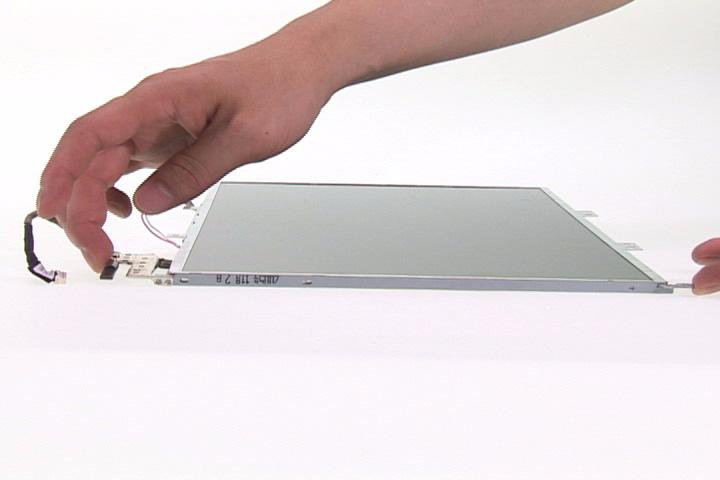
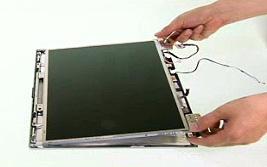
8. Remove the LCD panel from the LCD cover.

9. Remove the two screws securing the left LCD brackets. 10. Remove the left LCD bracket from the LCD panel.


11. Remove the two screws securing the right LCD bracket. 12. Remove the right LCD bracket from the LCD panel.