1 minute read
BIOS Password Removal


1. Press <F2> to enter Setup during POST 2. Go to the “Main” menu 3. Enable the “F12 Boot Menu” function. 4. Press F10 to save the setting and exit.
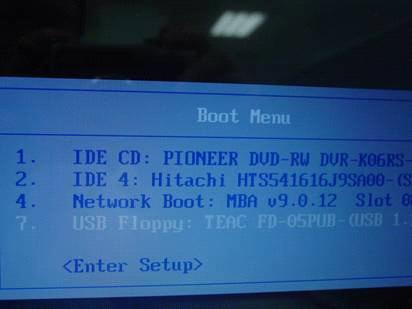
5. Press F12 during POST 6. Select “USB Floppy” from the Boot Menu 7. Please use a USB disk that can boot from DOS mode and execute the BIOS_PW.exe file.
PhoenixBIOSSetupUtility Information Main Security Boot Exit
SystemTime: [11:59:38] SystemDate: [03/14/2006]
SystemMemory: 640KB ExtendedMemory: 502KB VideoMemory 128MB
QuietBoot: [Enabled] PoweronDisplay: [Auto] Networkboot [Enabled] F12BootMenu: [Disabled] D2DRecovery: [Enabled] ItemSpecificHelp
<Tab>,<Shift-Tab>,or <Enter>selectsfield.
F1 Help Esc Exit ↑↓ SelectItem F5/F6 ChangeValues F9 SetupDefaults ←→ SelectMenu Enter Select 4 Sub-Menu F10 SaveandExit

